3. Computer-controlled cutting
Group assignment
● Characterize your laser cutter’s focus, power, speed, rate, kerf, and joint clearance
Individual assignment
● Cut a sample using the vinyl cutter.
● Design, laser-cut, and document a parametric press-fit construction kit, accounting for the laser cutter kerf, which can be assembled in multiple ways.
Group assignment
Group:
● - Xinhui Hu
● - Zhengya Gong
● - Yazan Barhoush
● - Noora Nyberg
Outline:
● Basic laser cutting operation procedure
A. Jog >>Set the start point
B. Focus >> Adjust with Focus Calibrator
C. Job >> Select files
● Speed, Power, Frequency (Zhengya)
A. vector
B. Raster
● Focus adjustment (Xinhui)
The focus of a laser cutter can be adjusted manually or automatically. Too high/too low/ in place
● Kerf Calculation ( Tatiana & Xinhui)
A. Kerf introduction (Xinhui)
B. Kerf test (Tatiana)
C. Joint Clearance (Xinhui)
● Conclusion (Xinhui)
characterize your laser cutter’s focus, power, speed, rate, kerf, and joint clearance
● Documentary and Synthesize (Yazan)
Individual assignment
Vinyl cutting
I decided to make the Thermal transferred T-shirt by Vinyl cutter-Roland GS24. To accomplish the job, first, I made a panda image using Photoshop, the reason because I am from China, and everyone in China likes panda. Then I used the vinyl cutter machine Roland GS24to cut the image and finally, I placed the image on the T-shirt. The steps are illustrated below:
Step 1 Drawing an image by - Photoshop.
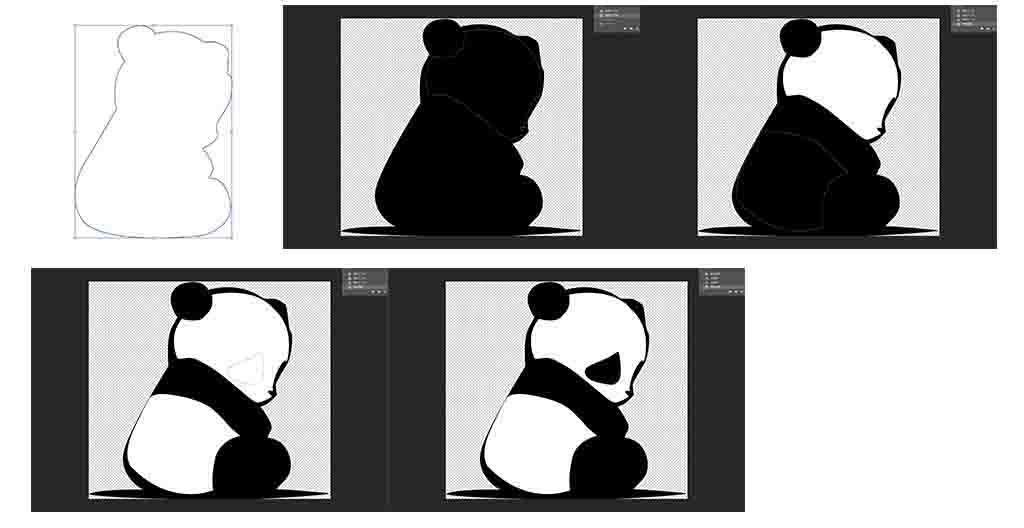
Step of drawing

The final image
Step 2 Vectorizing the image by Inkscape. Selecting Edit path by nodes from the left panel (or press F2), then clicking on the vectorized image and using shift+ctrl+F set up the fill, stoke paint, and stroke style with the width 0.200mm, and because I wanted to place my design on the T-shirt, an important step is to mirror the drawing by Object>Flip Horizontal.
Step 3 Set the Vinyl cutter machine before cutting. Select the type of vinyl film that is being used (piece, roll, or edge). Choose between roll (the machine assumes you are using a roll that is large enough), and edges (the machine will look for the edge to start on), then I chose the edge. I resized the document to the paper size: from the Document Settings menu, click Resize Document to Image Size.
Edge:
Measures the distance between the pinch wheels and moves the blade to the far left edge of the material. This will accomplish a quick width measurement and will automatically put blade in position for a test cut or to set the origin.
Piece:
Measures the length and width of your material via all three sensors. This is especially helpful if working with a scrap piece of material, or a one-yard cut.
Roll:
Measures the distance between the pinch wheels and the blade will not move into any position once it has reached the far left.
Step 4 Select print or ctrl+ p, then open preferences and select the cutting area from the machine. Then, press Accept and send the file, press enter.

The sticker
I also reversed this image in order to my T-shirt. First I opened the source file, then used the shortcut key to flip it, and then saved it in svg file.
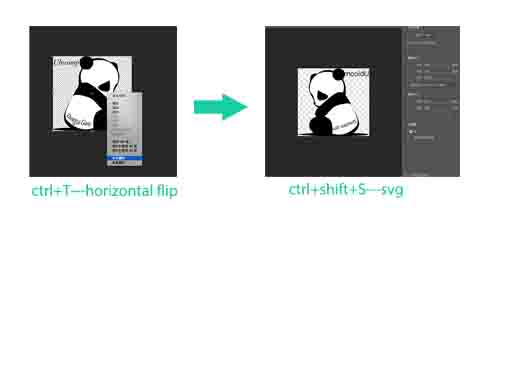
Reverse the image
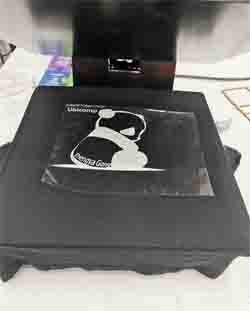
Heat transfer printing

The T-shirt
Laser cutting
Epilog Fusion M2 40 Laser machine. Before starting, safety issues were explained to us by Behnaz. The main ones are summarized here:
● Never leave a working laser cutter unattended.
● Always keep an inspected fire extinguisher around the laser cutter.
● Make sure that AIR VENTILATION is ON.
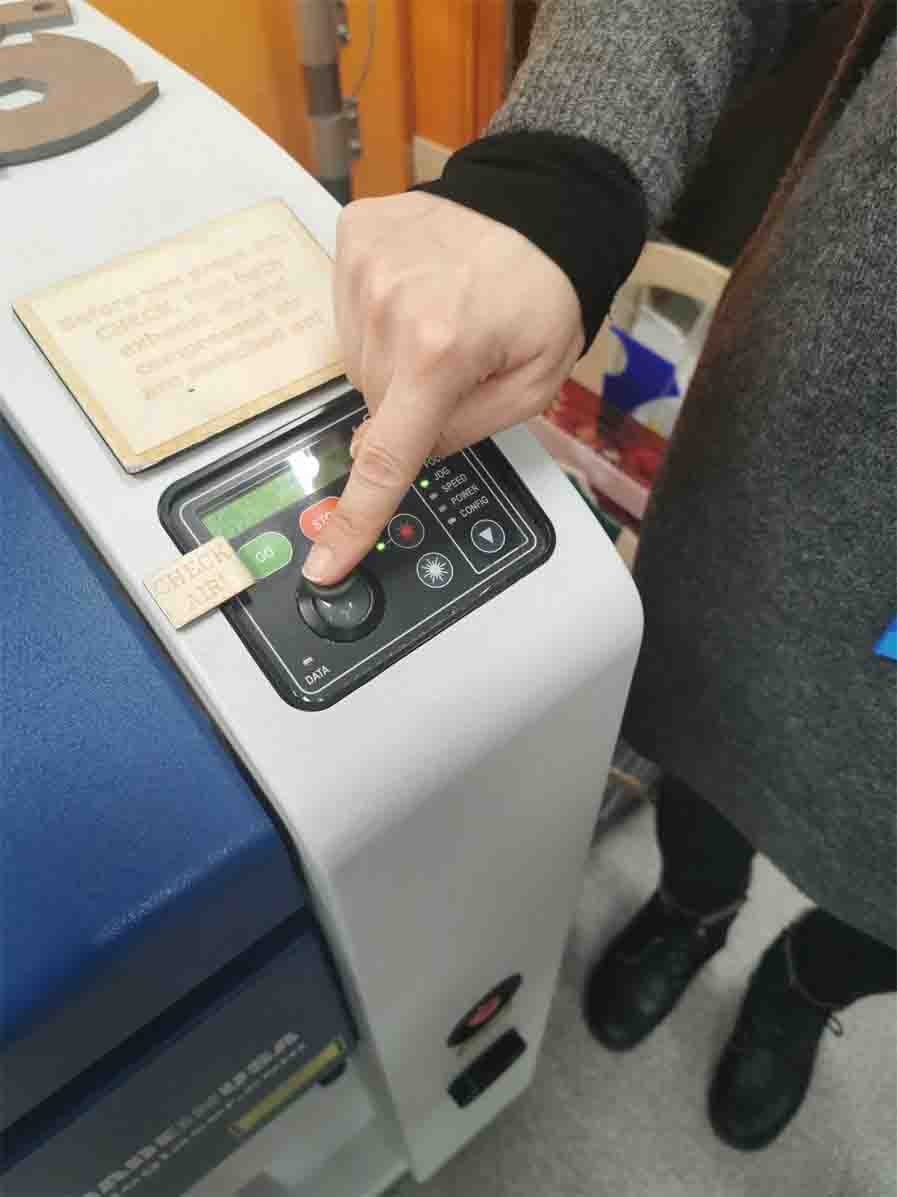
Control panel
JOG:
Set the origin (take the upper-left corner of the PDF file as the origin). First, use the up and down arrows to select JOG from the control panel of the laser cutter. Then, press the red button on the panel to view the current laser head position in visible red light. Then, control the movement of the laser head by using the joystick on the control panel. Finally, after positioning the laser, press the joystick to set the origin.
Focus:
Focus the laser beam on the material. First, use the up and down arrows to select Focus from the control panel of the laser cutter. Next, place the calibrator. Then, use the joystick to move the laser cutter table up and down so that the calibrator just touches the surface of the material
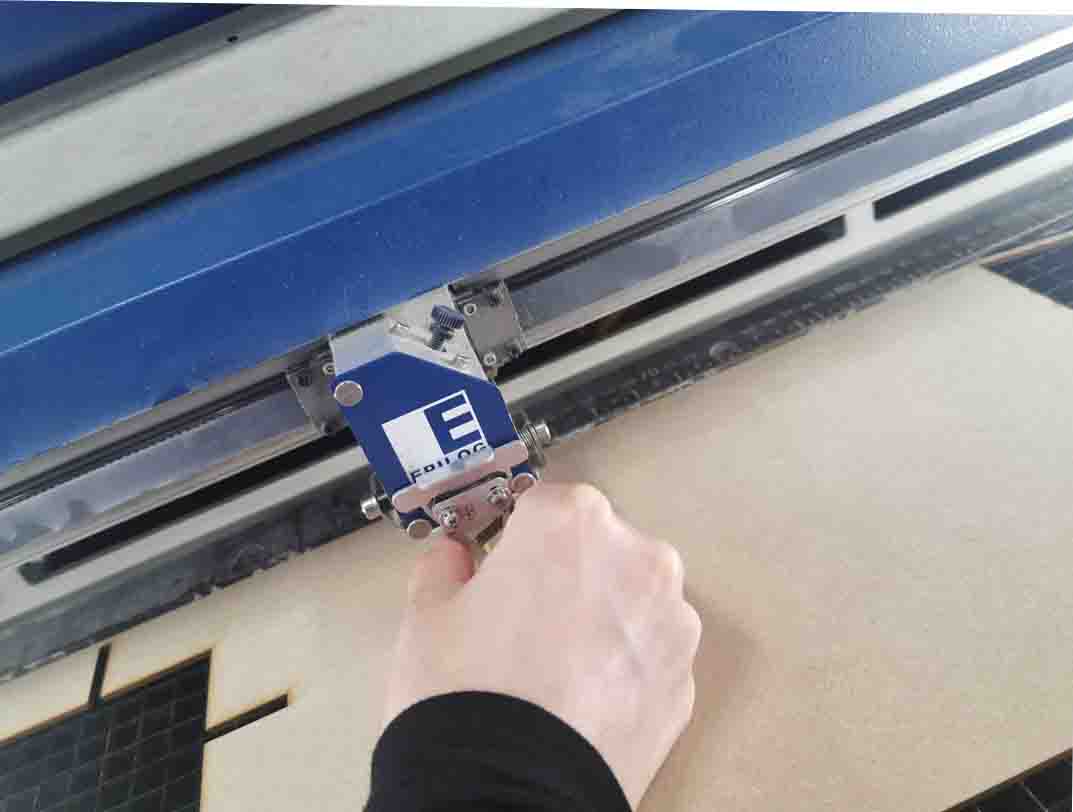
The calibrator
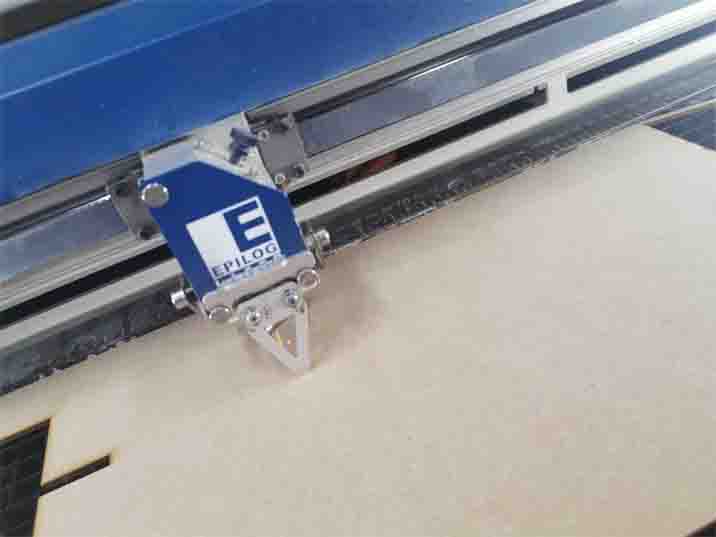
The calibrator touches the surface
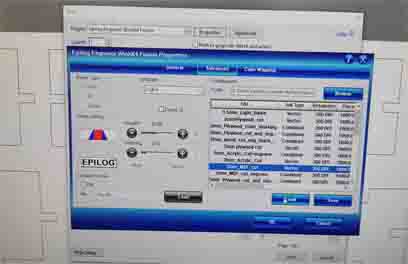
Job:
Select the work to be cut or carved from the print granularity. There may be multiple jobs sent to the laser cutter, so it is important to ensure that the correct job is selected before cutting. Use the joystick to select the appropriate job. The estimated cutting time will be displayed on the control panel. After all settings are completed, press Go and cutting will begin.
parametric design
In my case, the focus of my parametric design has always been on the thickness of the material being processed, the width of the cuts and gaps. As discussed in Group Work, the laser beam itself has a certain width, which means that it penetrates more material than expected when it penetrates. As a result, the slot will be wider and the tabs will be thinner. Therefore, the notch must be included in the calculation of the parameters in the laser cutting design.
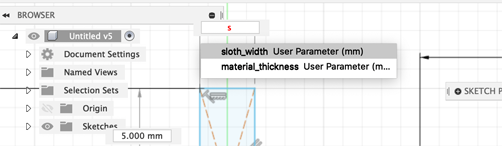
Panda pen holder
First, I designed a pen holder using the panda image and saved it as a PDF file.
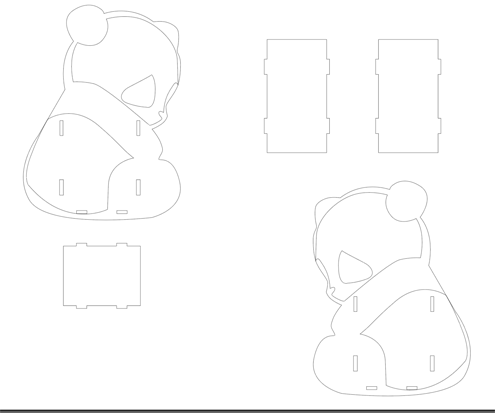
Panda pen holder (pdf file)
Second, printing it using Laser cutting machine.
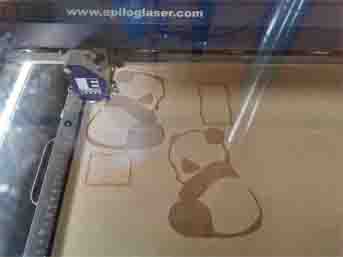
The process of cutting Panda pen holder
I did not set the defining the parameters, so the pen holder is not prefect.
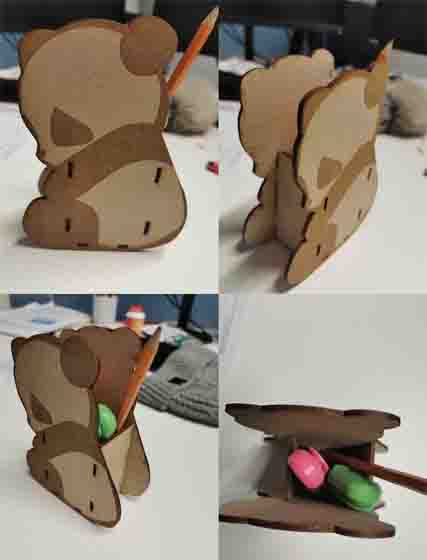
The Panda pen holder
3D puzzle
First, I draw the blade that can be assembled and defining the parameters.
● Create - create sketch - select a plane
● Select - 2-point rectangle - set the specify size of it (30mm)
● Modify > Change Parameters (Since I was planning to use MDF 3mm, the material thickness was 3 mm, while Kerf I used was 0.15 mm.)
“Material thickness”- depends on the material (on my case, is MDF 3mm ) “Kerf” - depends on the material (on my case, is 0.15mm ) “Slot width = Material thickness - Kerf” and “Slot depth = Value - Kerf”( on my case, is 2.85)

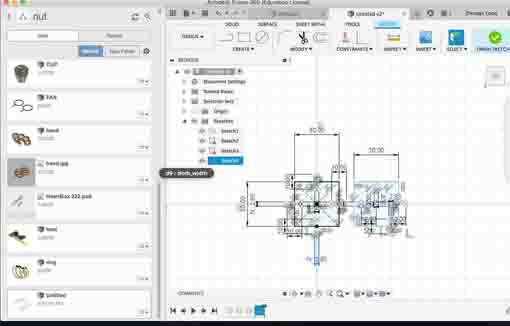
Set up the sloth_width
● Select - 2-point rectangle - set the specify size of it - width- choose sloth_width
Choose sloth_width
● After did above step three times, and Modify- Trim to delete the spare lines.
● Then, using the same step to did the another rectangle.
● Select - 2-point rectangle - set the specify size of it - width- choose tabwidth
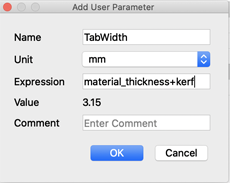
Set up the TabWidth
● After did above step three times, and Modify- Trim to delete the spare lines.

User Paremeters
The 3D puzzle
My basic parameters for the sketch were:
Second, saving it as a PDF file (Drawing >> Drawing From Design, When enter the Drawing Interface, select the appropriate view and place the shapes on the canvas. Click “Output as PDF” on the top menu bar so the shapes can be exported) and modify it in Inkscape ( Stroke paint: flat color, Stroke style: 0.02mm, save the file as PDF file )and sent it to the laser cutting machine.
Set up the cutting
These pieces of the blades can be assembled in different ways based on different directions and connected methods.
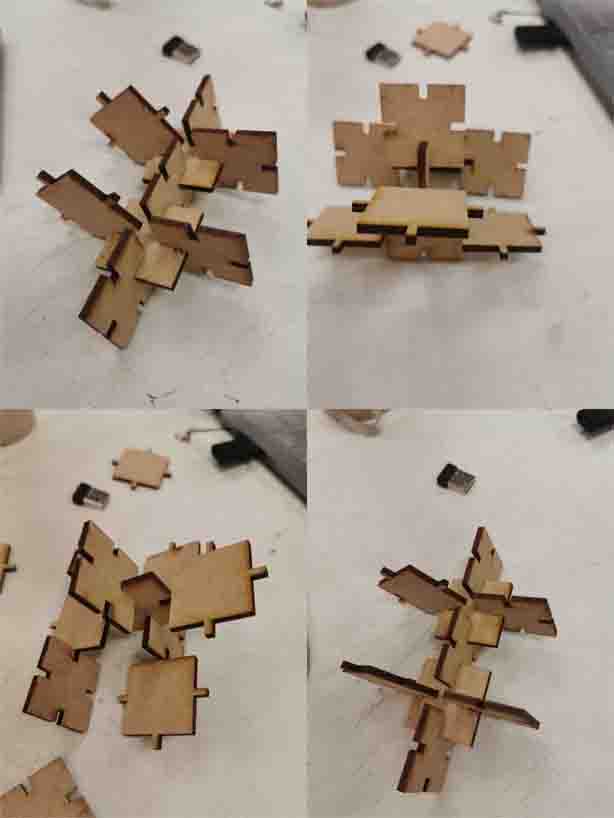
The 3D puzzle
Results of the week
For the group assignment, I learned how to use the laser cutting machine and the Vinyl cutting machine, also know how to set Parametric design, but it is complicated for me, and I need to spend more time to practice.
Vinyl cutting is an exciting machine. I learned how to make a vector image from a raster and how to design an image and cutting it and make it to be a sticker or transferred it on T-shirt.
Laser cutting is a complicated process. I got not a full but good impression of how the speed, power, and frequency affect the result. Now, if there are any issues with the laser cutting process, I can adjust the setting for the current job.
Parametric design is complicated, and it needs a lot of time to be spent.