17.Wildcard week
Objectives:
This week I have to design and produce something with a digital fabrication process (incorporating computer-aided design and manufacturing) not covered in another assignment, documenting the requirements that my assignment meets, and including everything necessary to reproduce it.
Planning, Files and Tools
Planning
Upload the trello board here
Files
Zund cardboard cutting file
Tools
Fusion 360
ZUND G3 flatbed cutter
Epoxy Resin
Vacuum cleaner
Link with final project
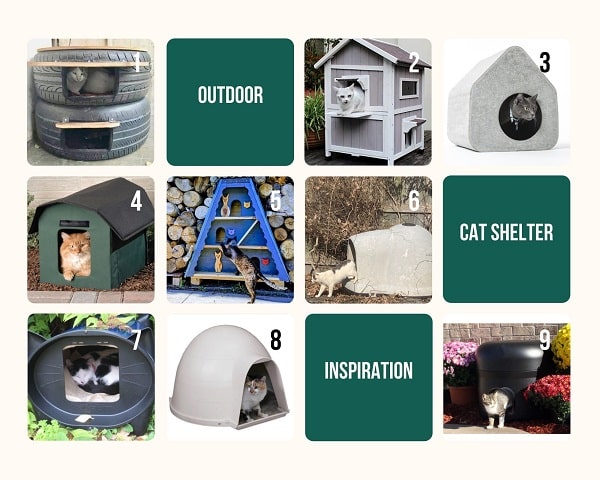
This week’s work has no direct link with my final project. However as I’m doing all my weekly assignments thematically, my theme being catifying my house, this week also is connected to cats and catifying. I want to build an outdoor cat house that will withstand various weather conditions.
Research
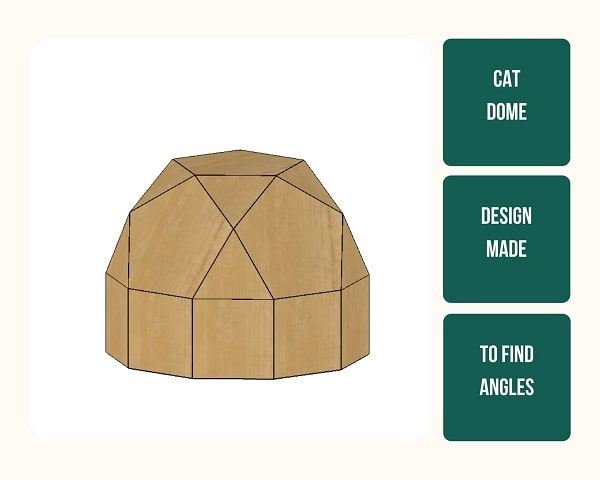
Cats really like dome shapes and I decided to make a dome shaped house.
Group assignment
Find it here
Individual Assignment
I have previously created three kinds of geodesic domes in week 4 from cardboard using laser cutting inspired by the work of Buckminster Fuller.
This time I do not want such a shape, so I searched online for various geometrical shapes that are identical to what I have in mind.
The Polyhedra section under Solid Geometry Wolfram MathWorld helped me in learning about various geometrical shapes.
First I considered platonic solids, however I wanted a more irregular complex solid shape.
So Archimedean solids were the next stop, which didn’t seem to be what I want. So I searched among Johnson’s solids.
Johnson solid
A Johnson solid is a Polyhedron where the faces are regular polygons and are not Plato’s solids , nor an Archimedes’ solid , nor a prism nor an antiprism .
Norman Johnson drew up a list of 92 solids in 1966 , named and numbered them all. He didn’t prove it was only 92, but he had an idea that it was only 92. Victor Zalgaller proved in 1969 that Johnson was correct.
Two similar shapes seemed to fit my bill.
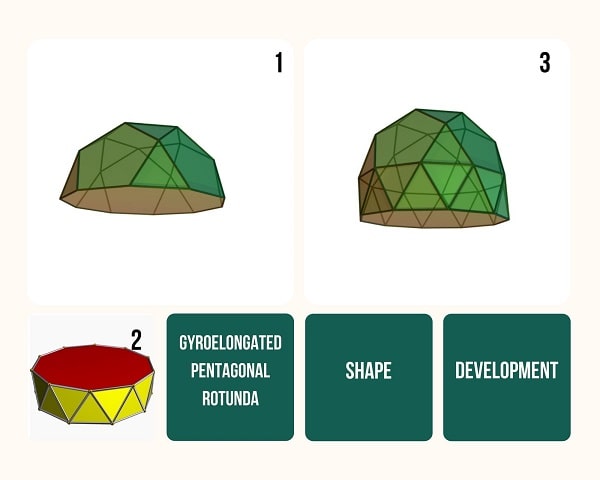
1.Gyroelongated pentagonal rotunda
It is a Johnson solid(J25). It can be constructed by gyroelongating a pentagonal rotunda (J6) by attaching a decagonal antiprism to its base. It can also be seen as a gyroelongated pentagonal birotunda (J48) with one pentagonal rotunda removed.
It has 37 faces:4x5+10 triangles, 1+5 pentagons, 1 decagon
Edges: 65
Vertices: 30
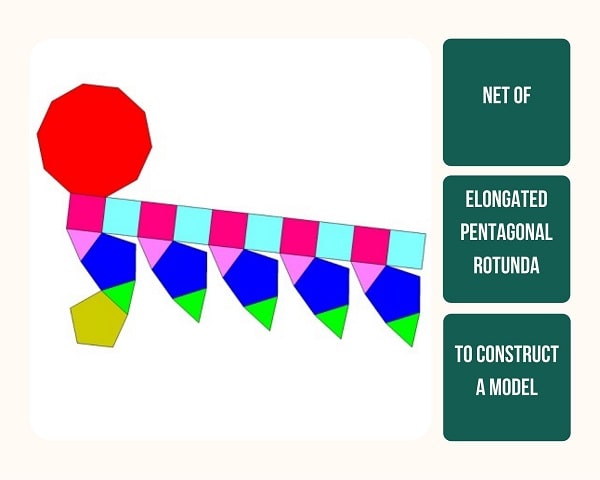
2.Elongated pentagonal rotunda(roundabout)
It is a Johnson solid(J21). It can be built by extending a pentagonal roundabout (J 6 ) by adding a decagonal prism to its base. The solid can also be seen as an elongated pentagonal ortobirotonde with a pentagonal roundabout removed.
It has 27 faces :10 triangles, 10 squares, 6 pentagons, 1 decagon
Edges: 55
Vertices: 30
Its surface area can be found using the equation 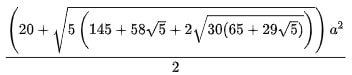
Its volume can be calculated using the equation 
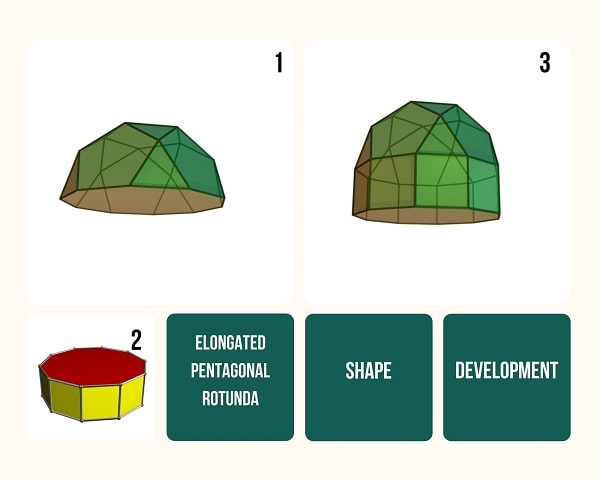
I liked the Elongated pentagonal rotunda better and decided to use it for my design.
Net
In geometry a net of a polyhedron is an arrangement of non-overlapping edge-joined polygons in the plane which can be folded (along edges) to become the faces of the polyhedron. Polyhedral nets are a useful aid to the study of polyhedra and solid geometry in general, as they allow for physical models of polyhedra to be constructed from material such as thin cardboard.
I downloaded the net of Elongated Pentagonal Rotunda.
Tatsuro Homma from Fablab Kannai, Tokyo used Pentagonal Rotunda for his final project
Design
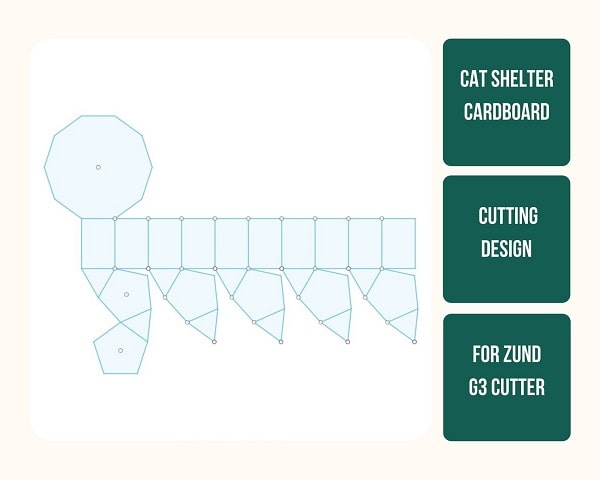
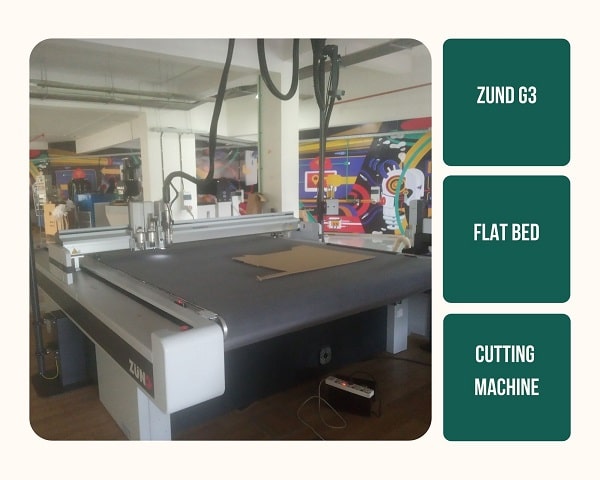
Cutting in Zund G3
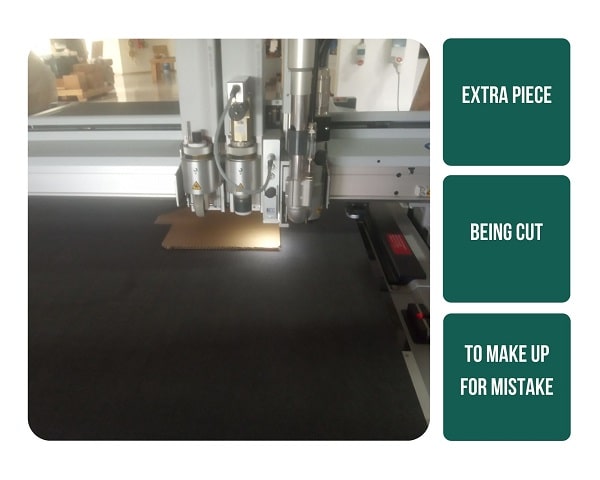
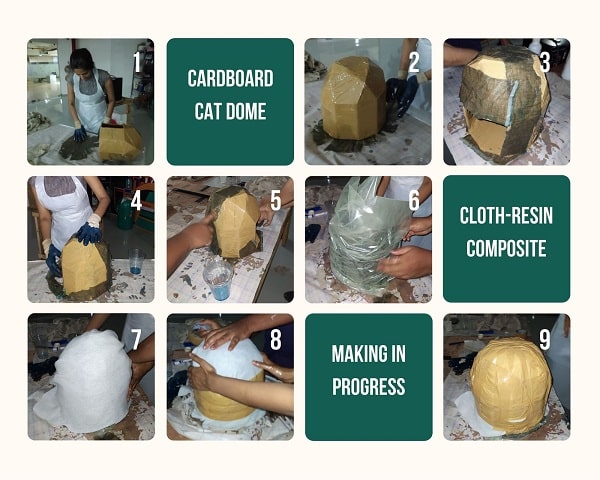
I used Zund G3 cutter to cut the design out of cardboard to make the mold. Joigin said we could use the cardboard piece which was actually a waste piece, of 85 cm width and 75 cm width, after making a furniture. So I had to redesign according to the size of this piece.
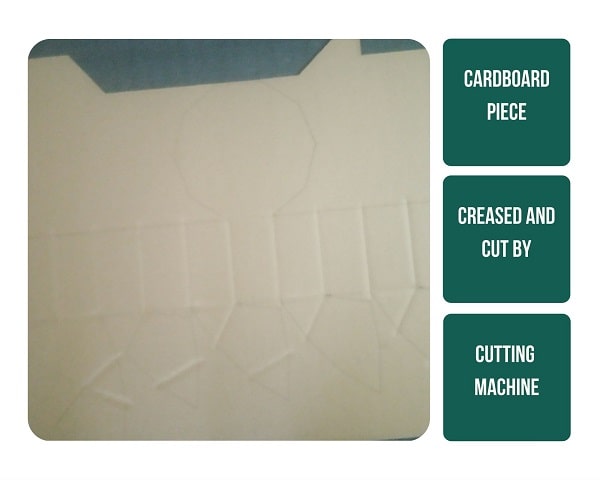
When the cardboard was cut and creased I removed the extra pieces and tried to give it the correct folds. Then I realised that I made a mistake.
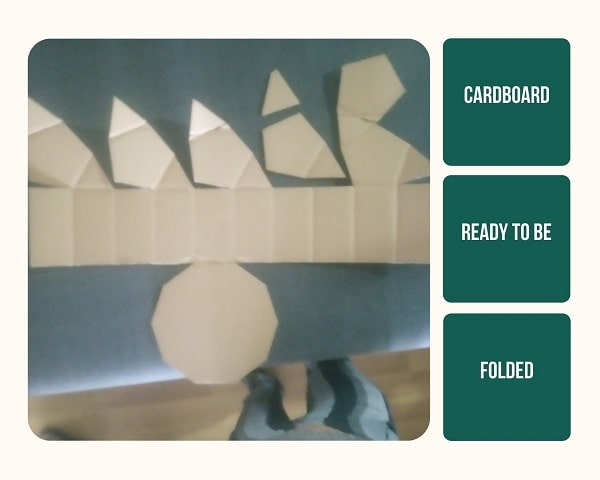
One of the pieces was cut, instead of creasing. This meant I wouldn’t get the correct shape.
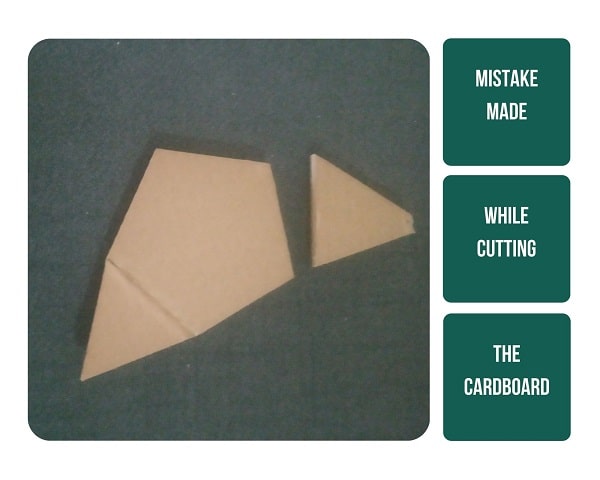
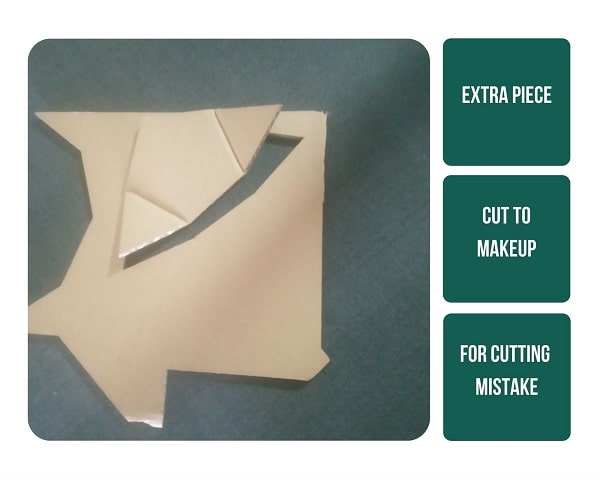
To rectify this mistake, I decided to cut just this leaf consisting of two triangles and the pentagon.
This extra piece could be sticked on to the dome as the angle in which the triangle meets with the base could be somehow kept correctly using tape by trial and error.
I taped everything together and also covered the entire dome with tape as a protective film, so it won’t get soggy when it comes to contact with resin. I also cut linen fabric in the shape of each of the geometry in the dome. I cut enough to make three layers of fabric. As I was using all the waste fabric from Tom’s and Eldho’s resin work, I couldn’t use Zund again to cut the shapes. So I eyeballed it.
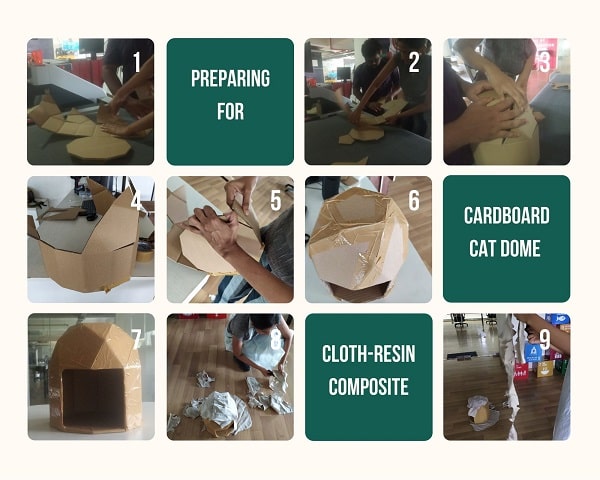
Composite
Making the composite is by applying a resin to a fabric or fiber. Fiber has good tension, but bad compression whereas the resin has good compression and bad tension. So combining these two materials produces a compound resistant to tension and compression.
For the the composites process, I used my cardboard as a 3D mold, which is protected with a protective film (I used duct tape). This is covered with fiber or the fabric impregnated in the epoxy resin. Over this a plastic release film (it will help us to get the excess resin out of the mold) is placed.
Then a blanket that covers the entire mold and absorbs excess resin. Finally all this is put inside a vacuum storage bag and air is vacuumed out.
To protect the table, I put a plastic sheet and started to prepare all the materials required, I took cups and wooden spoons along with a scale to measure the resin.
As I was the last one to do composite, there was no resin left from the material we used for group assignment. So I used an Indian “Chaathan” meaning of poor quality resin we had lying in the lab.
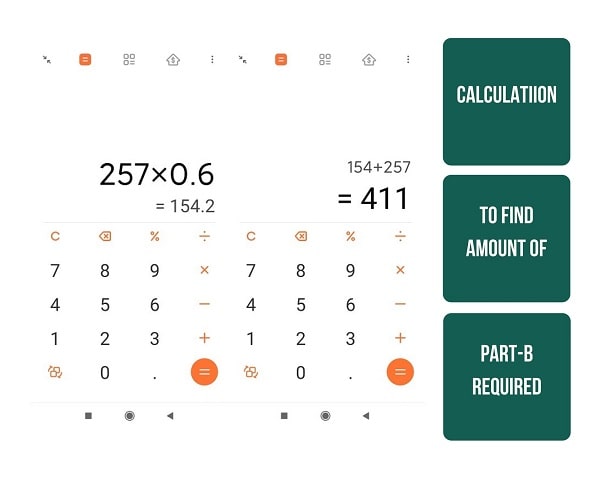
There is no datasheet or even an instruction written on the bottle except a home made hastly designed label with a name. It consists of two parts, Part A and Part B. So I decided to mix the epoxy accoridng to the weight of the bottle - Part A:1kg, Part B:600 gram, So 1:0.6 ratio.
I eyeballed the amount of resin required for Part A only took a small amount which I thought might just cover the enitre surface area. I thought if I require more, I can always mix additionally.
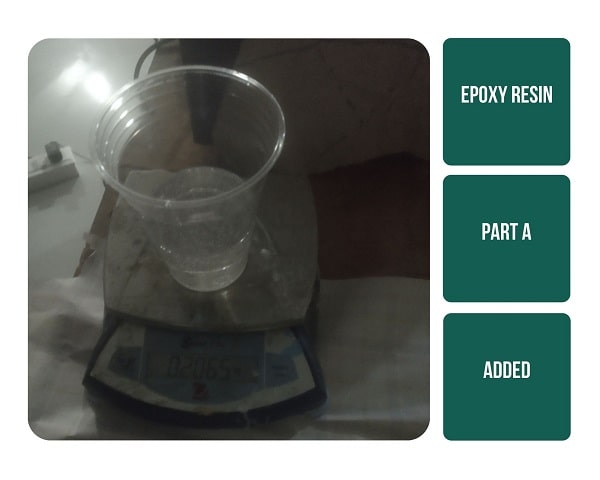
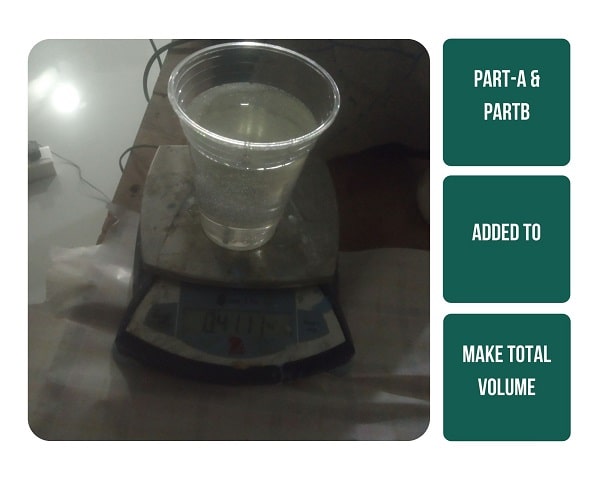
As I took 0.257 gms of Part A, I need 0.157 gms of Part B making the total weight of the mix to be 0.411 gms
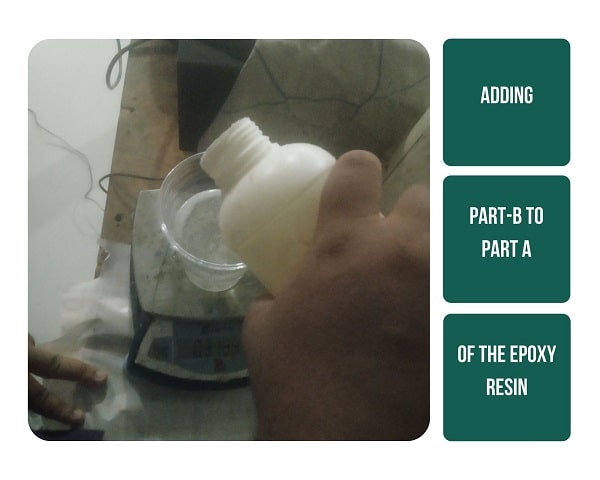
I had to be very careful while adding Part B, so excess amount won’t fall in.
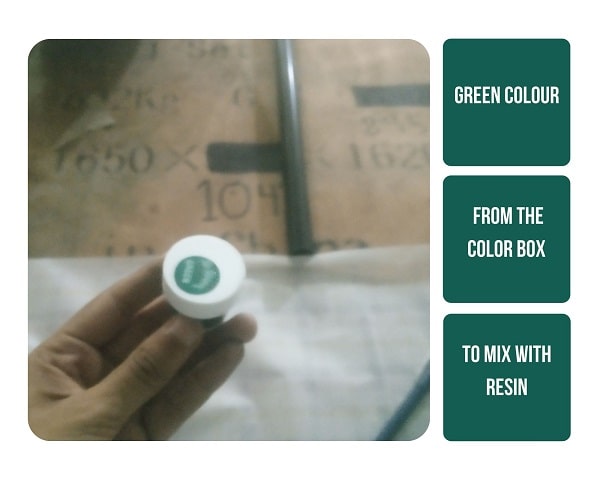
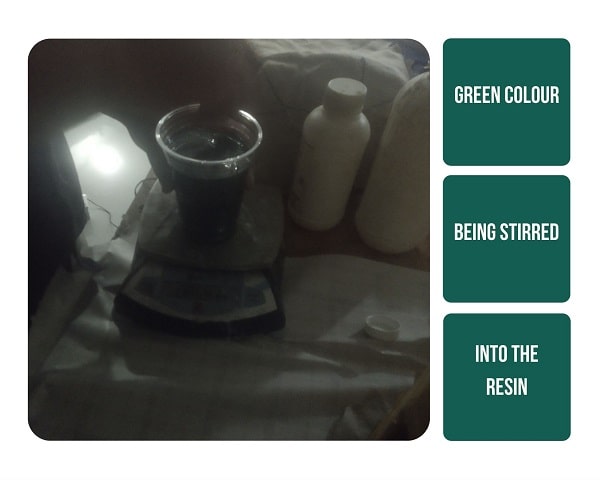
I decided to add the green colour to make the composite gets my theme colour. I took the green colour from the colour box we have. There was no instruction on it, so I stirred it into the whole mix. But this was a mistake, I should have mixed it to part B only.
Once I mixed the whole thing thouroughly I dipped the fabric into the resin.(Not all steps were photographed because I couldn’t touch the phone and was depending on others to document this.)
After each fabric piece was dipped in the epoxy impregnated with it, then it was placed on the mold perfectly. After placing the individual fabric pieces perfectly ensuring that there was three layers of fabric on top of the mold. I also spread the epoxy resin on the linen surface.
The resin has leaked into my hands through the holes of the gloves and it was heating up my hands, I called Jogin to help and we decided to remove the gloves as it might stick to my hands and cause more damage.
The next thing is to cut a piece of plastic release film, a perforated film to help excess epoxy resin to evacuate. Later placed a blanket, to absorb the rest of the epoxy resin so that does not stick to the vacuum storage bag, As we didn’t have a vaccum bag I just used a packing tape and wound it over tightly to seal it. Also there was no way I could move the bottom to vaccum it. So this worked as a makeshift vacuum.
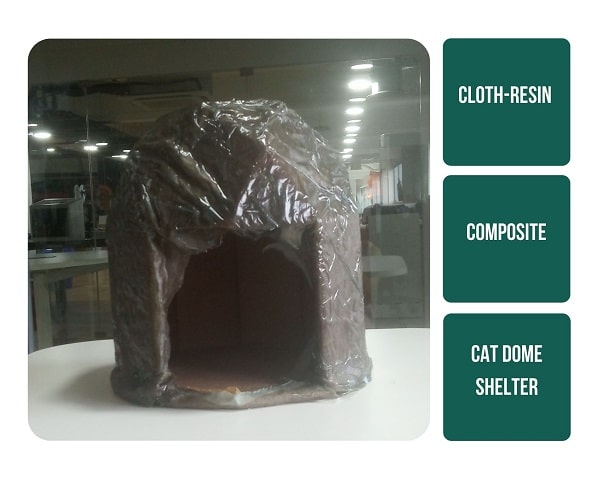
As there was no instruction by the manufacturer on how much time it takes manipulate the composite, I left it over the weekend and came back to open it after 65 hours. I came back and checked the bag, it remained the same, which means it is tightly wound like vacuum. That is a good sign. So I peeled off the blanket removed the plastic film, and the linen was perfectly sealed, all its holes are now bonded with the resin. I decide to leave the cardboard mold in as cats love cardboard to sit on. This would make the perfect shelter as it is weather protected outside and cat friendly inside.
Pradnya, from Vigyan Ashram, who takes my regional review told me to add the photo of the cat shelter with my cat inside it, but as I told her the cat’s have a funny which is beyond human capability to understand. Although they spend 16 hours a day dozing off, it is their choice where to sleep. I often find them sleeping in the most bizzare places ever except their perfectly fine, super-comfy bed/house that I have made/bought for them. Sometimes I think all this effort is counter-intuitive but I’m after all a cat butler and my happiness is in constantly making things that might please my masters.
Mistakes and learnings
- I gave the wrong cutting line instead of creasing while using Zund and ended up cutting a portion of the dome shape. I rectified it at the end only beacuse it had to be taped anyways. If it was a furniture I would have had to re do it.
- The colour has to be added to the B part of the resin not the entire mix. I think my output didn’t have the intended colour because of it.
- I could use any fabric and I should have used a longer pice and cut it using Zund. Then the dome would have looked much better
- Buy reusable gloves and don’t depend on the gloves at the lab. It took me four days to remove all the resin from my hands, washing doesn’t help. In the mean time I had to endure heat, stickiness, later itchiness etc.
What made me proud
Learning Zund was in my to-do list and I was extremely happy to have completed it. Although I hated the resin part (mostly because of how it affected my hands) I was happy with the outcome. Now I can make more cat shelters.