10. Molding and casting
Design
Design Files
To download the file Please Click Here
-
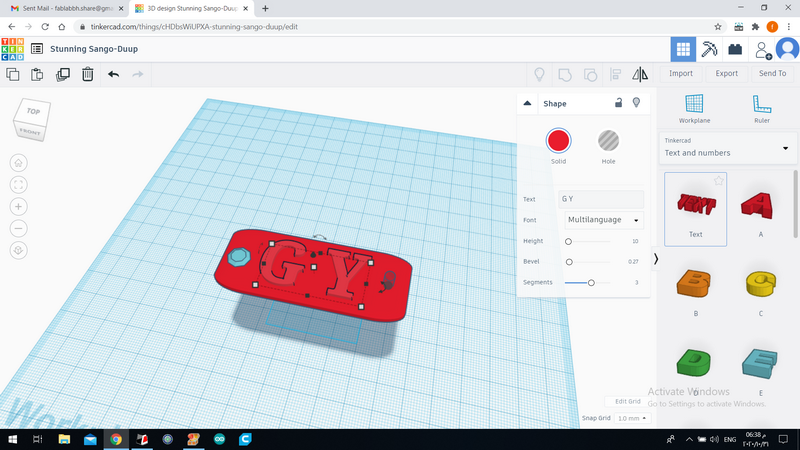
I used tinkercad to design the model here I used the text to write the first two litters of my name
-
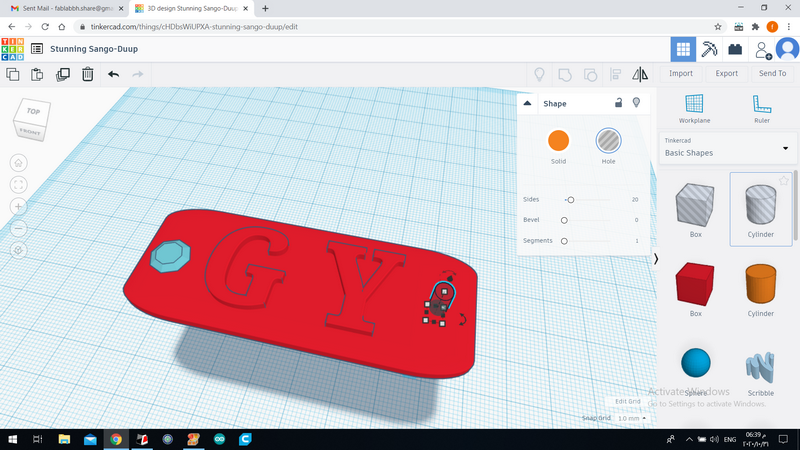
To make a hole I used the basic shapes cylinder as a hole creator
-
to create the base I used the box and then rounded the edges

-
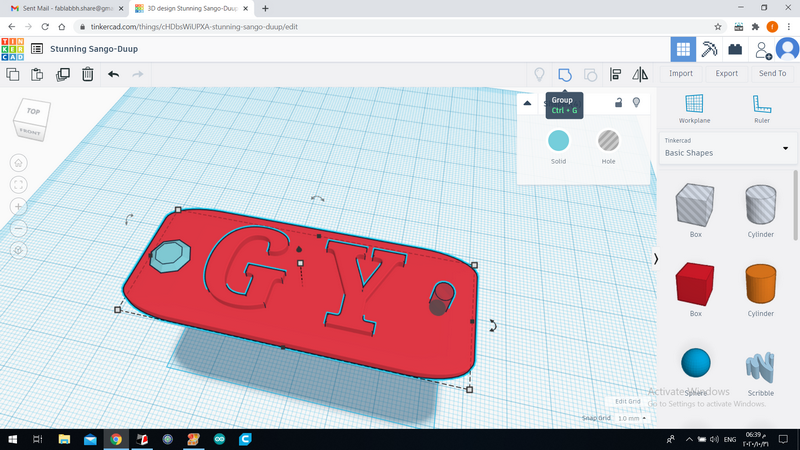
to finish and combine all parts together I used the combine tool
-
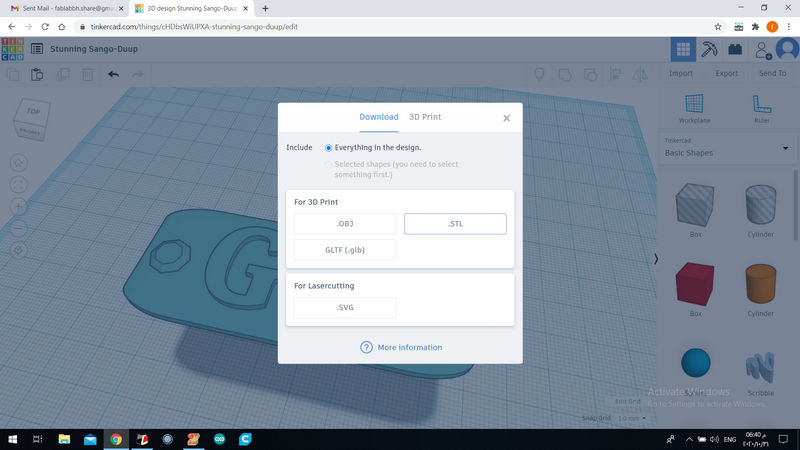
then click on export as .stl
Milling software
-
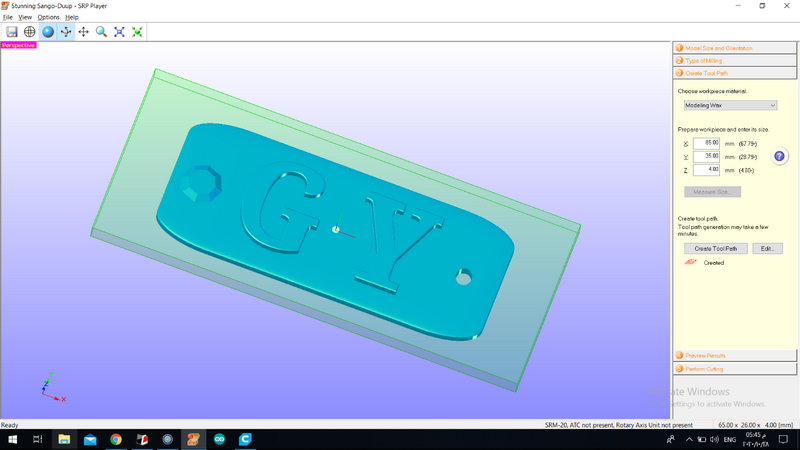
I uploaded my model from file >> open ,we made sure that the orientation is correct and the dimensions too
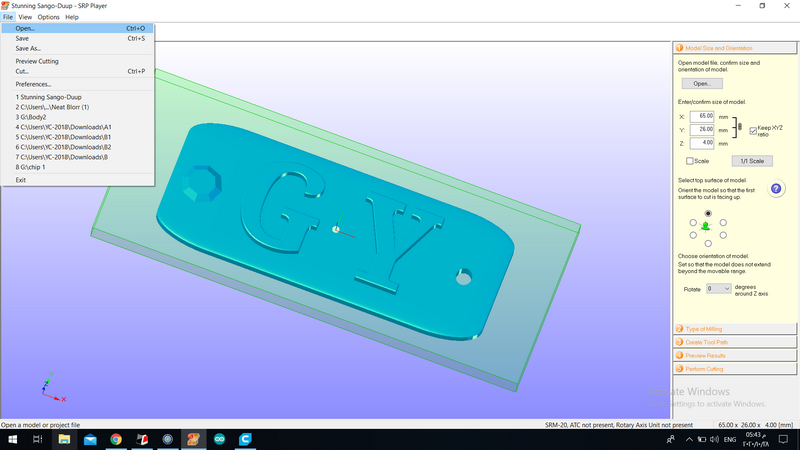
-
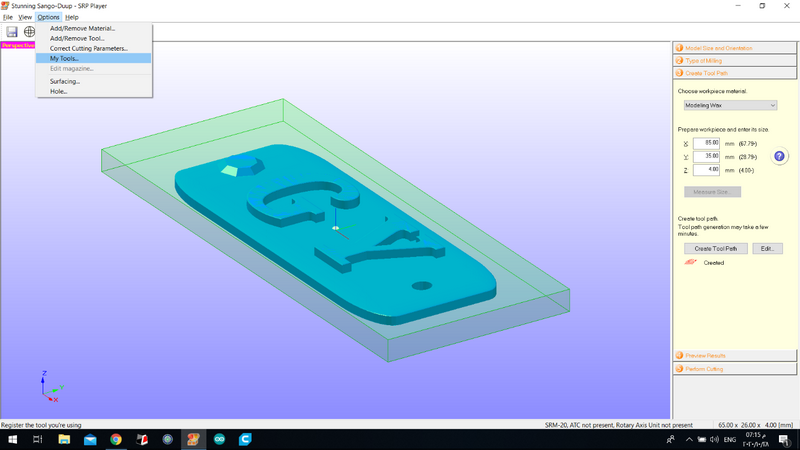
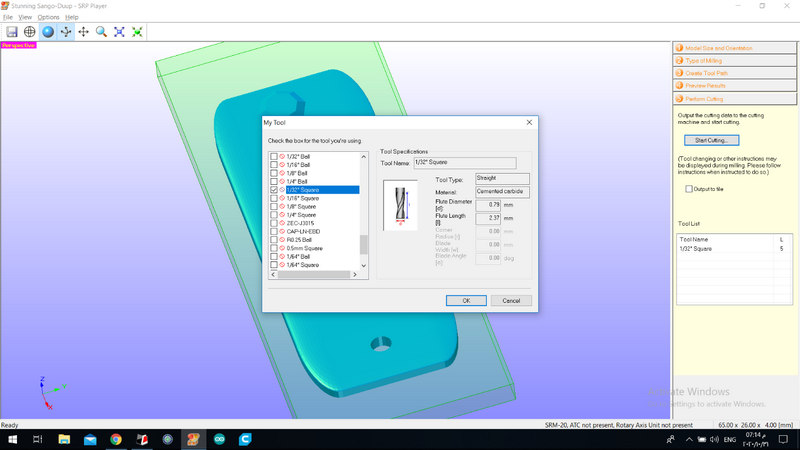
To start we added the tools for milling the wax from Options >> my tools
-
-
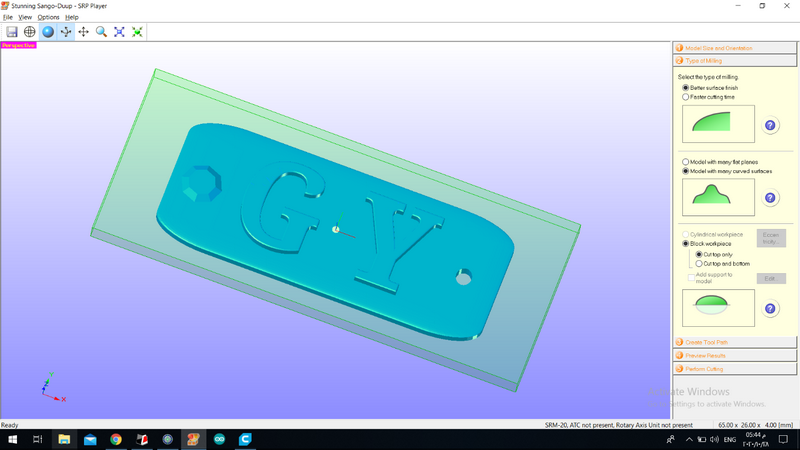
After that we chose the type of milling
-
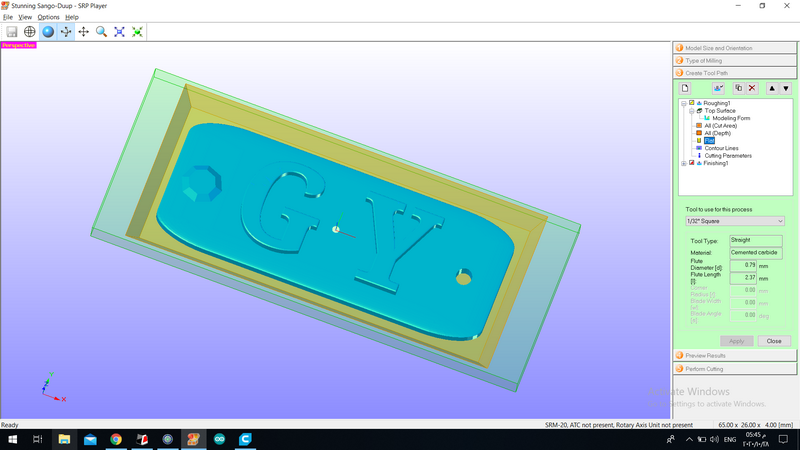
click on create toolpath ,then edit it and set the material to mill so that the software would generate the feeds ,speeds settings. Moreover, I chose the milling bit
-
for roughing and finishing we will use the same milling bit which is 1/32 ball nose
-
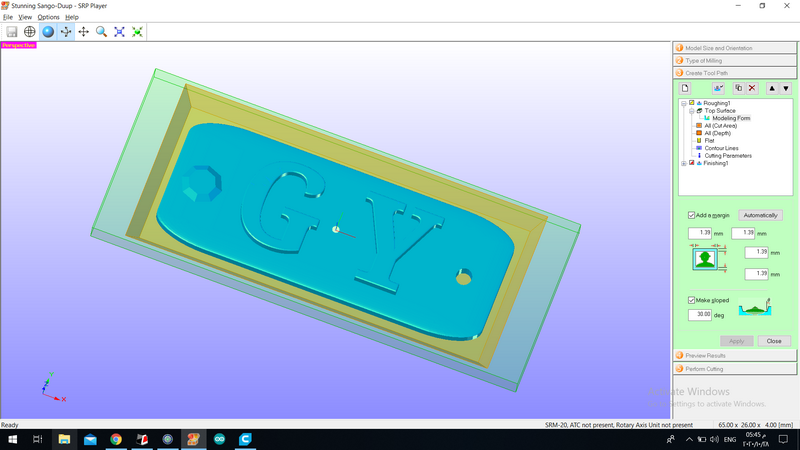
To make sure that the milling in the edges will happen I added a slope of 30 degree
-
For the finishing I used the same milling bit 1/32 ball nose

-
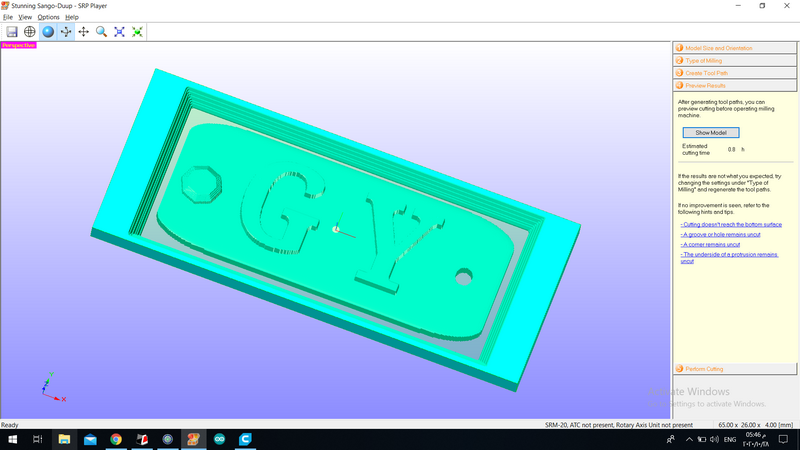
Then to preview the final result I clicked on show model this will indicate if I will have to adjust or change the milling bits
-
I zeroed the x,y axis to the middle of the wax and z on the top of the wax
-
Finally I clicked on start cutting
Milling
-
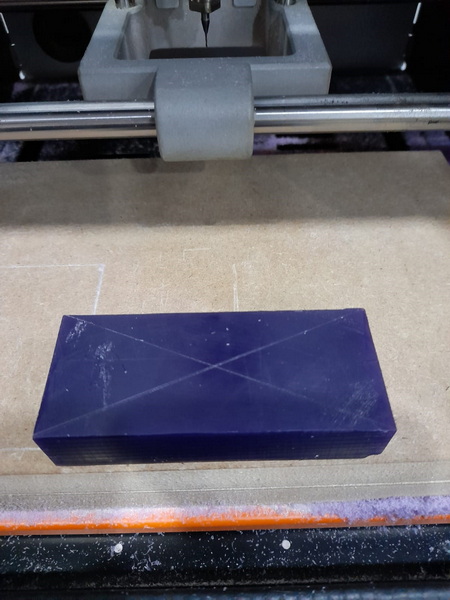
I draw a X to find the center of the wax
-
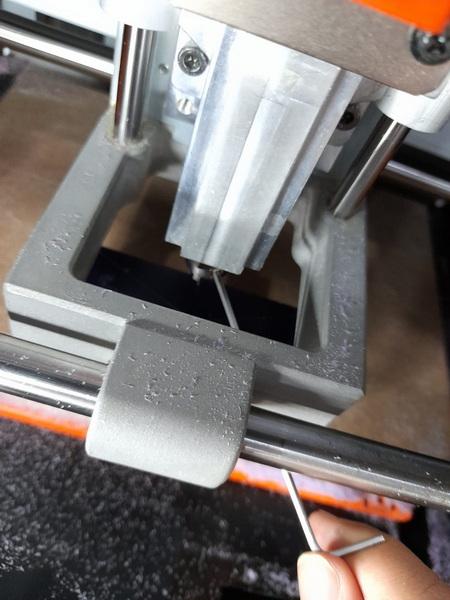
I changed the milling bit to 1/32 ballnose
-
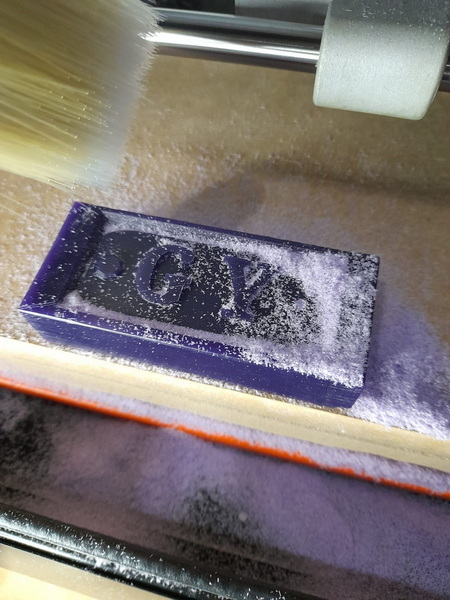
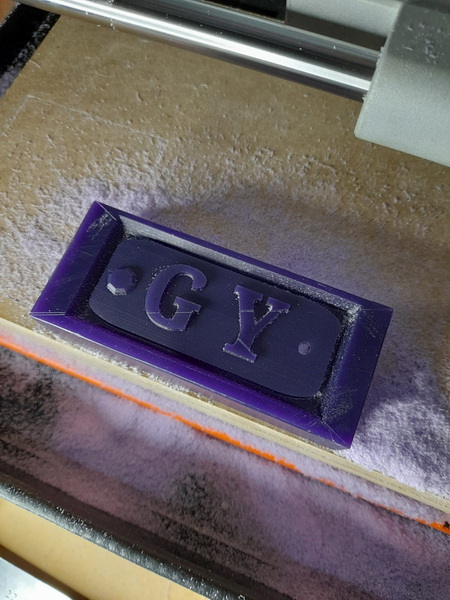
this vid shows the start of the milling
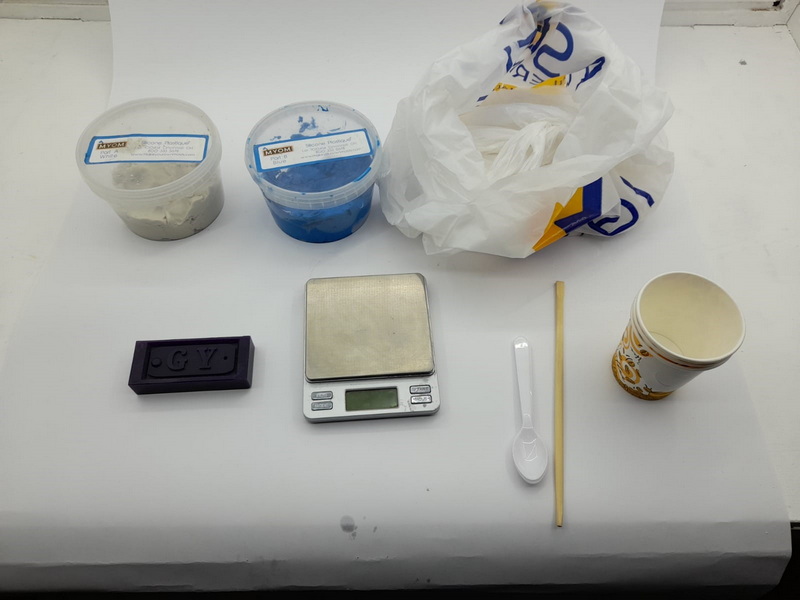
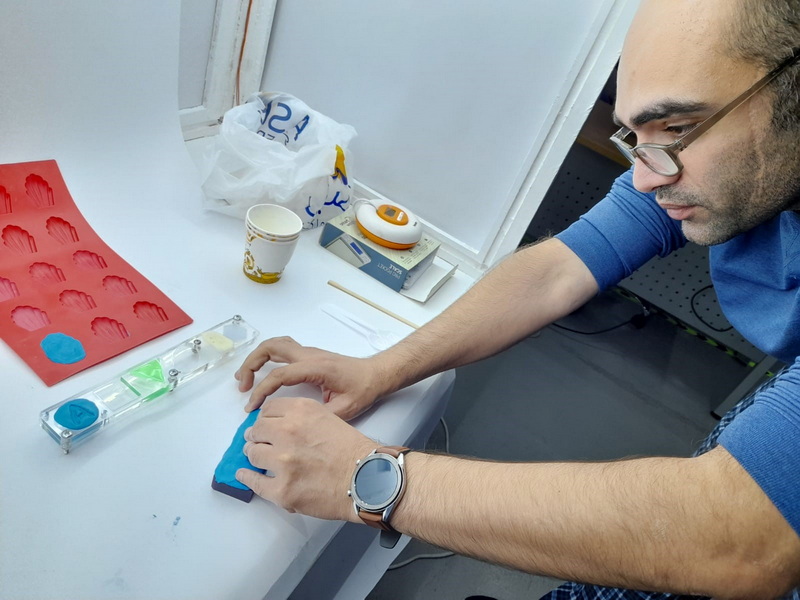
4.This was the materials and tools I needed
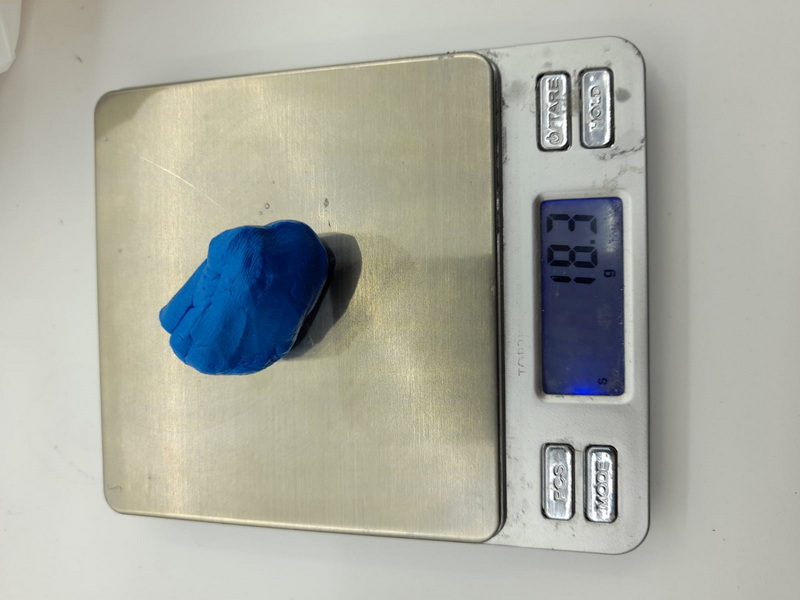
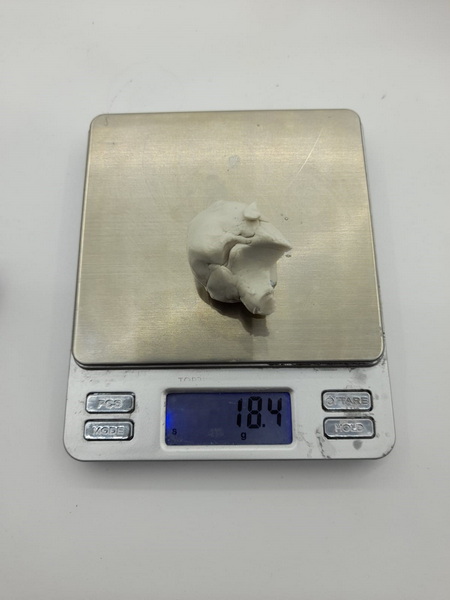
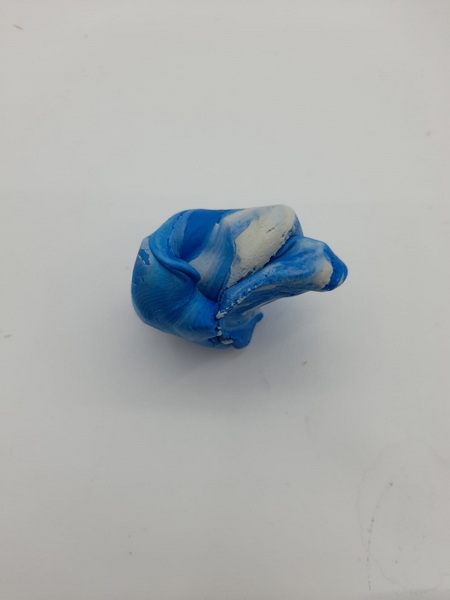
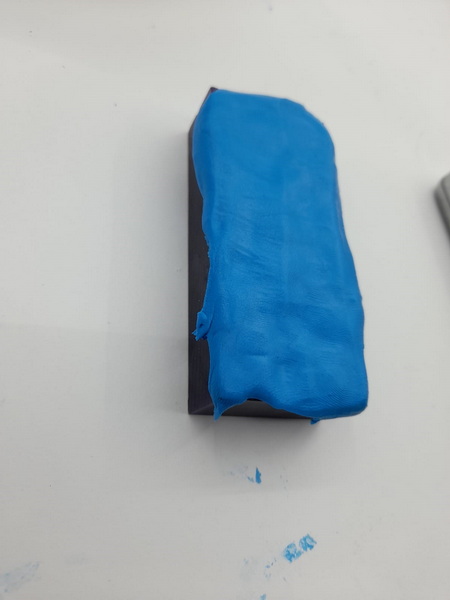
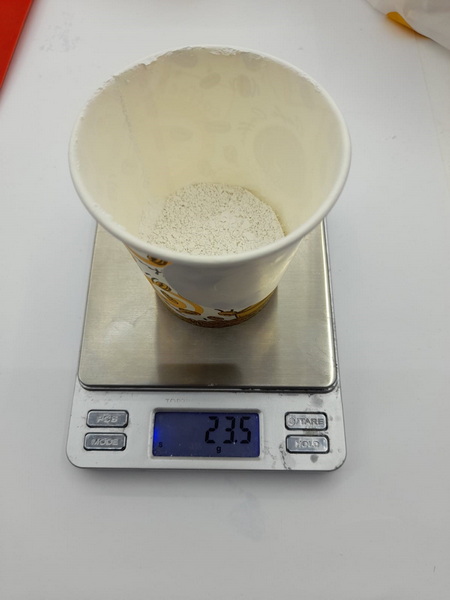
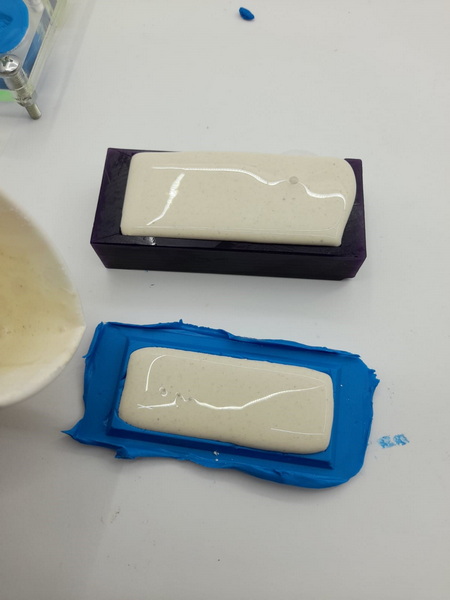
5.for this material I had to mix 18.3g “1-1 ratio” to make the negative mold
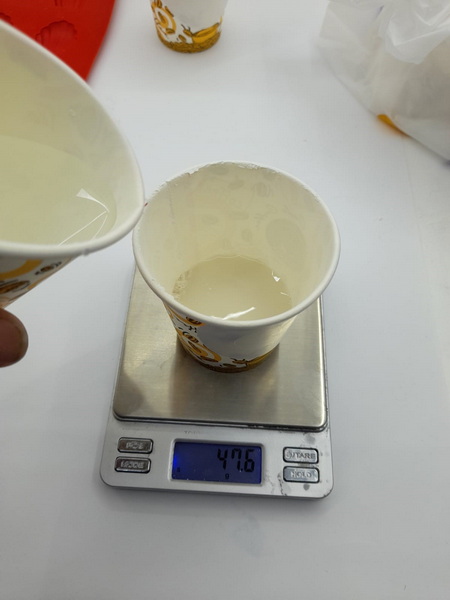
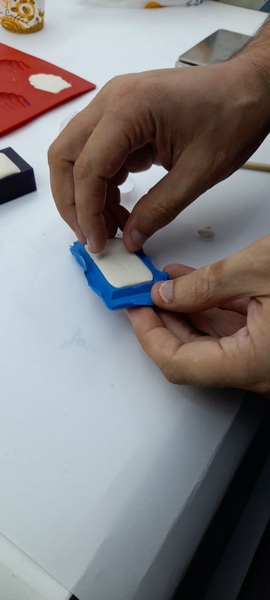
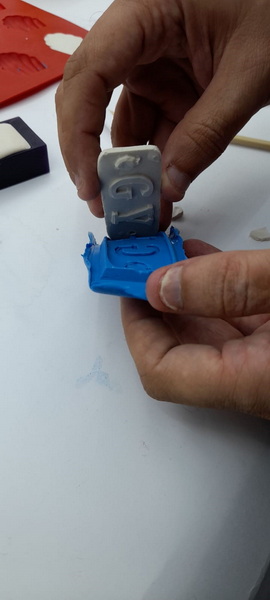
- for the cast I used jepsum with 1-1 ratio with water

Group Assignment
Please Click Here