6. 3D Scanning And Printing
3D Scanning
There are several types of depth sensing of objects to generate a 3D model out of them. I am going to state 3 of them below and try two of the methods
- Using IR: methods of 3D scanning is based on detecting the debts of an object surface via infrared light propagating through space hitting the surface and being reflected back to the sensor to measure the distance travelled through the time taken to travel and reflection.
- Using Checkered Matt: methods of 3D scanning is based on light lines bending over the surfaces to measure the curves then form a 3D model based on its readings.
- Using Mechanical Probe Switch: Usually used in CNC machines to have a surface images of the work bed area.
3D Scanning Methods I am Going to Test Are
- Scanning Via Kinect (Using IR)
- Scanning Via Qlone (Using Checkered Matt)
Scanning Via Kinect With Depth Sensing
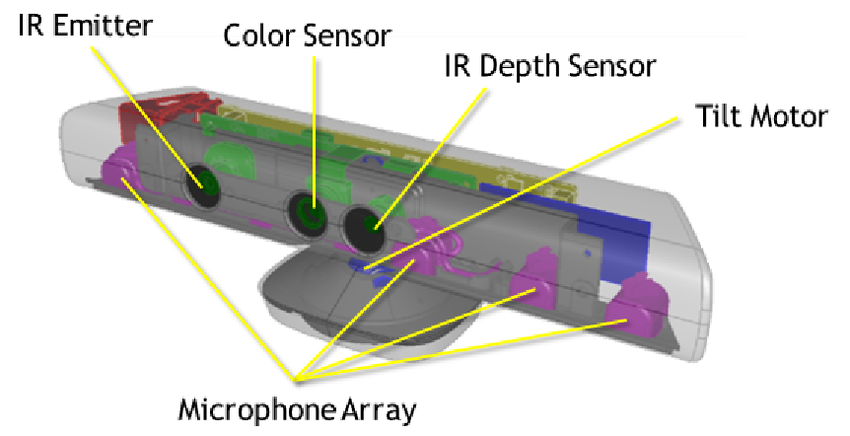
The depth and motion sensing technology at the core of the Kinect is enabled through its depth-sensing. The original Kinect for Xbox 360 used structured light for this: the unit used a near-infrared pattern projected across the space in front of the Kinect, while an infrared sensor captured the reflected light pattern. The light pattern is deformed by the relative depth of the objects in front it, and mathematics can be used to estimate that depth based on several factors related to the hardware layout of the Kinect. While other structure light depth-sensing technologies used multiple light patterns, Kinect used as few as one as to achieve a high rate of 30 frames per second of depth sensing. Kinect for Xbox One switched over to using time of flight measurements. The infrared projector on the Kinect sends out modulated infrared light which is then captured by the sensor. Infrared light reflecting off closer objects will have a shorter time of flight than those more distant, so the infrared sensor captures how much the modulation pattern had been deformed from the time of flight, pixel-by-pixel. Time of flight measurements of depth can be more accurate and calculated in a shorter amount of time, allowing for more frames-per-second to be detected Fundamentals - Reference Link
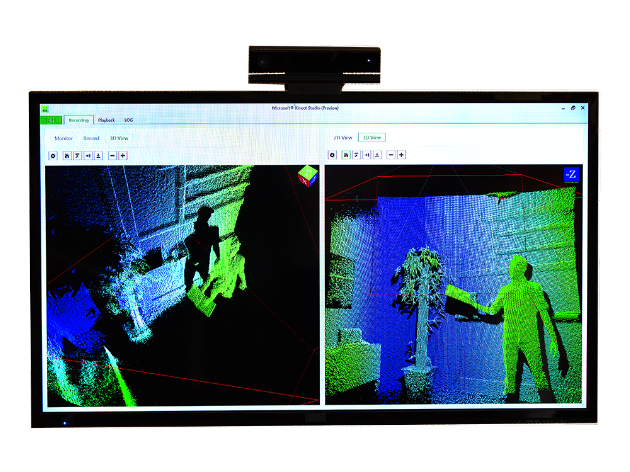
sample image of IR depth sensing from Kinect IR array camera
Kinect 3D Object Scanning
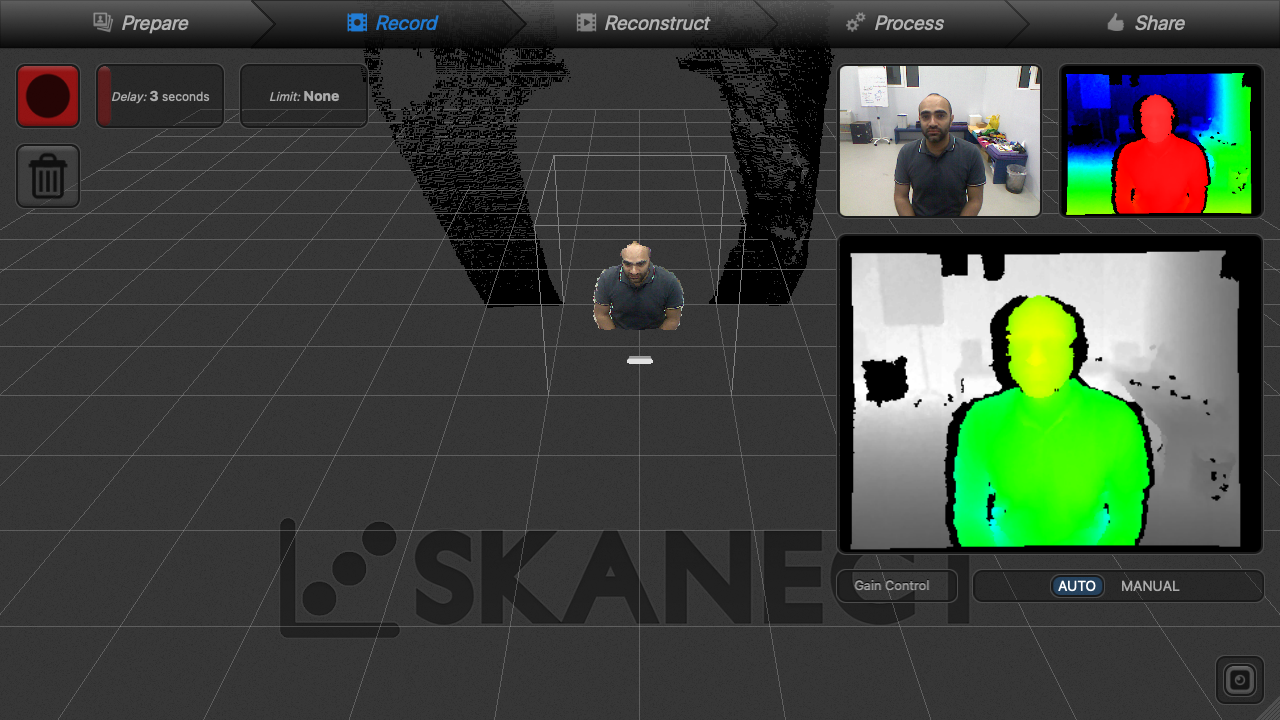
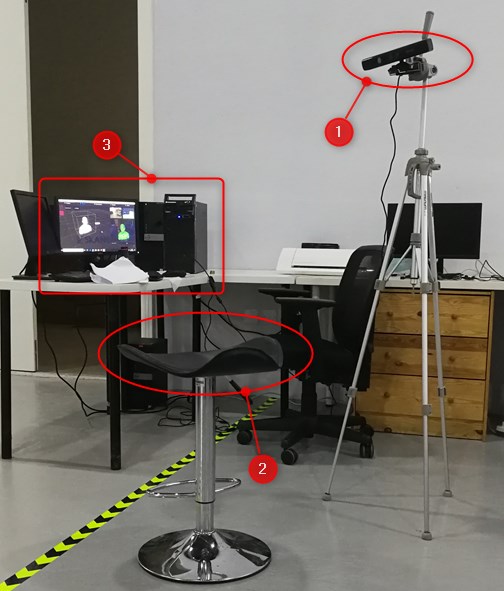
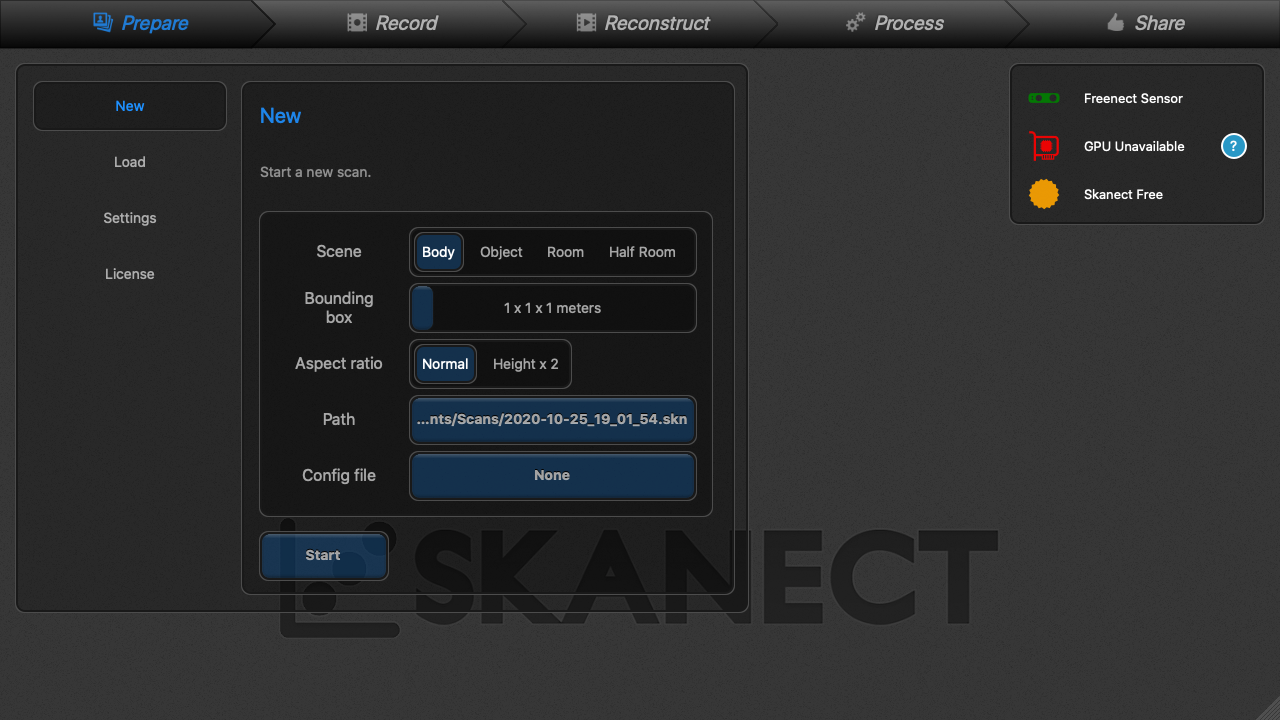
In order to use the Kinect great properties of depth sensing for 3D object scanning we used a software called SKANECT, and then we prepared a setup in the lab to do scanning for our classmates
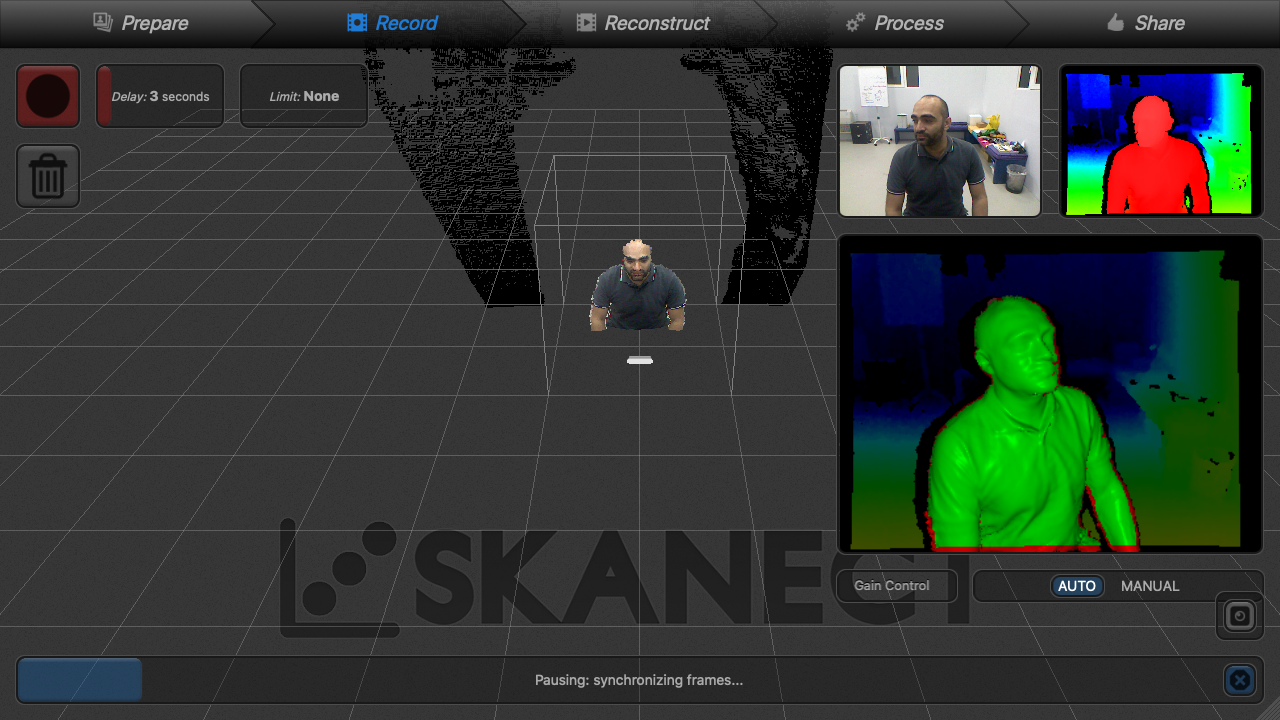
then we select new -> on the top left there is button for recording, before starting to record to avoid interference place the object you want to scan first then start the recording and gently spin the object while the IR camera takes depth samples of your object. and then its done. that’s how easy it is.
Steps OF Scanning With SKANECT
1st Make An New Scan With The Shown Settings
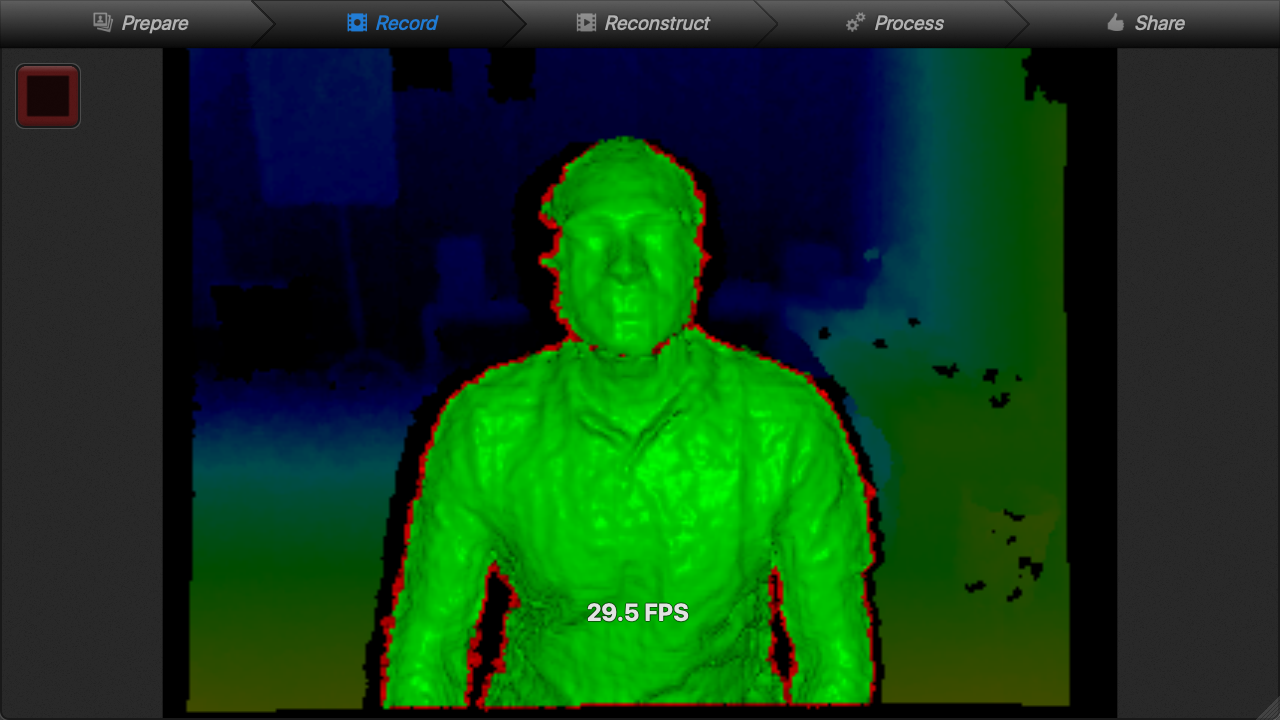
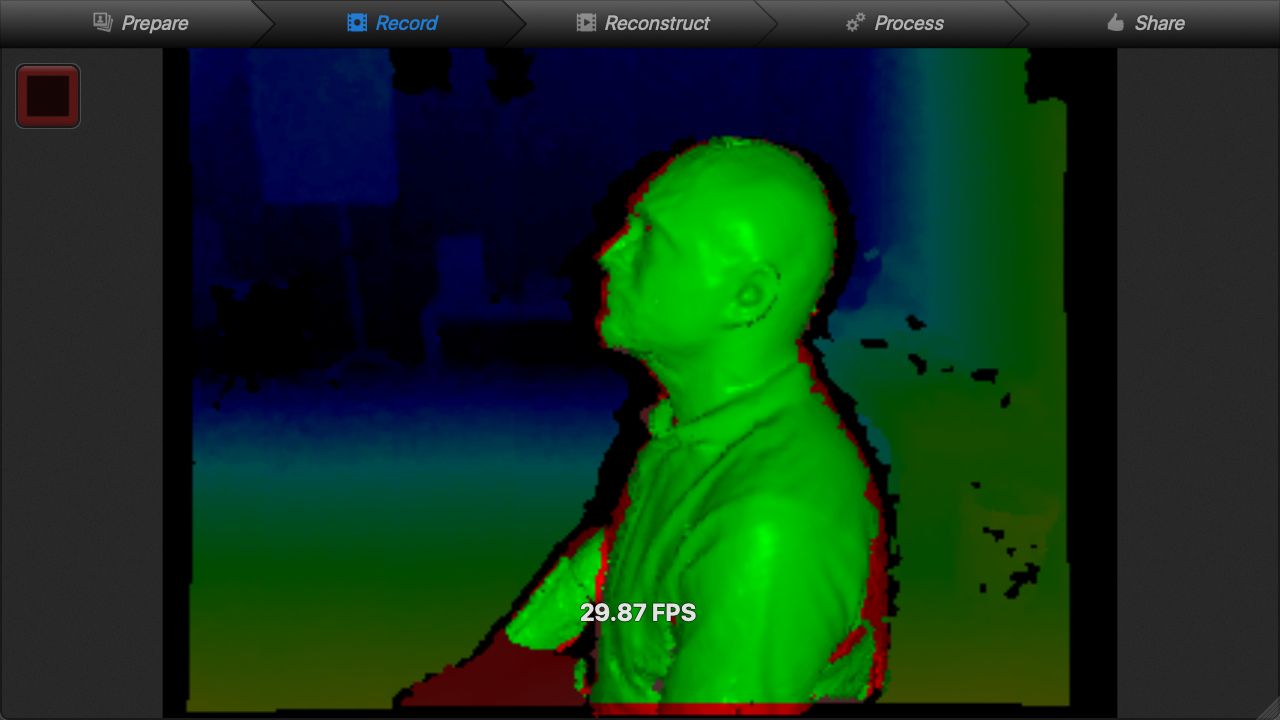
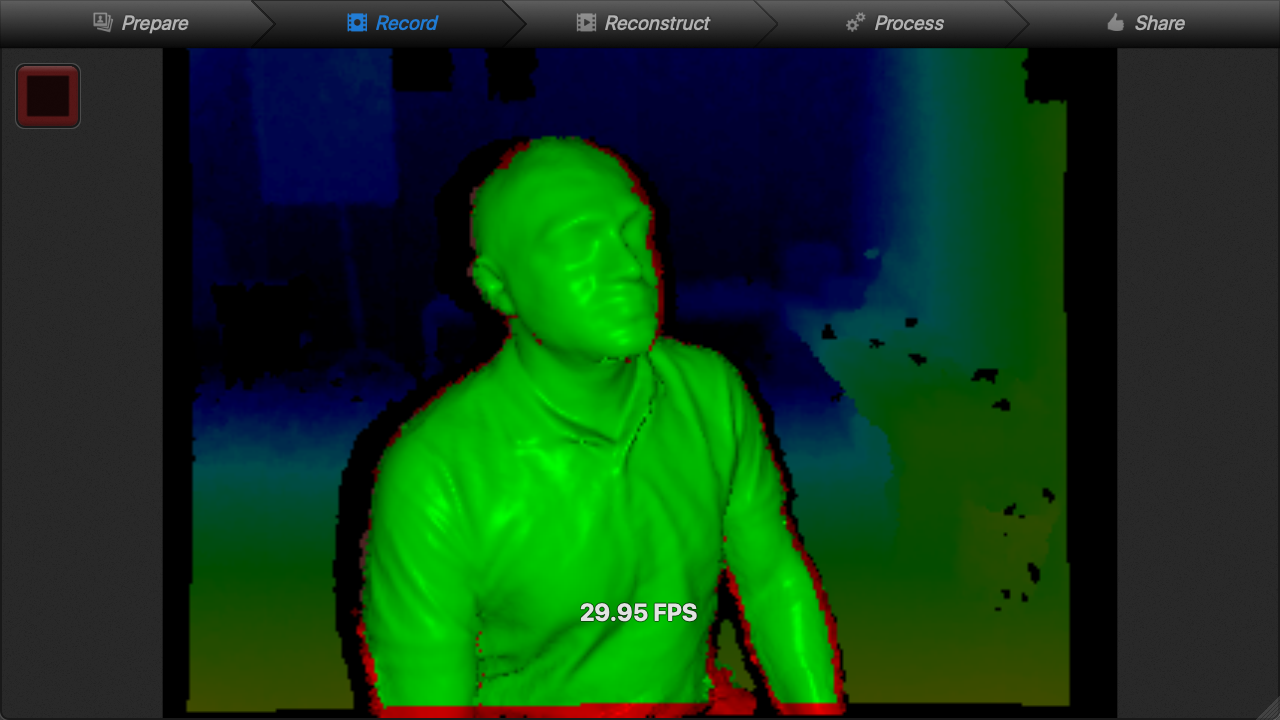
2nd Sit In front Of The Camera it should show a green shape of your dimensions

Then Gradually start Spinning
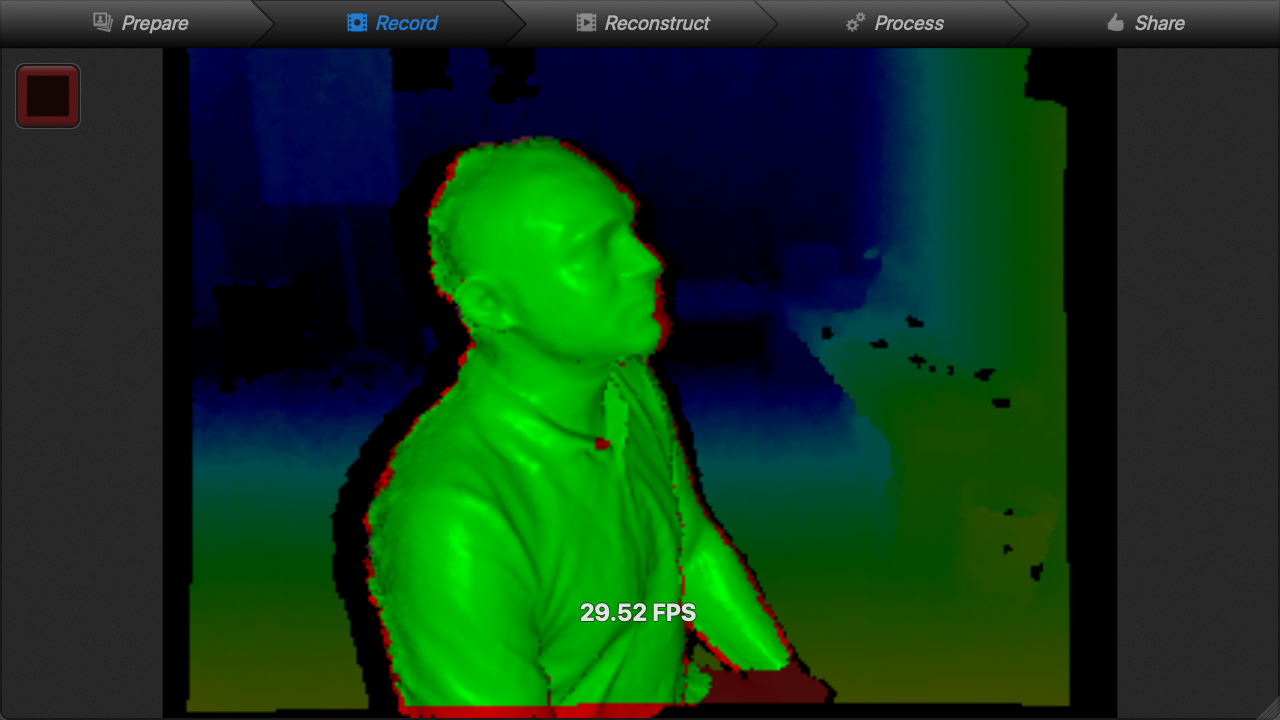
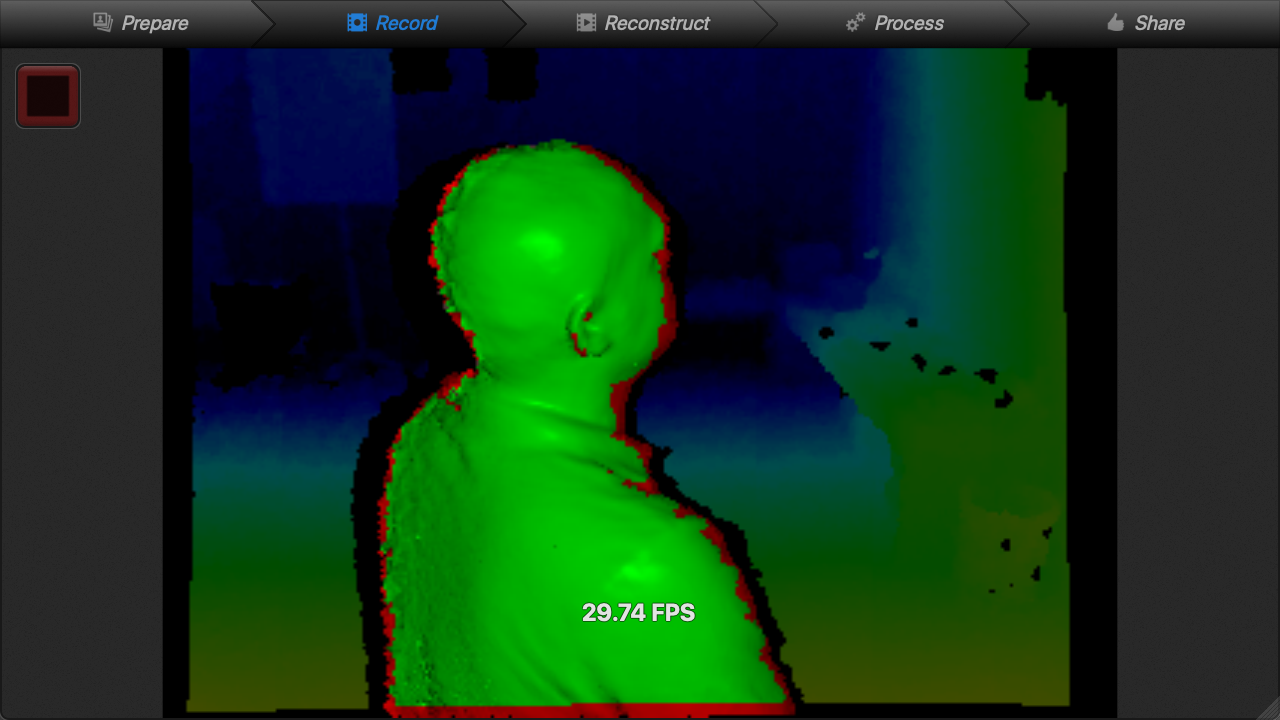
The Once you complete a full spin its time to stop the recording
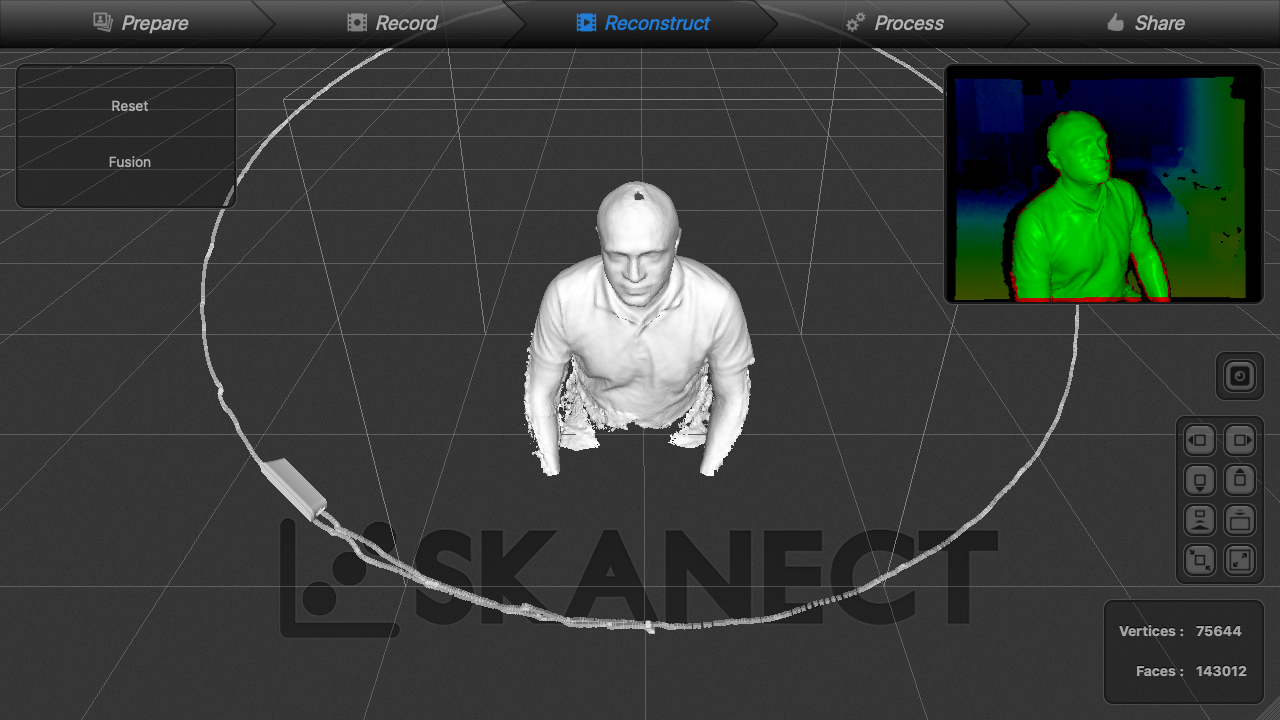
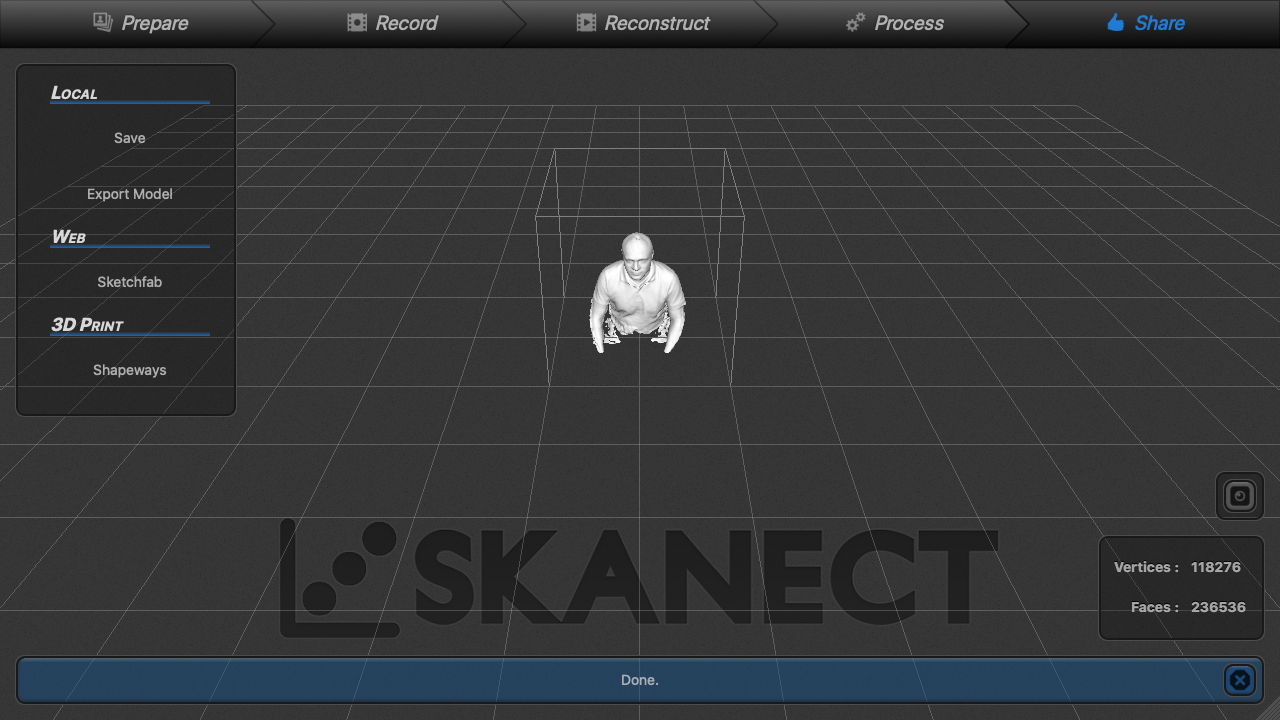
Here in the reconstruct tab you can view your 3d model from all angles with colors or without
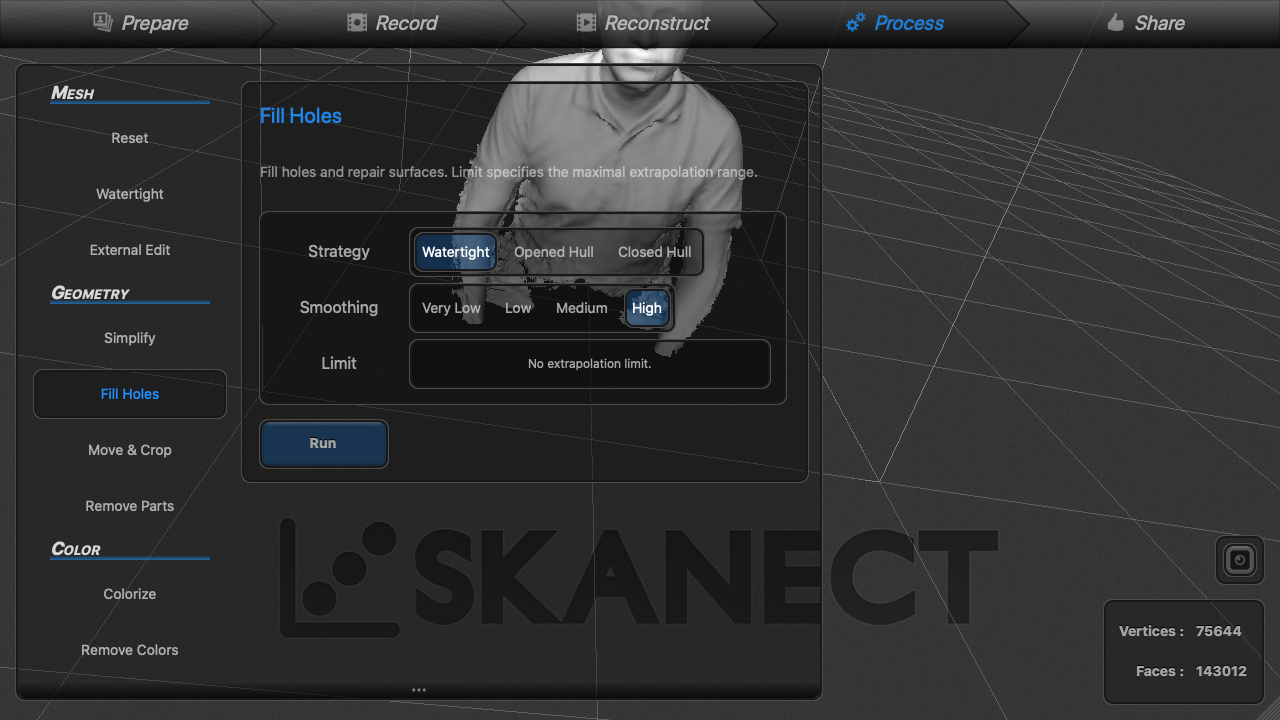
moving to process tab to refines and do touches for your scan like fill up the holes
Finally share tab is to generate your stl file
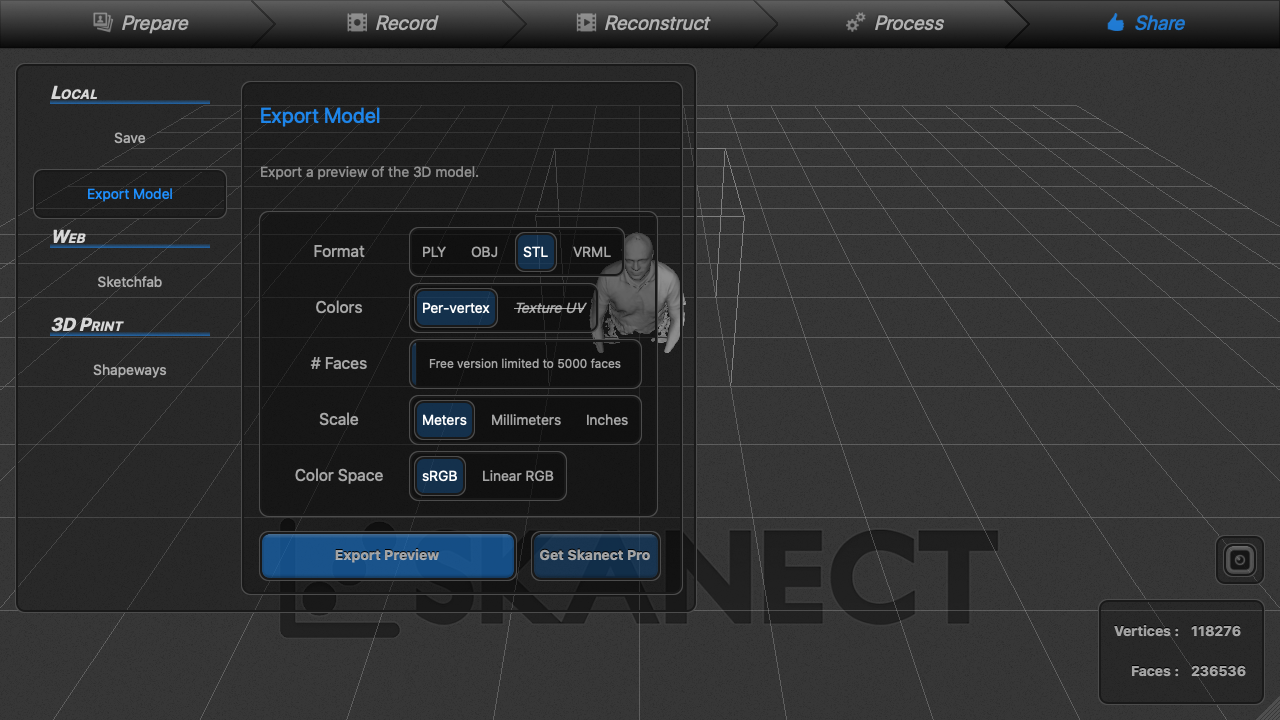
Download The STL
To Download The STL File Please Click Here
SKANECT review
the software solution is simple and easy and your scanning success rate from the first trial is very high. how ever the scanning is not detailed enough especially when the objects are small in size. so textures or light engraves might not even be among the details. all in all I would say its a good solution and low cost.
Scanning Via Qlone
We found a solution online name Qlone using and app to scan a 3d object using you bare mobile phone camera and a QR code matt. Website : https://www.qlone.pro/
What is Qlone ?
Qlone is an all-in-one 3D tool for everyone. We have made it easy and fast to scan real objects, using your phone’s camera, modify them in app and seamlessly export the result to many platforms, 3D file formats and 3D printers… all on your iPhone or iPad.
Here is a video of their advertisement
At the beginning of the process, I tried to scan objects manually.

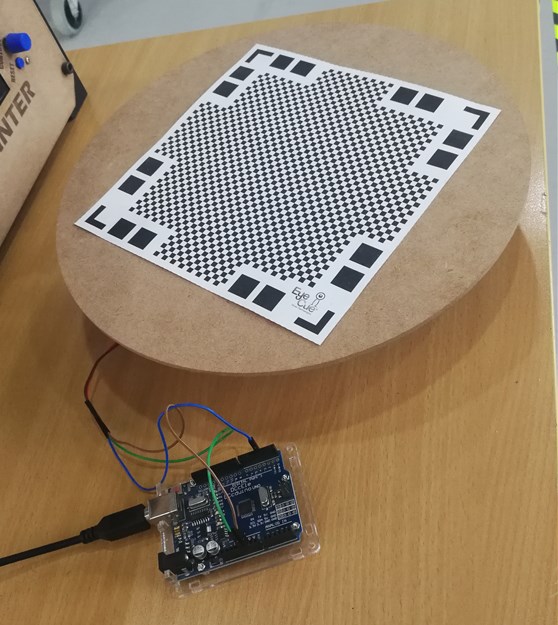
It was a hassle trying to scan on the QR code matt since, it needs good positioning to complete a successful scan, you have to spin the paper and you also had to maintain your position while spinning, I had some failed attempts, and then here I through why not make a solution for this hmmm ....!!!
so something came to my mind. why not build a rotating platform !? we do need it for photography and yet we need it for scanning two in one goal. so I started roughly with a stepper motor and a pololu driver and created a platform and 3D printed a holder and cut the circular disk 30cm in diameter using the CNC. after putting the thing all together and unleashing my programming skills the platform spins but there was lots of vibration and the movement wasn’t smooth and it needed an external power supply. after trying to smooth out the movement of the stepper motor, I found out it gets warm too, hmmmm ..!?!?! This wasn’t convenient. so I had other motors laying around so I gave it a try to change the motor type. I choose a continuous rotation servo motor. With a servo and an Arduino Uno and control the servo via serial command to specify the direction of rotation and speed, guess what ?! it was moving smoothly no vibrations the speed and direction is controllable easily and It didn’t need any external power supply the USB gave everything to the circuit Power(Voltage & Current) as well ass Serial communication. below is the result.
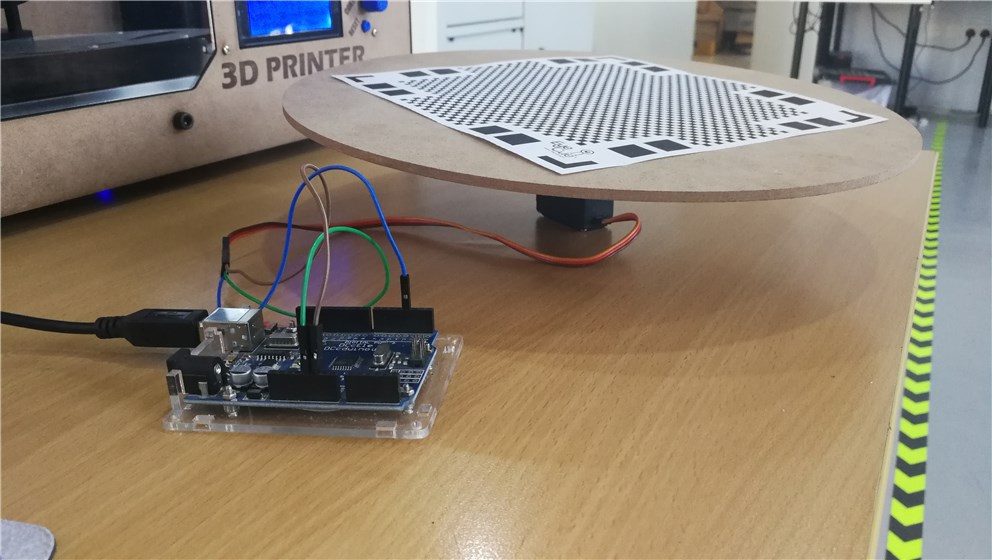
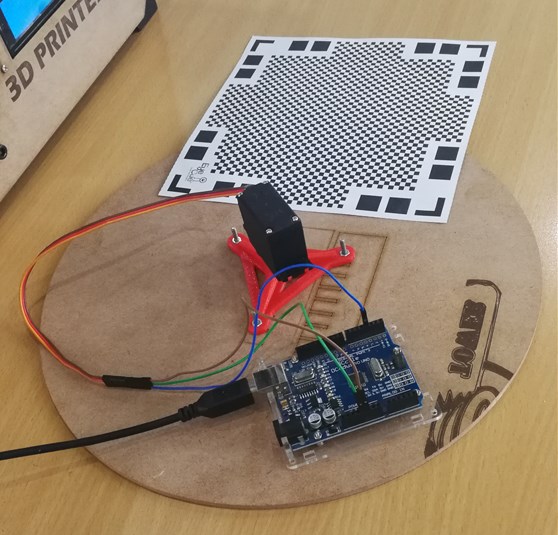
The Testing Of Scanning using this spinning disk platform
3D Printing
3D printing is a process of building an object additively layer by layer on top of each other and usually desktop 3D printers are famous for using verity of plastic materials for the building process which will give the 3D printed object different properties, these materials are as the following.
- PLA - Requires Temperatures
- Nozzle 215°C
- Bed 60°C
- ASA - Requires Temperatures
- Nozzle 220-245°C
- Bed 90-110°C
- ABS - Requires Temperatures
- Nozzle 245°C
- Bed 110°C
- Controlled Room 70°C
- PETG - Requires Temperatures
- Nozzle 230-250°C
- Bed 75-90°C
- NYLON - Requires Temperatures
- Nozzle 250-220°C
- Bed 70-90°C
Reference Link : https://www.simplify3d.com/support/materials-guide, There are many new material composites introduced every now and then on the market with wood or carbon etc.
Fusing layers together requires heat normally generated by the nozzle and the bed but in some cases you require a controlled encloser temperatures because some materials need to maintain a specific temperature around the printed object surface to prevent it from contracting and avoid layer separation.
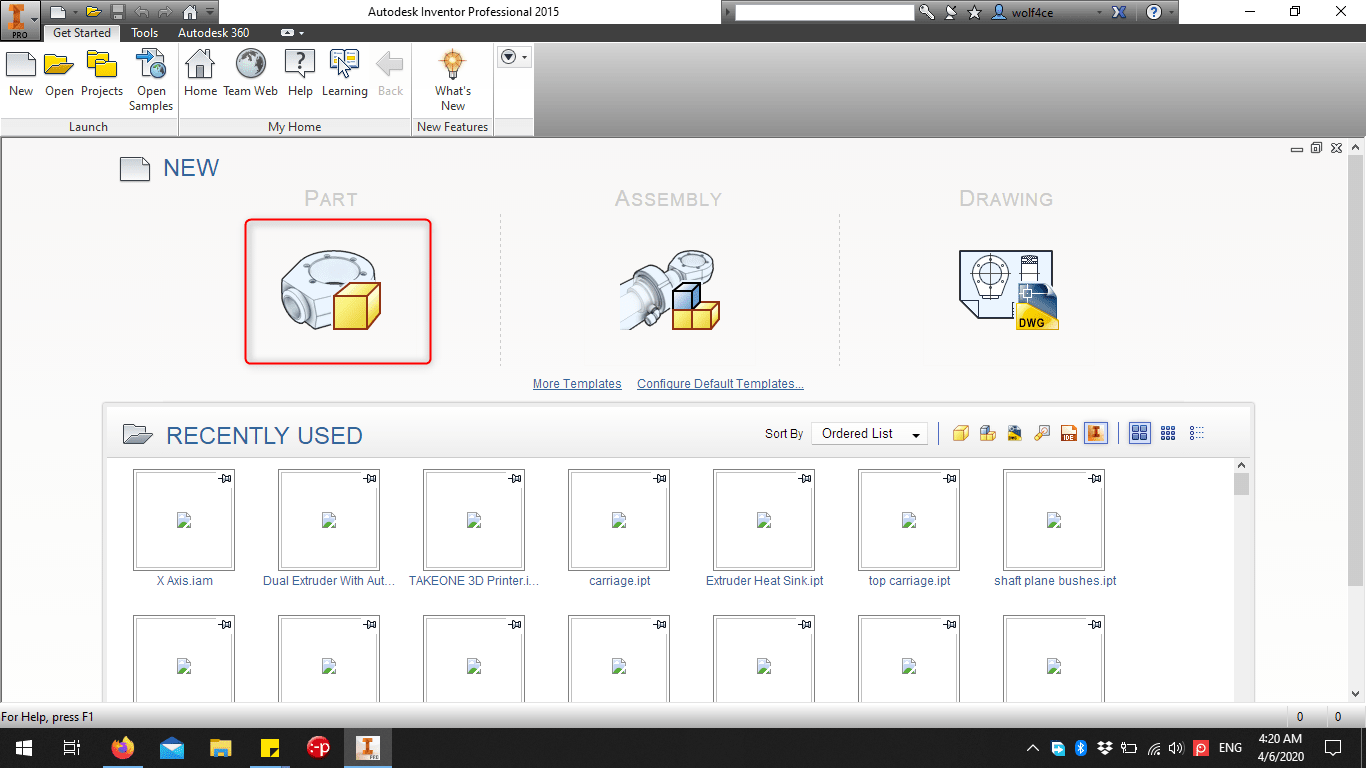
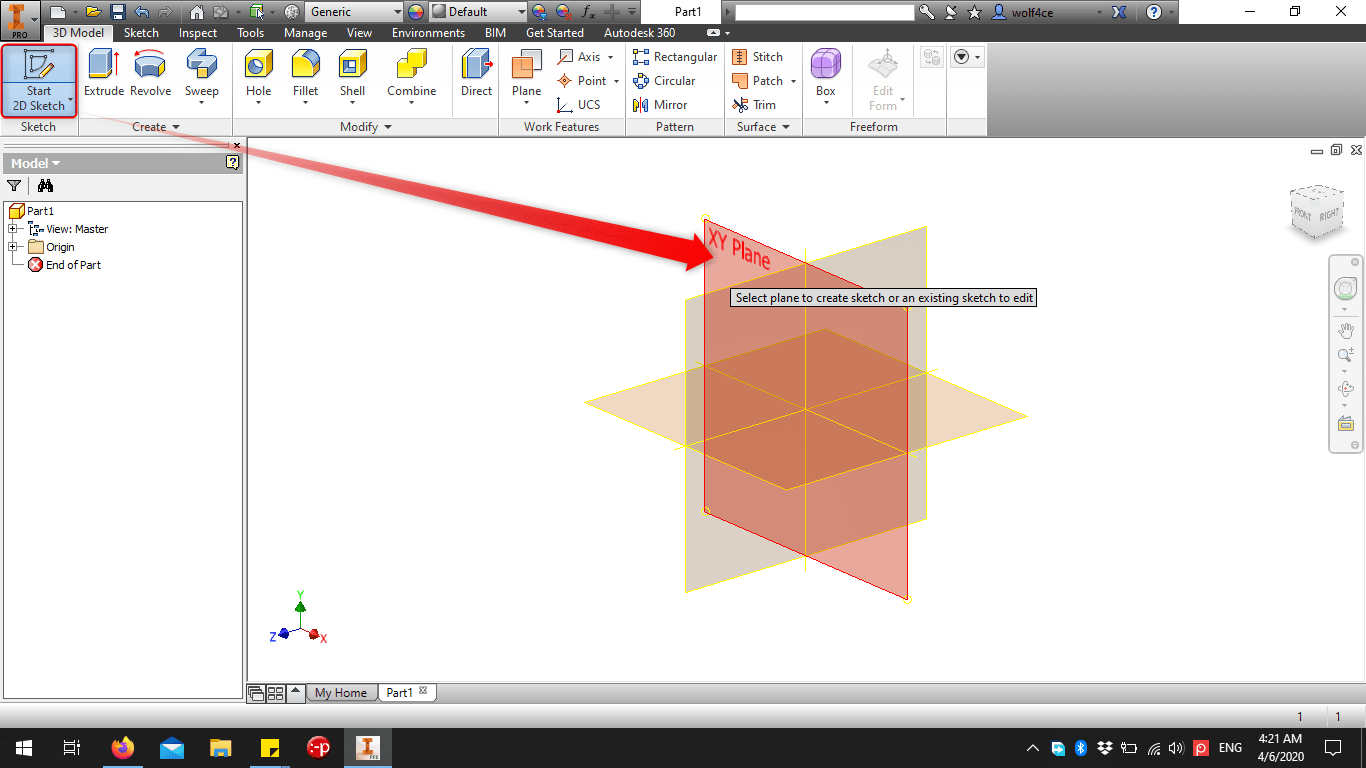
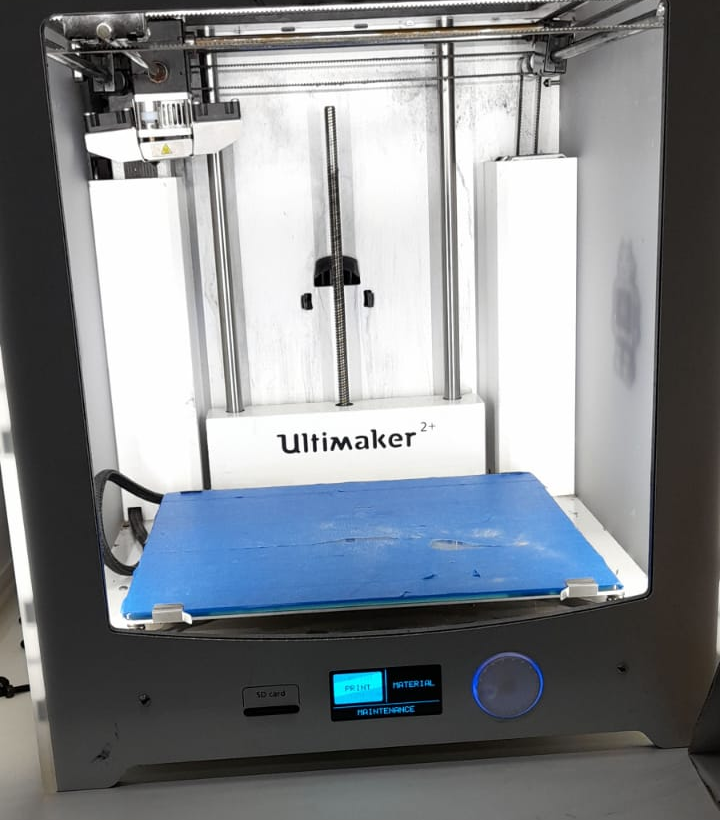
Steps Of 3D Printing
- Design 3D model
- Export your model into STL format
- Slicing the model with one of the below slicers
- Ultimaker Cura
- Makerbot Slicer
- Prusa Slicer
- Repetier-Host
- Slic3r
- Simplify3D
- Copy The Generated GCODE Via SD CARD or USB to the printer to start the printing process.
3D Printing Challenge
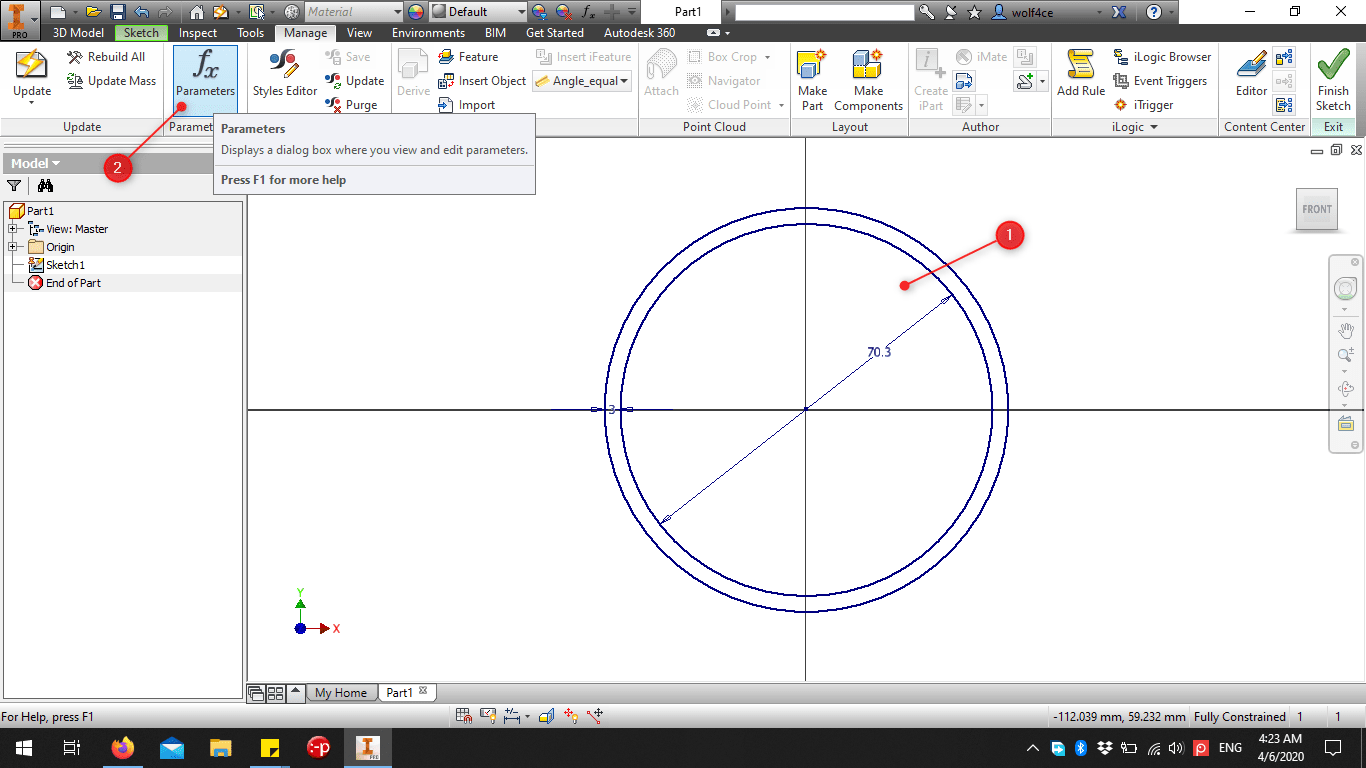
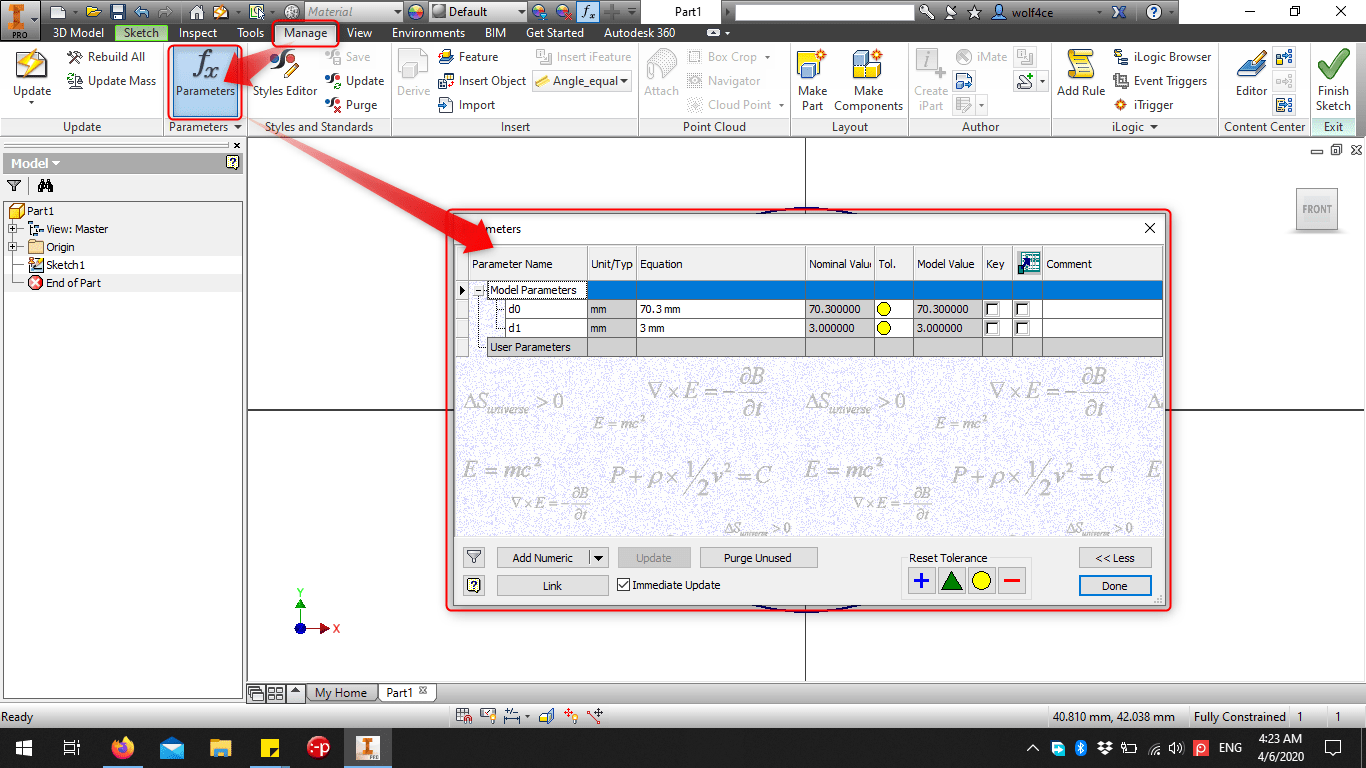
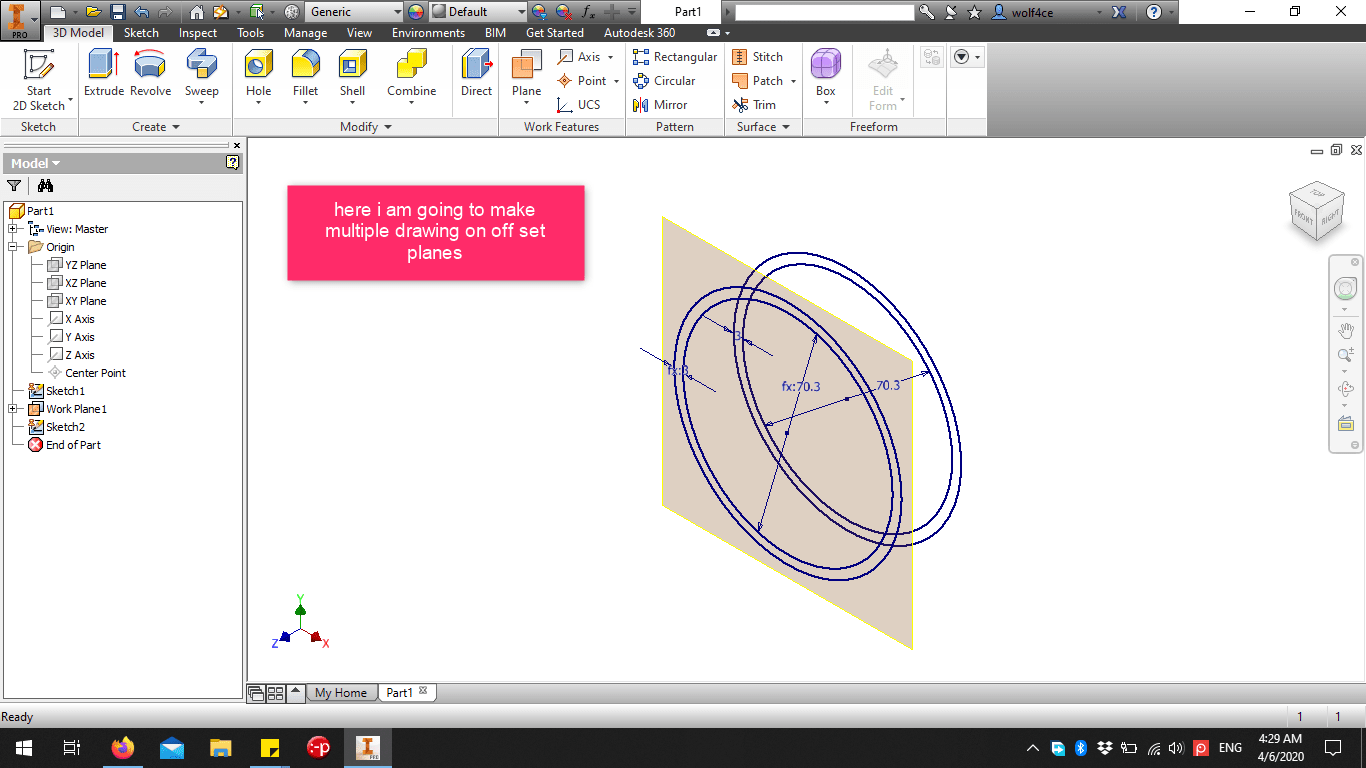
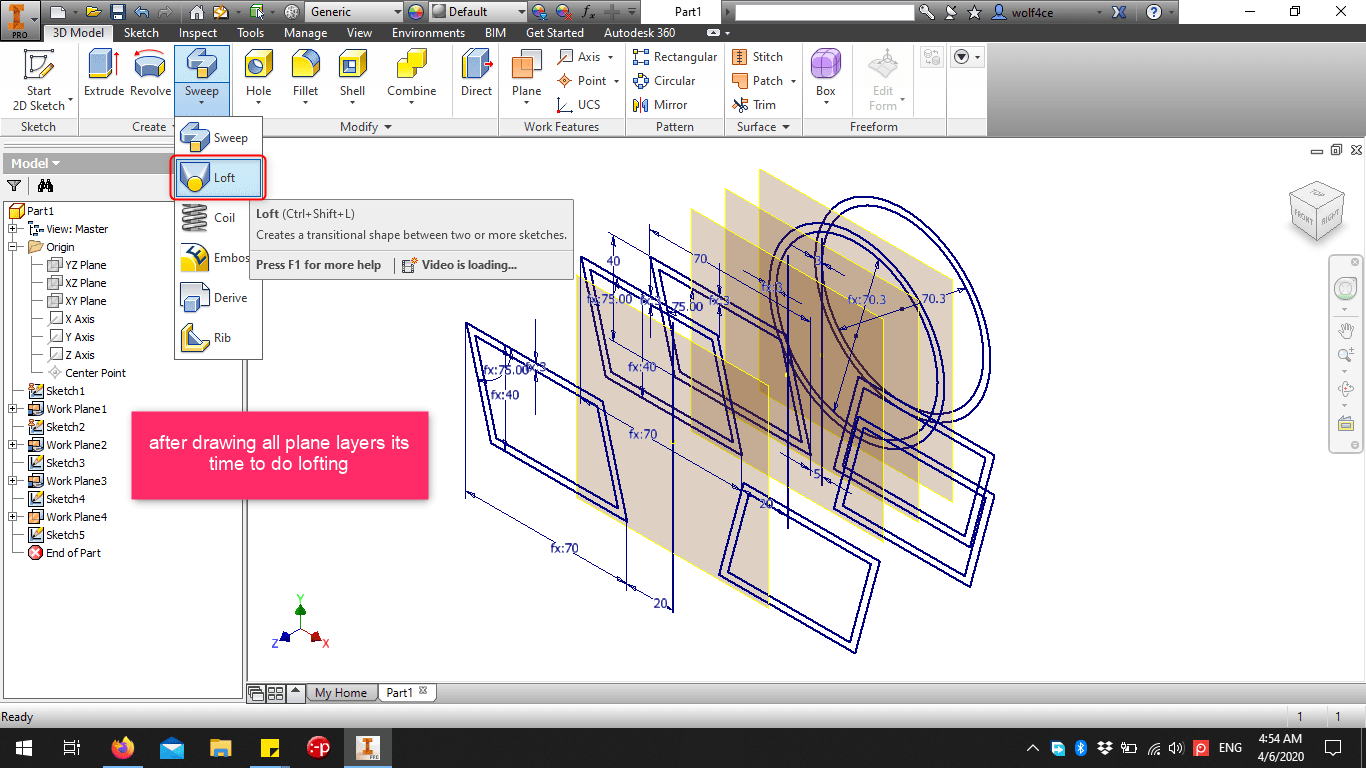
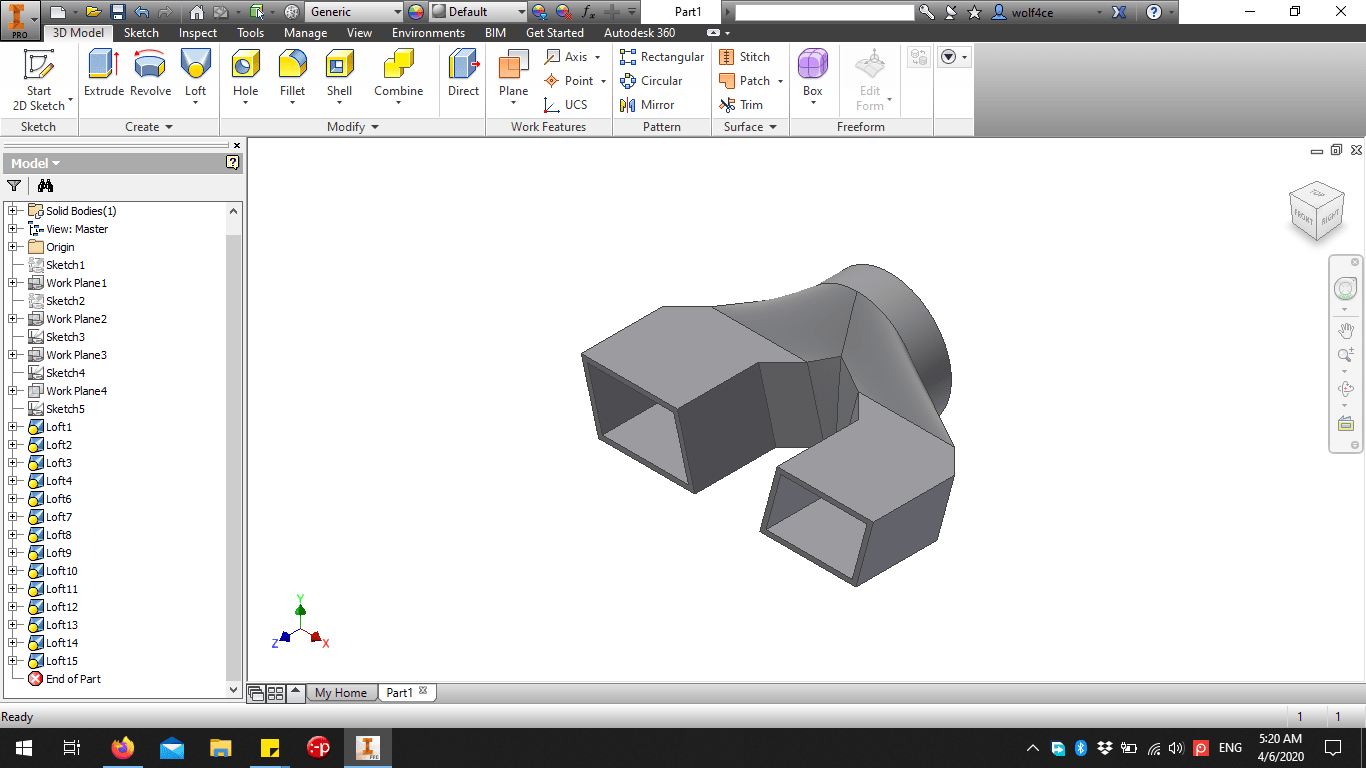
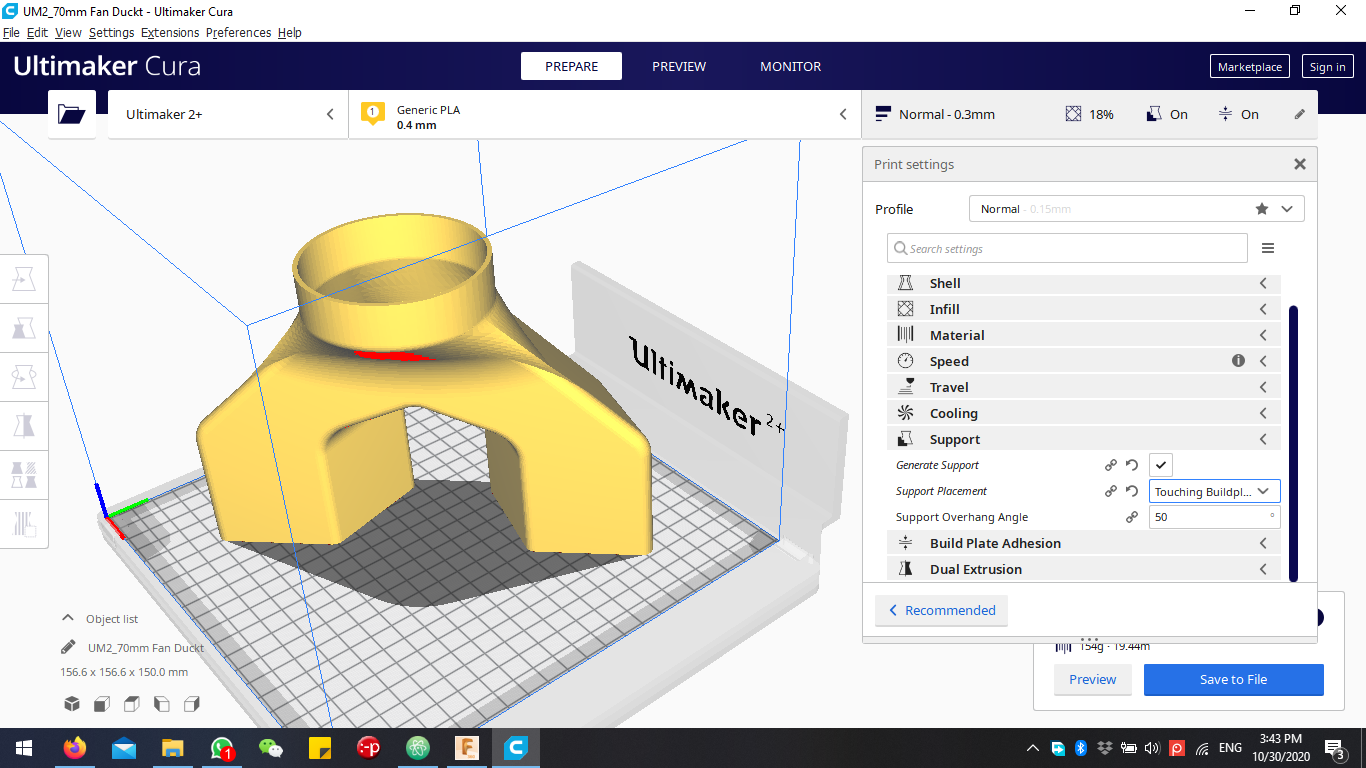
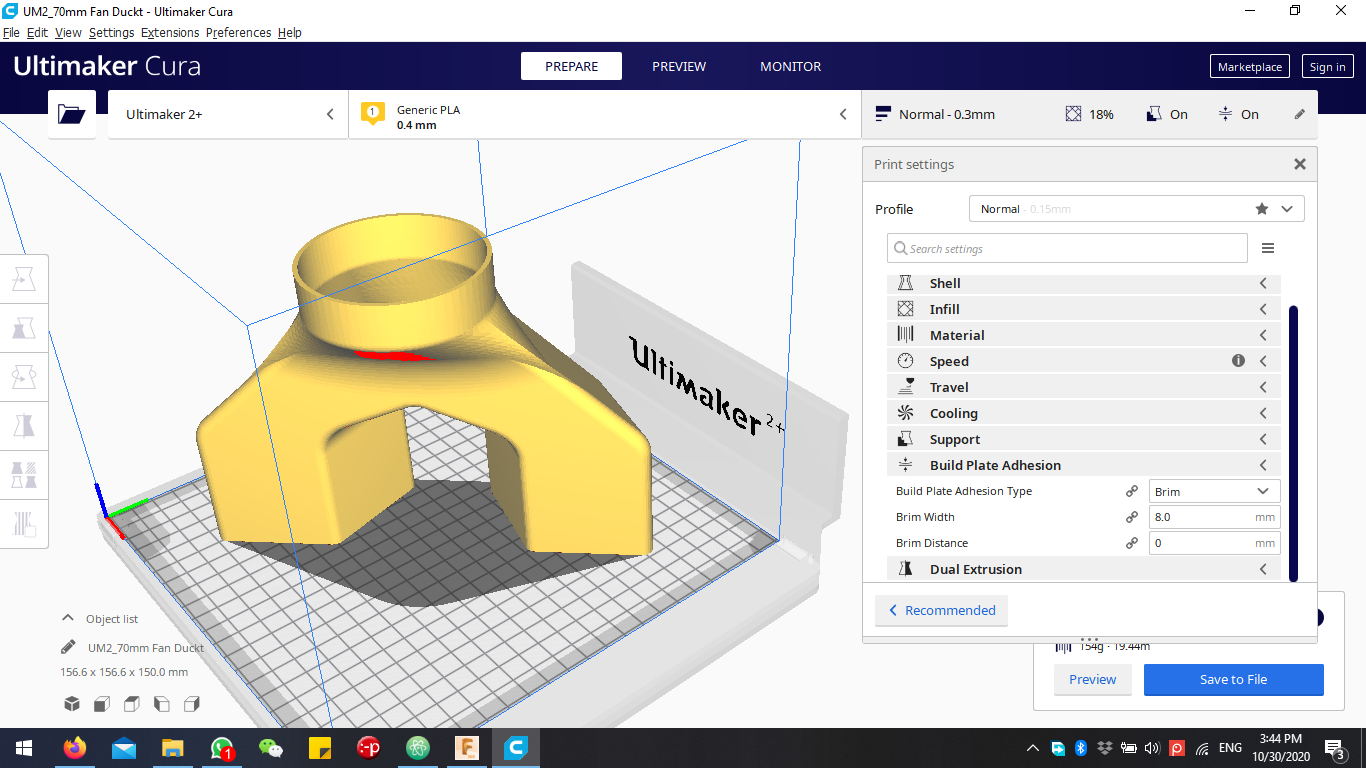
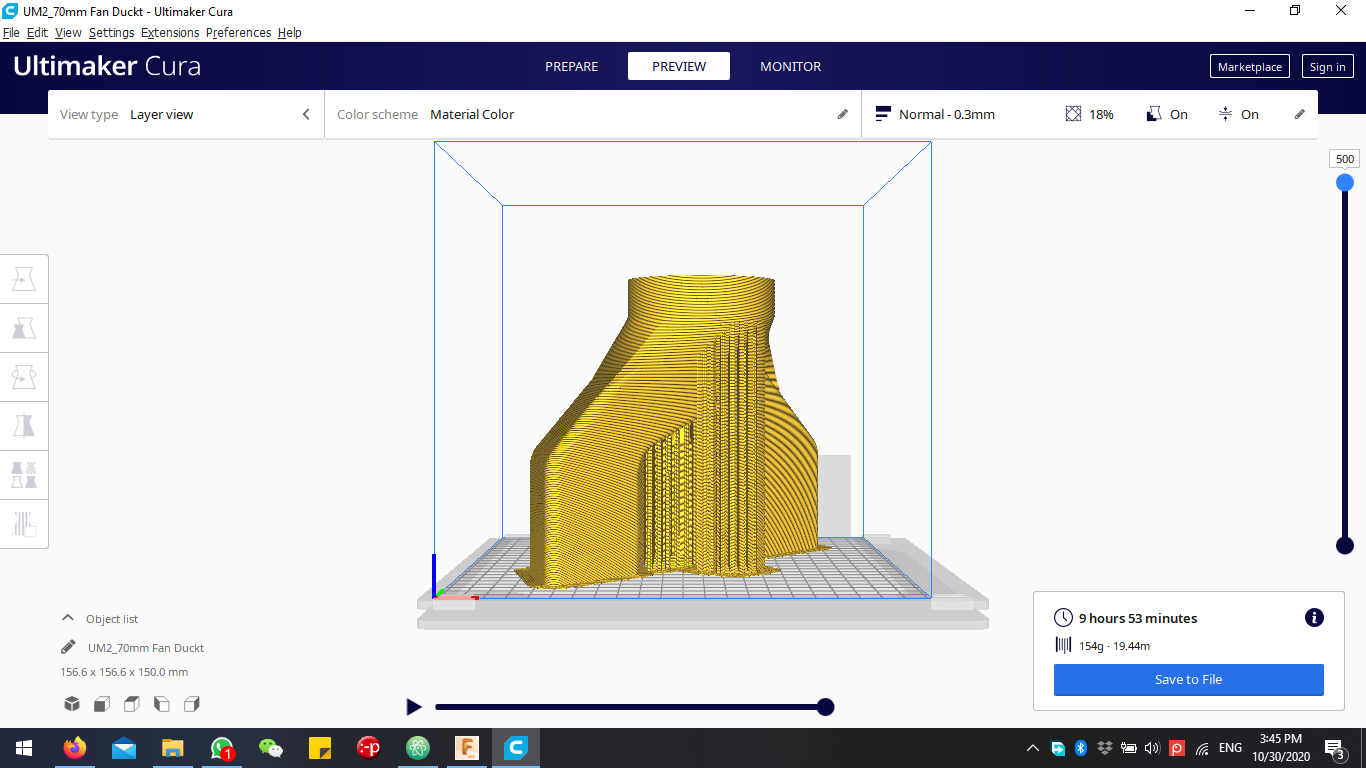
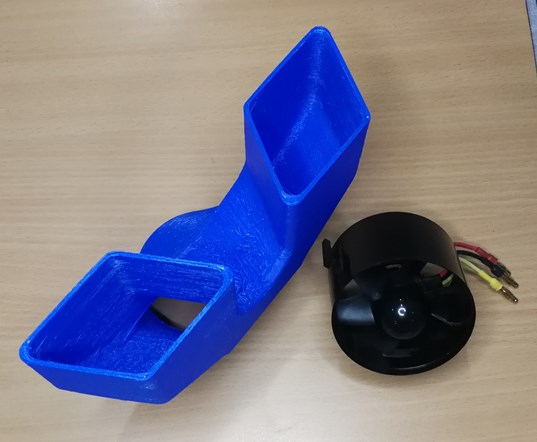
I designed and printed an air intake vent for RC airplane duct fan 70mm in diameter. Without any supports, the printer managed to print it, but with some minor problems because the filament wasn’t being held over some thing to hold it in place, the infill pattern and density also effects the strength of the print and to withstand stresses in different direction, I chose 3D infill type gyroid. the outcome was great good surfacing and good details light weight and great strength.
Why This Design Cant Be Produced With Subtractive CNC Machining ? The simplest reason is that inside the structure build of this duct vent there angles and passages within that no milling machine can go though. specially when the vents inside have 45 degree angels passages and there are wall that should not be touched by the milling bit and there is no way to cut though. so creating a vent as a single peace with subtractive machining is impossible.

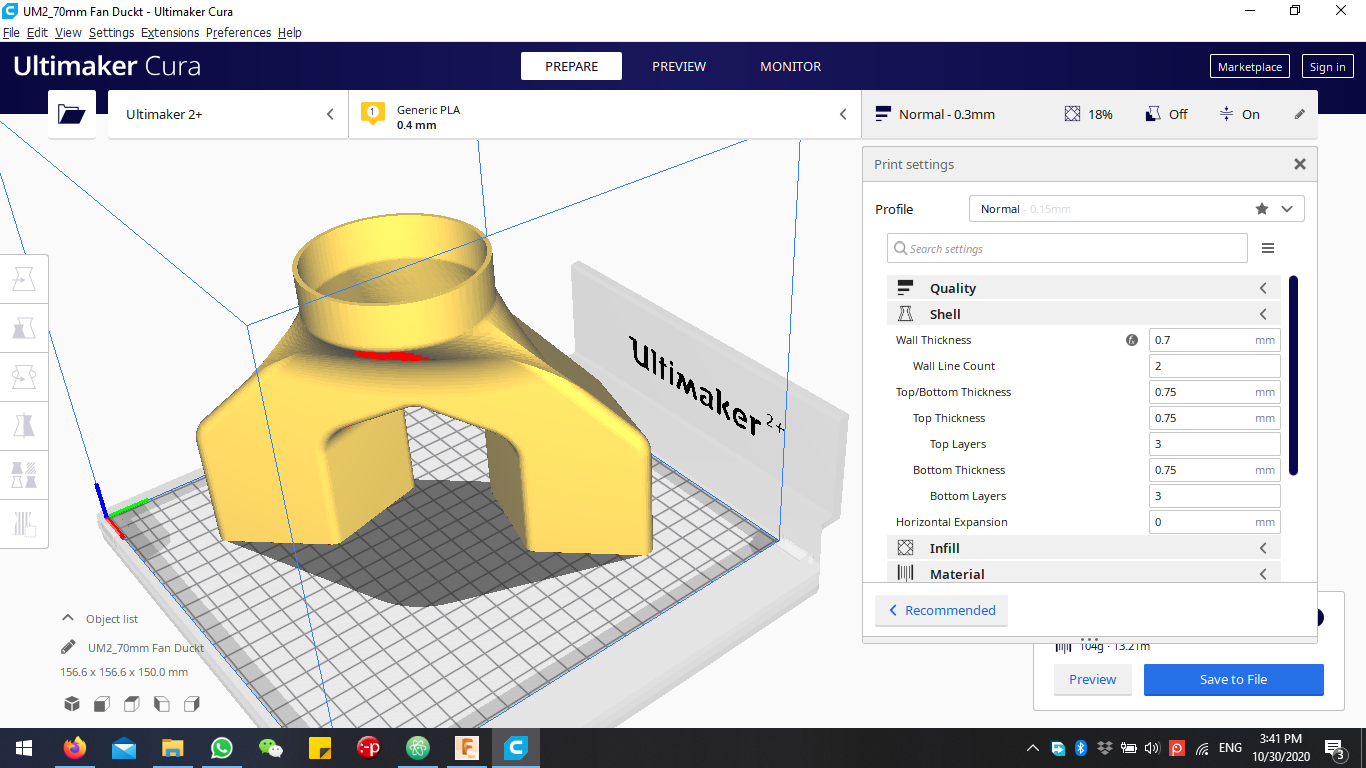
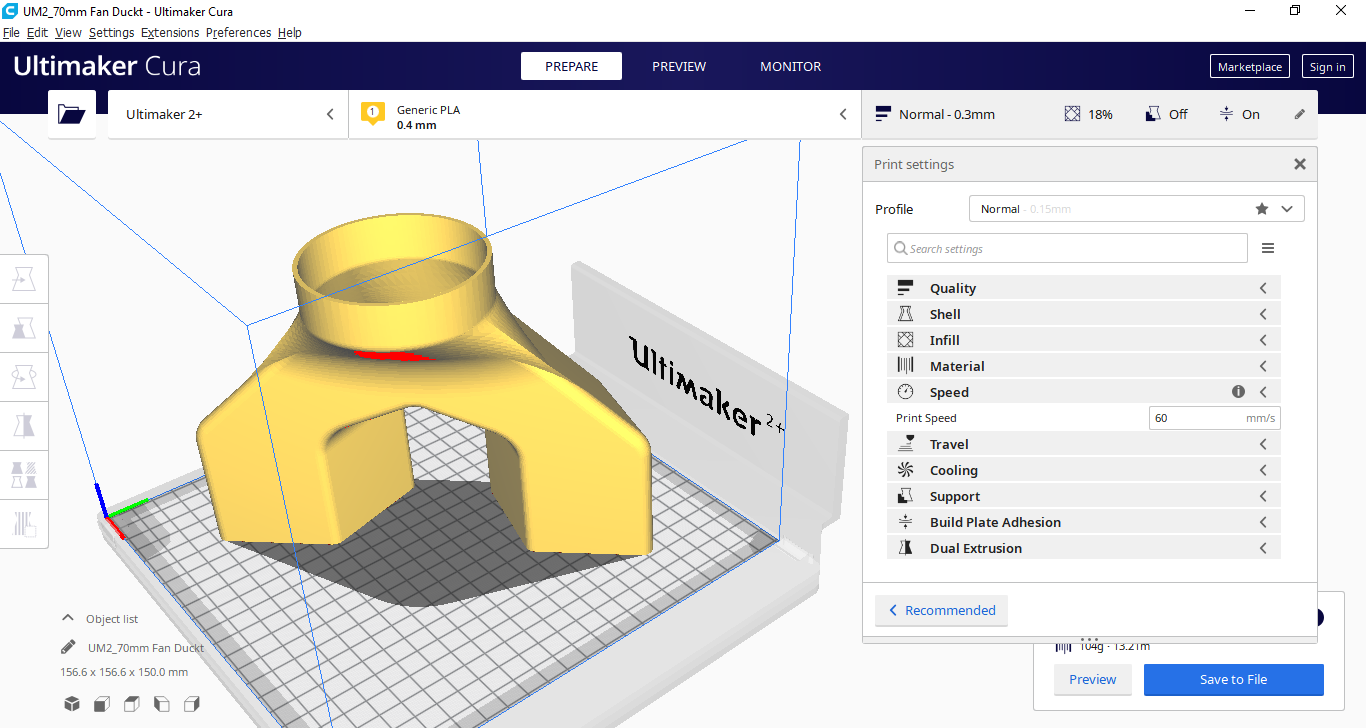
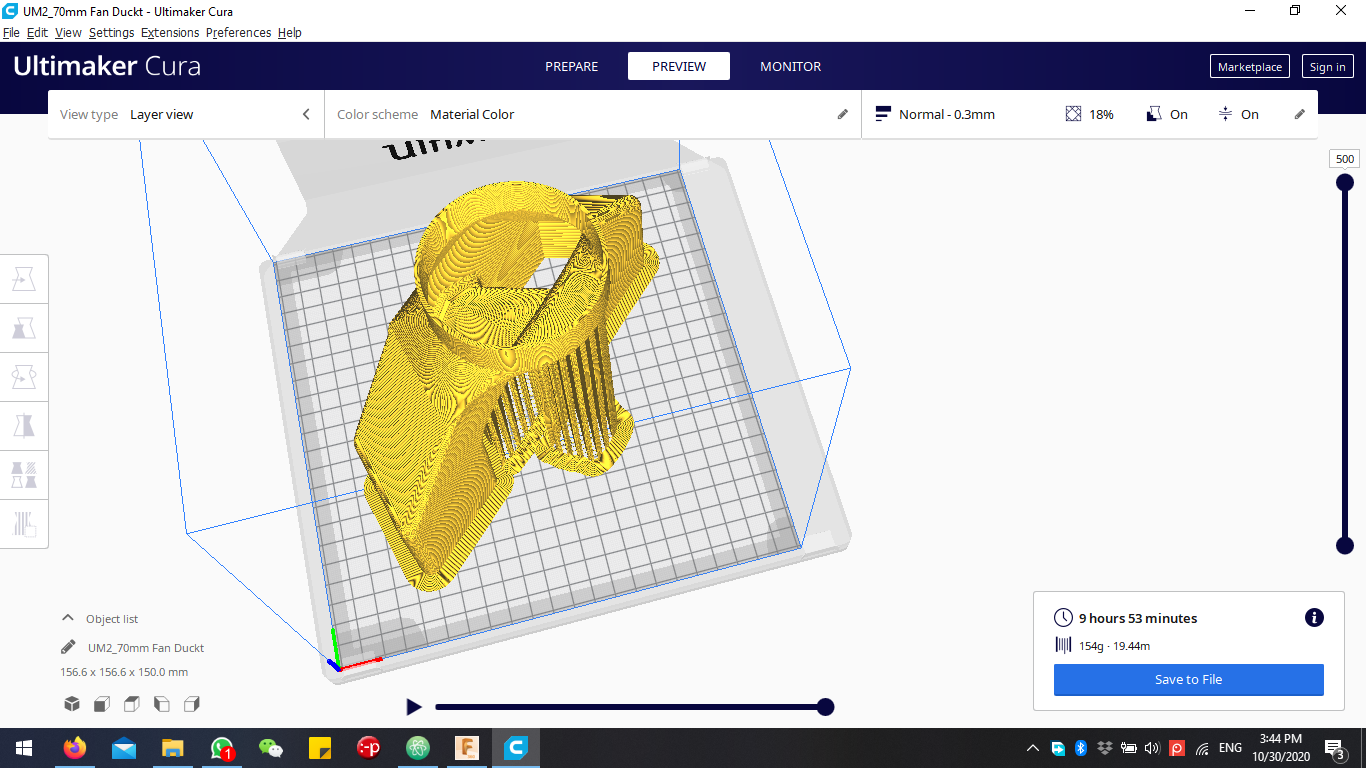
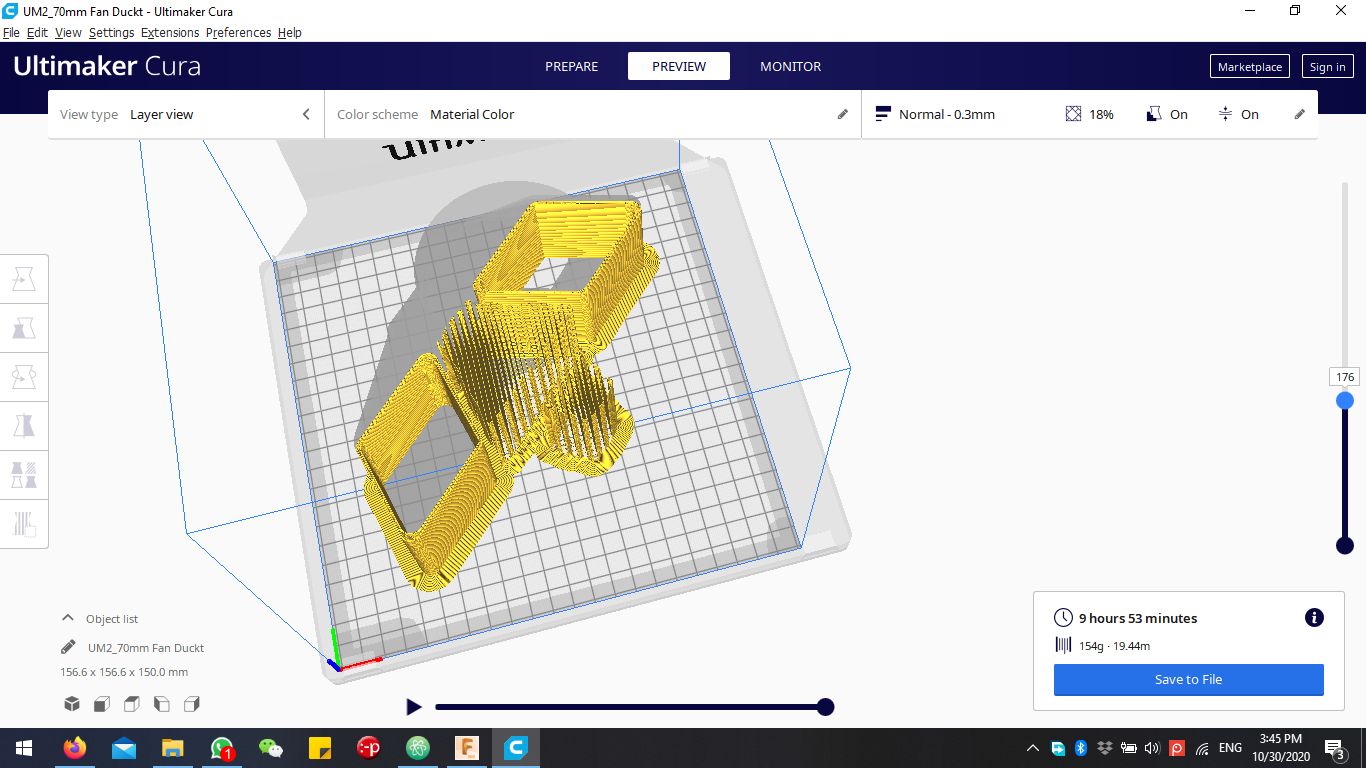
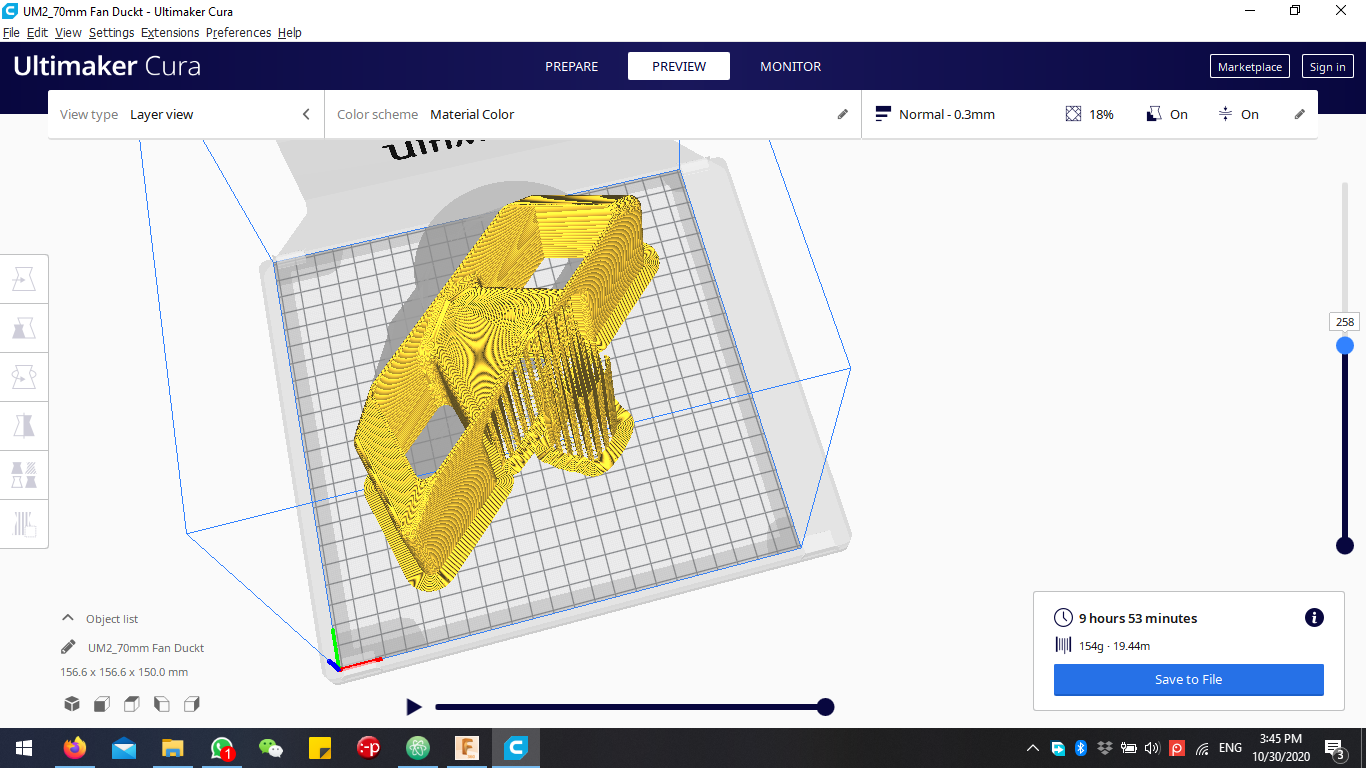
Slicing


Final Shape After Printing
Group Assignment
in this group assignment we tried to print with different materials and differnt 3d printers with different geometries Click Here