18. Wildcard
Design and produce something with a digital fabrication process (incorporating computer-aided design and manufacturing) not covered in another assignment.
Let's discover the textiles digital fabrication
During this week I went to another fablab to change my habits. I decide another machine, I discover it with some curosity and I would test it.
Fablab Carrefour numérique
Like I said in the top, I went to another fablab, and this fablab called "Le carrefour numérique", it's the first fablab where I was go, I discover it by studing the open innovation. It's a fablab located in one big science museum in Paris, "la cité des sciences", and the lab is divide in two parts, one is the FabLab, the other one is called the living lab, more dedicated for UX.

credit to Jean-Pierre Dalbéra
Brother 882-T51
Before to start
Machine lexicon
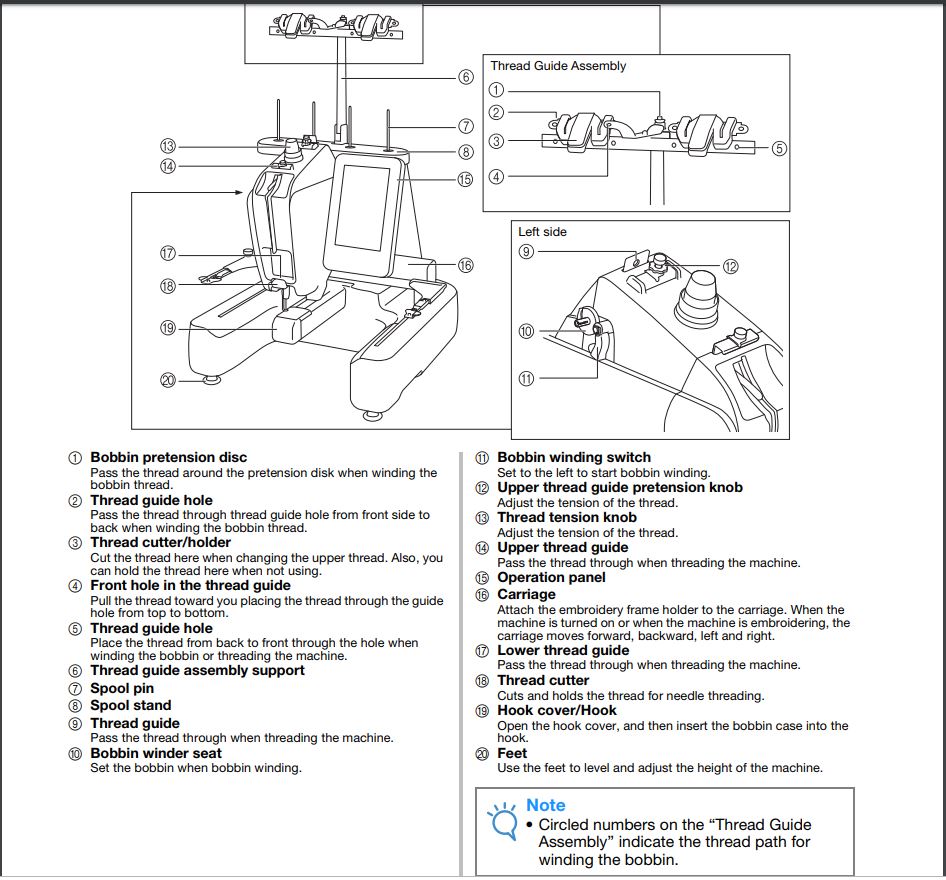
During this week the difficulty for me was to document, because the majority of the documentation that I read and discussion that I had was in French, I already have some difficults to remember names in french, because it's totally new, I never touched embroidery machine even the manually machines. So, I find the documentation of the machine, and take a screenshot of machine description to be confortable on each part.
So here you can see a screenshot of a machine notice:
Checklist from the lab
They are checklist in the wiki of the lab available just here, it's available only in french. the checklist references the most common errors, and it's a prerequisites before to start to use the machine.
To resume the checklist, they are 4 important points to do before to start :
⚠️ Read the notice of the machine
Oiling (p32-33): many elements needs to be oiled (even it is oiled, you need to check before), need to be carful about the race, and needle bars.
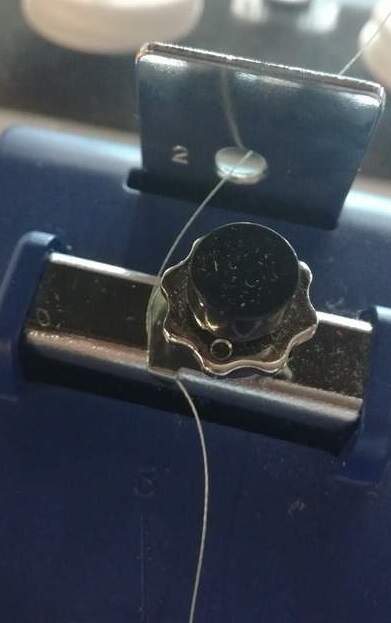
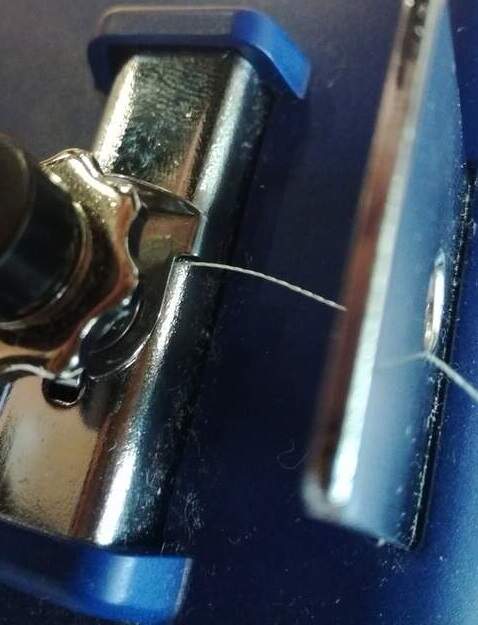
The thread guide hole (p26) : They are some steps to follow to be able to upper threading, they are 6 numbers helping to follow the path.
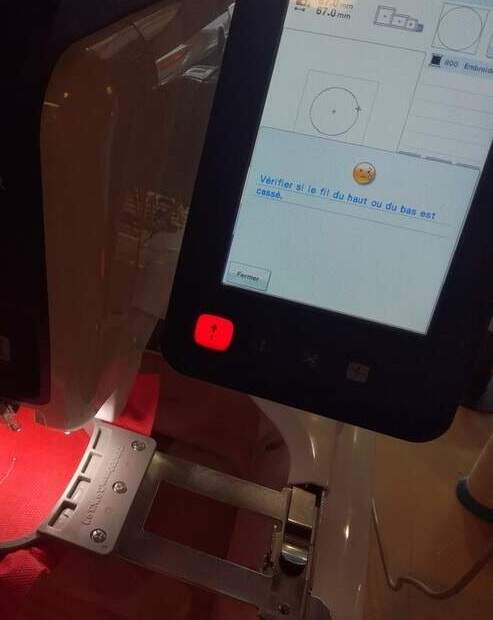
⚠️ I maid a mistake in this verification, for me it was ok, but I get an error after one of my first trying, ("Check if the thread is not broken"), but it was juste a mistake at the first steps, I didn't fixed correctly the the thread at the step 1.
Installing the bobine and bobine case (p17)
Launch the machine
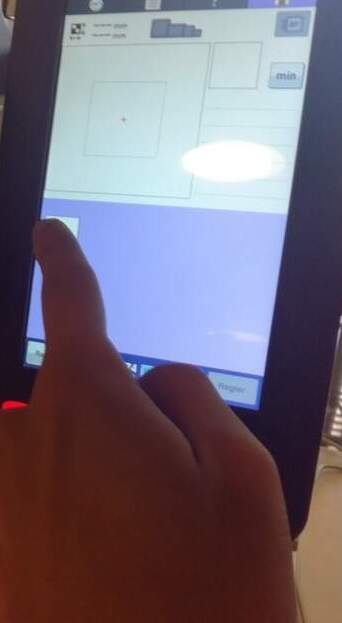
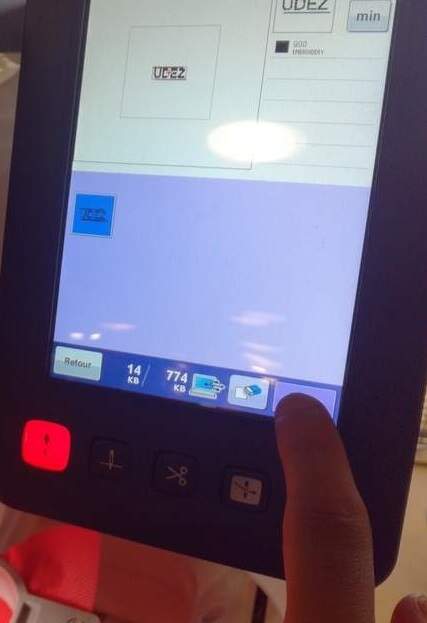
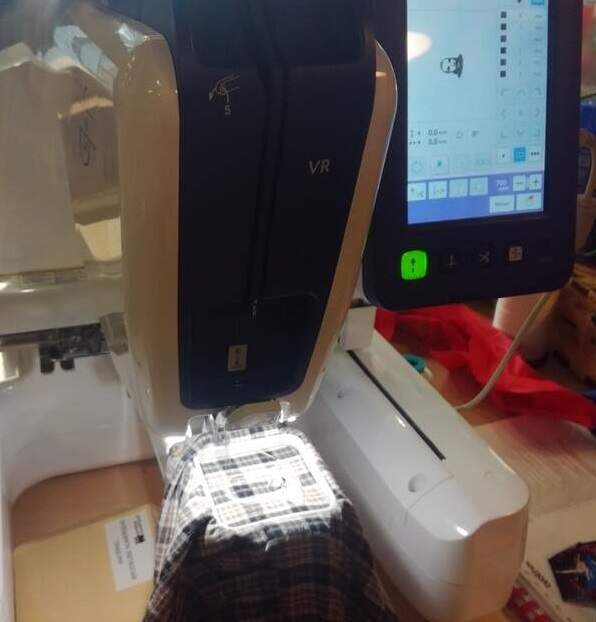
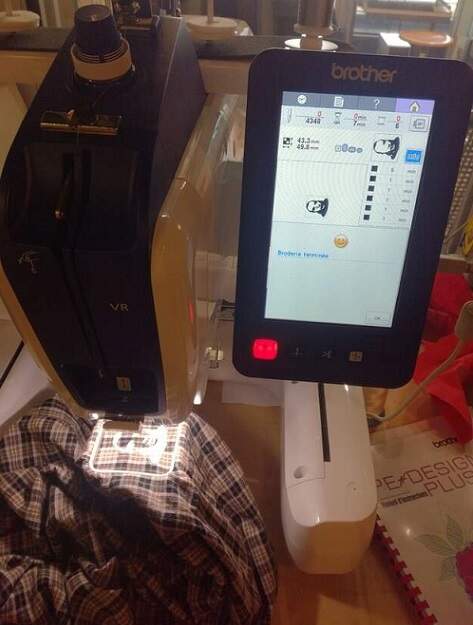
To launch the machine, I need to select one of the job sended by the software to the machine. When it's selected, you need on the bottom right button to launch the job.
First try
Modelisation in the Brother PE-Design Plus
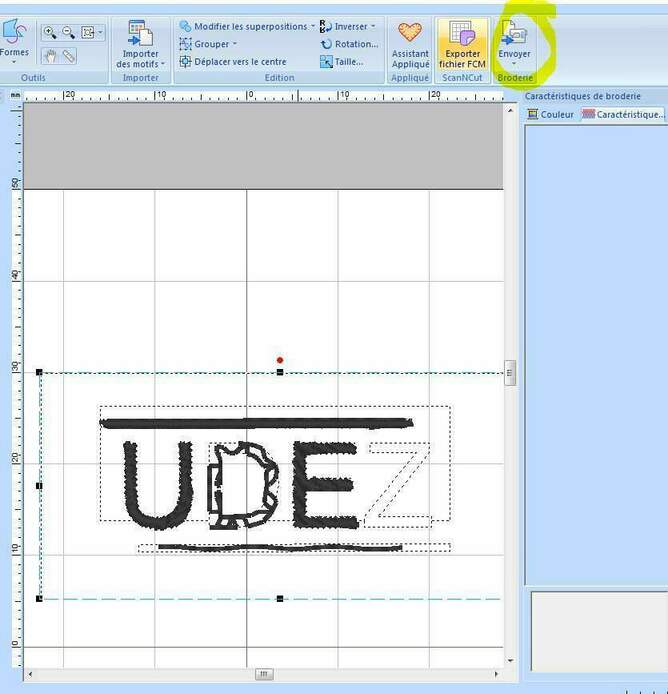
I used Brother PE-Design Plus, as software design for the machine. It's proprietary software, note, that we can also make a design with Ink/Stitch, it's an opensource software based on Inksckape. Brother PE-Design Plus is really easy to use, to start you need to import a vectoriel file. I import one version of the logo of my company.
Then you need to select for each vector that the software has detected what kind of embroider you want. Some times you need to select the none embroidur.
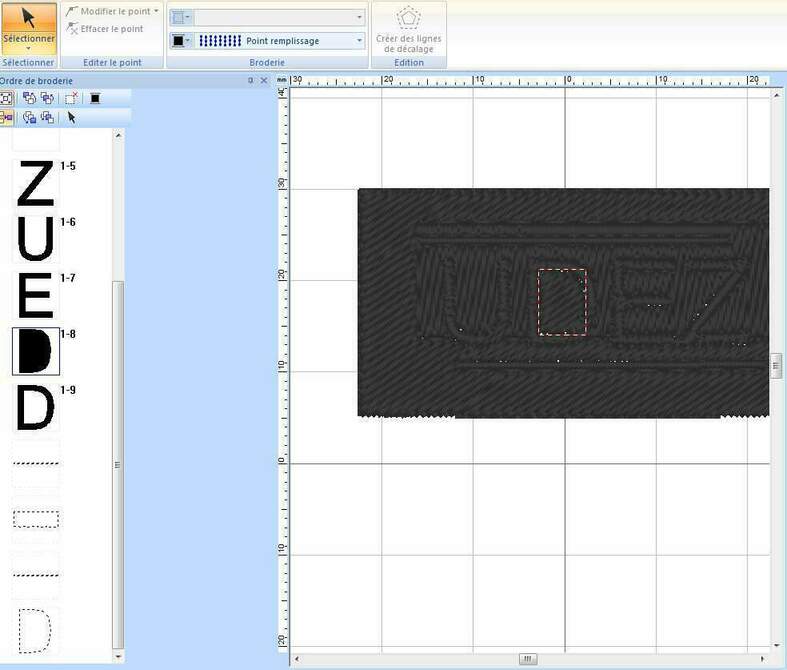
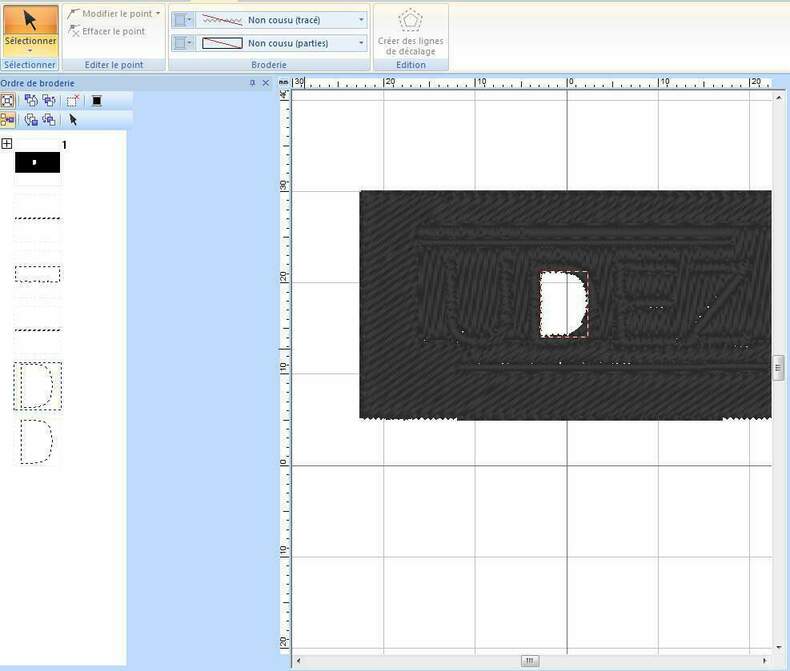
So to start, I choose to try each letter with different embroided kinds to see the difference between them. The I launched the design from the software to the machine. The last embroidur was not visible, but it's normal apparently, it's just kind of fixation, it's an advance usage.
Test differents emboidur
I decide to test different kind of embroidur, to see the diffrence in the logo :
"Plumentis"
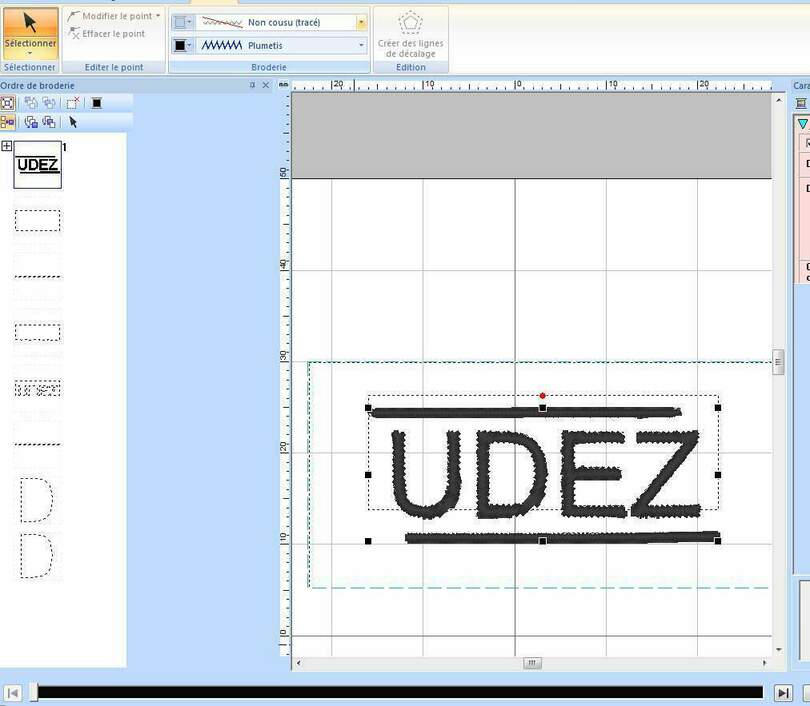
"Point de remplissage"
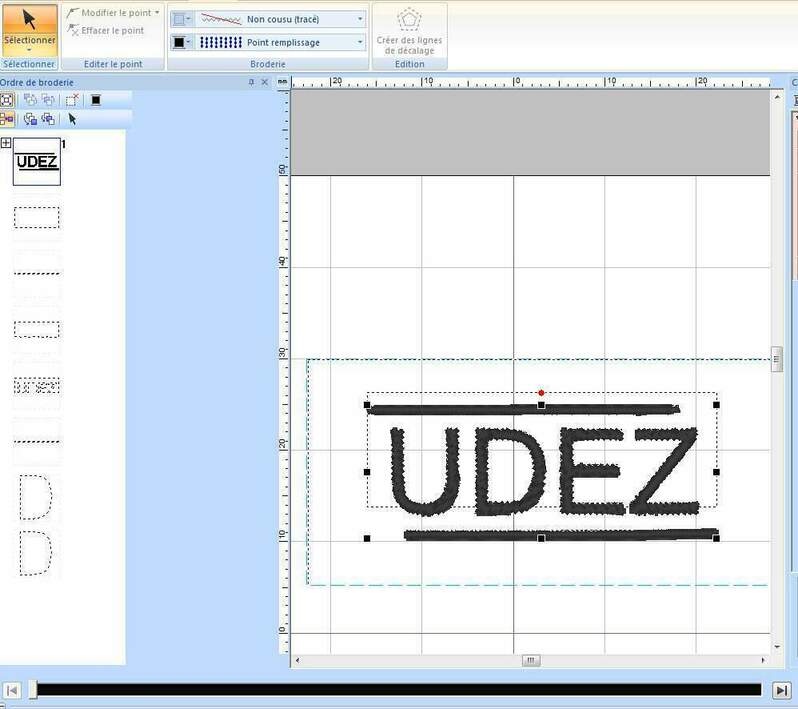
"Update characteristic machine" (it's manual program)
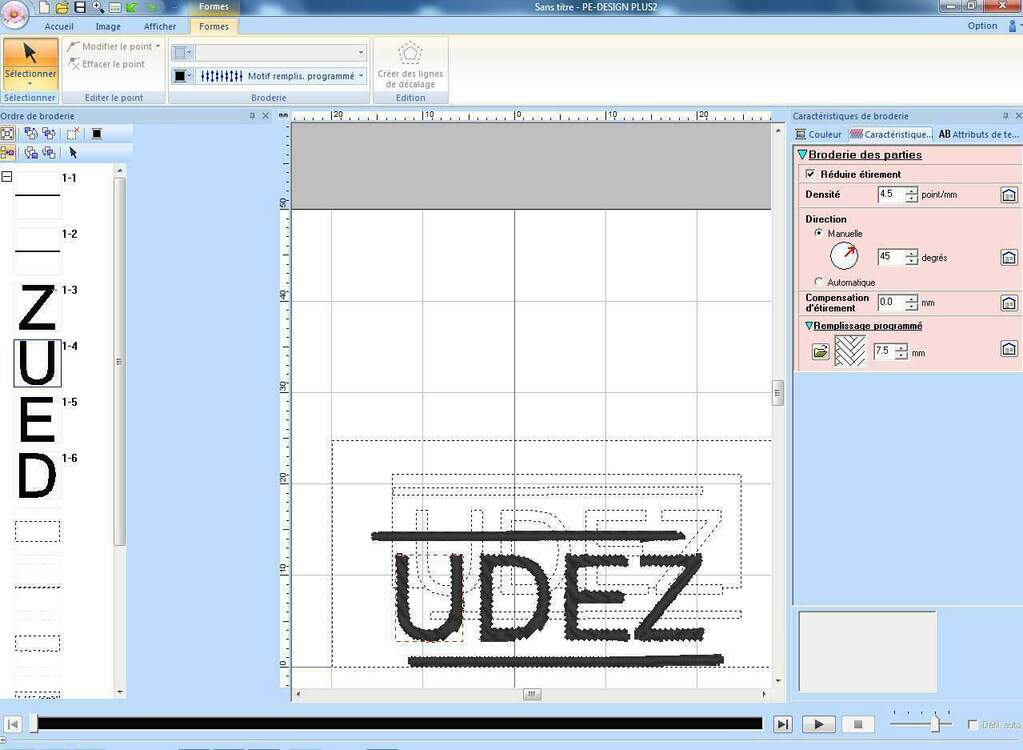
Result
The result was not satisfied for me, I should have more complex svg to test the real difference. The only difference that I saw was, the orientation of thread angles, differs from an embroider than other.
Let's try to embroid on a shirt
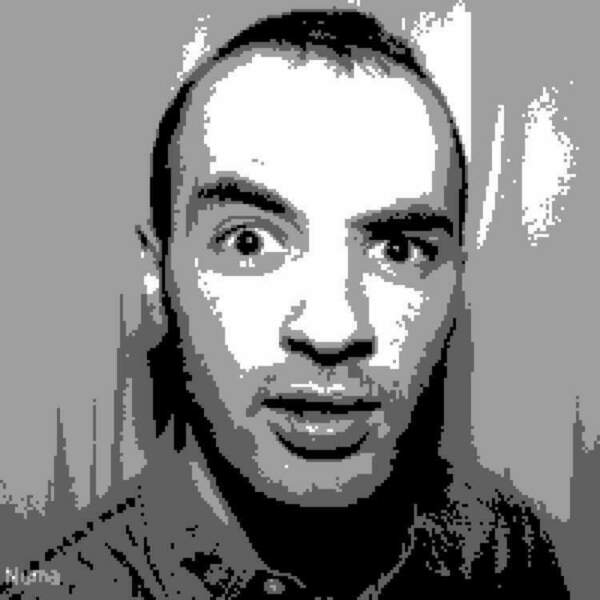
I take one picture of me, It was one pixeled picture (can be download here), and using Inksckape (Path > Trace Bitmap...), I vectorize it, and select one cool mask that I founded.
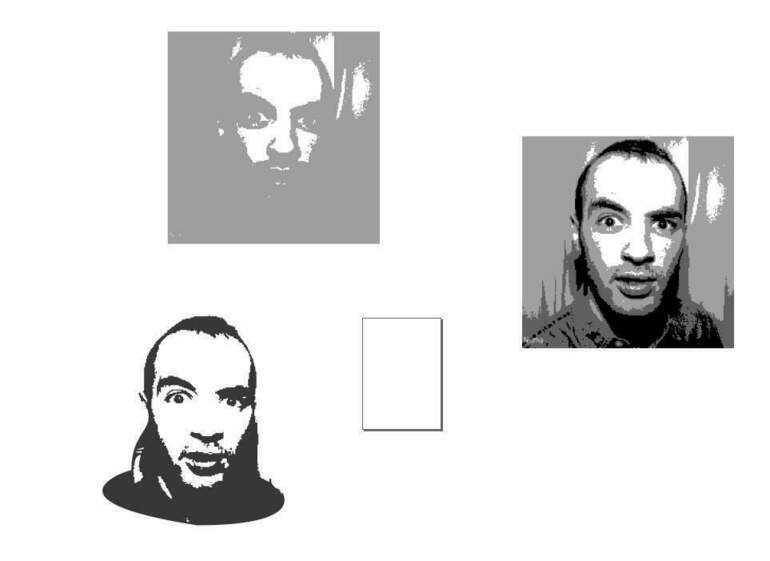
Then, like I describe in the top, I import my image and then I select, some unusefull vector to set them at none embroidure, and maid some modification from the inkscape export before to launch the job machine.
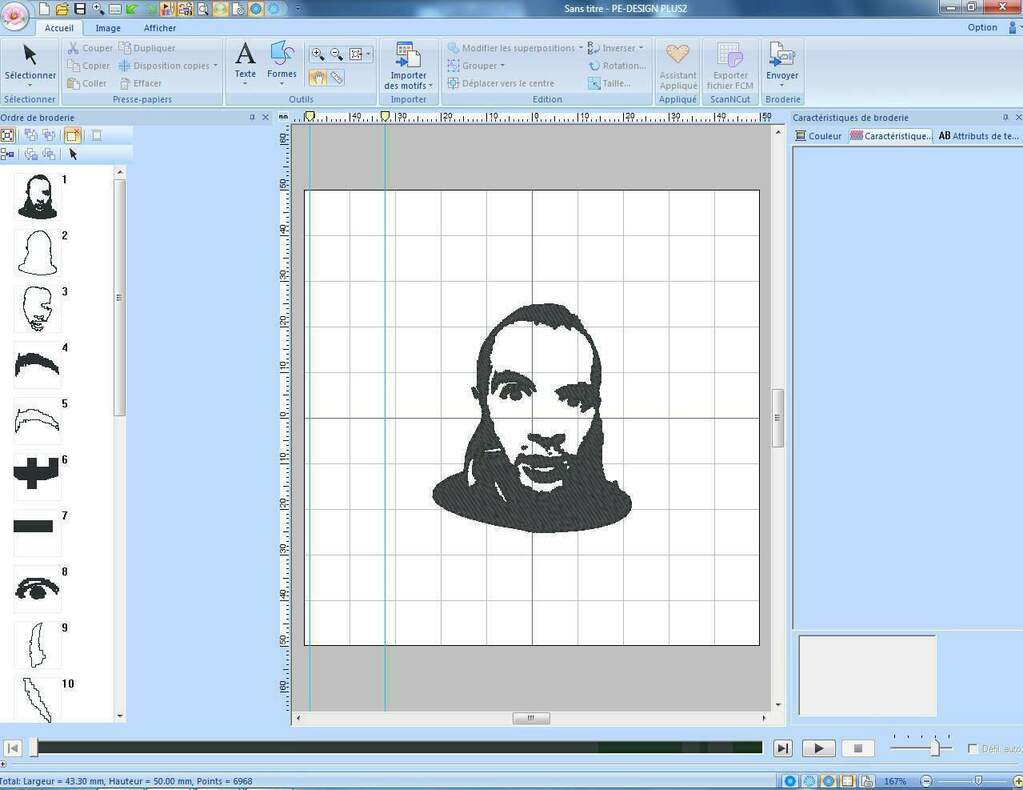
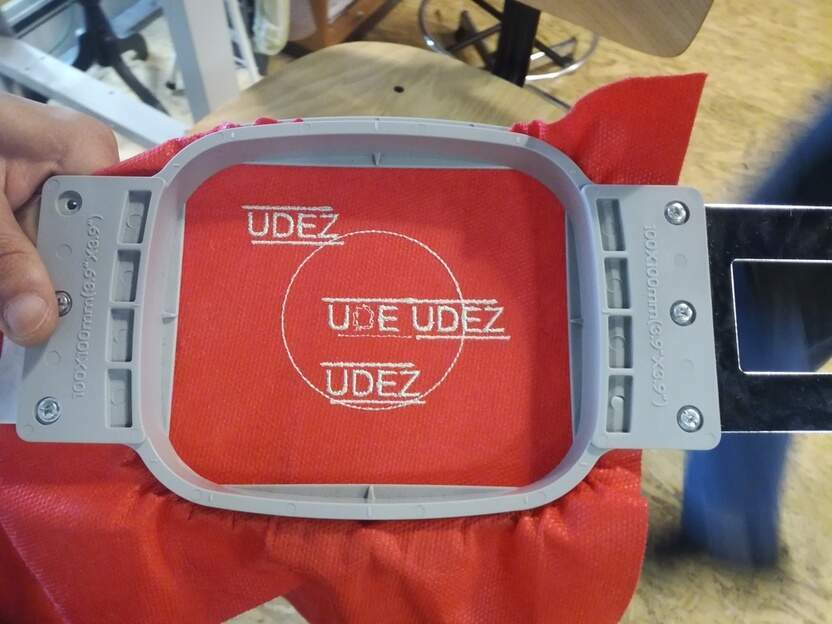
During the job, sometimes, the machine, stop working, and ask if you want to change the thread color. For each vector that software detect can be one color. But I decide for me to use just one color.

Finally, I was happy by the result, it's not precise as it showing in the software, put globally, I'm satisfied by the embroidur, I now I will get my face on this shirt, I find that amazing, and I think, in the future I will make advances tests on it.
Assignment
- Go to another fablab
- Discover embroider machine
- Embroid shirt or something else
- Bonus: Try to embroid with one or many colors