10. Modeling and casting
Design a mold around the stock and cast it.
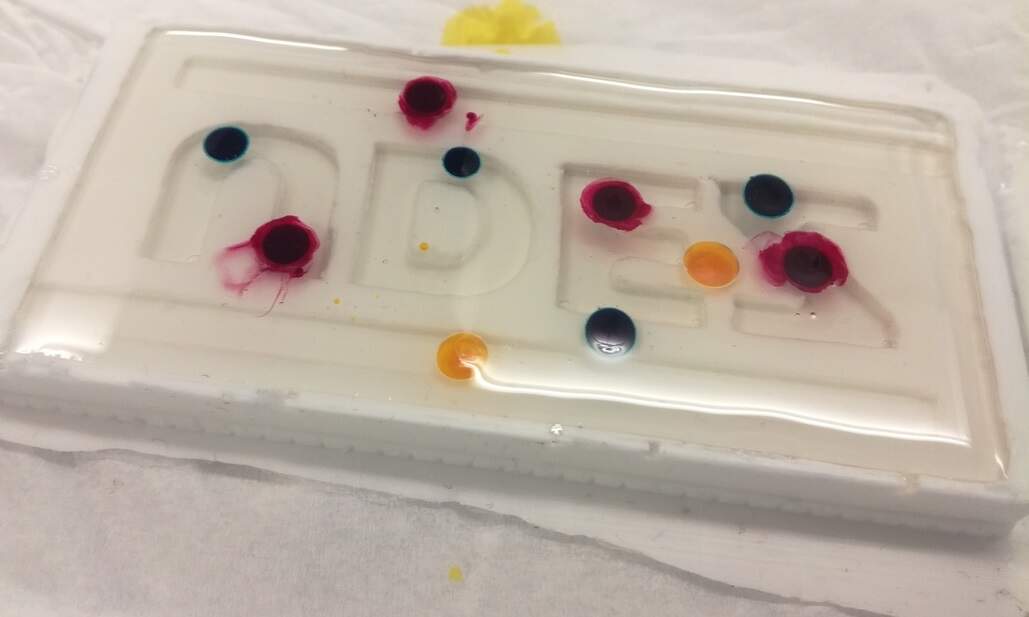
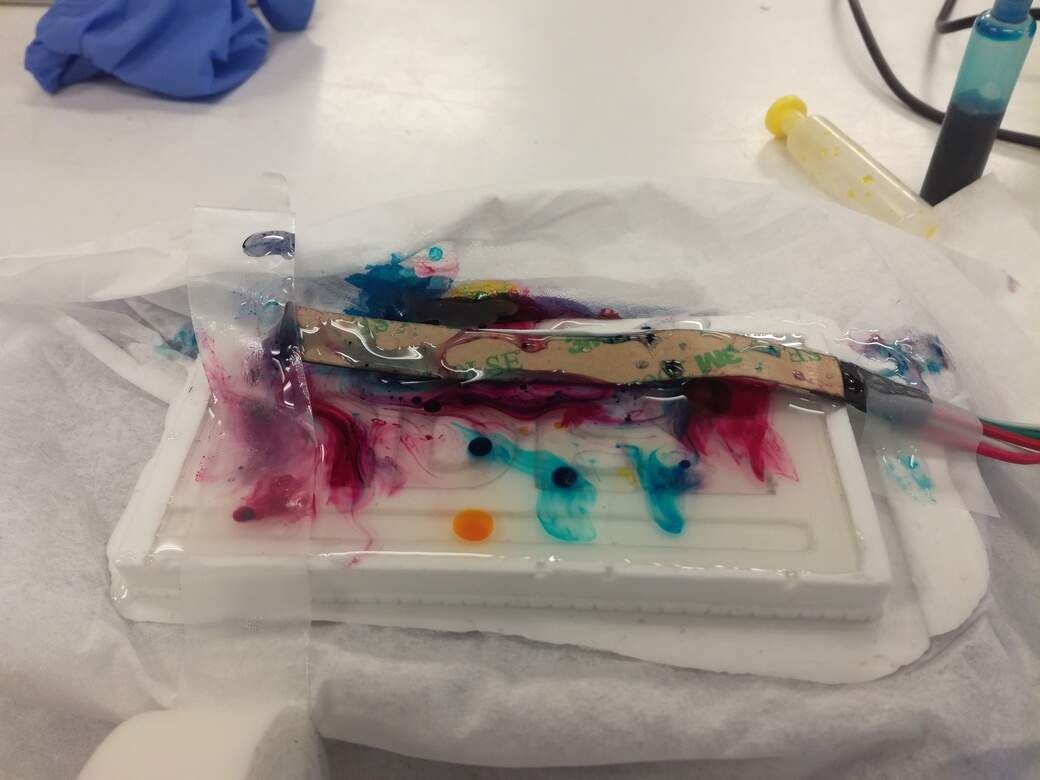
Group assignement
A little glossary taken from this wonderful resource.
| Pot life | The point at which it the mix becomes so thick that it is no longer free-flowing or self-leveling |
| Demold time | The point at which it is sufficiently cross-linked to be safe to remove from the master |
| Indentation hardness | This parameter is measured using an ad hoc scale known as "Shore A", named so after its inventor. The test involves pressing a flat-tipped 0.8 mm needle into a sample with a modest force (800 gf). Deflection of 2.5 mm or more corresponds to 0 on the scale, while no deflection whatsoever is denoted with the value of 100. Compositions around 20-40A are fairly stretchy and squishy, similar to a rubber band. Silicones around 60-80A are still flexible, but begin to resemble a pencil eraser or a tire - you can flex them, but you won't stretch them easily. |
| Tensile strength | In essence, tensile strength tells you the stress (force divided by the area of cross-section) that causes the material to either snap, or to develop a localized defect known as necking. |
| Elongation | Elongation at break, on the other hand, describes the extent to which a standardized specimen can be stretched before breaking apart. |
| Tear strength | Tear strength of at least around 15-20 kN/m, as per ASTM method, is highly desirable (the value corresponds to force divided by the thickness of the sample; 1 kN/m = 5.7 ppi). Formulations up to 30 kN/m are available on the market, and are certainly not a waste of money. It's best to stay away from products where the advertised tear strength less than 12 kN/m or so. |
| Viscosity | Formulations with lower dynamic viscosity are generally easier to mix, pour, and degas - and will be more inclined to conform to complex shapes without the aid of vacuum or pressure. All other things being roughly equal, go with the system with the lowest viscosity. Products below 50,000 mPa*s are advisable, but not strictly a must. |
| Shrinkage | Addition cure silicones used for moldmaking purposes should have no measurable shrinkage. Some manufacturers simply say "none", while others say "less than 0.1%" or so. Seeing a higher value in the datasheet is a warning sign; shrinkages between 0.2% and 0.6% are commonly seen in condensation cure silicones, and should be avoided in precision work. |
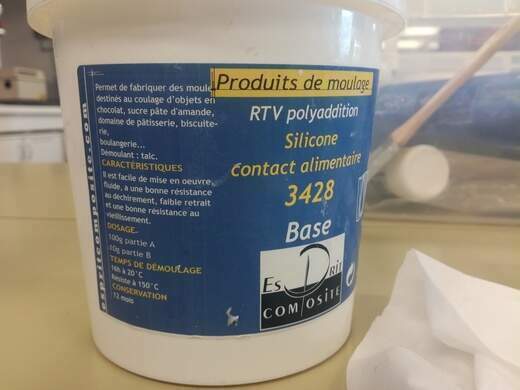
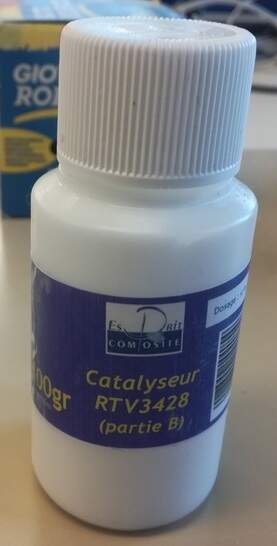
| Material | Food safe silicone RTV 3428 (data sheet / safety data sheet) |
| Pot life | 90 minutes at 23°C |
| Demold time | 16 hours at 23°C |
| Color | Translucent (part B is white) |
| Mixing ratio | Part A: 100g / part B: 10g |
| Indentation hardness | 28 Shore A |
| Tensile strength | 7.5 MPa |
| Elongation | 600% |
| Tear strength | 20 KN/m |
| Viscosity | 25 000 mPa |
| Shrinkage | 0.1% |
| Safety precautions | The product has not been classified as hazardous according to the legislation in force. It's chemically stable. |
| Solubility | Practically insoluble |
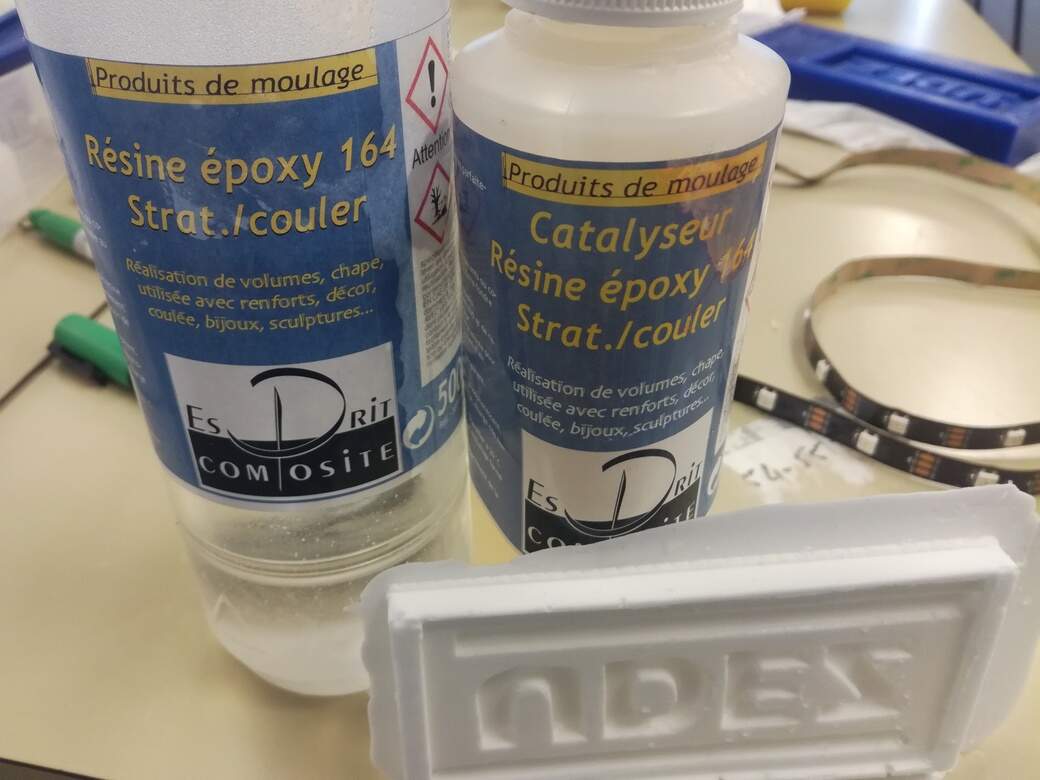
| Material | Epoxy (safety data sheet part A safety datasheet part B) |
| Conservation | 12 months |
| Cure time | 24 hours at 20°C |
| Color | Part A is transparent (colorless) and part B is blue |
| Mixing ratio | Part A: 100g / part B: 50g |
| Safety precautions | This product is quite toxic and should be handled with care and appropriate safety equipment (gloves, mask, safety glasses and clothes). |
| Solubility | Insoluble |
The datasheet released by the manufacturer (Esprit Composite) is not very detailed unfortunately...
| Material | Plasticrète (non toxic acrylic resin) (data sheet) |
| Conservation | Chemically stable |
| Cure time | 3 hours at 20°C |
| Color | White |
| Mixing ratio | Part A: 100g / part B: 50g |
| Indentation hardness | 82-86 Shore A |
| Safety precautions | No particular precautions since it's non toxic |
| Solubility | Water |
Idea
For this week I want make a goodies for my company, based on the logo that I maid using Google chart (first logo that I made in november, for the company creation). I want to test the effect of leds in acrylic, so I will use the aspect of the logo to include led strips on it.
Modeling the piece in 3D
In fusion, I start to design the bloc of wax that I have (175 mm x 85 mm x 5 mm). Then I define a rectangle (114 mm * 54 mm) for the goodies, and I extrude off the rectagle made it parameteric in fusion max_depth_tool=12 (using the function S>par then you select Change parametric). I to put it as parameter because the max depth depends on the tool used by the shopbot. I made an other square to recover the logo letters and to be the base of the goodies. I extrude this square with the value max_depth_tool/2.
Then I imported my dxf logo in fusion 360 and I adapt the logo to fit with the second square. And I take the mesurements of leds, and I designed two bar like the original logo in the top and the bottom of logo letters. Then I extrude the all thing with value max_depth_tool-2, I substract 2mm to have some silicone places for the logo.
The 3D touch was applied by making a fillet of 1.5mm for all the logo. I used the function Fillet of fusion 360 (tape F to have quick acces on it). So the result rendering was this one:
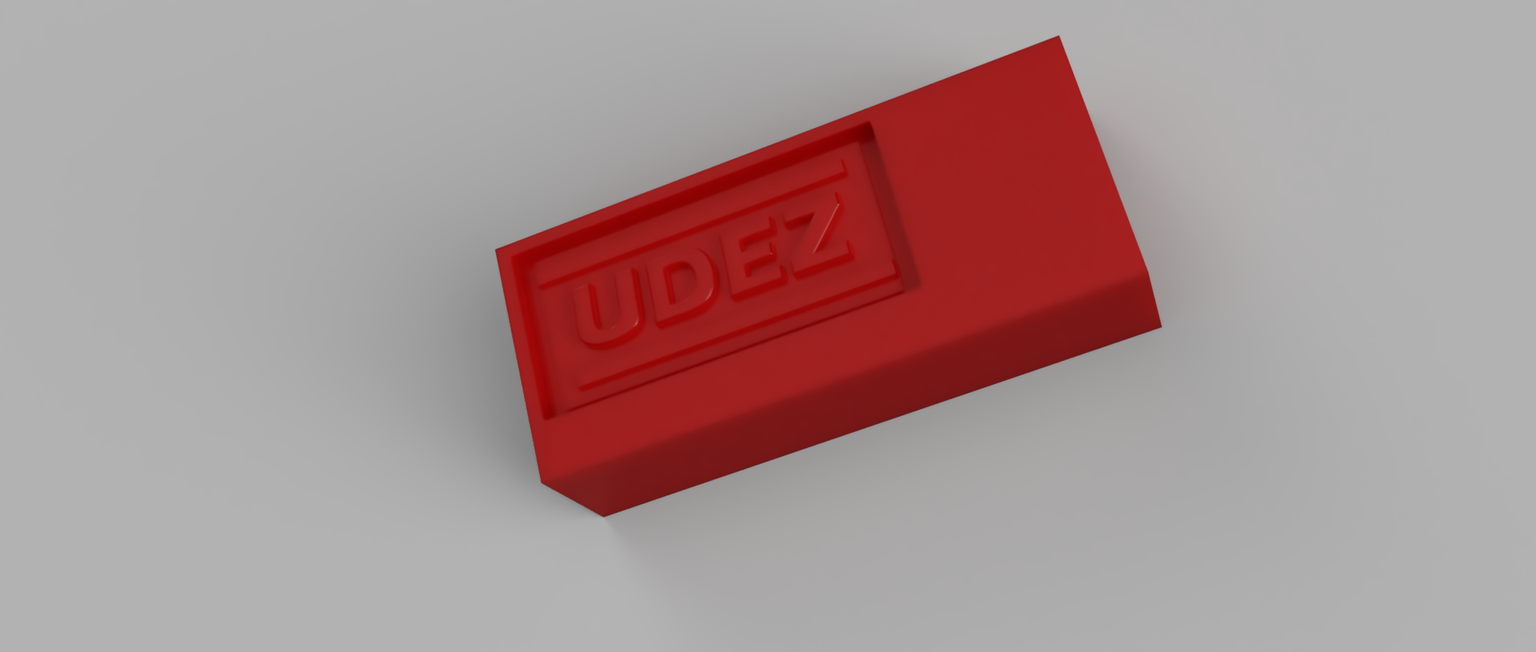
You can see here the render of the modelisation in Fusion 360, you can download the file by clicking here (and you can find the fusion 360).
'
Milling the mold in wax
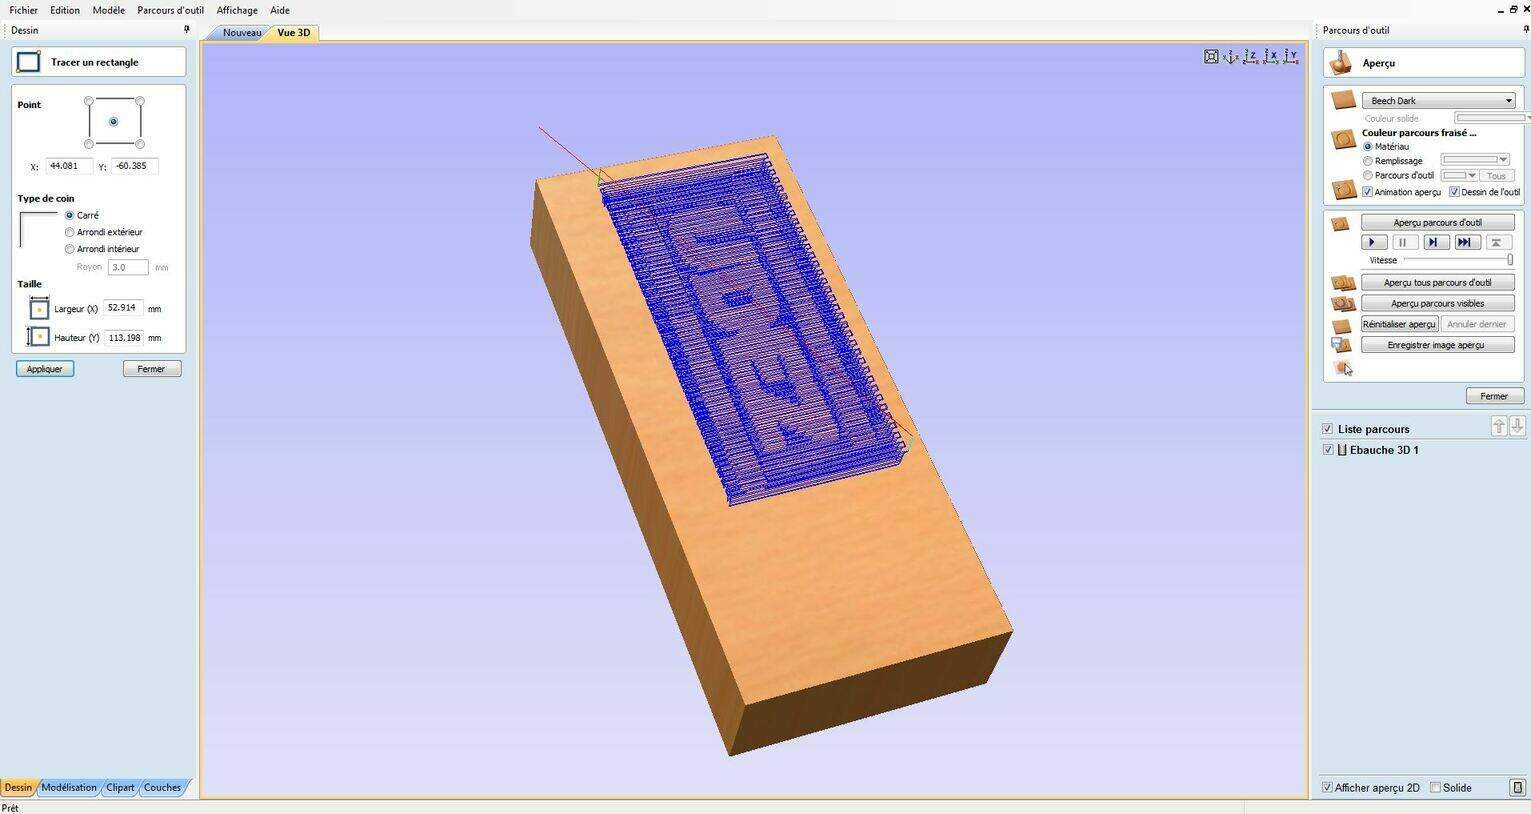
V-Carve configuration
The process for milling in 2.5D in VCarve is quite similar to what we saw in computer controlled machinning. I set up the dimensions for my block of wax (17.5 cm x 8.5 cm x 5 cm), imported my STL file from Fusion and created the toolpaths.
I used a 2 mm end mill at 50 mm/sec and 10,000 RPM for both. For the rough mill I used a 75% stepover and 15% for the finish.
Shopbot machining
Here is the setup I used to keep the block of wax in place. During our tests for the group assignment the mill failed twice because the block wasn't properly kept in place, so I also added double sided on the bottom to be sure.
The rest of the procedure (XYZ origins, safety measures...) is the same as what I listed in computer controlled machinning week. The mill lasted for about 2 hours 30.
The finished product is nice I find that we didn't see enought the 3D effect, maybe I need to add more fillet thichness. The next time I will try with on bigger value.
Unfortunatly, I missed to take a picture of the final result but here you can see the video of theé advanced milling:
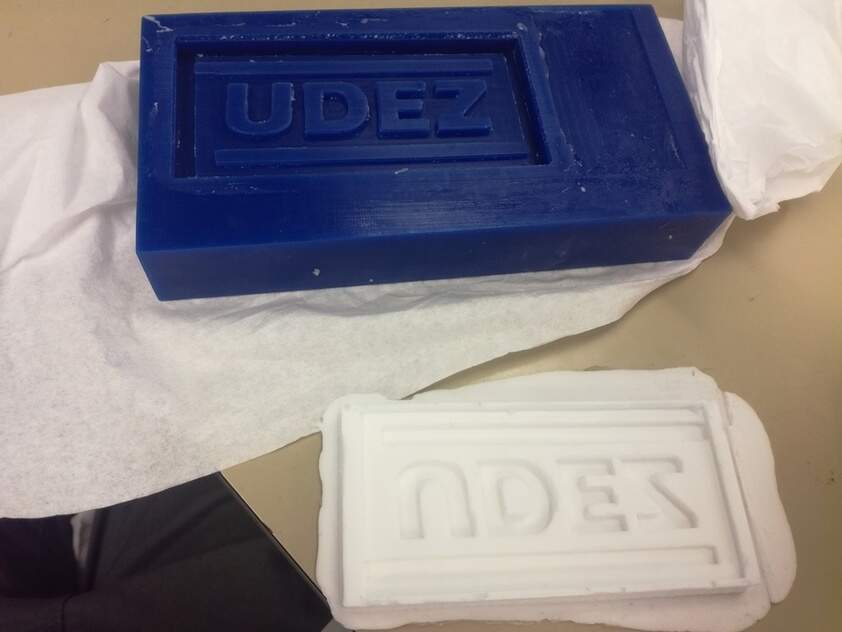
Making the mold in silicone
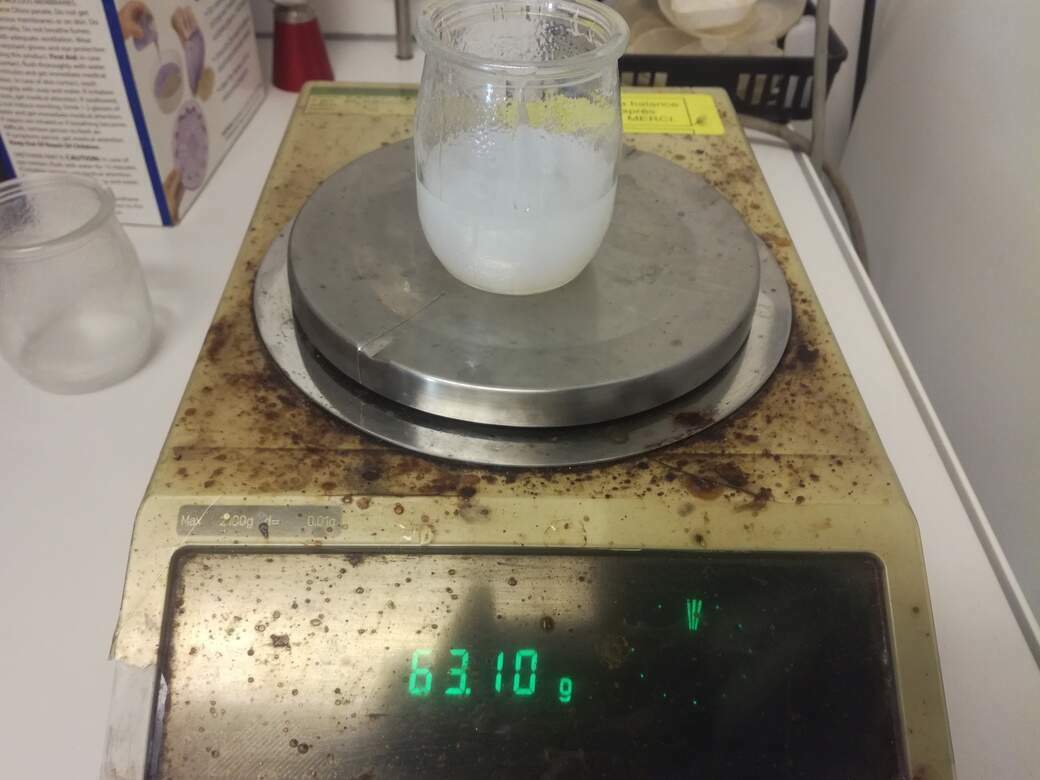
First thing we need to do is get an idea of the volume of silicone we'll need to make to fill our mold. So I poured water into the block of wax and transfered it in a container. Then, in a similar container, I poured the same quantity of silicone. And I checked with a balance that it's the same size.
Before I go on with the silicone, I poured a little bit of paraffin oil in my mold so that the silicone is easier to get out afterwards.
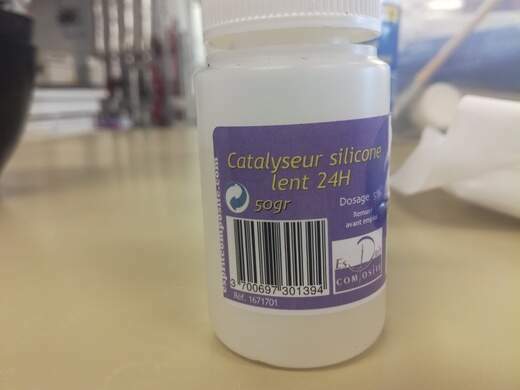
Then I add the catalyst and some silicone oil to prevent bubbles. The catalyser is 10g for every 100g of silicone.
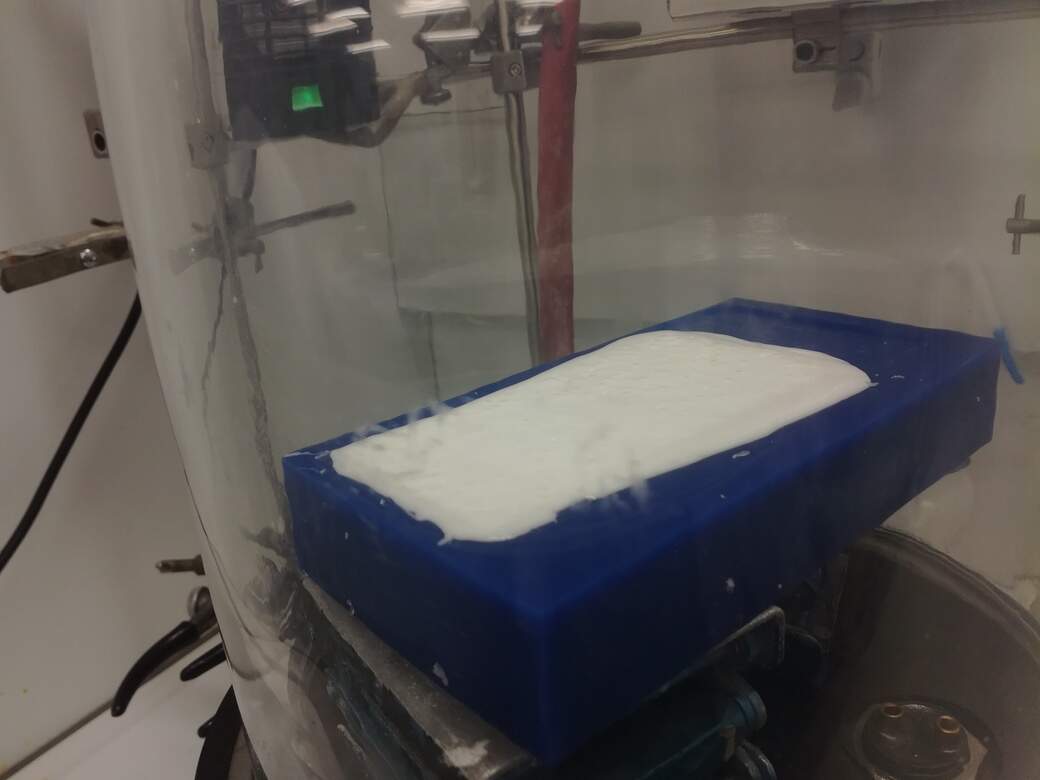
I wait 5 minutes and slowly pour the silicone in the mold. Making sure the silicone gets in every corner is not easy. The vaseline is not helping at this point and the silicone is quite thick. Then I used a vacuum chamber to remove the bubbles.
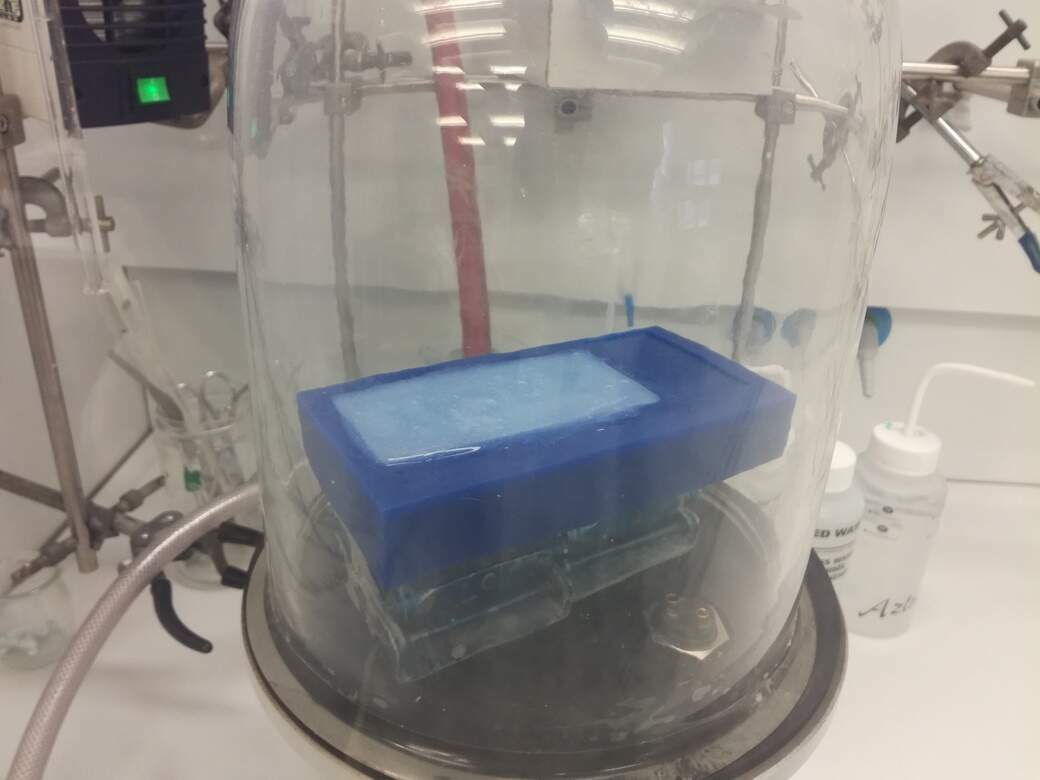
Releasing the vacuum several times improves the degassing. Now we wait 24 hours...
After waiting
For many reasons, I hadn't the possibility to finished the assignment. So I go toget back the silicone mold after one or two mounths. At the biggining, I told that my mold was blue because I use an alimentary silicone and it's normal if it's diffrents than others people in class. But after I chcked, and in 1 mounth, it should be solid and flexible, but it was not rigid and the mold faild totally.
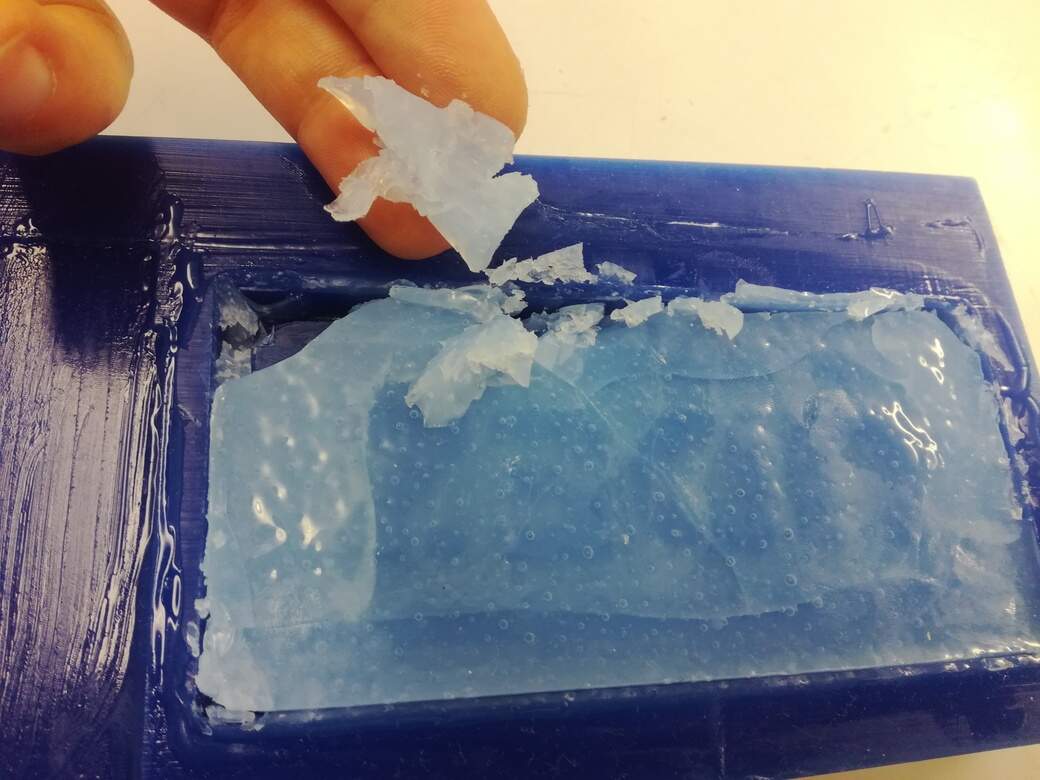
After like half or one hour, I cleaned all the wax mold, and then I checked all my procedure to understood where I failed. Finally, I find, that I didn't used the right catalyzer. So the catalyzer that I picked was for silicone but not for the specefic one that I picked. I should have taken this one instead the other one.
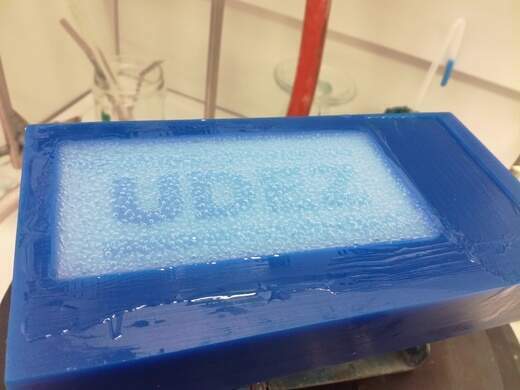
So, using the same processus with the right catalyzer, I prepare a new composition to create my silicone mold, this time he has the white color, so I think, it should be ok. Now I'm waiting for 24 hours...
After 24 hours, I'm happy by the result, they are some bubbles in the mold, but generally, the mold was ok for me.
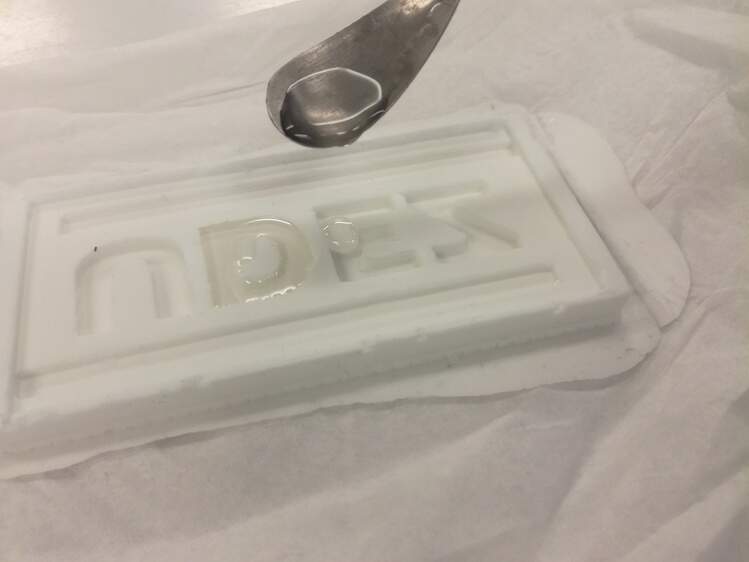
Casting the piece
Cooling the epoxy
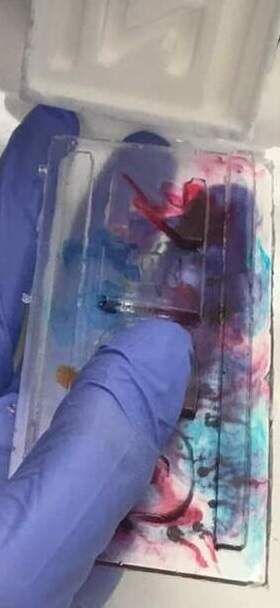
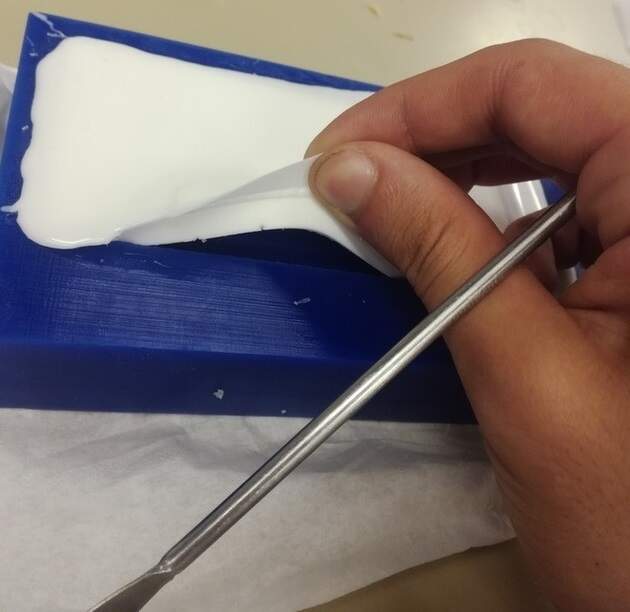
According to the specifications, I mixed the two part (50/50), just like the silicone procedure. And then I start to fill the silicone mold slowly using the spatula. This technics permit to reduce the risk to have bubules in te model.
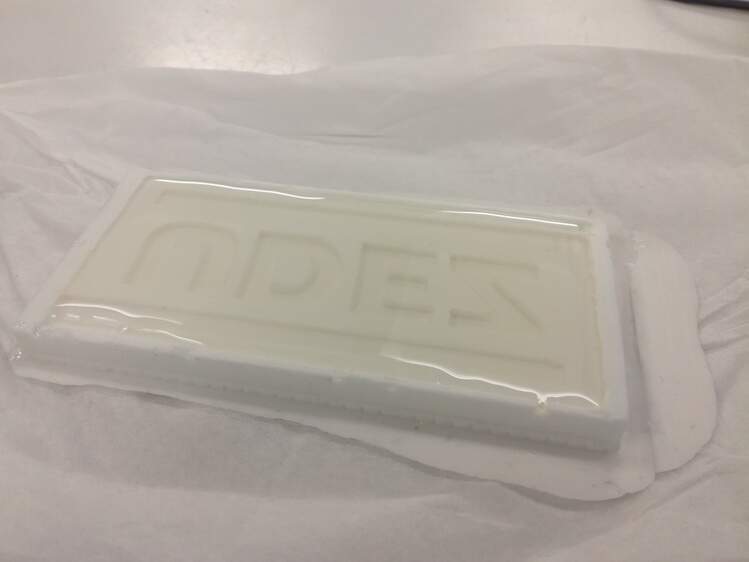
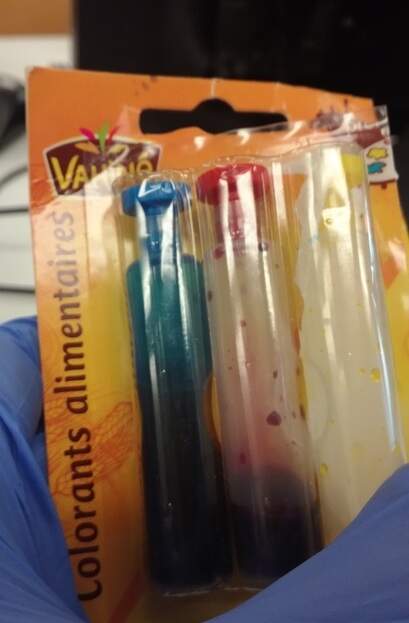
Add some colors
To add color for my goodies, I decide to add alimentary colorant, like we maid in group assignement, I add three colors drop by drop, and after that, with the spatule, I try to make some mixture with the spatula to give an artist aspect for the goodies.
Add led strip
When I tried to add the led stip (I cut it to have 3led on it), I've seen that I could'nt do it with my actual silicone mold. I could try to do it by cutting the mold, but I won't take the risk for that. I try to fix it with some tape but it was ridiculus and it didn't work, so I give up the idea to add the led on the goodies for this assignement.
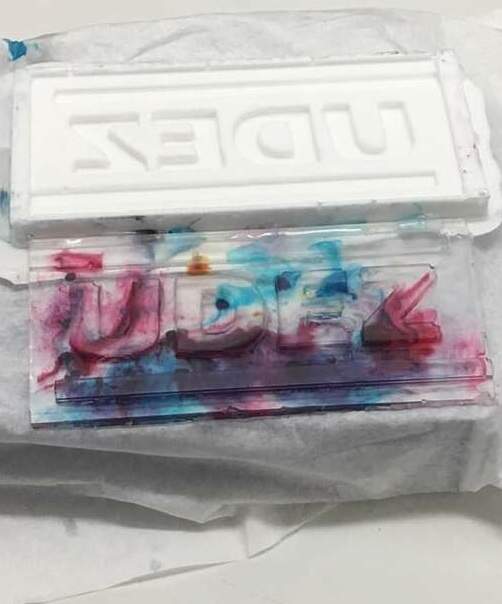
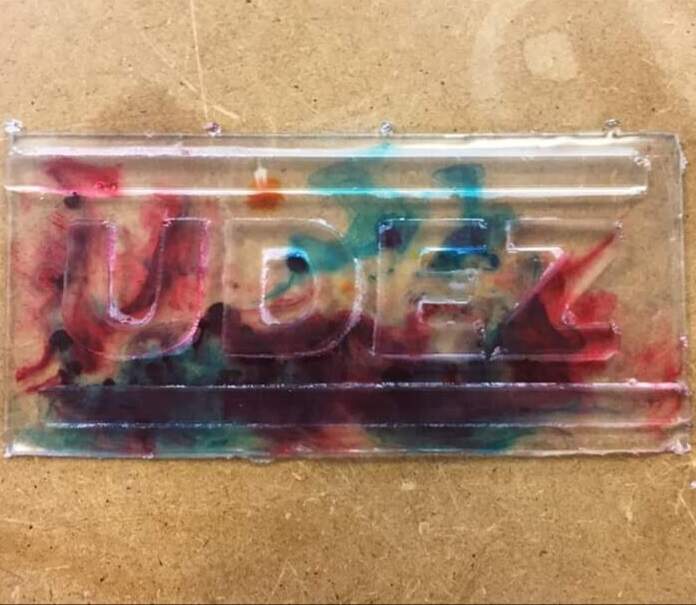
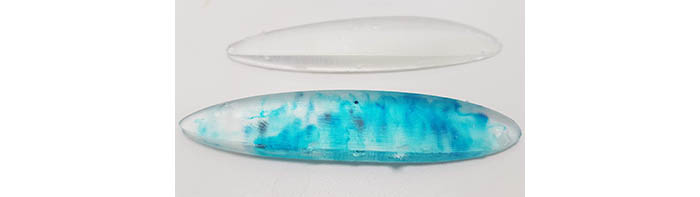
Result
After 24 hours (I could be do it in 7 hours), I go back to the chemistry lab, to remove the cast from the silicone mold. The removed was done succesfully without difficulties. They are some failing due to the bubbles in the silicone mold. I am waiting to see what's going on when I will put some leds on the bottom (I will make an enclosure if I like the result).