Week15 - Mechanical Design
1-XY_Plotter
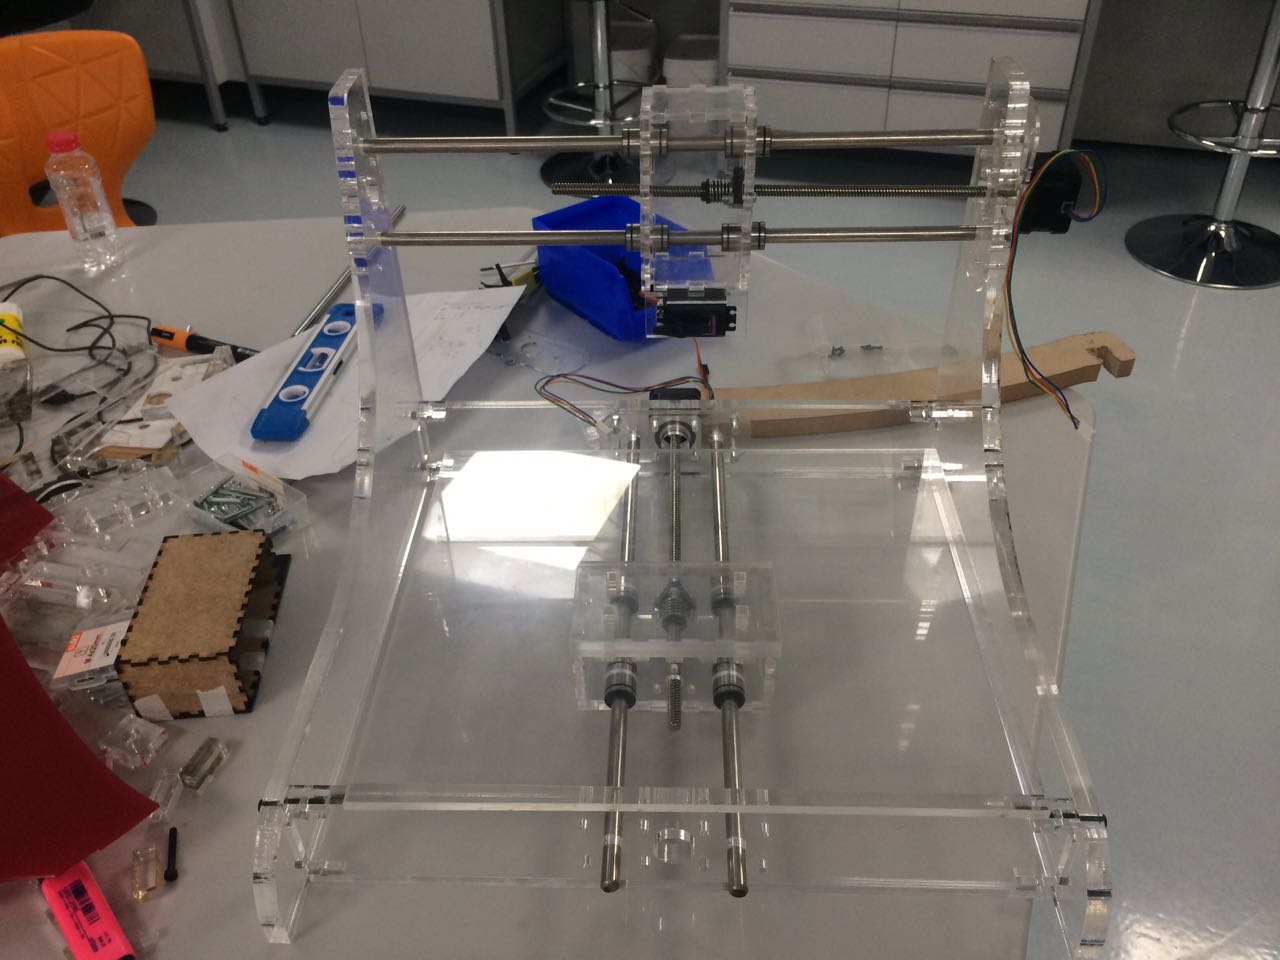
If you want details about the whole thing, just go to our group page FablabUAE, but here i will talk about my part, which was designing this thing here. 
I wanted to work on this part because I thought i wanted to implement what i did in Week06 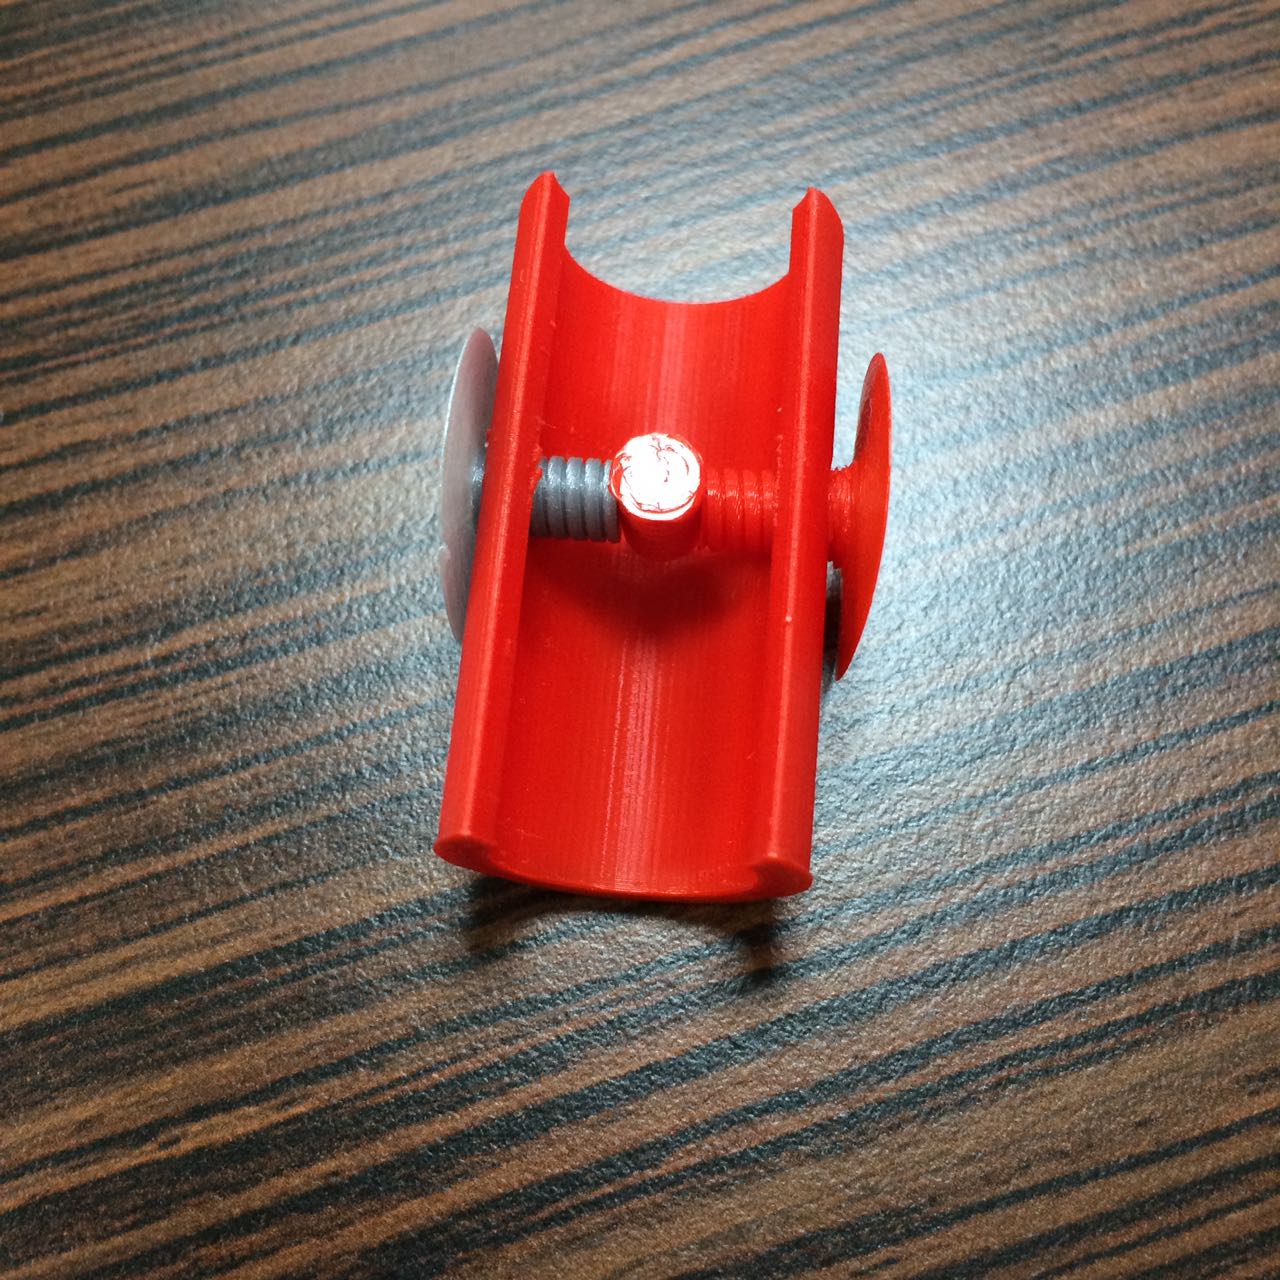
I already had an idea of how to make this thing work and I also wanted to train my 3d designing skills. I can honestly tell you that i feel a lot more confident about making 3d objects now, using fillets, making holes, measuring distances, making designs simi parametric, its hard to make the whole design parametric.. i learned that, but am getting better at it. The ProcessI worked on fusion 360 to design this part, most of the measurement were already known to me, but some of them, like these below. 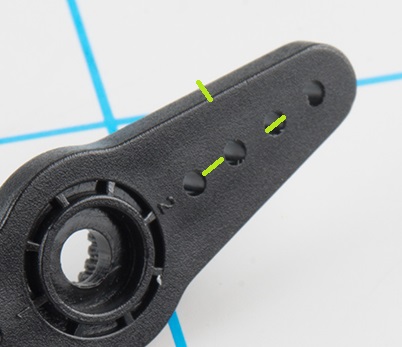
Fot those i had to test, this was fairly fast to do, since i made the parts really small, just enough for testing, and tested different sizes using several printers we had at the lab. 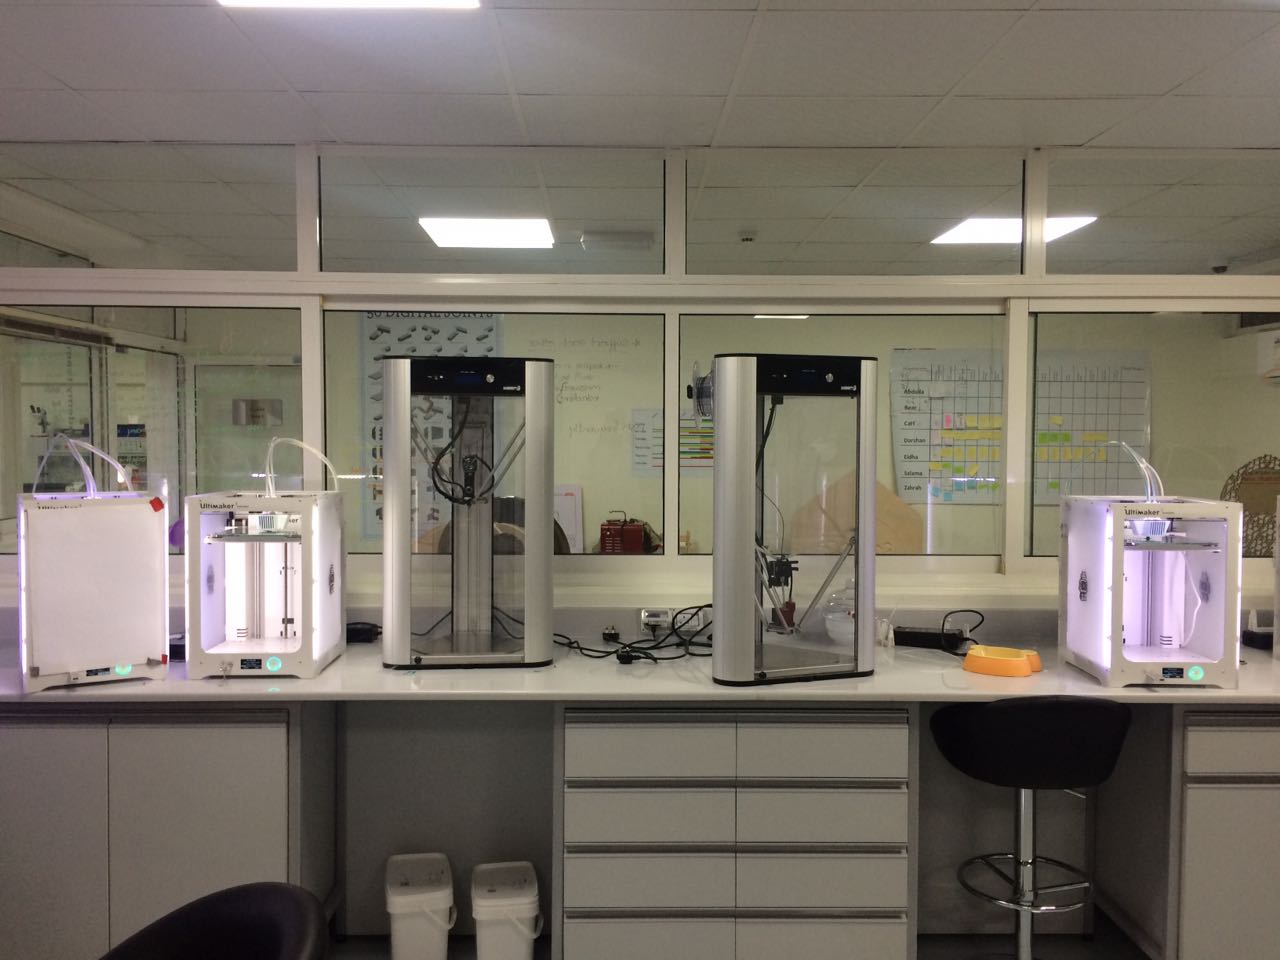
Those are only on one side of the room, the other side has 3 more, and there different rooms with more printers too. 10-20 minutes later.. (Note the length is 15mm) 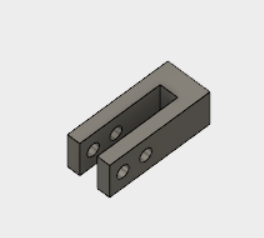
I couldn't find the actual piece but thats the design at least. Can I just add that I love using 3D Printers and I love that we have more than one printer at the lab! Screws and Clamp, thats what i call it at least. The tools i used were threads,split, Section Analysis, Press and Pull. 1.ThreadsOnce you make a cylinder, or any other shape that needs threads, you select it and click on the threads tool. you will get the window below. 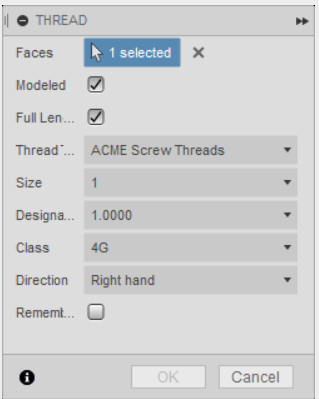
As you can see above, this is what i used to get the threads on the screw, I just chose what looked good to work for my 3d print. The Size deafaults to 1/4, which will make the screw size a lot bigger, i simply scaled my screw to 25% of its new size, and i liked that size, it was great. 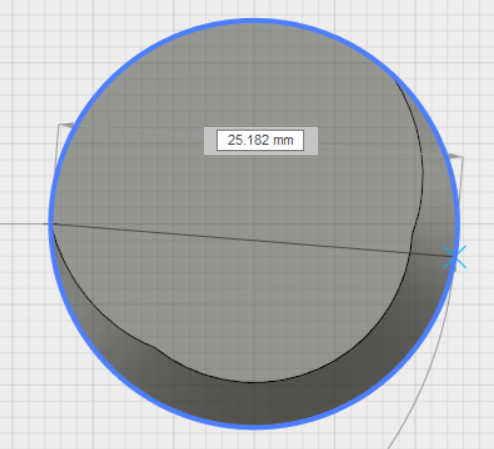
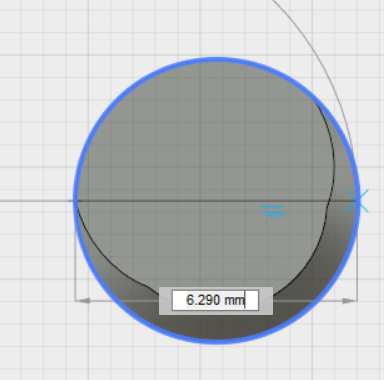
The one to the right, after being scaled down to 25%, The left is with the same settings on the menu above. The original diameter was 10mm. 2.SplittingNow for the innner threads, I used the split tool, with the screw as the splitting tool. but below is an example of Splitting Body tool. 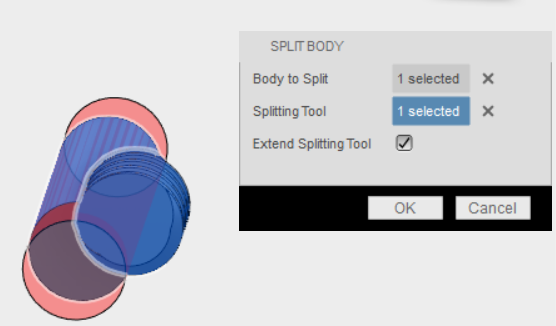
I just pulled the inner splitted body, and there you go, inner threads that match screw threads. 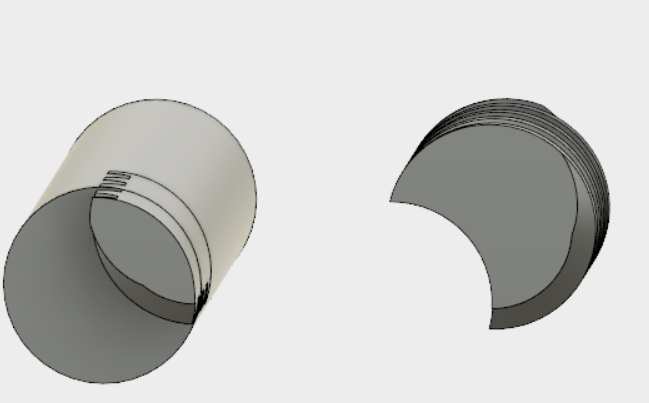
3.Section AnalysisThis tool is very helpful, i used it to get a better visual on the shape of the threads, inner and the screw threads. Then used the Press and Pull to adjust accordingly 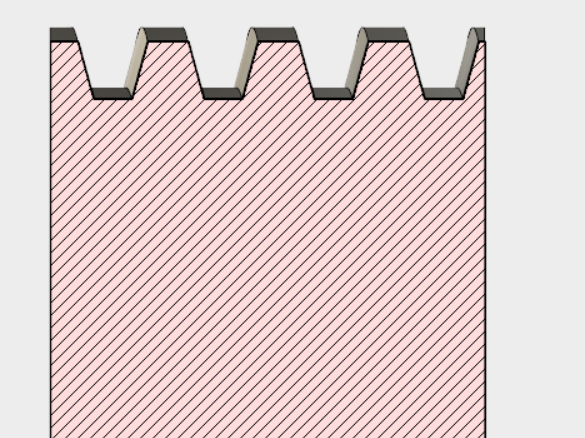
4.Press and PullOnce i tried the Section Analysis view, I knew i had to adjust a little bit, because i learned that on Week06, and this needed to be done because without this, the screws will feel really hard to screw, so i just made it easier by pressing the sides of the inner threads inside, and the same for the screw threads. 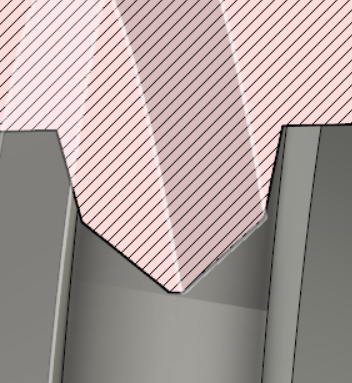
This is the process of making it, but actually there is another step that i used on Cura, because as you saw above I used Ultimakers, I had to test scales of the screws, I just play with the percentages, Usually 85% scale to the screws does the charm. 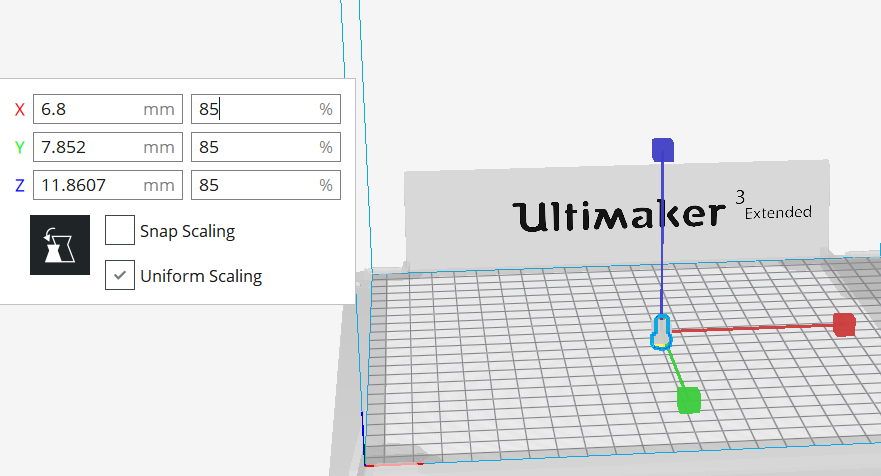
I cant get away with this step, it is just a matter of finding the right match for your screw size, however it works perfectly. 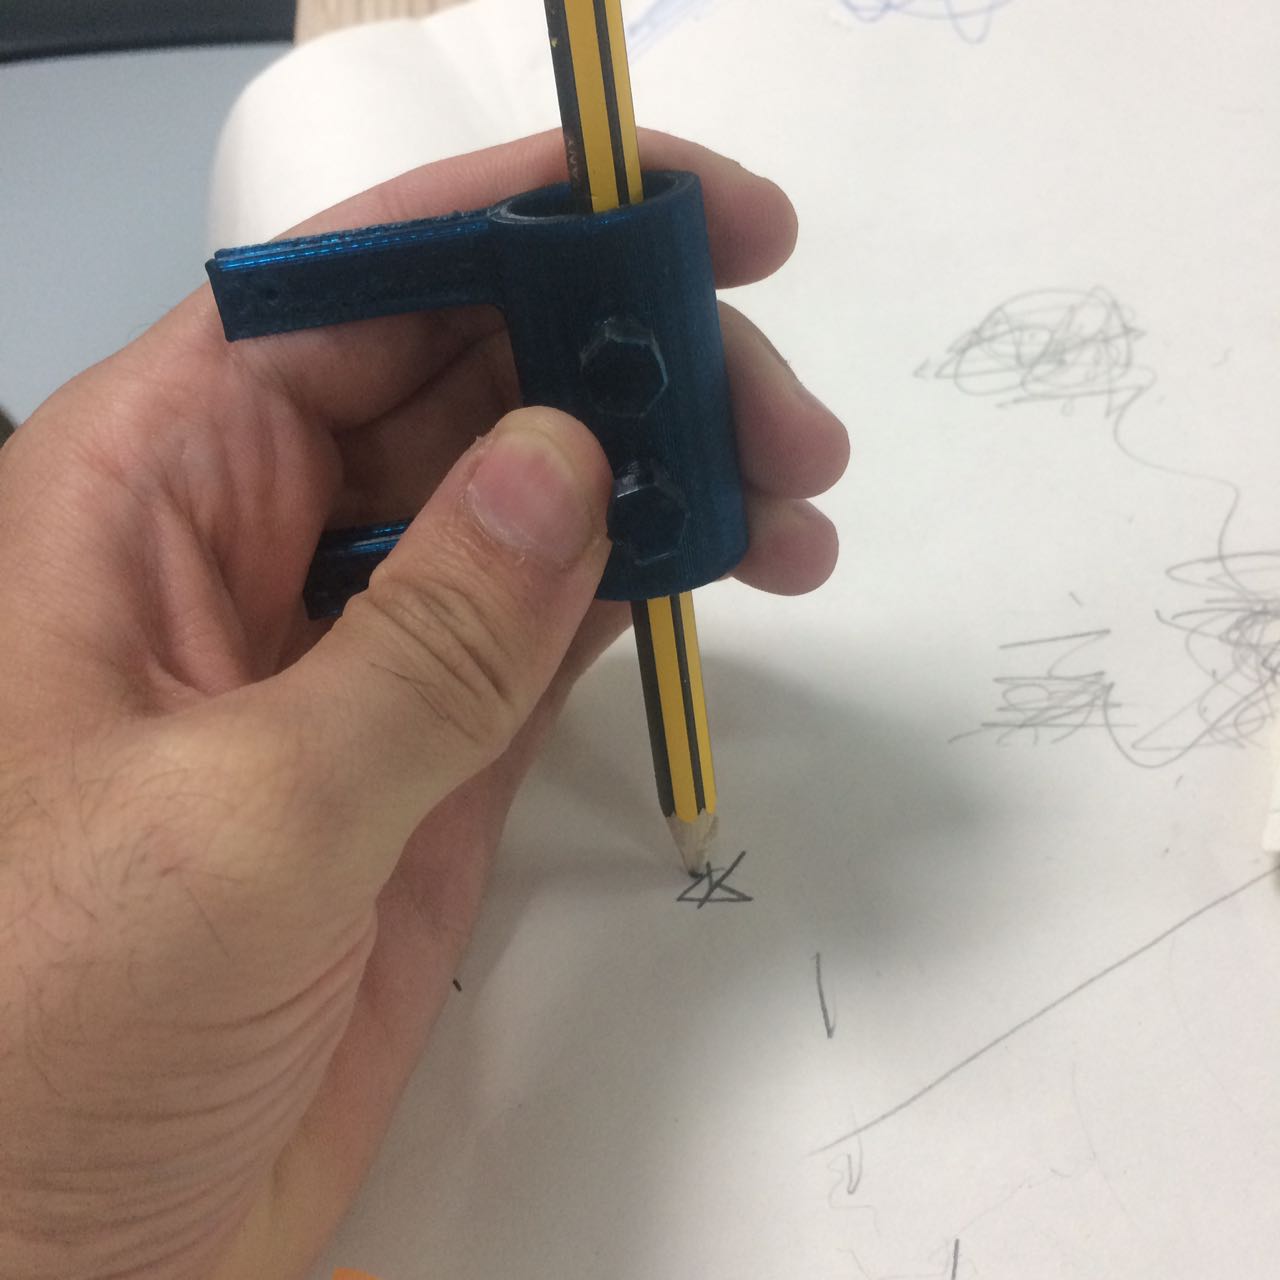
Download Fusion file here. Zahrah and i were supposed to handle how the servo holds the pen and design accordingly, so this was my part, and she did 2d fitting of the servo. We changed the design several times and now it may seem that we didn't even need to colaborate, but we did collaborate on old designs, notice some parts below. 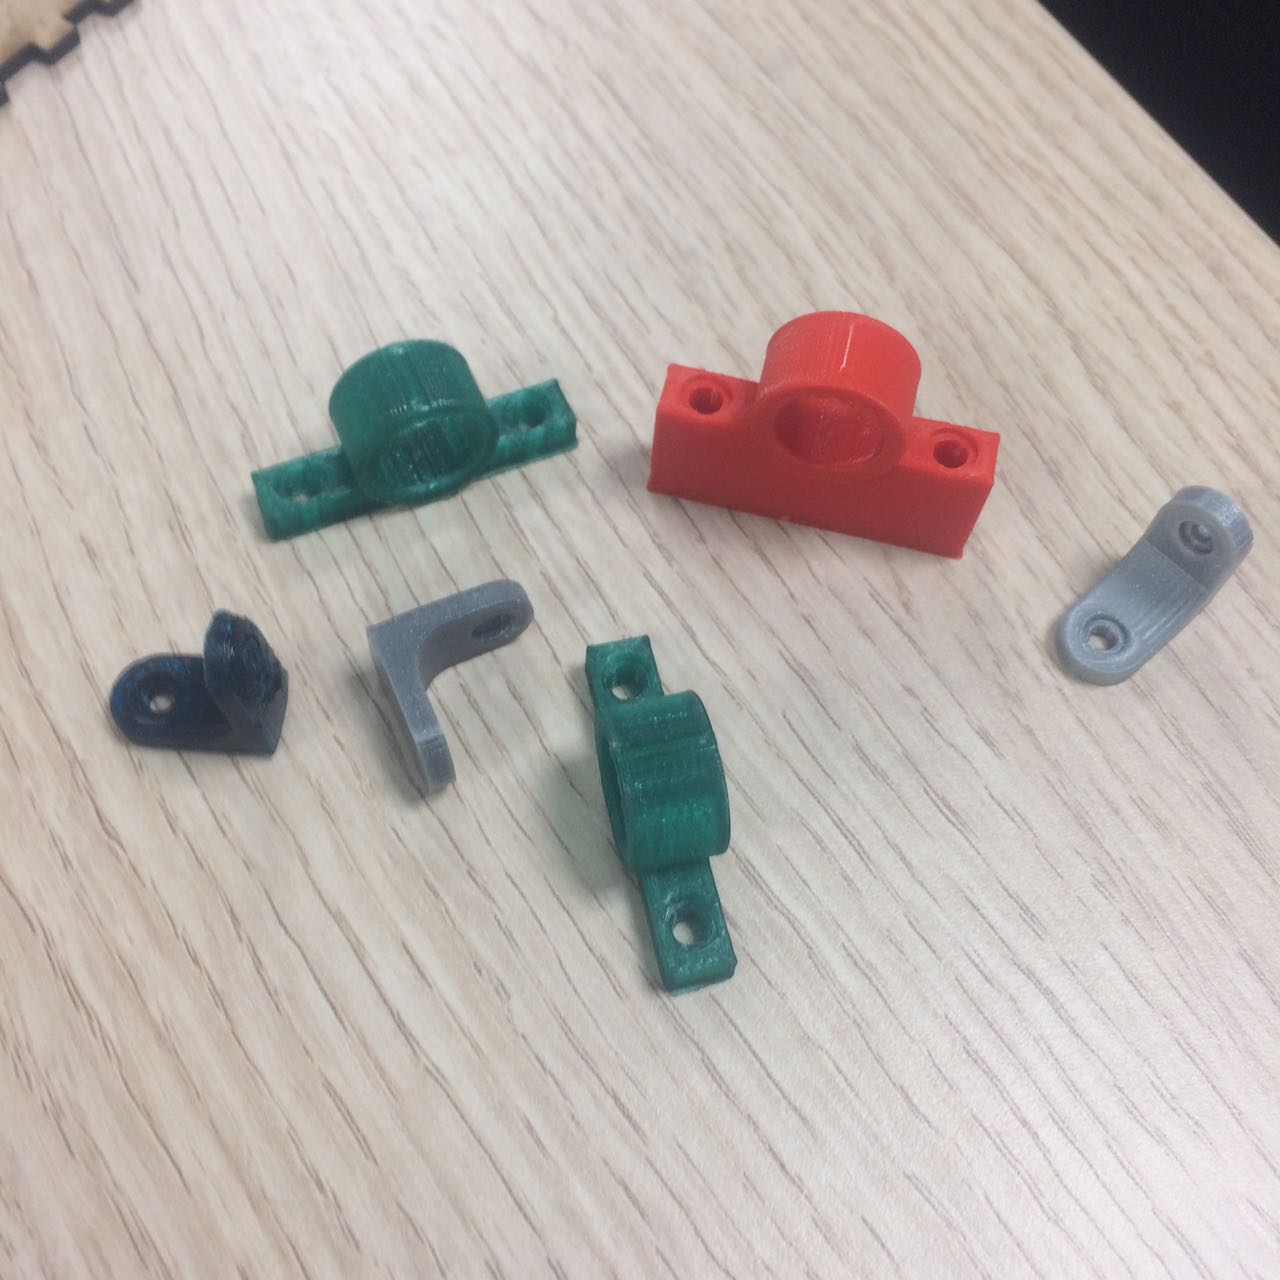
I am just documenting my part here, but we did work on all the parts eventually, everyone got to help everyone. The ChallengesHonestly for the Pen Holder Clamp, i didnt face any challenges, except the fitting and testing challenges, this part was really easy to make now, but I did regret not documenting Week06 with more details, as i had to know how i did that all over again, but not anymore, because i will redocument everything i feel i didnt do a great job at documenting. Maintenance took a little bit of my time, some printers did need cleaning, as the buildplate had this sheet of plastic on it, that made all prints harder to remove from the buildplate. I really hate documenting work, i can say that i have more appreciation for people who post tutorials, and i do have more appreciation for the process of documenting our assignments, it is indeed important, but it is new to me. now i that i am reworking on my previous documentations i will have a better experience documenting, and i will know what to document and what not, which i didnt know before, but now i feel like am steadily grasping the concept of documenting. Update 19-May-2018We actually ended up changing the designs a little bit later on. you can see that in the group page. |