Week02 - Project Management
About MeI am senior graduate for a bachelors program, majored in Security and Forensics, I love Developing games and programming them, during the fab academy program, i learned that CSS is a pain, I always loved disassembling things and figuring out how things worked, fab academy is a great opportunity for me to explore my potentials. I loved the idea that i was gonna learn a lot of things, and focus on actually making them and not the theoretical part of making them. Here I am trying to work my way through the weekly assignments along with college work, and the road distance to Fablab (1.5 hours, i come from another city) i also tried my best to get at least 3 full days at fablab, i go there more often than that, but i still respect my self for trying this hard! Overall i am happy of what i learned here so far! |
-Making the Website
| During this week, I worked on 3 websites 2 of them were templates, and then started all over again for this design which I still don't like but it works :D.
Templates were from a website called startbootstrap and they are under Creative Commons license, but their specific license allows copying and redistributing the templates, building on them and work commercially. One important thing to follow, you must give appropriate credit to the template owner. Here is a link to the explanation i found, i reached here from the Startbootstrap website, there was a hyperlink at the bottom of the page. You give appropriate credit by mentioning the template owner at your webpages, for example an overused practice is to keep the credits at the page footer. 
To use the templates, you just have to download the template folder. and copy the contents to your master folder. A template folder should look like this. 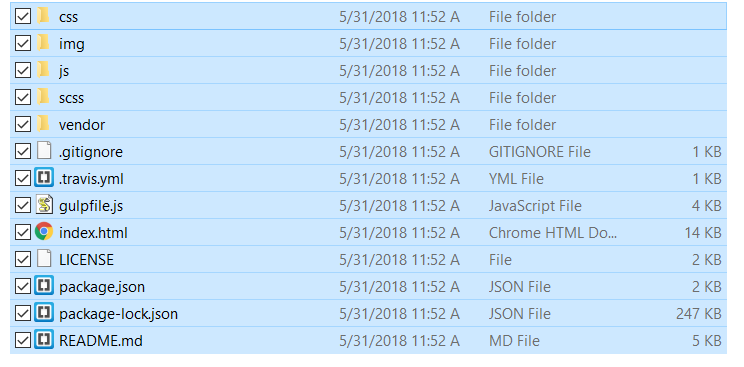
If you open the Index page, you might find some ready things with pictures included from the template, for example this side navigation bar and profile pic on the left of this template. 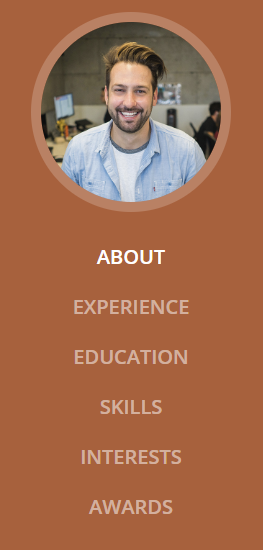
If you wanna change this profile picture, you view the source code of the webpage or just right click on the picture and inspect element, to see where is the code line for this image, then you simply go to the image location and save your desired Image over there and copy the path of the new image then replace it in the code. 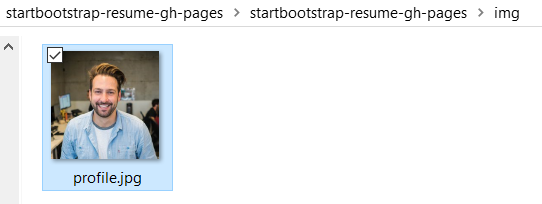
|
At first I used Brackets but I ended up using DreamWeaver. |


I had a student license from my college for free so why not use it, and I already had previous knowledge on CSS and HTML but as you can see its pretty basic, and now I realize that CSS is a pain and aligning things or organizing them where you want them to be can be really frustrating, for example the pictures above, this is how i aligned them lol. |

When there's something I don't know how to create, I just google it and mostly I choose the W3Schools website because it teaches you from the basics, but occasionally when that doesn't help I just go through stackoverflow. |
|
I actually switched back to Brackets, later on, just because it grew on me while i was helping friends with some code syntax, i don't know why i just felt it was simpler, way less buttons that Dreamweaver. 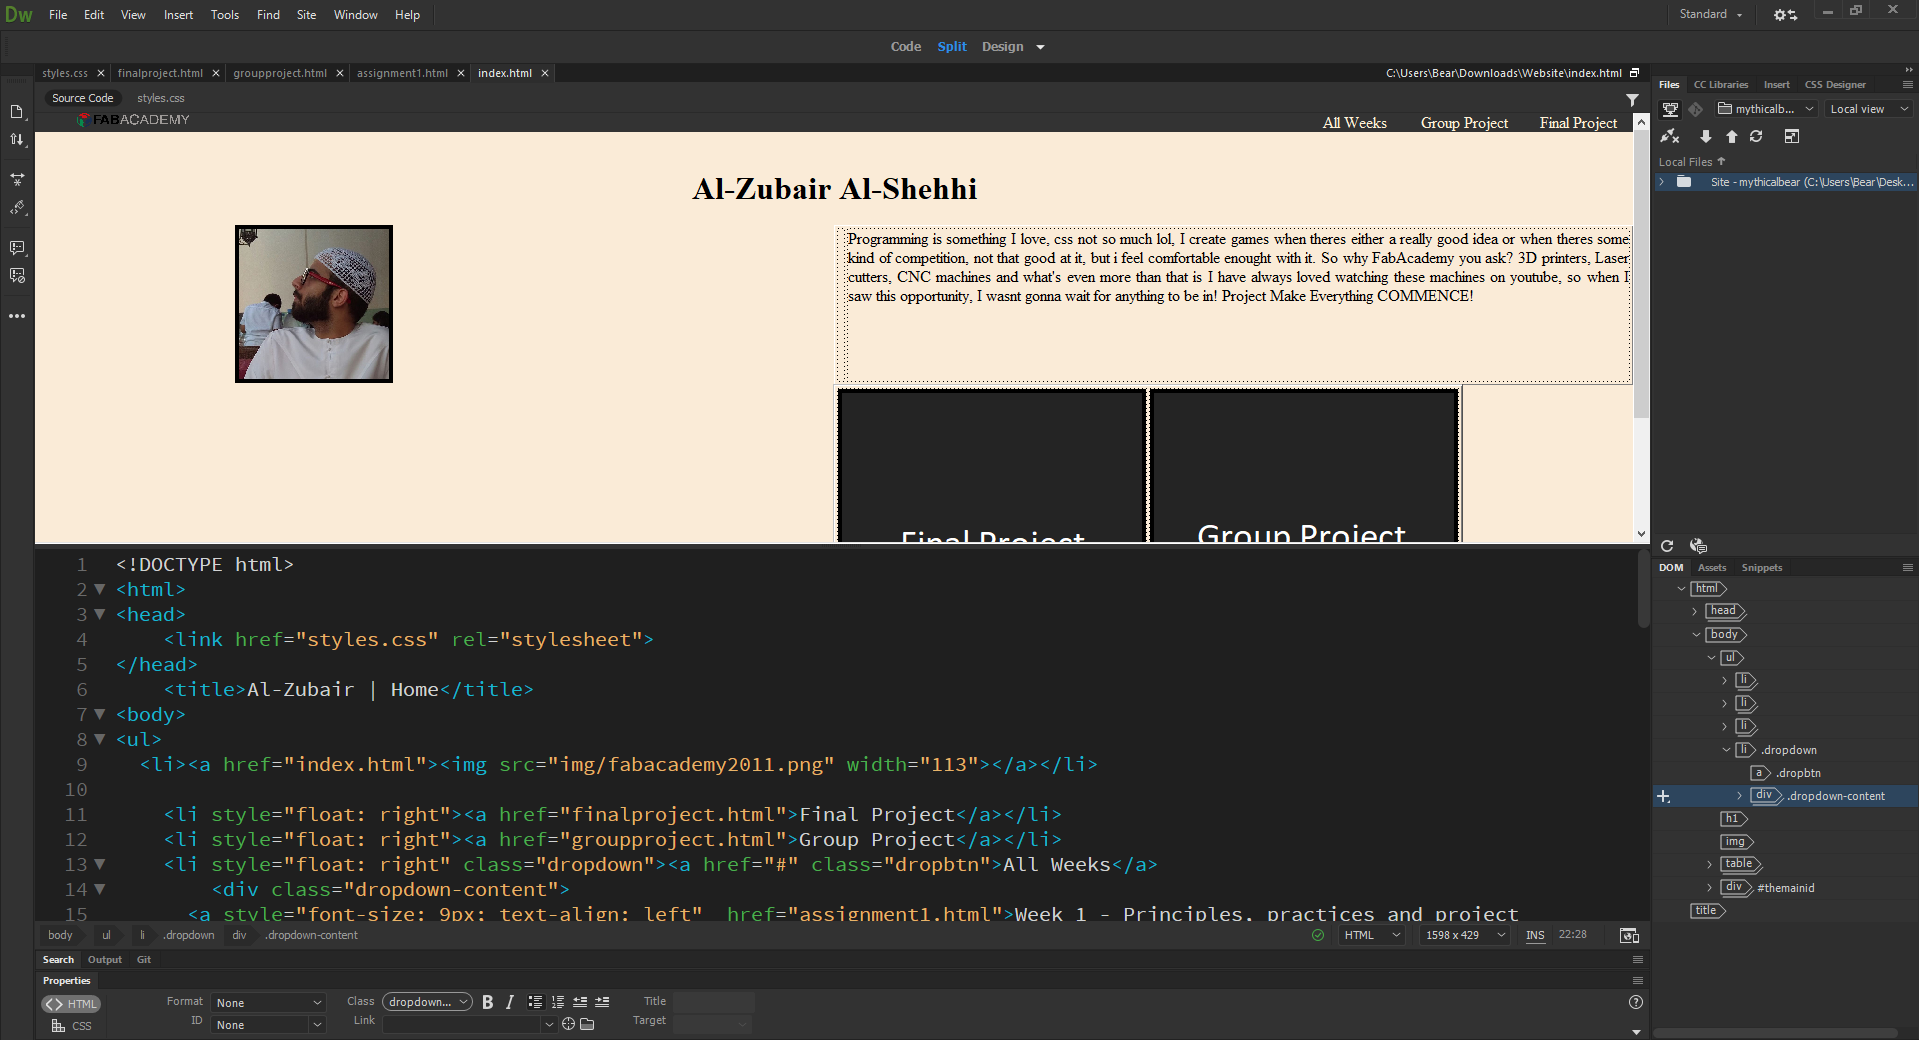
As you can see above, Dreamweaver is noisier than Brackets. I just stopped using it and switched to Brackets, it's good to learn more than one software. I also forgot to mention that Dreamweaver was really slow to load sometimes, never had this issue with Brackets. The hardest thing i did in my page was this dropdown list. 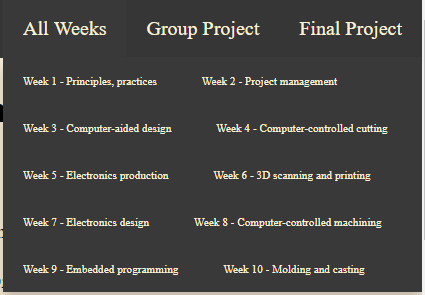
There is a tutorial here, that helped me a lot with coding it, although it's not as i want it to be, it works. Download the css code here
-DetailsSo most of the basic html tags are already common knowledge to me, but for the ones i learned during fab academy i will mention them below. RotatingI used this to fix an image quick from the code, this is a css code that you can use by calling "Styles=" this basically rotates the image to the desired degree. This fix was on Week11. 
I learned that here. JavaScript- Reduce Video VolumeI think this is my first experience with Javascript, I had a noisy video on Week11 and Week12, and i care about you headphone users, so i learned how to change the default video volume. 
The "script" tag is the javascript code, this code defaults the volume to 0.15 which is to 15%, i found that convenient. I learned that here. Live Preview on BracketsThis is the button to use for a live preview on Brackets. 
A normal working session would look like this. 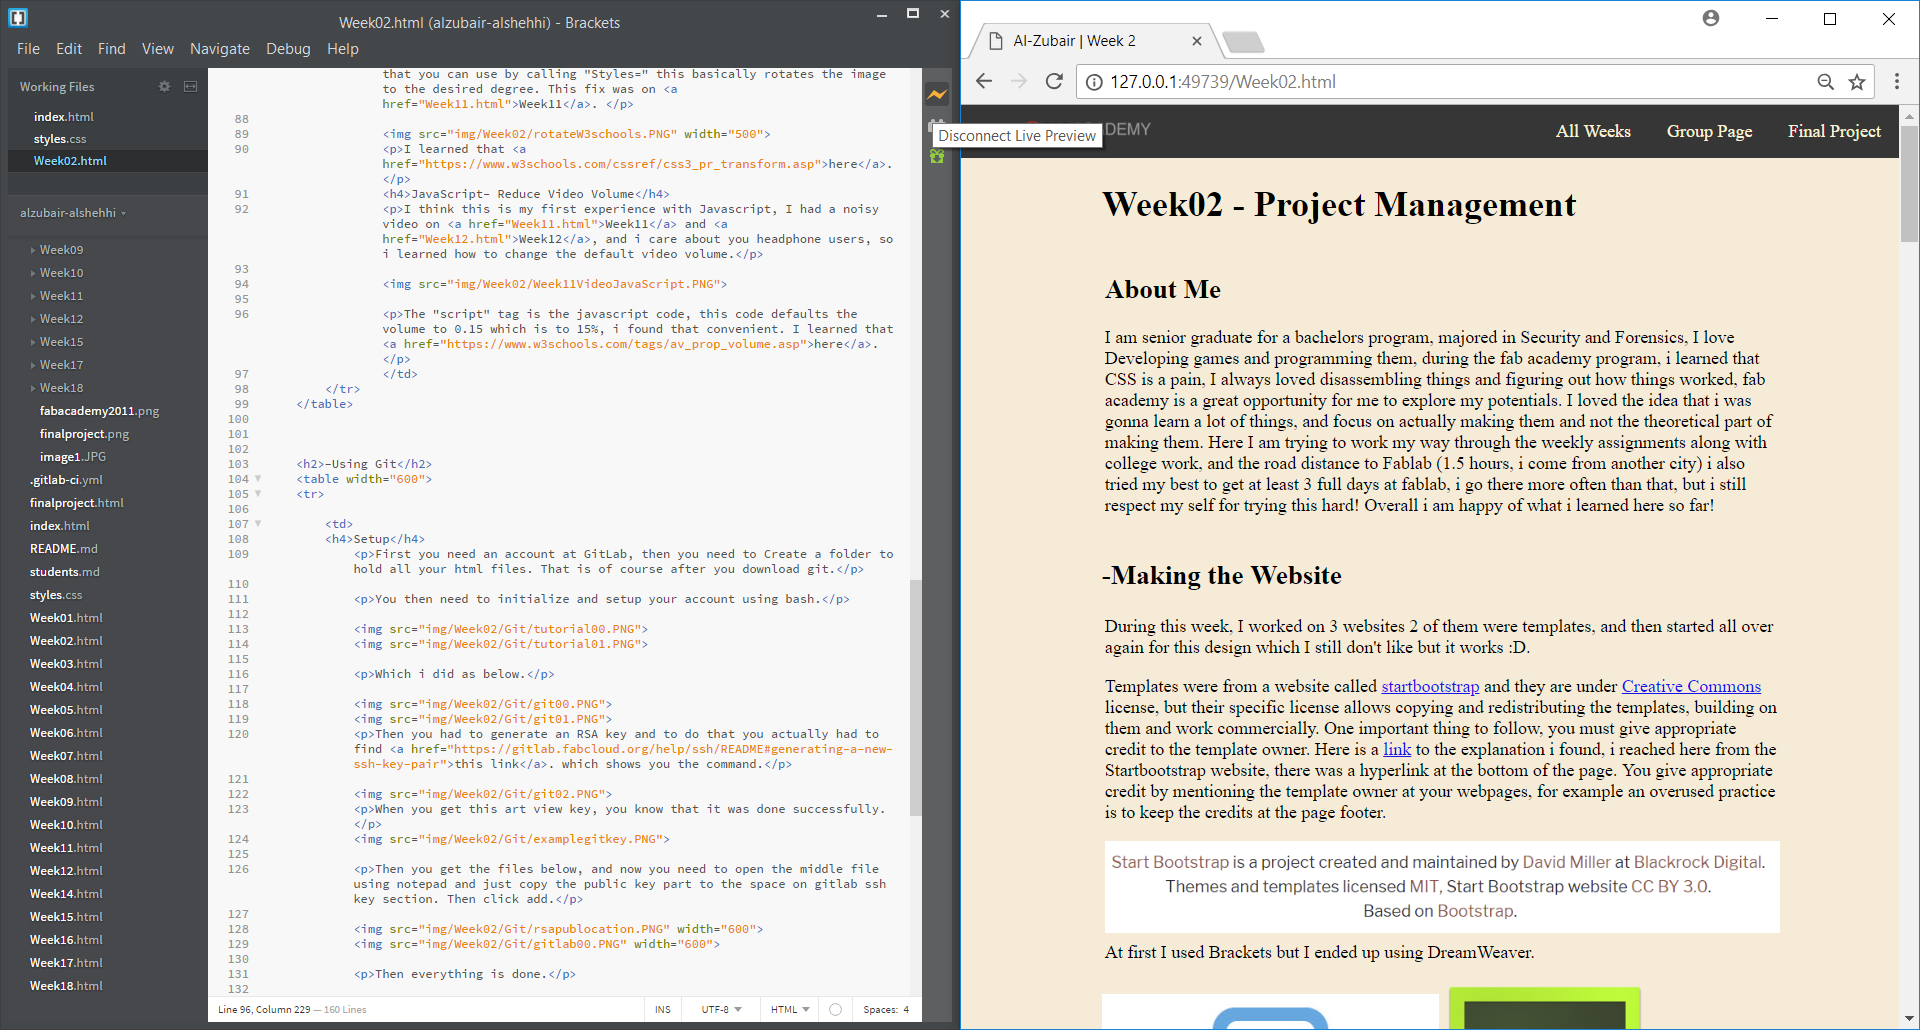
Live preview allows you to see live changes on the browser to the right while you are coding, this is very helpful and fun to use, using it will help you focus on how nice things look on your webpage. I don't use it all the time honestly, I don't mind refreshing the page and saving every few minutes. |
-Using Git
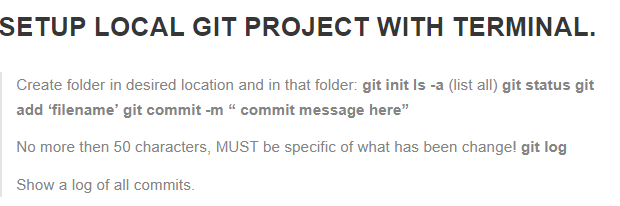
What is GitGit is a version control system, it is used for people that want to work together on one project, it is easier to work with this way. What is Version ControlVersion control is a system that is made for people to work together on one big thing where they want to separate tasks and work together to build up their project. The concept is that along working on your project, you are not afraid because you always can go back to older versions, so it kinda acts like a backup of your work. SetupFirst you need an account at GitLab, then you need to Create a folder to hold all your html files. That is of course after you download git. You then need to initialize and setup your account using bash. 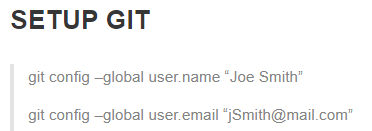
Which i did as below. 
 The commands above basically adds your name and email to their git configuration, its like some kind of registration form, you only need to do this at the start of an init. Then navigate to your folder that you just created, the one to hold all your html files, and initialize the repository using the "git init" command, this will actually create a .git file in your folder, and if you delete that, you basically stop tracking your project using git. Long story short, this commands means you chose this file to be tracked and recorded using git version control system, this is where your work will be. 
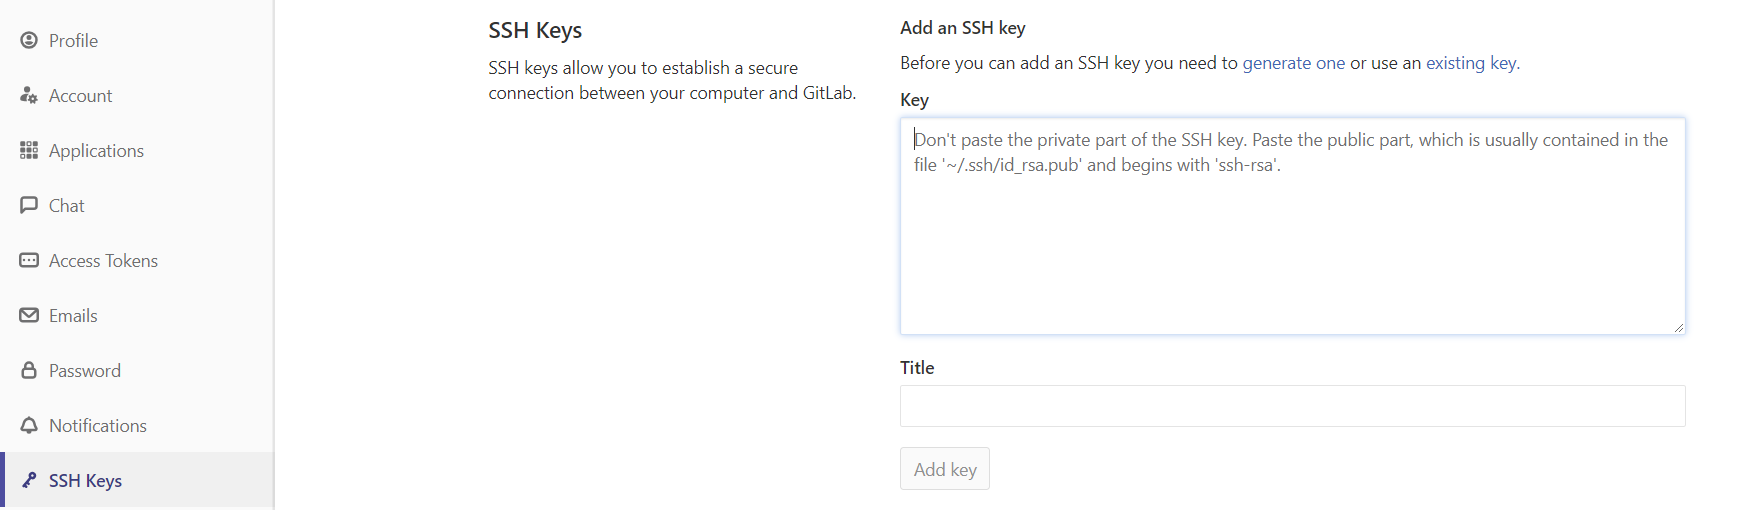
If the git init is successful then you will see the (Master) in blue like i have above, i actually did it before, so that is why it shows above. Then you have to generate an RSA key and to do that you actually had to find this link. which shows you the command. This key is an encryption key used to verify the user identity, it’s when the one you have and the one on the website matches that you are authenticated, this is also a safety measure as this is actually a defensive mechanism to avoid a hacker accessing your files. This should is only done once, sometimes you might wanna generate a new key if something wasn't working correctly but thats rare. 
When you get this art view key, you know that it was done successfully. 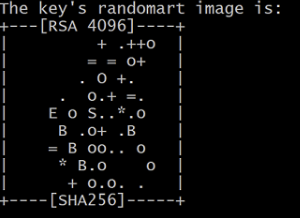
Then you get the files below, and now you need to open the middle file using notepad and just copy the public key part to the space on gitlab ssh key section. Then click add. 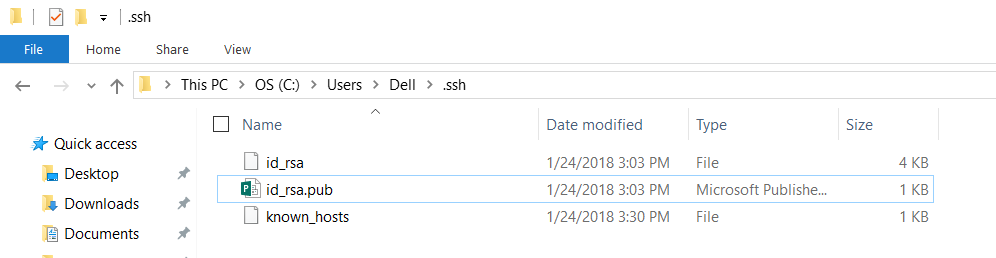
Then everything is done. ProblemI saw this great tutorial on git which helped me understand even new things, like how to ignore files and such, i never used them, but i love that i know how now, while watching the video however i found a problem while using a command to double check what you configured. 
This command above will list your configurations. 
my user.email shows "a" which should be my own email! i fixed this by using the "git config --global user.email "YourEmail@YourDomain.com" 
Uploading ProcessAfter you start a tutorial, it was very hard to learn the concepts of it and setting up the first steps, but once you start to actually push something you realize that you only need to know a few commands! |
However don't forget the git fetch and git merge, which are basically git pull(I use this now), I learned that now, and am never gonna forget it lol |
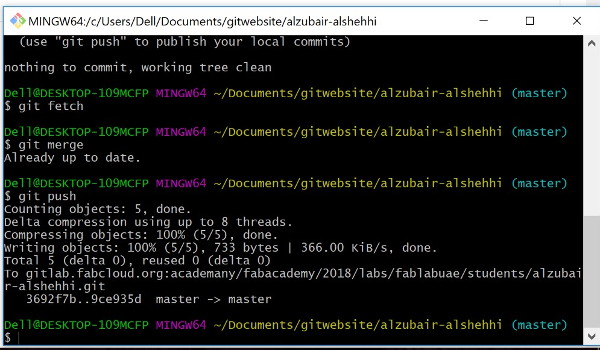
Git is finally starting to make sense to me, and I love using the command line! I will definitely learn more about it gradually as I continue finishing the assignments. "git status" command is really useful sometimes, because it shows you like the below picture, so now you know that you forgot to save for example. 
So the basic process of commands in order i use to upload my updates are: 
Ref here.
3.git commit -m "Write a description here": It saves your changes to the local repository, the changes however are calculated by the git add command. -CompressionI used gimp software as a compression tool for images, it is simple to use, you just open the Image on gimp, then export it. You should get this window. 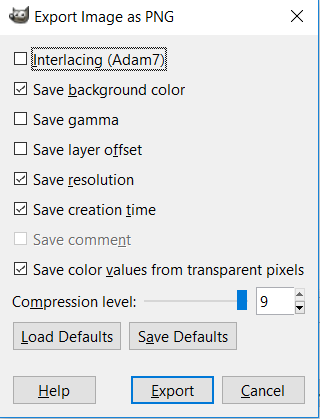
Notice there is a compression level field, 9 is like the best gimp can do. I tested it on an Image, without even scaling it down, scaling it down will cut the size even more, but you can just use it without scaling. 
Notice the size difference by just exporting it from gimp! My rule is to compress images that has a size more than 200Kb, i usually don't need to compress images, however i do have to compress videos and change it's quality, for that I use a webtool at VideoSmaller.com It scales down, compresses and can even remove audio, it is perfect! Although gimp is useful i really don't like it that much, it is really slow when starting, and sometimes its glitchy! like below. I closed gimp and this stayed there for a while on my desktop, just chilling. 
|