Molding and Casting
Week 10 - Molding and casting
Here you will find my work description during this tenth week
General info
Class notes
Assignment : Design a 3D mould, machine it, and cast parts from it.
Read the MSDS and TDS
We went with santi, Censu, and nico to FormX, a molding and casting materials store, nearby the fablab. The guys there gave a good advices and show us the large amount of product they have. It was nice to see all the examples you can make using resins, epoxies, sealers, silicons (even for metal castin, or for food).
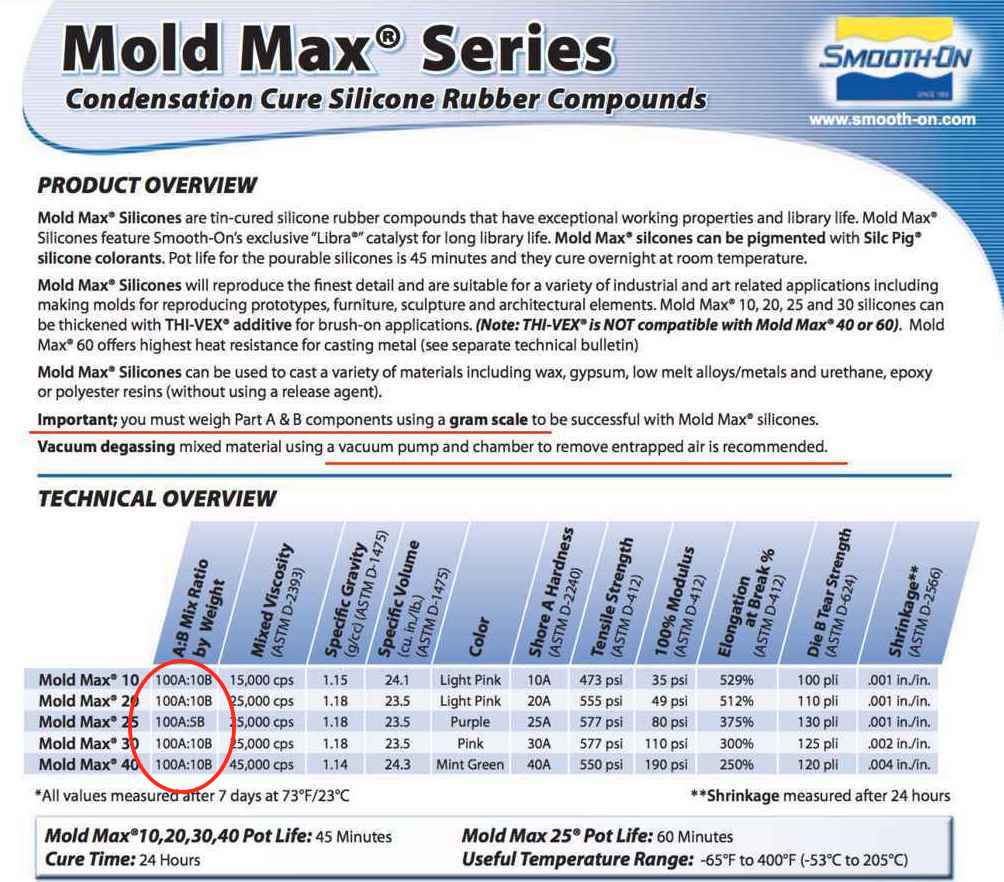
We are going to use essentially two series of materials MoldMax and Smooth-Sil
Reading the Safety data sheet
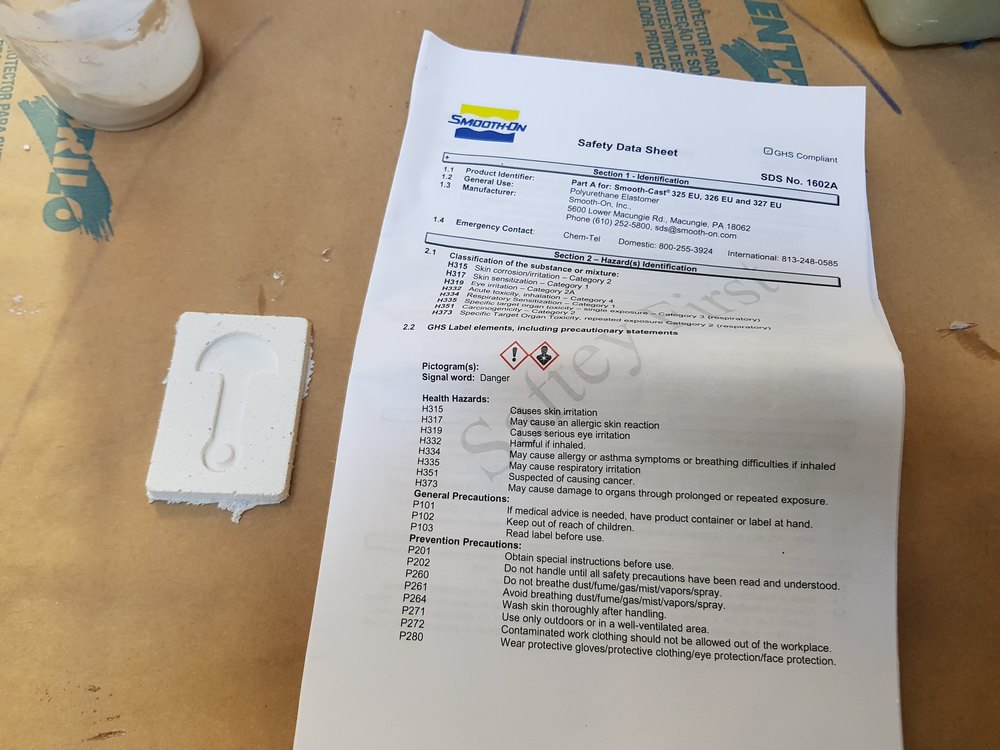
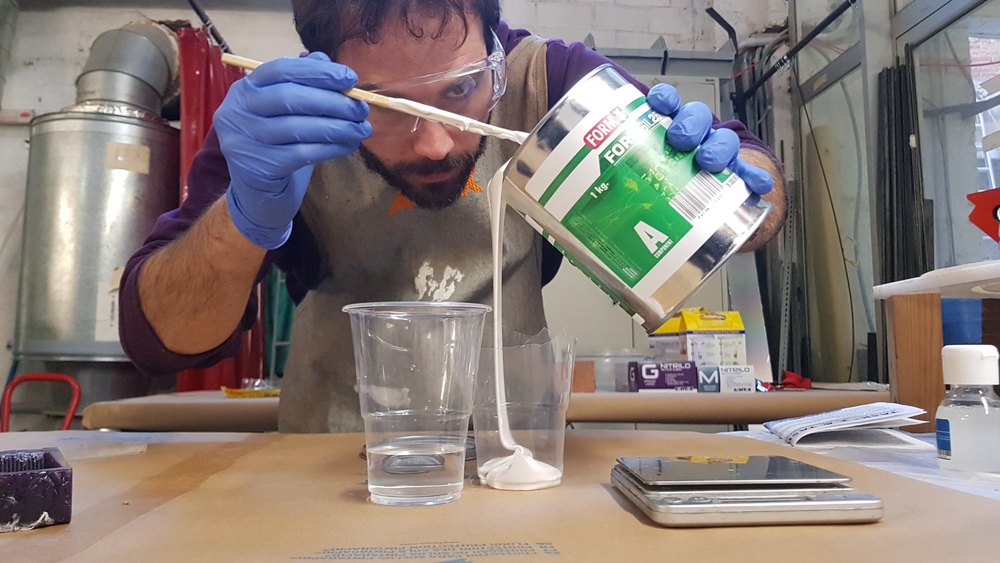
in the following captre you can see the red line taht spot the main points you have to take care about (but you must read all) like mix ration A (silicon) & B (catalyst) that cures the silicon. Be carefull when you mix then and try to avoid bubbles before pouring. For exemple MoldMax40 has a 100A:10B ration that means you can mesure using the scale 10% of A for B weight.
Other recommandations: As Santi Wear rubber gloves, long sleeves and safety glasses. Something on your clothes. Do the molding and casting in a ventilated room.

Material and equipments
Material
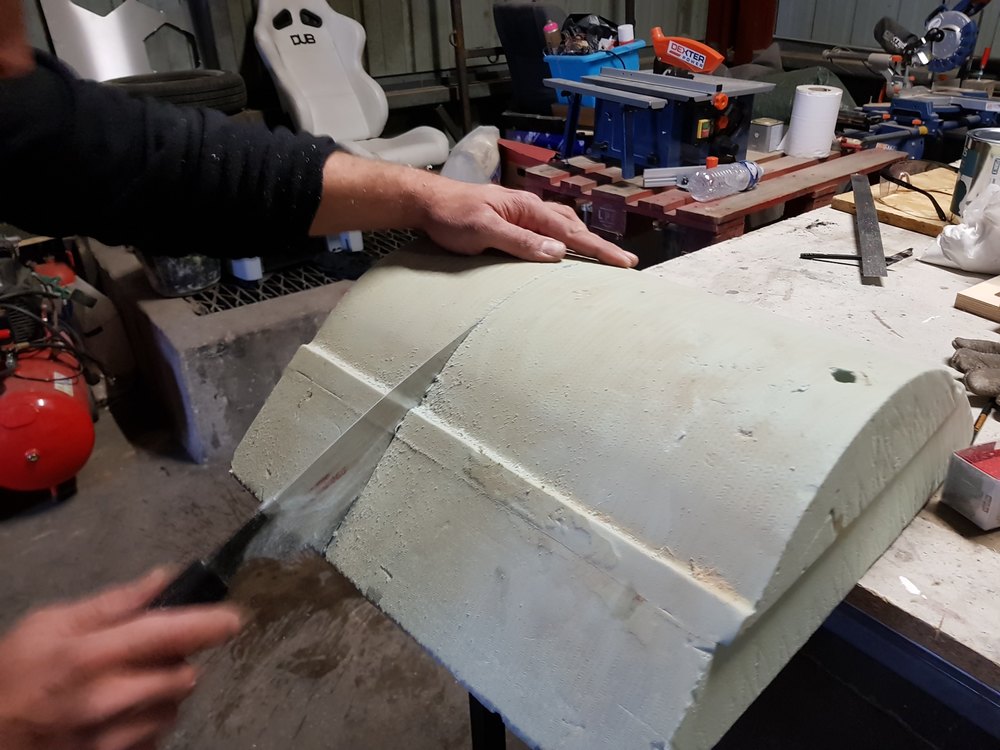
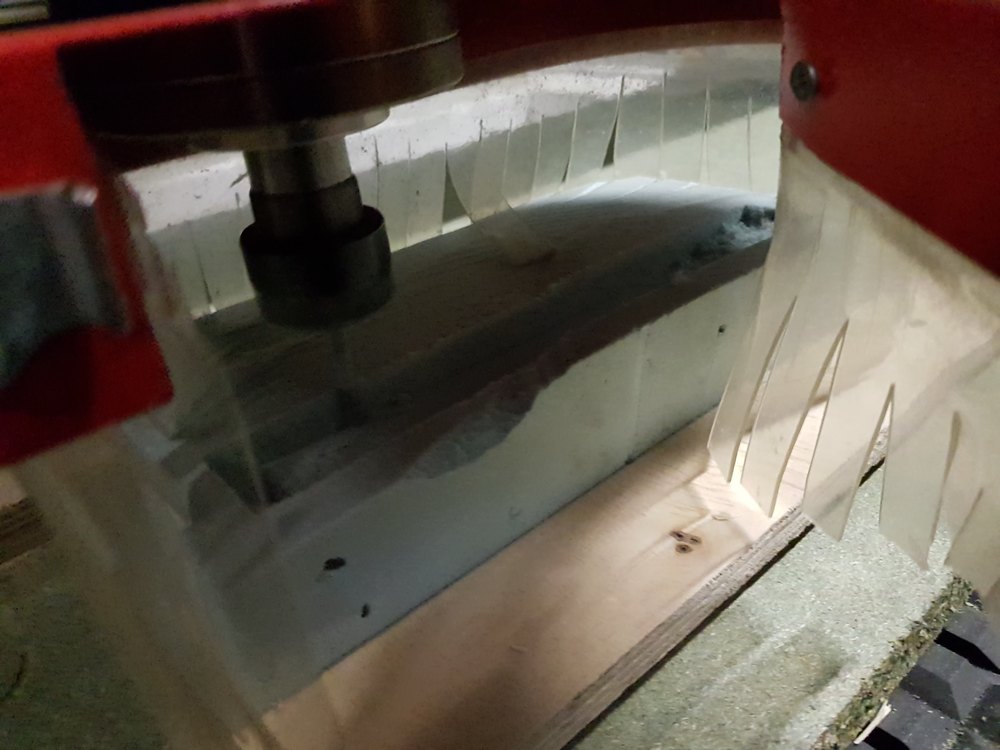
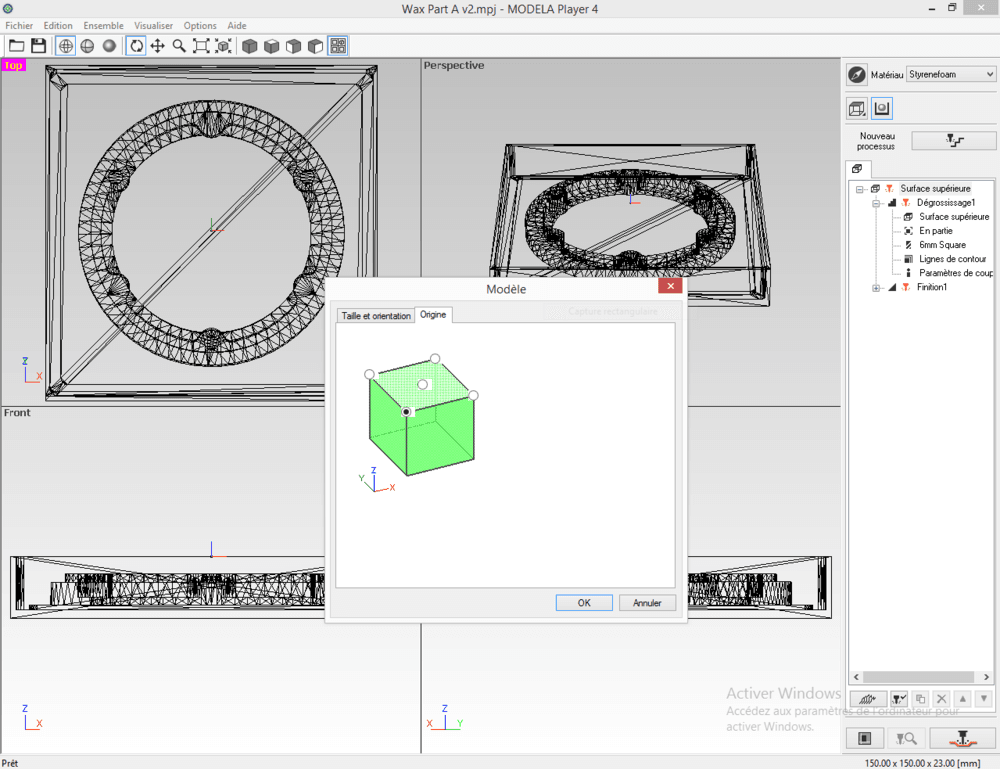
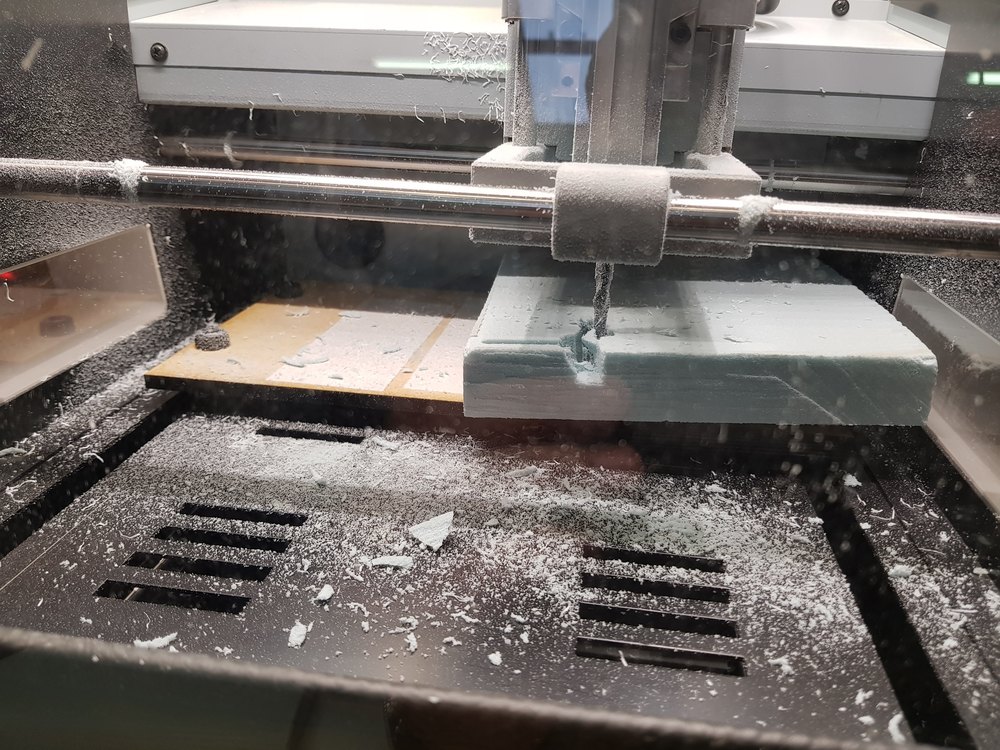
As I already knew that the wax material was not big enouhg to mill the part I want, Santi and Xavi, my local instructors suggest to use a piece of foam. I grad a waste piece not used in the barcelona lab and bring it to Perpignan.
This material is Craftfoam-Green usually used as insulation, its density make it easier to mill. It is an Extruded Polystyrene styrofoam.
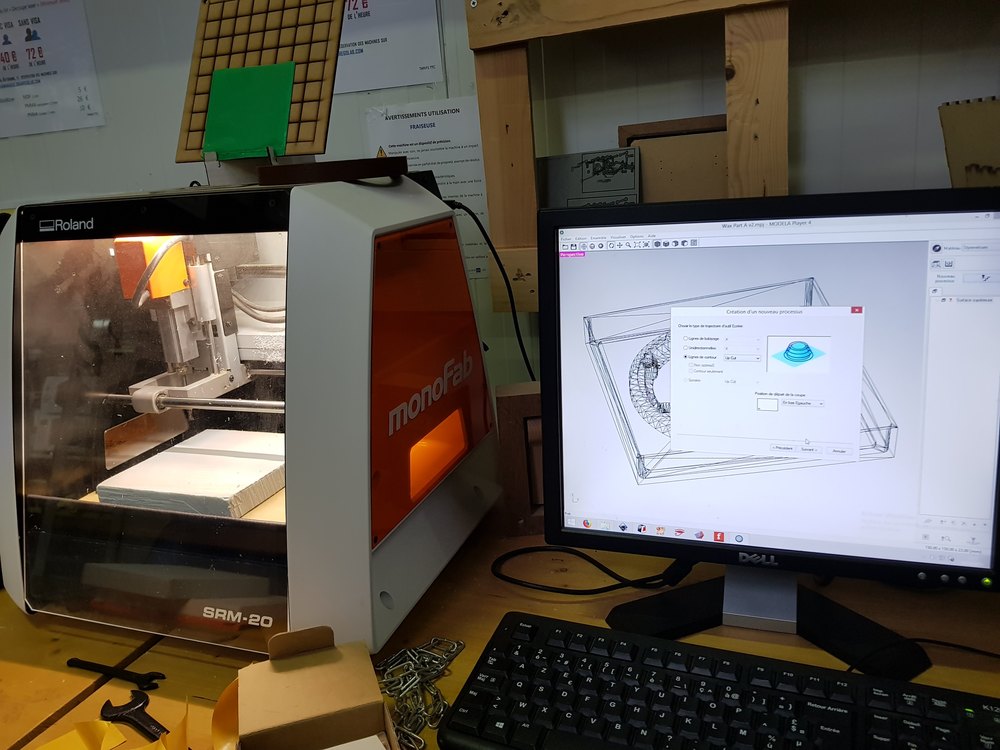
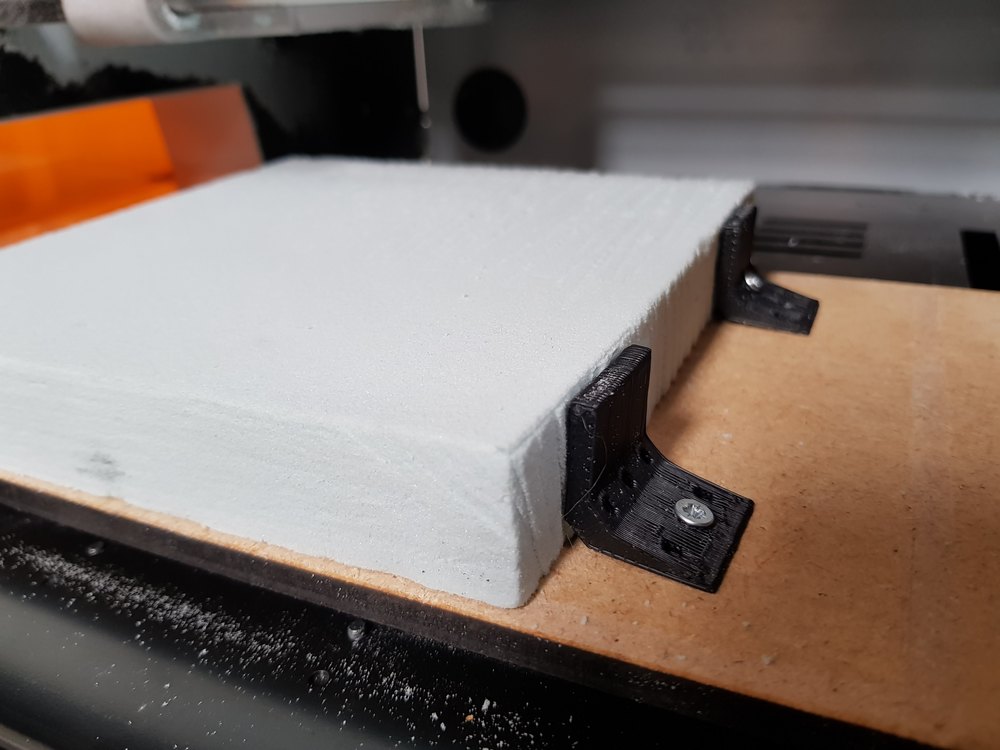
In order to use it in our Roland SRM-20 CNC machine I cut some 150x150x25mm pieces.
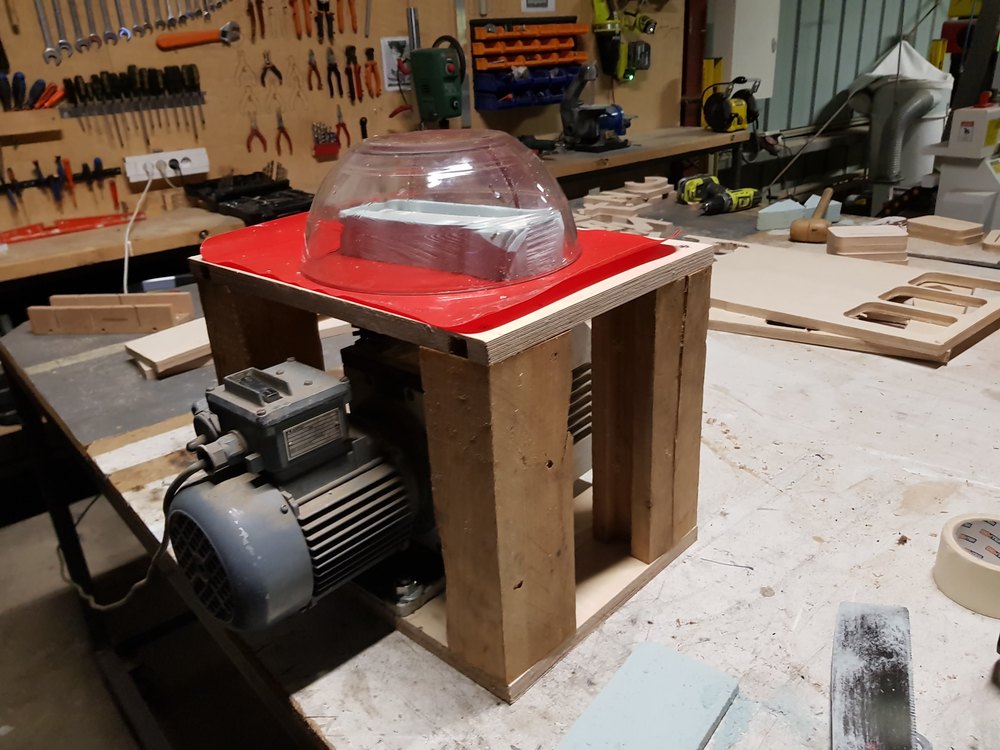
But first As we saw during the Molding and casting master class, we need a vaccum machine that will help us removing the bubbles when casting.
Vacuum
Let’s start building a vaccum machine. We already have in Perpignan FabLab an old Vacuum pump from a milking machine in our resource stock. It was the perfect occasion to use it.

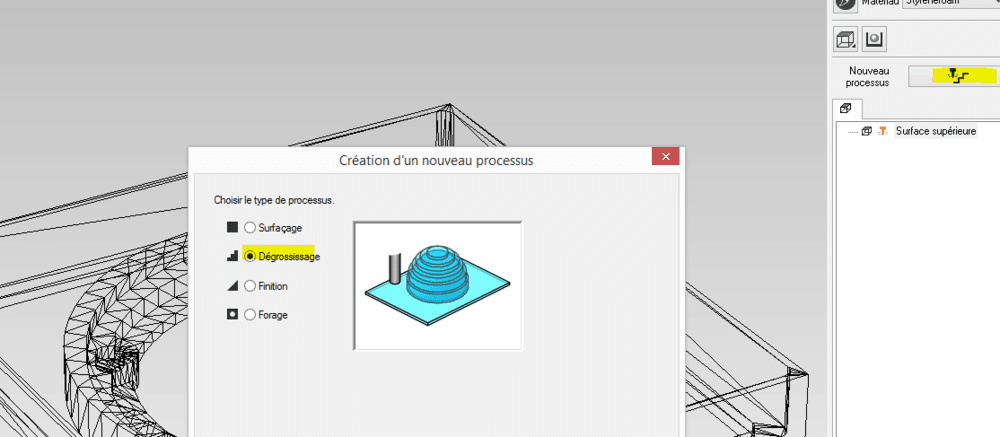
To test it, I decided to mill a simple design using our CNC router.
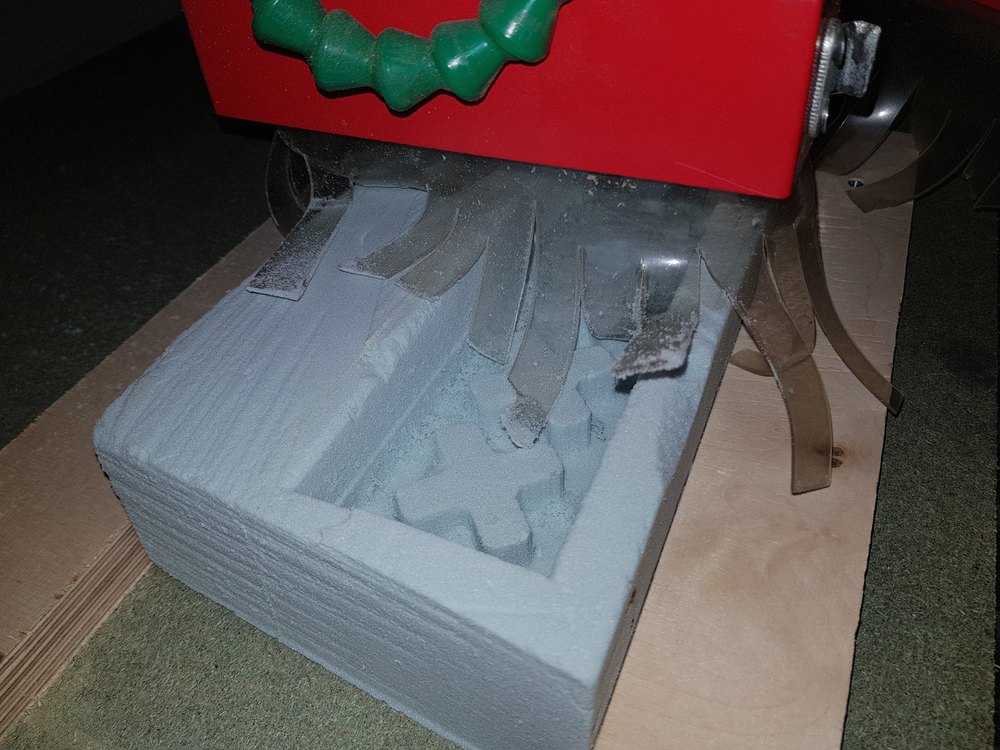
Then cast with plaster.
Test our brand new vaccum machine and Voilà ! Looks great, we can see bubbles going on op of the plaster.
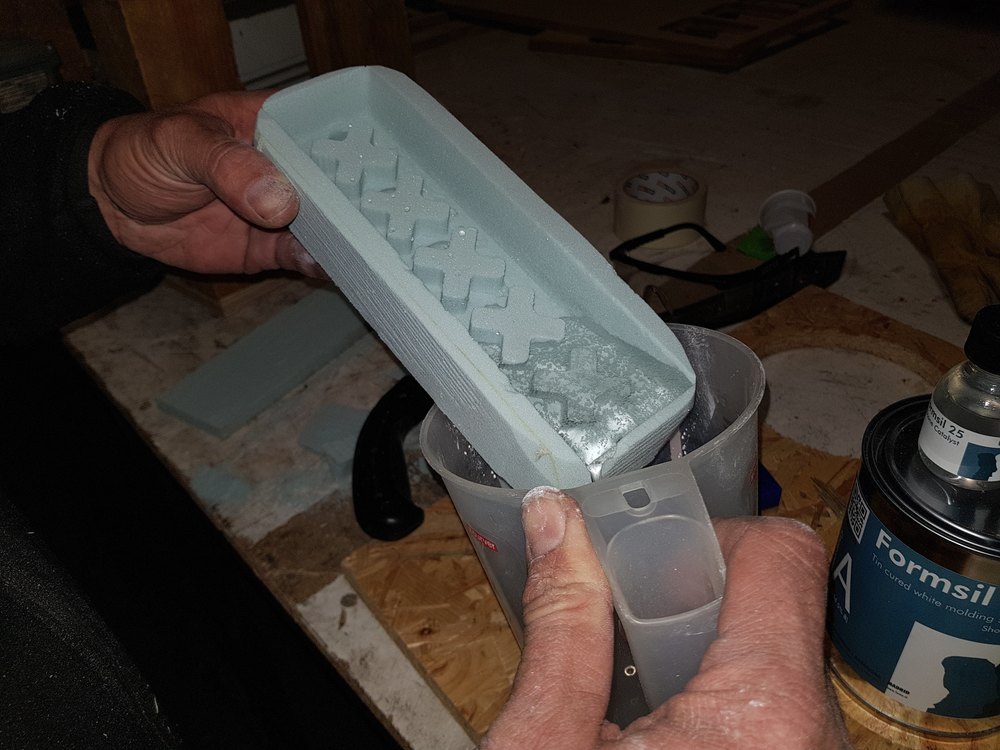
Some hours later I tried to remove the foam but I was stuck winthin the plaster, probably not the best material couple to cast, but I only wanted to test the vaccum machine and the result is really positive.
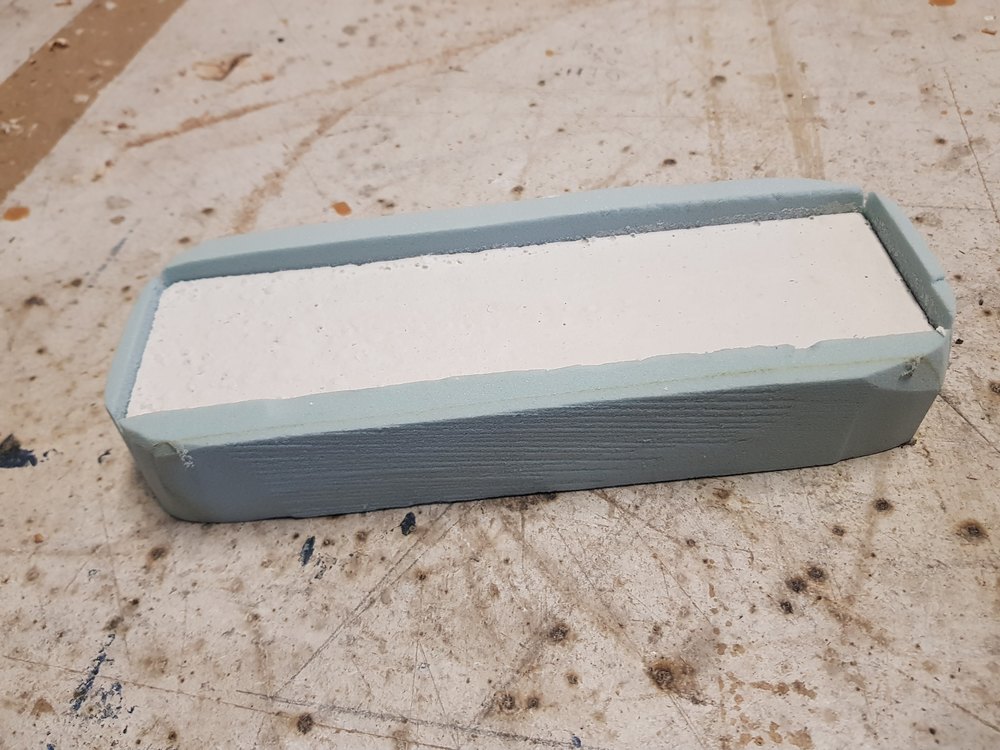
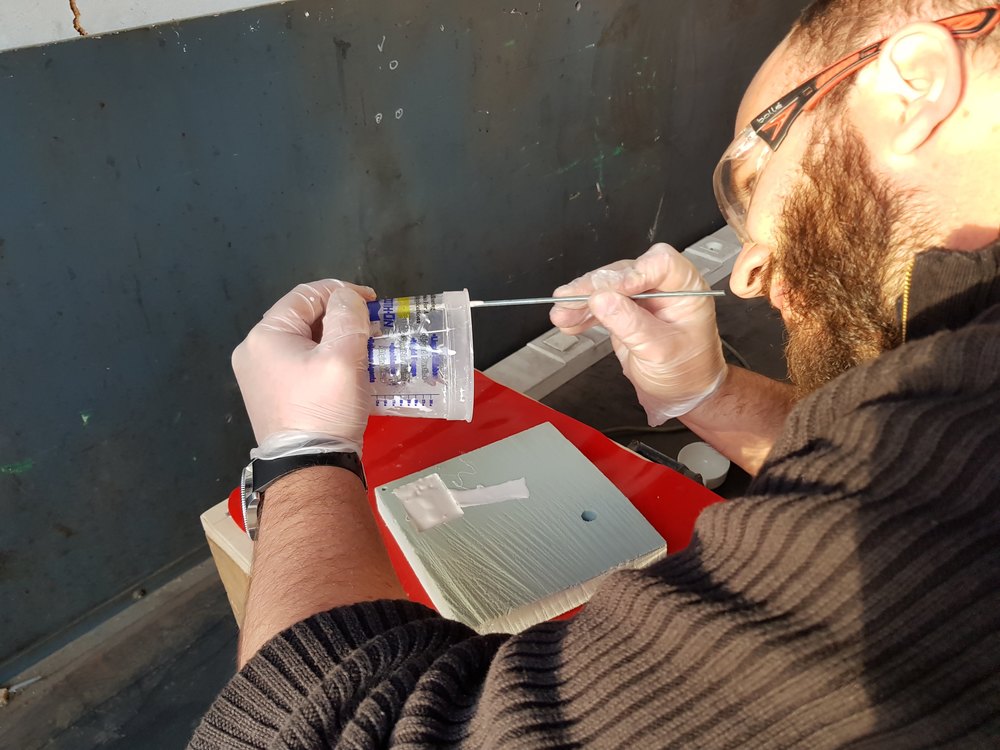
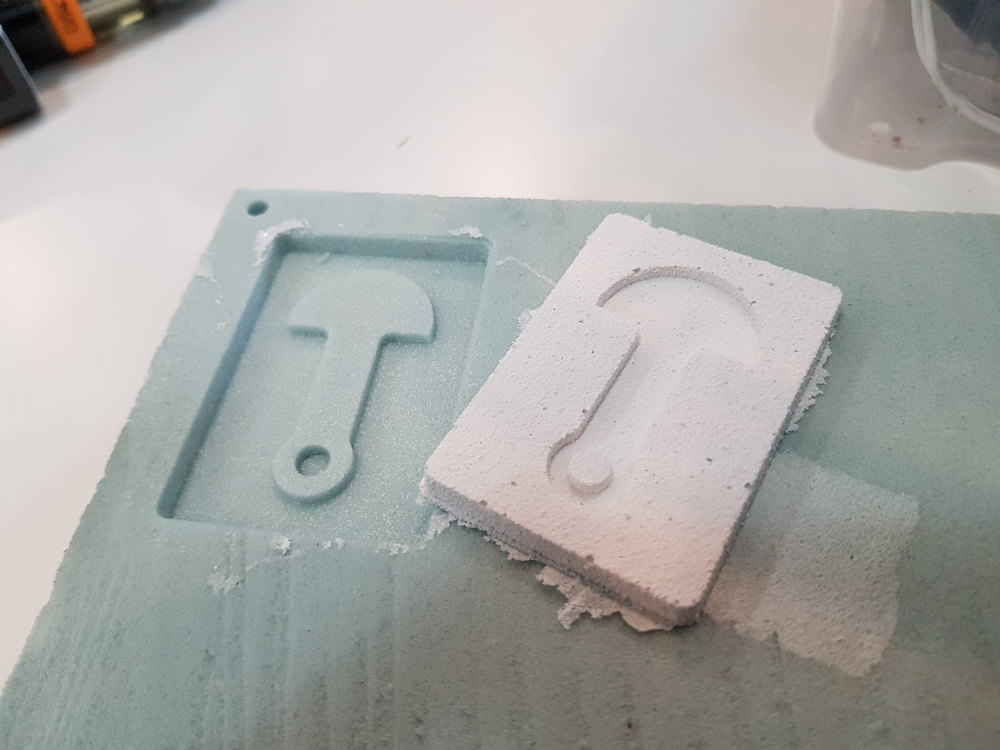
Test parts - Removable trolley holder
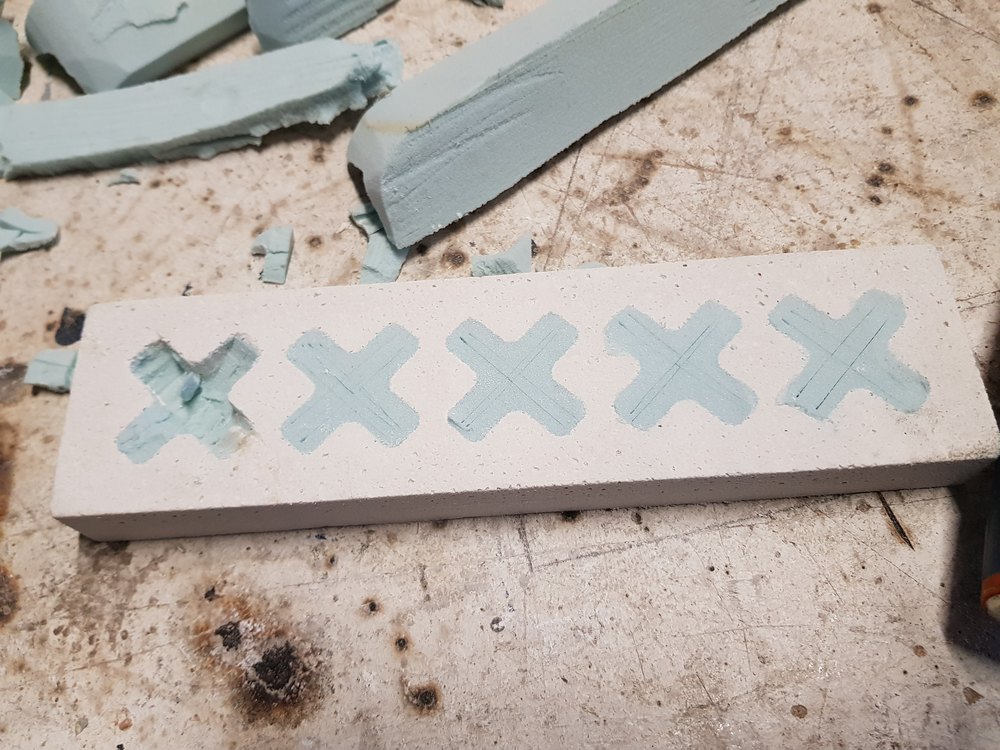
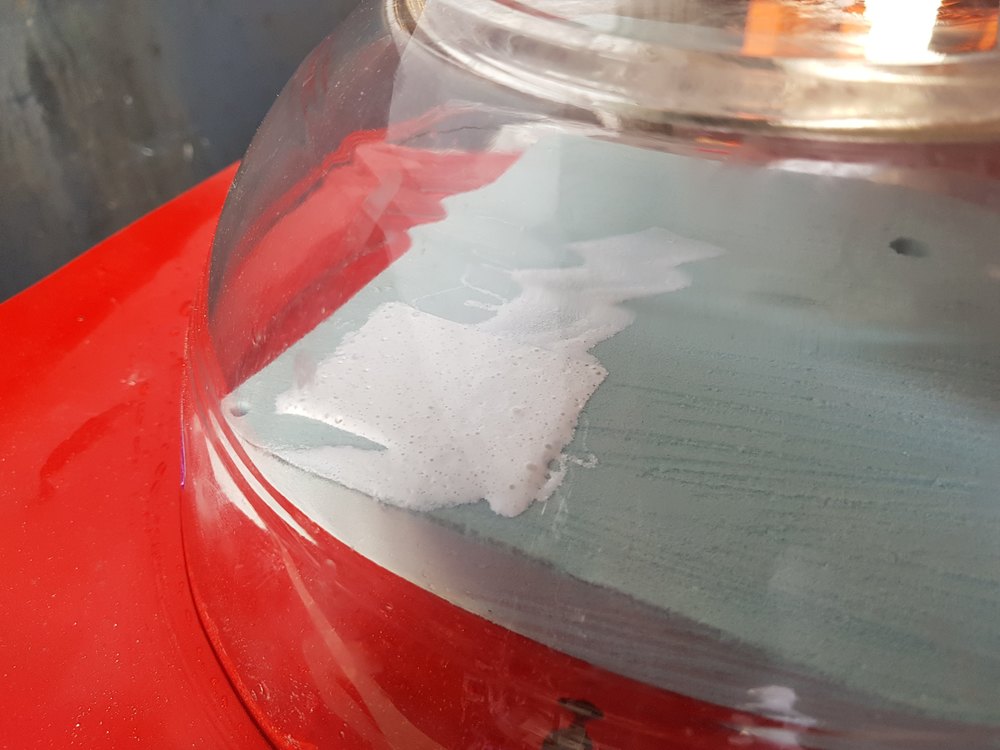
Using Varnish on material to get smooth surface, but first let’s try on a small part.
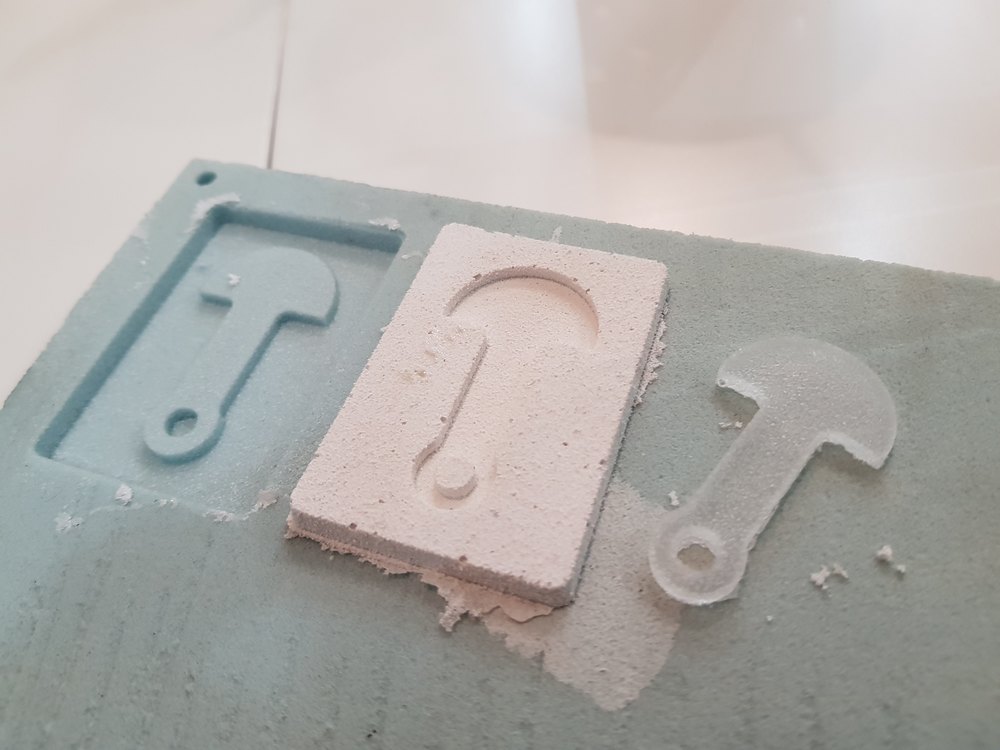
Molding
Casting
.jpg)
Final result
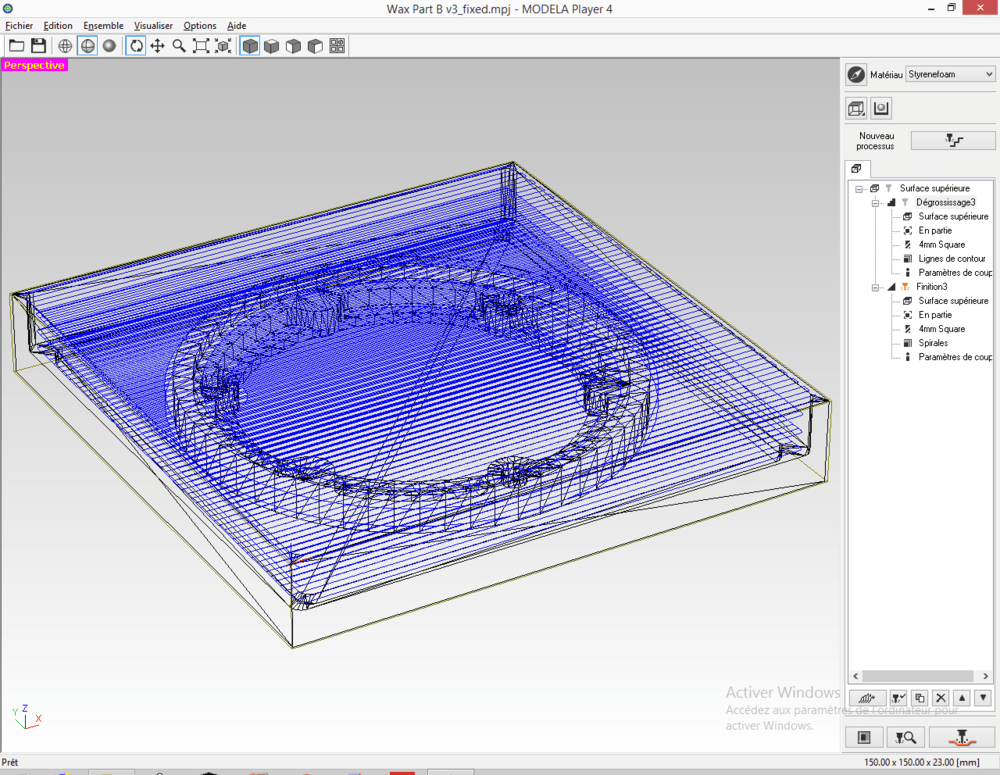
Final project part
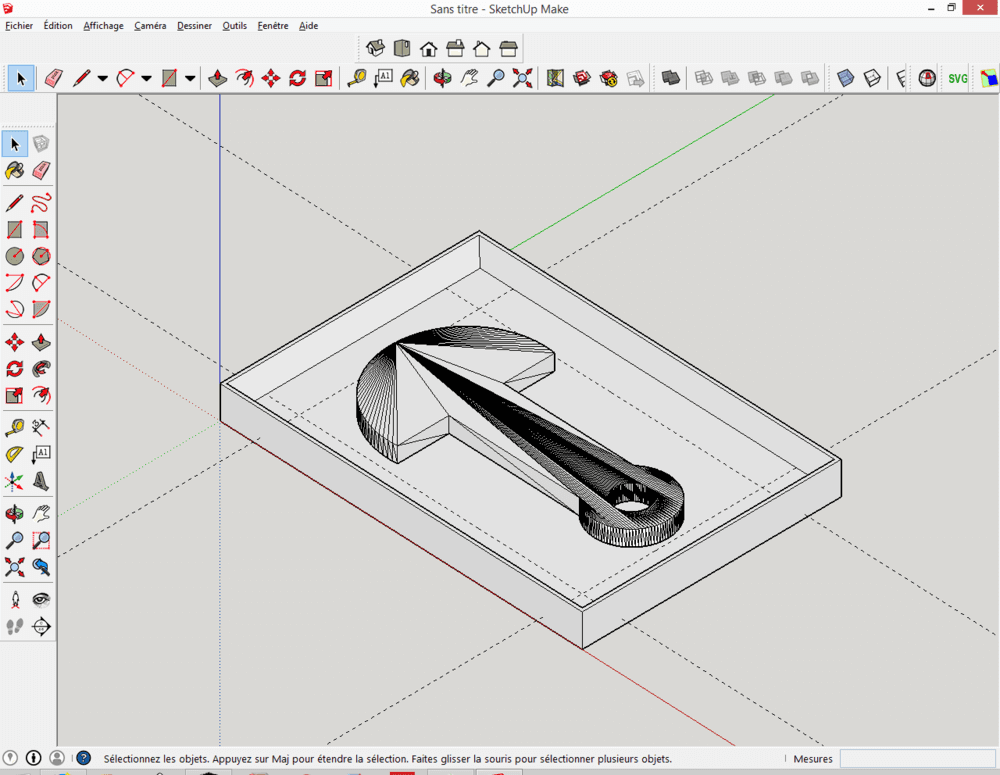
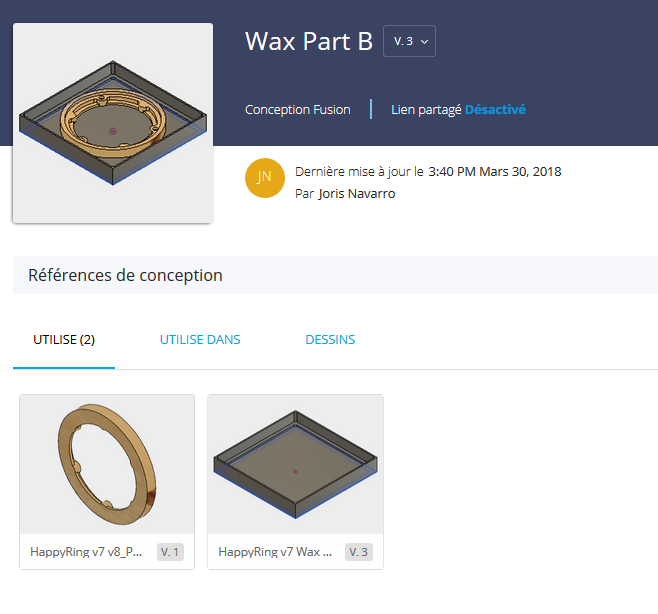
In fusion, Split the part I designed before. I had to reduce the size of the model because of the working area of the machine.
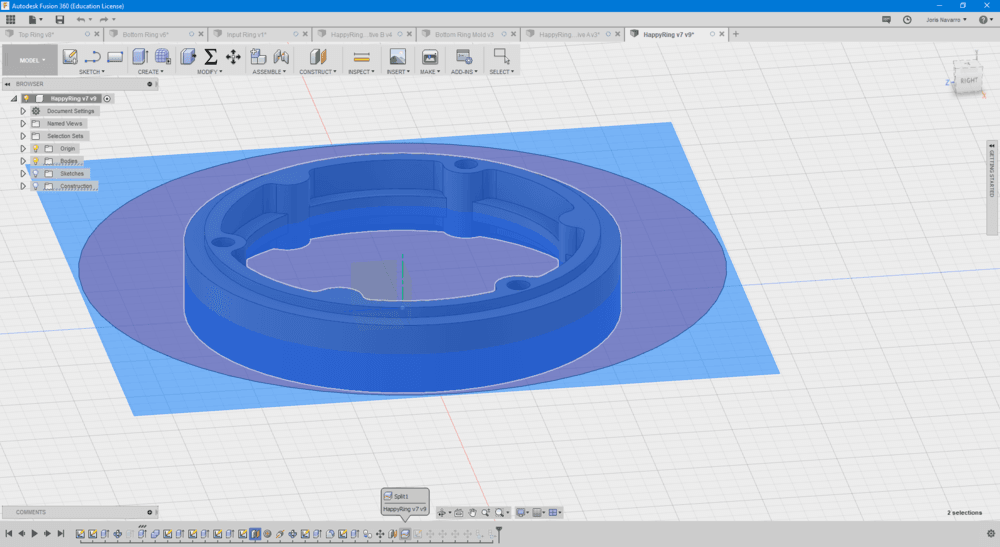
Then you have 2 parts A & B
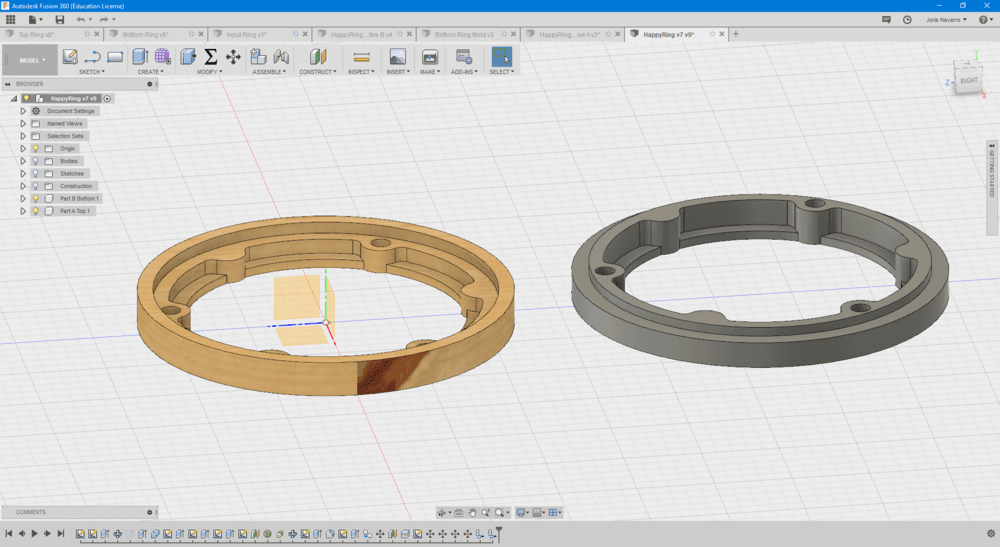
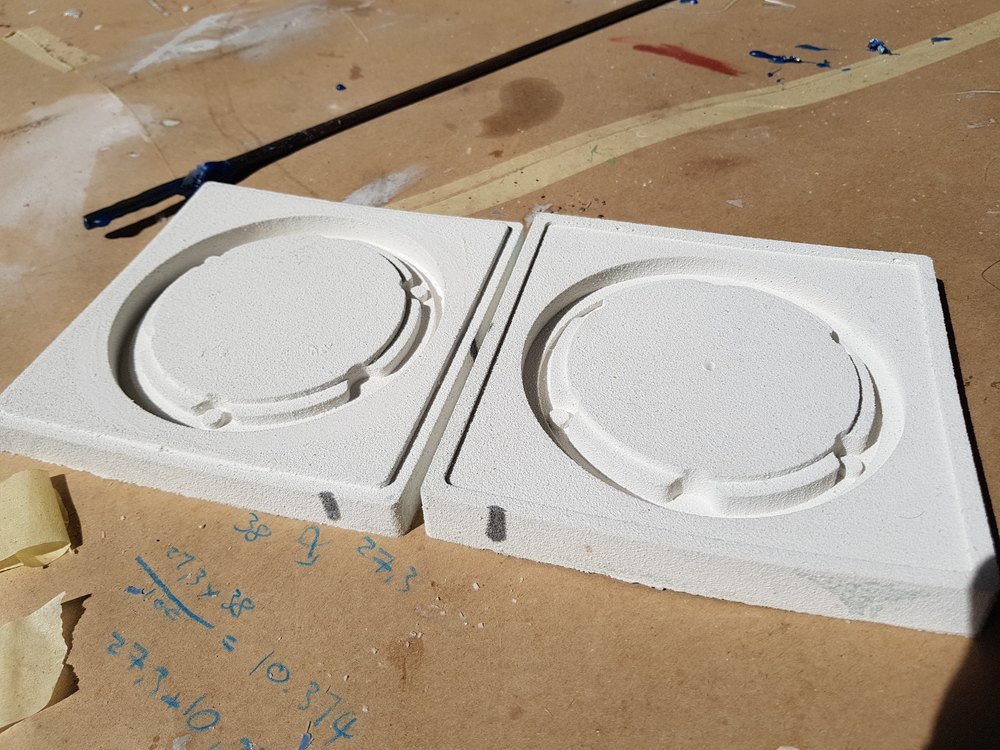
Design 2 half boxes that will be used as silicon coffin.

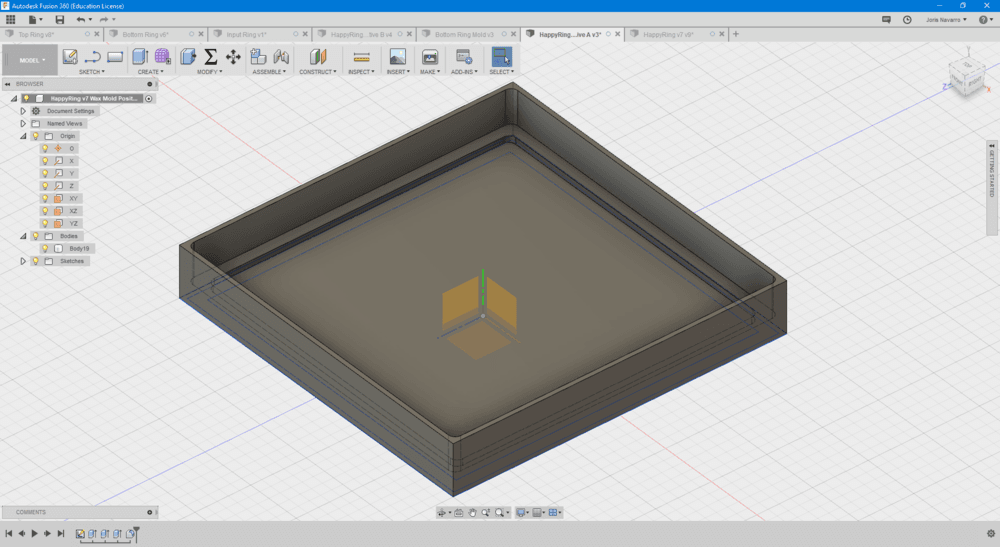
Create new assembly file and join box A with part A, the same for B, export them as STL
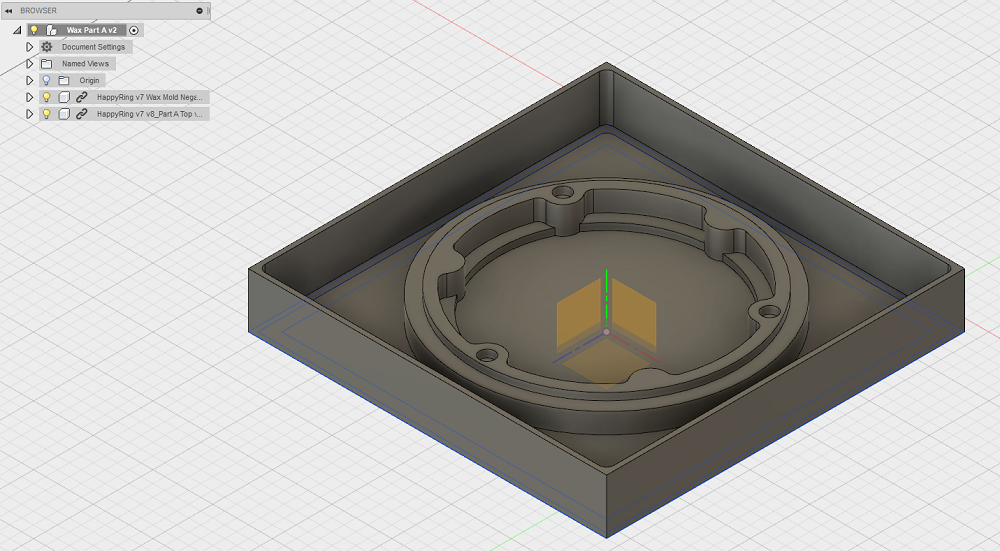
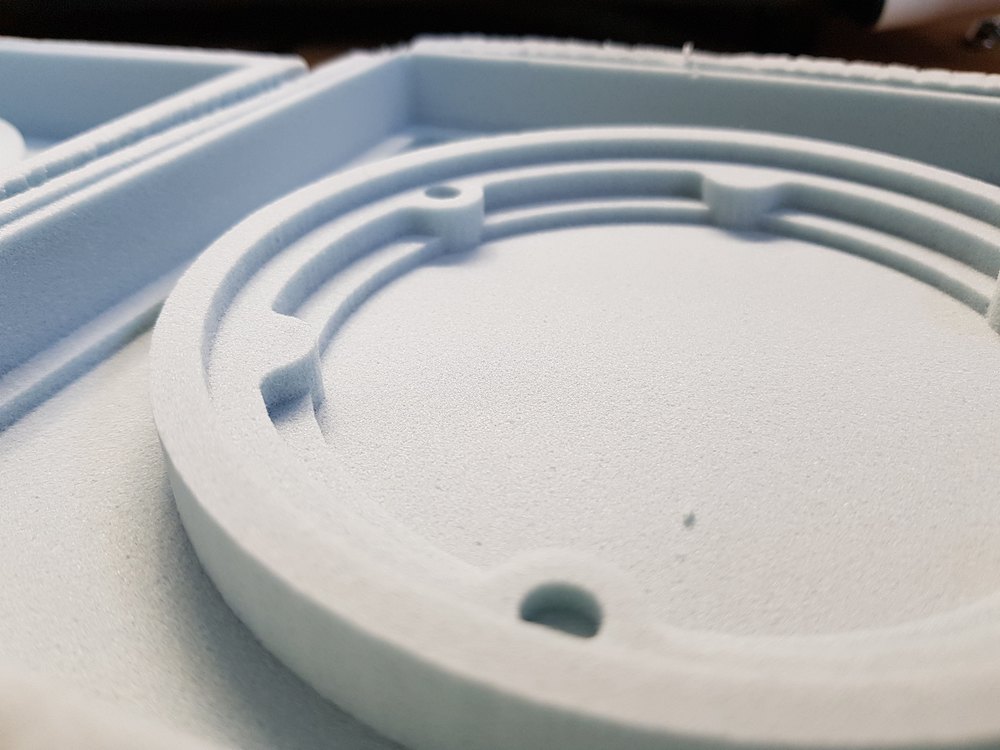
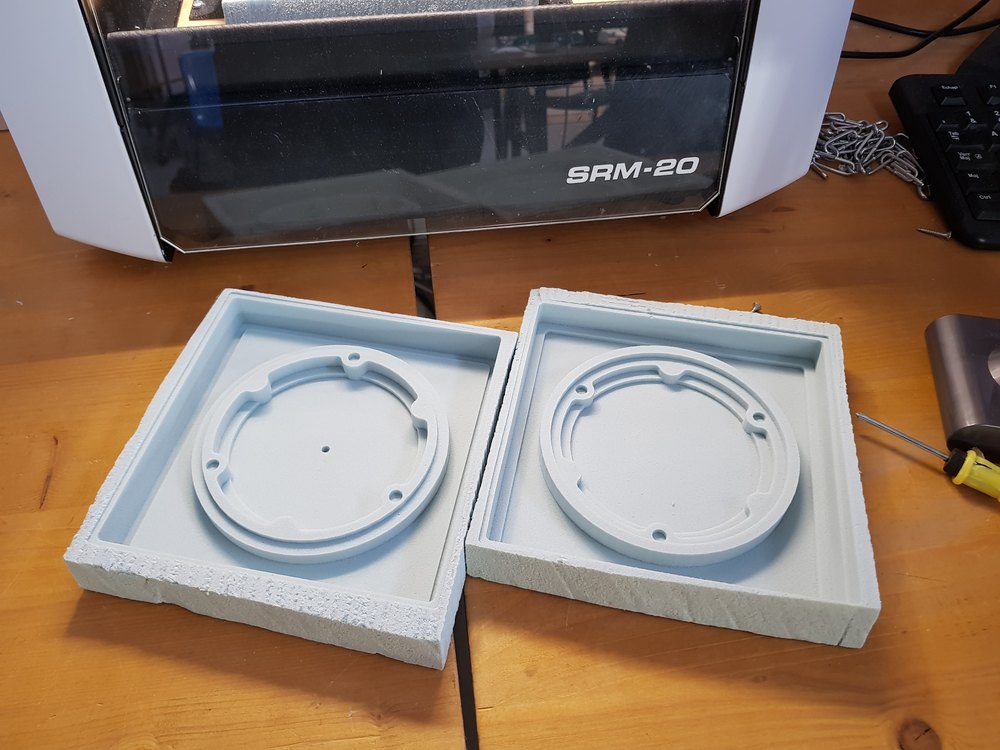
Go back to Roland to mill final project parts
(Note that we ugraded the SRM-20 in order to have light on it)
Don’t forget to check part origin
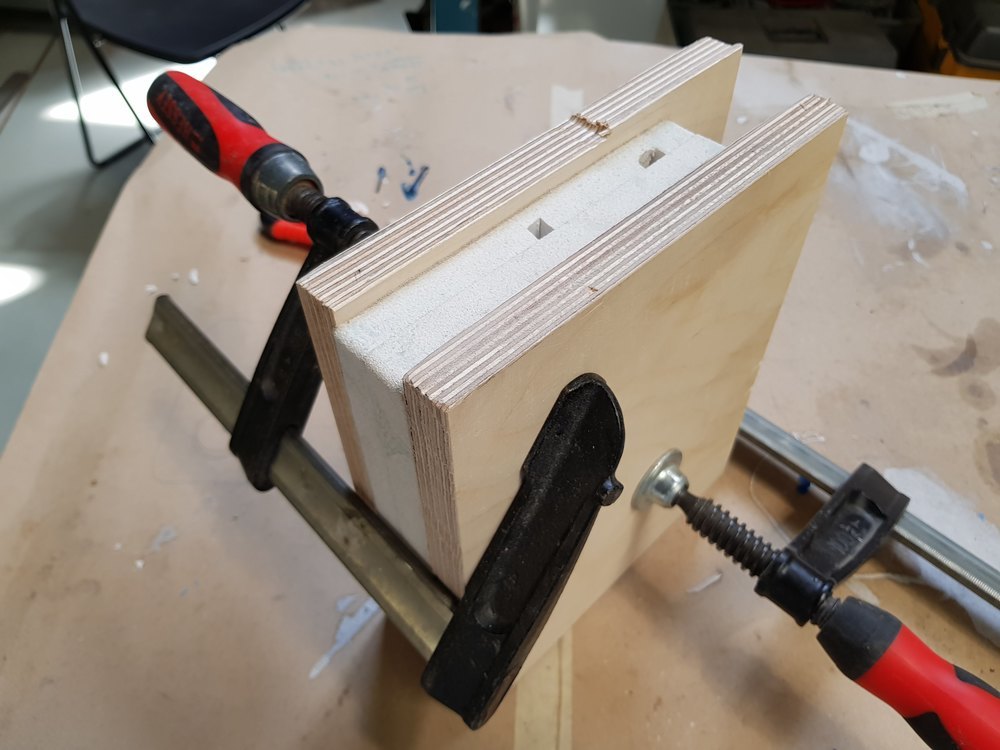
designing and printing custom supports
Try again
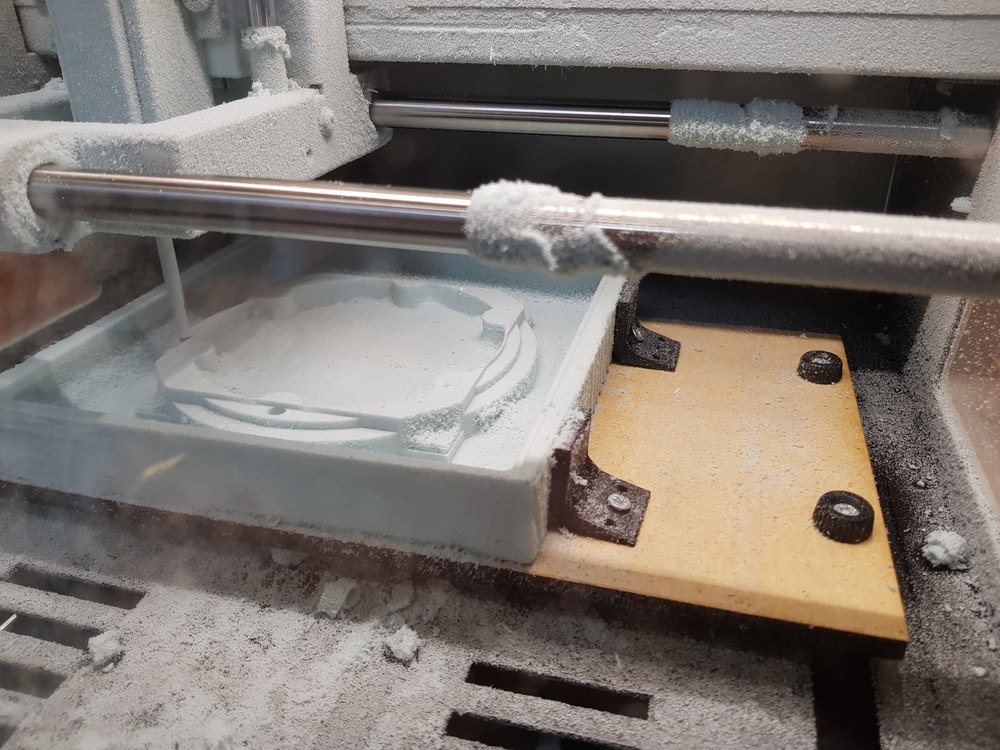
Here we are, check the result
The other side
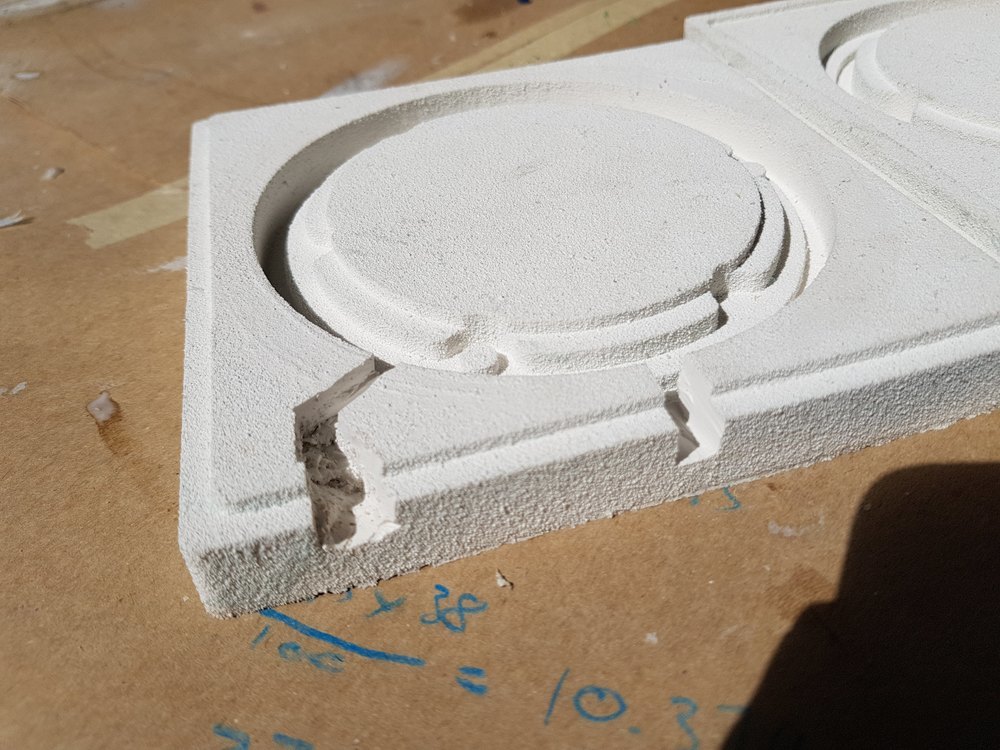
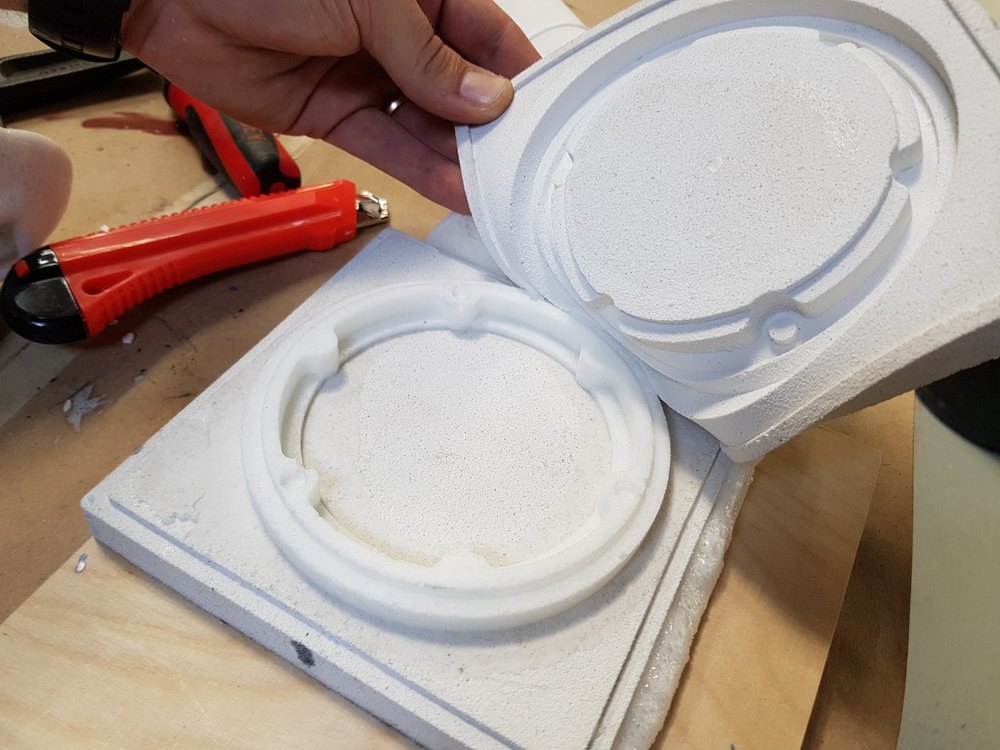
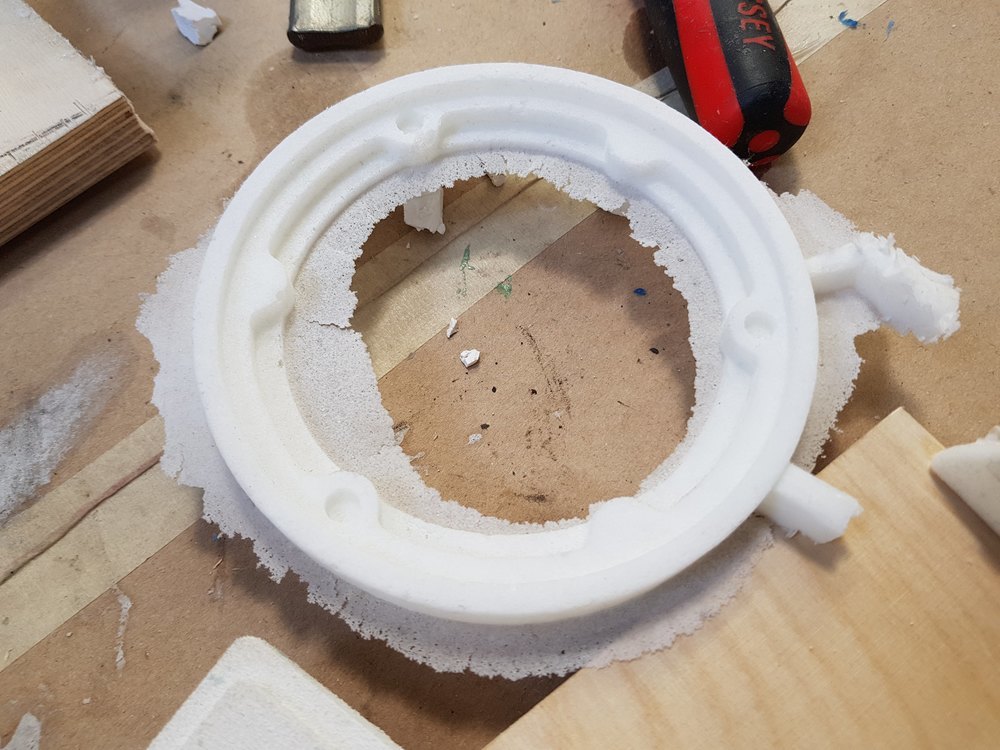
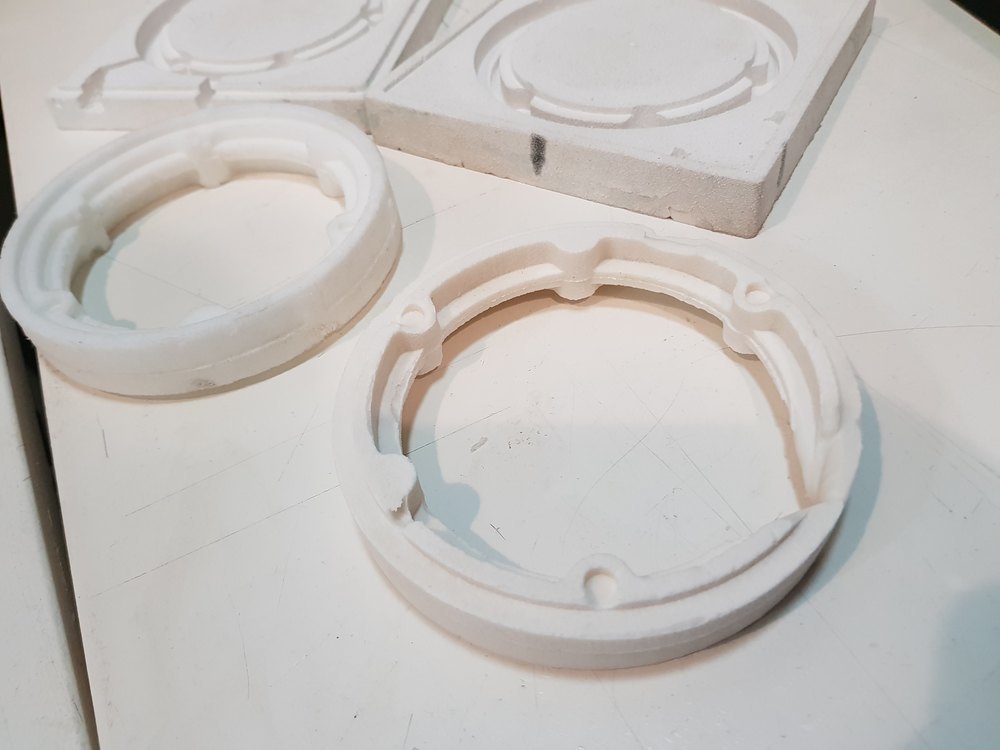
I forgot to take picture of the silicon casting (strange ?! I wonder if I did not lost some pictures) but after here is a picture of the result. I remember I had to break appart all the foam to be able to extract the silicon mold. I realize writing those line I didn’t took picture of the casting process.
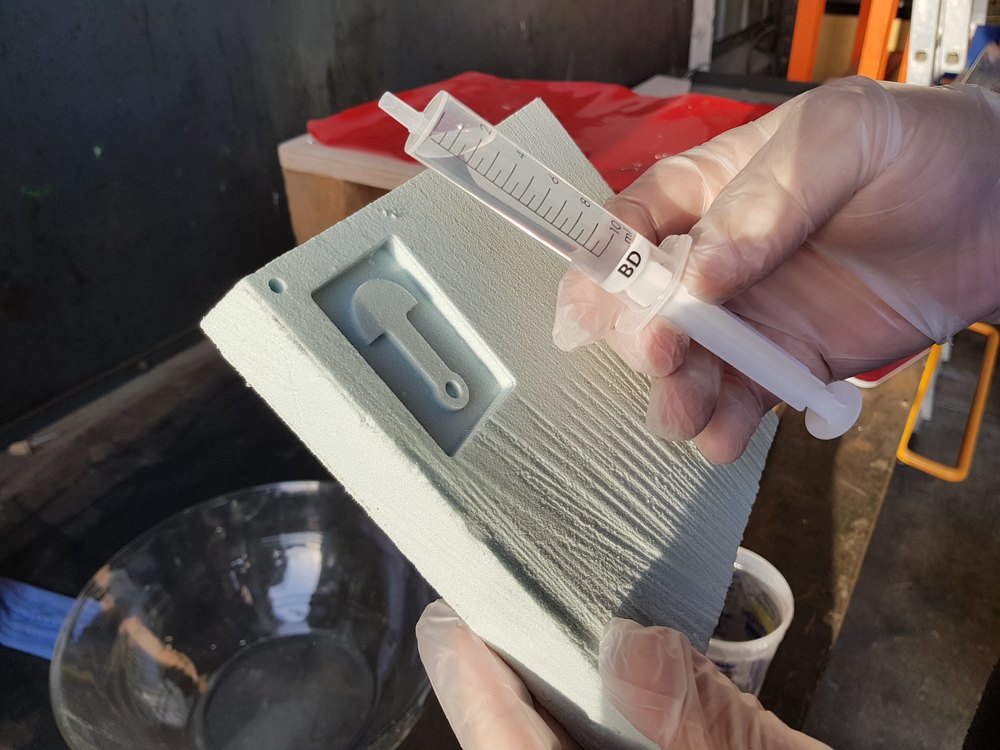
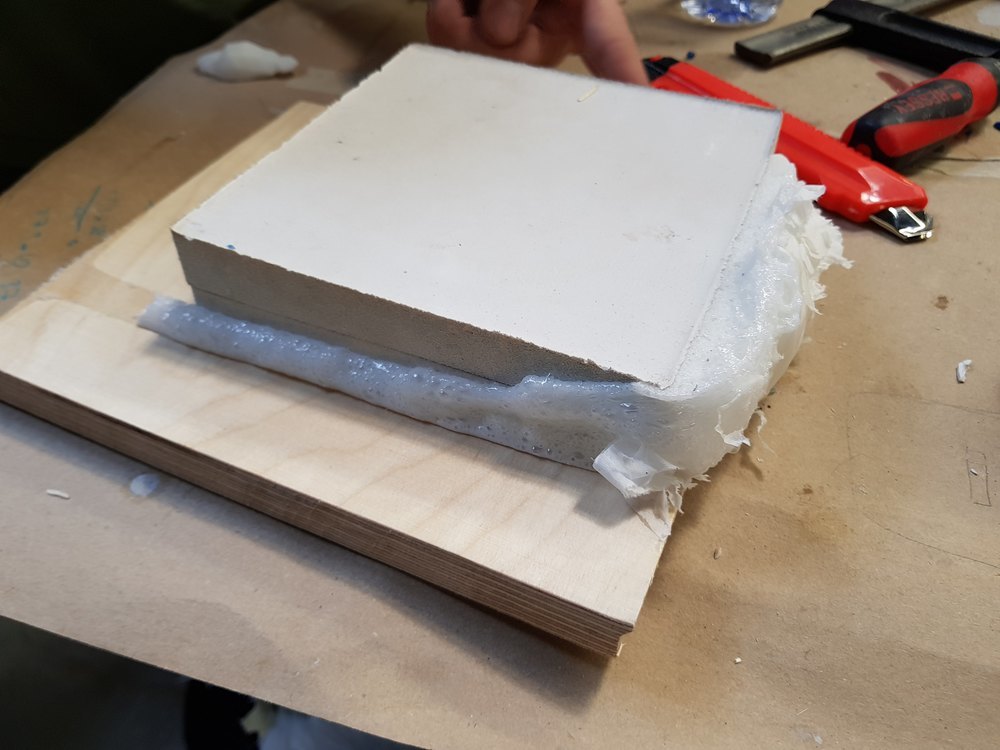
I cut 2 pipes input/output put 2 clamps with 2 pieces of wood and use a funel
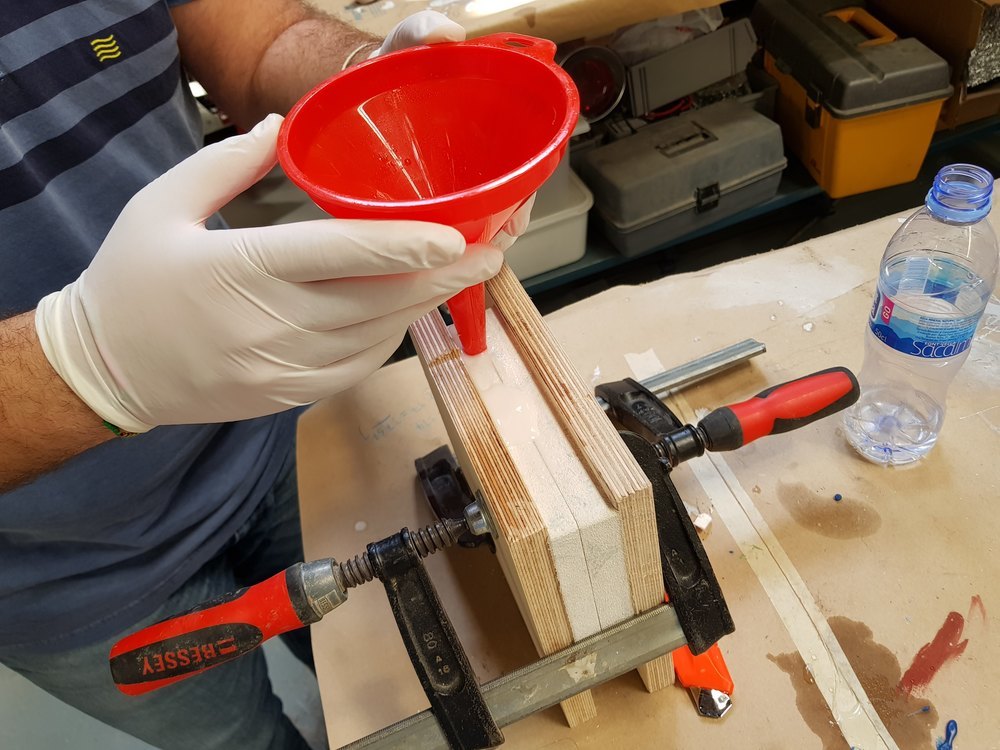
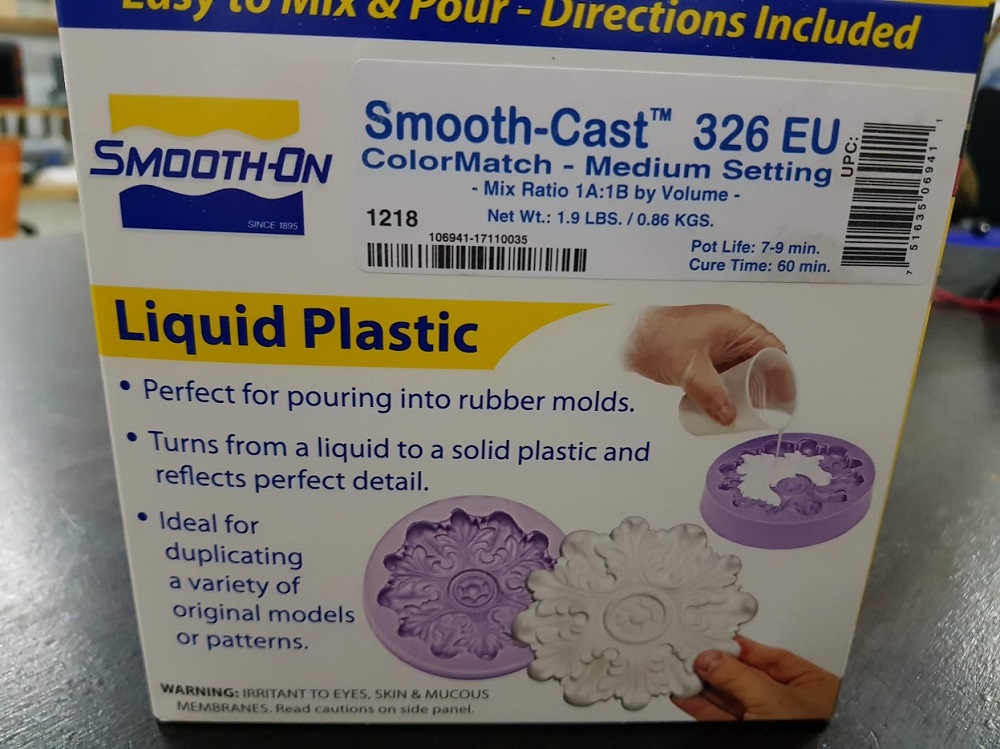
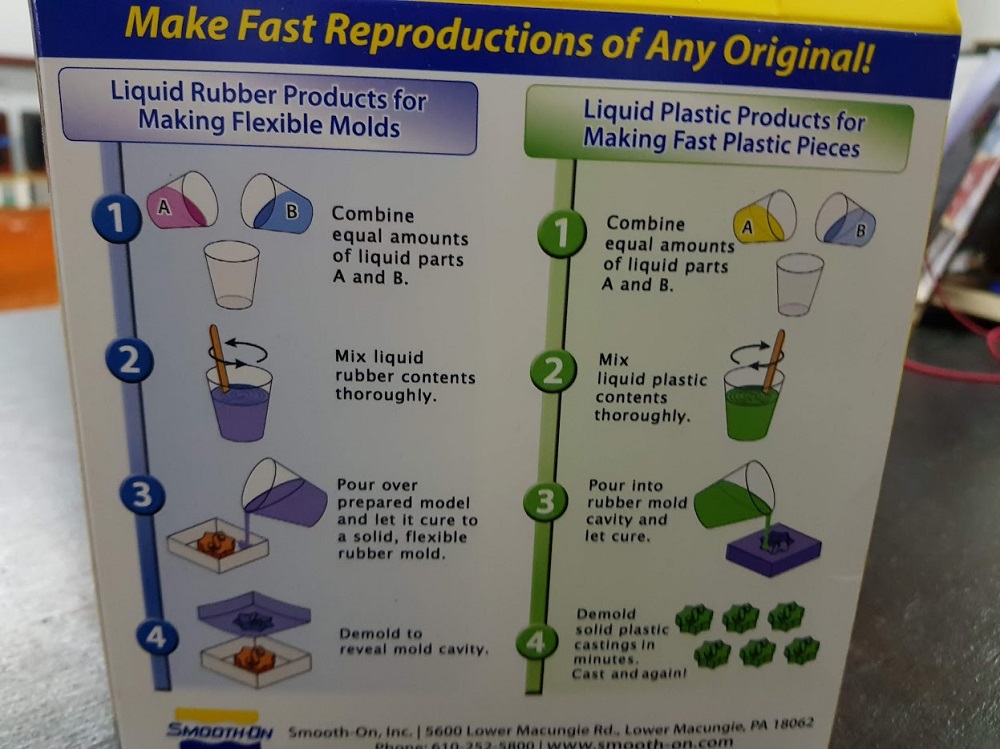
Pour the mix, the first attempt was using Smooth Cast 325, the datasheet are available here. Mix ratio is 1A:1B (volume), pot-life 7-9 mins, cure time 60 mins
Pour the mixture until you see the mix going out the output pipe

After 1 hour the reaction is interresting, looks lile a volcano ! A lot of material outside.
I also tried quicly with marble cast, but the mix was not liquid enough and I did not realized that there are somme missing corners.
Here is a final picture
Files to download
Click here to download Final project parts files including STL, Roland Modela Player, and RML files
Click here to download the support plate and clamps for SRM-10
Stay in touch
Hi, I'm
Joris Navarro, from Perpignan (France), a proud dad, a fab director/manager, a teacher, a ceo, a FabAcademy student, but not only. Click here to know more about me.
Check my work for FabAcademy on FabCloud GitLab
@joris.navarro.
Want to say Hi ? Please send me a message.