Wildcard week
SSTM
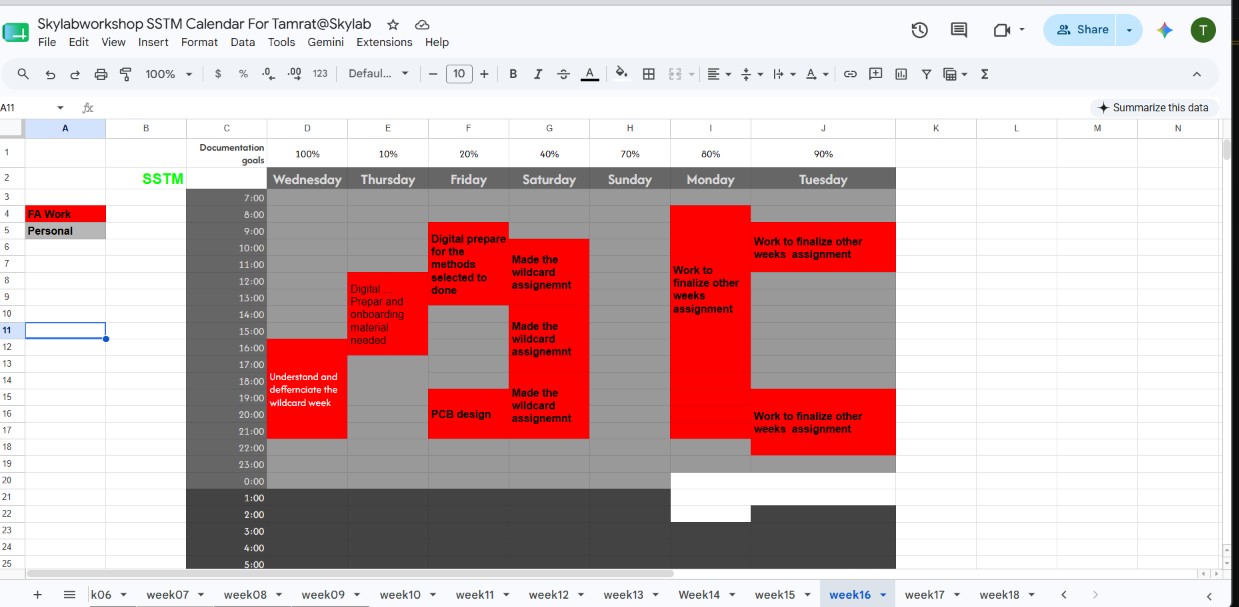
Assignment
Individual assignment
“Design and produce something with a digital process (incorporating computer-aided design and manufacturing) not covered, in another assignment, documenting the requirements that your, assignment meets, and including everything necessary to reproduce it.”
What I have to do and meet to answer are the following Documented the workflow(s) and process(es) you used Explained how your process is not covered in other assignments Described problems encountered (if any) and how you fixed them Included original design files and source code Included ‘hero shot’ of the result
I have two machine, the one using it usually in the fabrication process in Innobiz-k Incubation center and the later using never before for embroidery than sewing normal method:
- Boxford fibre laser marker (Not engraving it is marking on metals)
-
Brother Innov-is F480 for Embroidery
-
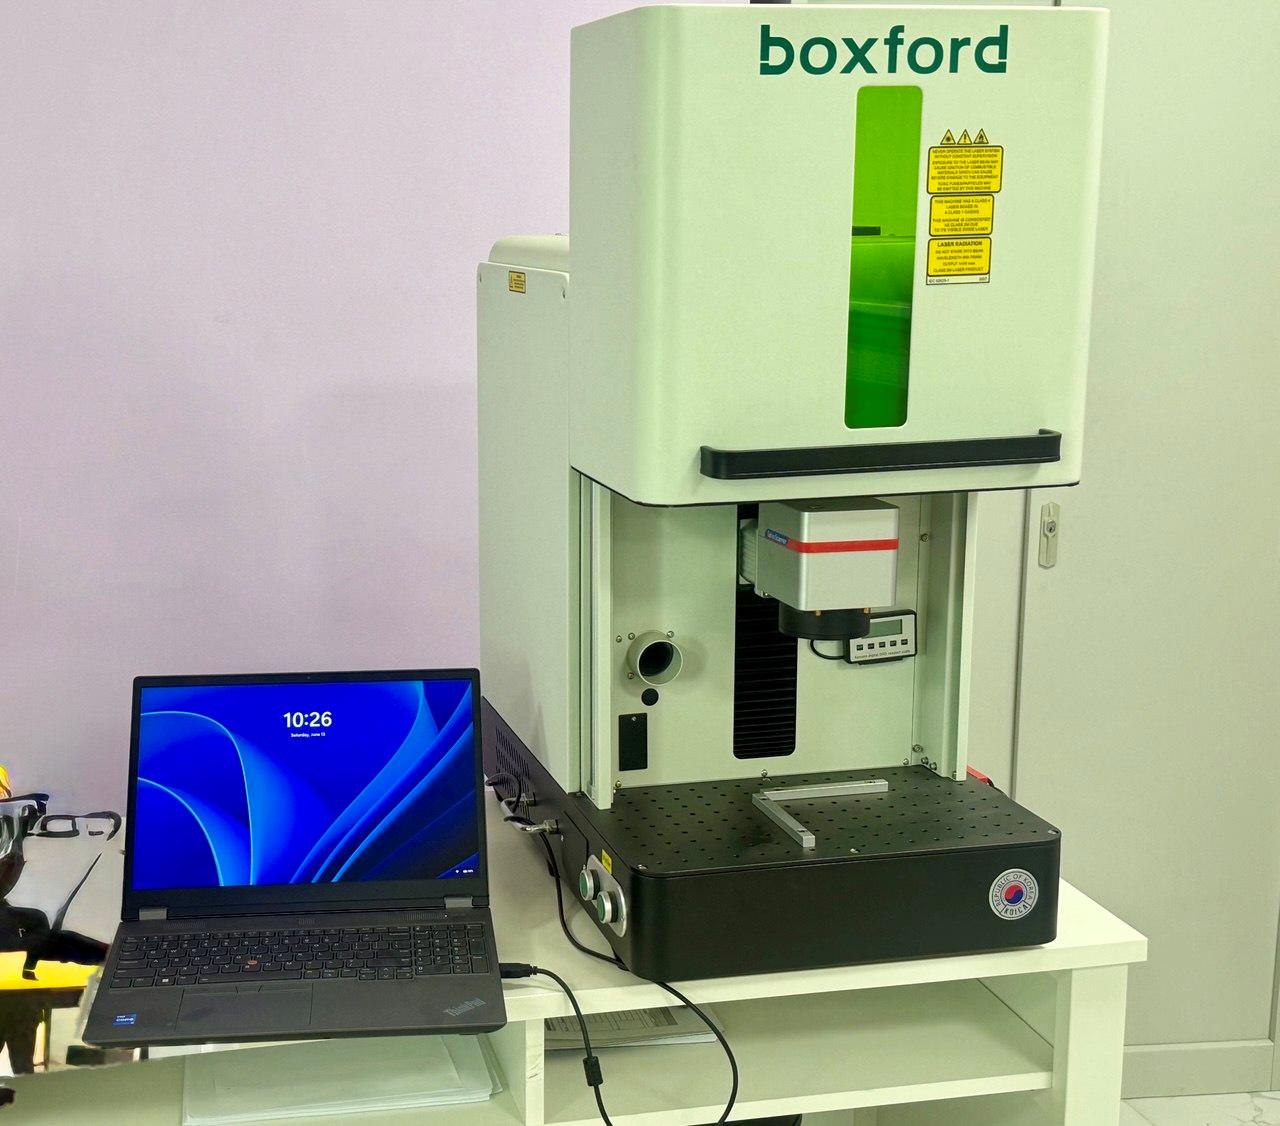
Boxford fibre laser marker
Example of previous works
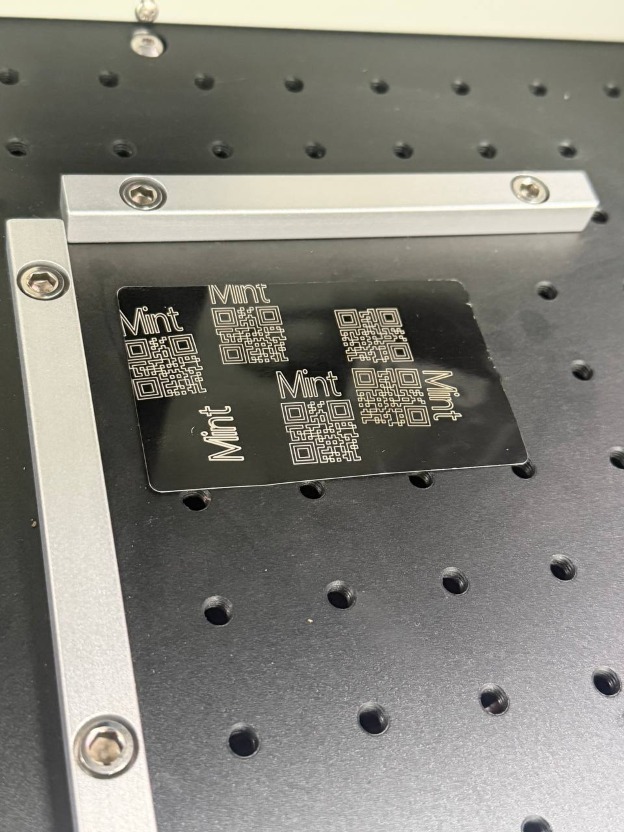
In the center it is used for marking Logos, bar codes/QR code Labels of brand on metal sheet or related Product.
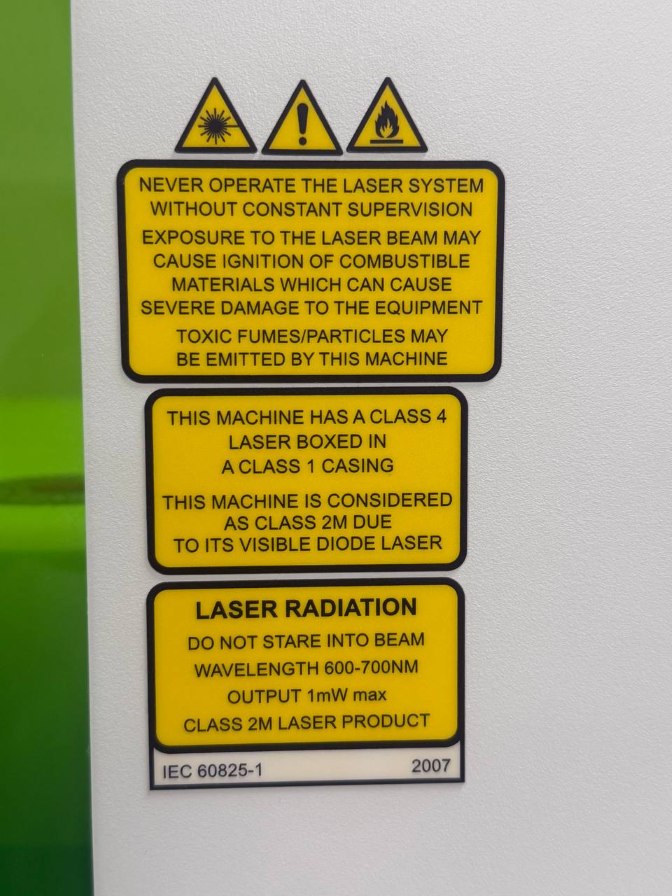
Safety first it because it use fibre laser may have harm if used without cover…
Specification from Gemini
Prompt: “Data sheet and specification for the Box laser marker model BFM110-Q”
Boxford laser marker (fiber)
| Feature | Specification / Details |
|---|---|
| Laser Source | 20W / 30W / 50W Q-Switched Fibre Laser |
| Wavelength | 1064 nm |
| Marking Area | 110 × 110 mm (Standard) | Up to 200 × 200 mm (Optional) |
| Min. Detail | 0.3 mm character size | 50μm line width |
| Frequency | 20 - 60 KHz |
| Cooling | Integrated air-cooled |
| File Formats | DXF, AI, JPEG, BMP, PLT, PNG, PCX, TGA |
| Materials | Bare/coated metals (steel, aluminum, brass) & select non-metals |
| Dimensions | 470 × 720 × 740 mm (W × D × H) |
| Weight | 90 kg |
| Electrical | 220V, 1-Phase | 6A (Machine) | 5A (Extraction) |
| Safety | Class 1 enclosed | Interlocked CE fail-safe doors |
| Hardware | Motorized Z-axis, galvo head, dual red-dot focus |
| Inclusions | Tapped matrix table, foot pedal, control software |
Workflow(s) and process
For now I write “Fab2026” as text digitization and 2026 as barcode to mark on my final PCB.
- Open the software (SW)
- Software used - 2EZcad 2.14.10
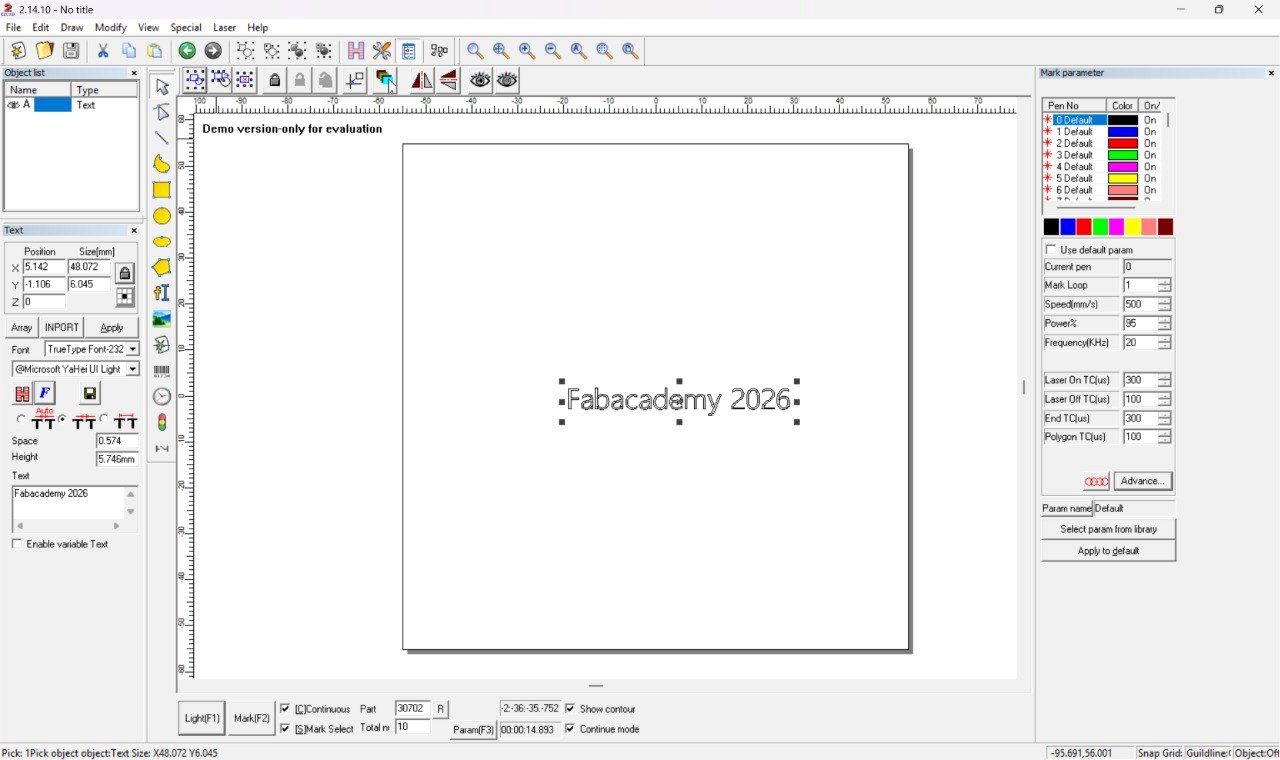
- Select the working space and text from the left side panel for editing font and style
- Write like MS Word
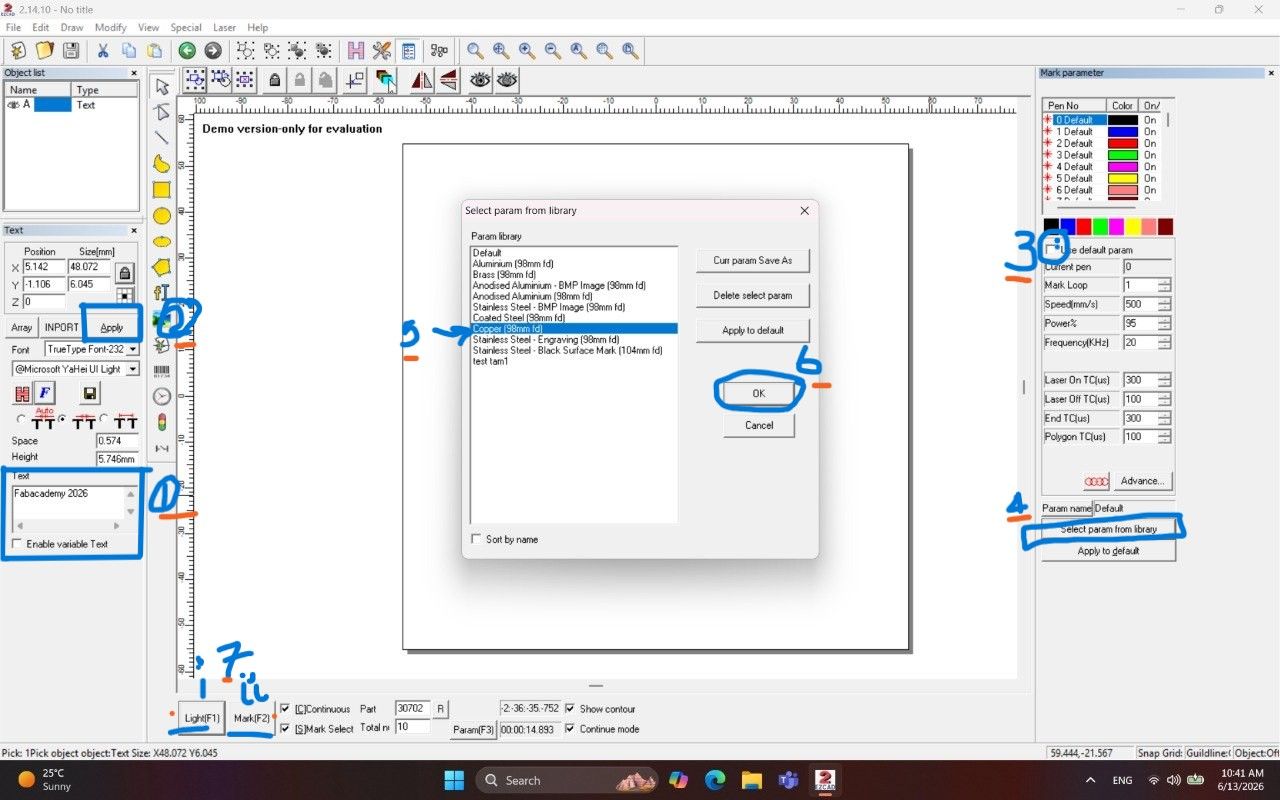
- From Right side panel select the default type of material to mark on it or unselect the box says “use default param”… then set the material from drop down in the “select param from the library”
All parameter used
- Put the equipment to mark on, and use the up/down on machine button to align the two red dot in the working space to align as much as possibly overlap (the more align the more powerful)
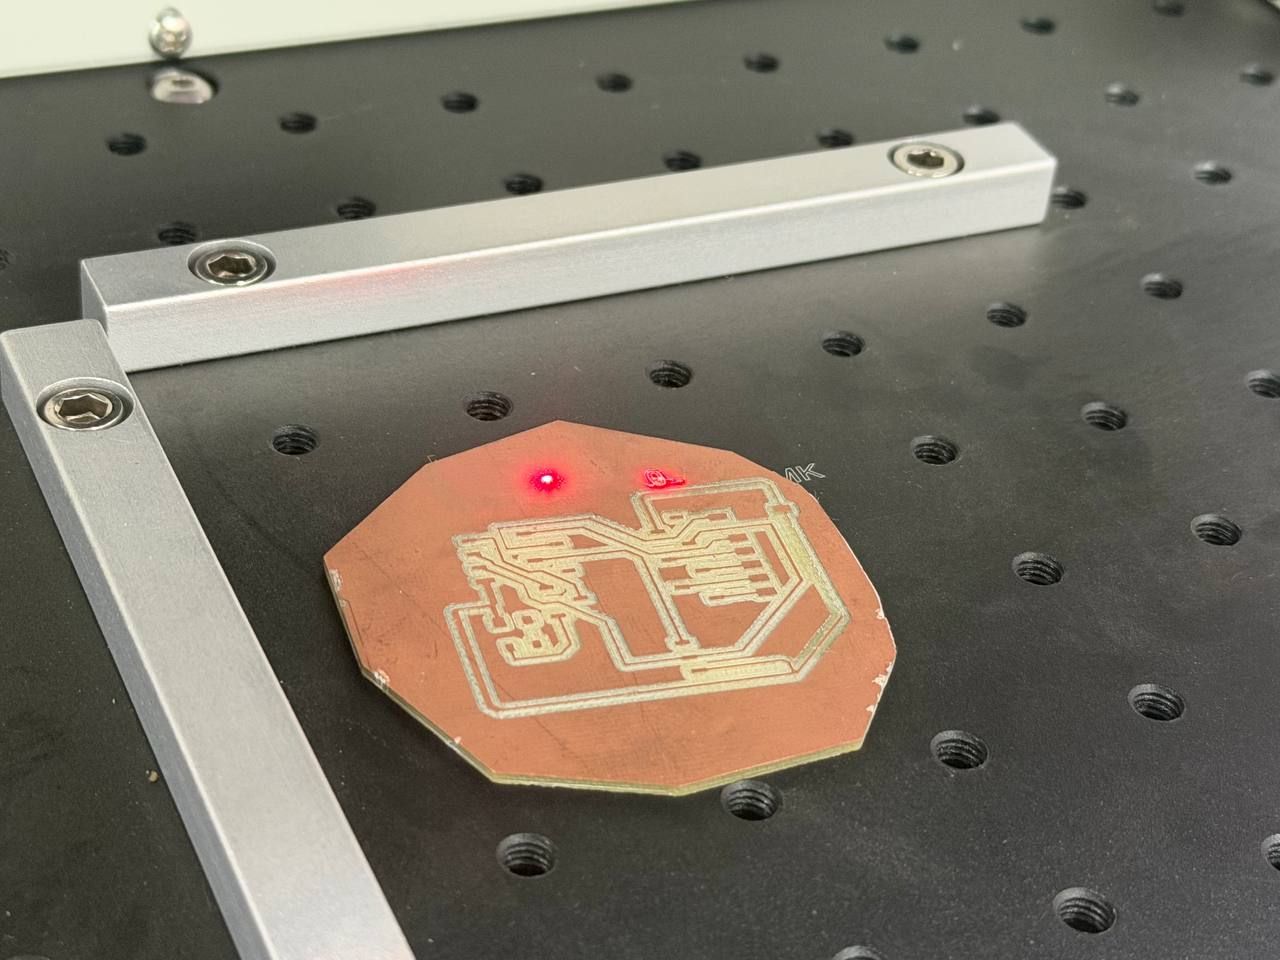
- After they overlap on the equipment test the area of mark by select the option on the SW left bottom says “Light” or F1
- I selected Copper (98mm fd) from the machine’s Param Library”…“it set Mark Loop as 1, Speed as 500mm/s, Power% as 95%, Frequency as 20KHz, Laser ON TC(us) as 300, Laser OFF TC (us) as 100, End TC(us) as 300 and Polygon TC(us) as 100
The light marker to arrange the marking area
- If the design or text not aligned do with manual by hand to be fully under the light test… if align …
- Additionally if needs to import design … it is like norm import process … Bitmap and Vector format must checked…
- Close the working area from up to down slide close lid and use the previous place “Mark option”
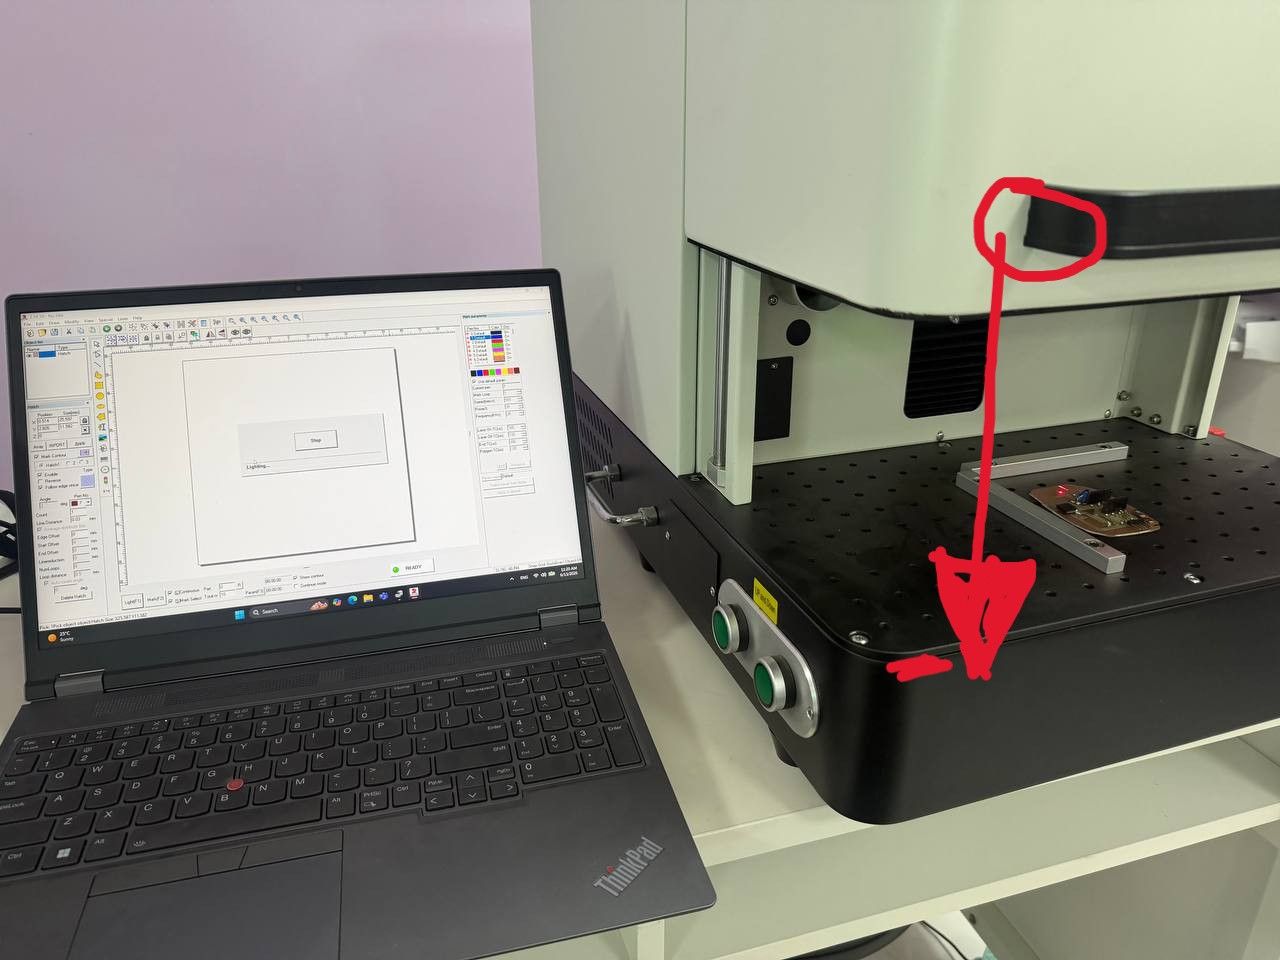
… wait a bit like 5seconds and get the following
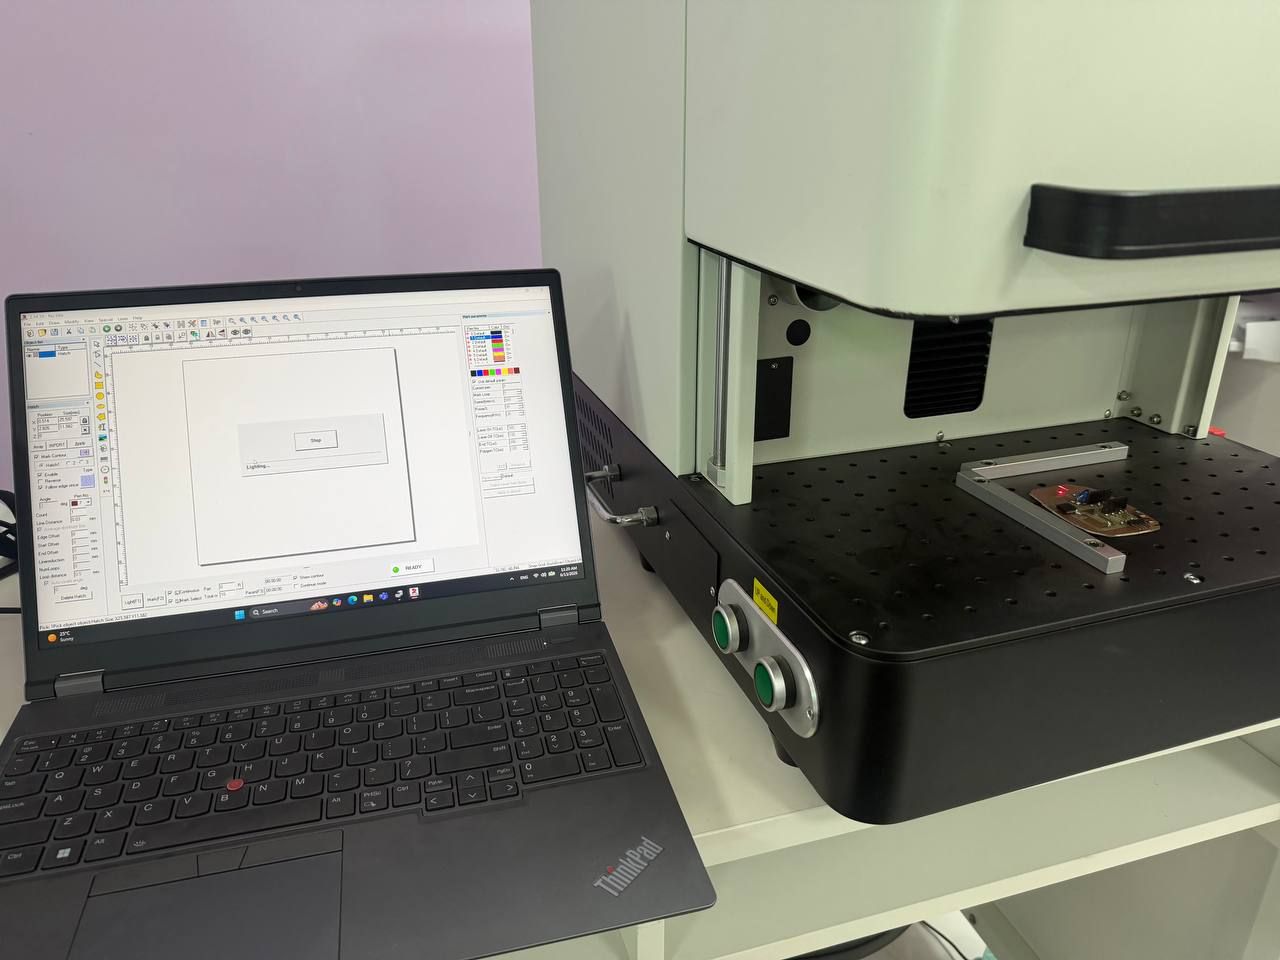
Working area with position dot and focussed two light
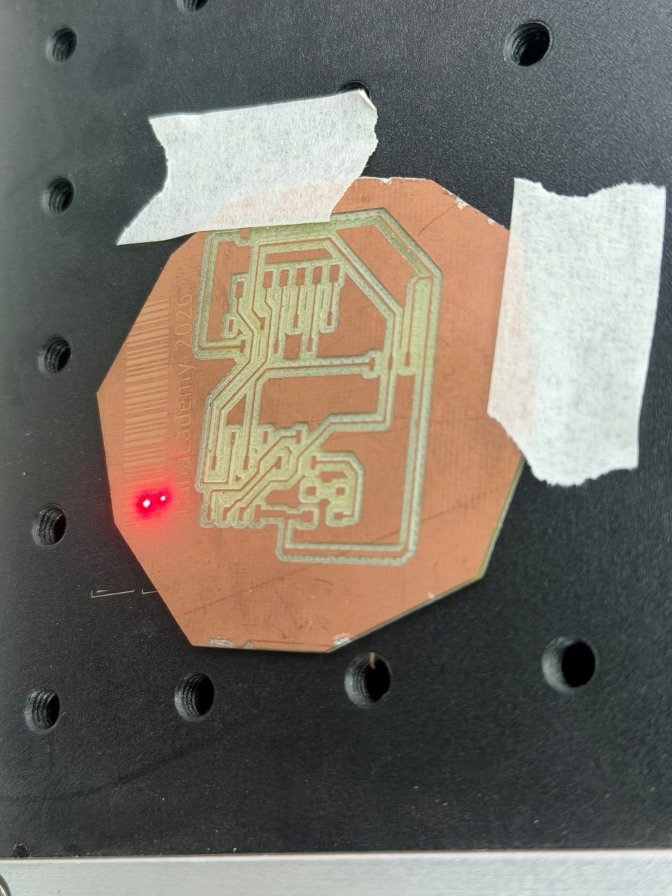
The marker have three dots, the two dot are focusing and the rest one is for position of the marker. For marking fabacademy2026 Open the software 2ezycad and select the barcode tool and then write the input above as serial data,generate the barcode graphic.
Marked as the design
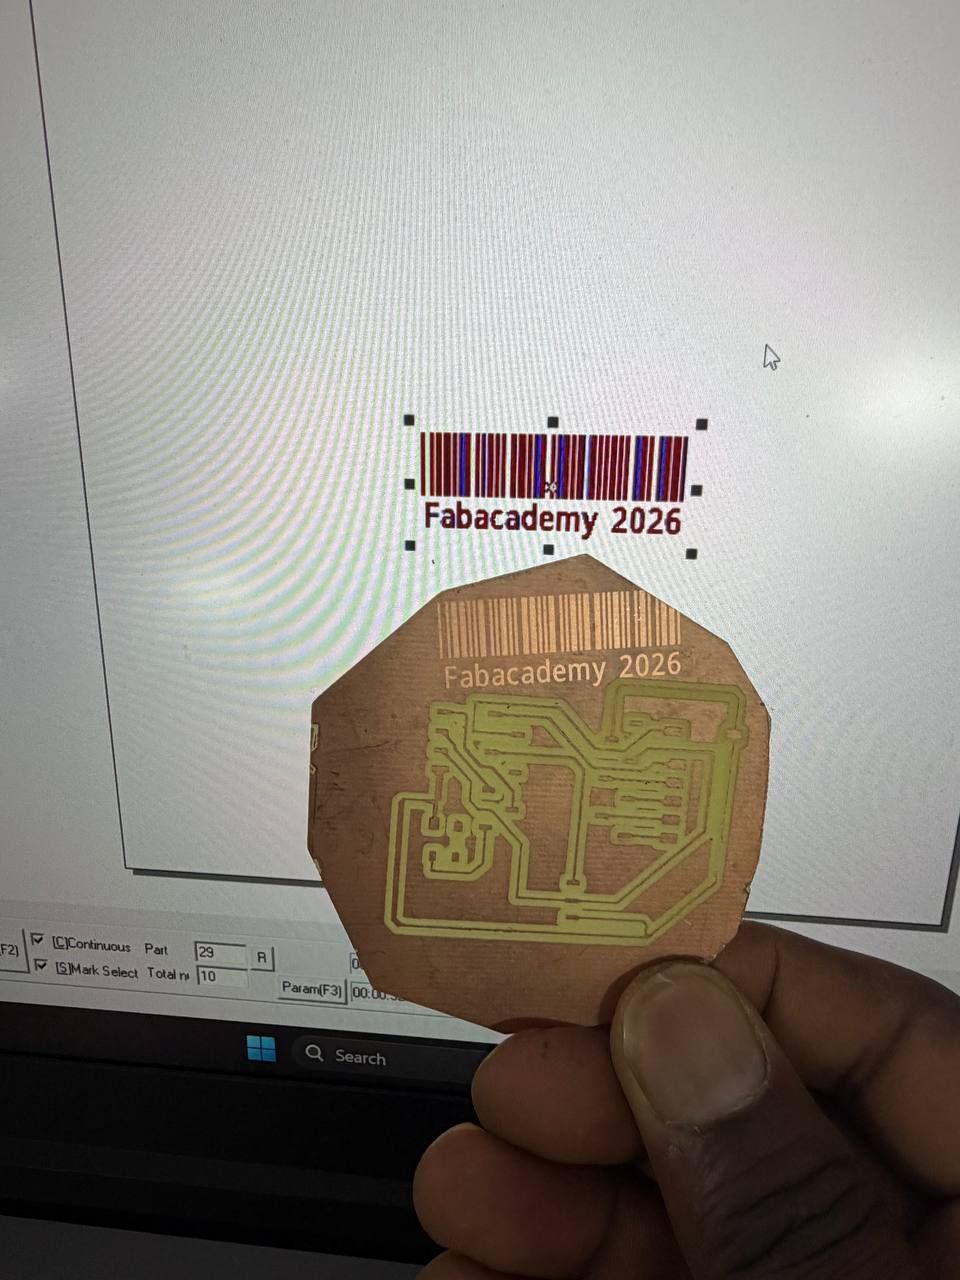 This setting give the better result. And from the default it is possible to select the material marked on.
Problem and solution
If It is in demo mode wont mark.... during this condition check the USB ports and change to run the app fully without demo (works form me after a bit struggle from demo to fully functioning… it is USB port problem) change the port… if persist still update the usb driver
USB problem
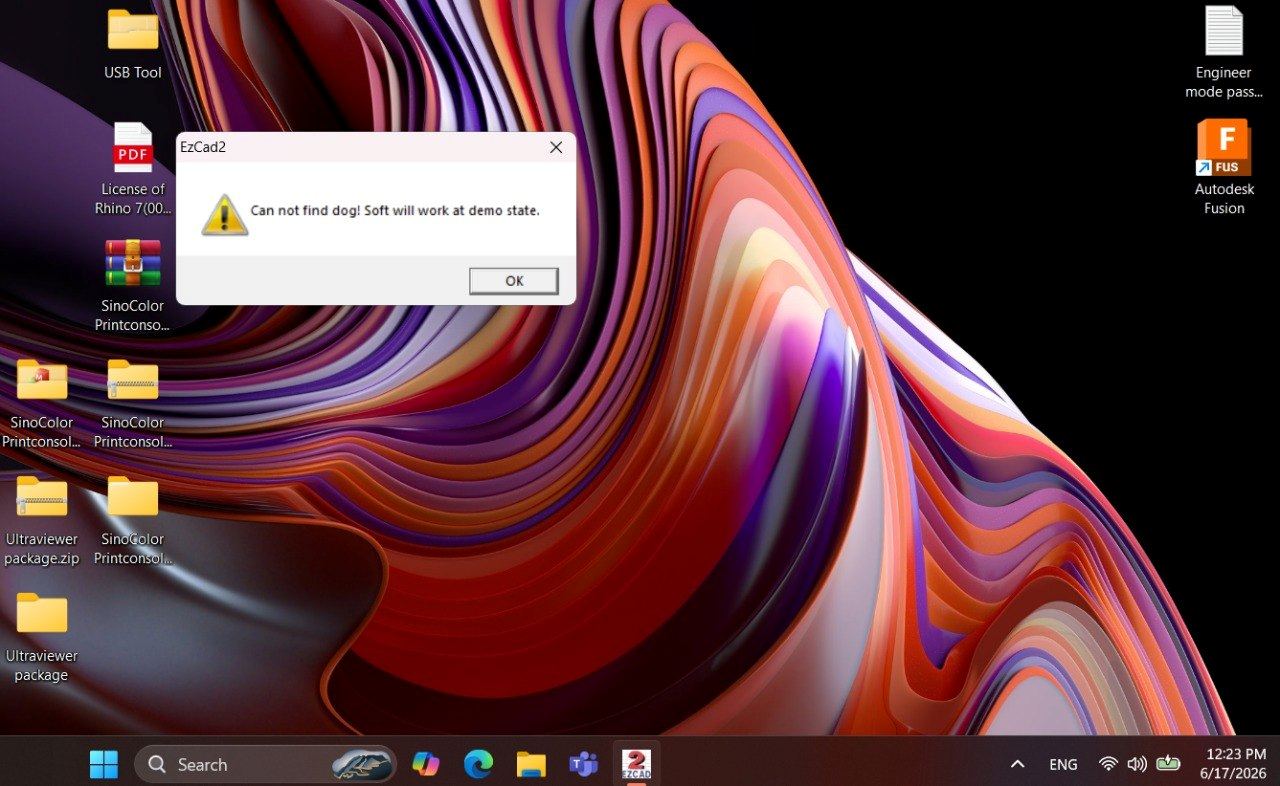
Difference from any other process and fabrication I did in the past weeks
TThis Process use design on the vector and Bitmap format for images import and text writing like MS words as usual and use the Fiber laser to mark on metals. It is not like engraving because did not remove any considerable part from the body under the laser, neither the equipment is cut. So, it is a bit different
2. Embroidery
brother innov-is F480 This machine is used before for only normal sewing works. Now I refer its manual and start using it by learning from YouTube tutorial and only resources.
Workflow(s) and process
-
Download the INK/Stitch from Windows Latest version during this documentation
-
Full work flow @ Workflow
- Learn from Youtube tutorial of “The Sewing Studio”, link to basic friendly tutorial
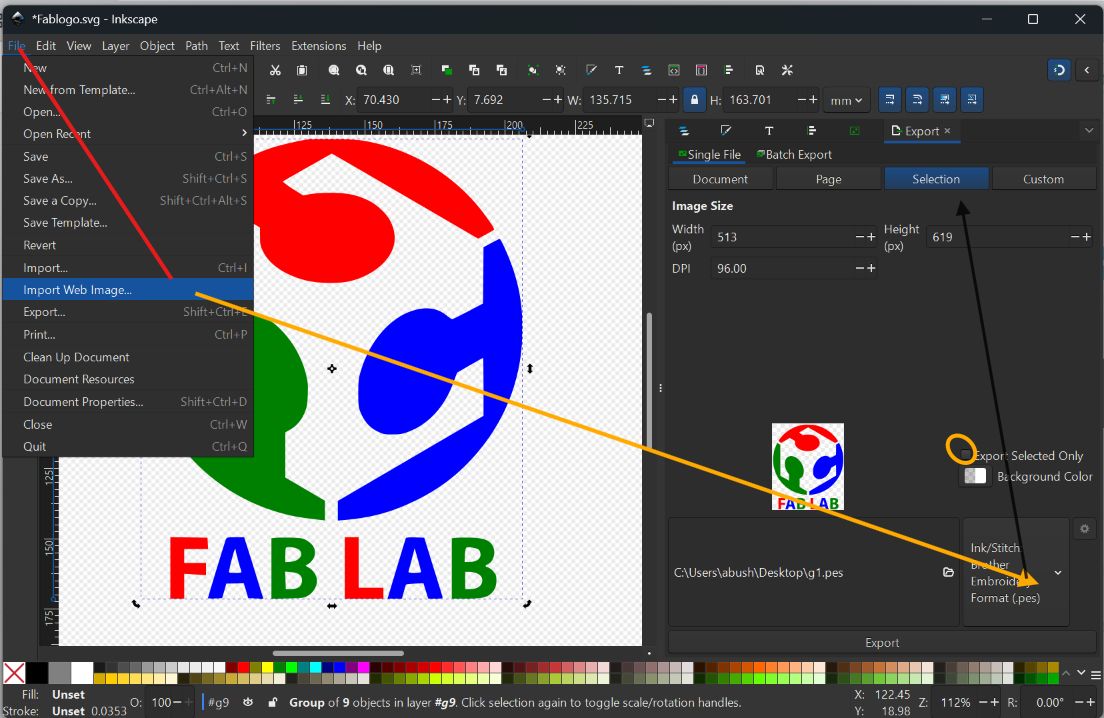
- DownLoad Fabacademy Logo from Online (fabacademy logo)[https://www.google.com/search?q=fabacademy+logo+svg&oq=fabacademy+logo+svg&gs_lcrp=EgZjaHJvbWUyBggAEEUYOTIJCAEQIRgKGKABMgcIAhAhGI8C0gEJMTA0OTNqMGo3qAIIsAIB8QWAyveDV8gjC_EFgMr3g1fIIws&sourceid=chrome&ie=UTF-8] or save it as .jpg format to my pc.Change the Fabacademy logo to .svg format.
- The app INK/Stitch if the inkscape already installed, it appeared as extension in the upper option. And apply the selection of the param and simulation to check the stitch and embroidery…
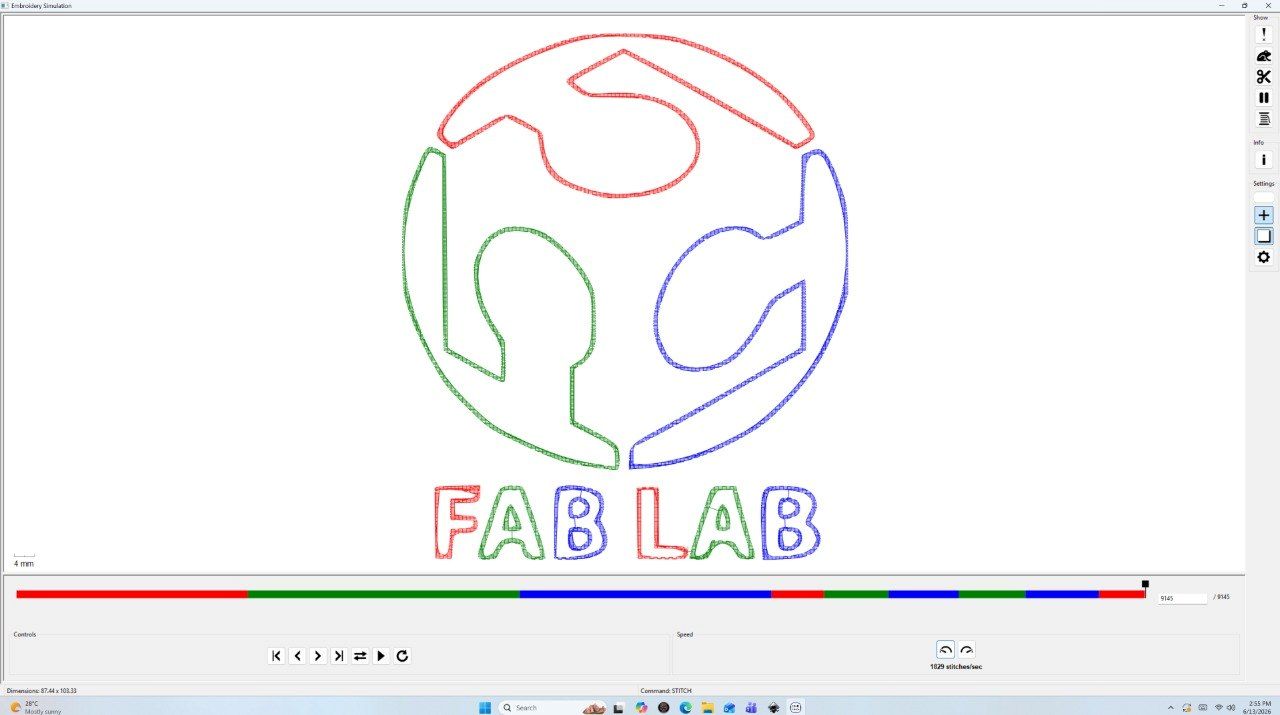
- Use onscreen option and change the file type as the machine datasheet
-
my Brother F480 accept .pes format and saved to USB Flash disk as fablogo.pes and export it … Inkscape process
-
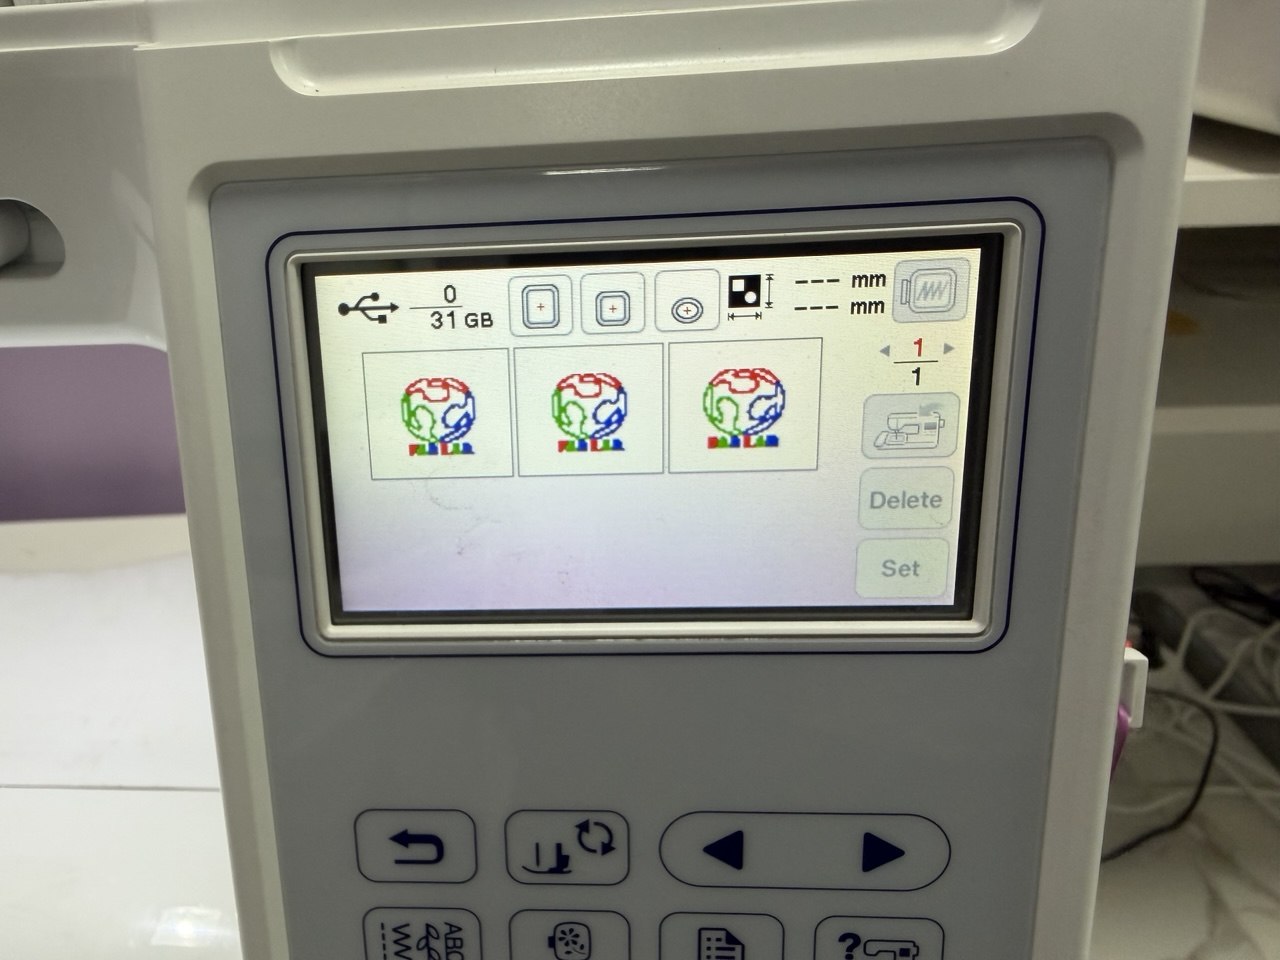
from the usb displayed on the screen of the machine choose my saved file and import the working UI of Innovis
- Prepare the working area for embroidery
- Change the sewing workspace to Embroidery (Refer to the manual of the machine… mine innoivs F480)
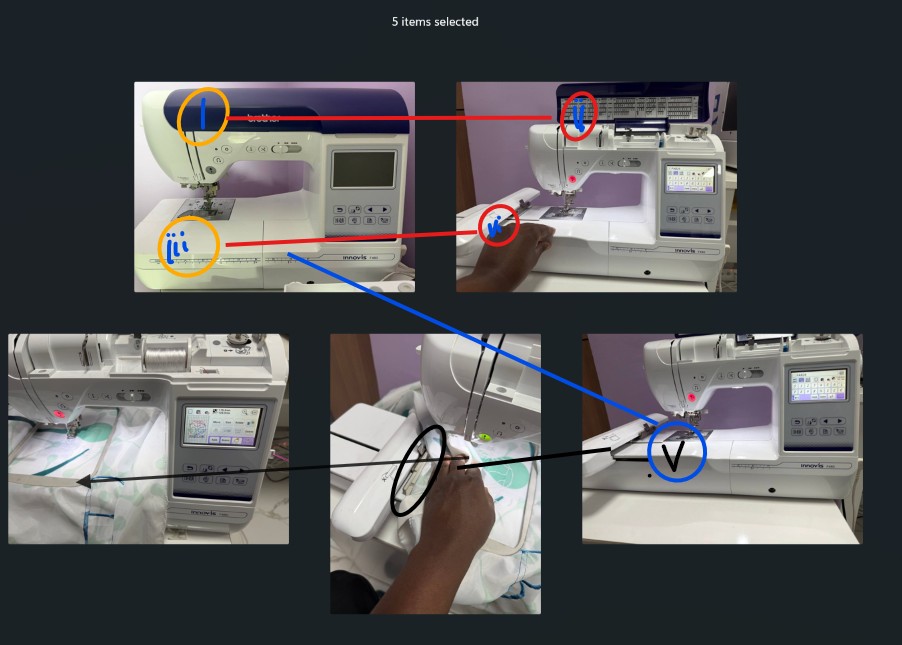
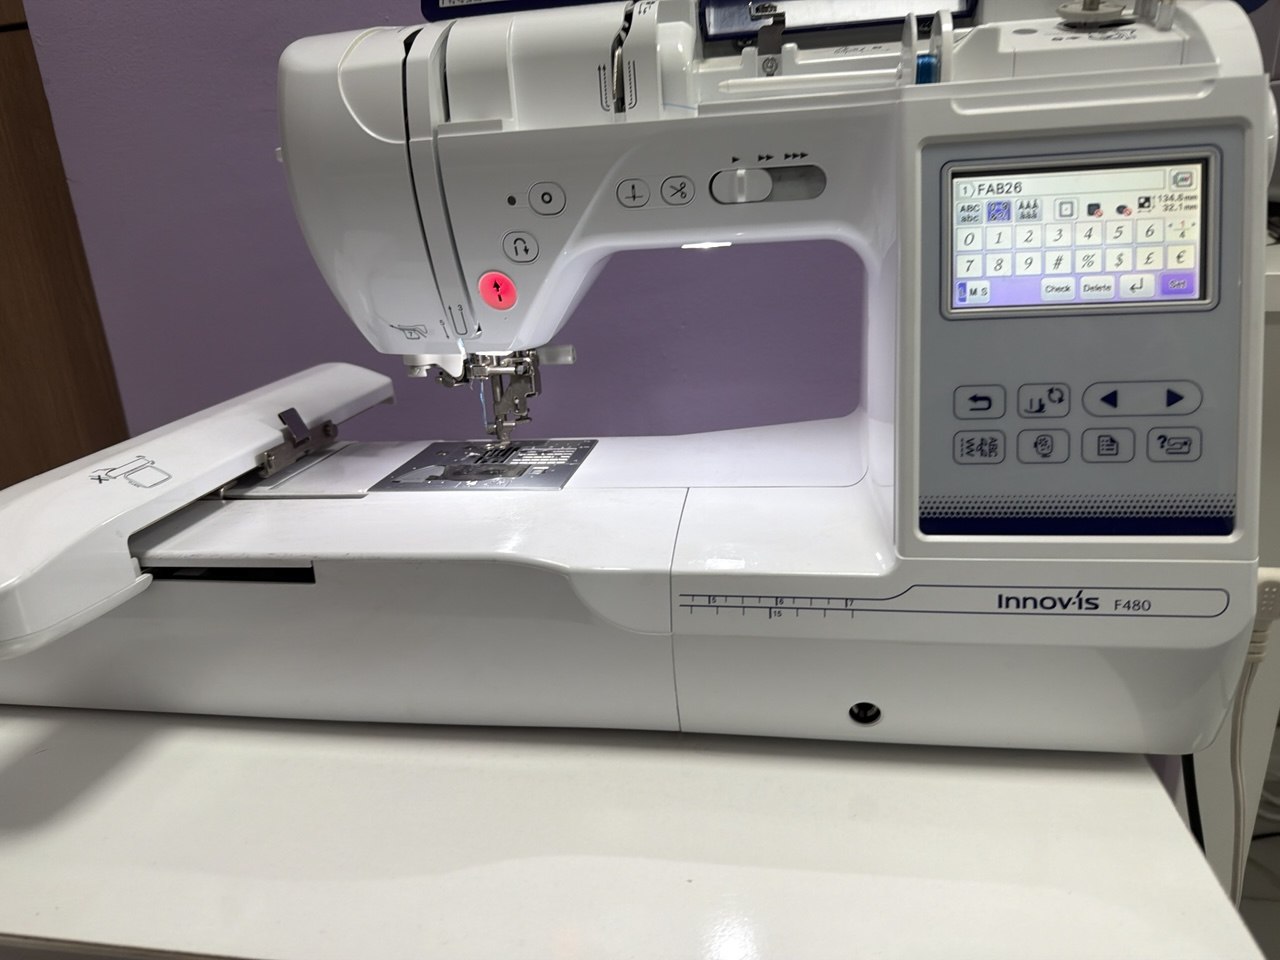
- In our stock there is ony oly one kind of colored rope/thread for designed logo
- Manually attach the size of textile to the embroidery (i attached the links for manuals of this machines below)
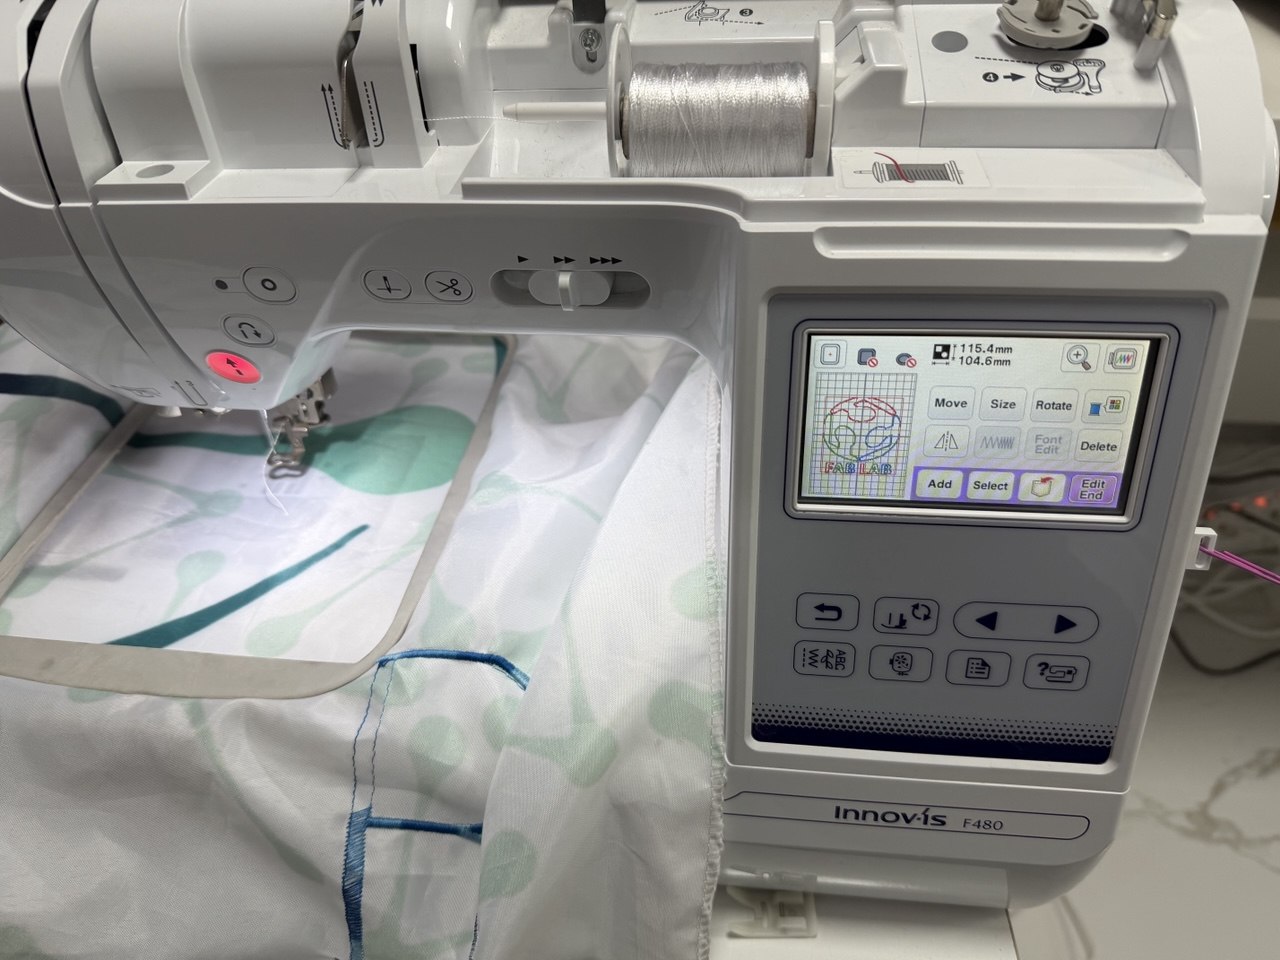
design
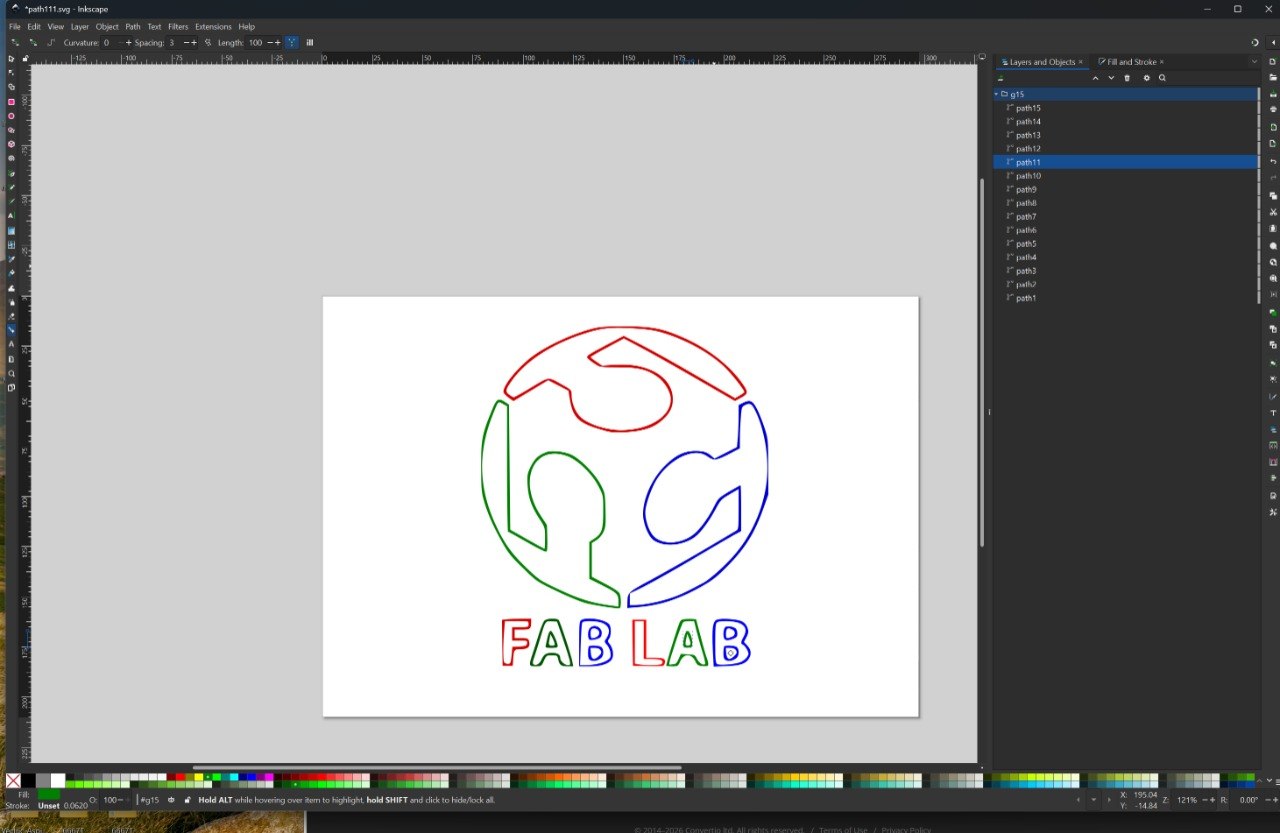
final
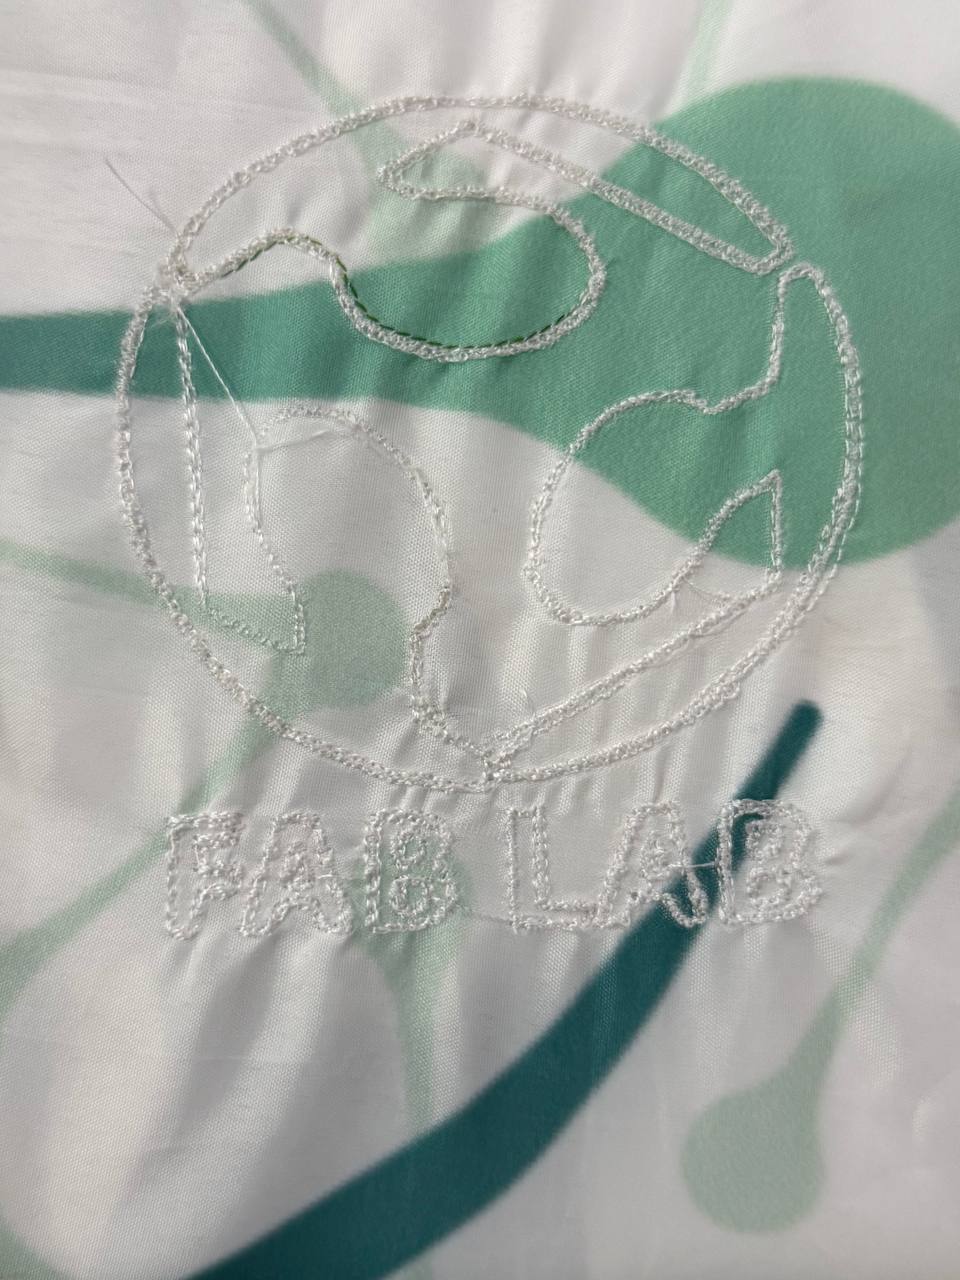
The wildcard week test shine for me in this embroidery practice… it is unique process in that it accept the digital fabrication process to use threads to produce output on textiles. Generally, I learn new things in this lesson like… how to mark designs on metal using a fiber laser marker, learned how to convert a logo into an embroidery file and stitch it on fabric, learned how to set up and adjust machine parameters for better results and i learned how to identify and install extensions for inkscape usage.
Design Files

References
manual innov-is brother F480
Tutorials Tutorial embroidery