Week 14 Interface and Application Programming
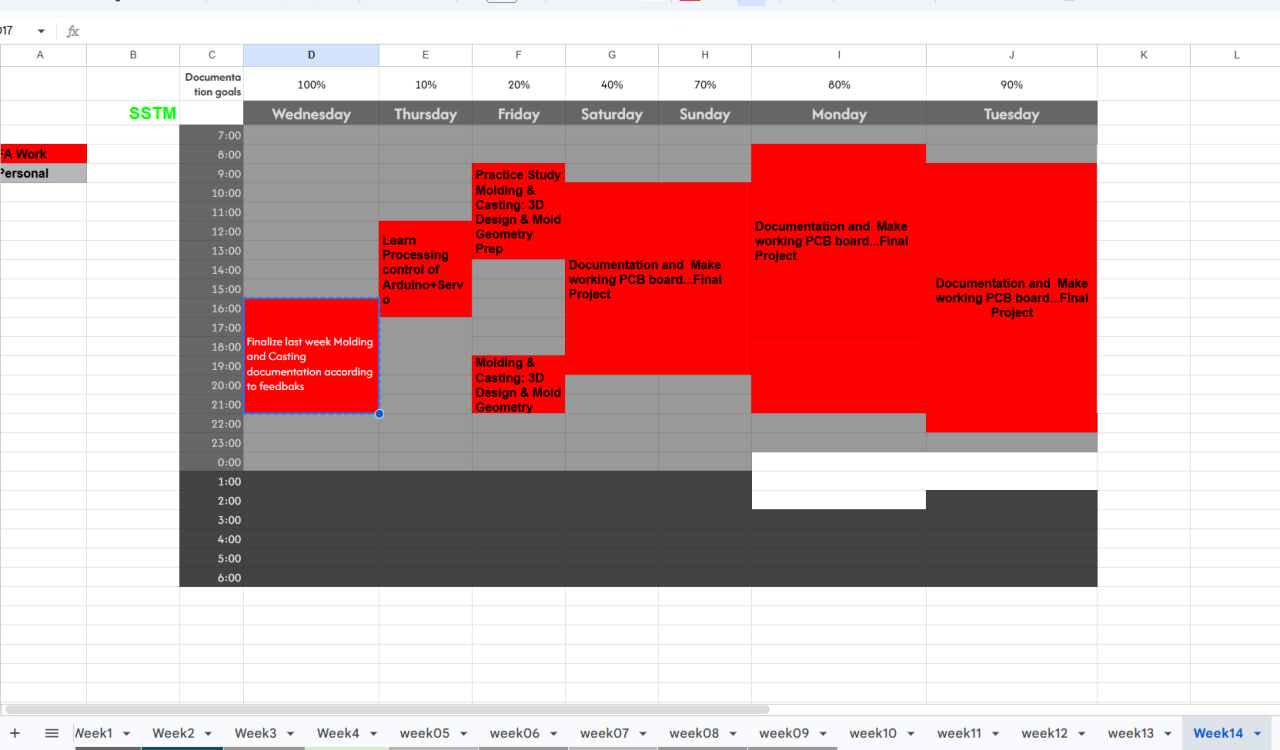
SSTM
Assignment
Individual
- Write an application that interfaces a user with an Input and/or output device that you made
Group
- Compare as many tool options as possible
Individual
A. Processing + Micro controller via Serial
Learning From Our Instructors notion page for the class at: Skylabworkshop
Getting Started with Processing
What I am learning: In this section, I understand the basic structure of every Processing program. I learn how a program is organized and how it runs step by step.
- A function is a block of code that performs a specific task.
- setup() is used for initialization → it runs only once when the program starts.
- draw() is used for continuous execution → it loops forever and updates the screen.
- Comments (
//) are used to document my code so it is easier to understand later.
This is the foundation of all visual programming in Processing.
Basic Processing Program
AI (Copilot, deepseek and ChatGPT) was used to help me write a text and codes in the following steps
// Basic Processing Program
// Instructor - Rico Kanthatham
// By Tamrat Teklemarkos
// May 1, 2026

void setup() {
  // runs once
}

void draw() {
  // runs repeatedly
}
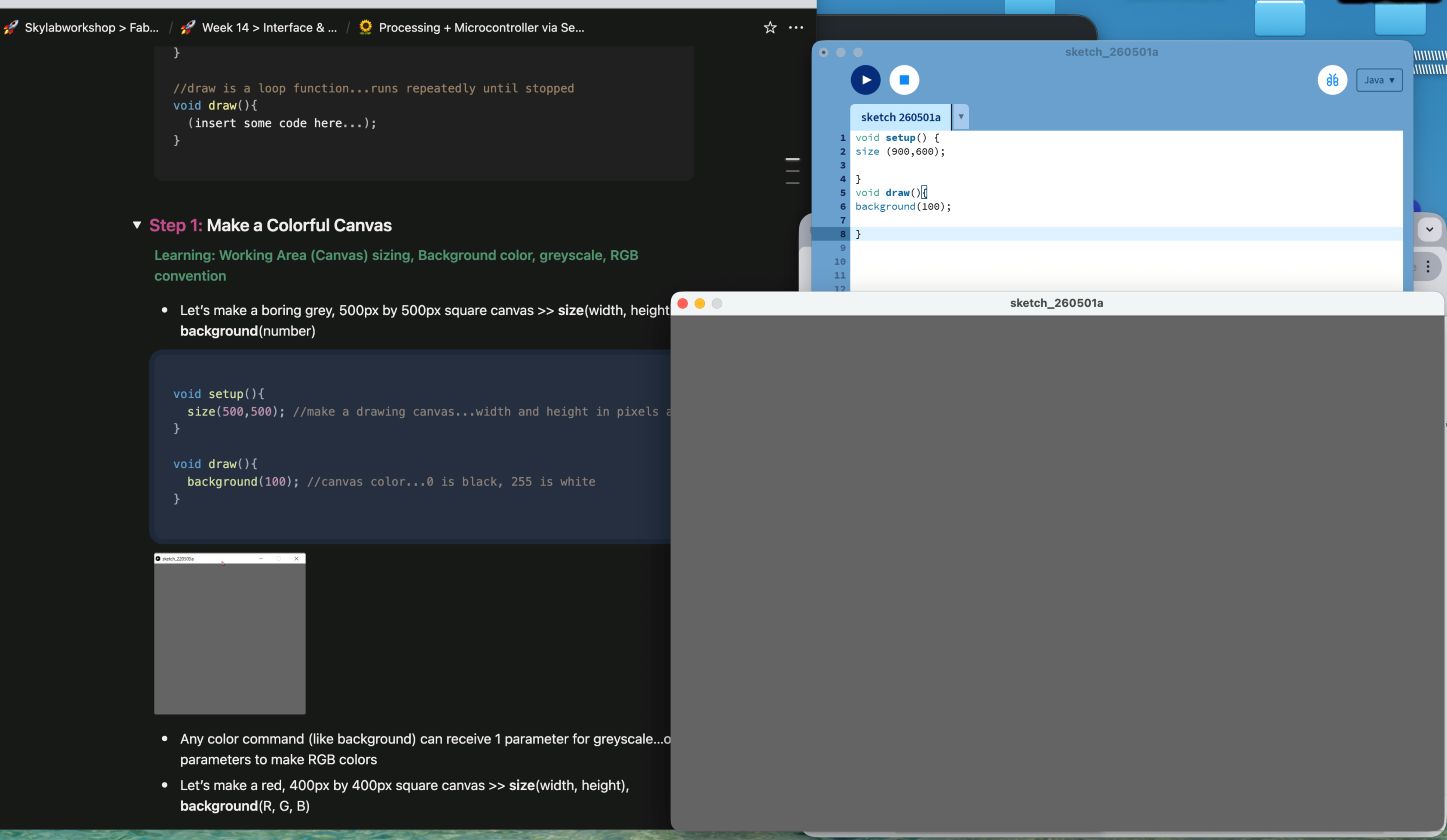
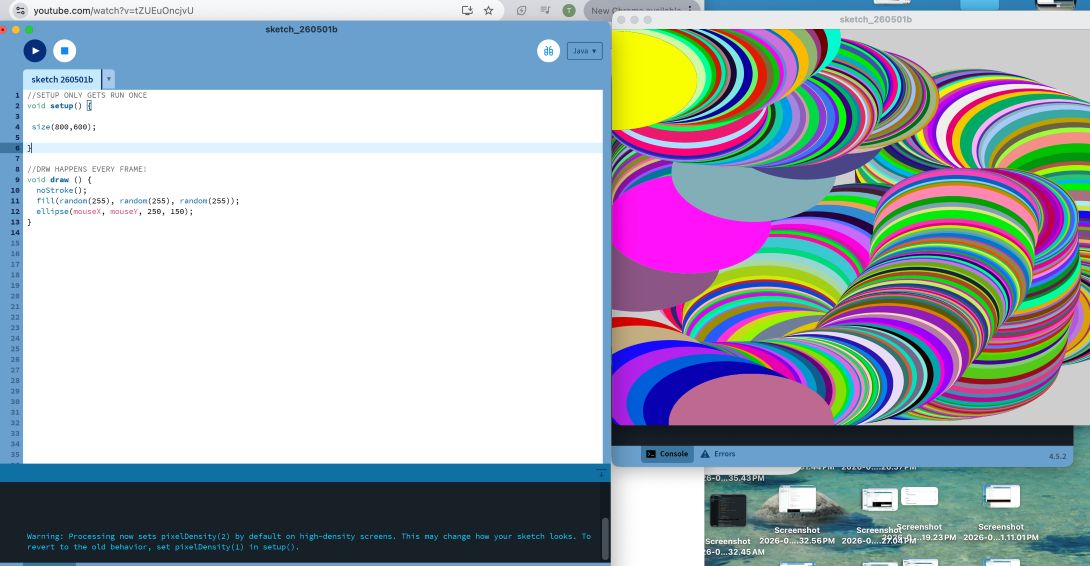
Make a Colorful Canvas
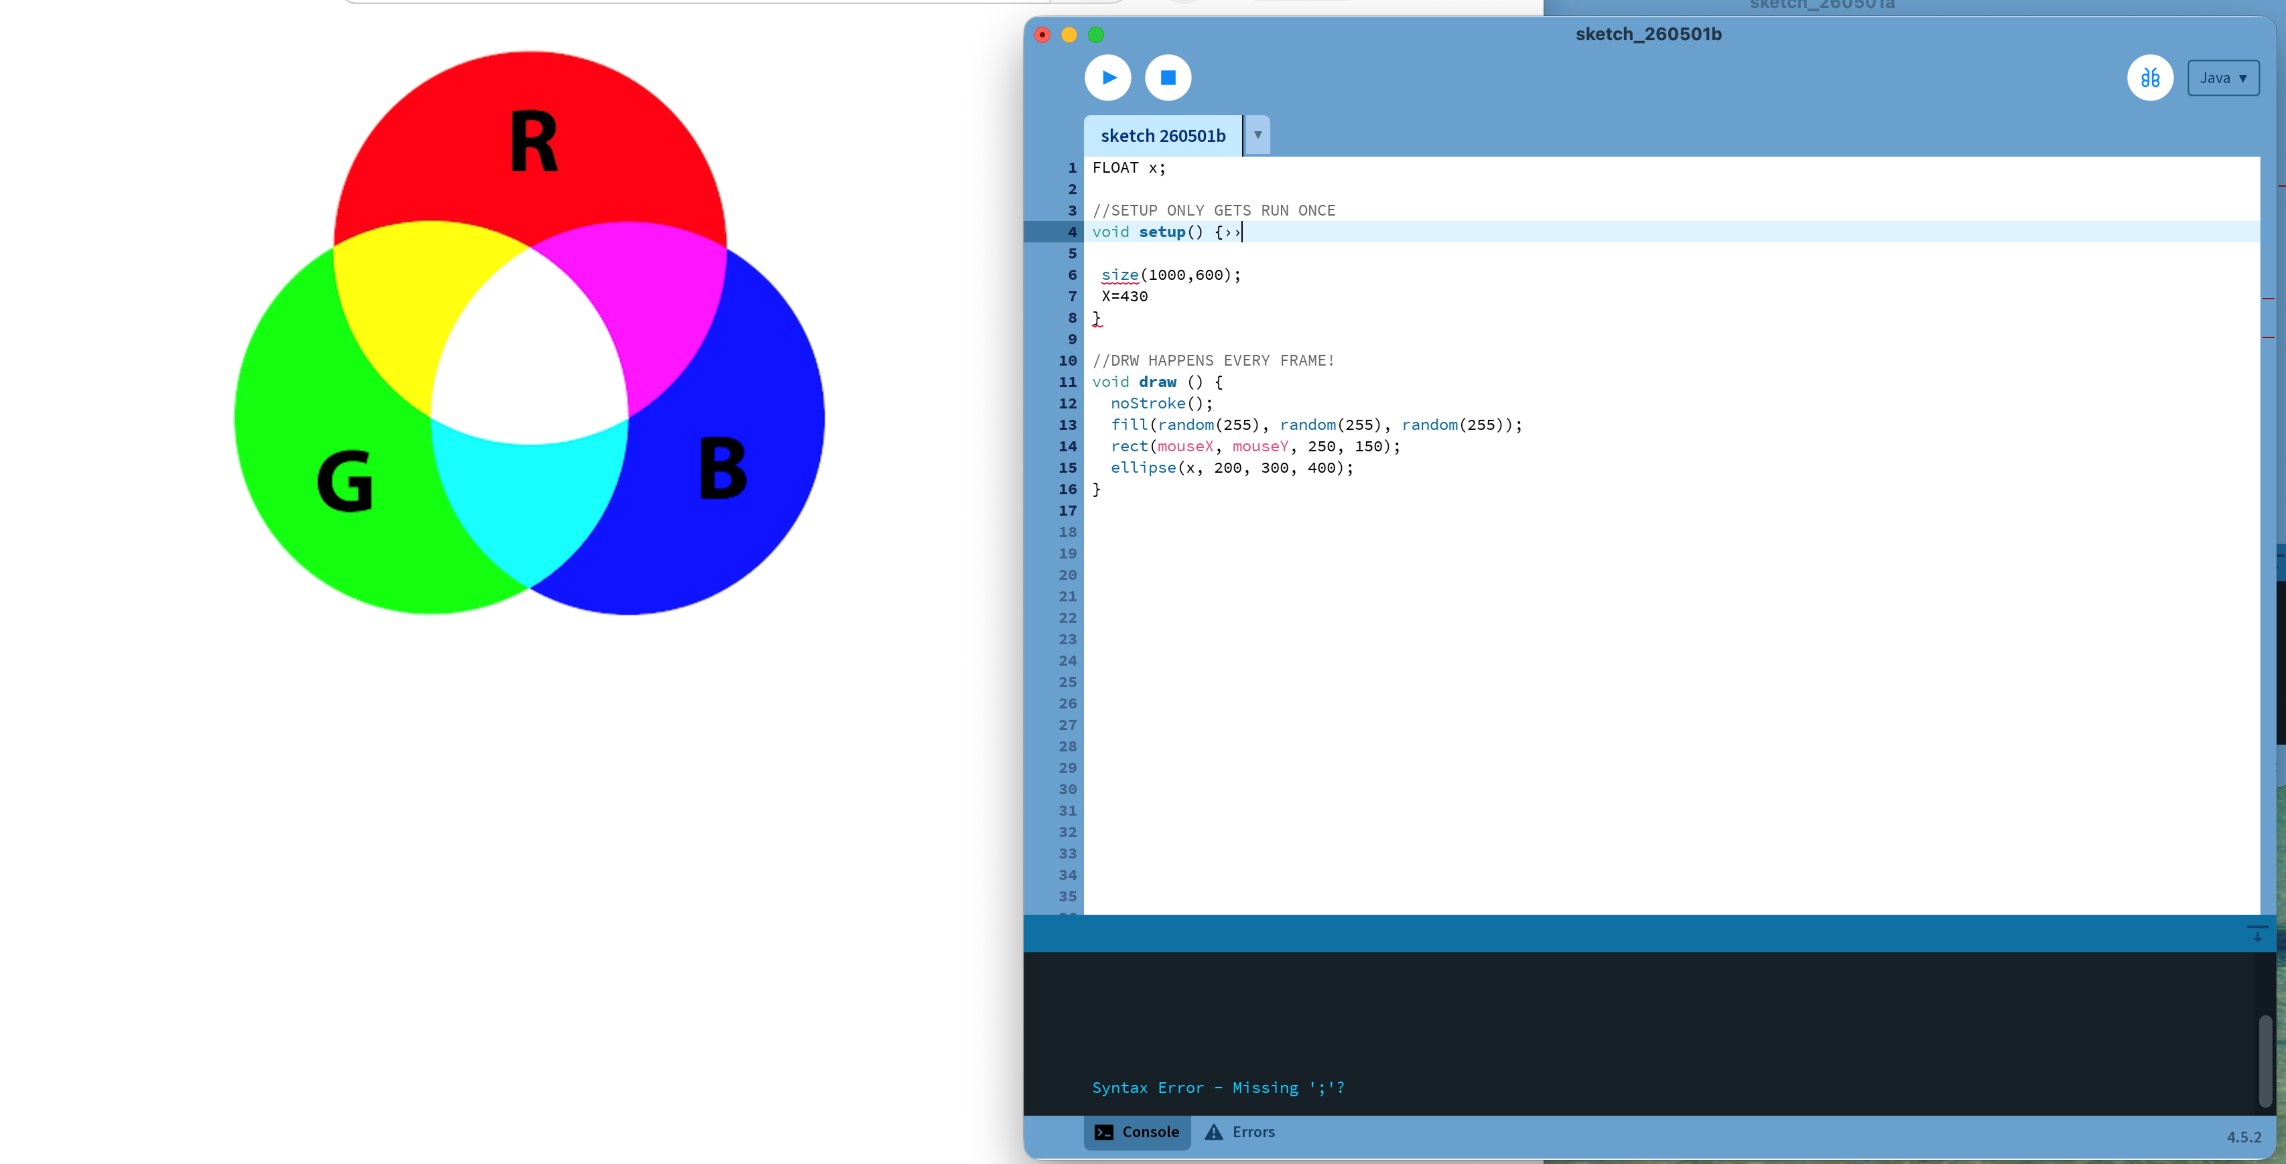
What I am learning: Here I learn how to create my drawing space (canvas) and control its color.
- size(width, height) defines the canvas dimensions in pixels.
- background() sets the color of the canvas.
-
I learn two color systems:
-
Grayscale (0 = black, 255 = white)
- RGB (Red, Green, Blue values)
Grey Background
void setup(){
  size(900,600);
}

void draw(){
  background(100);
}
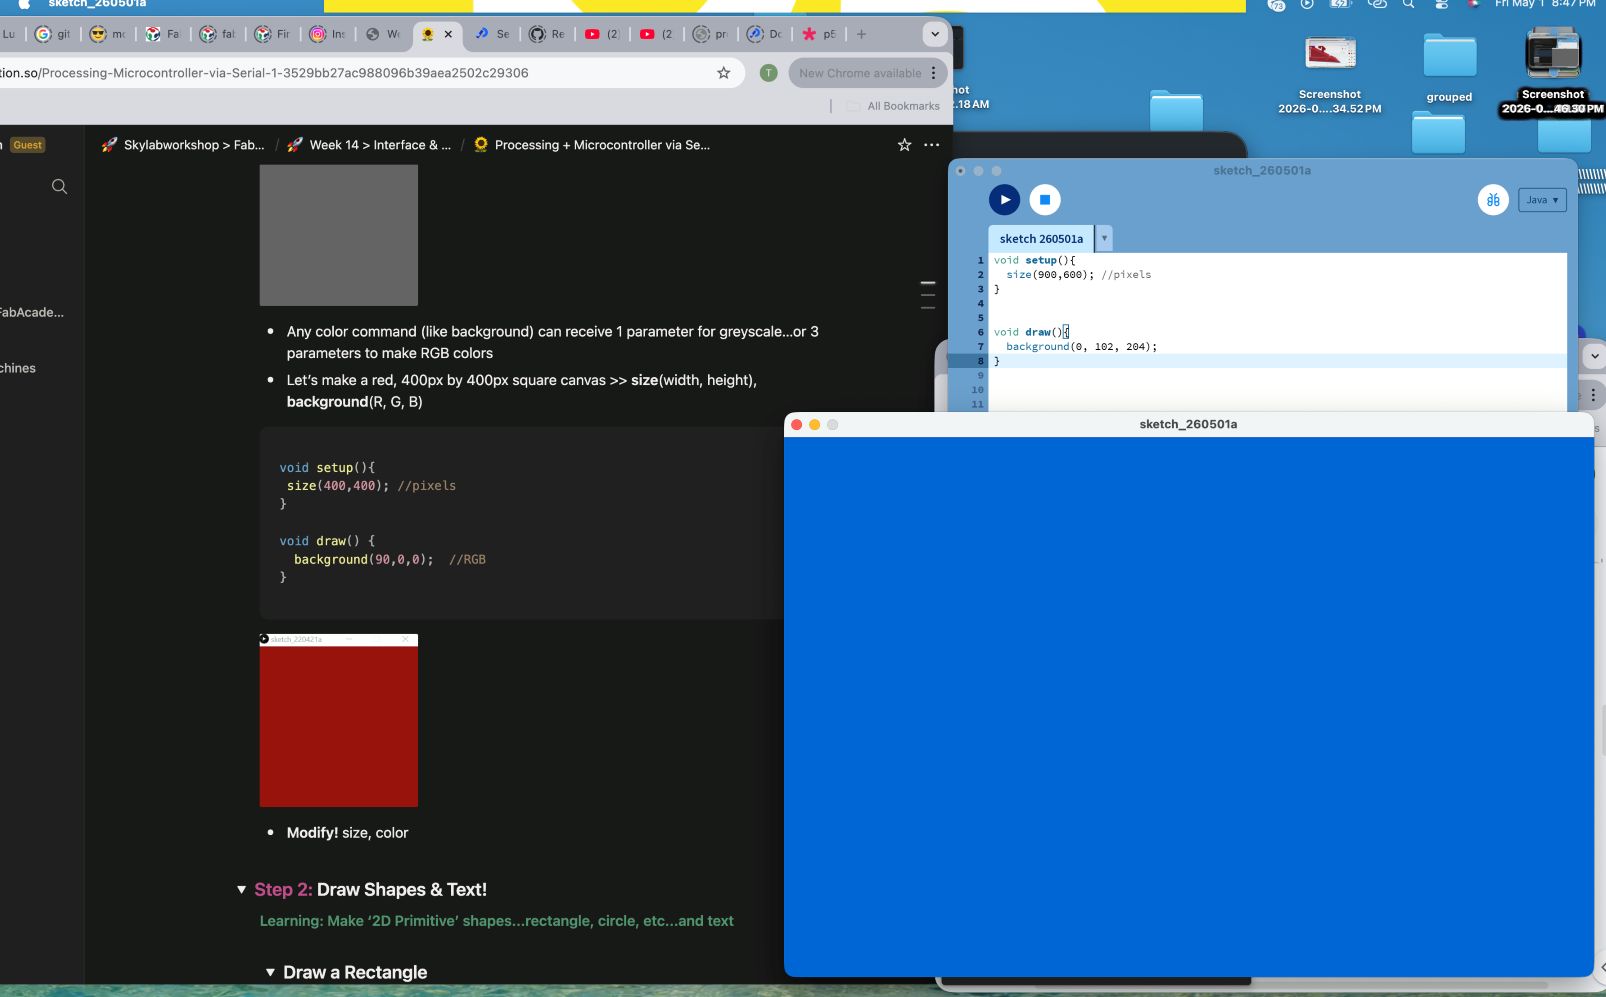
Blue Background
void setup(){
  size(900,600);
}

void draw(){
  background(0, 102, 204);
}
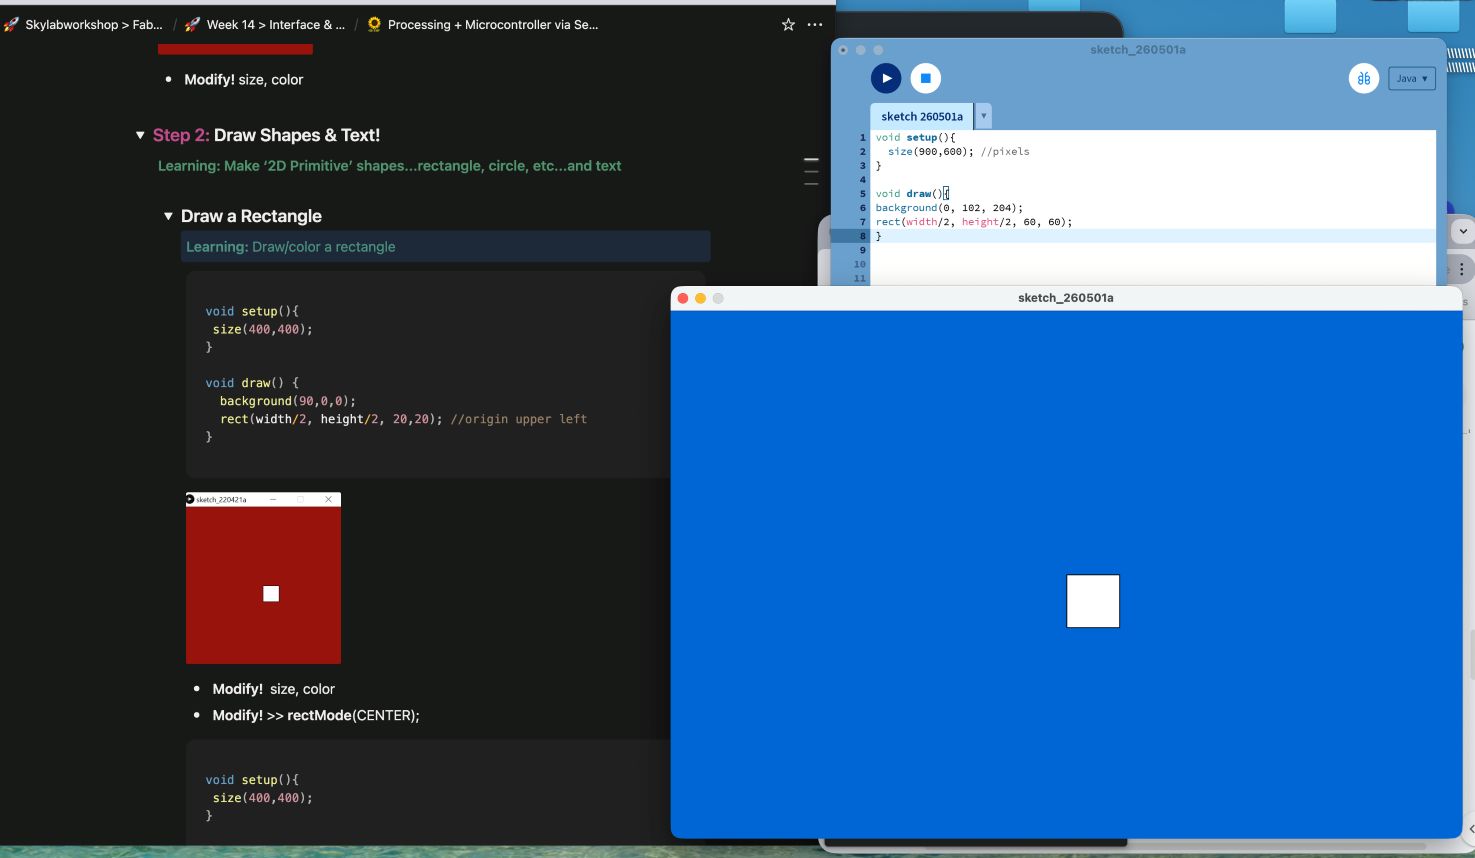
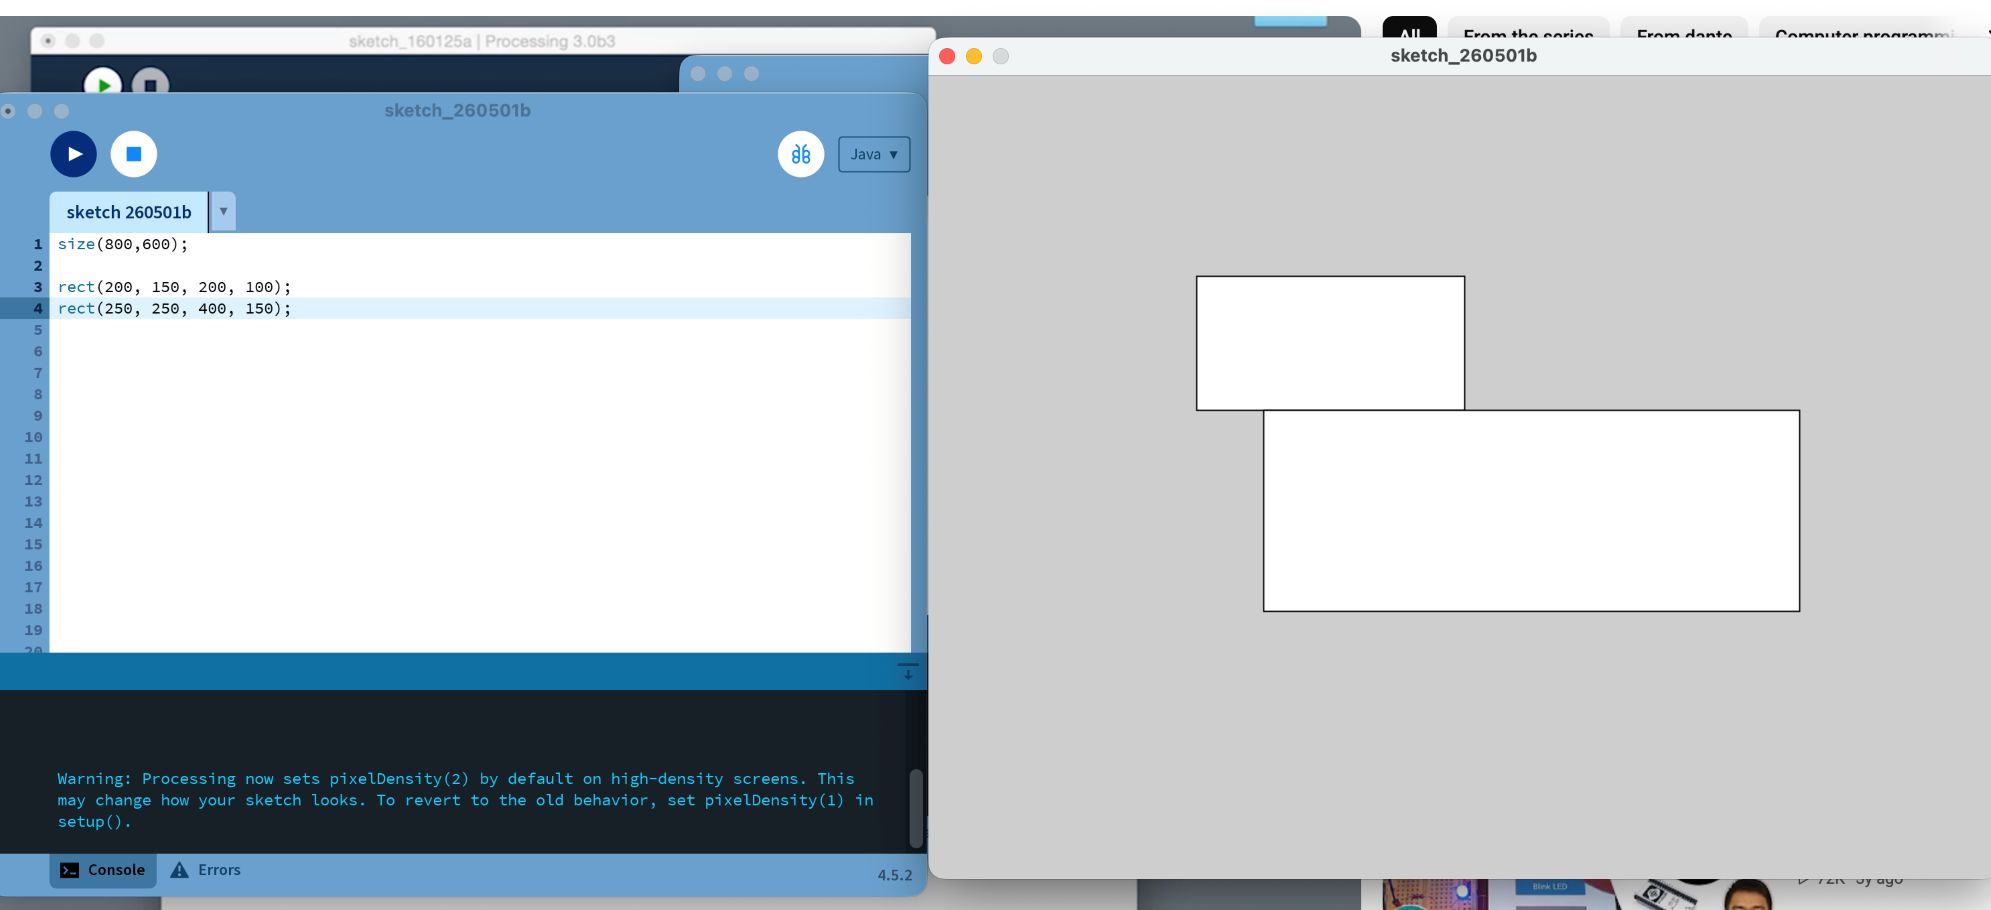
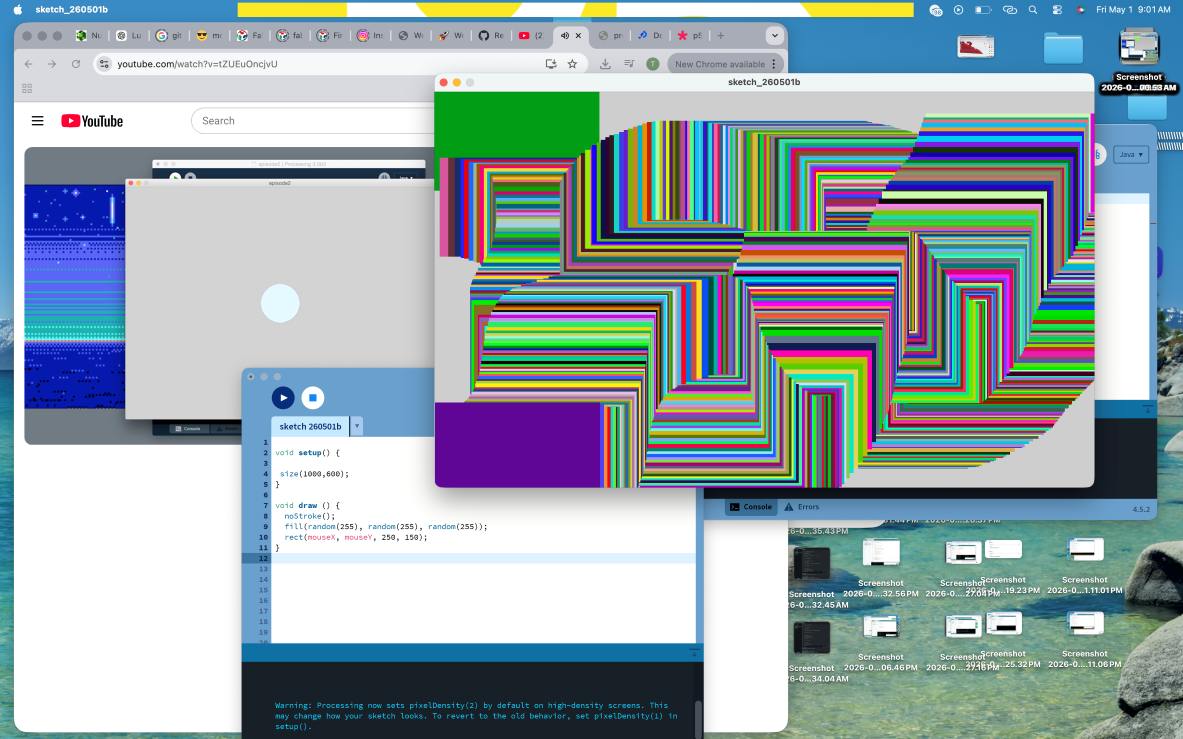
Draw Rectangle
What I am learning: I begin drawing basic shapes using coordinates.
- rect(x, y, width, height) draws a rectangle.
- The position (x, y) starts from the top-left corner by default.
void setup(){
  size(900,600);
}

void draw(){
  background(0, 102, 204);
  rect(width/2, height/2, 60, 60);
}
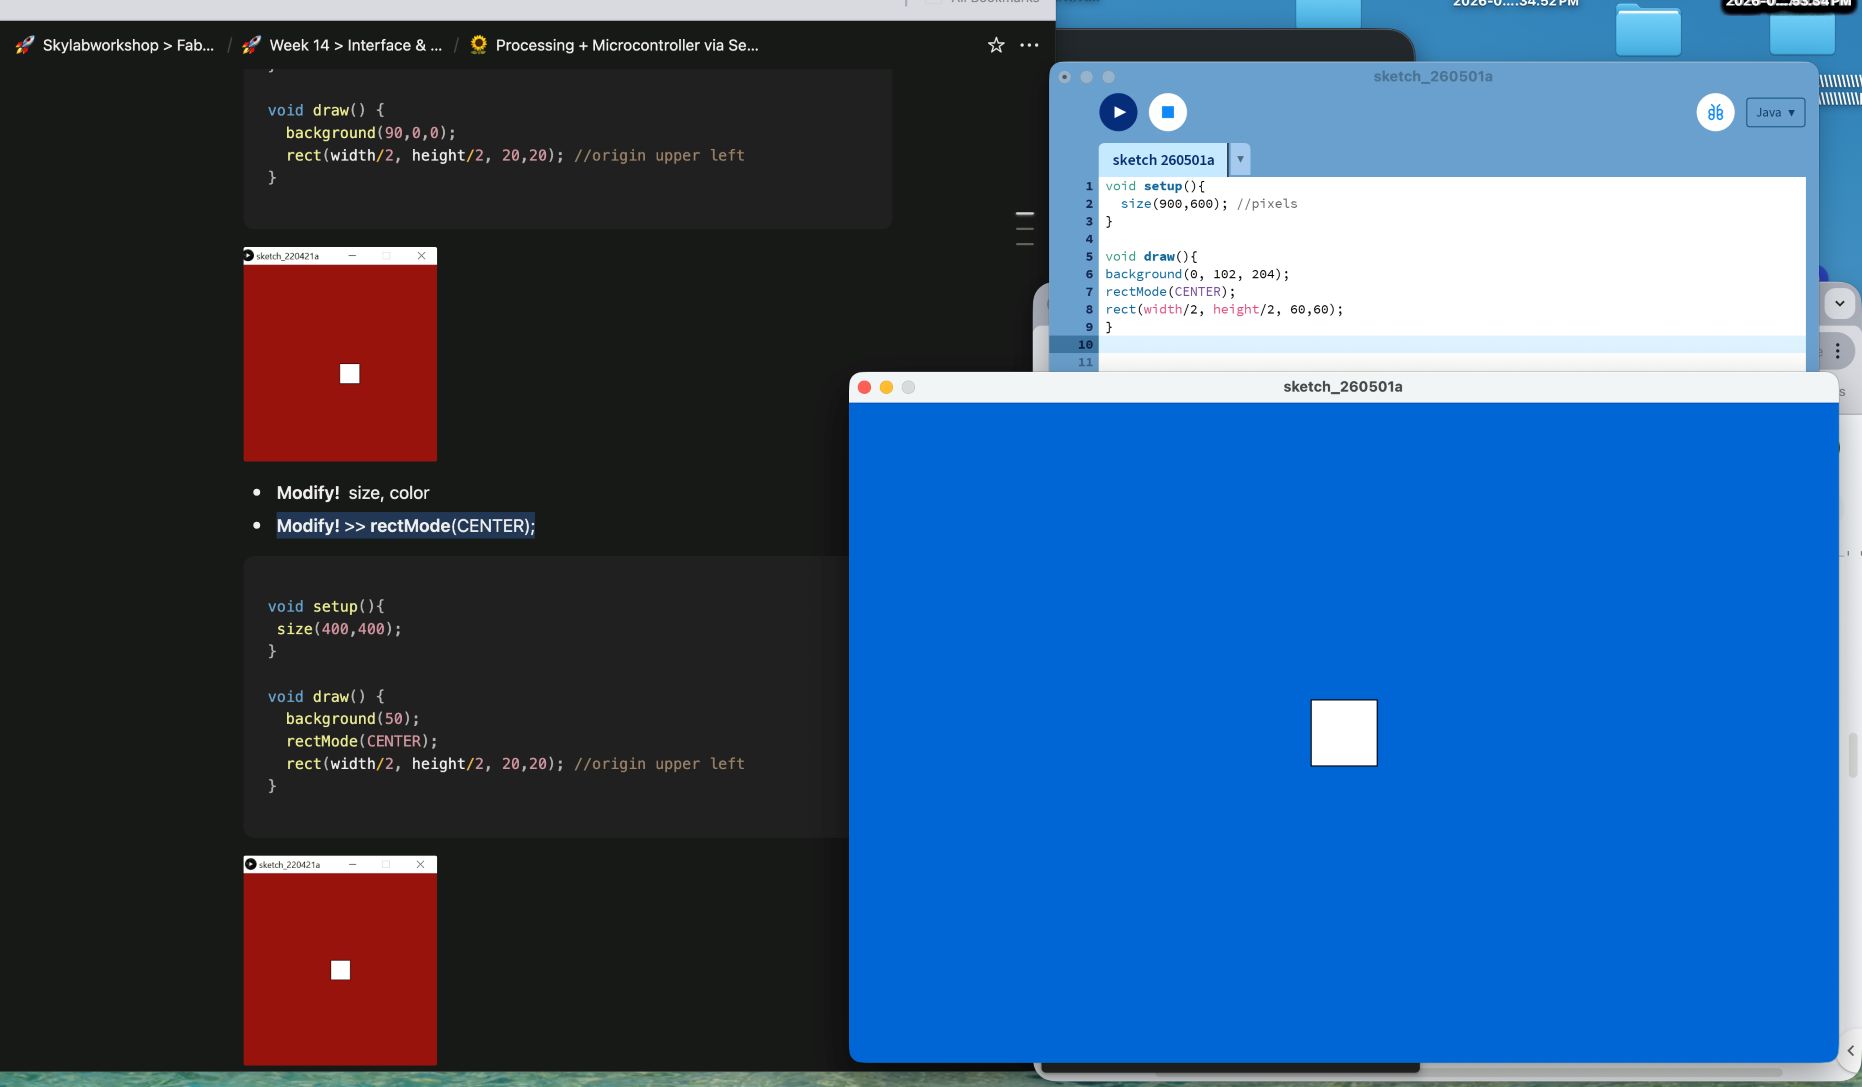
Modify Shape Position
What I am learning: I learn how to change how shapes are positioned.
- rectMode(CENTER) changes positioning from corner-based to center-based alignment.
- This helps me create more balanced and symmetrical layouts.
void setup(){
  size(900,600);
}

void draw(){
  background(0, 102, 204);
  rectMode(CENTER);
  rect(width/2, height/2, 60, 60);
}
Modify Stroke and Style
What I am learning: I control the appearance of shapes.
- stroke() sets border color
- strokeWeight() controls thickness
- noStroke() removes border
This allows me to customize the visual style of my drawings.
void setup(){
  size(900,600);
}

void draw(){
  background(0, 102, 204);
  rectMode(CENTER);
  stroke(0,140,190);
  strokeWeight(9.7);
  rect(width/2, height/2, 60,60);
}
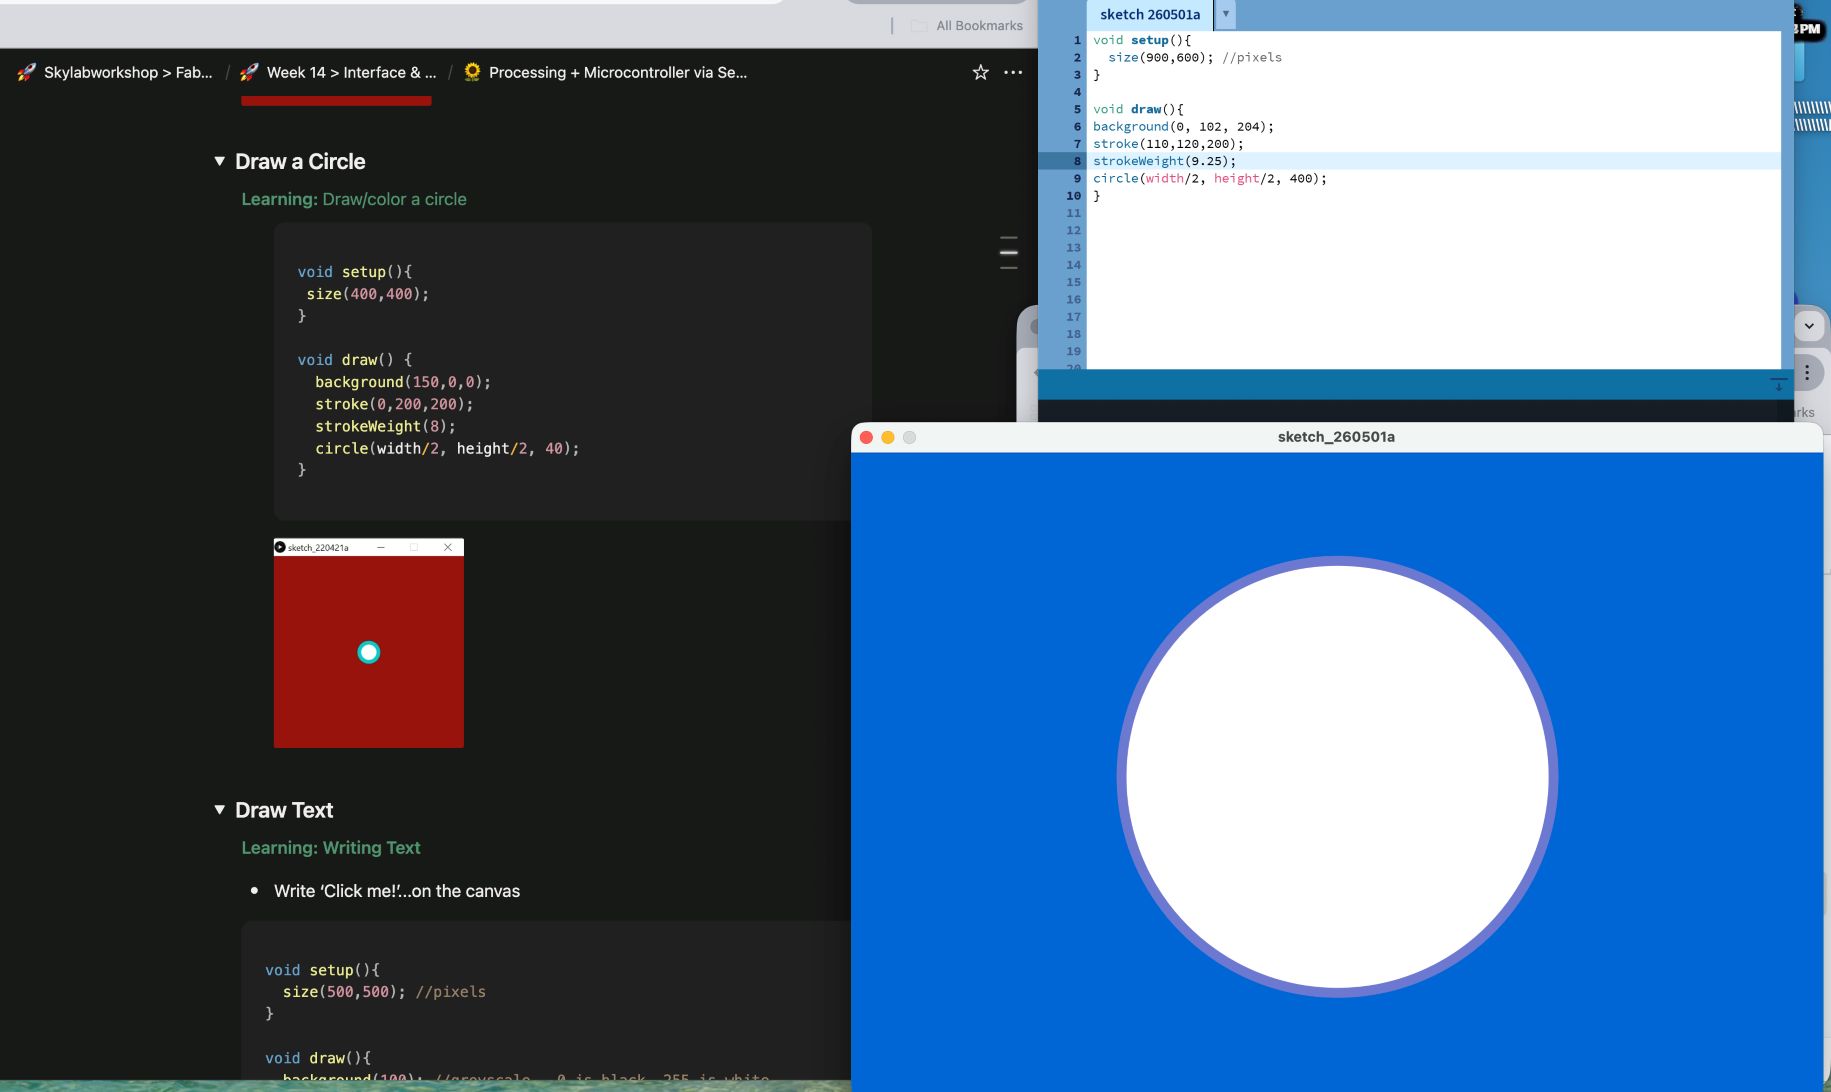
Draw Circle
What I am learning: I explore another basic shape.
- circle(x, y, diameter) draws a circle.
- I combine shape drawing with styling techniques.
void setup(){
  size(900,600);
}

void draw(){
  background(0, 102, 204);
  stroke(110,120,200);
  strokeWeight(2.25);
  circle(width/2, height/2, 400);
}
Draw Text
What I am learning: I learn how to display text visually on the canvas.
- text() displays words on screen
- textSize() controls text size
- fill() controls text color
void setup(){
  size(900,600); //pixels
}

void draw(){
background(0, 102, 204);
stroke(110,120,200);
fill(200, 120, 110);
strokeWeight(9.25);
circle(width/2, height/2, 400);

stroke(100,100,100);
fill(0, 0, 250);
textSize(55);
text("FABLAB - SKYLAB", width/2-200, height/2);

}
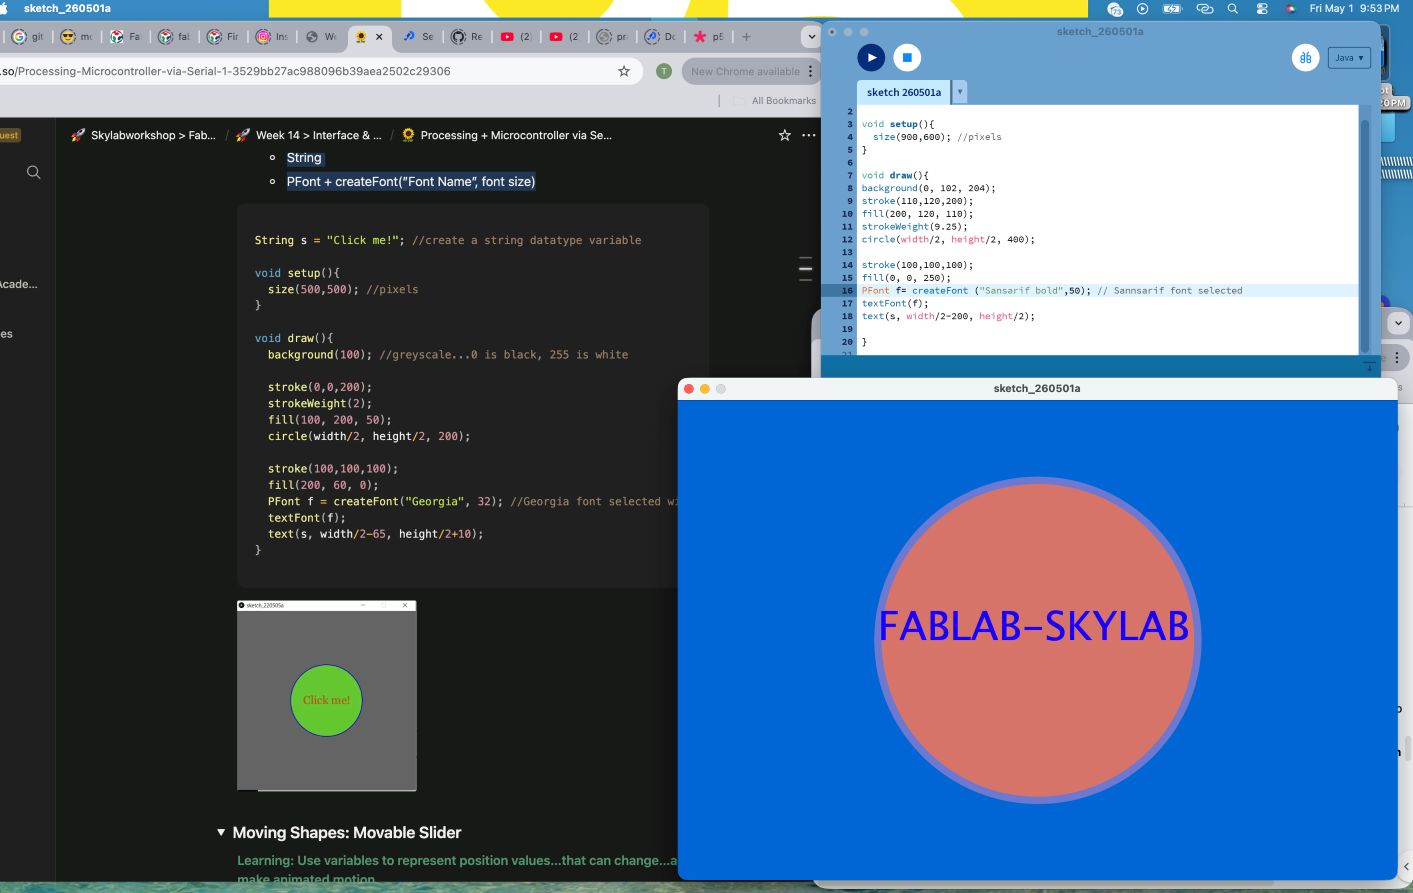
Fonts & String Variables
What I am learning: I introduce data types and typography. [5/2/2026 4:59 AM] I’m Tamrat TAH: * String stores text data * PFont allows me to use custom fonts * I separate content (text) from visual presentation
String s = "FABLAB - SKYLAB";

void setup(){
  size(900,600); //pixels
}

void draw(){
background(0, 102, 204);
stroke(110,120,200);
fill(200, 120, 110);
strokeWeight(9.25);
circle(width/2, height/2, 400);

stroke(100,100,100);
fill(0, 0, 250);
PFont f= createFont ("Sansarif bold",50); // Sansarif font selected
textFont(f);
text(s, width/2-200, height/2);

}
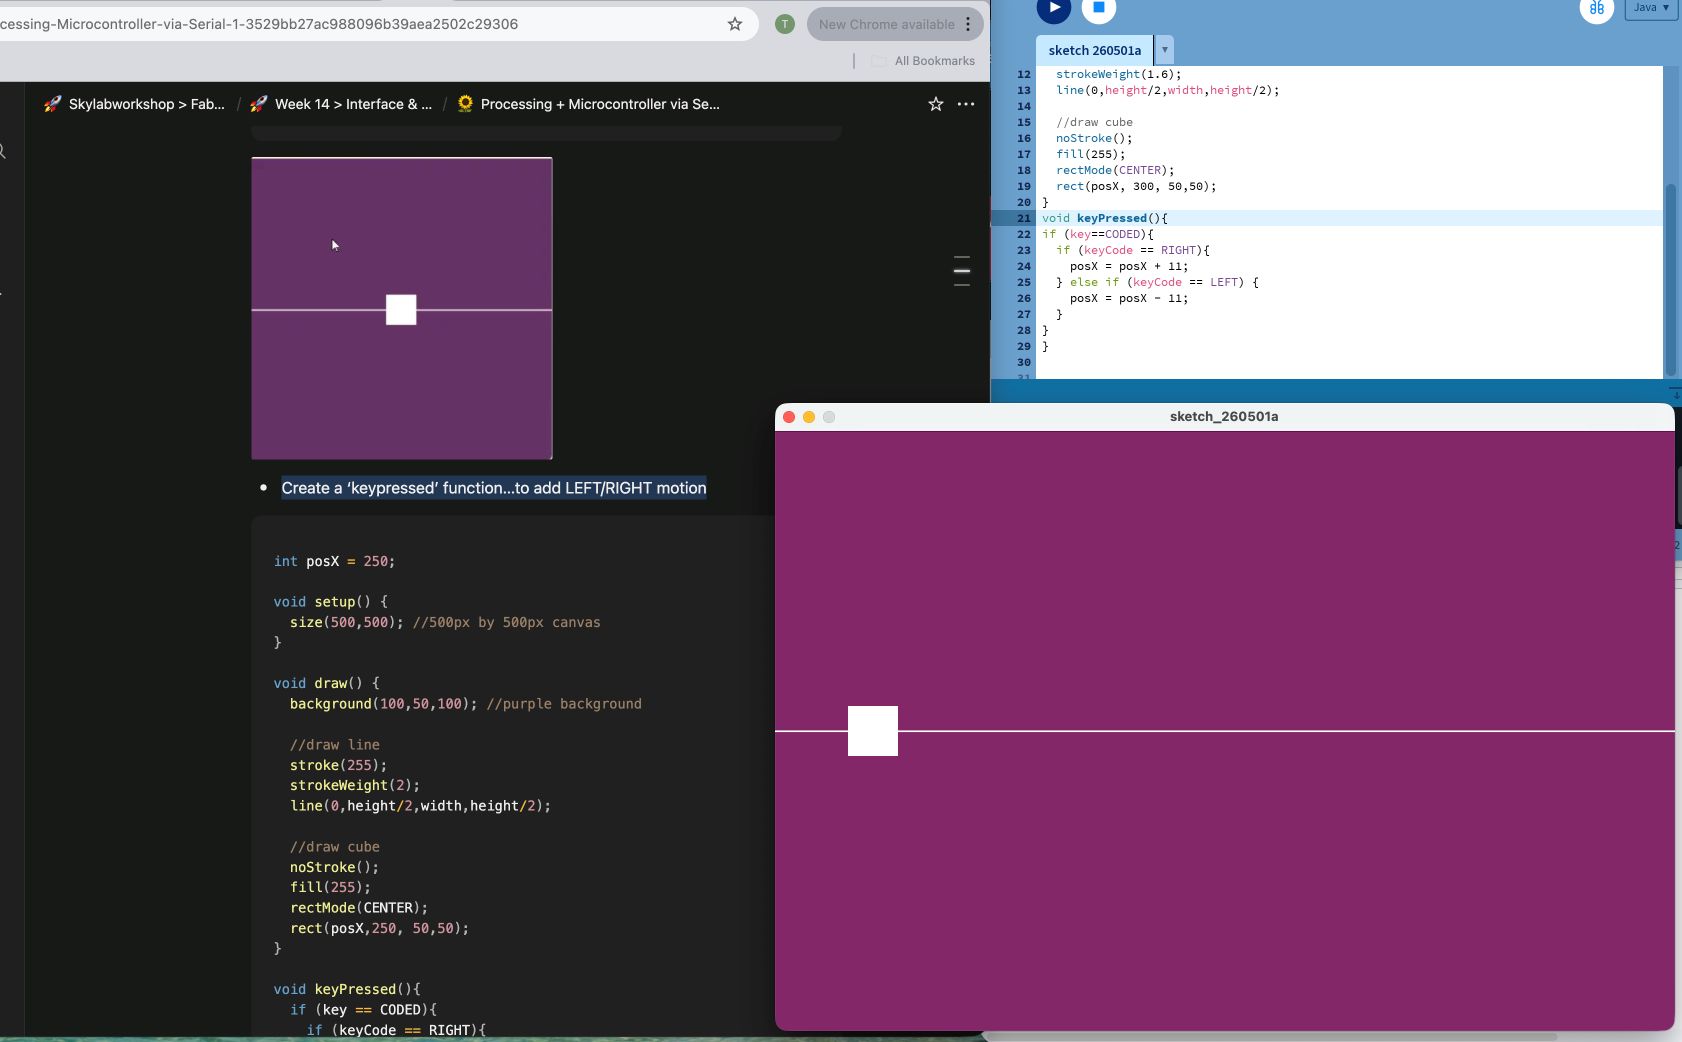
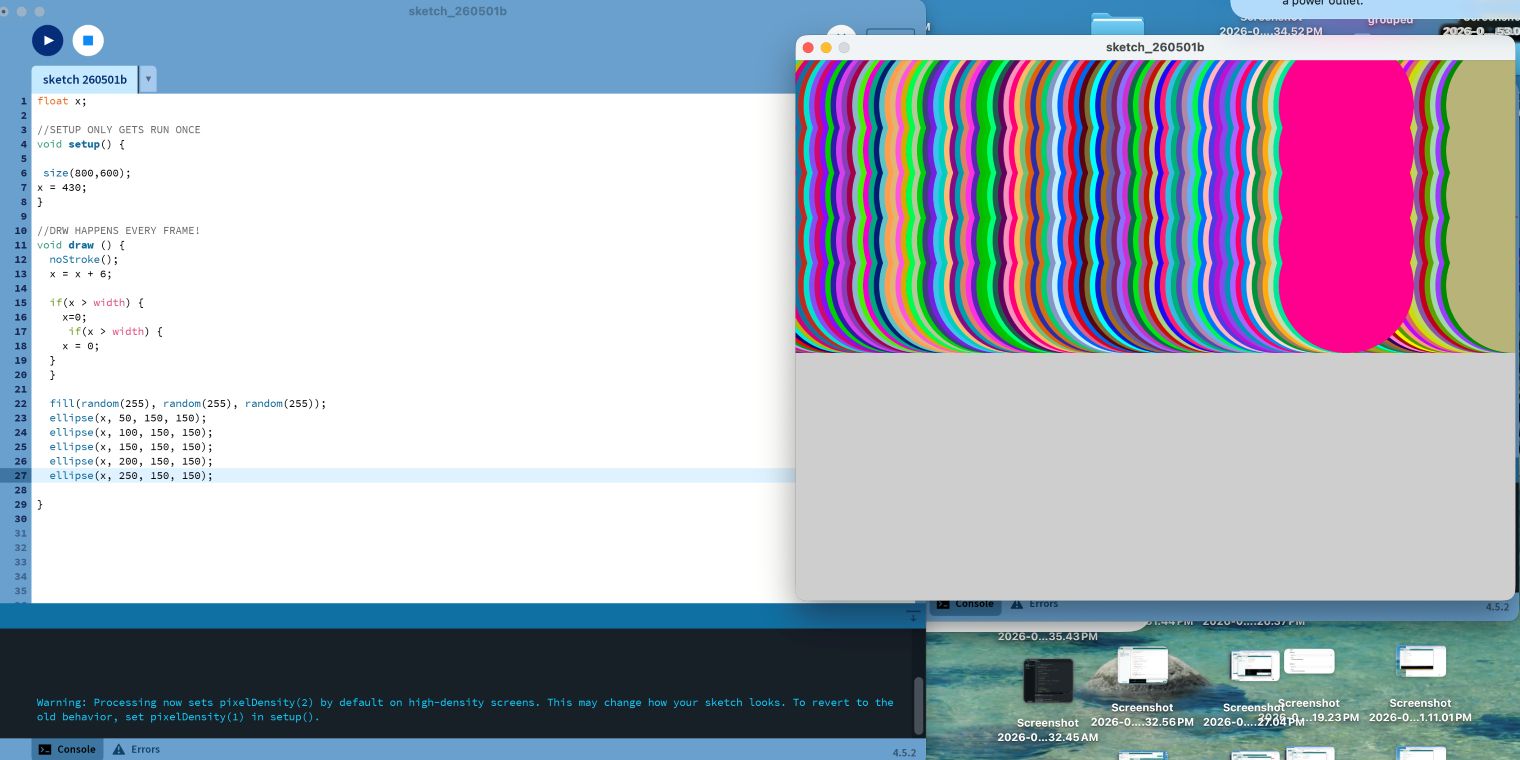
Moving Shapes: Movable Slider
What I am learning: I start creating animation using variables.
- Variables store values that can change
- By updating values over time, I create motion
int posX = 450;

void setup() {
  size(900,600);
}

void draw() {
  background(120,50,102);

  rectMode(CENTER);
  rect(posX, 300, 50,50);
}
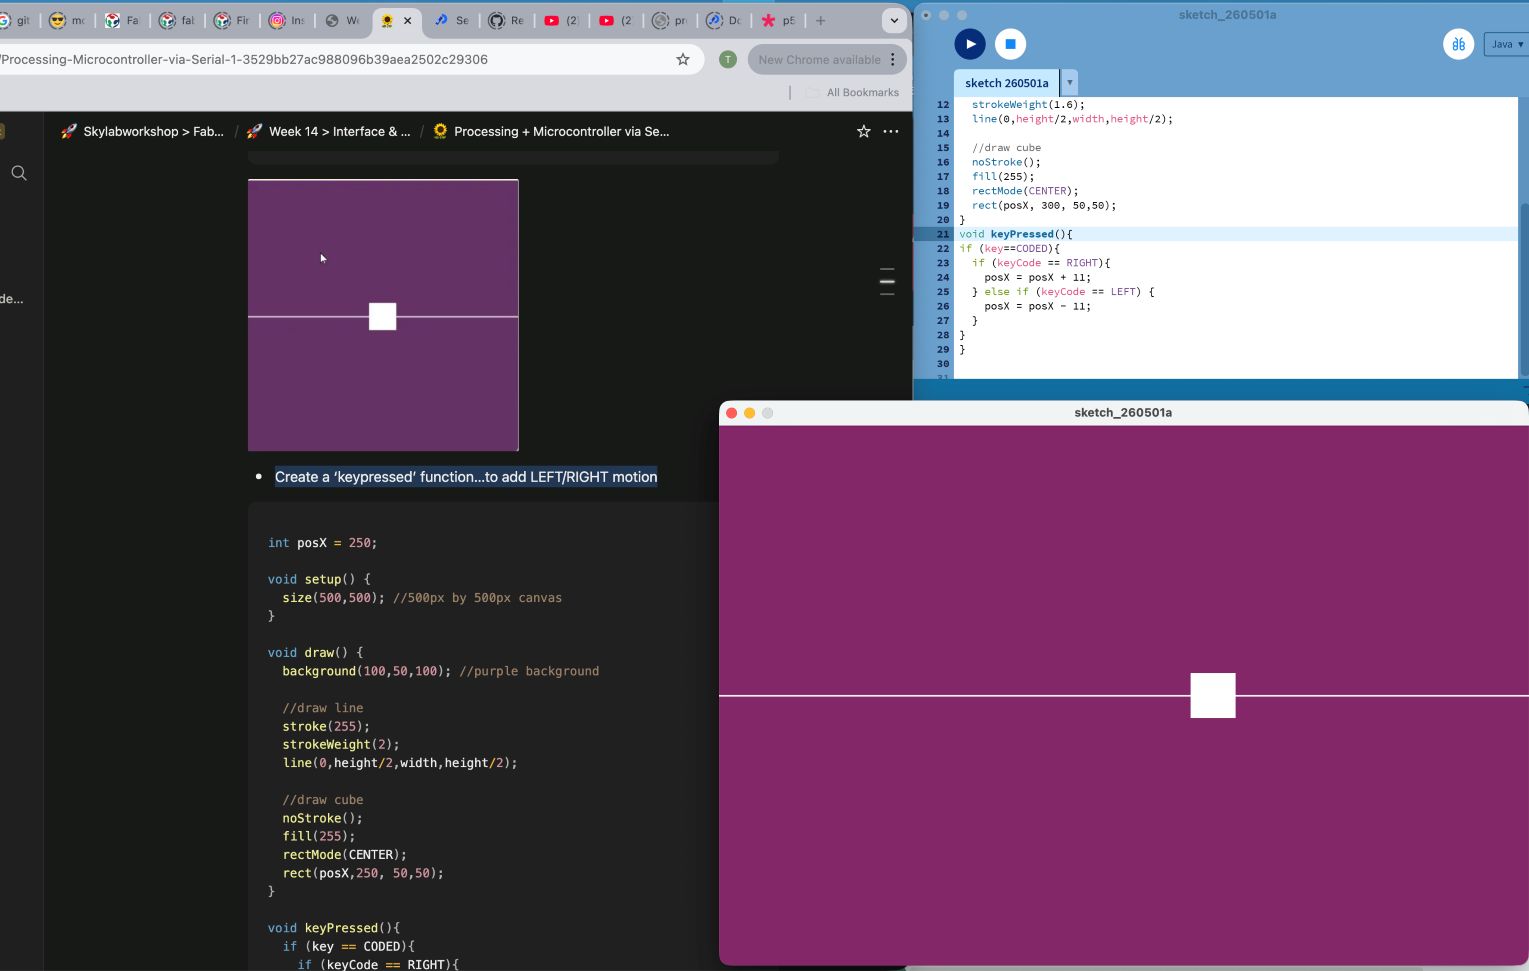
Add Keyboard Movement
What I am learning: I introduce keyboard interaction.
- keyPressed() detects key input
- keyCode allows me to use arrow keys
- I change variables based on user input
void keyPressed(){
  if (key == CODED){
    if (keyCode == RIGHT){
      posX += 11;
    } else if (keyCode == LEFT) {
      posX -= 11;
    }
  }
}
Moving Shapes: Variable Arcs
What I am learning: I explore angles and mathematical control in graphics.
- arc() draws part of a circle
- radians() converts degrees to radians
- I use variables to control shape dynamically
float degs = 120.0; //variable to represent angles in degrees

void setup() {
  size(500,500); //500px by 500px canvas
}

void draw() {
  background(100,50,100); //purple background

  //draw filled arc
  float rads = radians(degs); //convert angle in degrees to angle in radians

  noStroke();
  fill(255);
  arc(width/2, height/2, 100, 100, 0, rads);

}

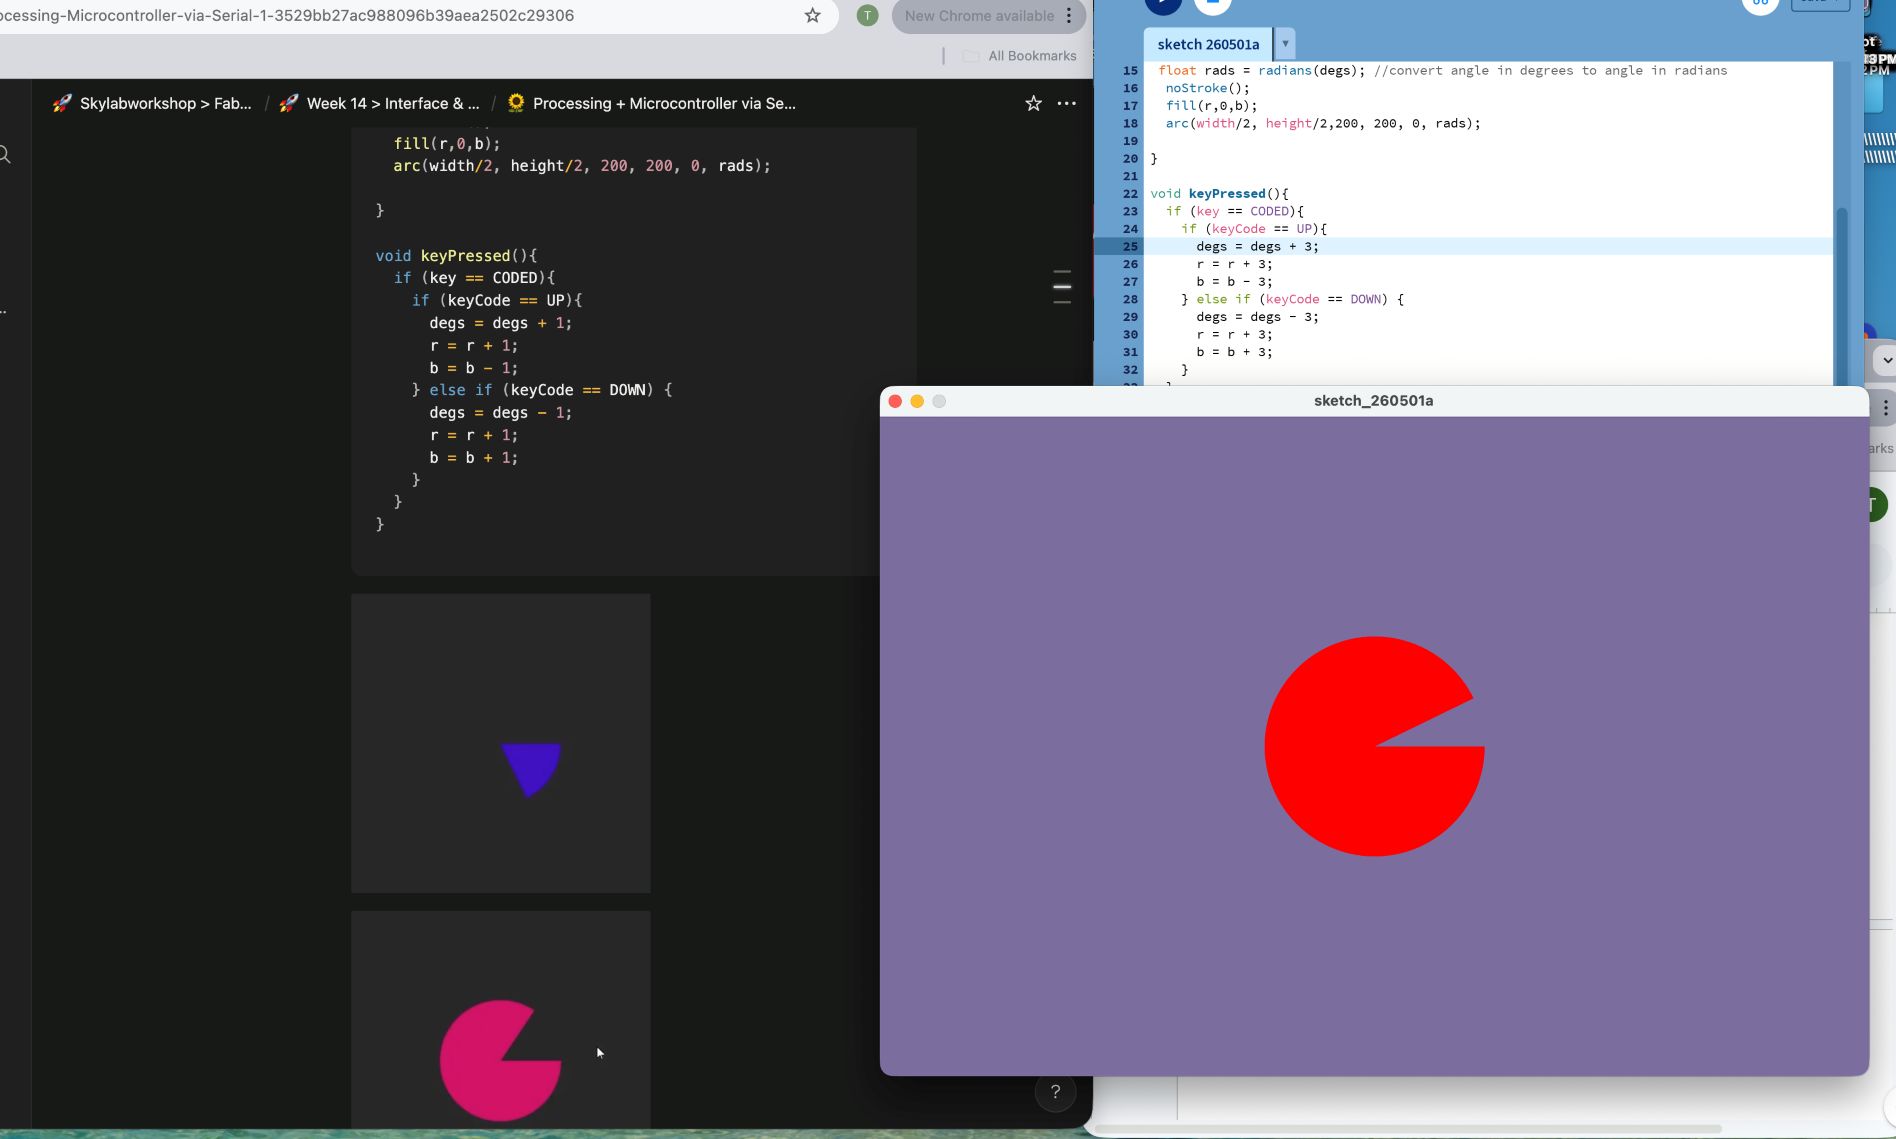
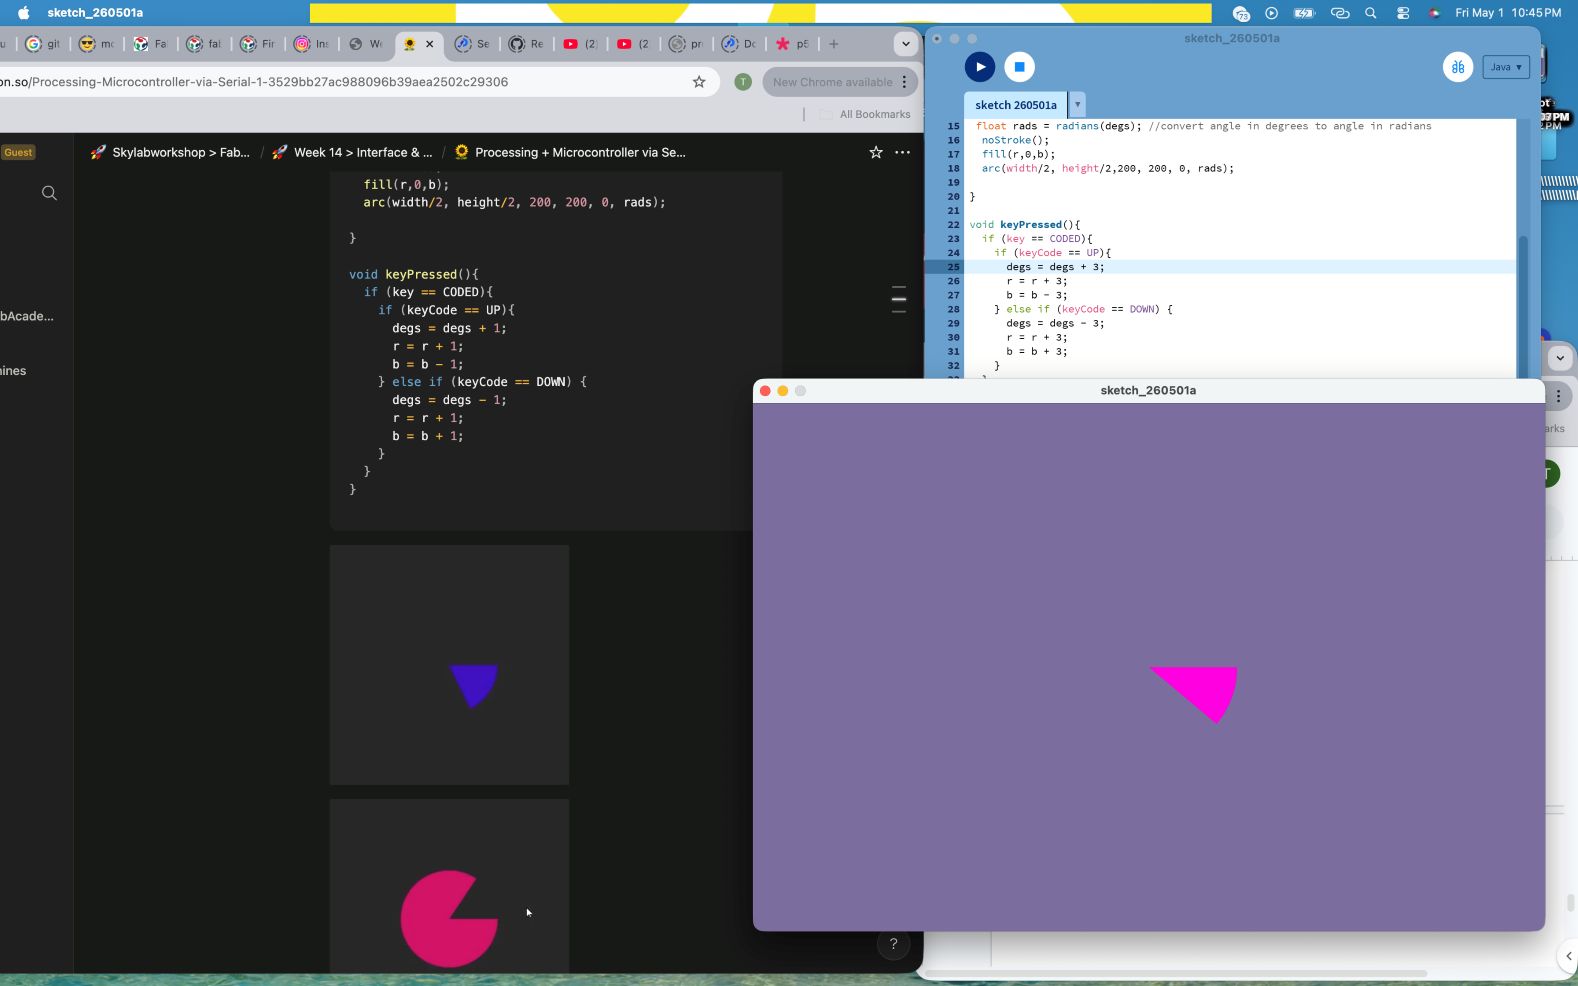
Arc with Changing Color
What I am learning: I combine animation and color transitions.
- Multiple variables change at the same time
- I create smooth and dynamic visual effects
float degs = 1;
float r = 0;
float b = 255;

void setup() {
  size(900,600); //500px by 500px canvas
}

void draw() {
  background(120,110,152); //purple background

   //draw filled arc
 float rads = radians(degs); //convert angle in degrees to angle in radians
  noStroke();
  fill(r,0,b);
  arc(width/2, height/2,200, 200, 0, rads);

}

void keyPressed(){
  if (key == CODED){
    if (keyCode == UP){
      degs = degs + 3;
      r = r + 3;
      b = b - 3;
    } else if (keyCode == DOWN) {
      degs = degs - 3;
      r = r + 3;
      b = b + 3;
    }
  }
}
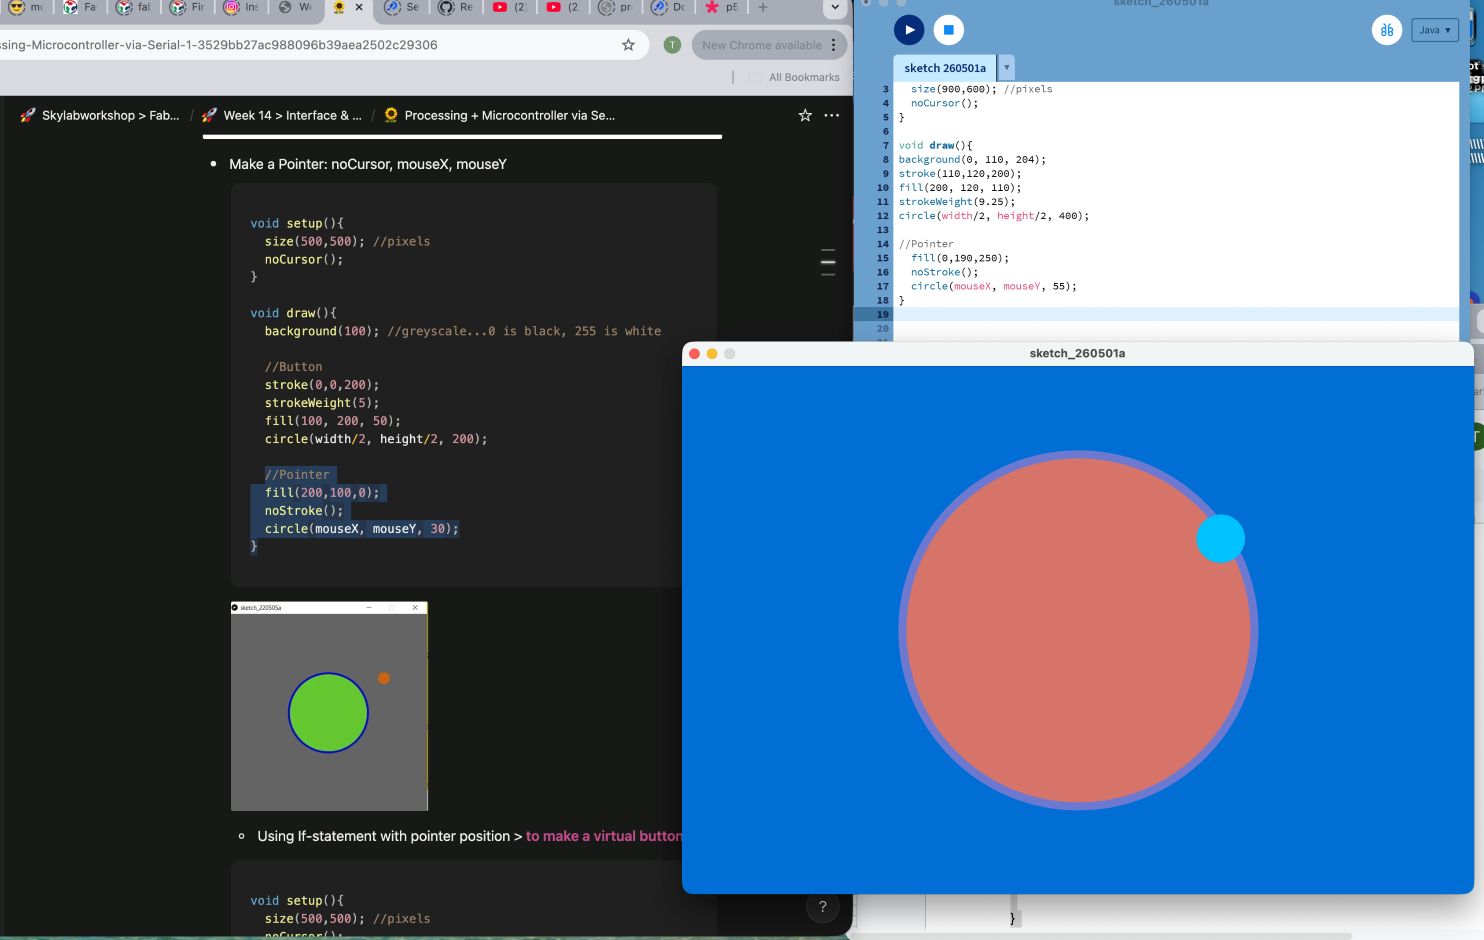
Using Mouse Location & Events
What I am learning: I begin creating interactive interfaces.
- mouseX, mouseY track cursor position
- if statements create interaction logic
- I detect when the cursor is over an object
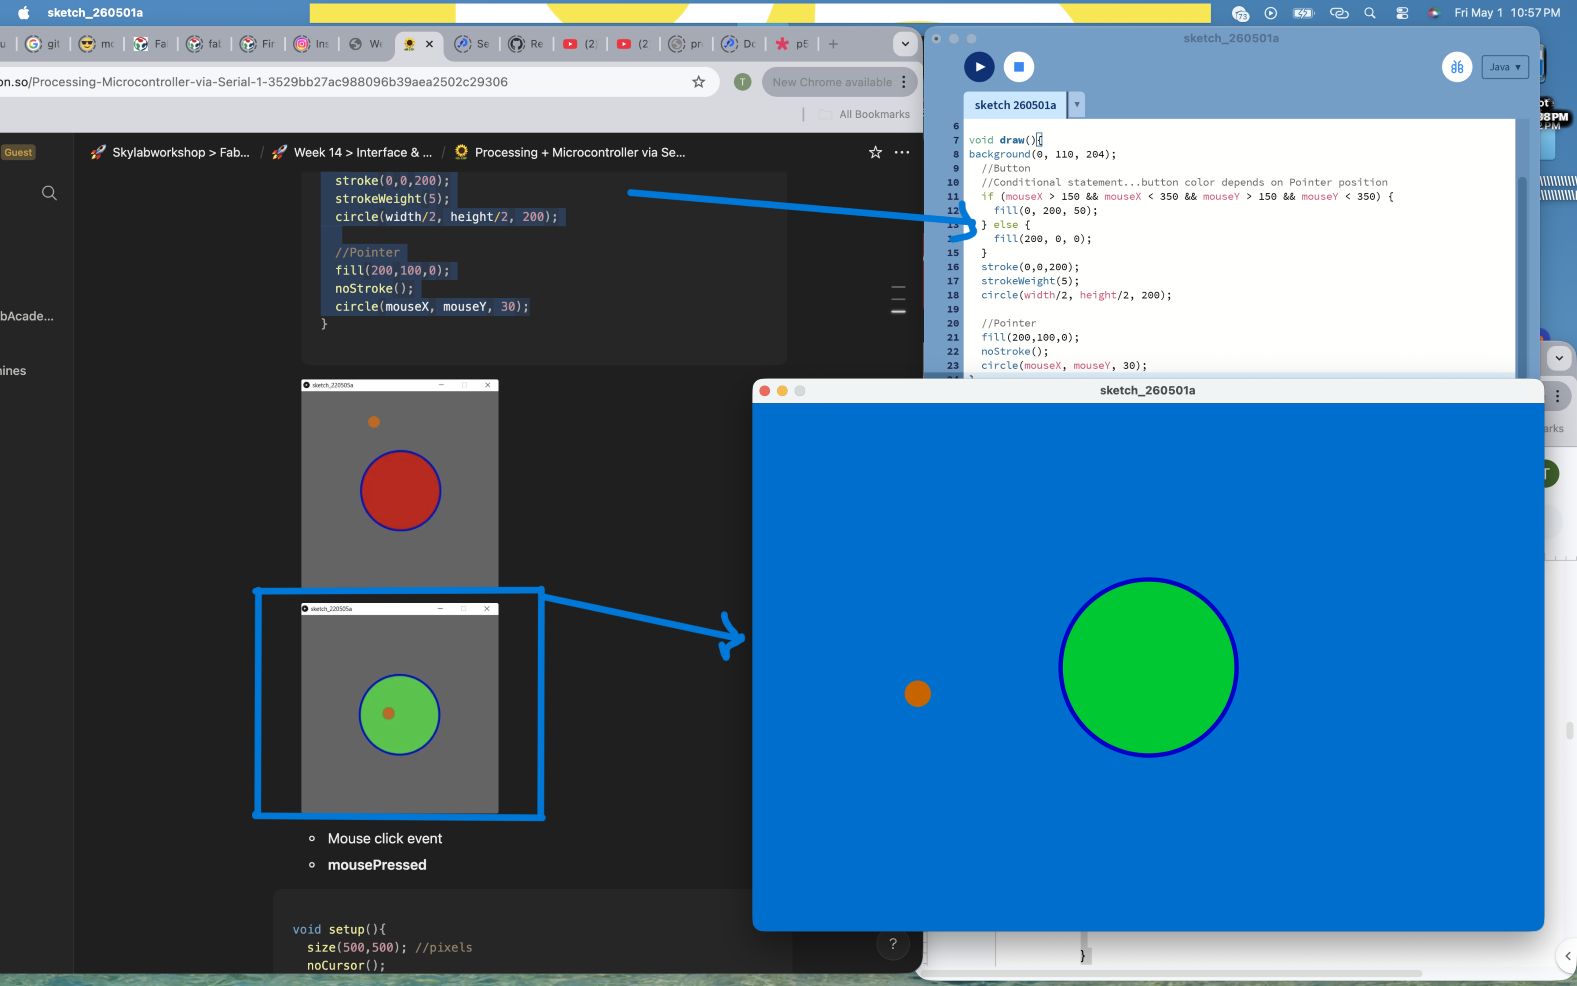
if (mouseX > 150 && mouseX < 350)
void setup(){
  size(900,600); //pixels
  noCursor();
}

void draw(){
background(0, 110, 204);
  //Button
  //Conditional statement...button color depends on Pointer position
  if (mouseX > 150 && mouseX < 350 && mouseY > 150 && mouseY < 350) {
    fill(0, 200, 50);
  } else {
    fill(200, 0, 0);
  }
  stroke(0,0,200);
  strokeWeight(5);
  circle(width/2, height/2, 200);

  //Pointer
  fill(200,100,0);
  noStroke();
  circle(mouseX, mouseY, 30);
}
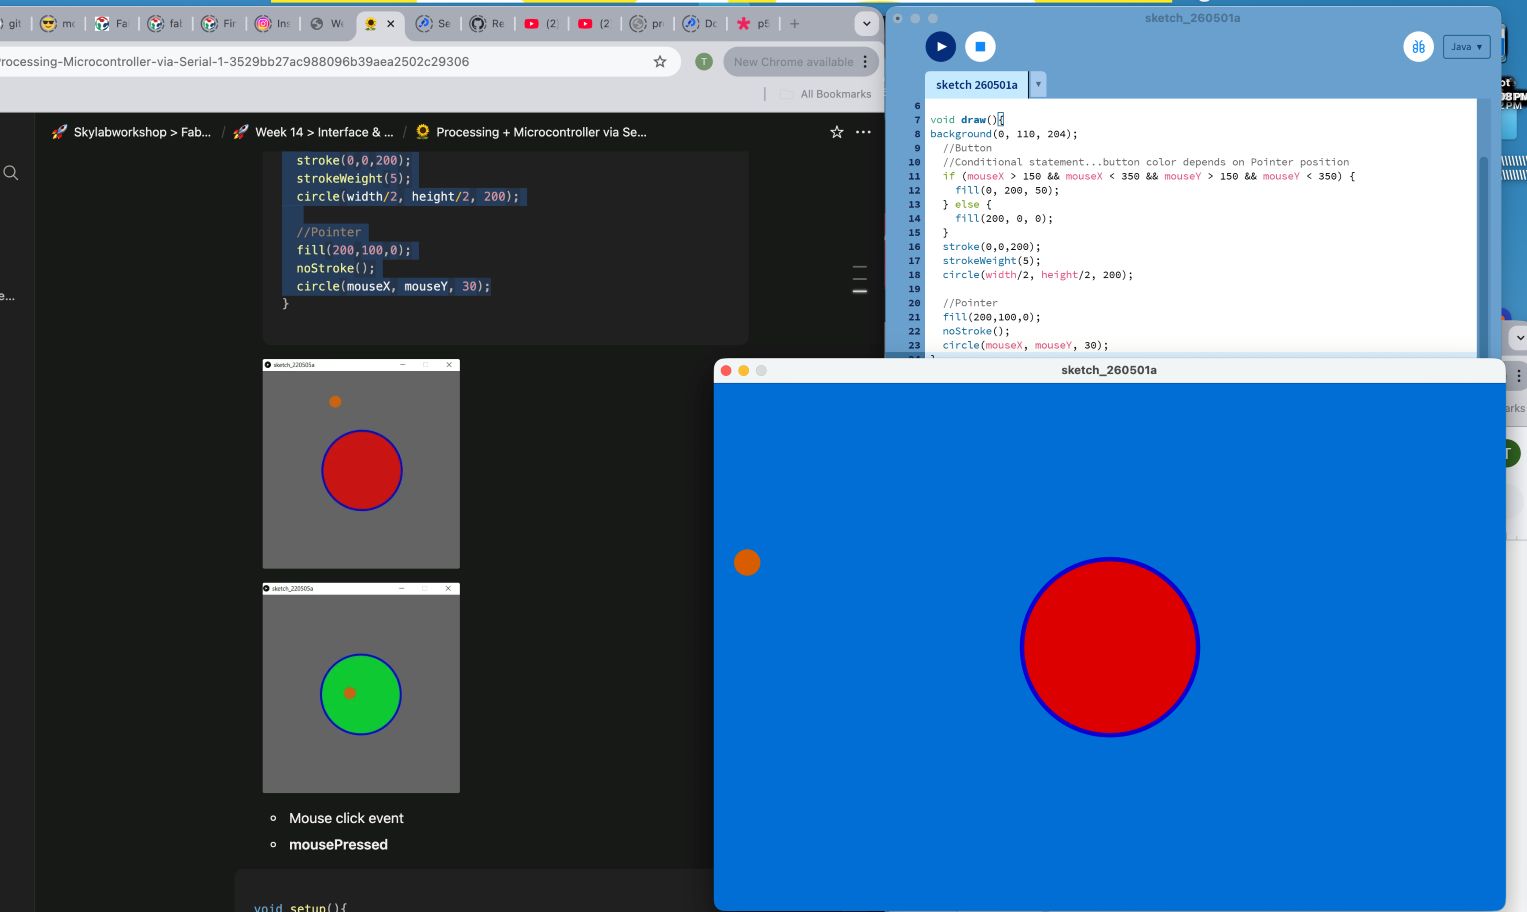
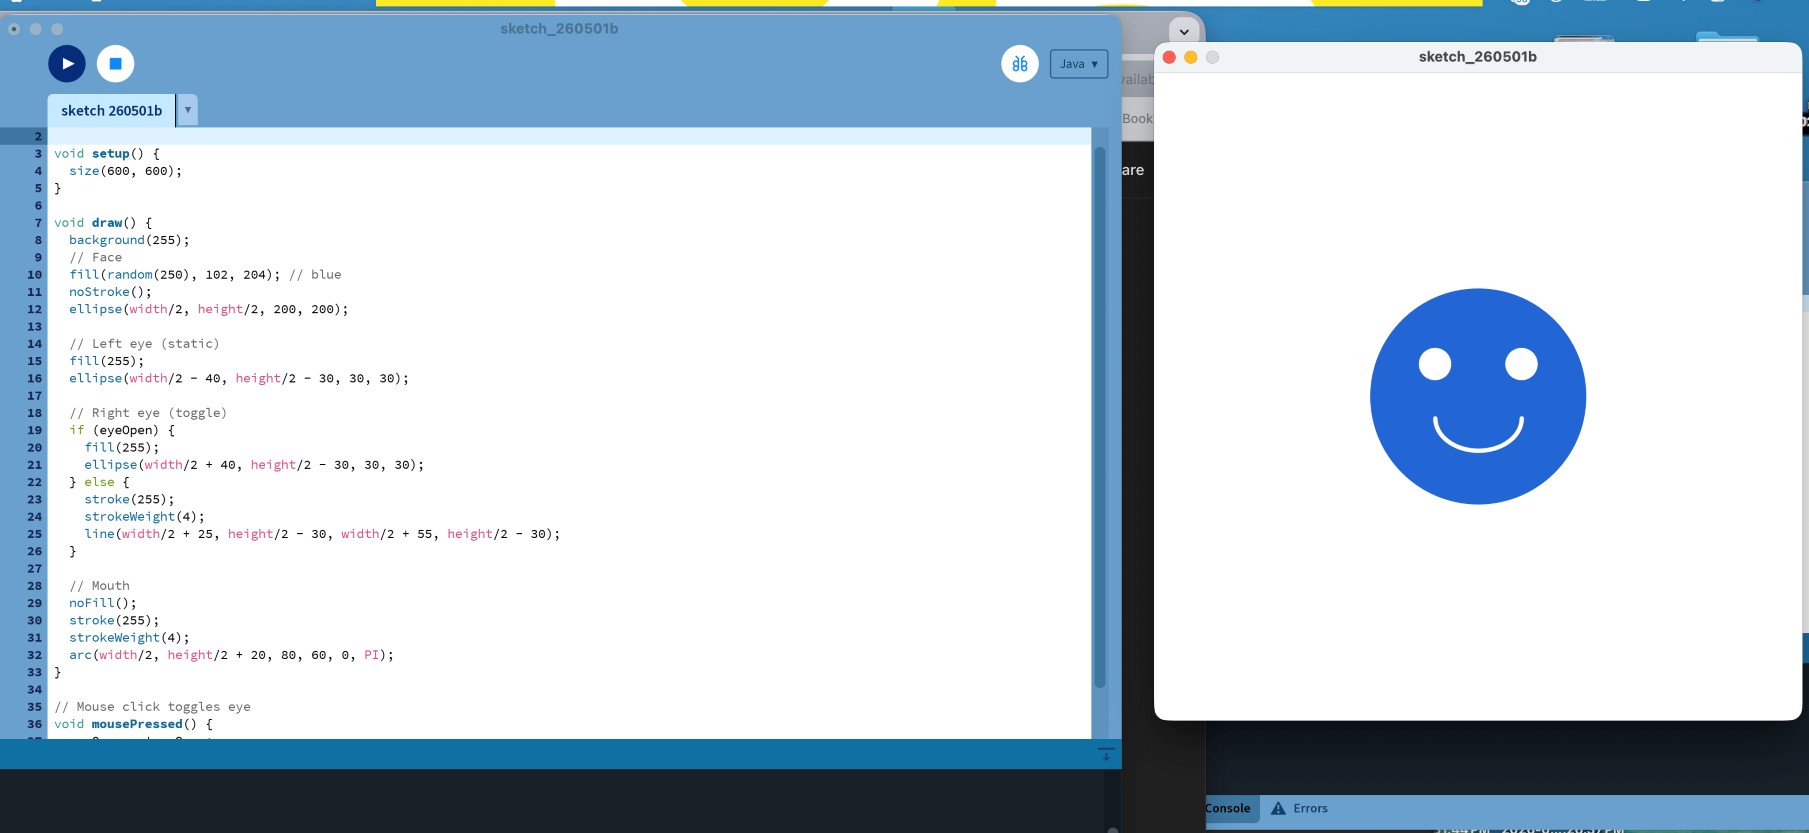
Mouse Click Interaction
What I am learning: I respond to mouse clicks and user actions.
- mousePressed detects clicking
- I change visuals based on interaction
- This is the foundation of user interface design
if (mousePressed)
void setup(){
  size(900,600); //pixels
  noCursor();
}

void draw(){
background(0, 110, 204);
 //Button
  //Conditional statement...button color depends mouse click
  if (mousePressed) {
    fill(0, 200, 50);
  } else {
    fill(200, 0, 0);
  }
  stroke(0,0,200);
  strokeWeight(5);
  circle(width/2, height/2, 200);

  //Pointer
  fill(200,100,0);
  noStroke();
  circle(mouseX, mouseY, 30);
}
Key takeaways I have learned:
- Program structure (
setup,draw) - Drawing shapes and text
- Using color and styling
- Using variables for animation
- Keyboard and mouse interaction
- Creating simple interactive systems
Additional from provided link below I exercised and practice ore in Processing environment
Source: Processing tutorial
Processing Basics
-
Processing is a simple programming environment used to create visual programs.
-
To define the window size, use the
size(width, height)function. The values are always written as X for width and Y for height.
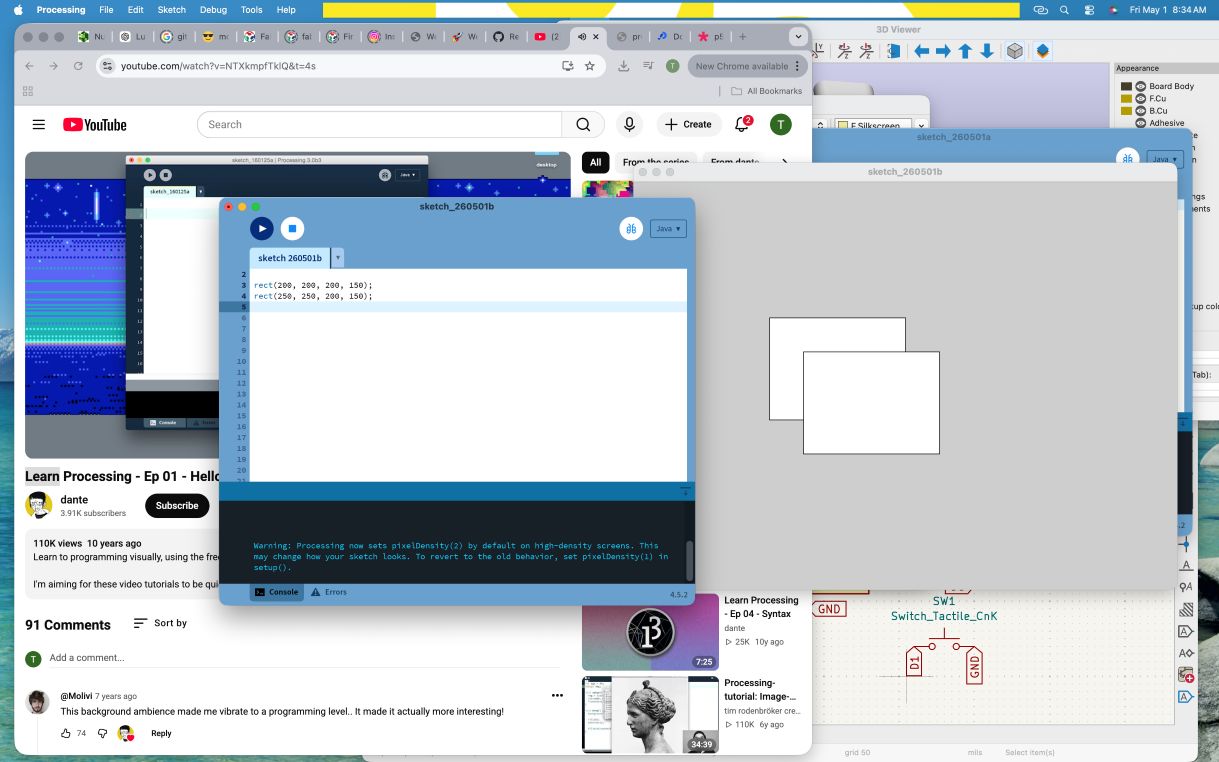
- Processing runs code from top to bottom. If multiple shapes are drawn in the same place, the last one will appear on top.
-
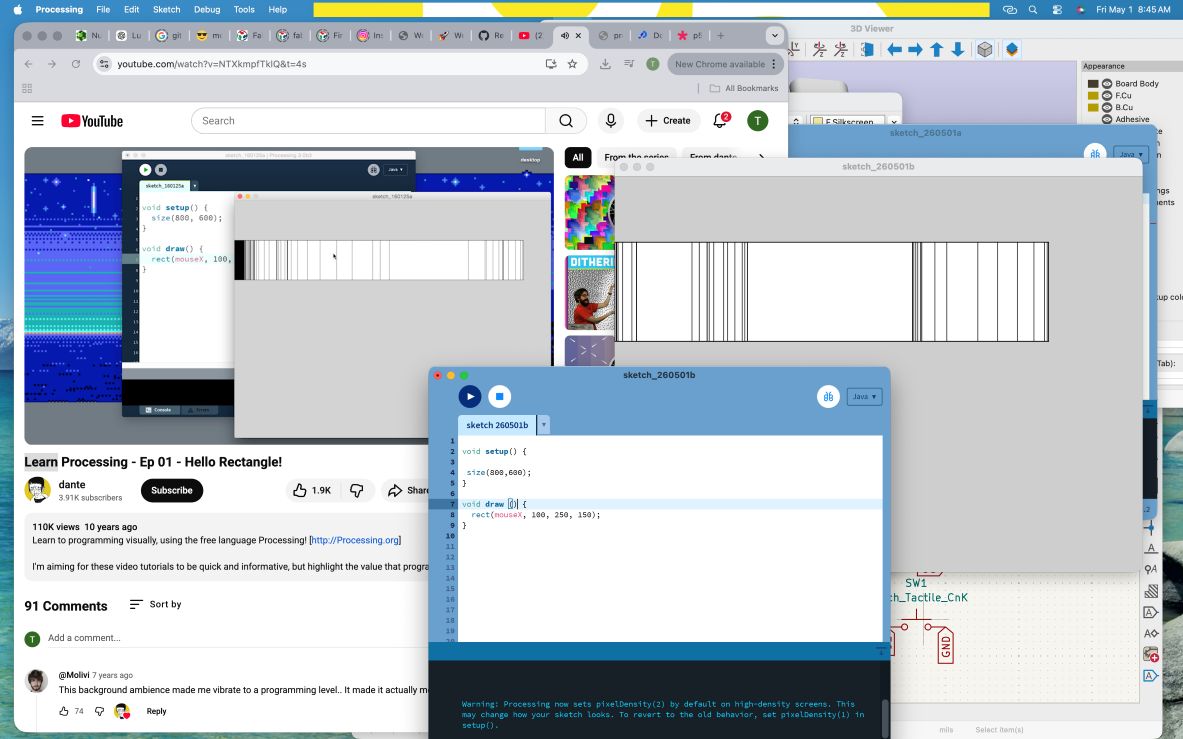
The
setup()function runs only once when the program starts. It is commonly used for initializing settings like window size. Thedraw()function runs continuously, around 60 times per second, and is used for animation. -
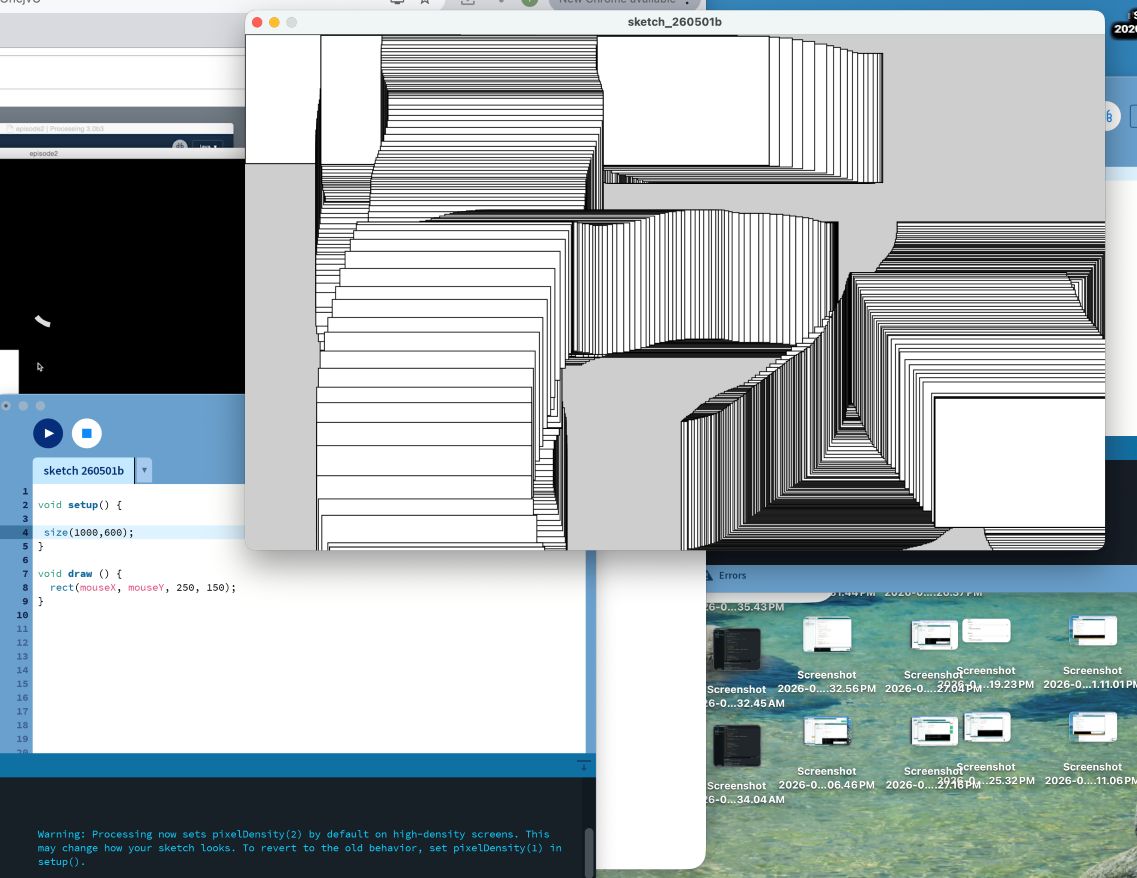
Interactive variables such as
mouseXandmouseYallow shapes to follow the cursor by replacing fixed position values.
- Color as described above applied here too different size and shape
circle
Rectangle
Ellipse
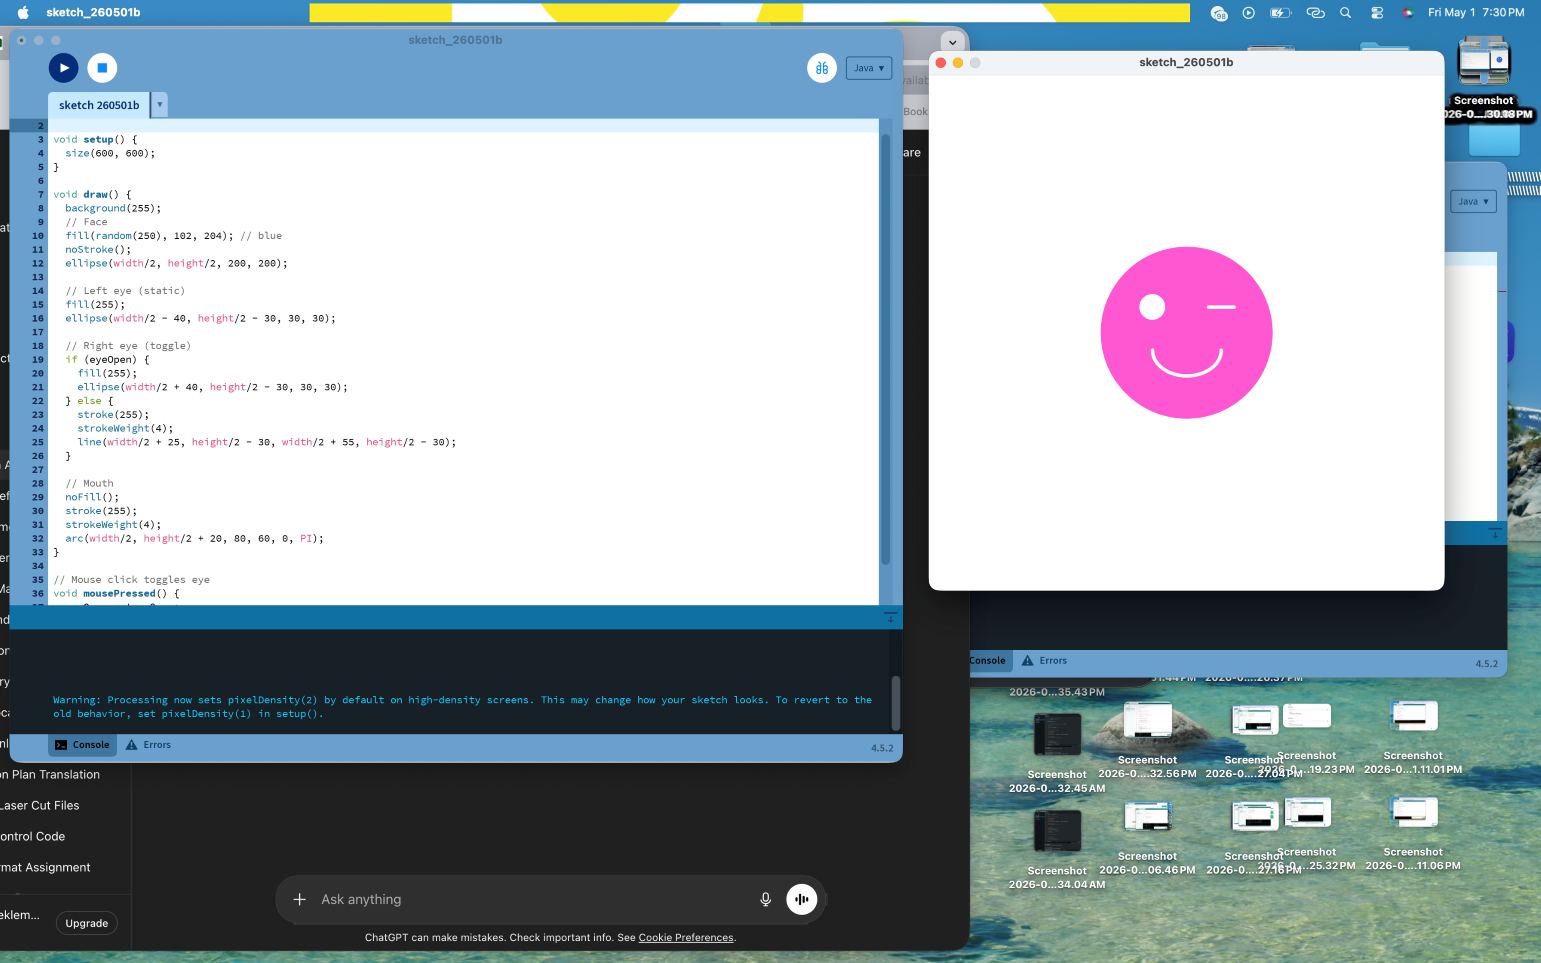
- For mouse and key function I tested with clickable imoji .... closs it left eye when clicked on areas
continued … Connecting Processing >> Arduino Going to FP work I Comeback and start on:
Connecting Processing >> Arduino
Source:
-
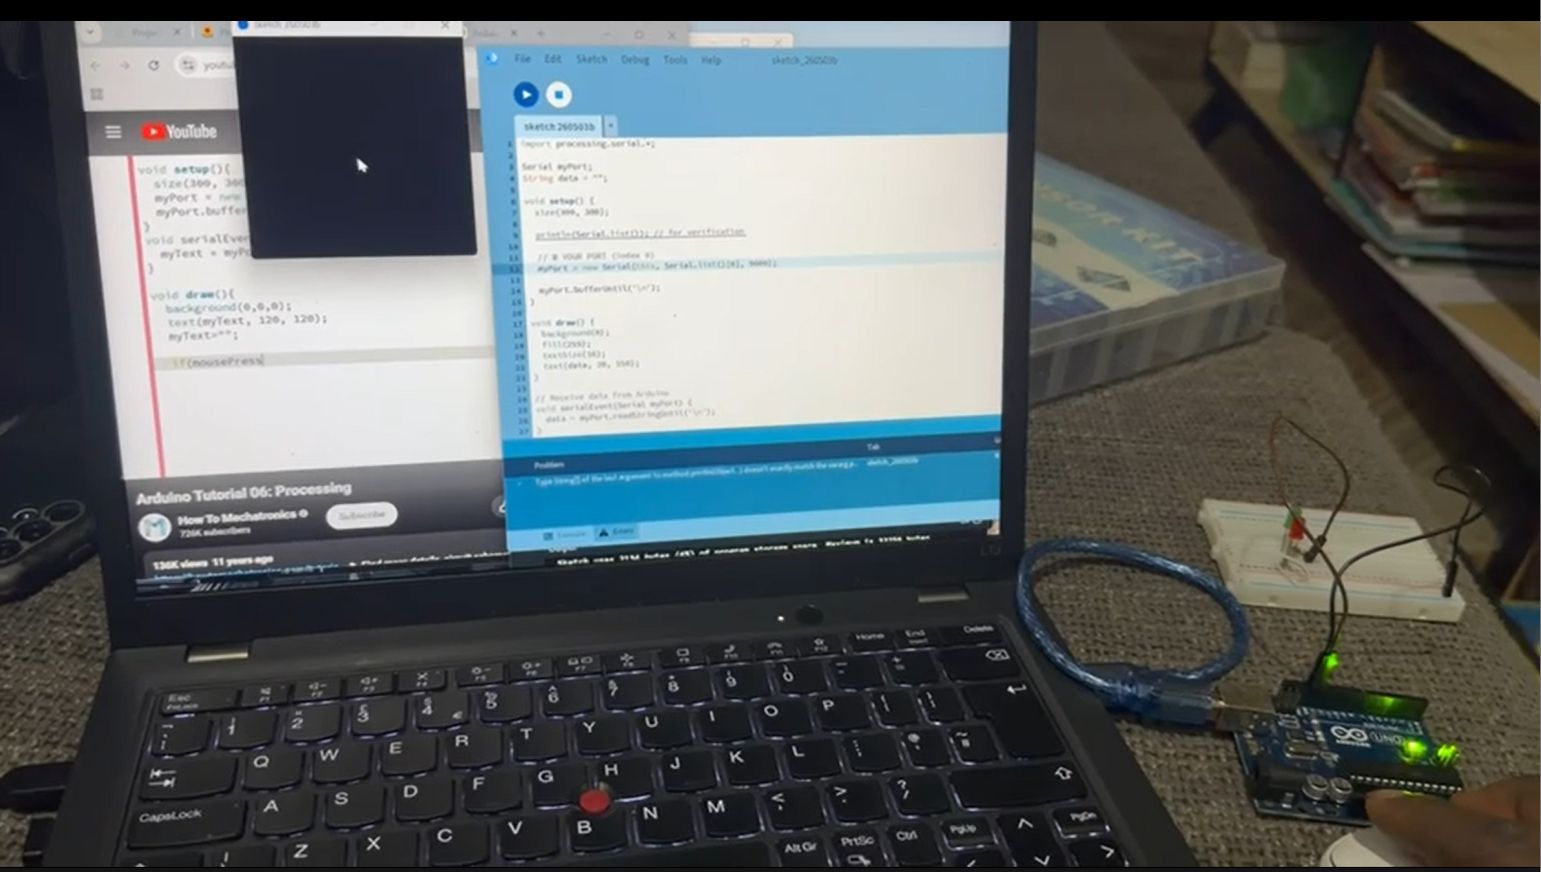
This video explains how to use the Processing environment to communicate with an Arduino using serial communication.
-
First, Processing is installed and the Arduino is connected with an LED (output) and a push button (input).
-
Next, Arduino code is written and uploaded. Pins are defined, serial communication is started at 9600 baud, incoming data is read to control the LED (‘1’ ON, ‘0’ OFF), and button state is sent back to the computer.
Ardiuno code
int ledPin = 13;
int buttonPin = 2;
int buttonState = 0;


void setup() {
  pinMode(ledPin, OUTPUT);
  pinMode(buttonPin, INPUT_PULLUP);
  Serial.begin(9600);
}


void loop() {


  // ---- Receive data from Processing ----
  if (Serial.available() > 0) {
    char data = Serial.read();


    if (data == '1') {
      digitalWrite(ledPin, HIGH);
    }
    if (data == '0') {
      digitalWrite(ledPin, LOW);
    }
  }


  // ---- Send button state to Processing ----
  buttonState = digitalRead(buttonPin);


  if (buttonState == LOW) { // pressed
    Serial.println("button is pressed");
    delay(300); // avoid flooding
  }
}
- Then, Processing is used to create a graphical interface. The serial library is imported, a window is created, and the correct COM port is initialized with the same baud rate.
Processing code
import processing.serial.*;

Serial myPort;
String data = "";

void setup() {
  size(300, 300);

  println(Serial.list()); // for verification

  // YOUR PORT (index 0)
  myPort = new Serial(this, Serial.list()[0], 9600);

  myPort.bufferUntil('\n');
}

void draw() {
  background(0);
  fill(255);
  textSize(16);
  text(data, 20, 150);
}

// Receive data from Arduino
void serialEvent(Serial myPort) {
  data = myPort.readStringUntil('\n');
}

// Mouse control
void mousePressed() {
  if (mouseButton == LEFT) {
    myPort.write('1'); // LED ON
  }
  if (mouseButton == RIGHT) {
    myPort.write('0'); // LED OFF
  }
- Processing waits for full incoming data using a newline buffer. Received data is handled in the serialEvent function and displayed continuously in the draw loop.
- Mouse interaction is added: left click sends ‘1’ to turn the LED ON, and right click sends ‘0’ to turn it OFF.
update the process with own PCB with my instructor direction
- Finally, the system is tested. Clicking in Processing controls the LED, and pressing the physical button sends data back, which is displayed on the screen.
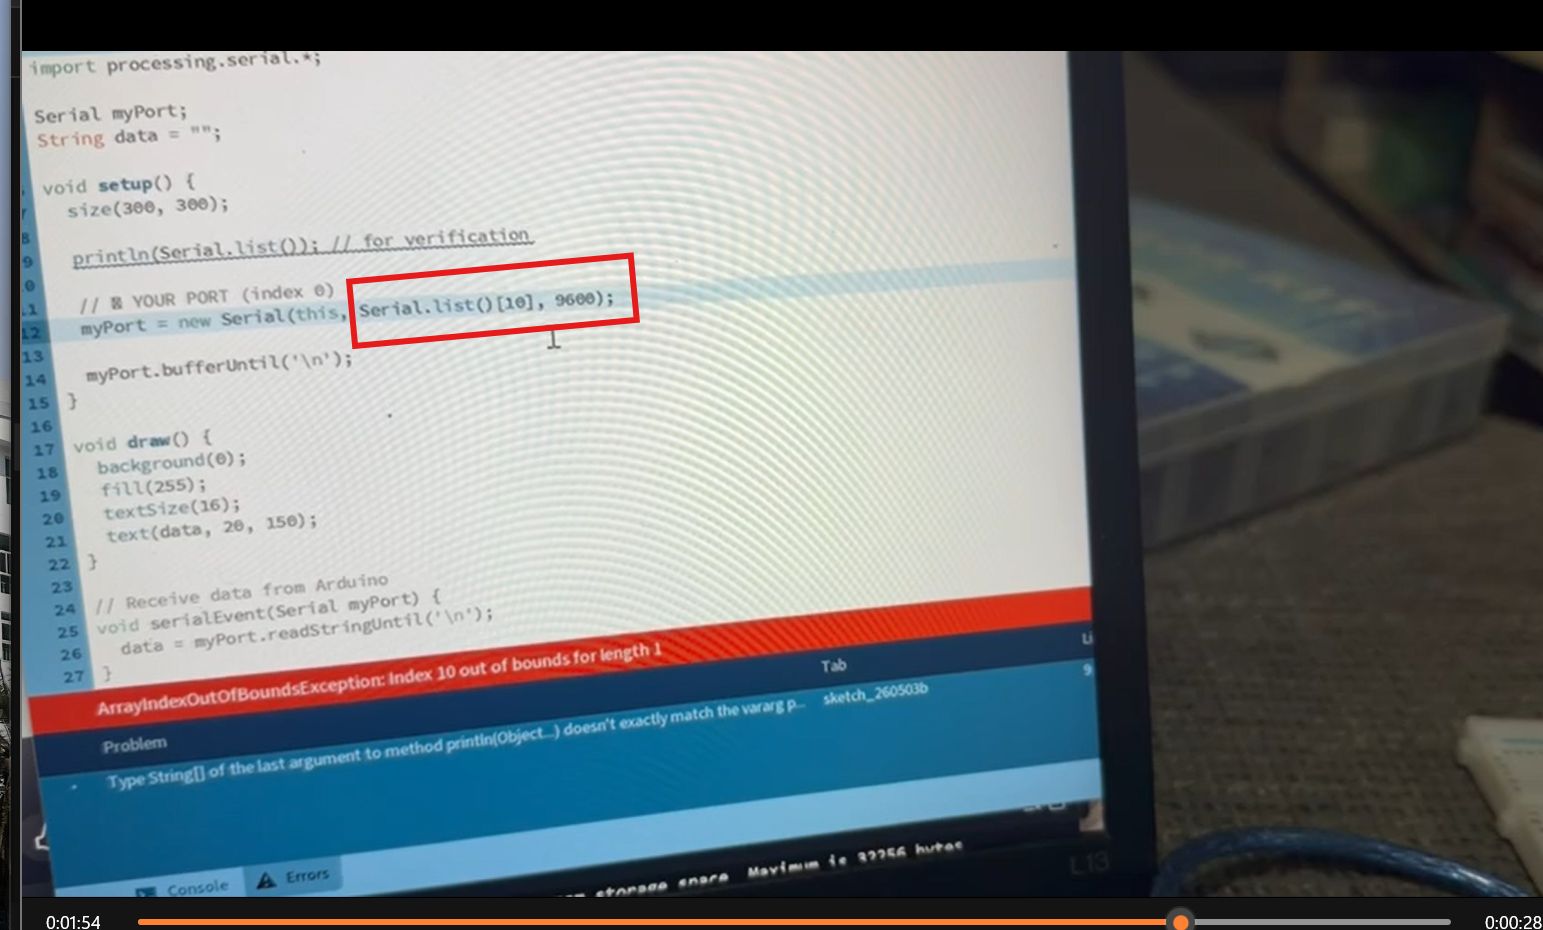
- If you see in the process com error as mine below… check the port exactly the arduino is connected then simply change the number in the processing code.
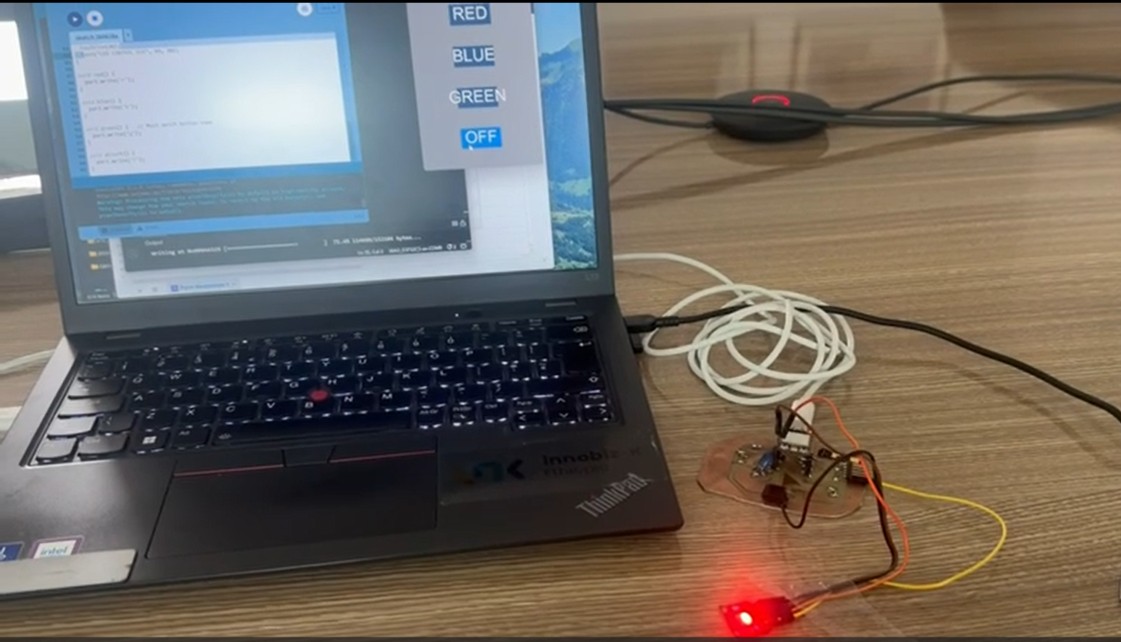
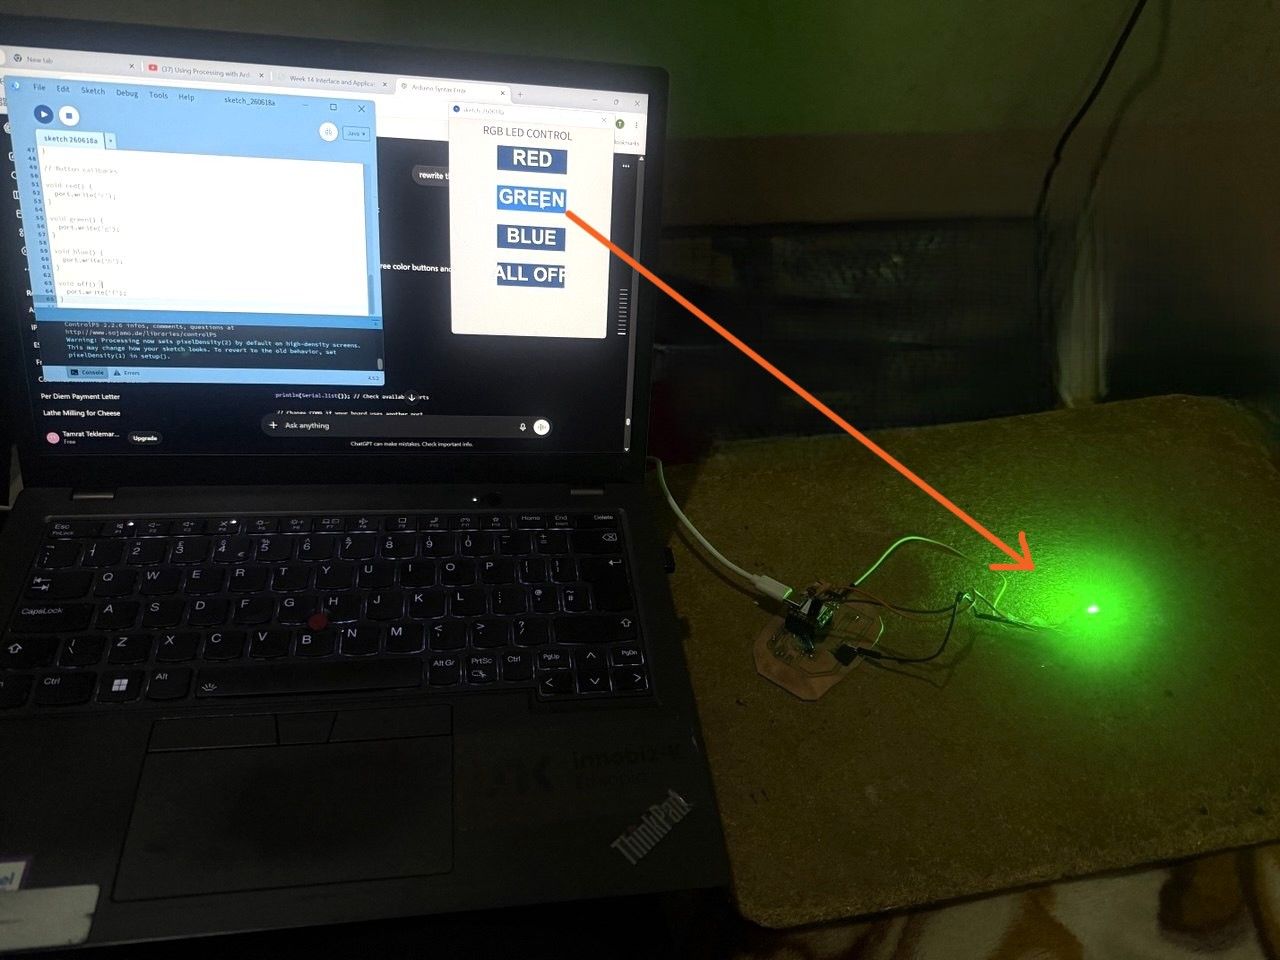
The button control system also done as follow
Source: RGB control with processing
Control Arduino Using GUI (Arduino + Processing)
Based on the video tutorial “Control Arduino Using GUI (Arduino + Processing)” by Hardik Rathod, this project demonstrates how to use the ControlP5 library in Processing to create a graphical user interface (GUI) that sends commands to an Arduino via serial communication.
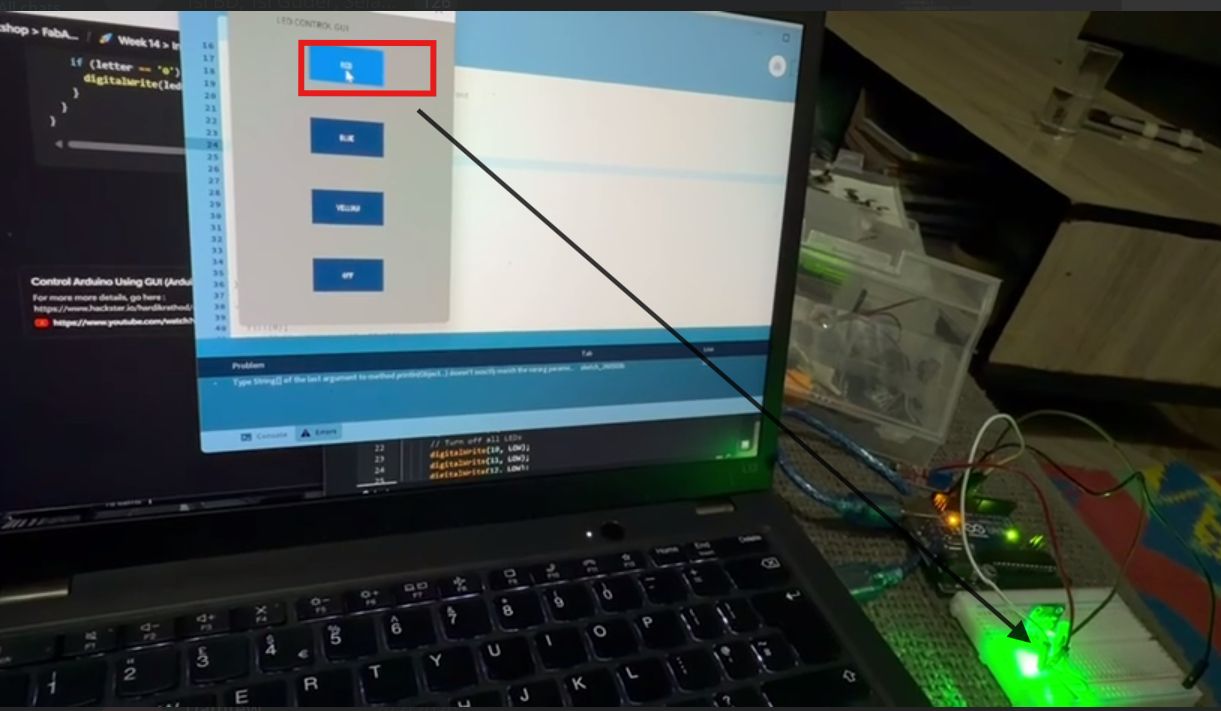
Using own PCB to the process here too
1. Arduino Code
This code listens for specific characters ('r', 'b', 'y', 'f') sent from Processing and controls LEDs connected to different pins.
void setup() {
  pinMode(10, OUTPUT); // Blue LED
  pinMode(11, OUTPUT); // Red LED
  pinMode(12, OUTPUT); // Yellow LED
  Serial.begin(9600);  // Start serial communication at 9600 bps
}

void loop() {
  if (Serial.available()) {
    char val = Serial.read();

    if (val == 'r') {
      digitalWrite(11, HIGH); // Turn on Red LED
    }
    if (val == 'b') {
      digitalWrite(10, HIGH); // Turn on Blue LED
    }
    if (val == 'y') {
      digitalWrite(12, HIGH); // Turn on Yellow LED
    }
    if (val == 'f') {
      // Turn off all LEDs
      digitalWrite(10, LOW);
      digitalWrite(11, LOW);
      digitalWrite(12, LOW);
    }
  }
}
2. Processing Code
This code creates a GUI with buttons using the ControlP5 library. Each button sends a specific character to the Arduino.
Note: Install the ControlP5 library in Processing: Sketch → Import Library → Add Library → Search for “ControlP5”
import controlP5.*;
import processing.serial.*;

Serial port;
ControlP5 cp5;
PFont font;

void setup() {
  size(300, 450); // Window size

  // Replace "COM0" with your Arduino port
  port = new Serial(this, "COM0", 9600);

  cp5 = new ControlP5(this);
  font = createFont("calibri light bold", 20);

  // Red button
  cp5.addButton("red")
    .setPosition(100, 50)
    .setSize(100, 50)
    .setFont(font);

  // Blue button
  cp5.addButton("blue")
    .setPosition(100, 150)
    .setSize(100, 50)
    .setFont(font);

  // Yellow button
  cp5.addButton("yellow")
    .setPosition(100, 250)
    .setSize(100, 50)
    .setFont(font);

  // OFF button
  cp5.addButton("alloff")
    .setPosition(100, 350)
    .setSize(100, 50)
    .setFont(font)
    .setCaptionLabel("OFF");
}

void draw() {
  background(150); // Gray background
  fill(0);
  text("LED CONTROL GUI", 70, 30);
}

// Button functions
void red() {
  port.write('r');
}

void blue() {
  port.write('b');
}

void yellow() {
  port.write('y');
}

void alloff() {
  port.write('f');
}
I did the following and learn
Wiring: - Connect LEDs to pins 10, 11, and 12. - Use appropriate current-limiting resistors for each LED. Library Requirement: - The Processing code uses the ControlP5 library for GUI elements.
Serial Communication: - Both Arduino and Processing must use the same baud rate (9600). Port Matching: - Ensure the COM port in Processing (e.g., “COM0” my case) matches the port selected in the Arduino IDE.
Other practice I did with the Arduino vs Processing is the following (Steps described in the videos)
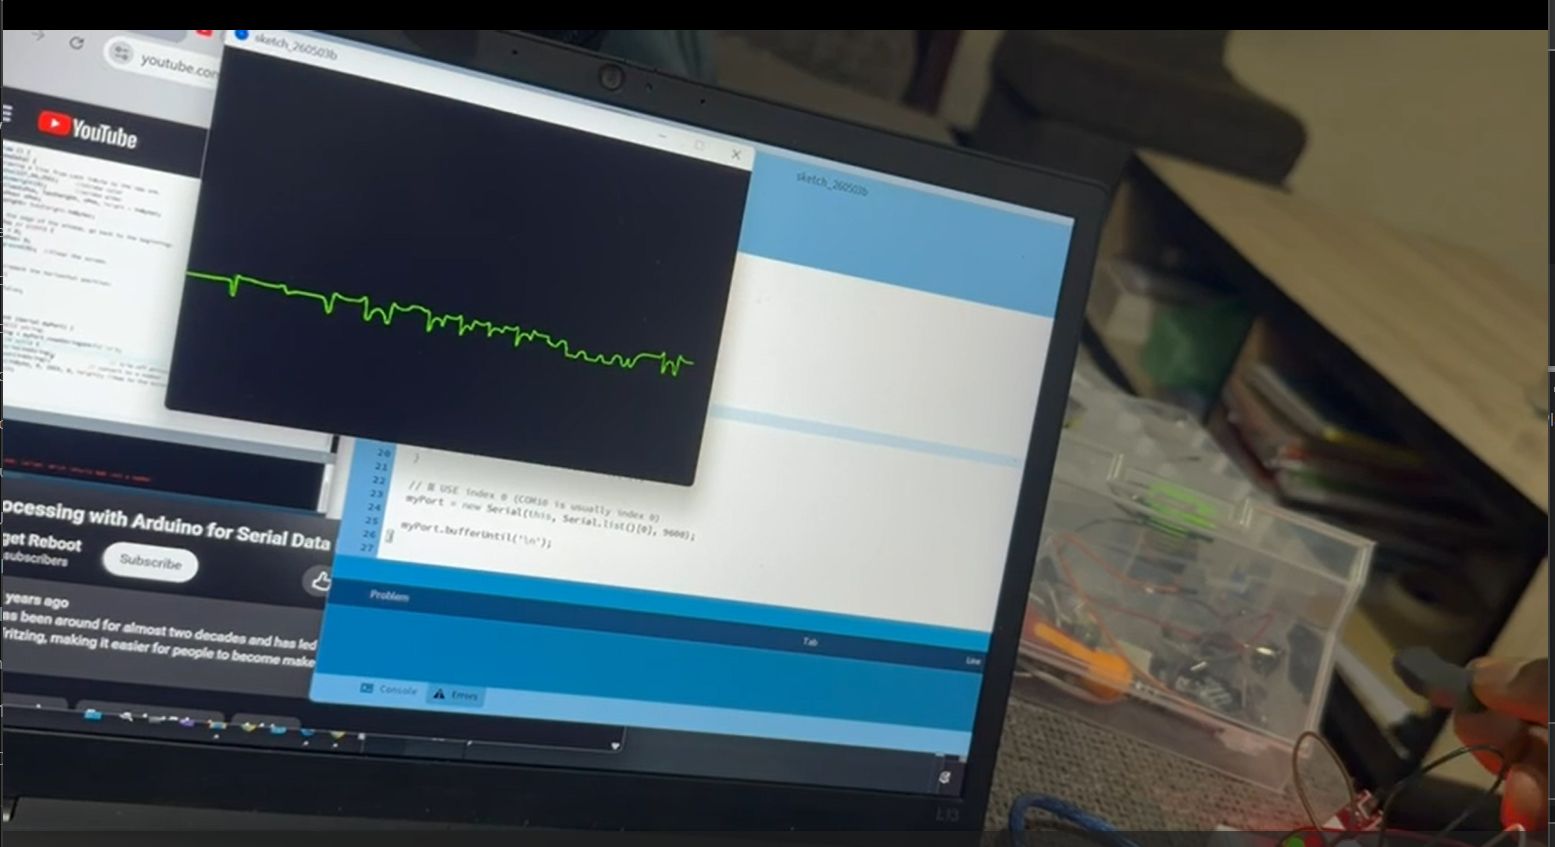
Source: Using Processing with Arduino for Serial Data Plotting

- Arduino Code This code reads an analog value from a potentiometer and sends it to the computer via serial.
void setup() {
  // Initialize serial communication at 9600 bits per second:
  Serial.begin(9600);
}

void loop() {
  // Read the input on analog pin 0:
  int sensorValue = analogRead(A0);

  // Send the sensor value followed by a newline character
  // Processing needs the newline to know where the data packet ends
  Serial.println(sensorValue);

  // A small delay to keep things stable
  delay(50);
}
- Processing
The creator modified an older tutorial to work with Processing 3. He moved the drawing logic out of the serial event and into the main draw() loop to avoid errors.
import processing.serial.*;

Serial myPort;        // The serial port
int xPos = 1;         // horizontal position of the graph
float inByte = 0;     // incoming data
boolean newData = false; // Flag to indicate if new data is available

void setup () {
  // Set the window size:
  size(800, 600);

  // List all the available serial ports
  // printArray(Serial.list());

  // Replace "COM3" with the specific port your Arduino is on
  myPort = new Serial(this, "COM3", 9600);

  // Don't generate a serialEvent() unless you get a newline character:
  myPort.bufferUntil('\n');

  // Set initial background:
  background(0);
}

void draw () {
  if (newData) {
    // Draw the line:
    stroke(127, 34, 255); // Line color
    line(xPos, height, xPos, height - inByte);

    // At the edge of the screen, go back to the beginning:
    if (xPos >= width) {
      xPos = 0;
      background(0); // Clear the screen
    } else {
      // Increment the horizontal position:
      xPos++;
    }
    newData = false; // Reset the flag
  }
}

void serialEvent (Serial myPort) {
  // Get the ASCII string:
  String inString = myPort.readStringUntil('\n');

  if (inString != null) {
    // Trim off any whitespace:
    inString = trim(inString);

    // Convert to a float and map to the screen height:
    inByte = float(inString);
    inByte = map(inByte, 0, 1023, 0, height);

    // Tell the draw loop that new data is ready
    newData = true;
  }
}