Week 01 · Principles and Practices · Project Management
Project Management and My Final Project, ORDER
This is my first Fab Academy page. Here I sketch and describe my final project, ORDER, a touchscreen table ordering device for restaurants. I also show how I built this website with HTML and CSS, how I set up Git and GitLab step by step, how I pushed my work to my class repository, and how I signed and uploaded the student agreement. I wrote it as a tutorial so anyone can follow along and get the same result.
About Me
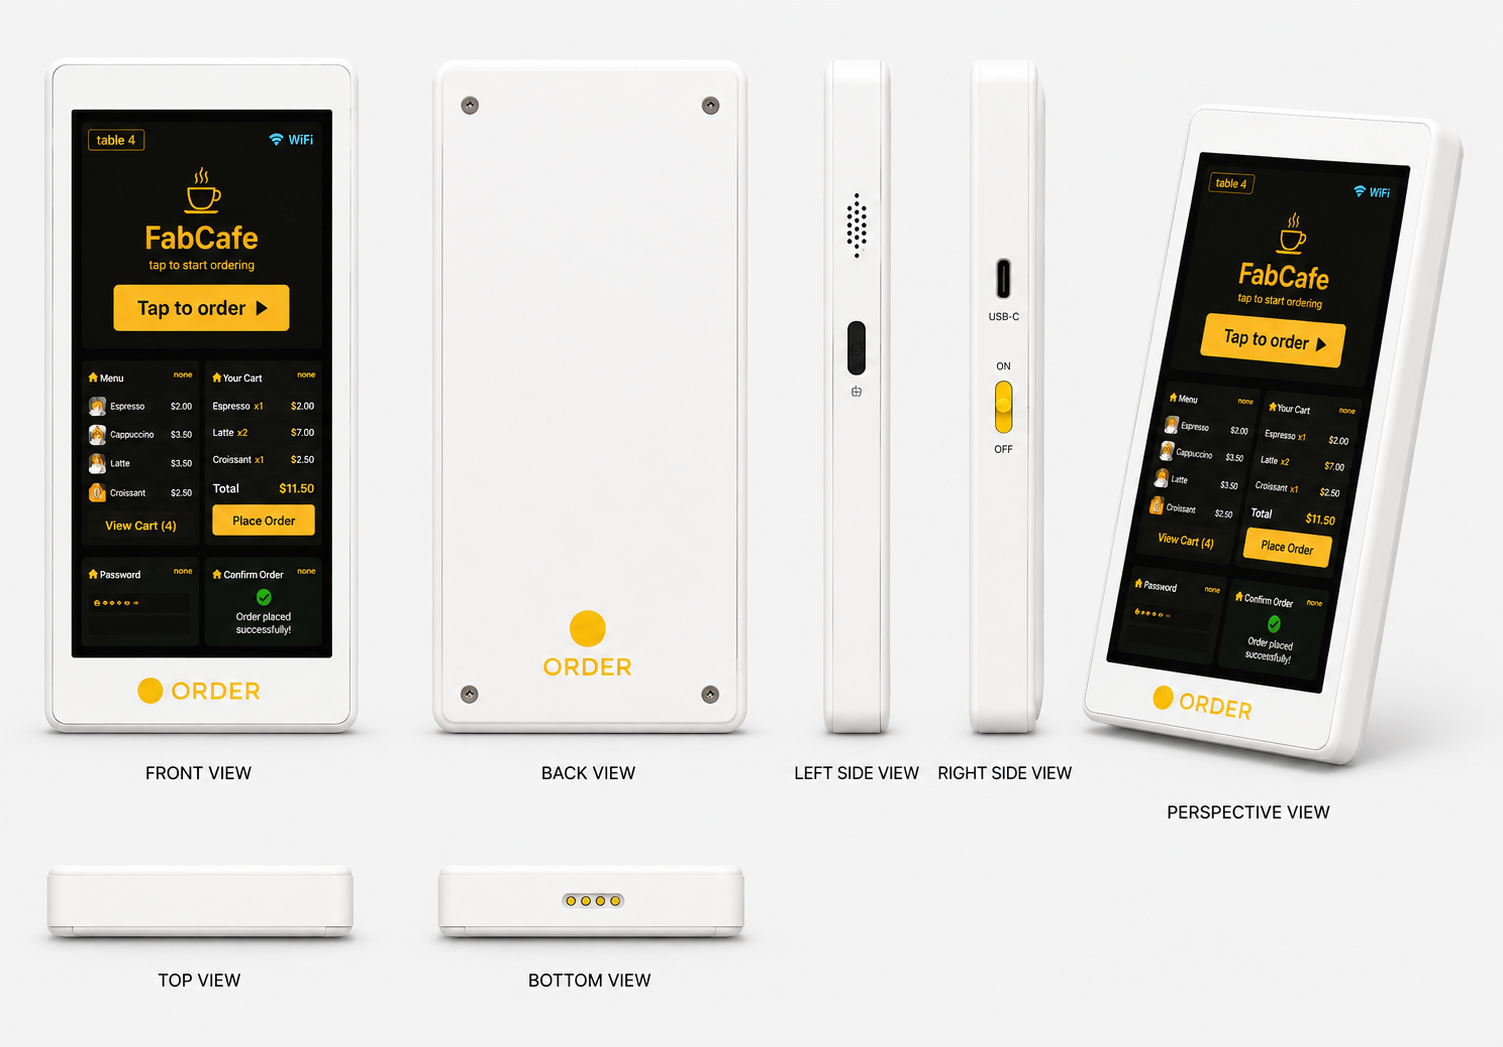
My name is François Audace Dei. I am a student at Fab Lab Rwanda taking Fab Academy 2026. I like building things that mix electronics and design, and I joined Fab Academy to learn the full path from an idea to a finished product I can hold in my hand. My background pushed me toward small, useful tools that solve a real everyday problem, which is exactly what my final project is about. You can reach me at audacedeifrancois@gmail.com.
My Final Project Idea, ORDER
What it is
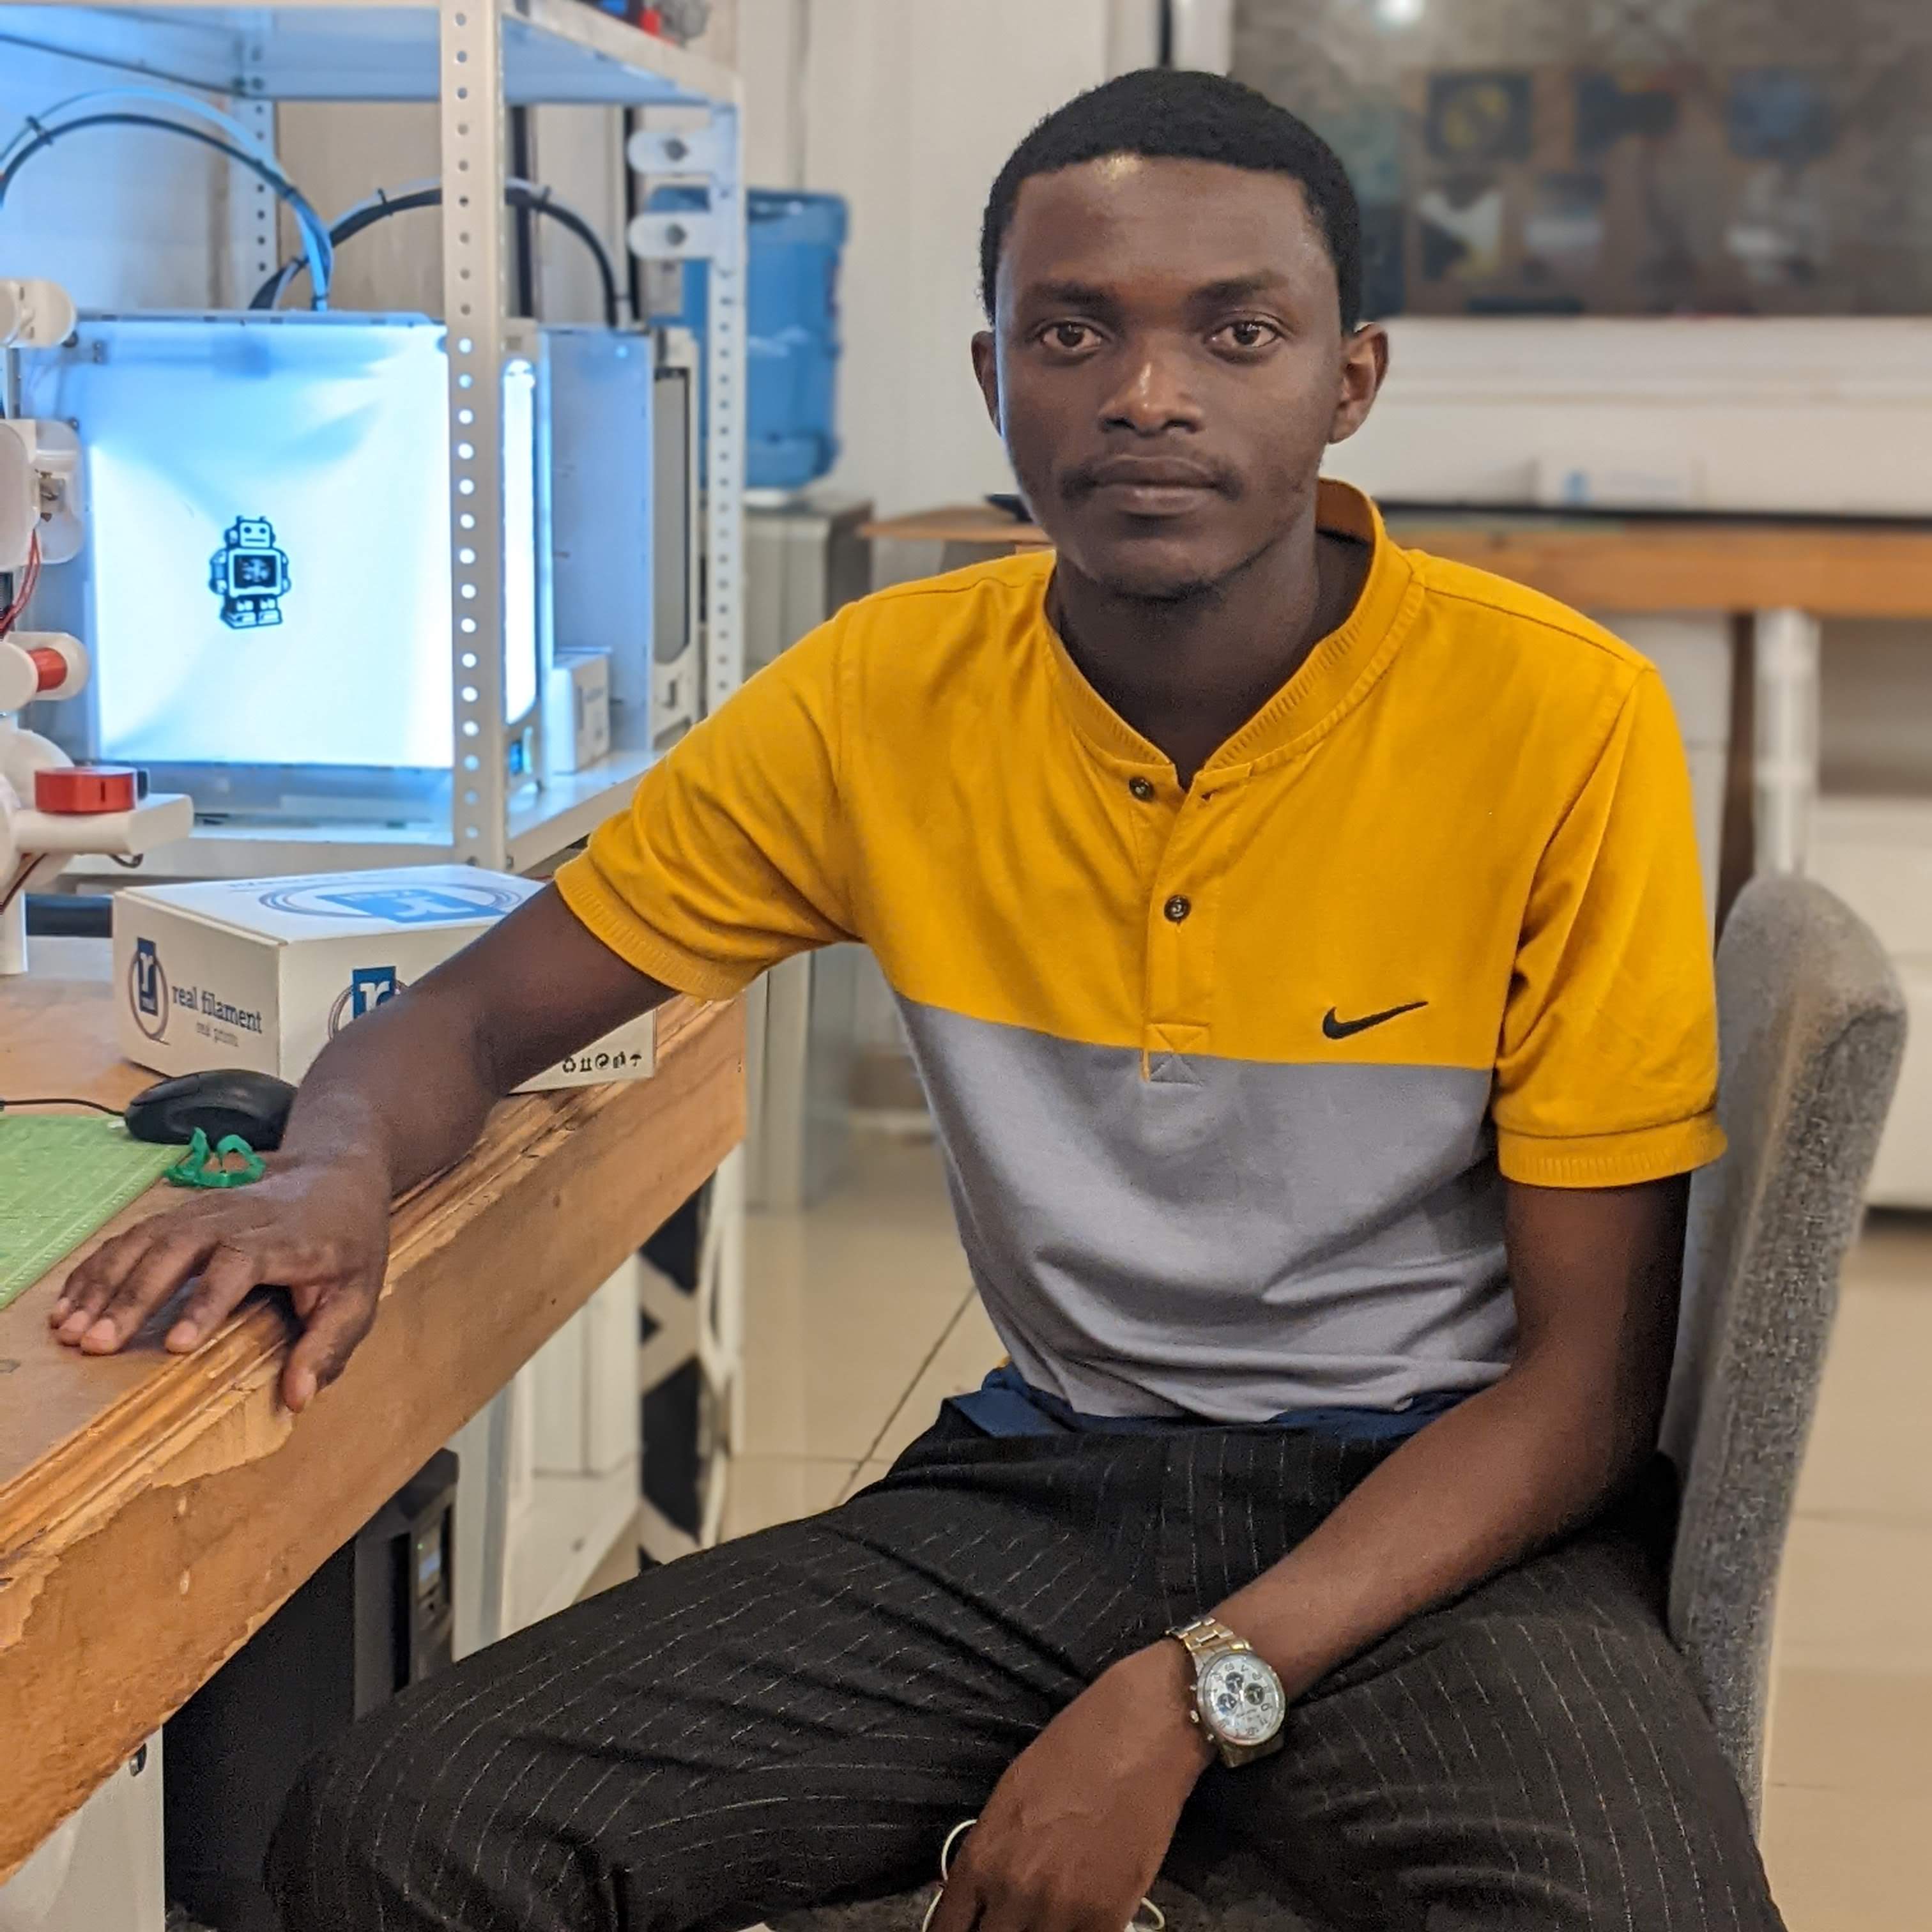
For my final project I am building ORDER, a small device that sits on a restaurant table and lets a customer place an order without waiting for a waiter. It is built around an ESP32 microcontroller with a colour touchscreen, it connects to the restaurant WiFi, and it lives inside a 3D printed enclosure that I design and print myself.
What it doesWhen a customer sits down, the touchscreen shows the menu with pictures and prices. The customer taps the dishes they want, adjusts the quantity, and presses send. ORDER sends that order over WiFi to the kitchen, so the cooks see it on a screen in real time and start preparing it right away. The customer also sees a confirmation on the screen. This cuts the time between sitting down and being served, and it removes mistakes from spoken orders.
Who will use it
It is for restaurants, cafes, and bars that want faster service with fewer staff, and for the customers sitting at the table. A small restaurant owner can put one ORDER on each table and let customers order on their own, while waiters focus on serving the food. It is meant to be low cost so that even a small place can afford a few units.
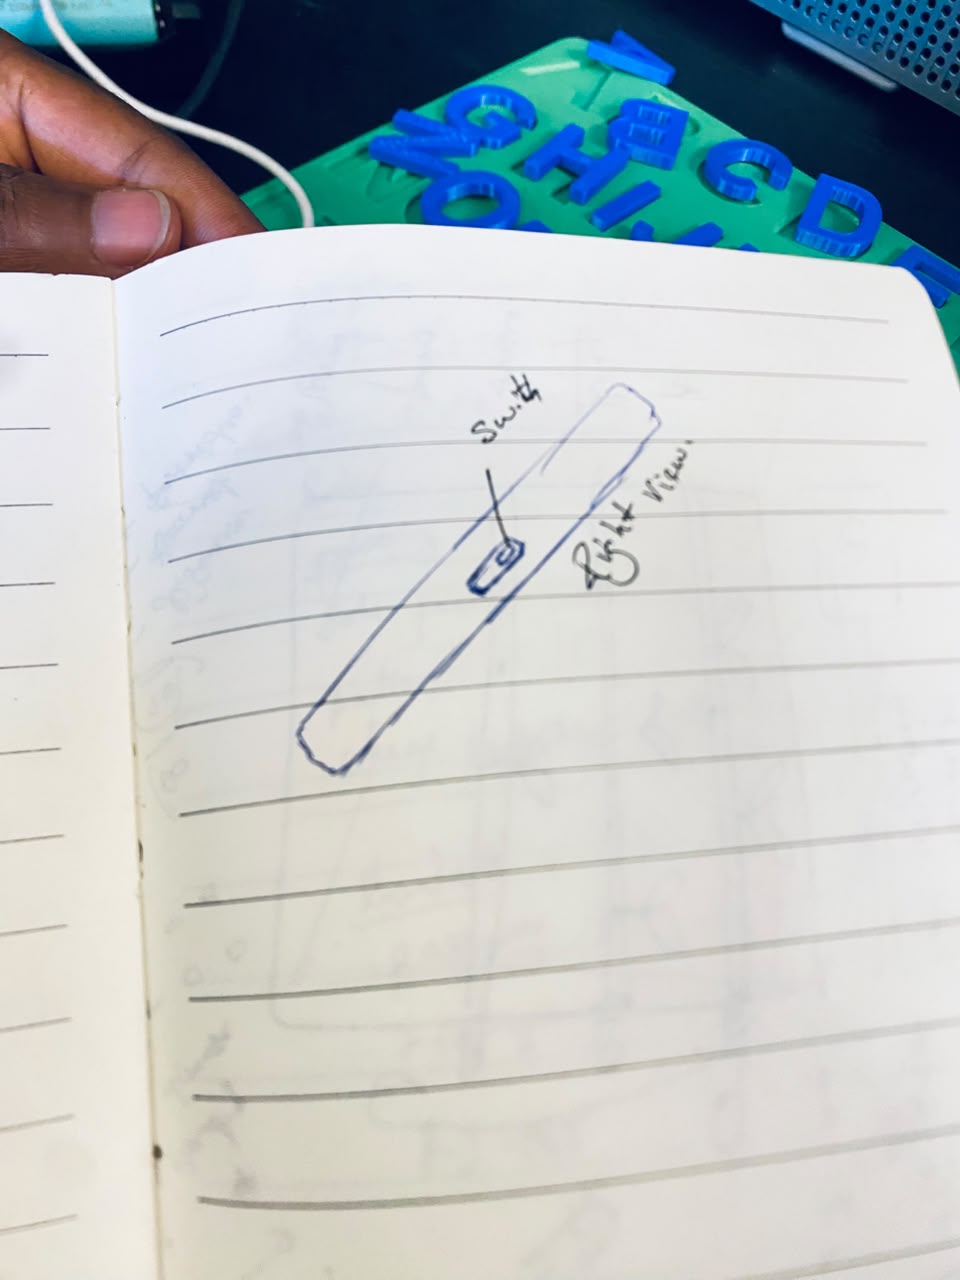
My first sketch
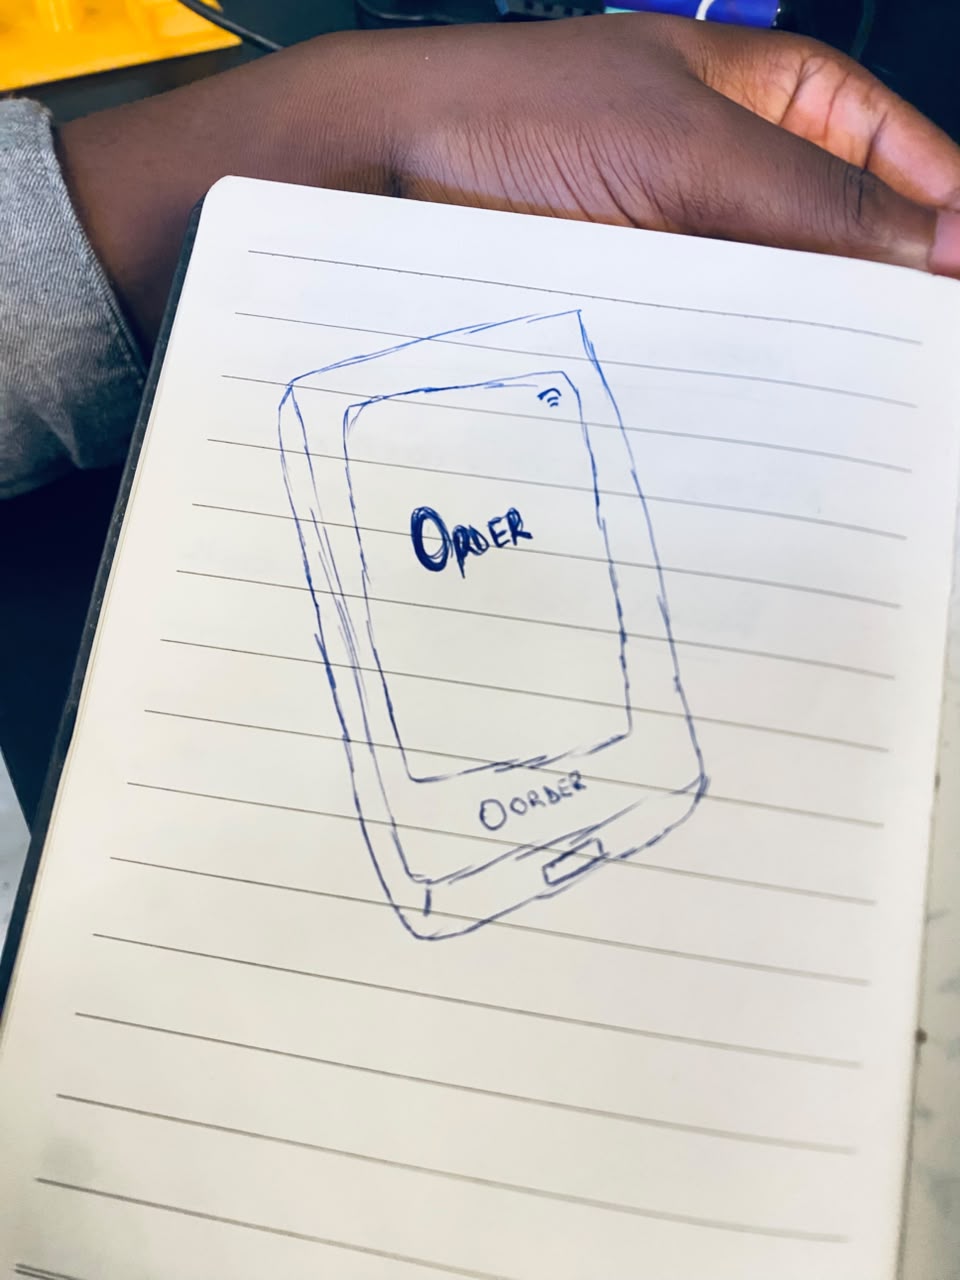
Below is the first sketch I drew when the idea came to me. I labelled the main parts so the plan is clear before I start building, the touchscreen on the front, the ESP32 inside, the WiFi link to the kitchen, and the 3D printed shell that holds it all together.
How I Built This Website
I built this website with plain HTML for the structure and CSS for the look. I did not use a framework, because I wanted to understand every tag and rule myself. I wrote my code in Visual Studio Code, previewed each change in Google Chrome, and used GitLab over SSH to connect my local folder to my Fab Academy repository. These are the three tools I installed first.



Step 1, creating the page structure
I started by creating an index.html file, which is the homepage of my website. I used basic HTML tags to organise my content, headings for titles, paragraphs for text, images for photos, and links for navigation. Every page on the site, including this one, follows the same structure.
<!DOCTYPE html>
<html lang="en">
<head>
  <meta charset="UTF-8">
  <title>Francois Audace Dei · Fab Academy</title>
  <link rel="stylesheet" href="assets/css/doc.css">
</head>
<body>
  <h1>Francois Audace Dei</h1>
  <p>My Fab Academy 2026 documentation.</p>
</body>
</html>
Step 2, styling with CSS
I keep all my styling in one shared CSS file so every page looks the same. I link it from the head of each page with one line. In that file I set the colours, the fonts, the spacing, and the layout, so the site stays readable and consistent.
<link rel="stylesheet" href="../assets/css/doc.css">Step 3, adding content and images
For each assignment week I add my text explanations and my photos. I save the images in an images folder and bring them into the page with the image tag, always with alt text so the page stays clear.
<img src="../assets/images/order-sketch.jpg" alt="ORDER first sketch">Version Control, What It Is and Why I Use It
Version control is a system that keeps track of every change you make to your files over time. Instead of saving copies like website_final, website_final2 and website_really_final, version control keeps one folder and remembers the full history. You can see what changed, who changed it, and go back to any older version if you break something. It is like an unlimited undo button for a whole project, and it also lets several people work on the same files without overwriting each other.
Fab Academy uses a version control system called Git. Git runs on your own computer and stores the history locally. To put that history online and share it, Fab Academy hosts every student repository on its own GitLab server, called the Fab Cloud. So the full setup is Git on my laptop, connected to a GitLab repository on the Fab Cloud, and the website is published automatically from that repository using GitLab Pages. The rest of this section is the exact tutorial I followed, so anyone can repeat it and get the same result.
Installing and Setting Up Git
First I installed Git from the official website. After installing, I opened a terminal (I used PowerShell on Windows) and checked that Git was installed by asking for its version.
git --versionThen I told Git who I am. This name and email get attached to every change I save, so the history shows who did what. Use the same email as your GitLab account.
git config --global user.name "Francois Audace Dei"
git config --global user.email "audacedeifrancois@gmail.com"
Connecting My Computer to GitLab With an SSH Key
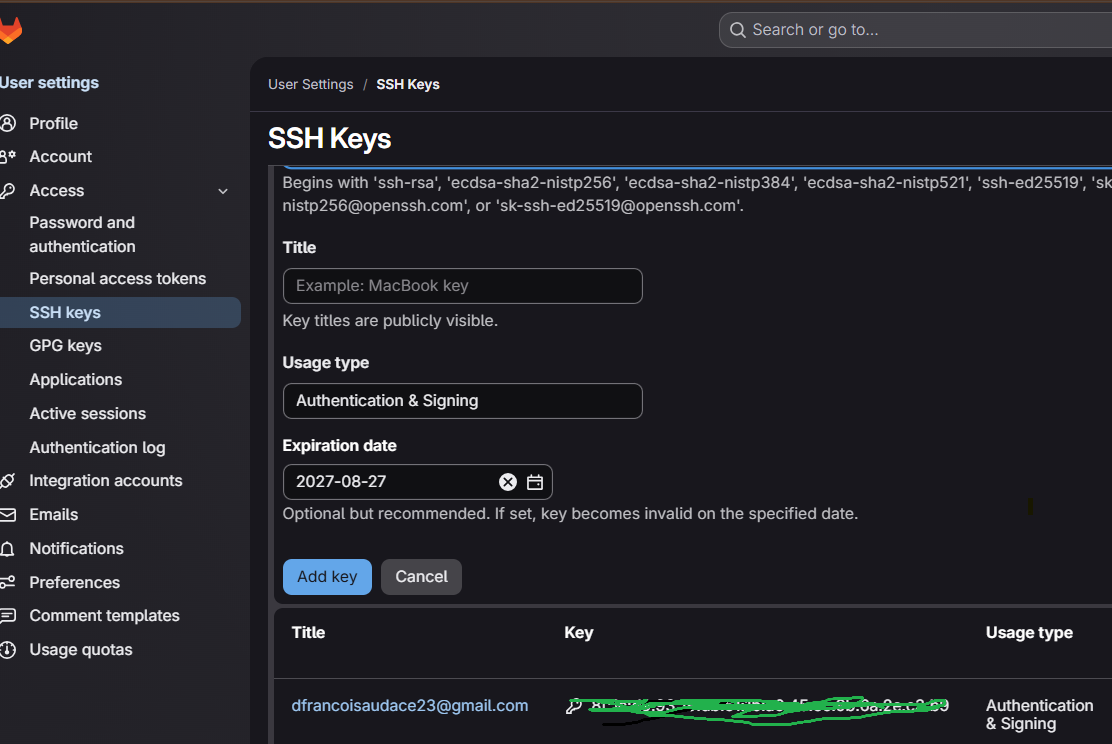
To push my files to the Fab Cloud without typing a password every time, I created an SSH key. An SSH key is a pair of files, a private one that stays secret on my computer and a public one that I give to GitLab. When they match, GitLab trusts my computer. I generated the key like this.
ssh-keygen -t ed25519 -C "audacedeifrancois@gmail.com"I pressed Enter to accept the default location and left the passphrase empty for simplicity. Then I copied the public key so I could paste it into GitLab.
type %USERPROFILE%\.ssh\id_ed25519.pubcat ~/.ssh/id_ed25519.pubIn GitLab I went to my profile, opened Preferences, then SSH Keys, pasted the public key, and saved it. After that my computer and my Fab Cloud account were linked.
Getting My Repository and Adding Files
Fab Academy already created a GitLab repository for me. I copied its SSH address from the blue Clone button on my GitLab project page, then cloned it, which downloads the repository to my computer as a normal folder.
git clone git@gitlab.fabcloud.org:academany/fabacademy/2026/labs/rwanda/students/francois-dei.gitI moved into that folder and put my website files inside it, in the public folder, because that is the folder Fab Academy publishes.
cd francois-deiPushing to My Class GitLab Repository
Once my files were inside the public folder, I saved them with Git and pushed them up to my class repository on the Fab Cloud. This is the first real push of my project, and it is what put this site online. Here is exactly what I ran.
git add .
git commit -m "Add my Fab Academy website and project management page"
git push origin main
The terminal printed the upload progress and confirmed the push reached the Fab Cloud, something like the lines below. The screenshot under it is the proof of my real push.
Enumerating objects: 24, done.
Writing objects: 100% (24/24), 1.42 MiB, done.
To gitlab.fabcloud.org:academany/fabacademy/2026/labs/rwanda/students/francois-dei.git
   8f3a1c0..d4b27e9  main -> main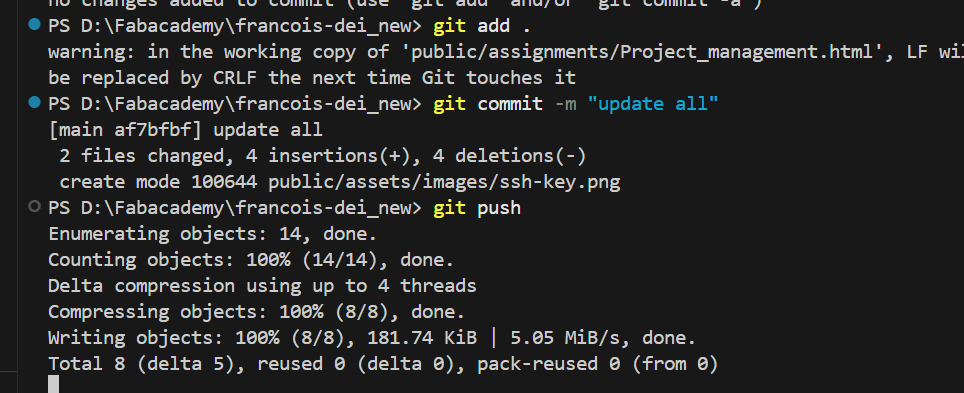
The Save and Upload Loop I Repeat Every Time
Every time I change something, I repeat the same four step loop. This is the heart of working with Git, so it is worth learning by heart.
git status
git add .
git commit -m "Describe what I changed here"
git push
What each line does, in plain words:
- git status shows which files I changed since the last save.
- git add . selects all those changes to be saved. The dot means everything.
- git commit -m "..." saves the changes as one point in the history, with a short message saying what I did.
- git push uploads my saved changes to the GitLab repository on the Fab Cloud.
A small note on the branch name. Older repositories call the main branch master and newer ones call it main. If a plain push ever complains, name the branch directly, for example git push origin main.
How the Website Goes Live
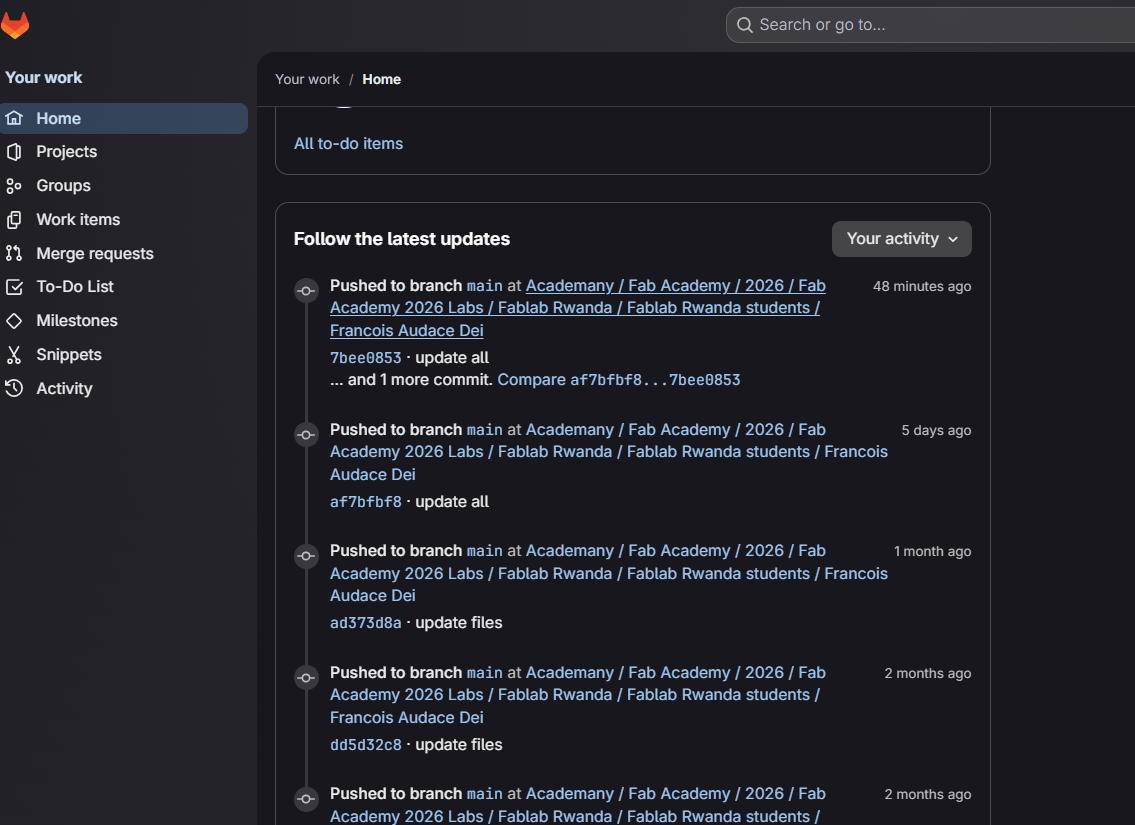
I do not upload my site to a web host by hand. When I push to GitLab, a small file in the repository called .gitlab-ci.yml tells the Fab Cloud to take everything inside the public folder and publish it as a website using GitLab Pages. So the moment my push finishes and the pipeline turns green, my live site updates by itself. I then open my Fab Academy page in the browser to check the result, and if something is wrong I fix it and run the save and upload loop again.
Organizing Weekly Documentation
I created separate sections and pages for each weekly assignment and linked them from the homepage. This helped keep the documentation well structured and easy to navigate.
Conclusion
By using HTML, CSS, and Git, I sketched and described my final project ORDER, built this website, set up my Git repository, pushed it to my class GitLab repository, and signed and uploaded my student agreement. This site is now the home for all my weekly assignments and the progress of the ORDER device.
Student Agreement
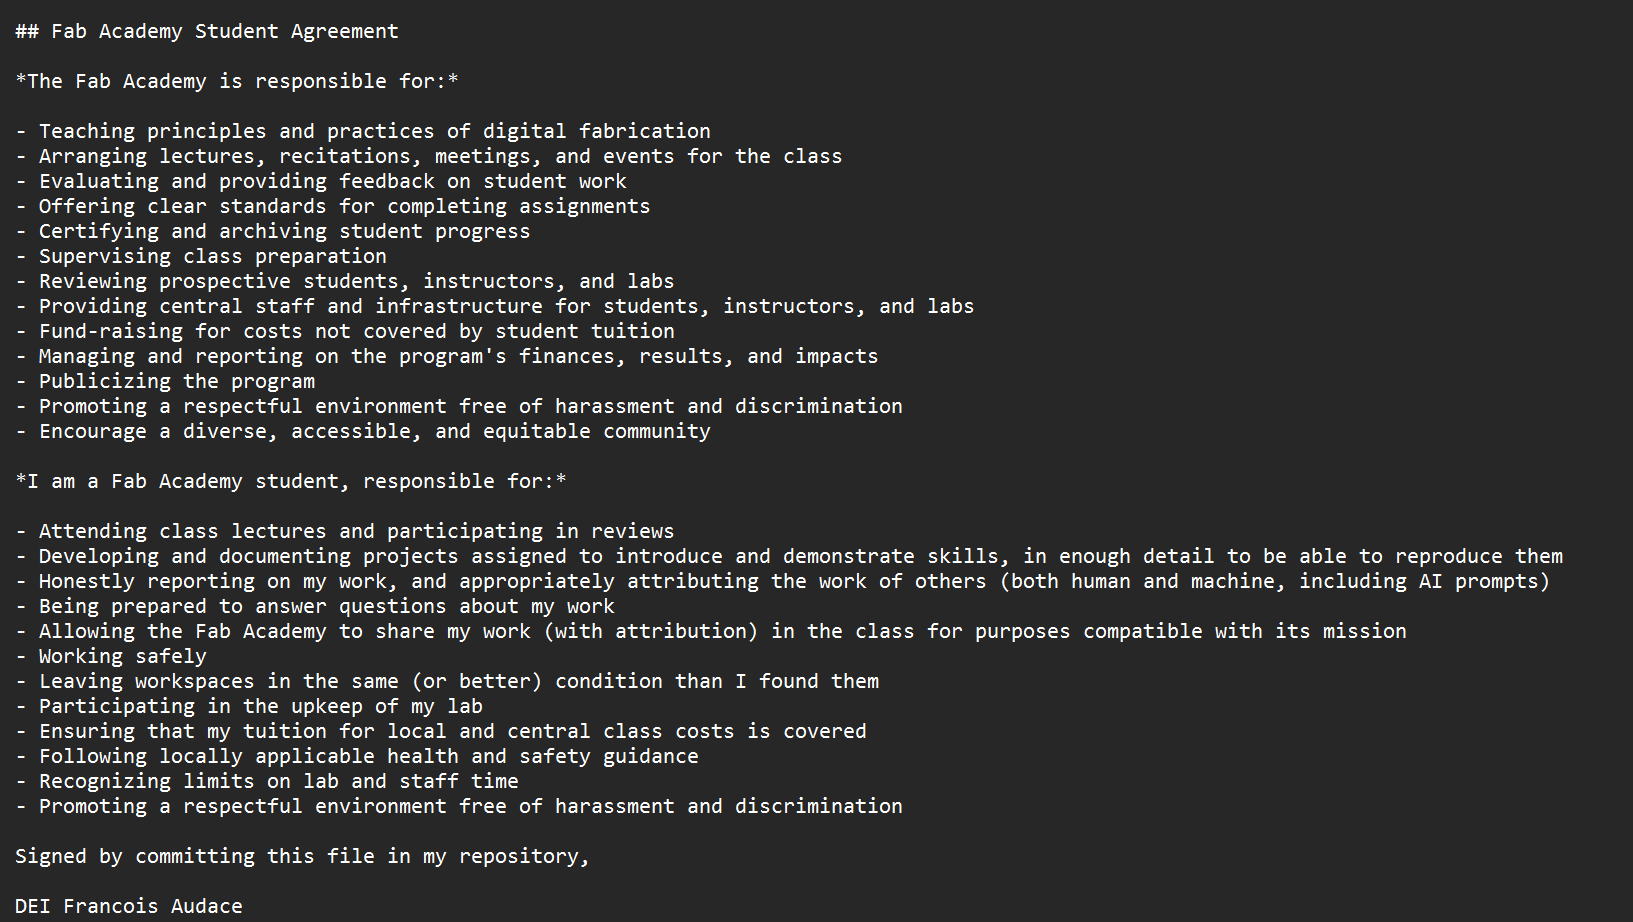
I read the Fab Academy student agreement, printed it, signed it by hand, scanned the signed copy, and committed it to my repository with the save and upload loop above. It sets out what the program expects from me and what I can expect from the program. Below is the scan of my signed agreement and a link to download the file.