Week 07, Computer Controlled Machining
This week was about going big. Instead of the small parts I had been cutting and printing so far, I designed and machined a full size piece of furniture on the ShopBot at Fab Lab Rwanda. The assignment is to make something large by designing it, milling it on the CNC router, and assembling it.
What I set out to make
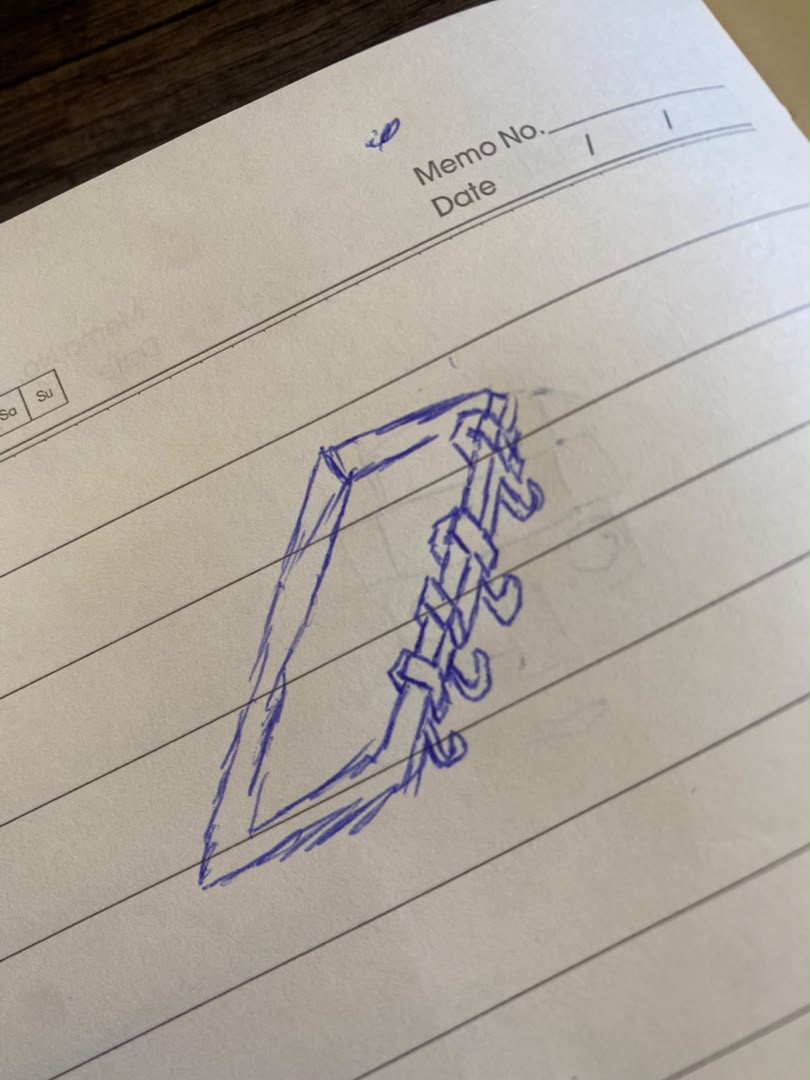
I decided to build a small bookshelf with a press fit joint design so that it holds together without any screws or glue. I chose it because it forces me to think about the thickness of the material, the width of the cutting tool, and how the slots fit into each other. It is also something I will actually use in my room, so it felt worth the material.
Safety training first
Before anyone is allowed to touch the machine, our instructor walked the whole group through the safety rules of the ShopBot. The CNC router spins a sharp bit at very high speed, so the rules matter. The points that stuck with me the most were keeping the work clamped down so it never lifts, never leaving the machine running alone, keeping my hands far away while it cuts, and always wearing safety glasses and ear protection. We also learned where the emergency stop button is and practiced hitting it.
What I learned from the safety session is that most accidents on a CNC come from a part that was not clamped well and got thrown loose, so fixturing is not just about a clean cut, it is about staying safe.

Our full group test of runout, alignment, feeds, speeds and materials is documented on our group page. Link to the group assignment page
Designing the parts
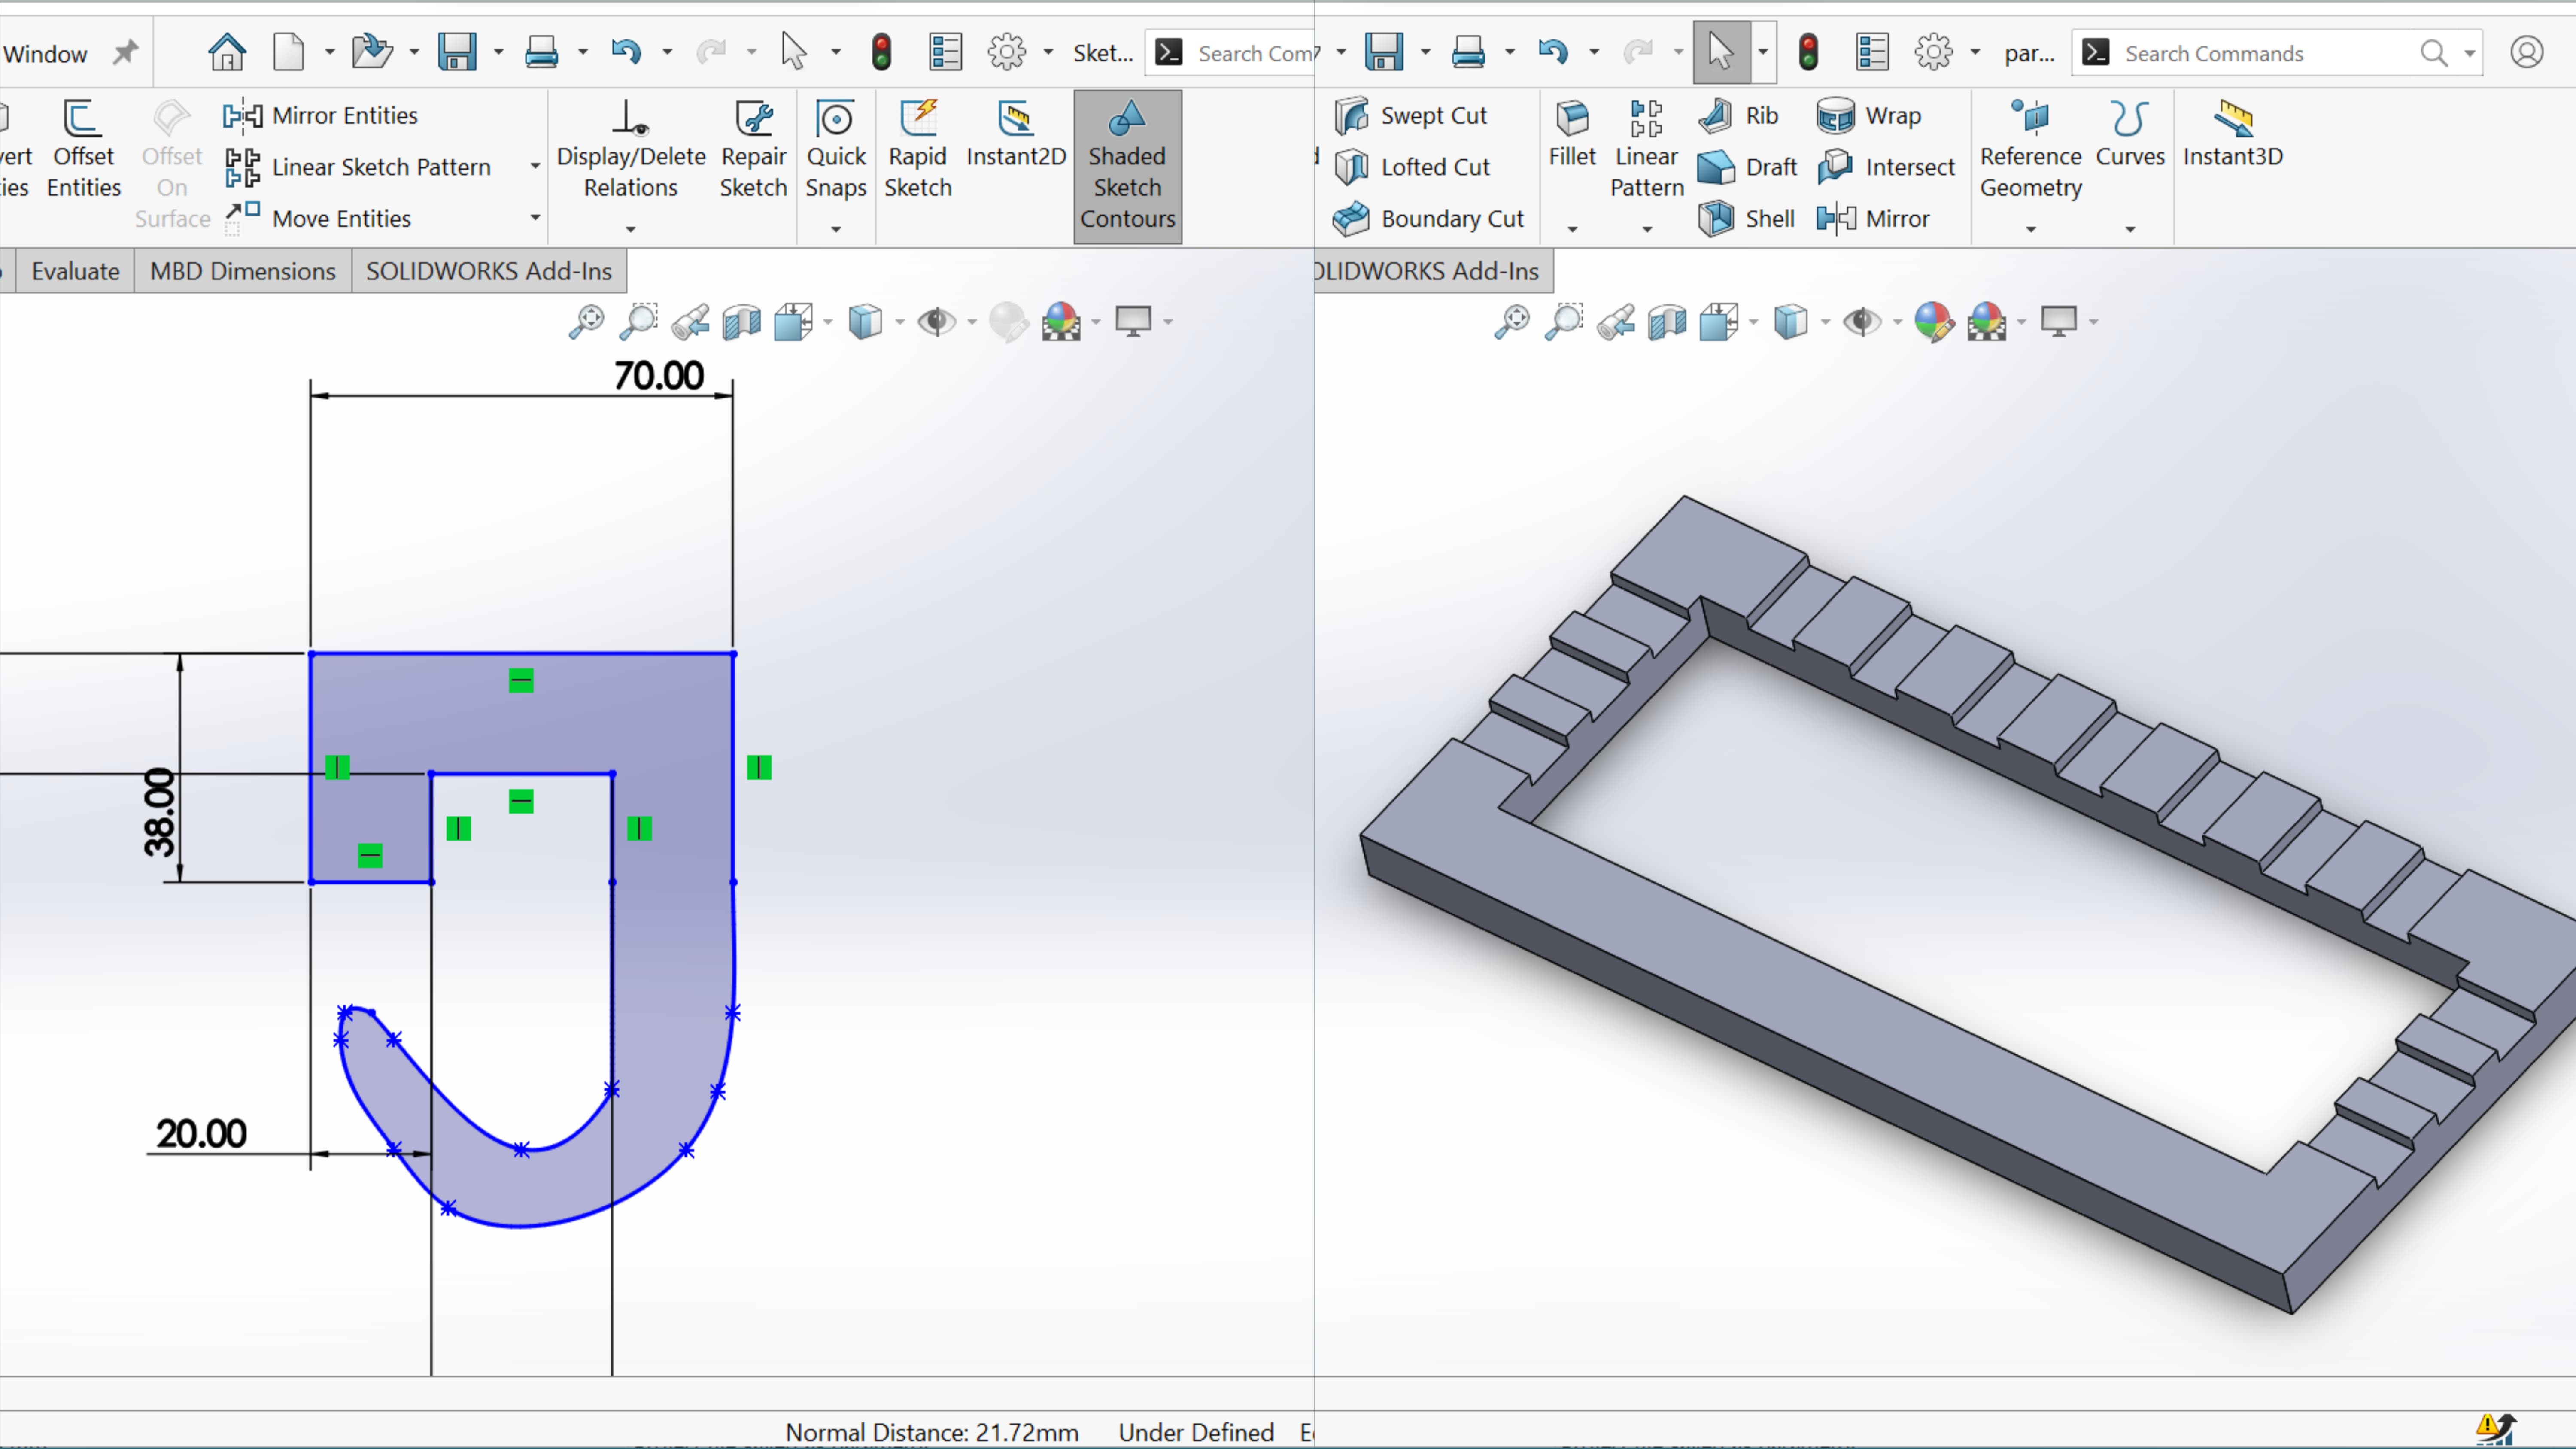
I drew the panels in SolidWorks as flat sheets because everything will be cut from one board. The most important number this week is the thickness of the plywood. I measured our sheet with a caliper and it came out a little under 18 mm, so I used the real measured value for the slot width instead of trusting the label on the wood.
I also accounted for the tool. The router bit removes a strip of material as wide as the bit itself, so if I cut a slot exactly the width of my measured thickness, the joint ends up loose. I made small test slots first and adjusted until the fit was snug.
Making the toolpath in the CAM software
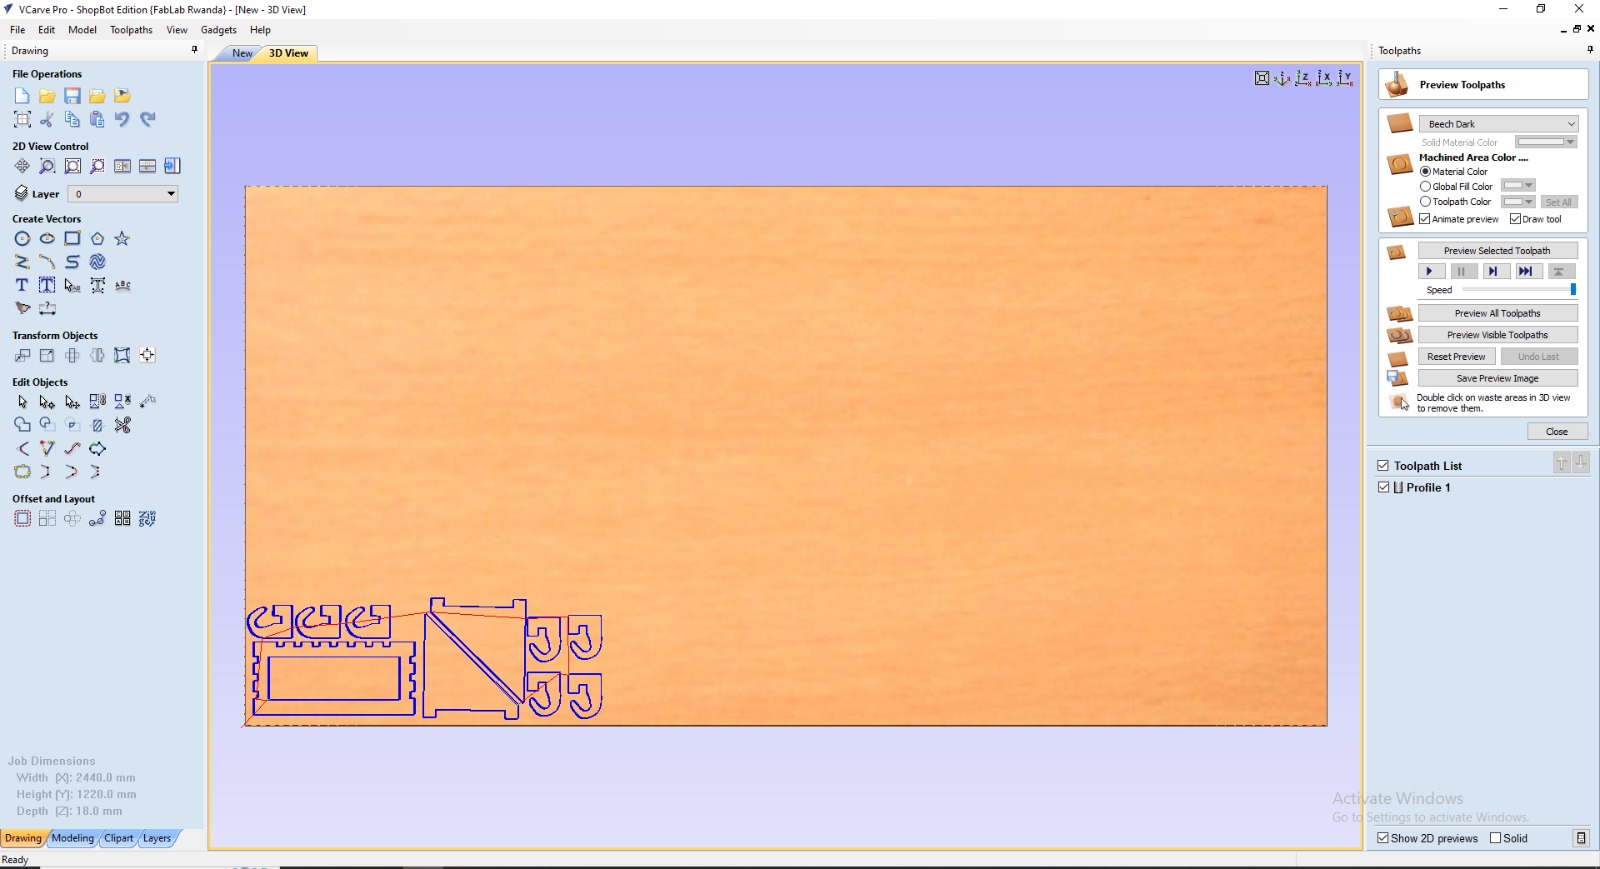
Once the design was ready I exported it and brought it into the CAM software to create the toolpath. This is the step that tells the machine how to move. The settings I had to choose were the bit diameter, the cut depth per pass, the feed rate which is how fast the bit travels, and the spindle speed.
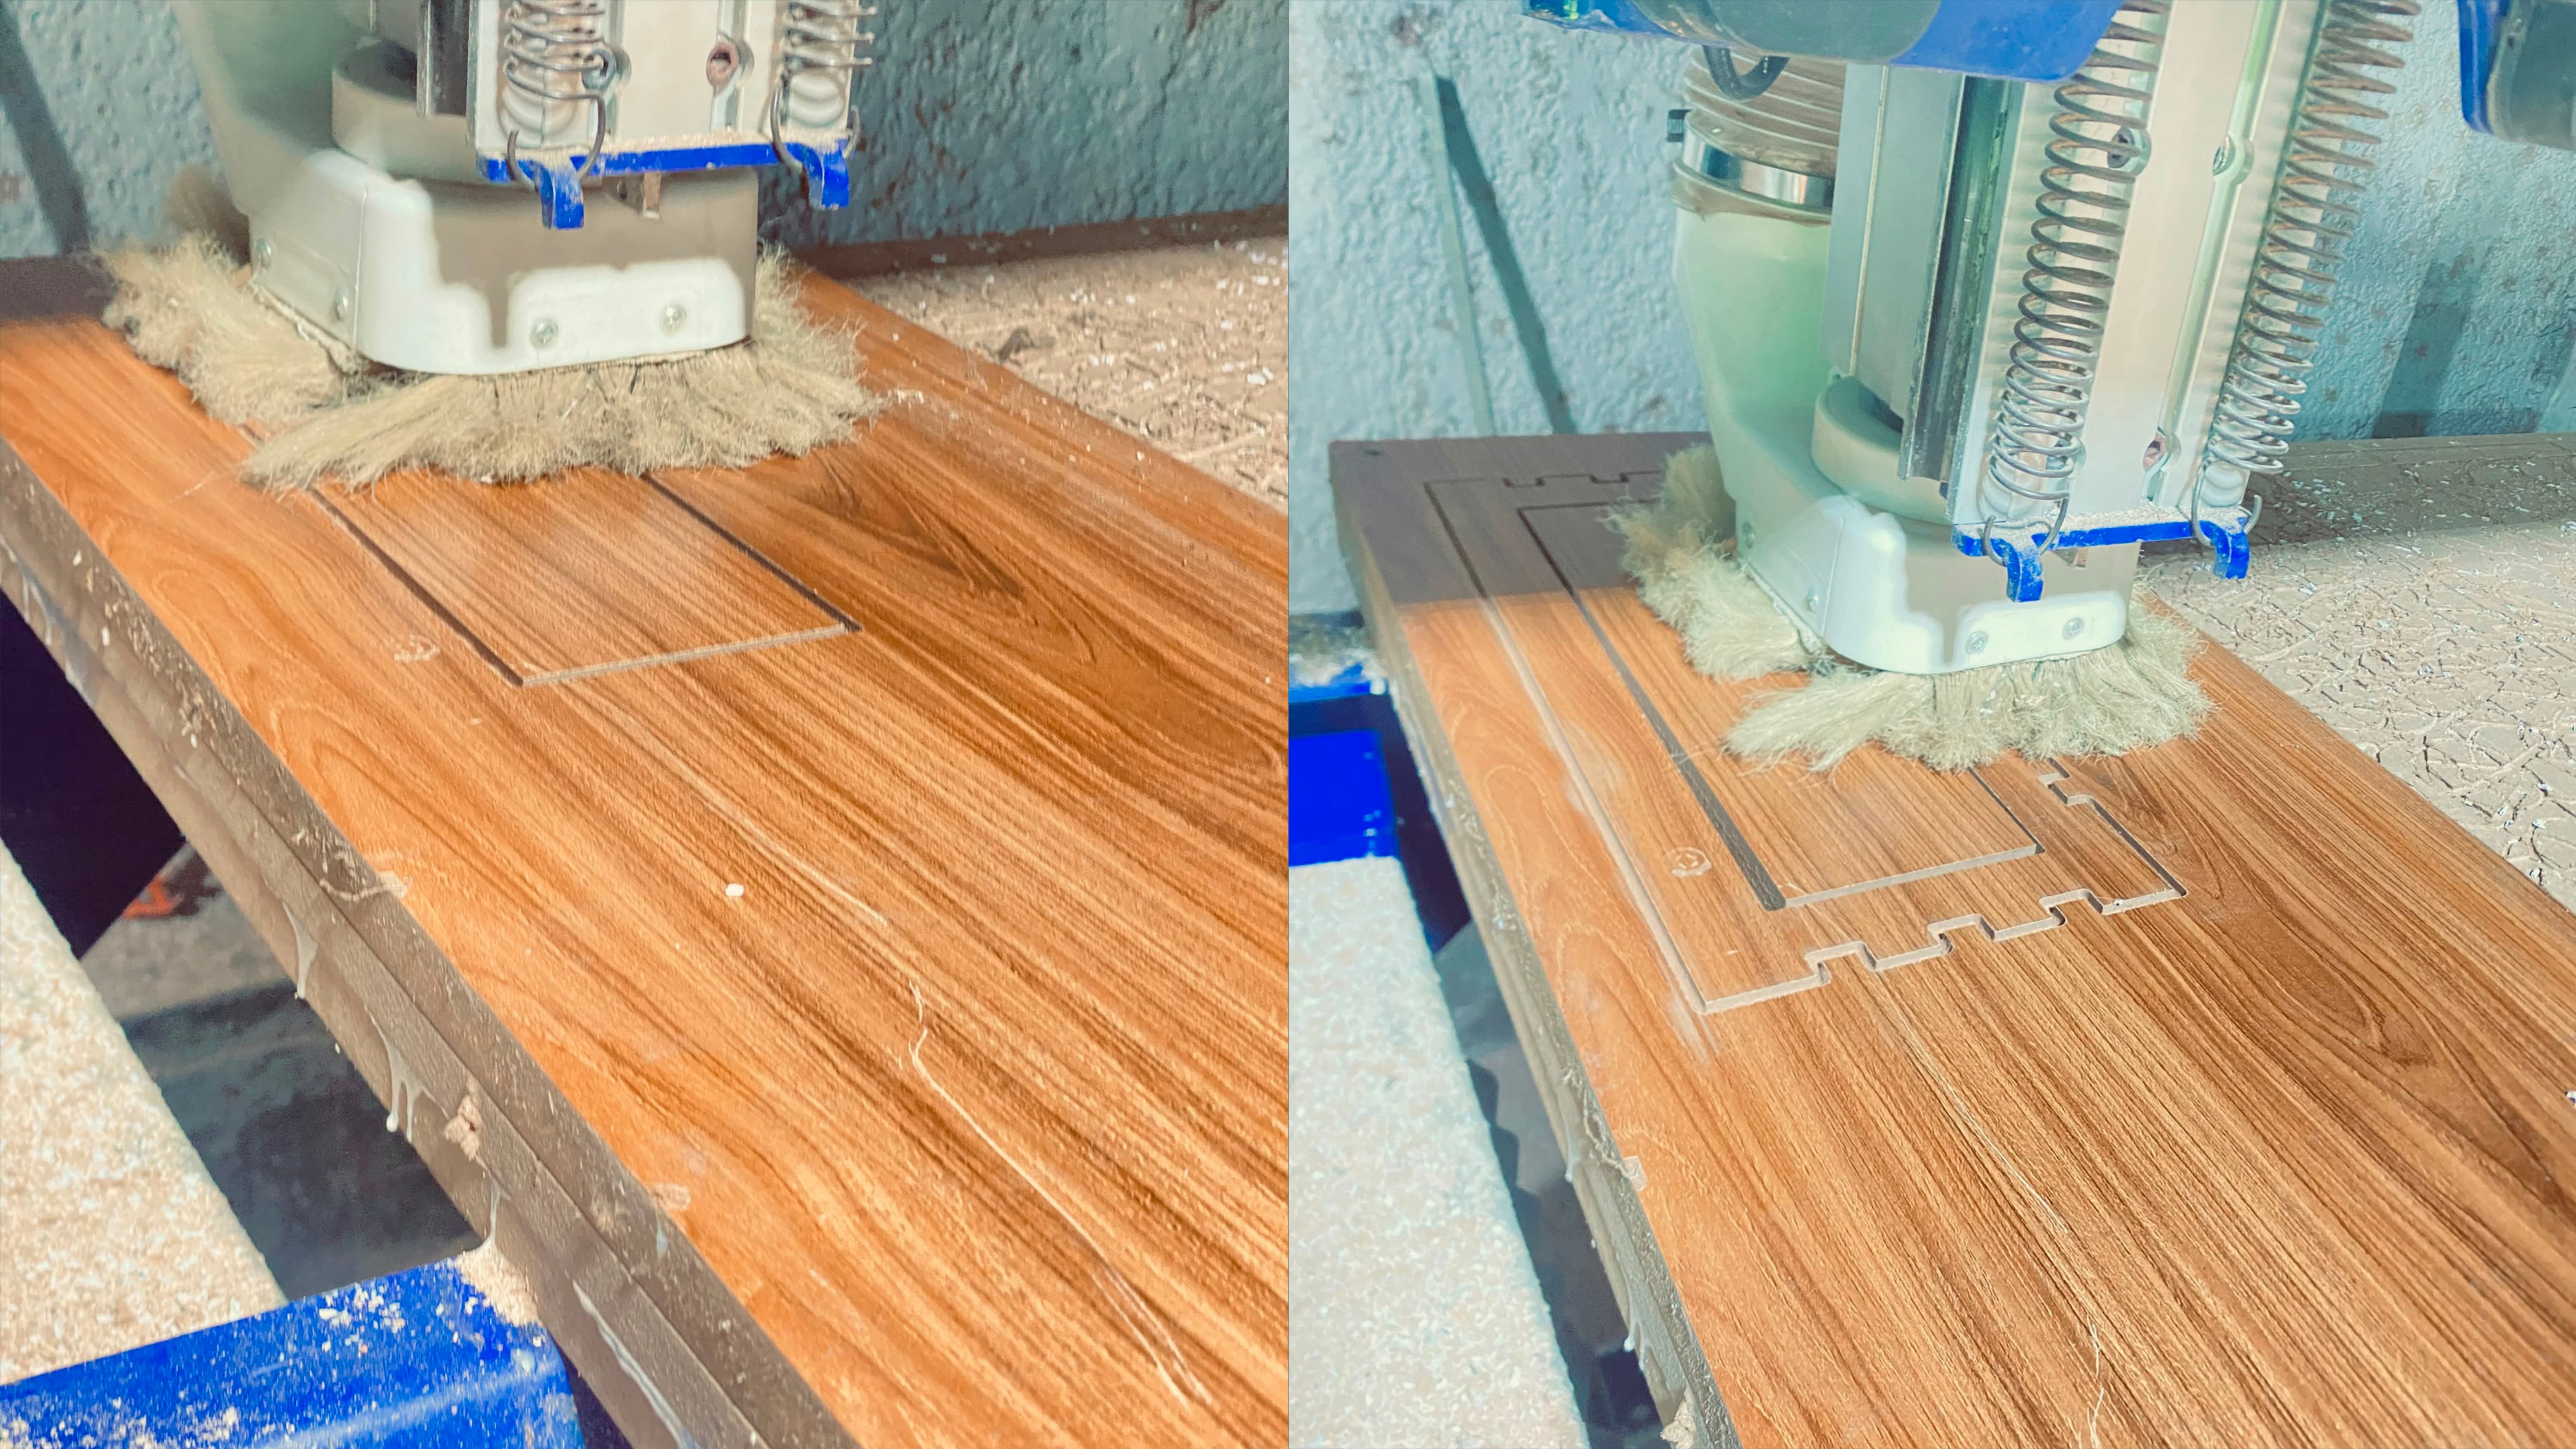
I set the cut to go in several shallow passes instead of one deep pass, because plywood is hard and a single deep cut would strain the bit. I also added small tabs to the outline cuts so the parts stay attached to the sheet and do not fly loose at the end of the cut. Those tabs get cut by hand afterwards.
Setting up the machine
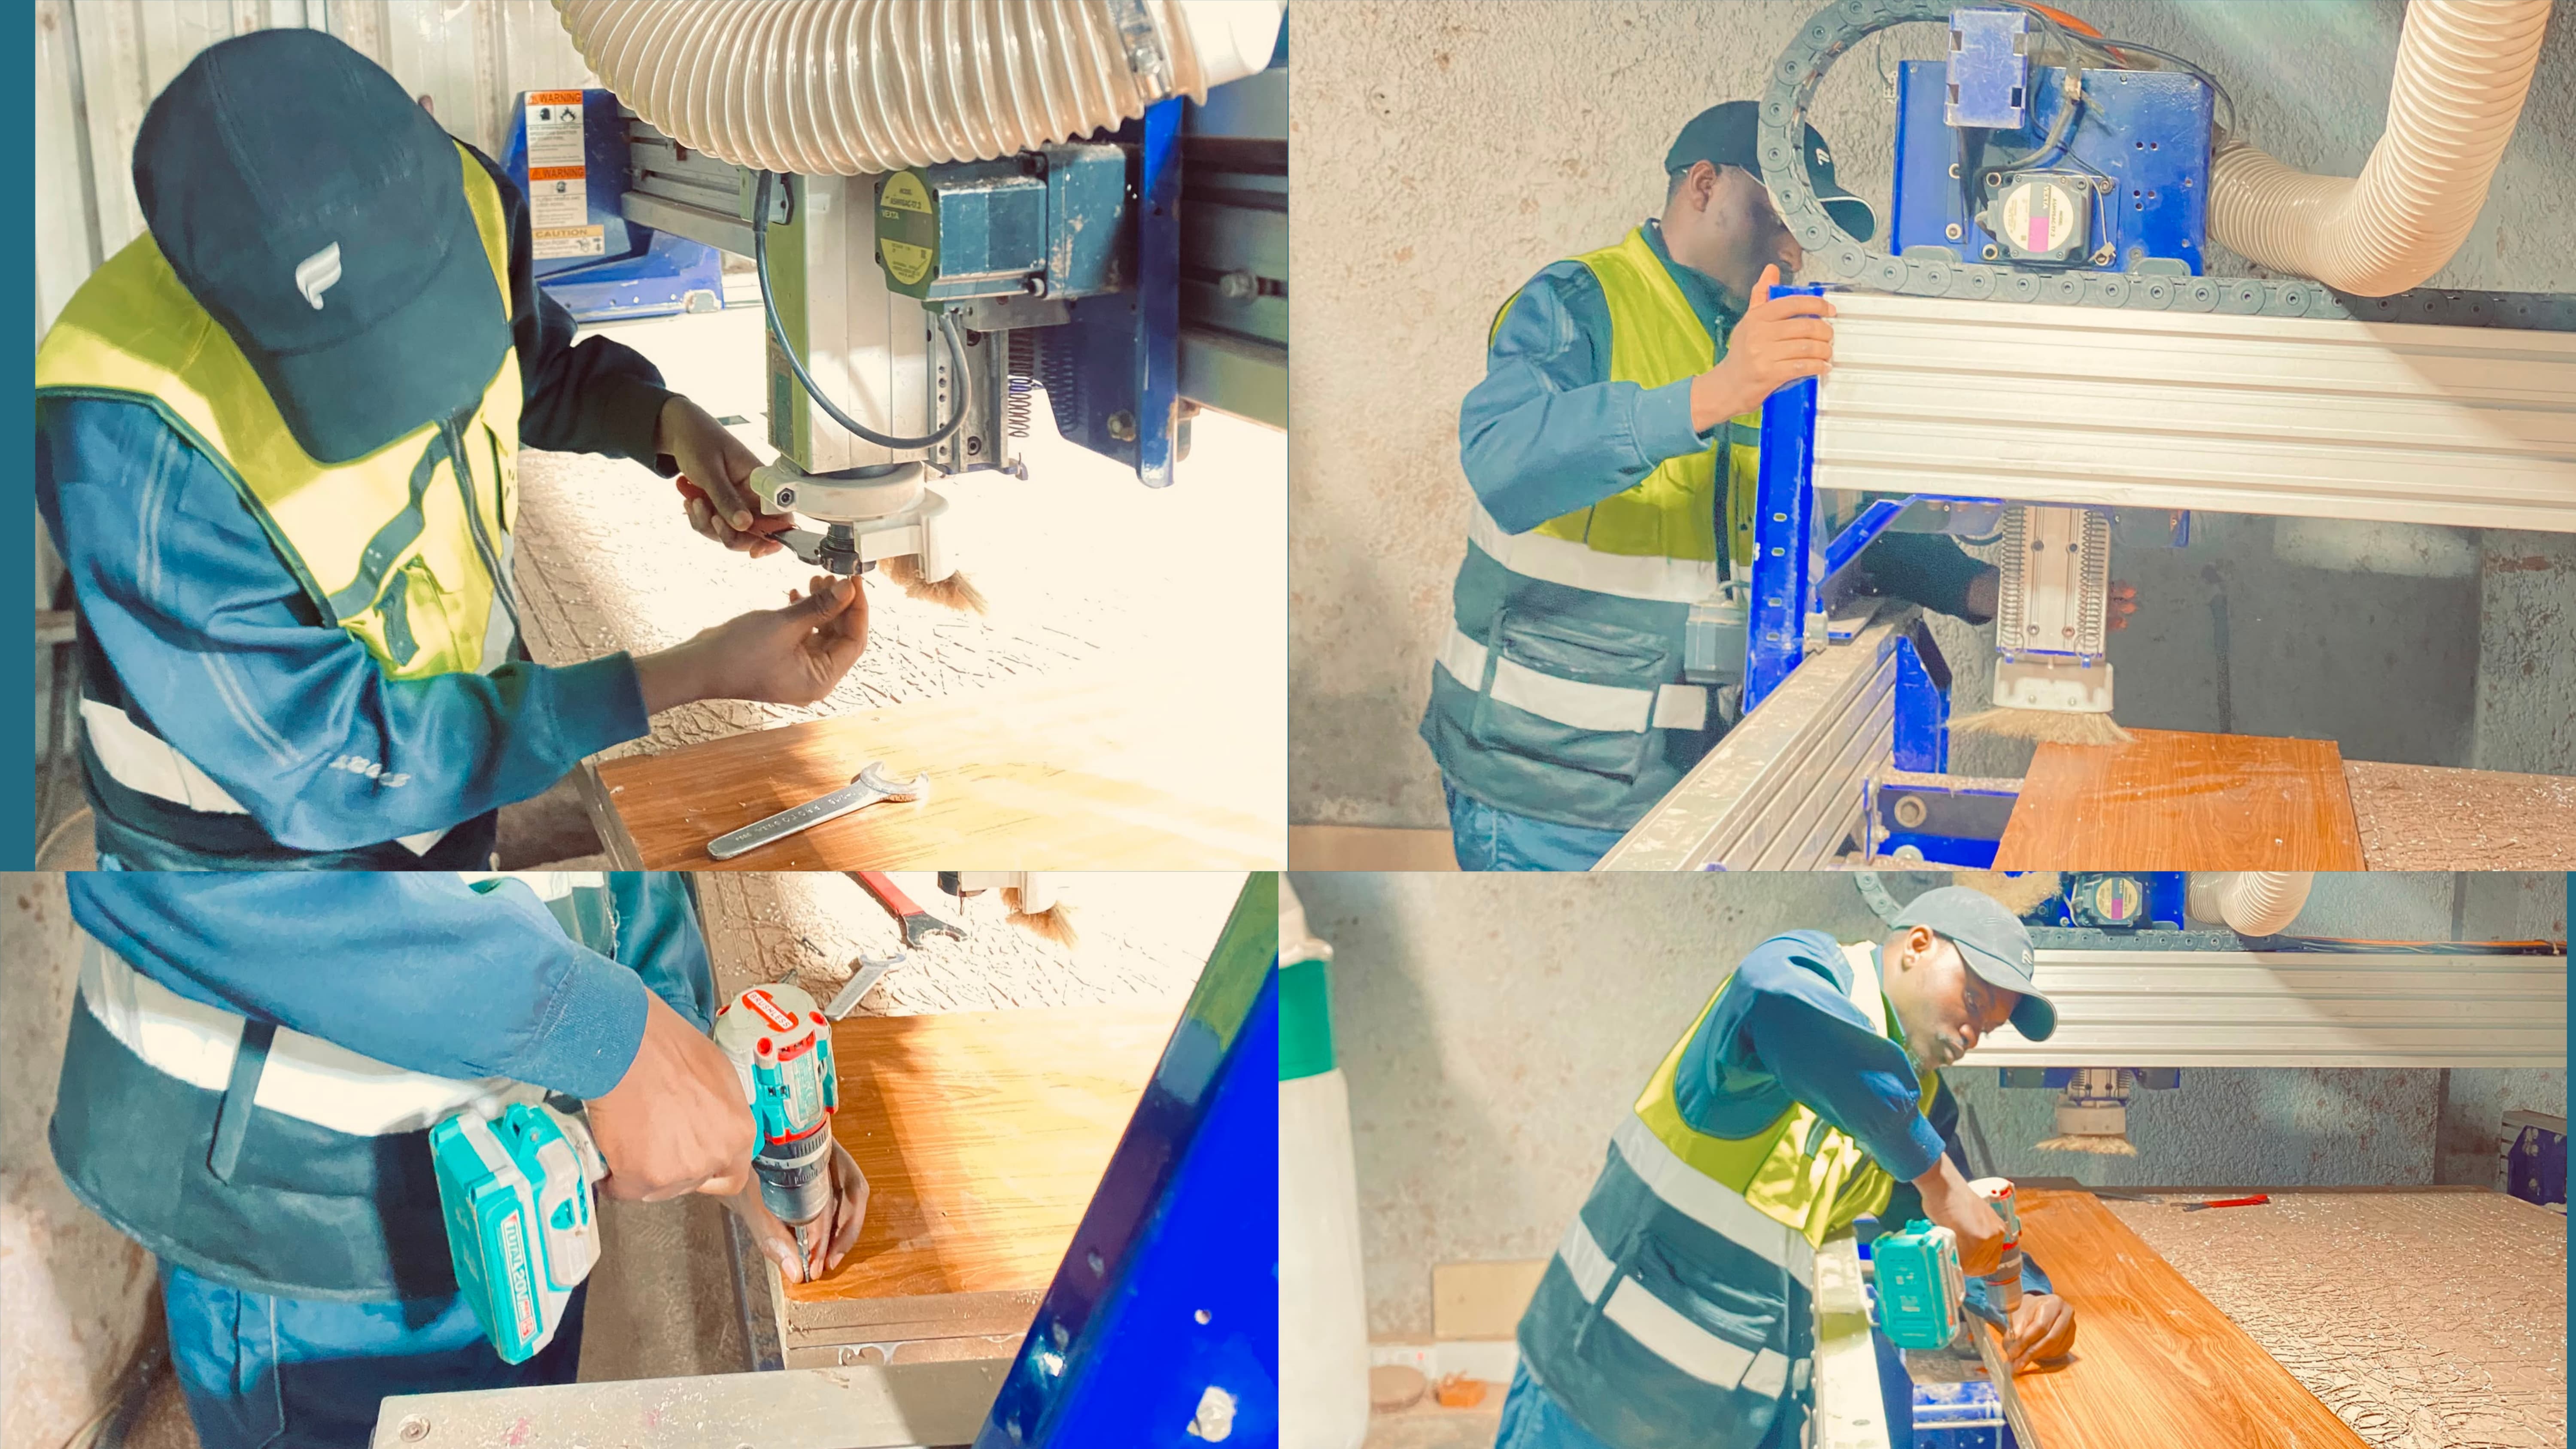
On the machine I fixed the plywood sheet to the bed with screws around the edges, well away from the cutting lines. I set the X and Y origin at the corner of the sheet and then zeroed the Z height on the top surface of the wood so the machine knows exactly where the material starts. I double checked the bit was tight in the collet before starting.
Milling
With everything set, I started the job. I stayed next to the machine the whole time with a hand on the stop button. The slots and pockets were cut first while the sheet was still fully held down, and the outlines with the tabs were cut last. The lab smelled of fresh cut wood by the end.
Assembly
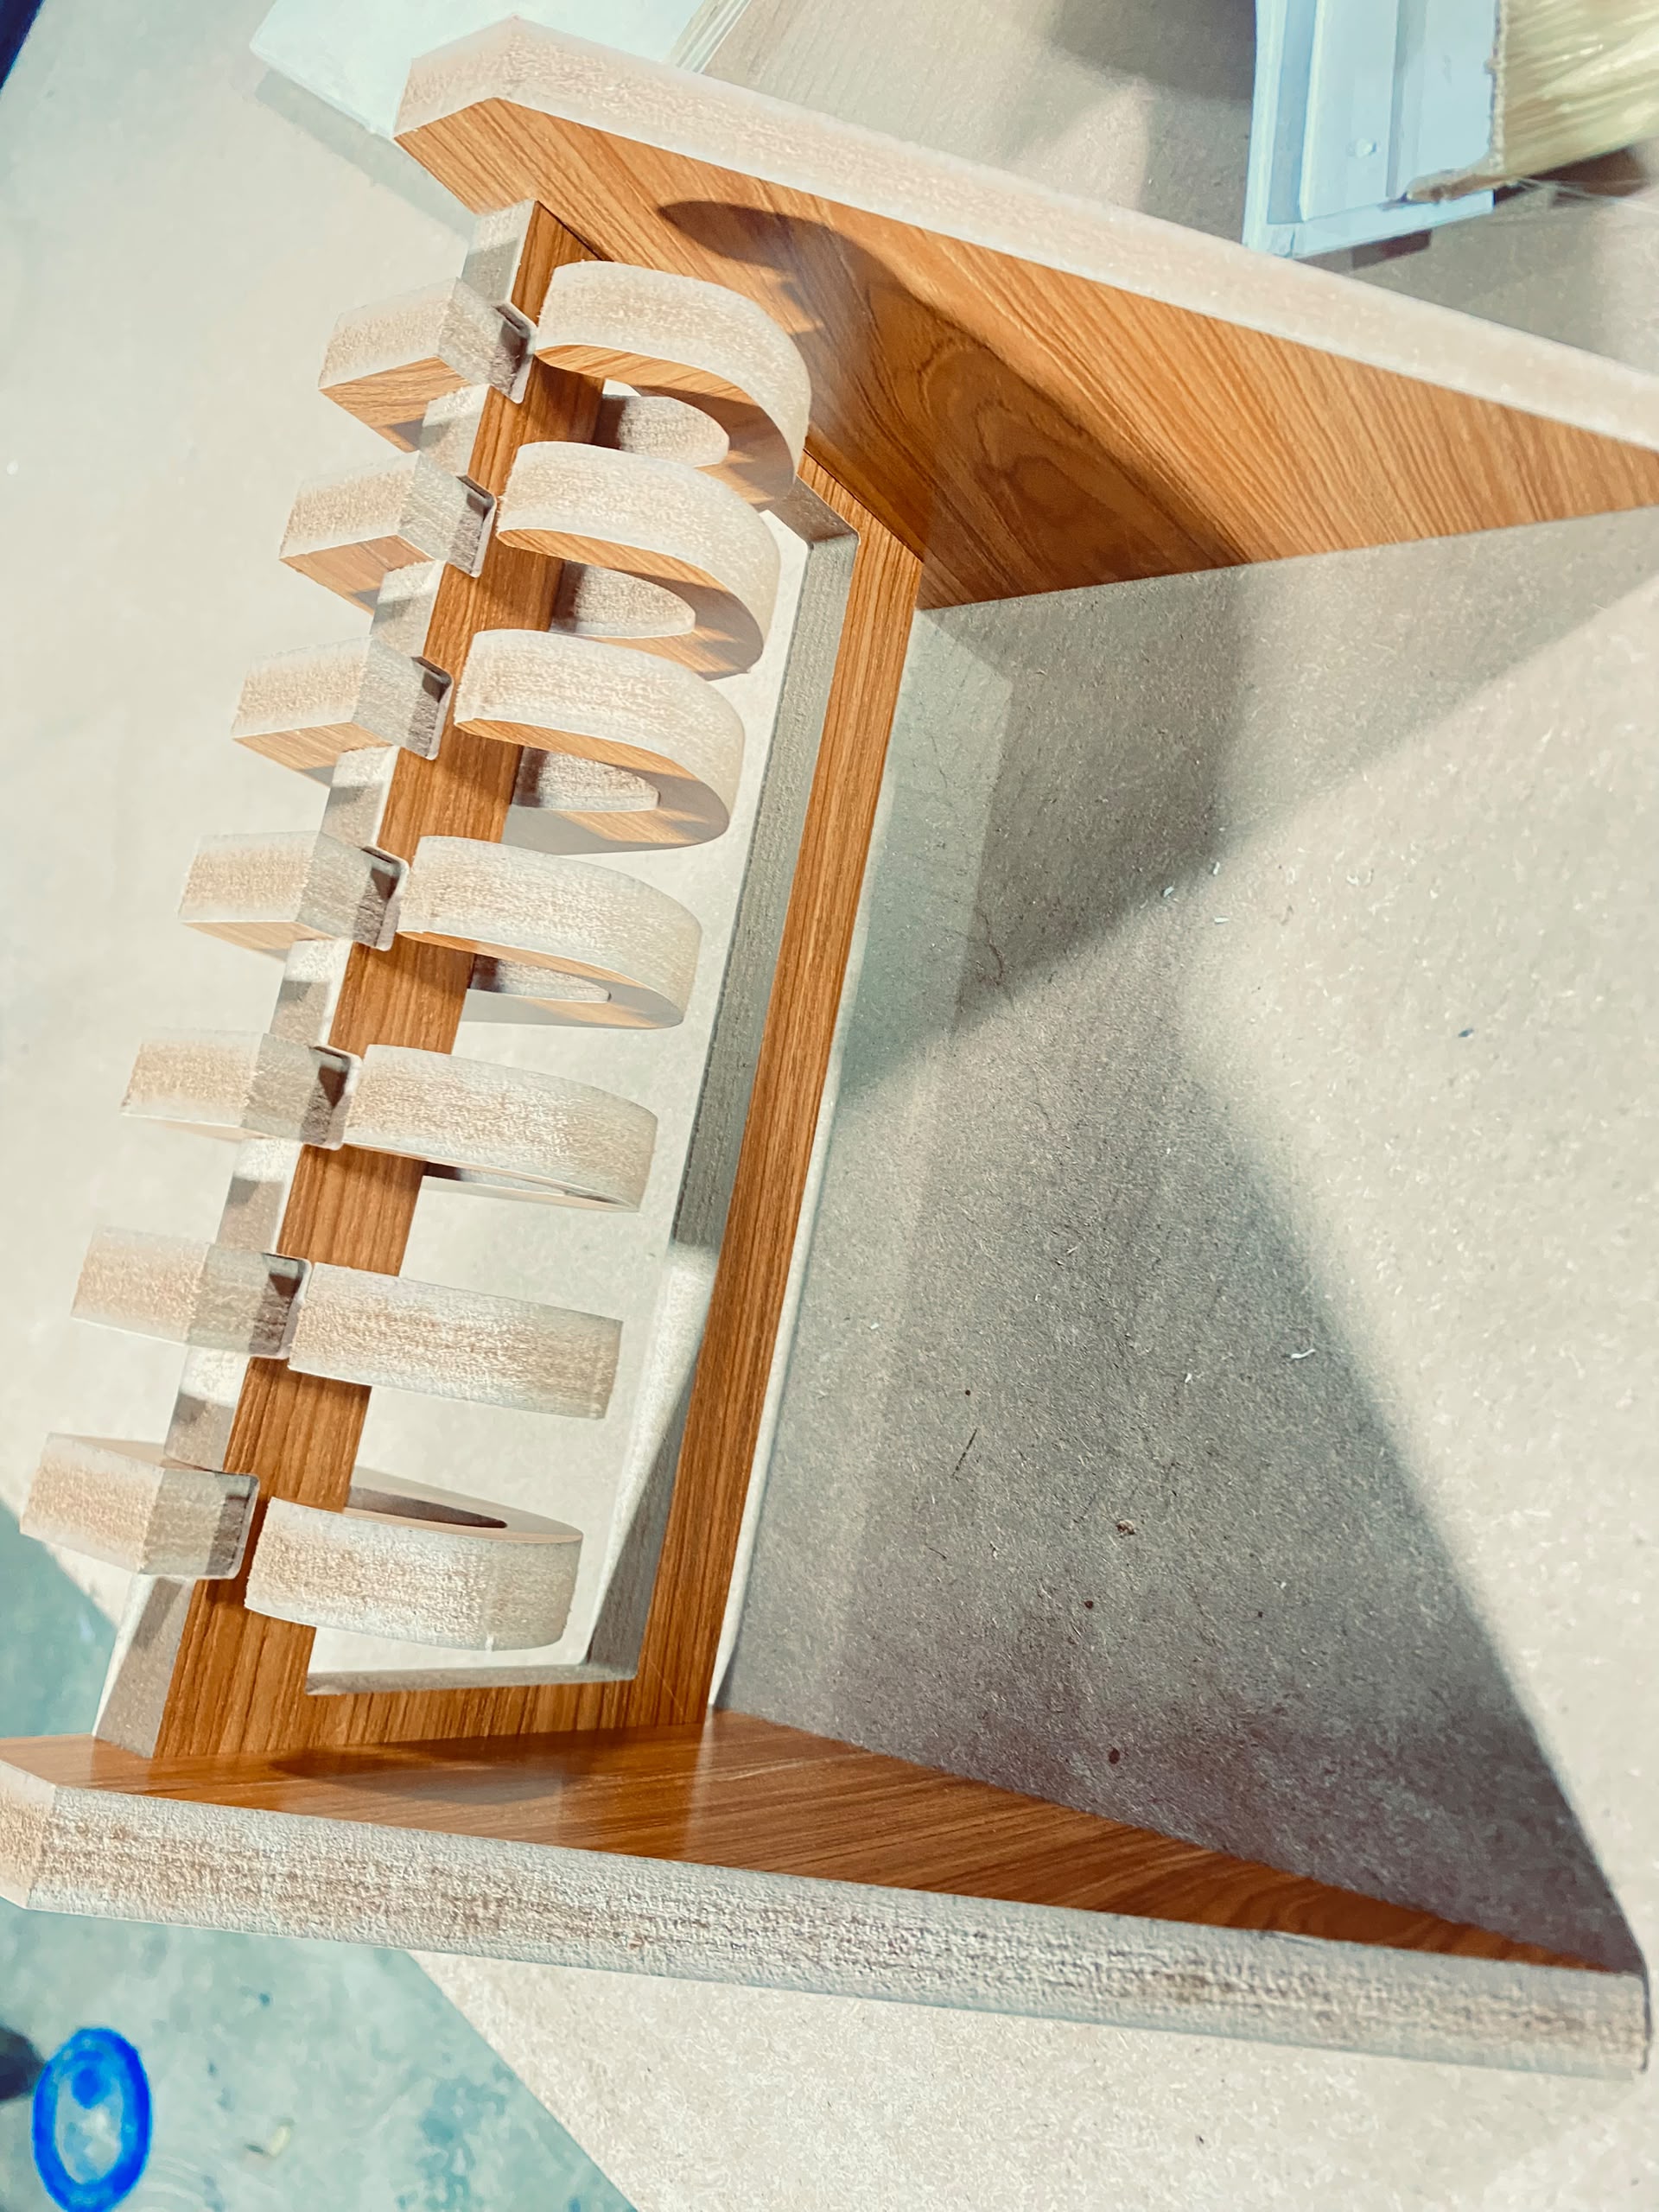
After the cut I released the sheet, cut the small tabs with a flush saw, and sanded the edges smooth. Then came the satisfying part, pushing the panels together. The press fit slots held tightly and the shelf stood up on its own with no glue. A couple of joints were a touch tight so I sanded them lightly until they slid home.
Problems and how I fixed them
- The first slot test was too loose. I had used the label thickness of the wood. I remeasured with a caliper and used the real value, then the joint gripped properly.
- One outline lifted slightly near the end. The tab there was too thin. On the next part I made the tabs a little thicker so the panel stayed flat until I removed it by hand.
- Edges had burn marks in one corner. The feed rate was too slow there so the bit lingered. I raised the feed rate a little and the burning stopped.
Design files
Here is the list of files for this week. Download the SolidWorks part and download the toolpath file
What I learned
The big lesson this week is that a large machine punishes small mistakes. A slot that is half a millimeter off does not matter on paper but it decides whether the shelf holds together or wobbles. Measuring the real material, cutting test joints first, and respecting the tool width turned out to be the whole game.