Week 16 - Wildcard #
Hero Shot: #
TL;DR #
For Wildcard Week, I used the Brother PR680W Embroidery Machine to create a custom embroidered heat-seal patch for my final project. I designed a minimalist logo, converted it into a stitch pattern using PE-Design 11, and embroidered it onto felt using an appliqué workflow. After adding heat-seal backing and finishing the stitching, I attached the patch onto a t-shirt with a heat press.
Making a Patch with Embroidery Machine #
For the Wildcard Week individual assignment, I decided to use the Brother PR680W Embroidery Machine to create a custom embroidered heat-seal patch for my final project.
The first step was designing a logo. I used Google Gemini to generate a minimalist logo concept for my project.
![]()
According to Gemini, the logo represents the following, which are very in-line with my project:
-
The Smooth Stone (The Organic Form): The central shape represents a smooth, weathered river stone or a stacked zen pebble. This directly mirrors your description of an enclosure inspired by “organic forms” and a “warm, natural presence.” It roots the digital project in the physical, grounding world of nature.
-
The Gentle Ripples (Sound & Interaction): The concentric, broken lines at the base mimic water ripples or sound waves. This perfectly captures the ambient audio, the calming sensory experiences, and the invisible RFID waves radiating from the device during a “mindful ritual.”
-
The Floating Dot (The Tech & “The Spark”): The single dot hovering above the organic form serves a dual purpose. Philosophically, it represents a moment of clarity, mindfulness, or a deep breath. Technically, it subtly nods to the embedded technology, light emission, and digital interaction integrated within the natural wooden object.
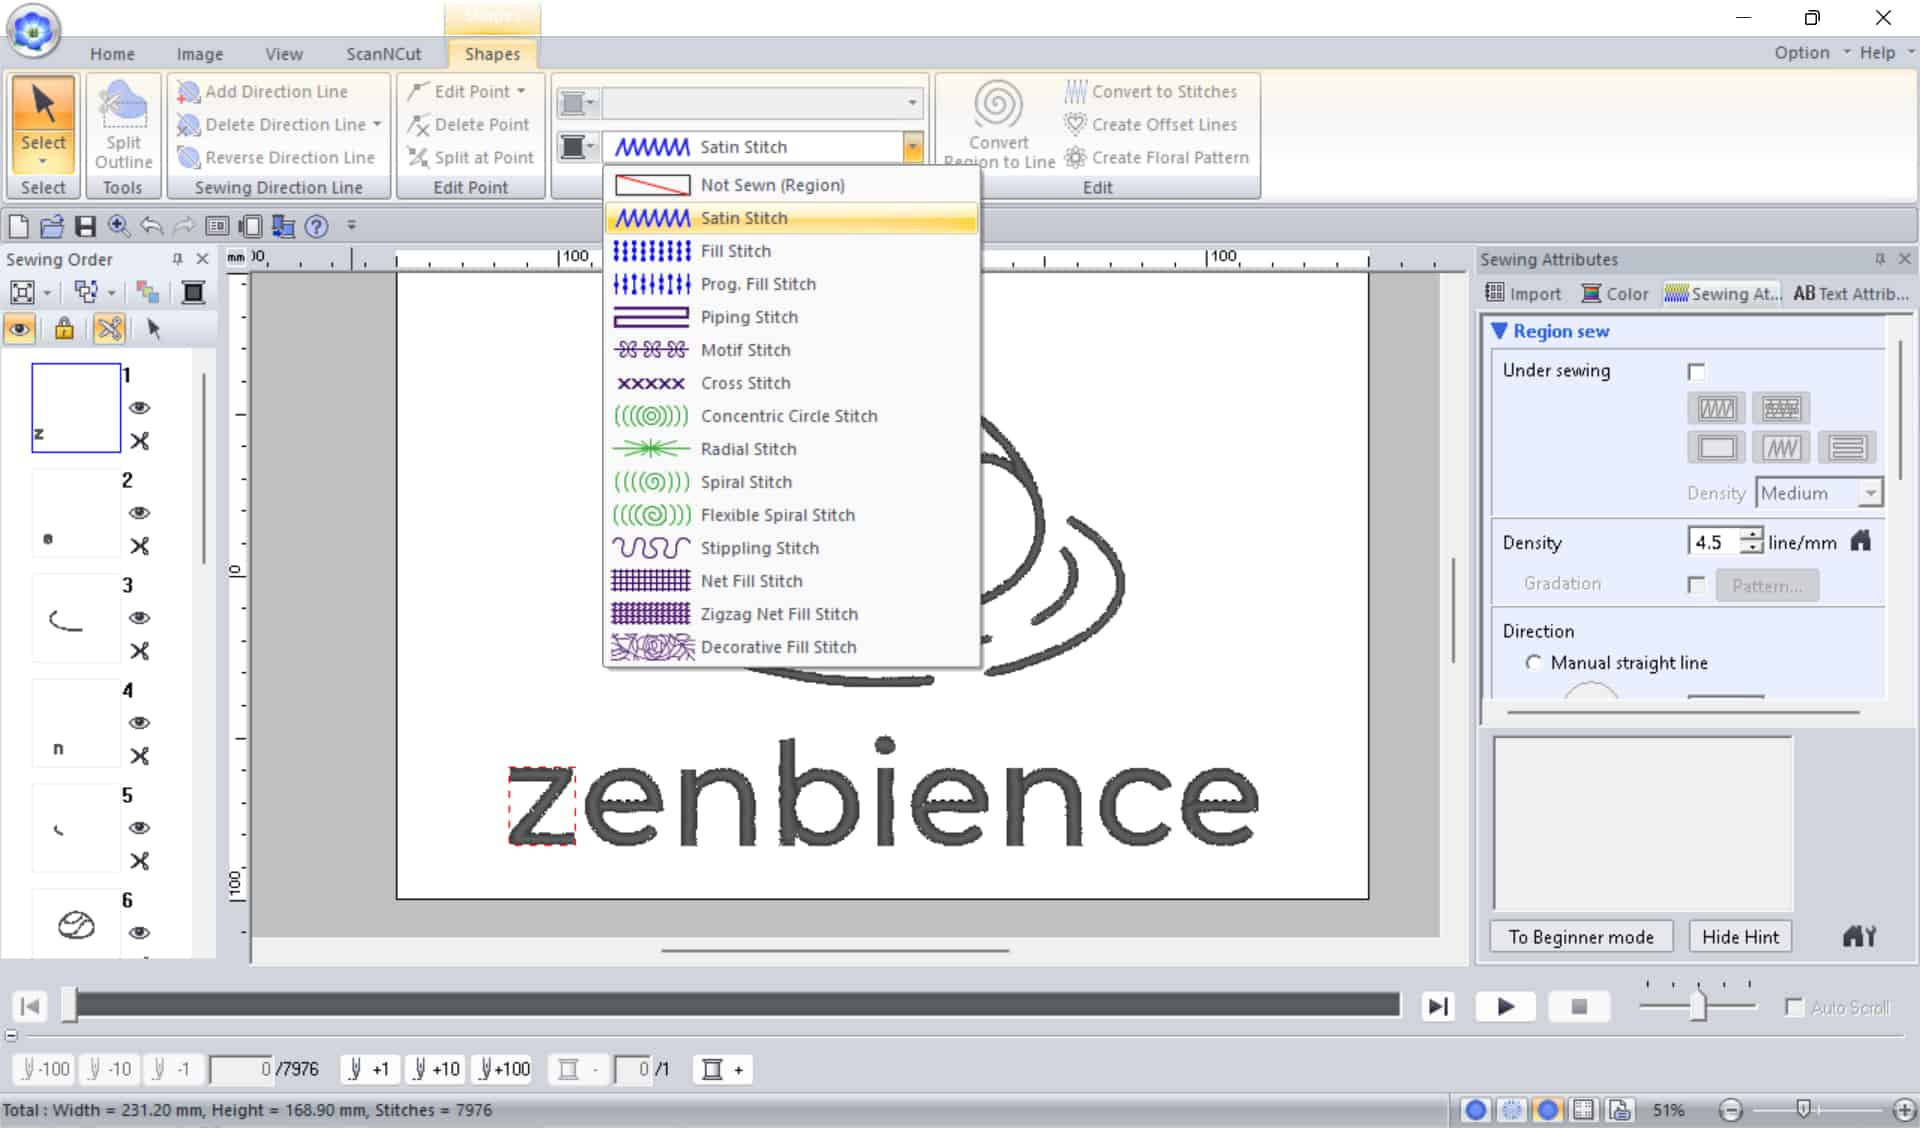
Then, I imported the image into PE-Design 11, which converts regular images into stitch patterns that the embroidery machine can read. Inside the software, I adjusted the stitch type, thread colors, and overall size of the design. Once finalized, I exported the file as a .PES embroidery file, which is the format used by the machine.
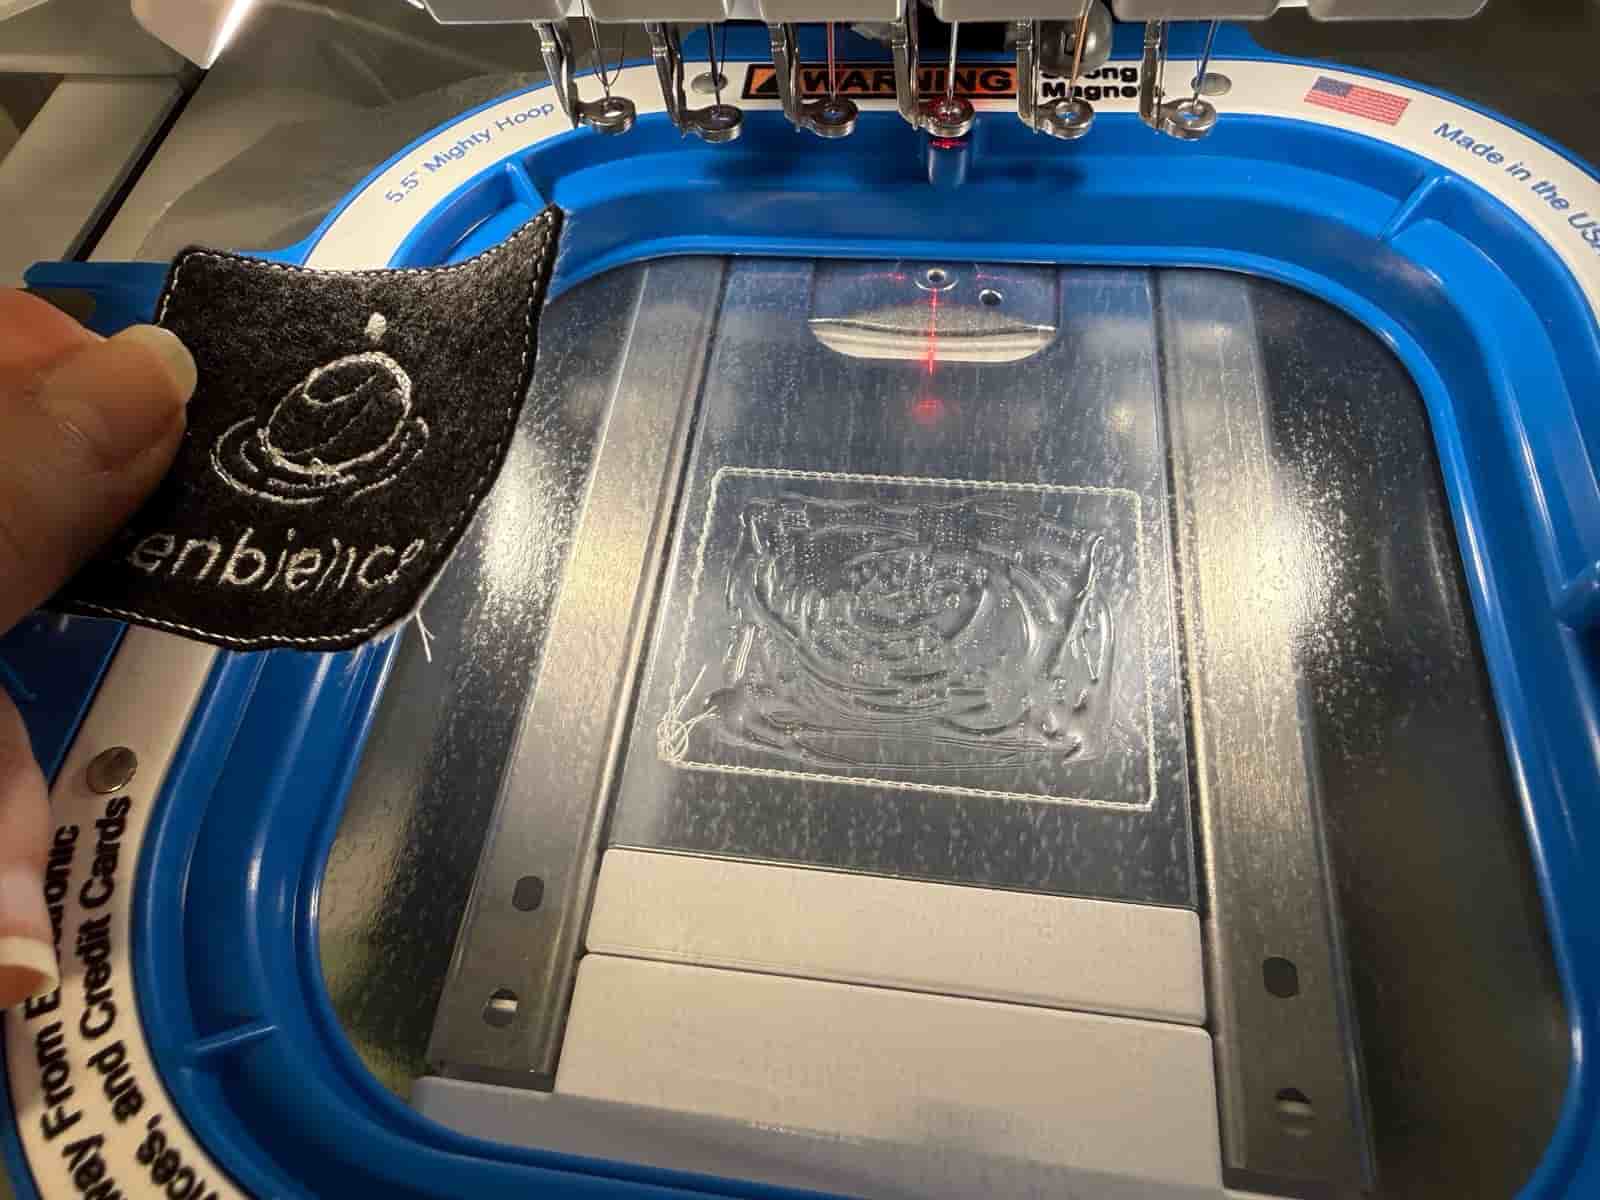
To prepare the material, I placed a piece of tear-away stabilizer behind a sheet of felt and tightly secured both materials in the embroidery hoop. The fabric needs to be stretched “as taut as a drum” so the stitching remains accurate and clean during embroidery.
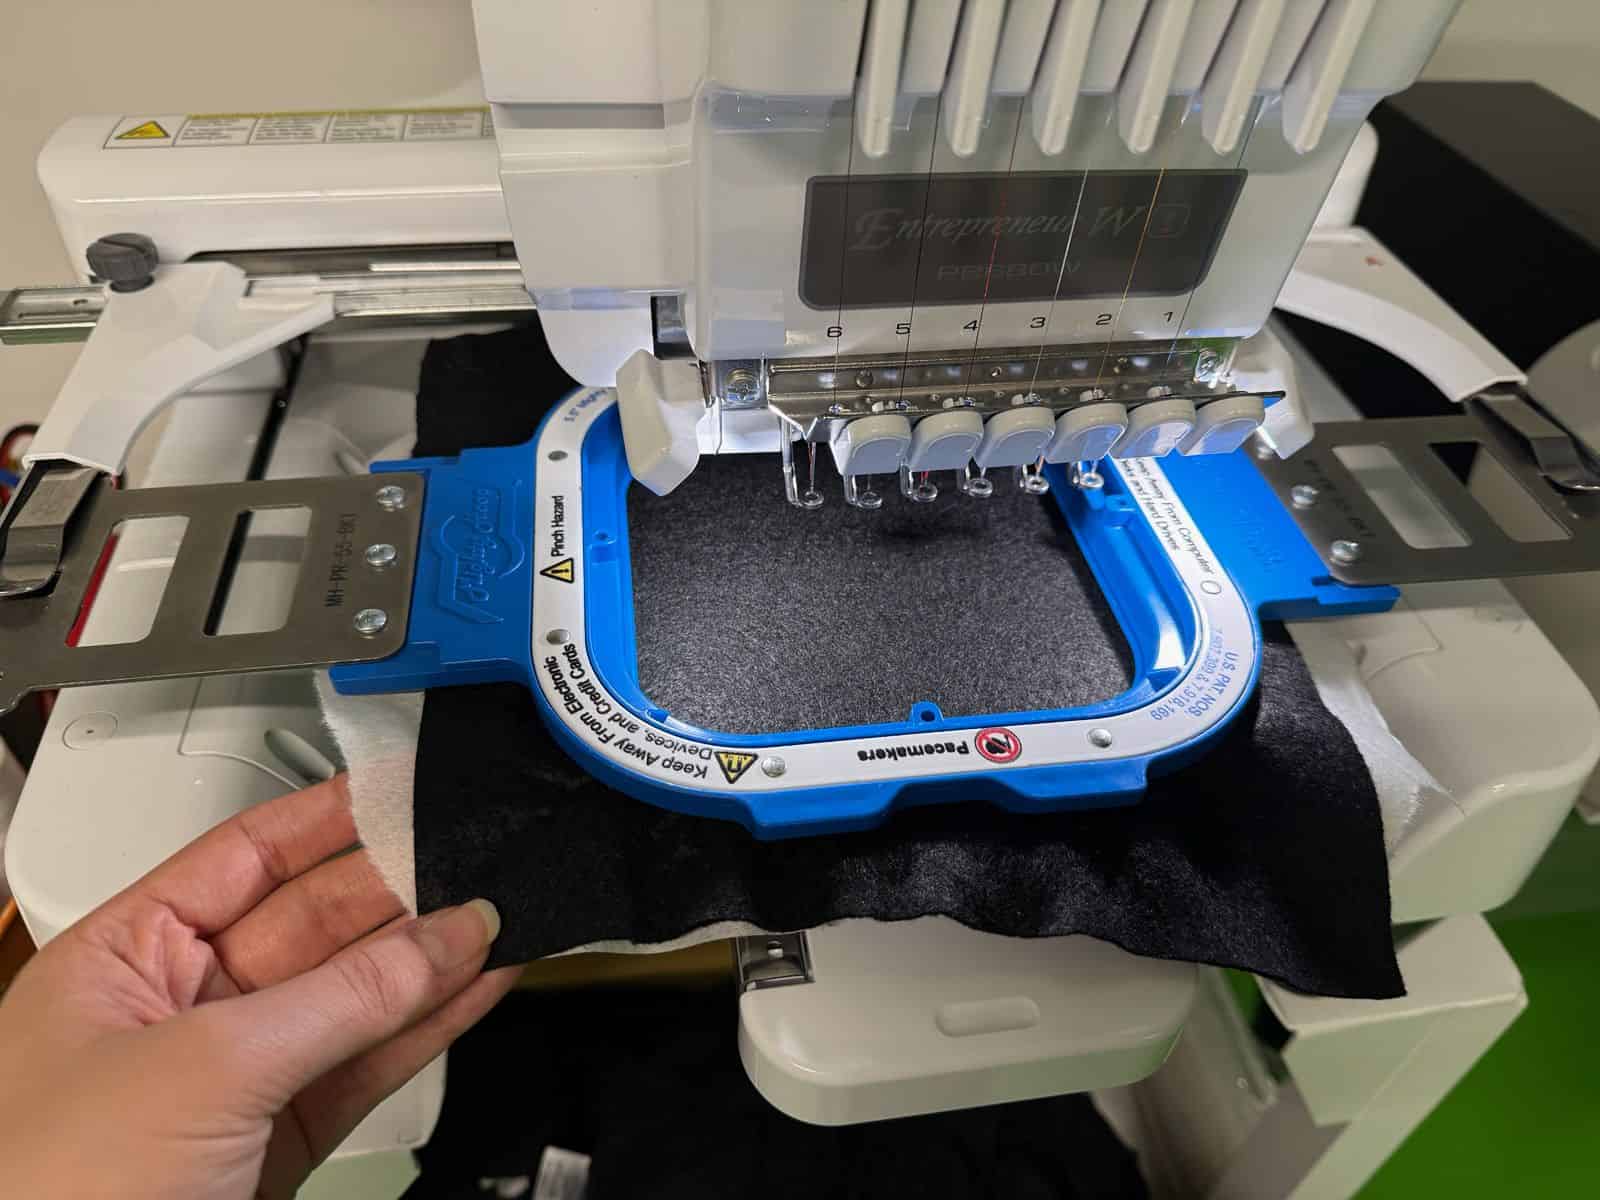
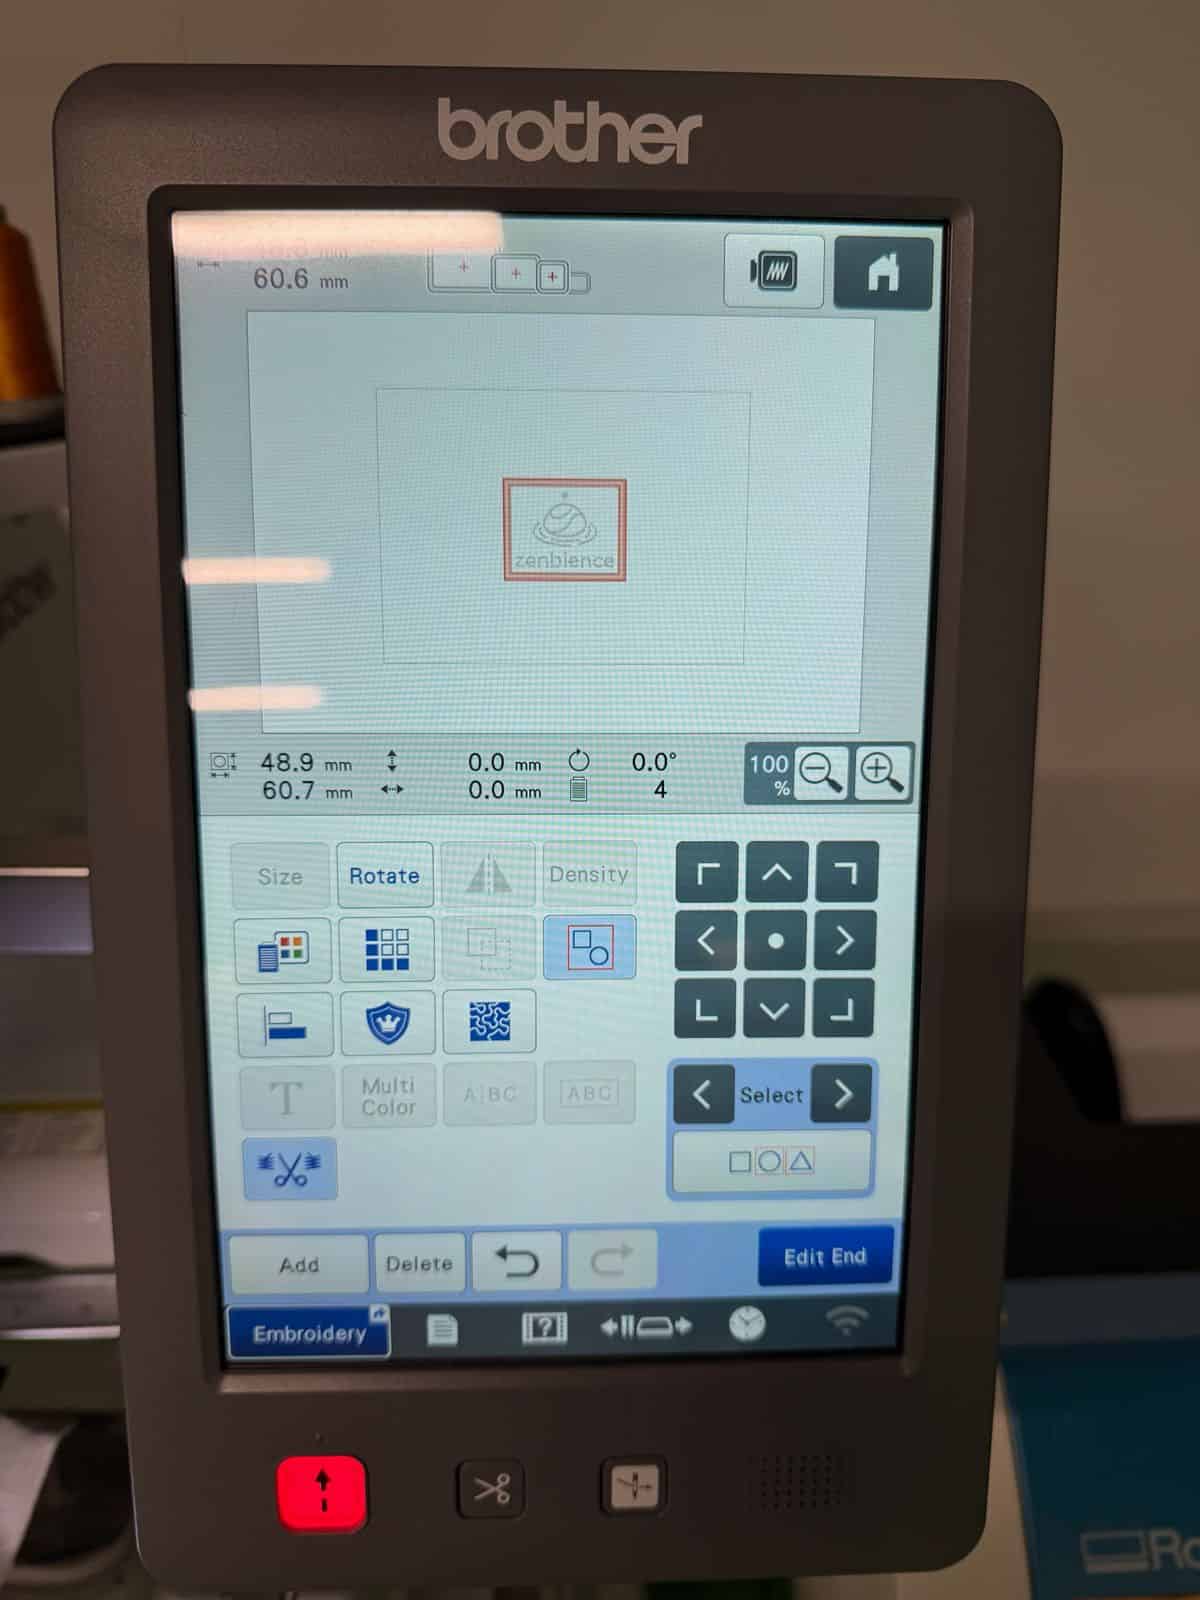
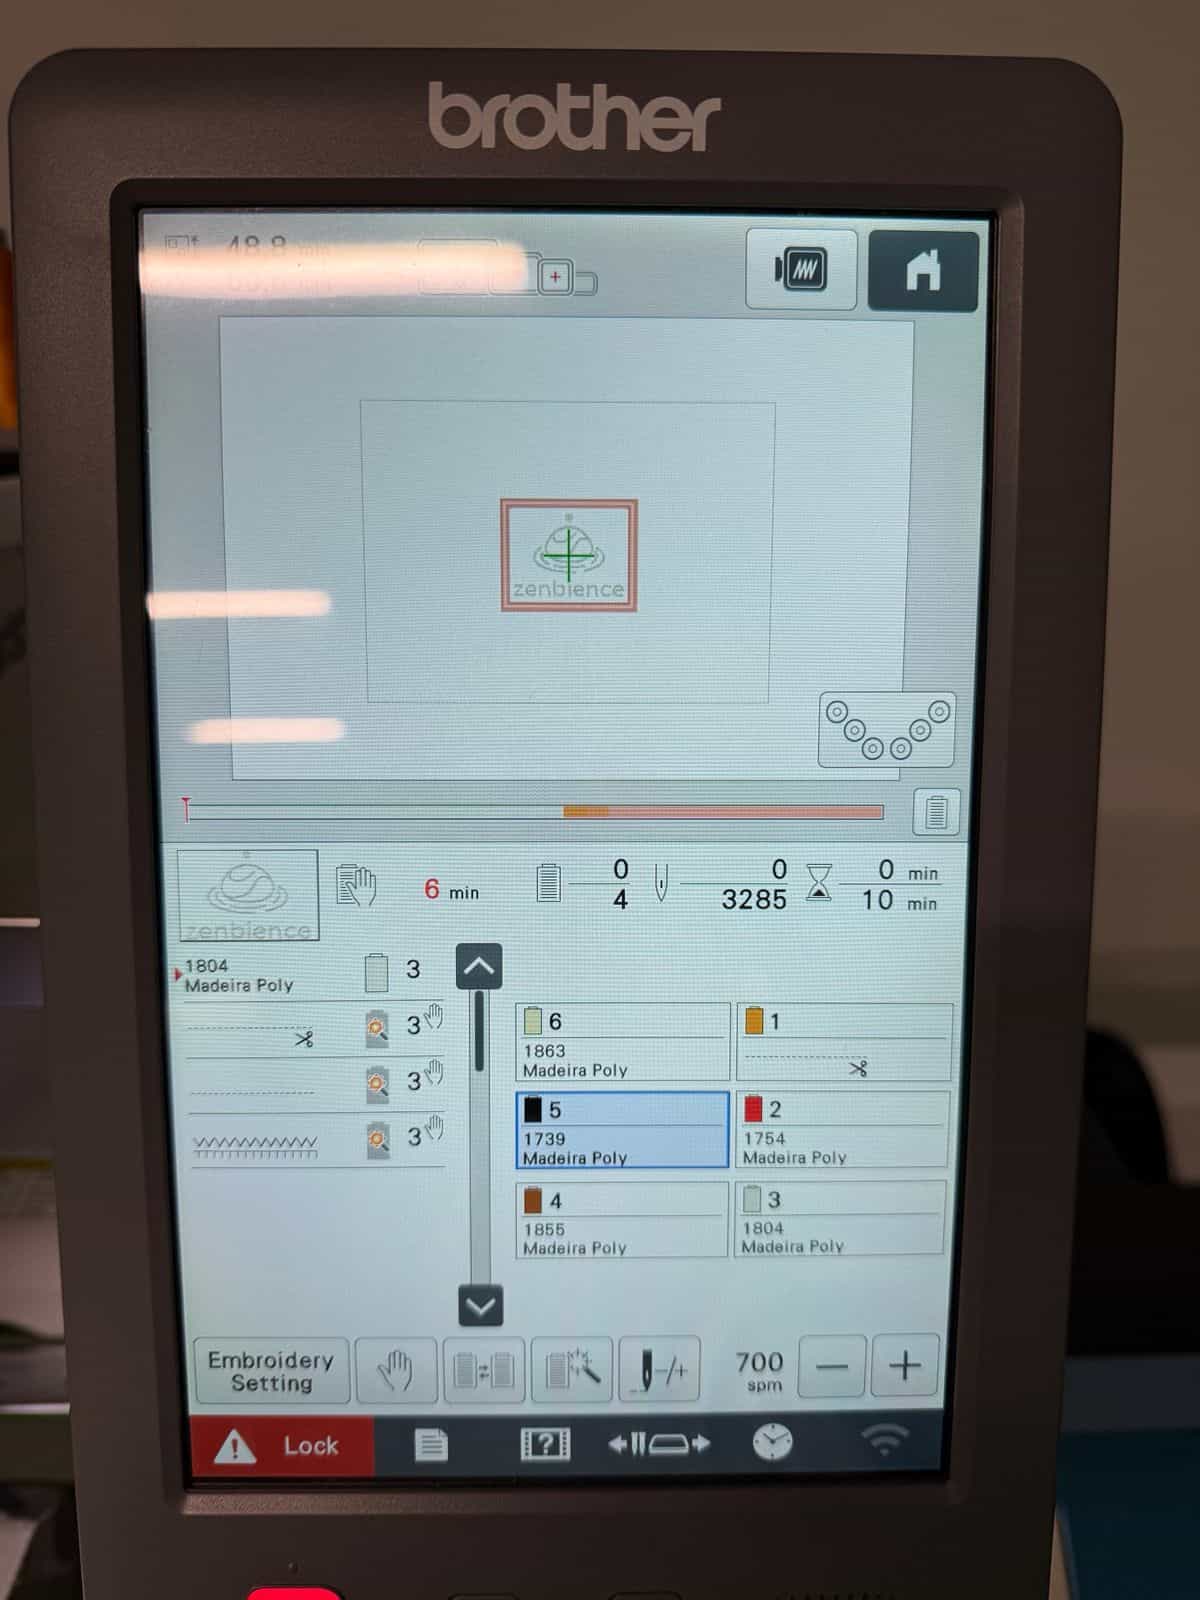
After loading the PES file onto the embroidery machine, I resized the design to make it as compact as possible and selected the thread colors I wanted to use. I also added an appliqué frame around the design. The embroidery process includes several programmed pauses because of the appliqué workflow.
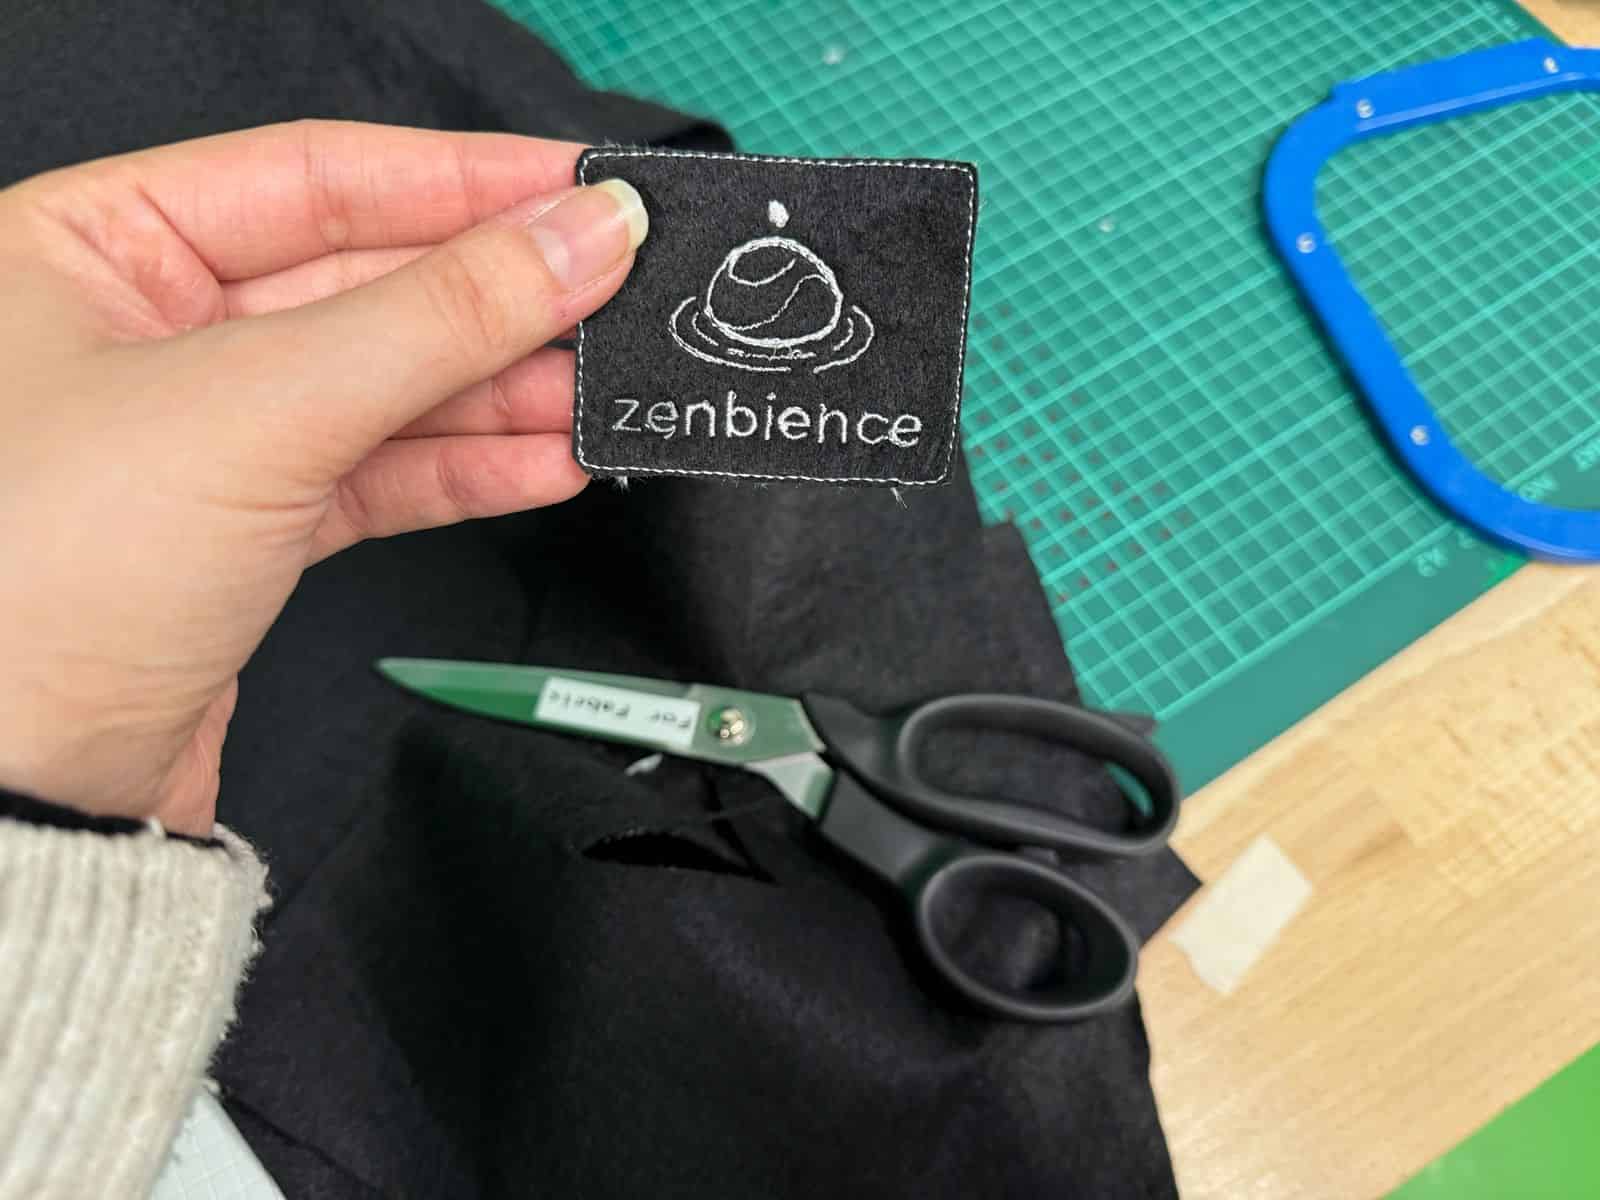
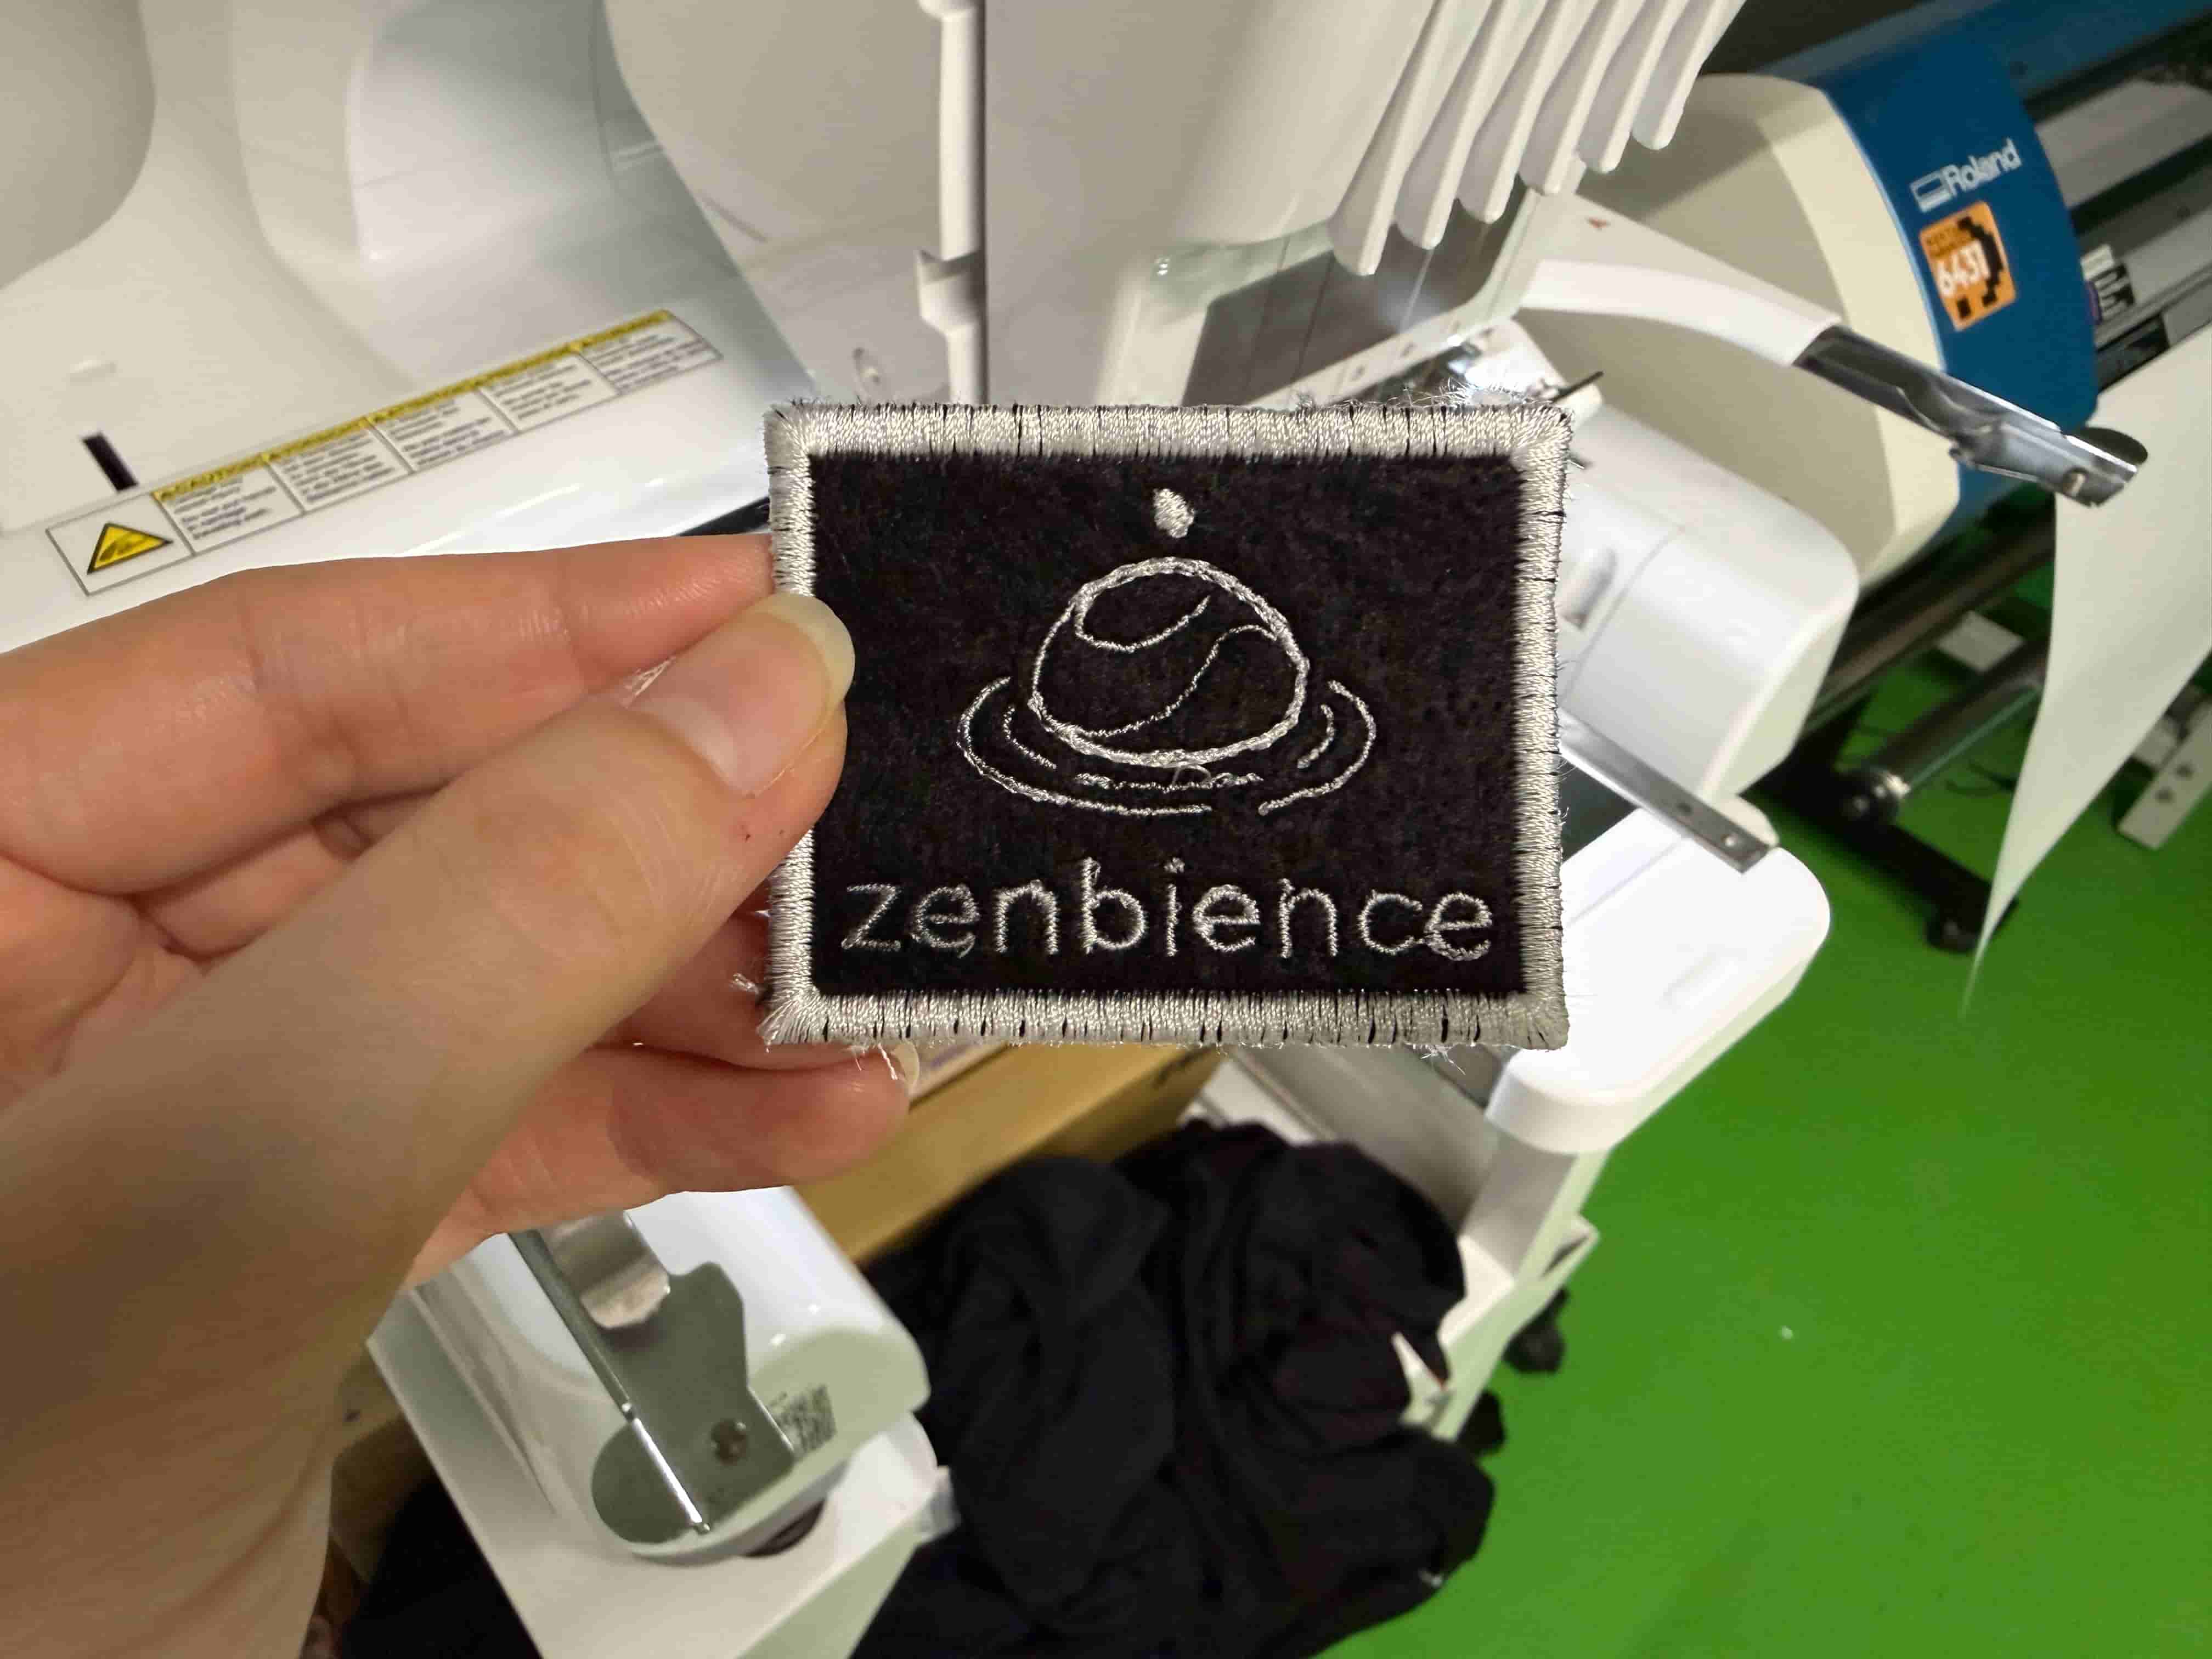
During the first stop in the process, I removed the hoop and carefully cut around the appliqué outline using scissors. Then I placed a heat-seal backing material behind the patch and resumed the embroidery. At the following stop, I used a small amount of multi-purpose liquid glue to temporarily secure the patch in place before continuing the final stitching. It is important not to use too much glue, since excess adhesive can affect the stitching quality.
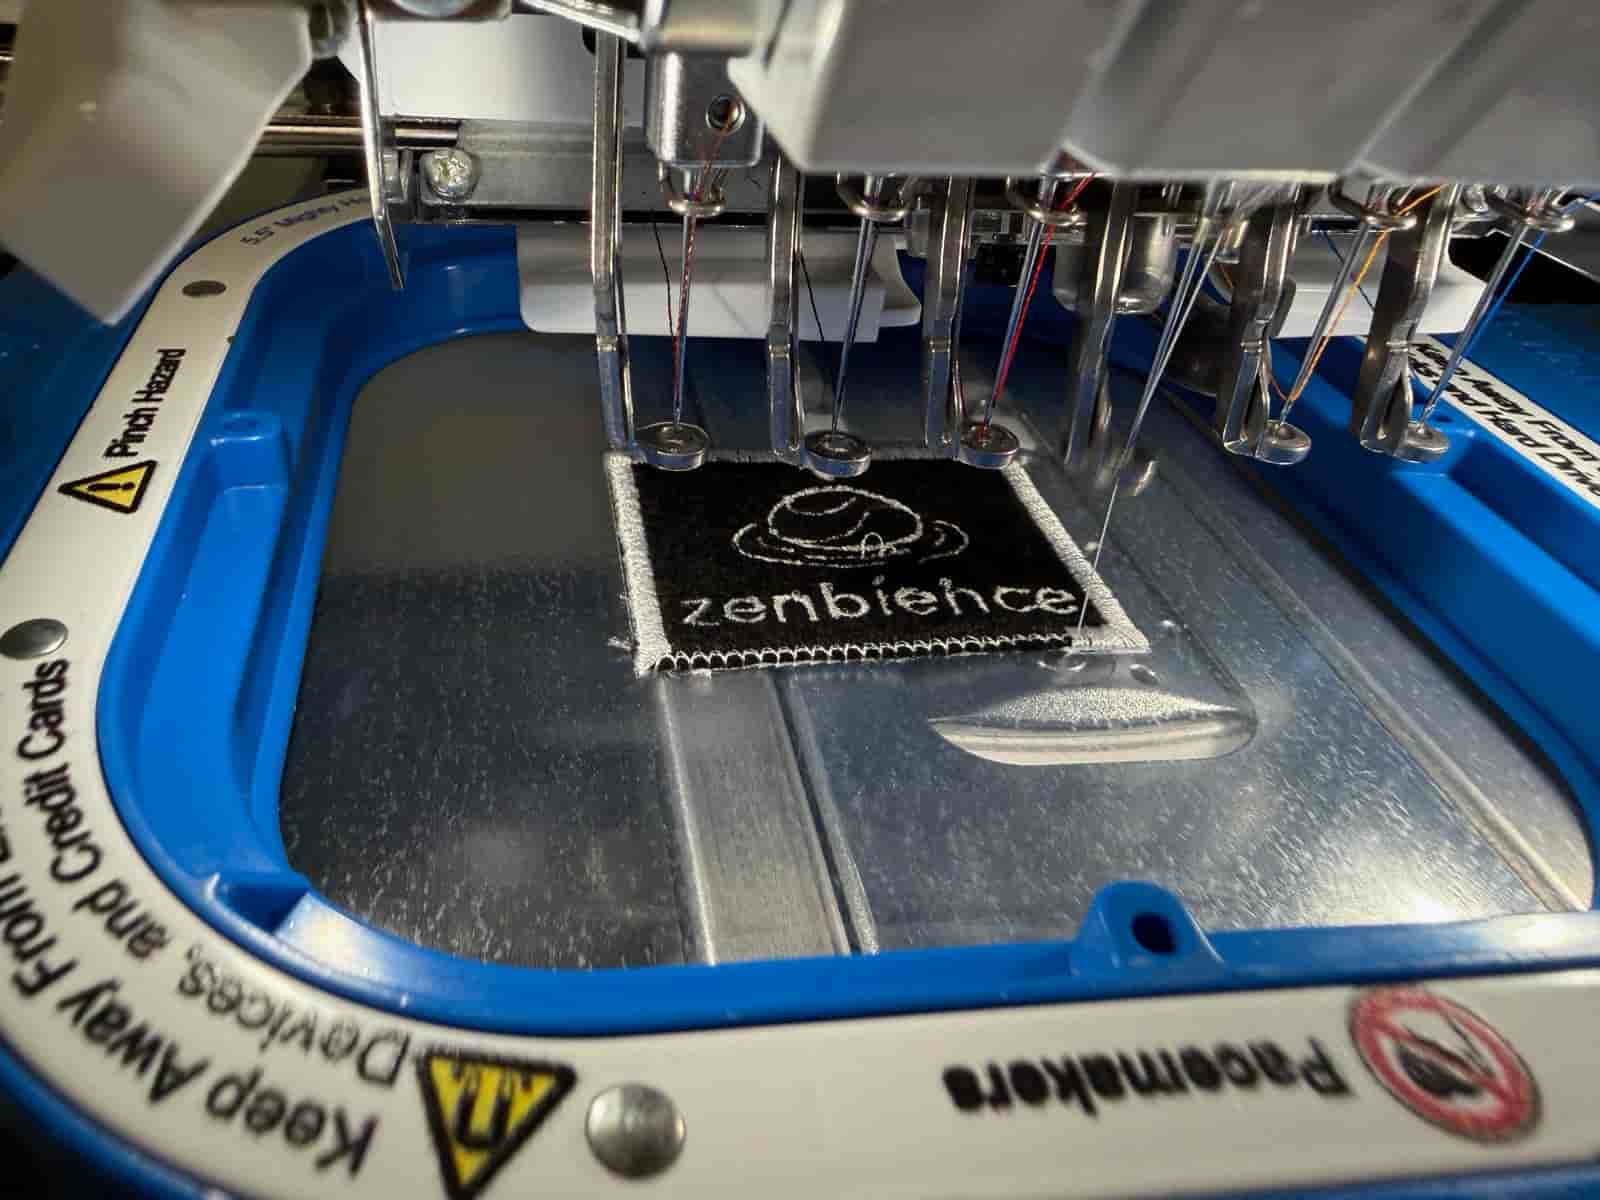
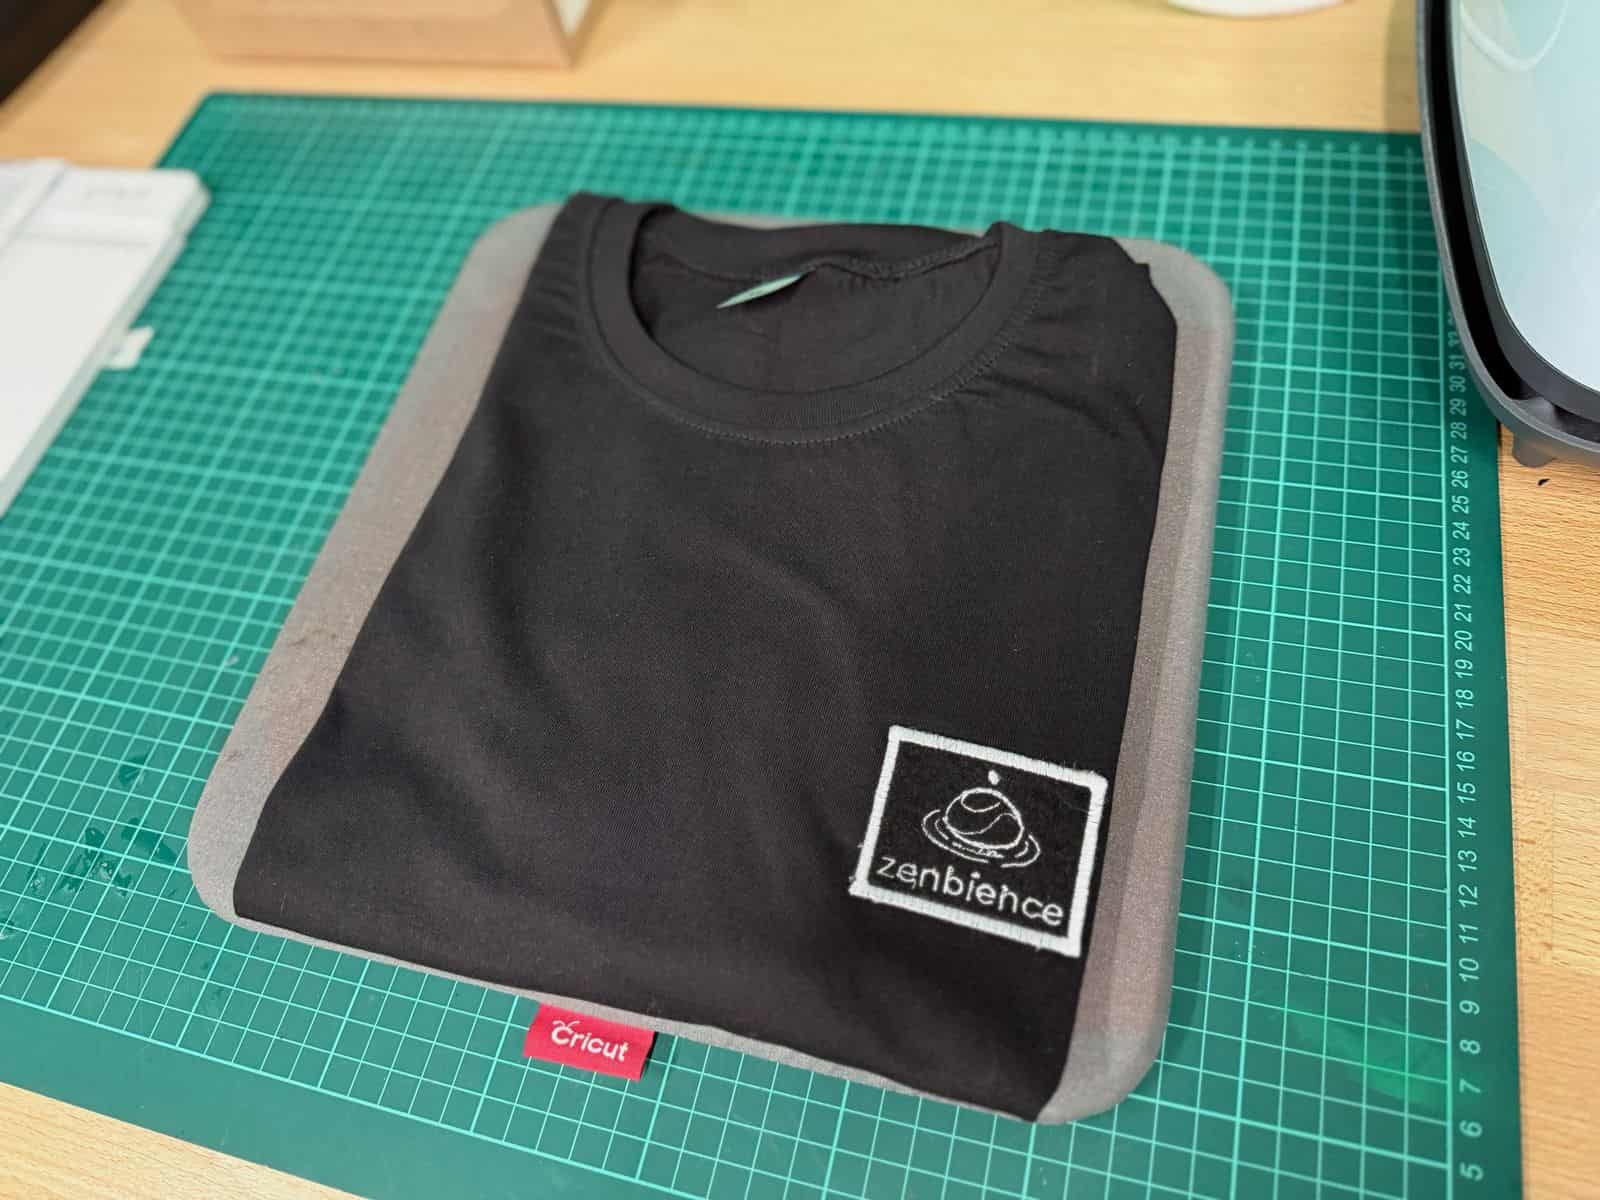
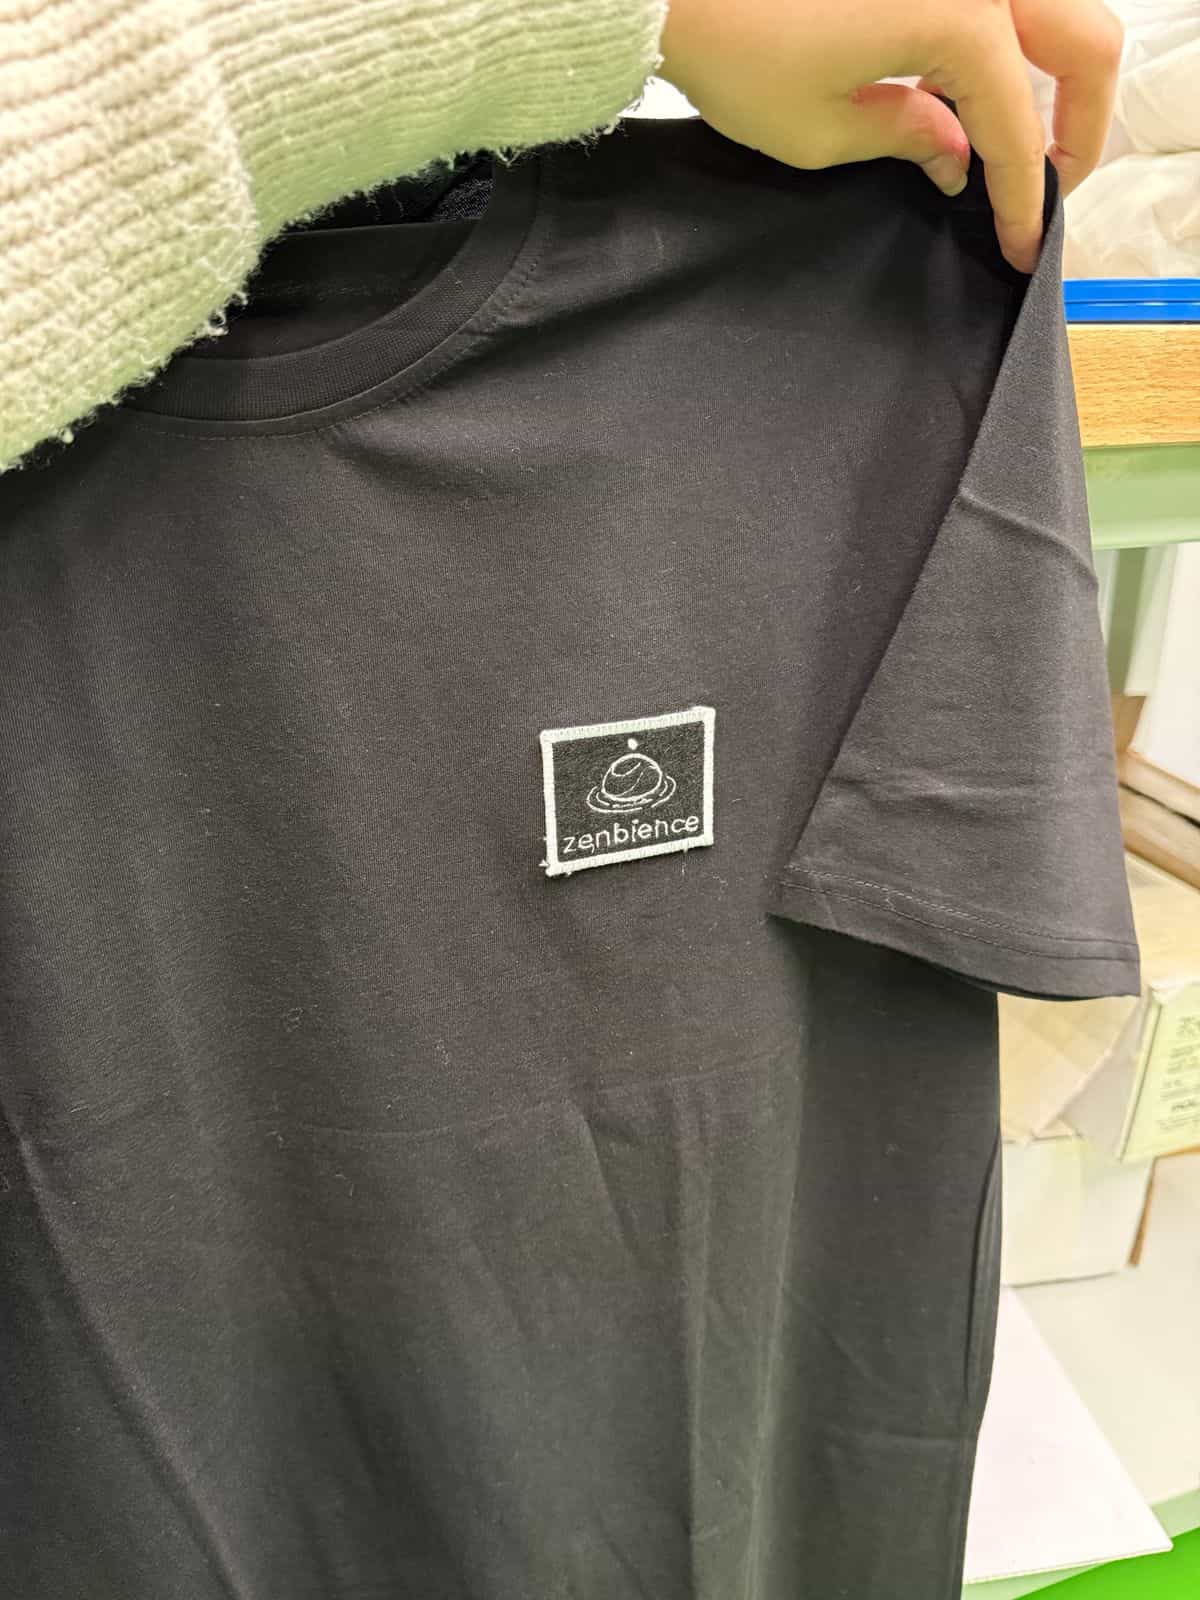
Once the embroidery was completed, I removed the patch from the hoop and tore away the excess stabilizer. Finally, I used a heat press to permanently attach the finished patch onto a t-shirt.
My work this week meets the Wildcard Week requirements because it combines computer-aided design and digital manufacturing using a fabrication process that was not covered in another assignment. The workflow involved creating a digital design, converting it into machine-readable stitch instructions, and manufacturing a physical embroidered patch using a programmable embroidery machine.
Files: