Week 10 - Output Devices #
Hero Shot: #
TL;DR #
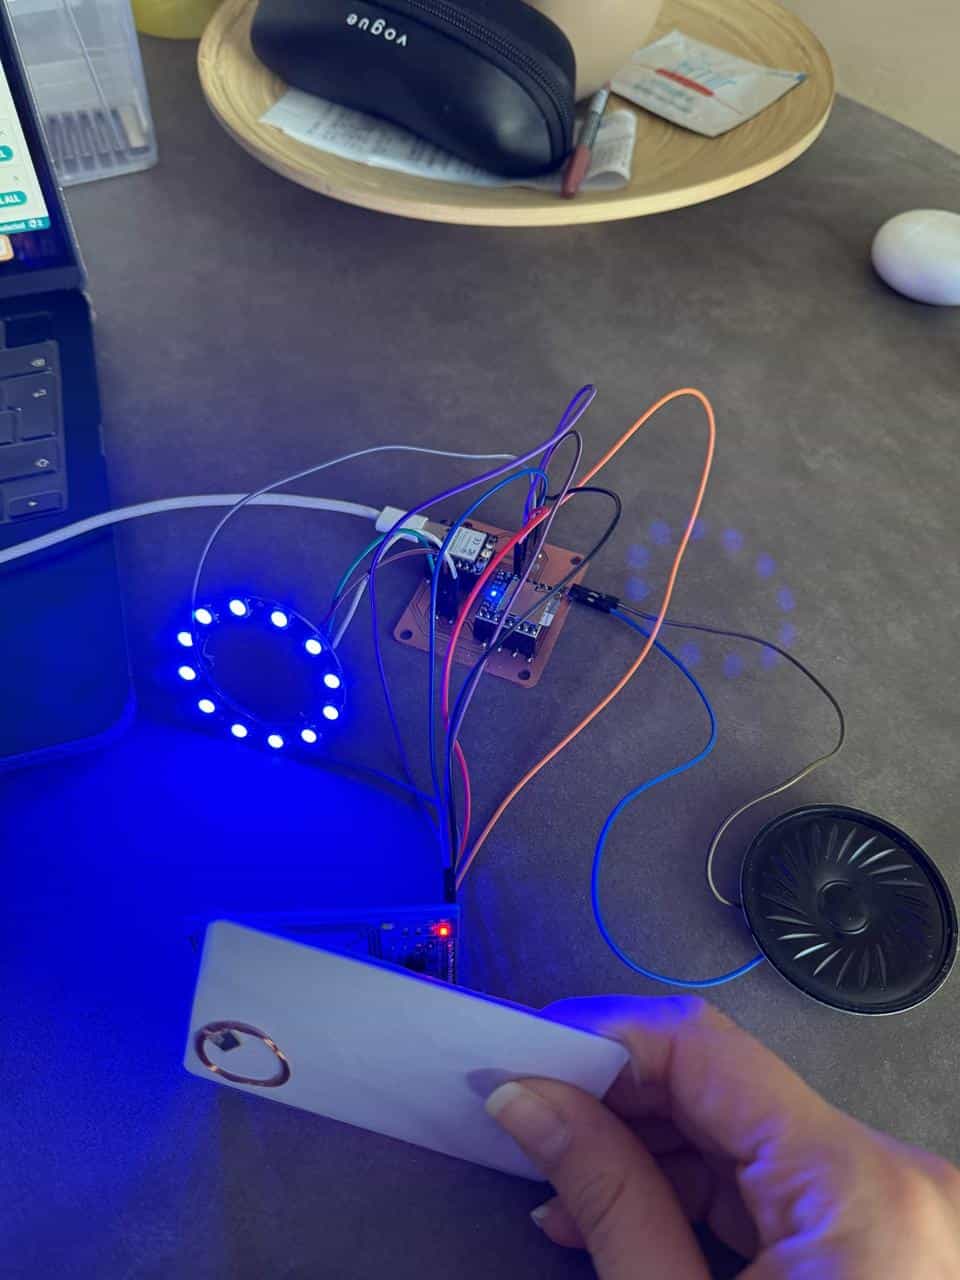
Connected an 8Ω speaker and DFPlayer Mini to my custom PCB. Added a campfire sound MP3 file (0001.mp3) to an SD card and programmed the microcontroller so the sound plays whenever an RFID tag is scanned.
Group Assignment #
Link to this week’s group assignment
Using a Speaker as Output #
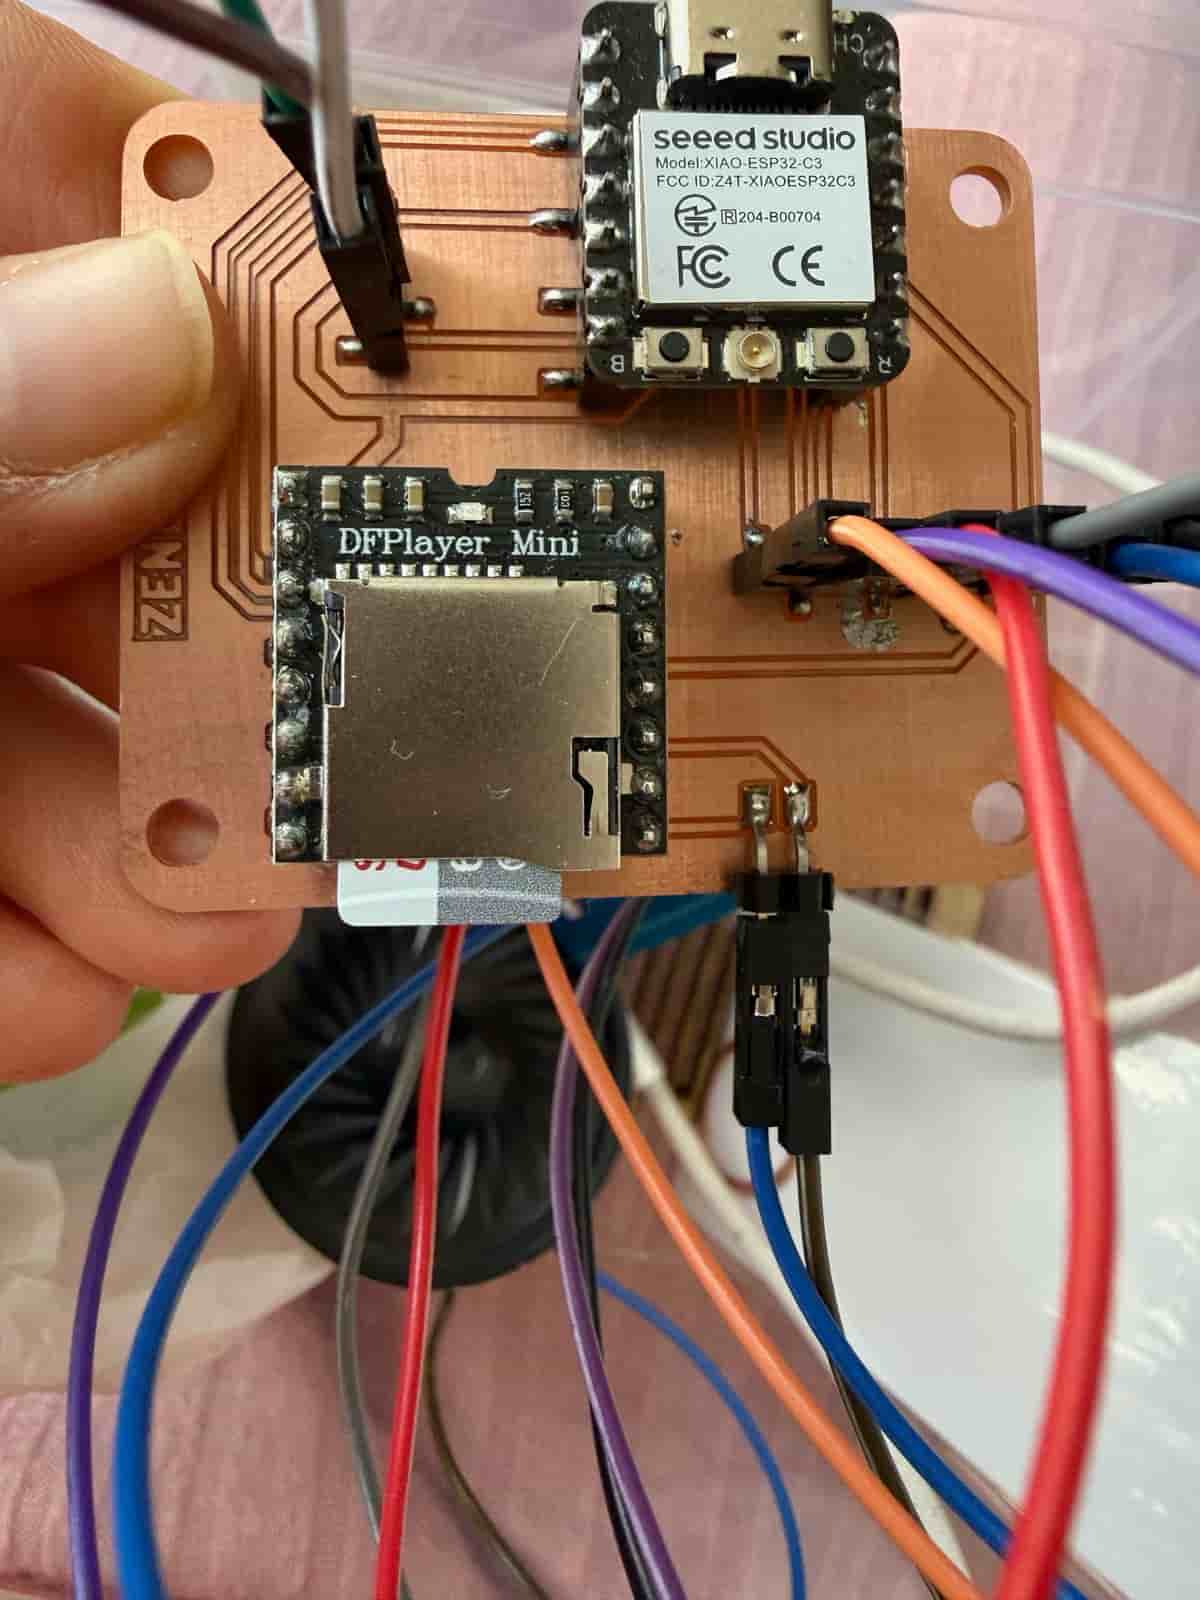
For the Output Devices week, I used the custom PCB that I designed in Week 8 and connected an 8Ω 0.5W speaker as the output device. To play audio, I used a DFPlayer Mini module with a 64GB SD card.
I formatted the SD card and uploaded a royalty-free campfire crackling sound in MP3 format. I renamed the file to 0001.mp3, since the DFPlayer requires numbered filenames for playback.
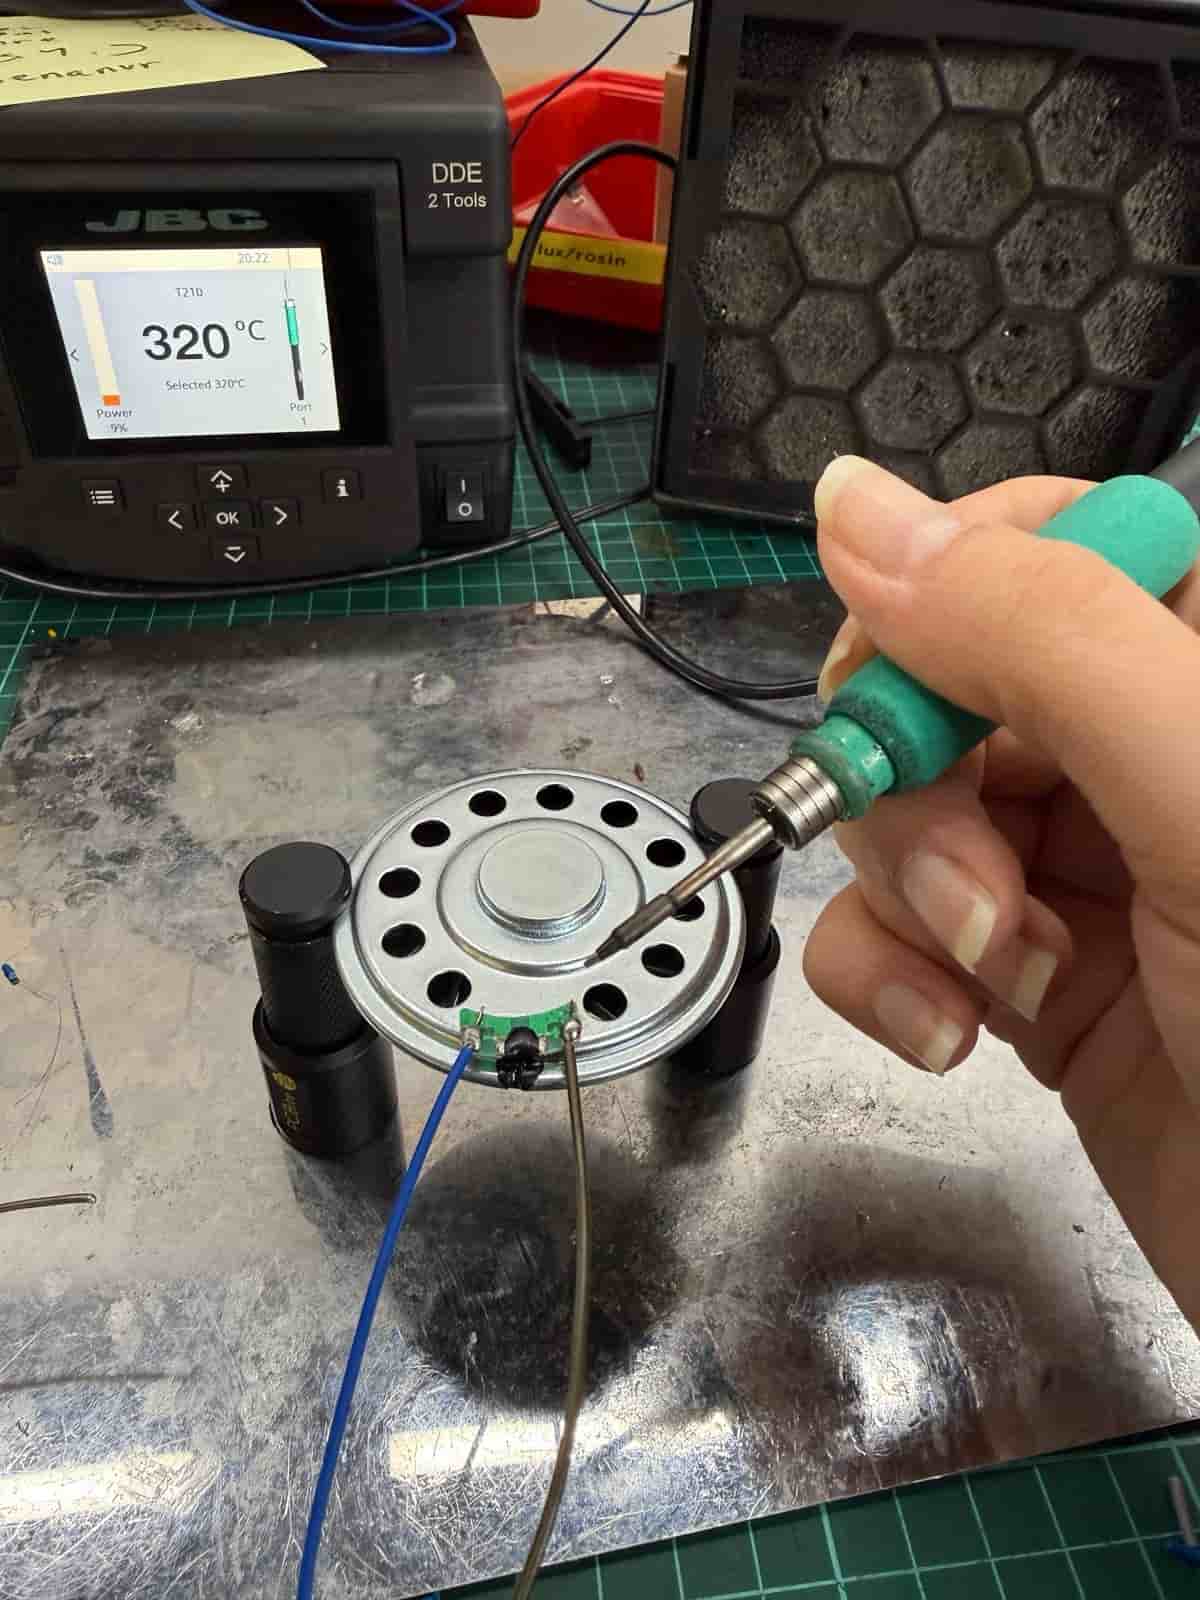
Then, I soldered jumper cables to the speaker and connected it to the PCB.
The microcontroller is programmed so that when the RFID reader detects a valid RFID tag, the microcontroller triggers the DFPlayer to play the sound through the speaker. In this section I had some help from ChatGPT to learn which functions (like myDFPlayer.volume(25)) I have to use to control the DFPlayer and Speaker.
In the setup() function, I initialized serial communication with the DFPlayer module and set the playback volume:
// DFPlayer
mySerial.begin(9600, SERIAL_8N1, DF_RX, DF_TX);

if (!myDFPlayer.begin(mySerial)) {
  Serial.println("DFPlayer not detected!");
} else {
  Serial.println("DFPlayer ready");
  myDFPlayer.volume(25); // 0–30
}
Then, inside the loop() function, the sound file is played when an RFID tag is detected:
// Play sound
myDFPlayer.play(1); // plays /mp3/0001.mp3
This allowed the board to produce an audio output in response to RFID input, demonstrating how an output device can be integrated and controlled using a custom-designed microcontroller board.
Files: