Week 13 - Molding and Casting #
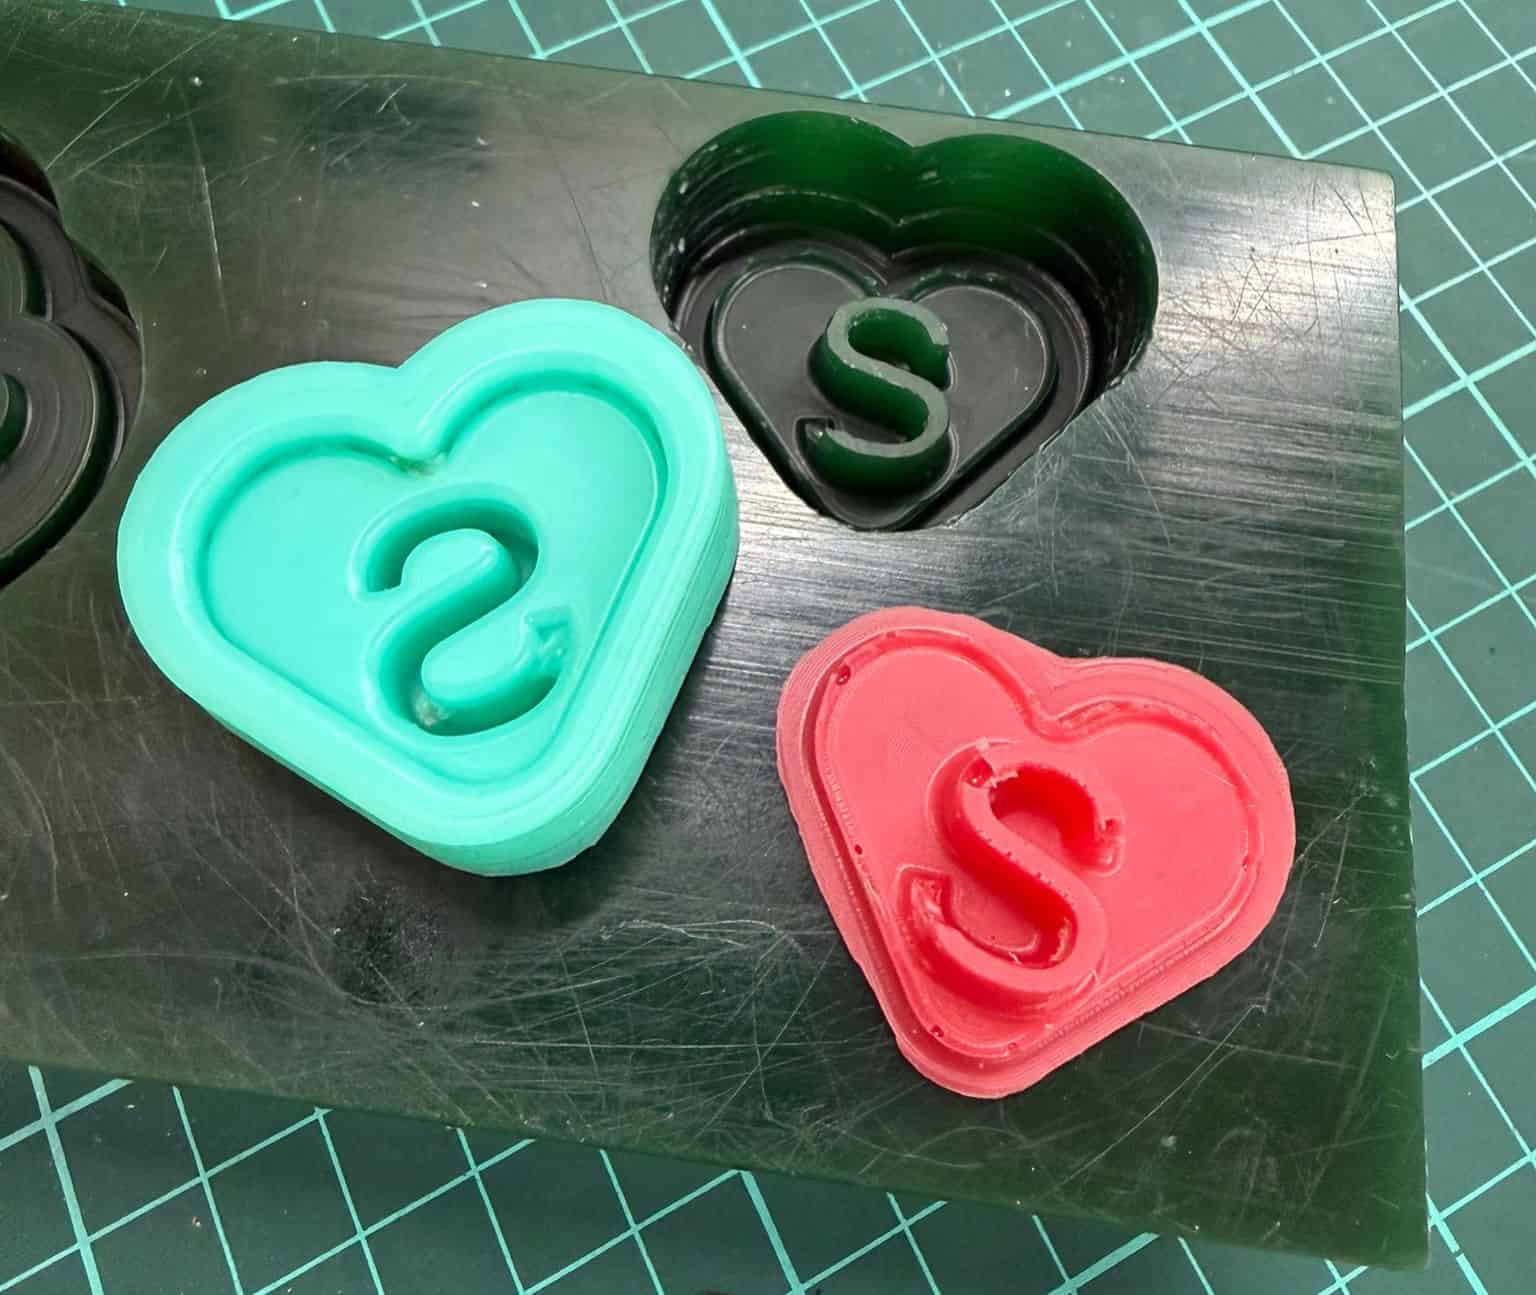
Hero Shot: #
TL;DR #
This weekI designed a heart-shaped mold in Autodesk Fusion 360 and prepared it for CNC machining in VCarve Pro. Using a 2 mm ball-end mill on the Roland SRM-20, I generated pocketing toolpaths with a smooth surface finish without visible tool marks. I then produced a flexible negative mold using Smooth-On Mold Star 15 Slow, followed by producing the cast with ResinIn Flexible Epoxy Resin System. The final cast reproduced the original design with a smooth surface, demonstrating an effective molding and casting workflow.
Group Assignment #
Link to this week’s group assignment
Mold Design #
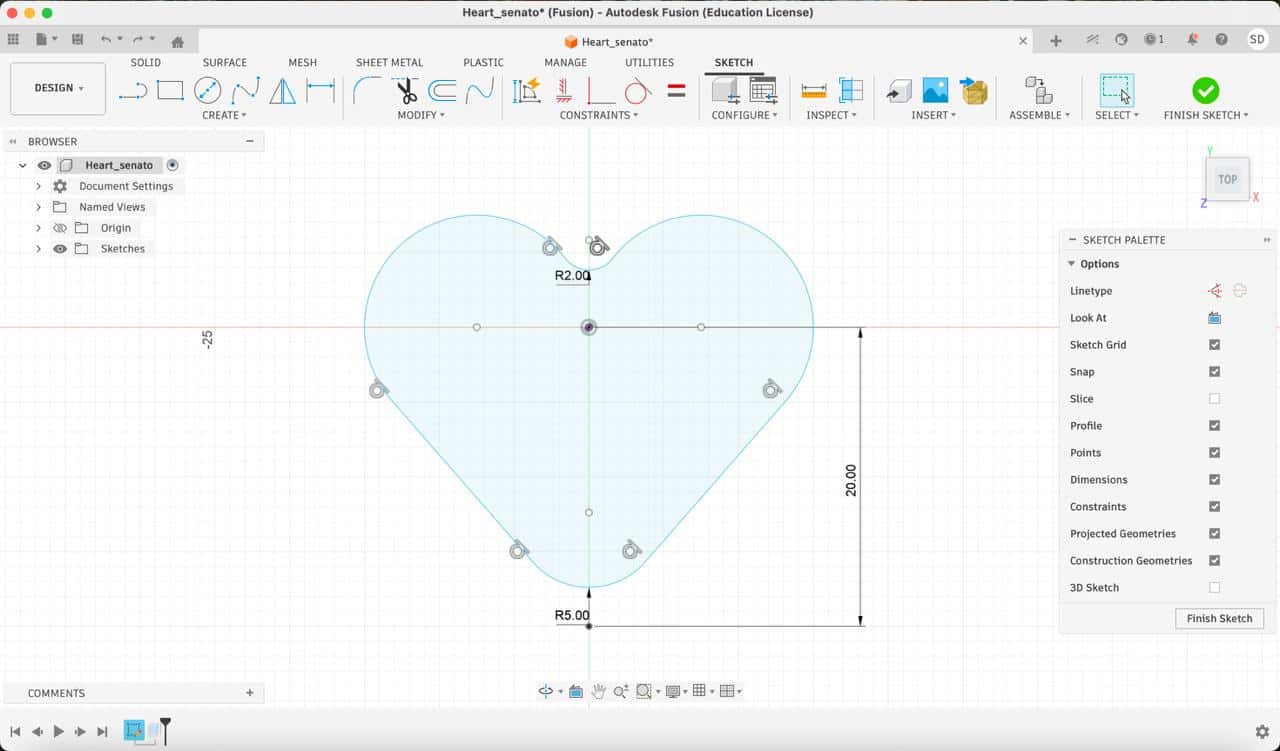
I designed a heart-shaped geometry in Fusion 360. The design was intended as a small decorative object to gift my sister.
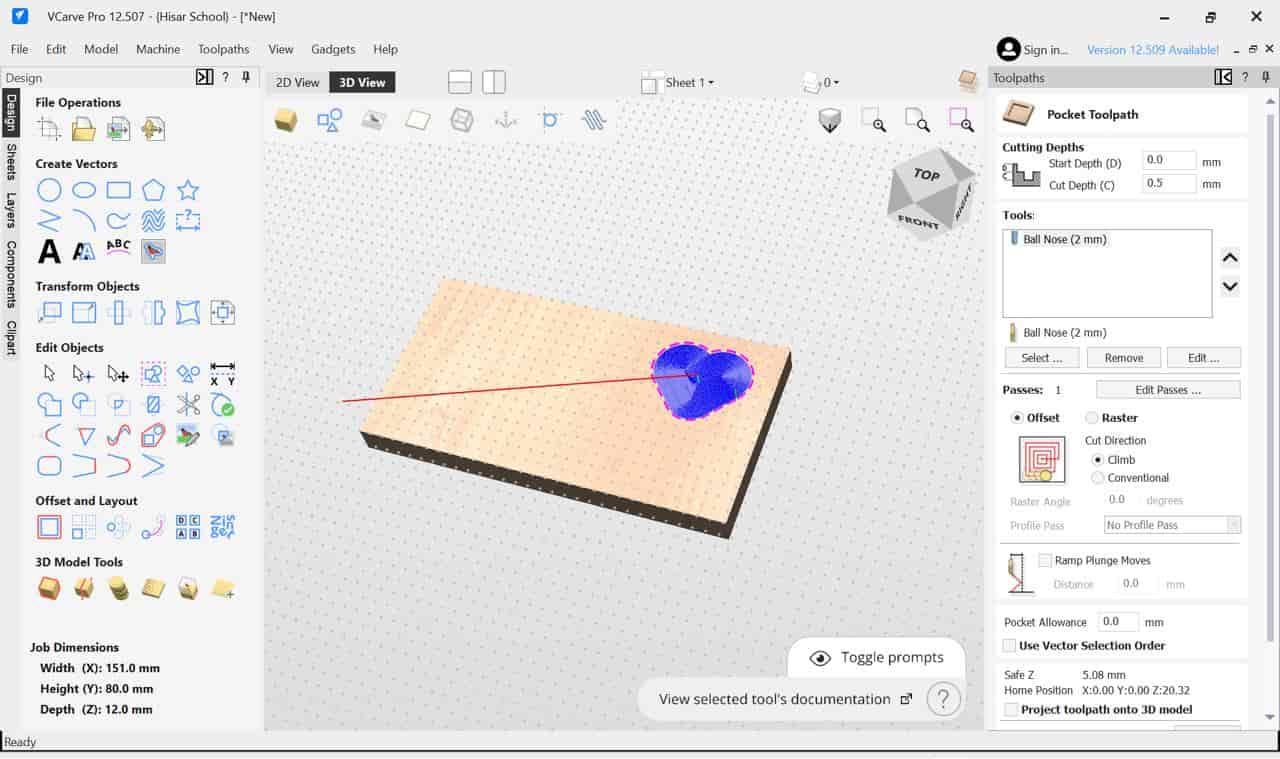
I added an offset and a personalized “S” letter using VCarve Pro to customize the final cast.

The mold was designed considering the CNC milling process, ensuring:
- No undercuts
- Adequate depth for casting
- Smooth curves suitable for ball-end milling
Mold Fabrication (Positive Mold) #
I produced the positive mold using a wax block on the Roland SRM-20 CNC machine.
To achieve a smooth surface finish without visible toolpaths, I:
- Used a 2 mm ball-end mill
- Adjusted stepover and feed parameters
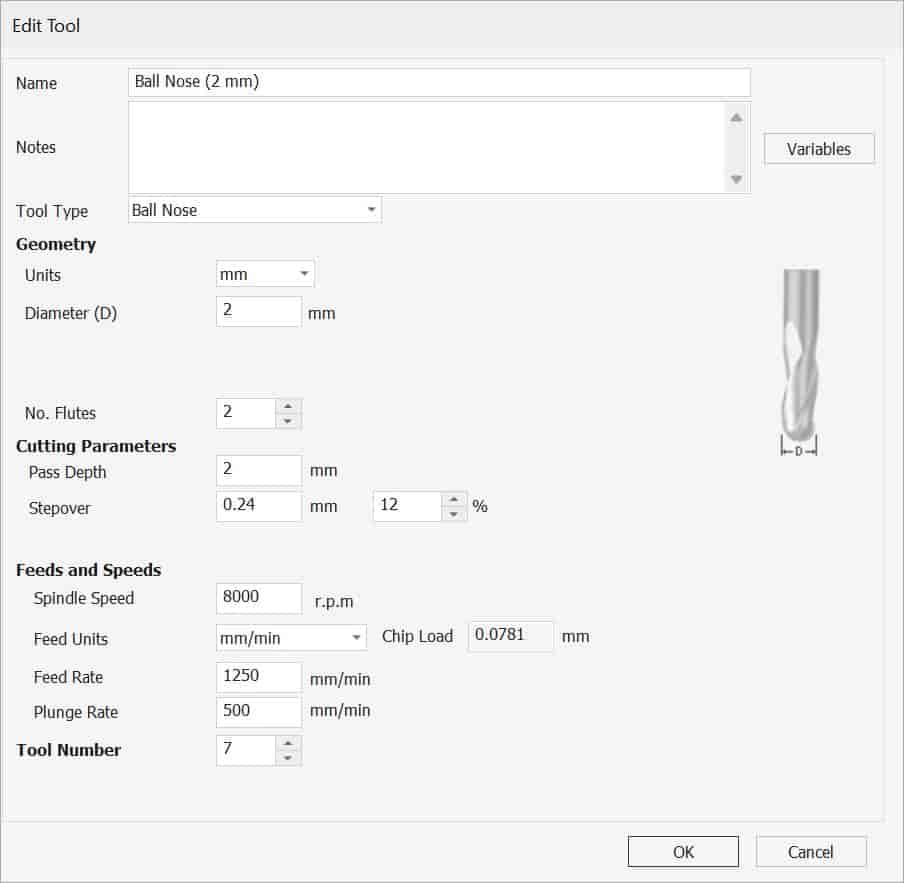
These choices minimized machining marks and produced a clean surface suitable for molding.
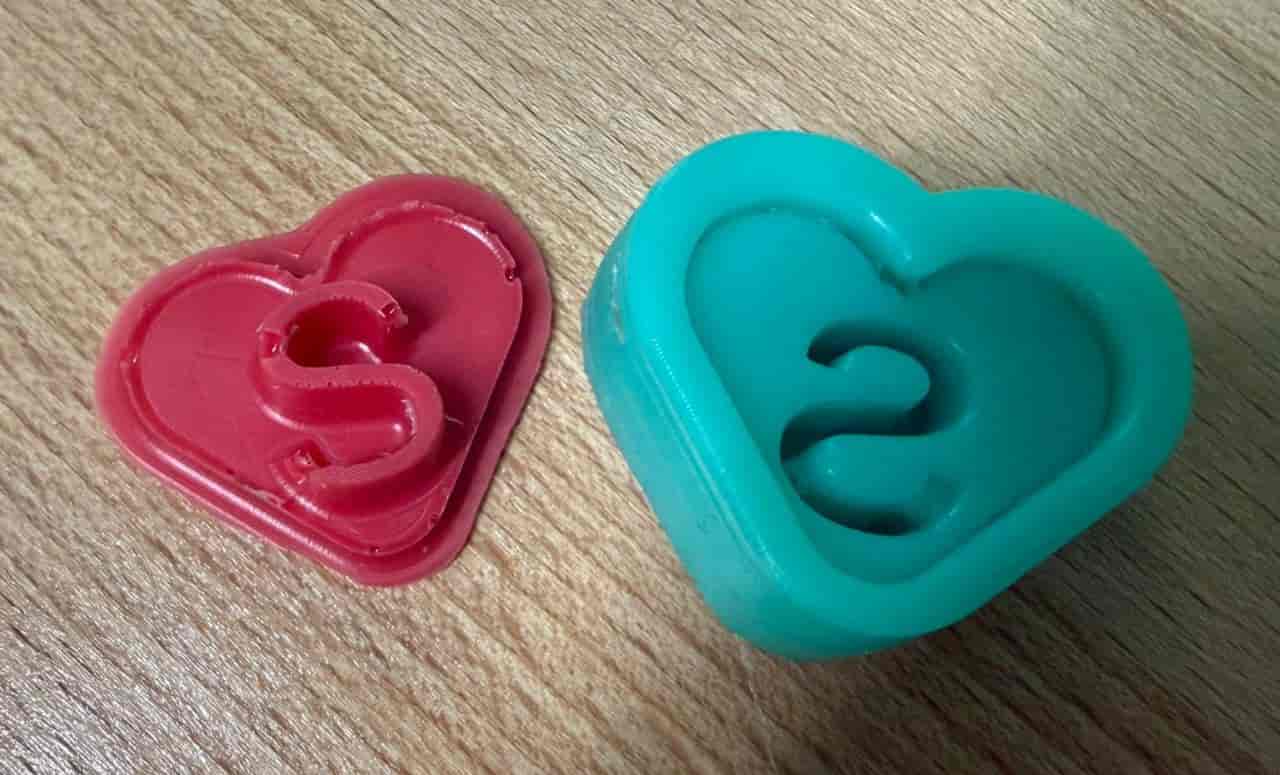
Negative Mold Creation #
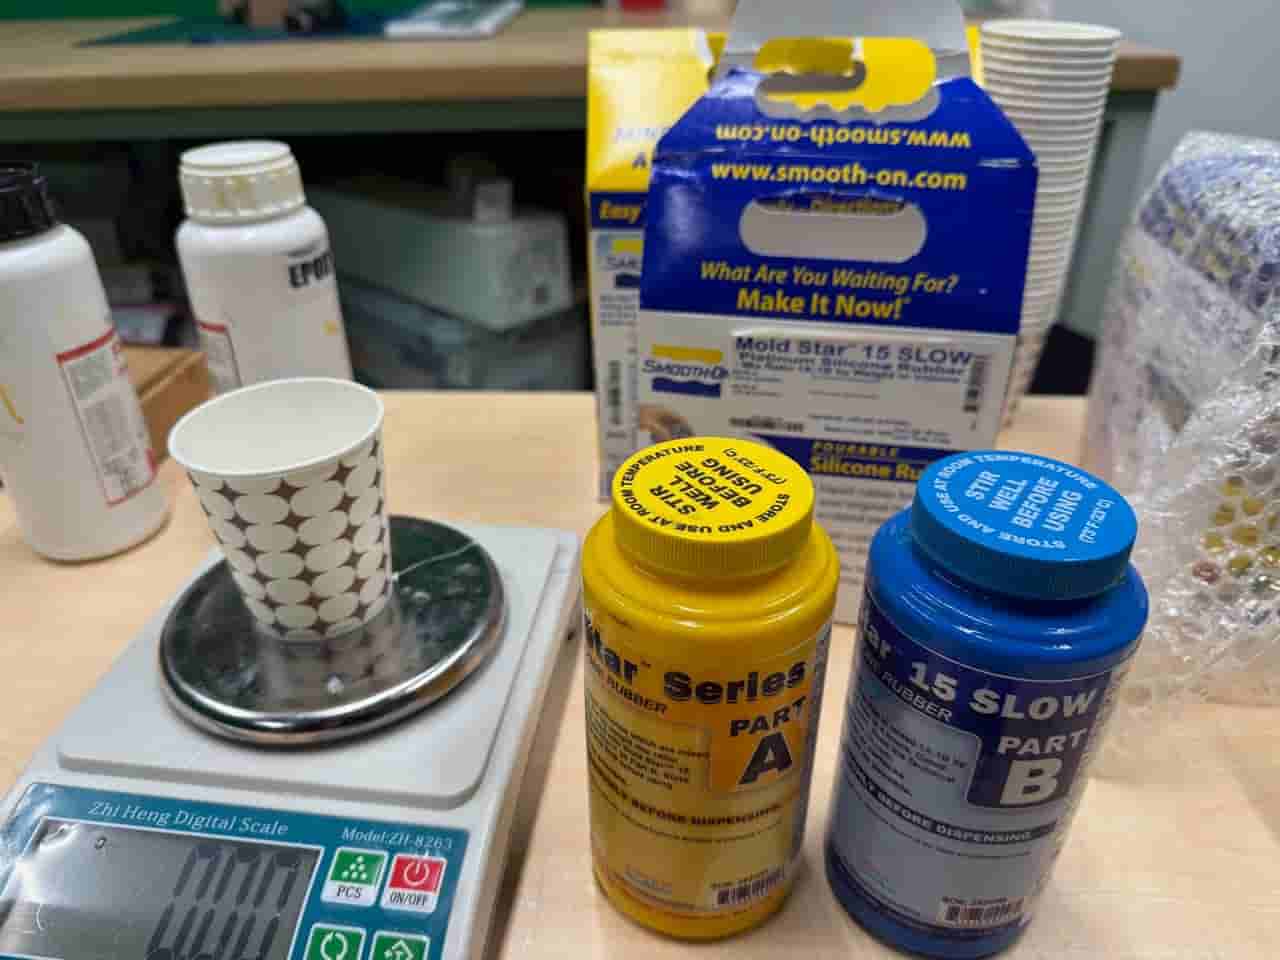
To create the flexible mold, I used Smooth-On Mold Star 15 Slow.
Process:
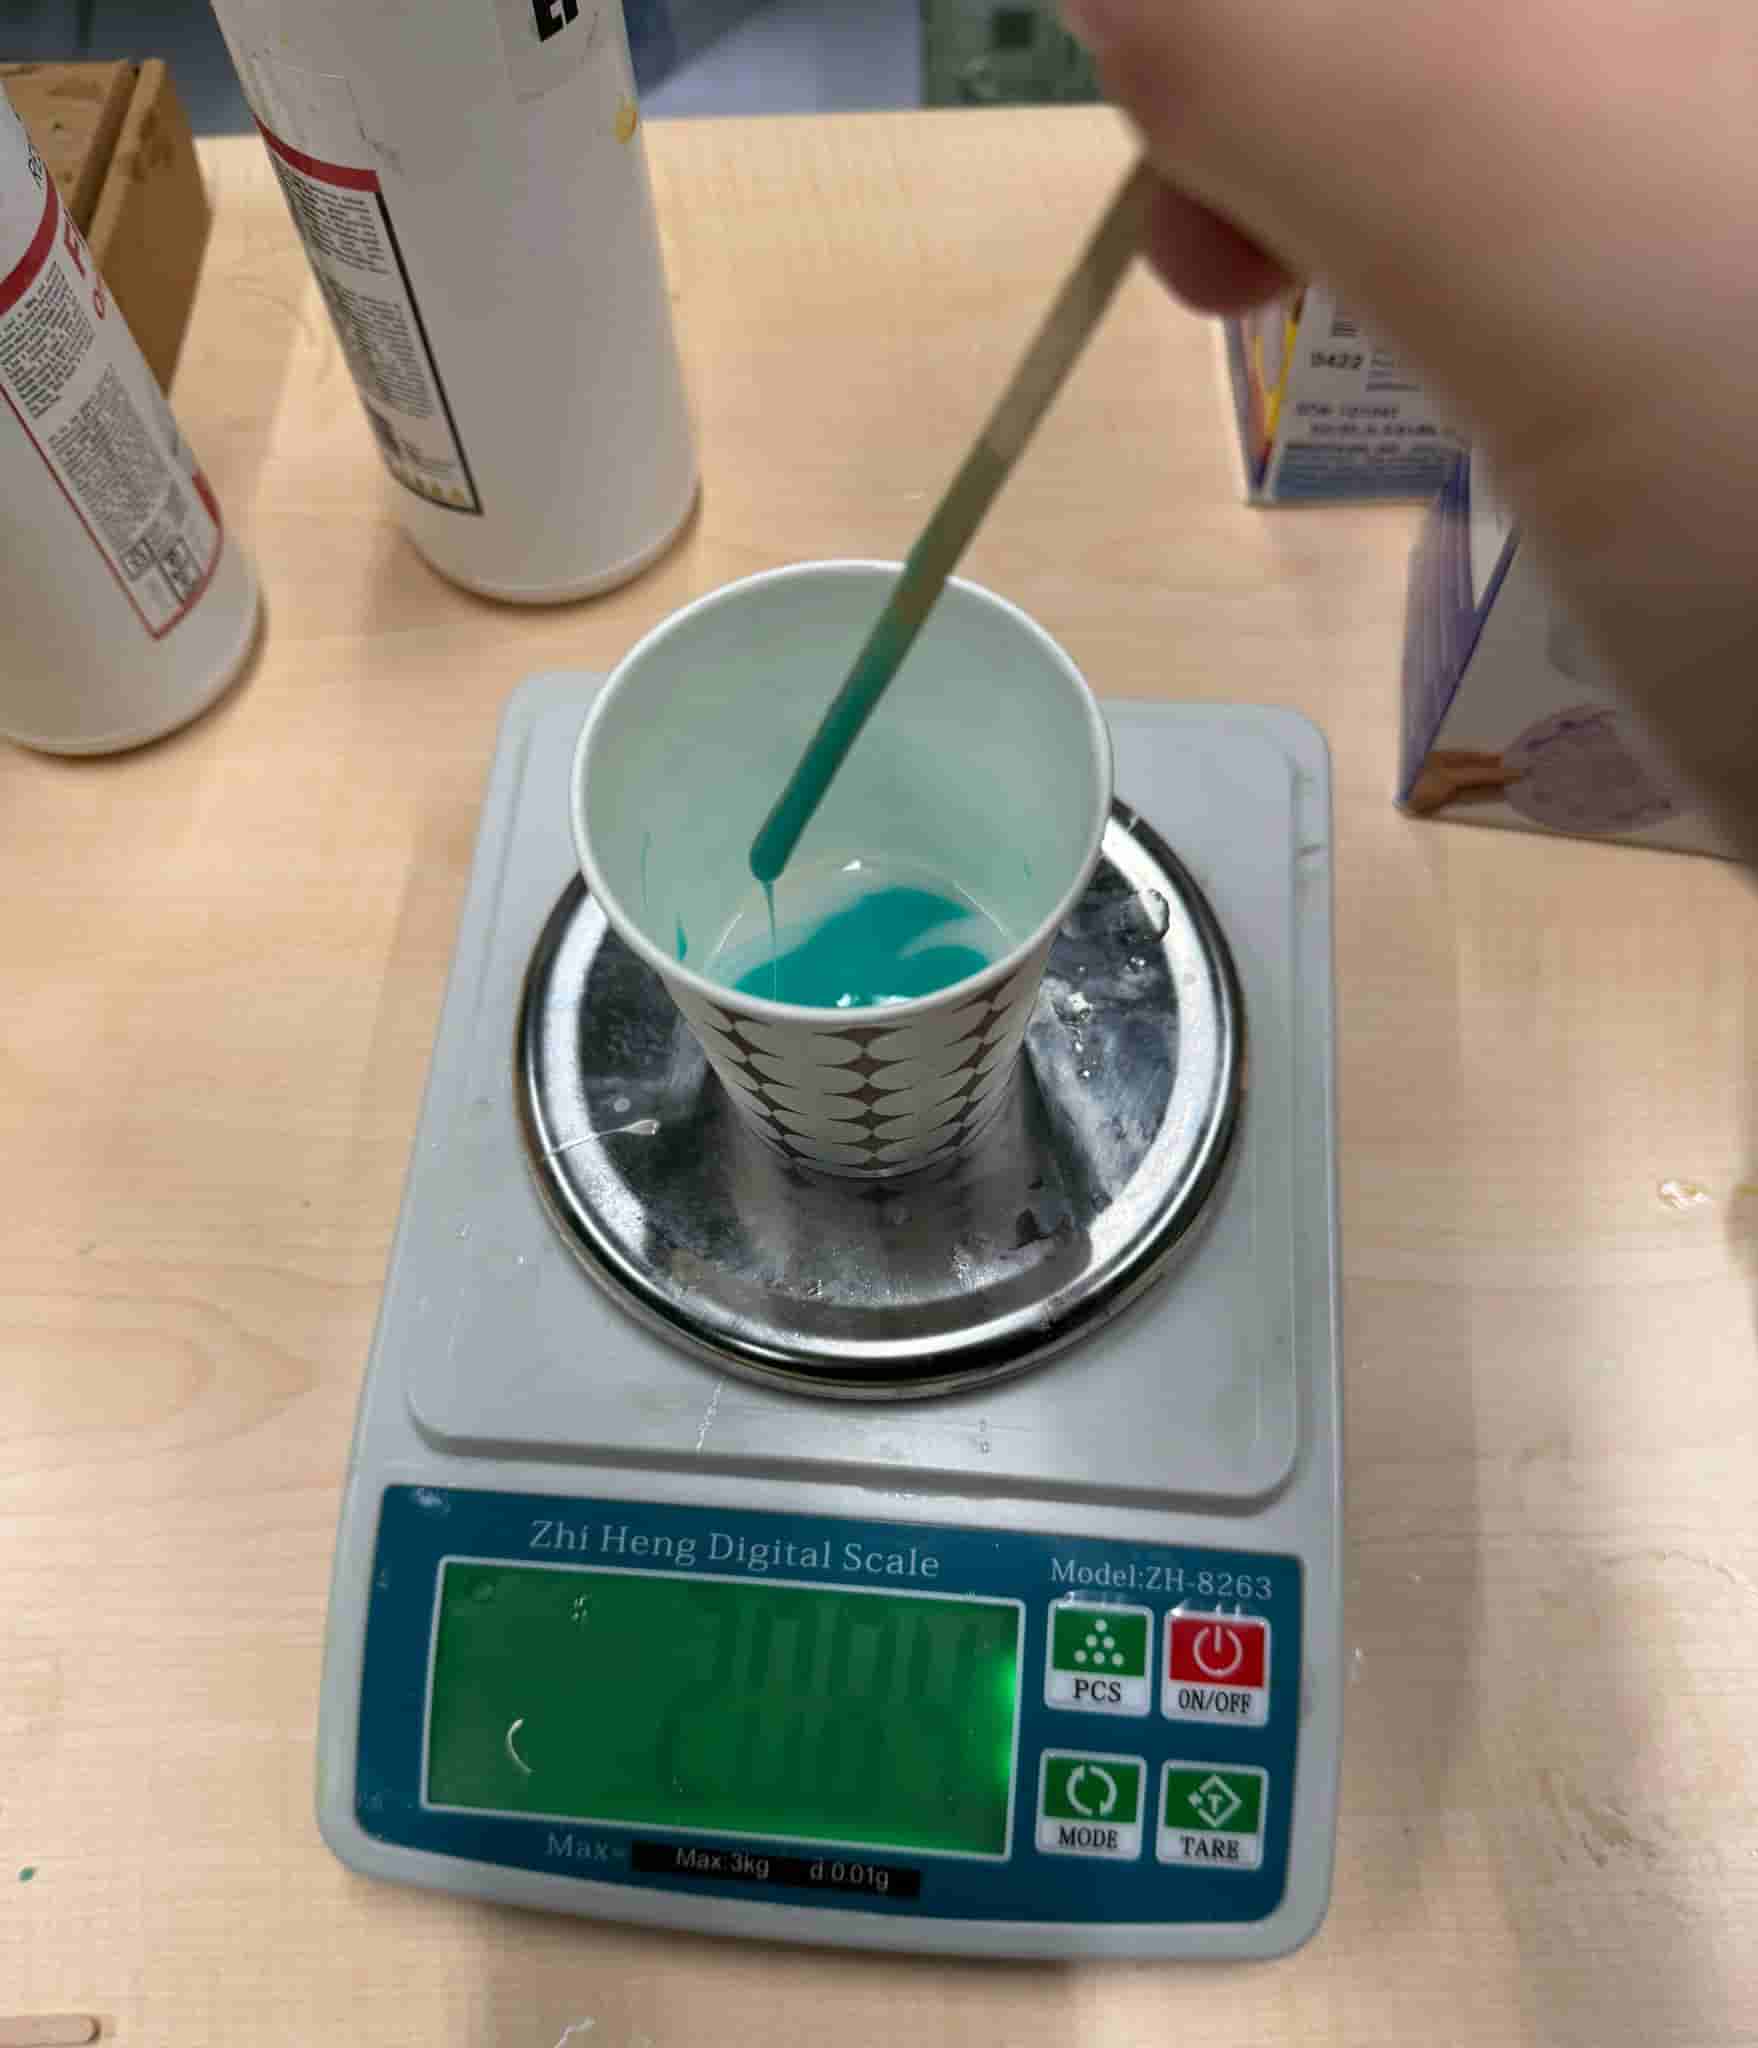
- Mixed Part A and Part B in a 1:1 ratio (by weight using a precision scale)
- Thoroughly mixed until uniform
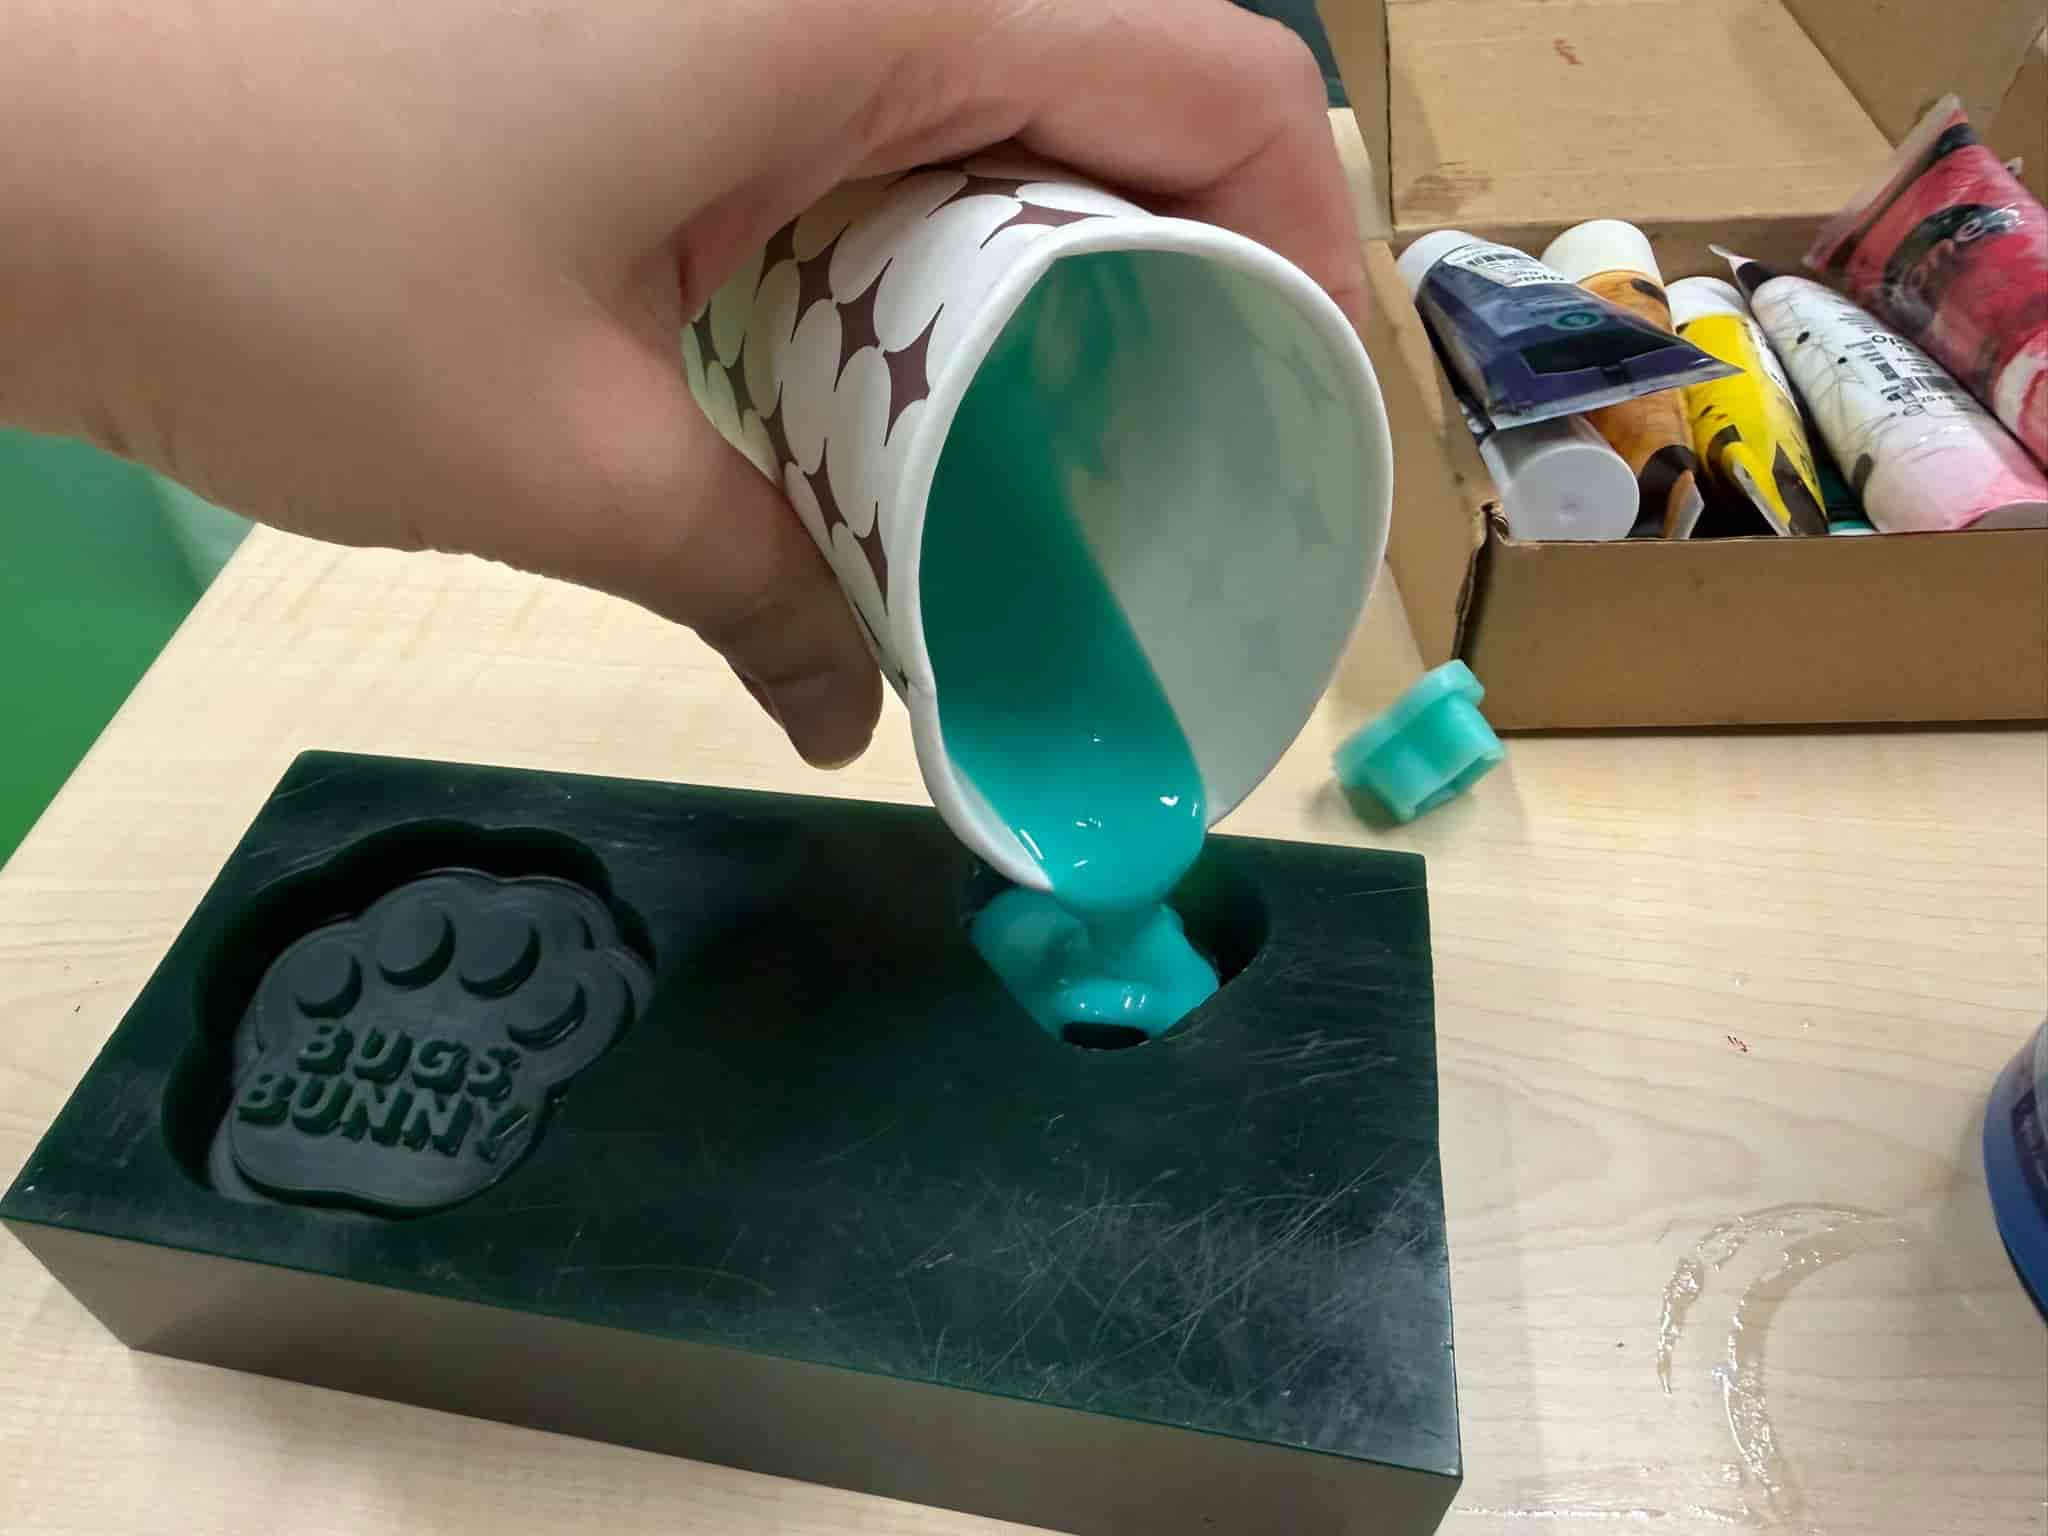
- Poured over the wax positive mold
- Removed air bubbles by:
- Tapping the mold on the table
- Using a needle for surface bubbles
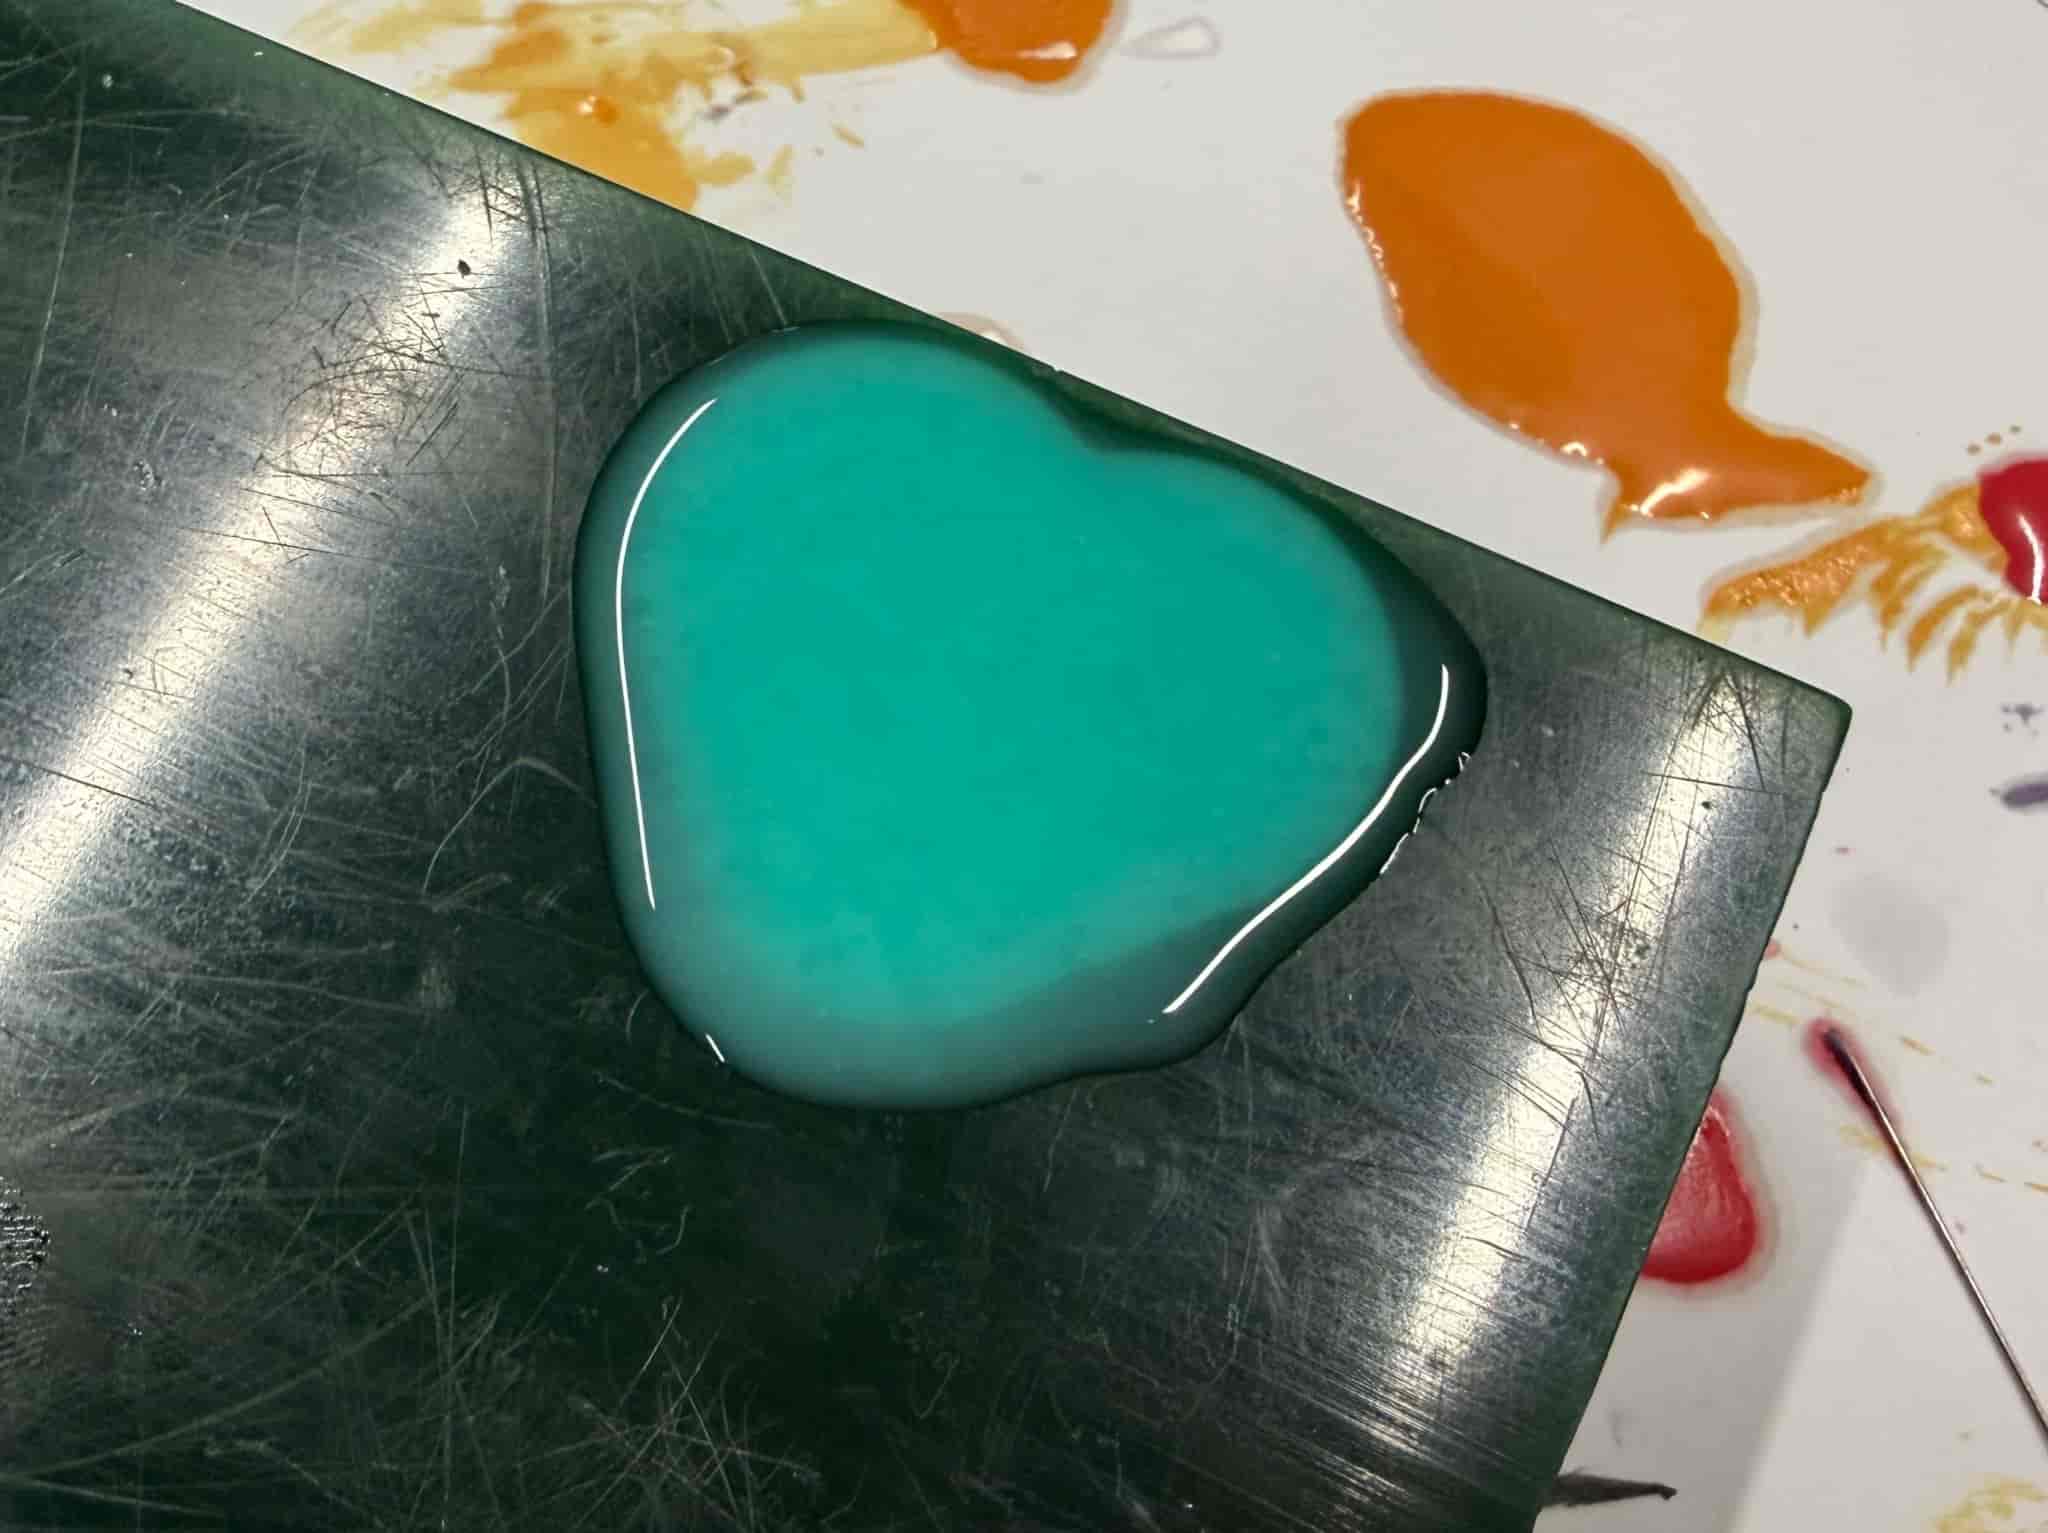
The silicone cured in approximately 4 hours, after which I took out carefully to obtain the negative mold.
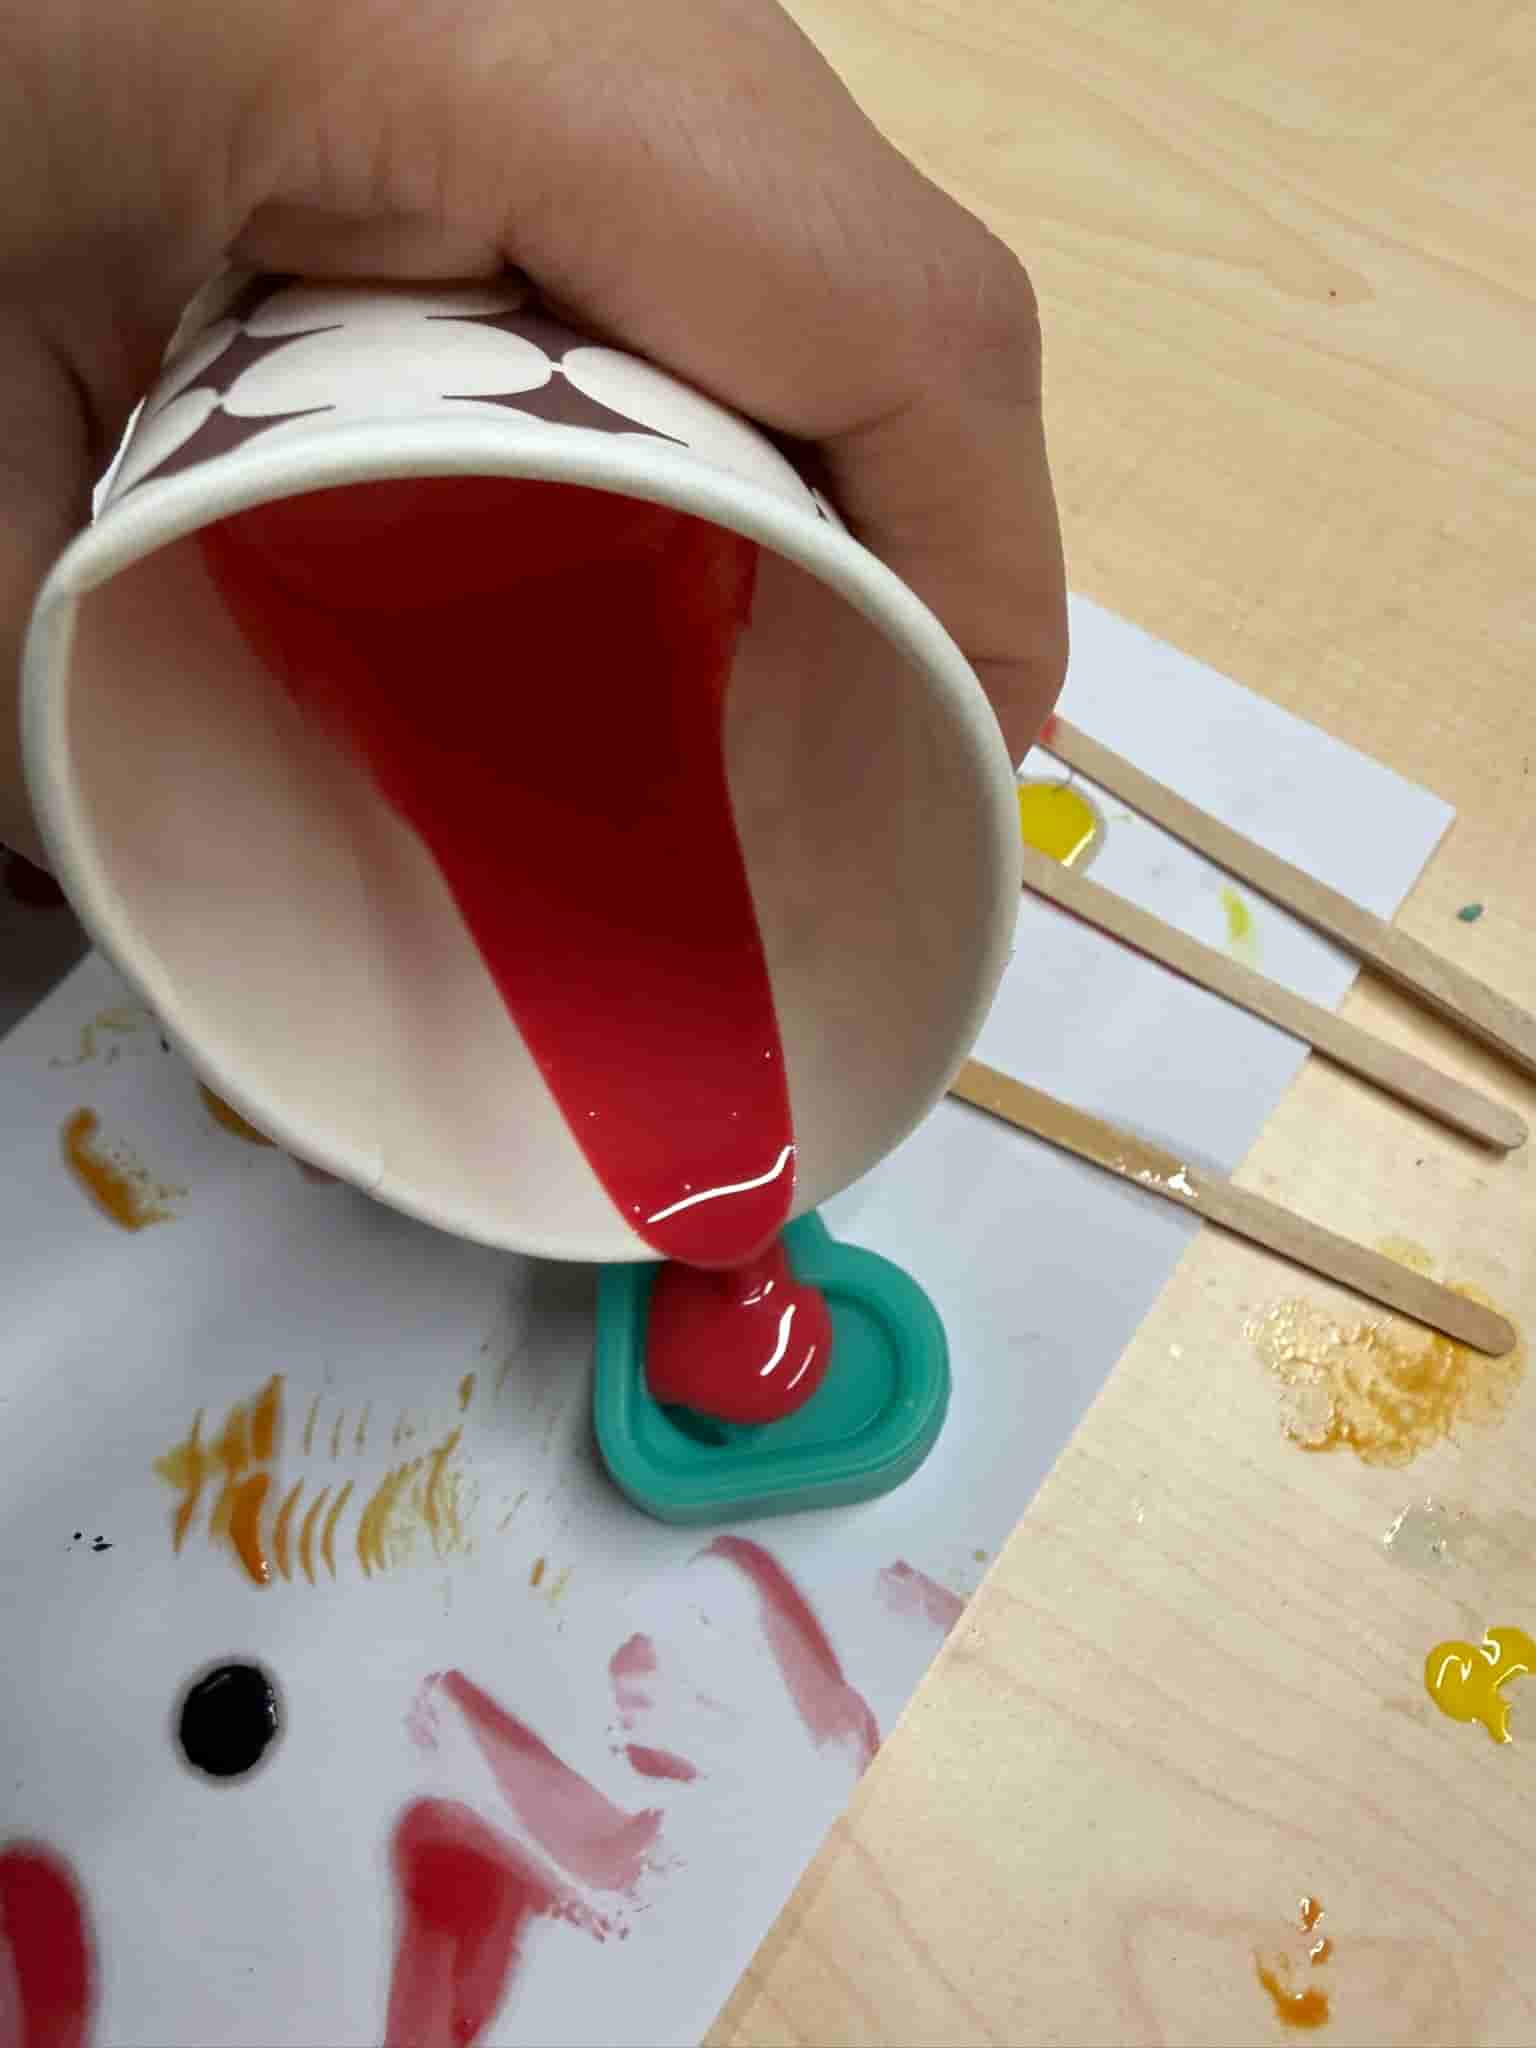
Casting the Final Part #
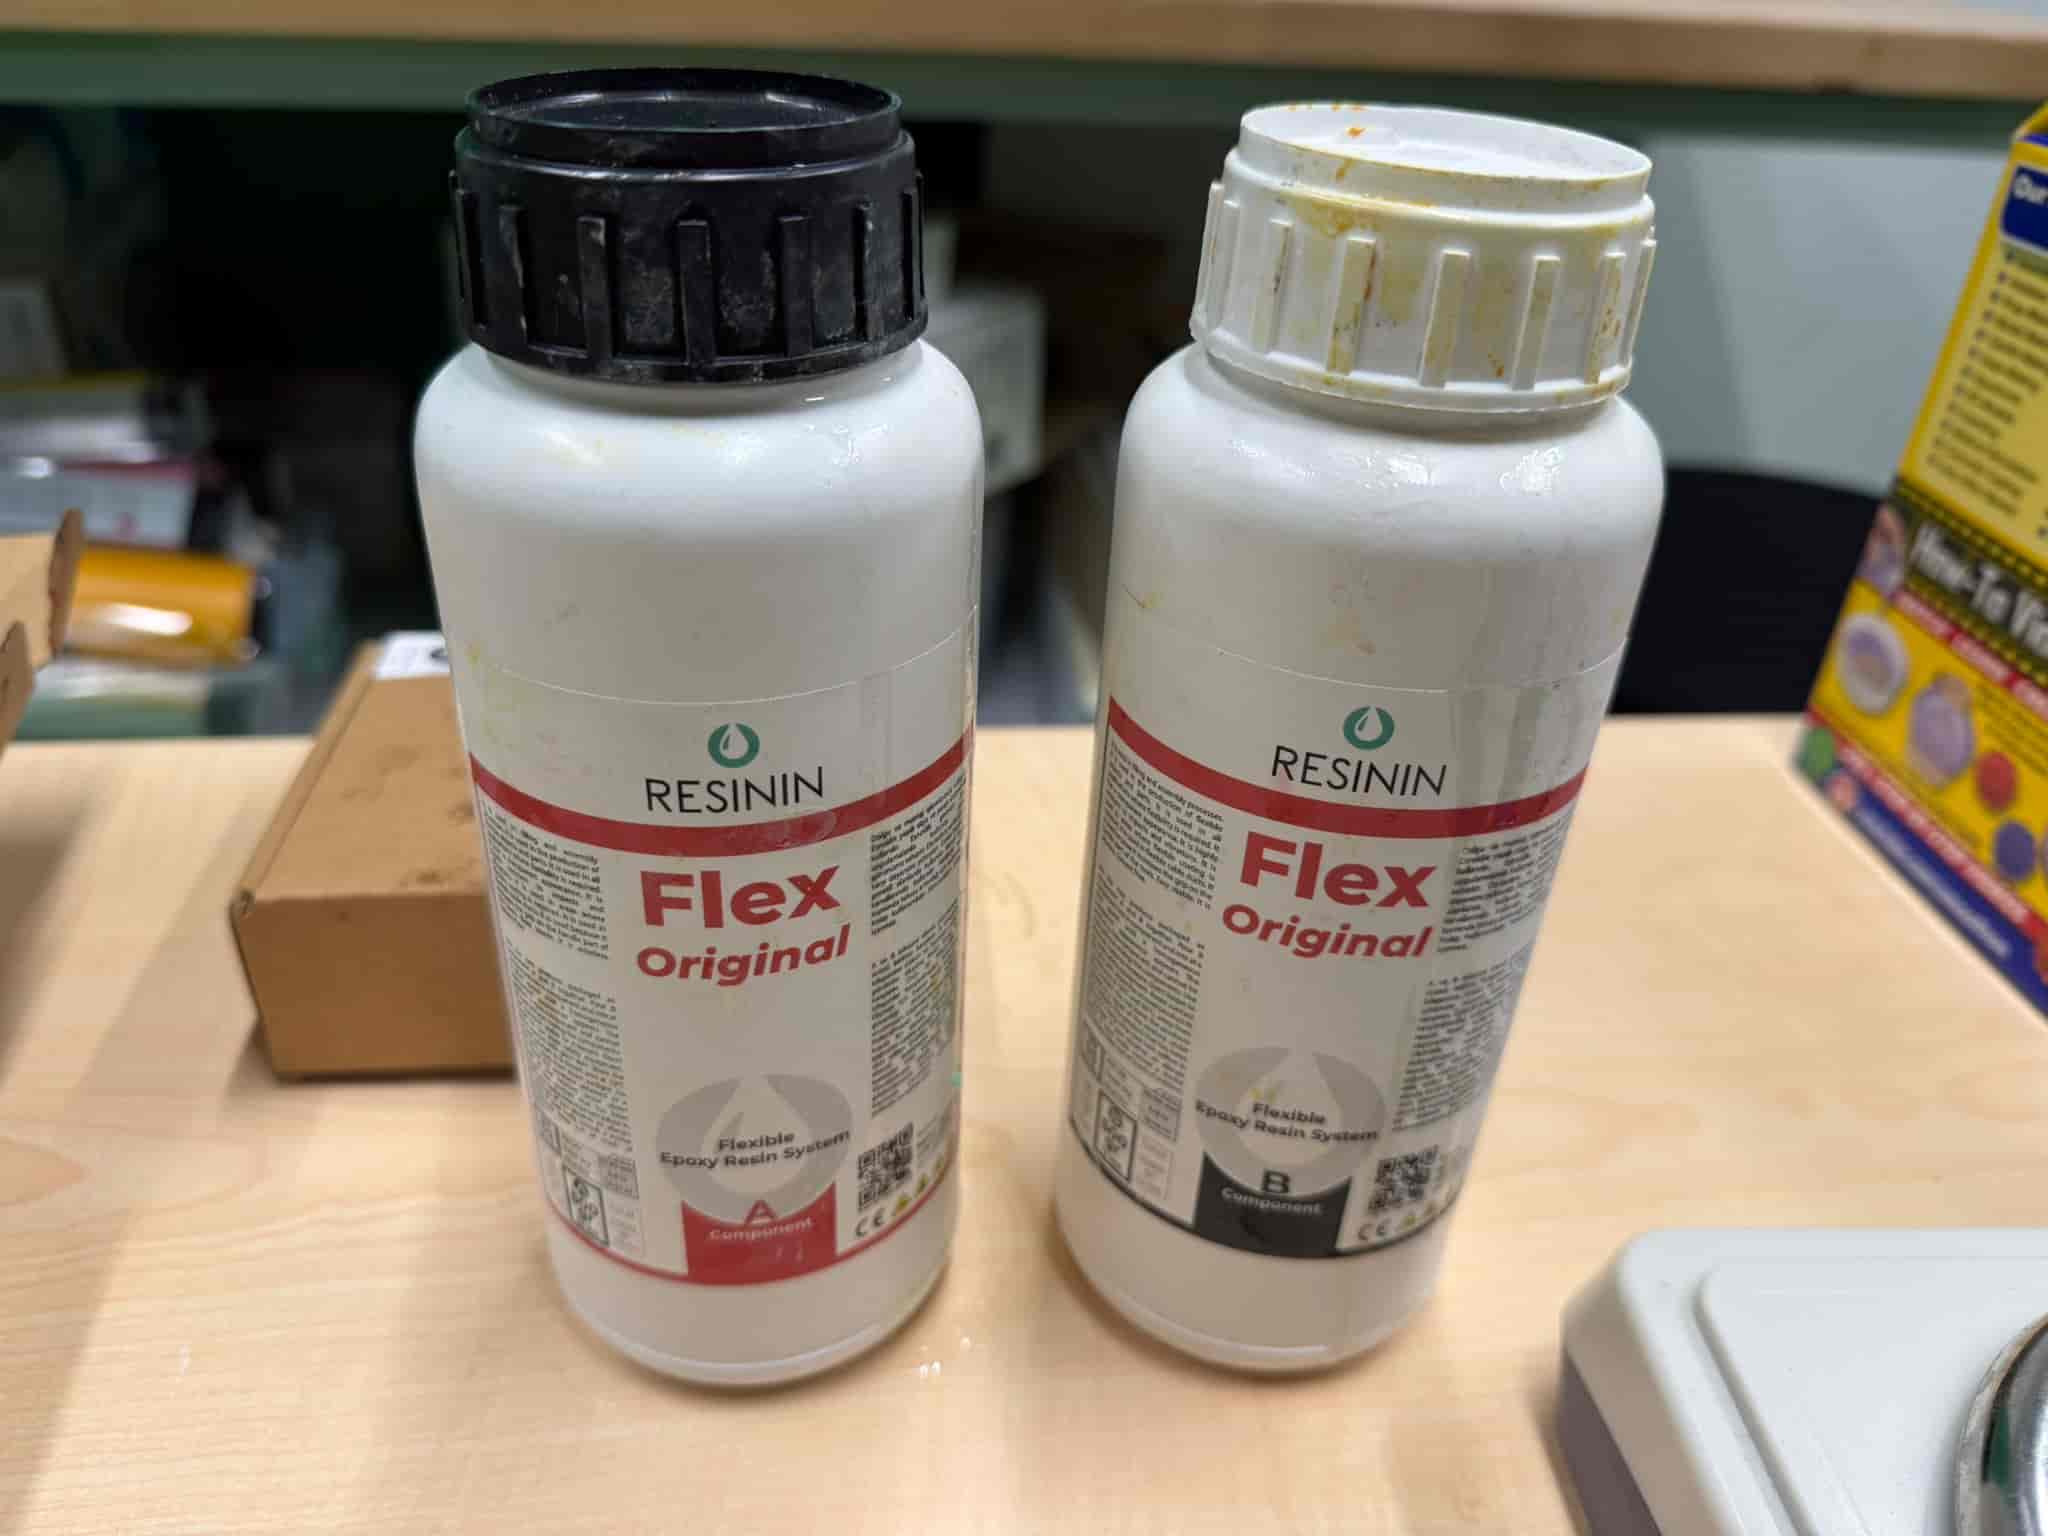
For casting, I used ResinIn Flexible Epoxy Resin System.
Process:
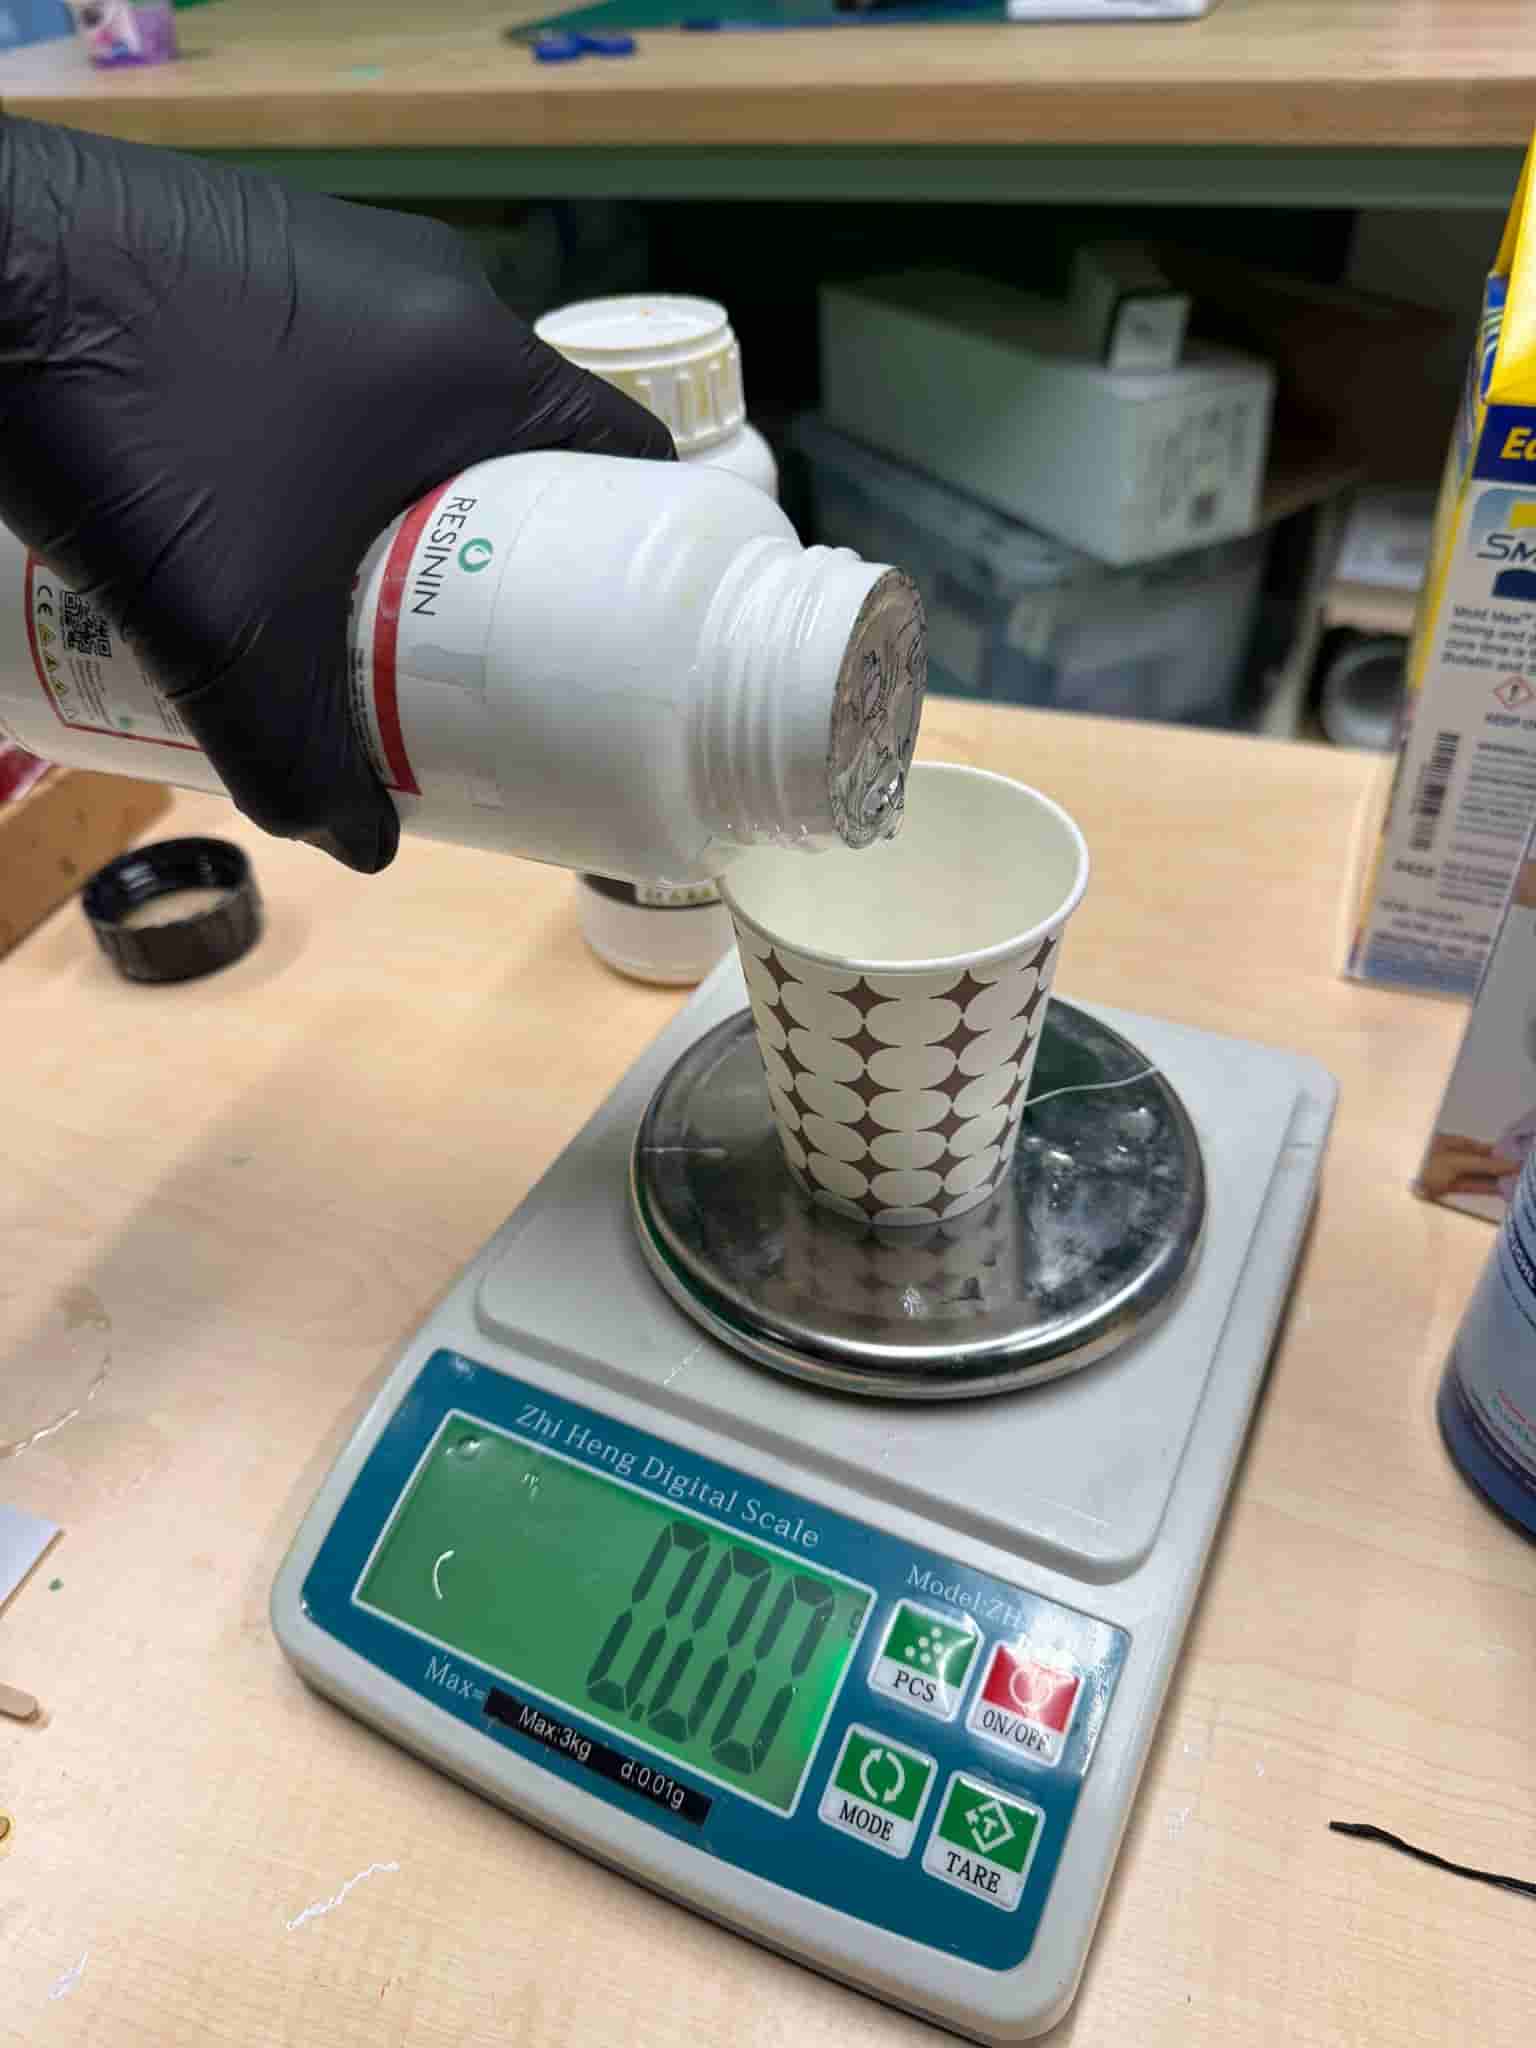
- Mixed equal parts of resin components A and B
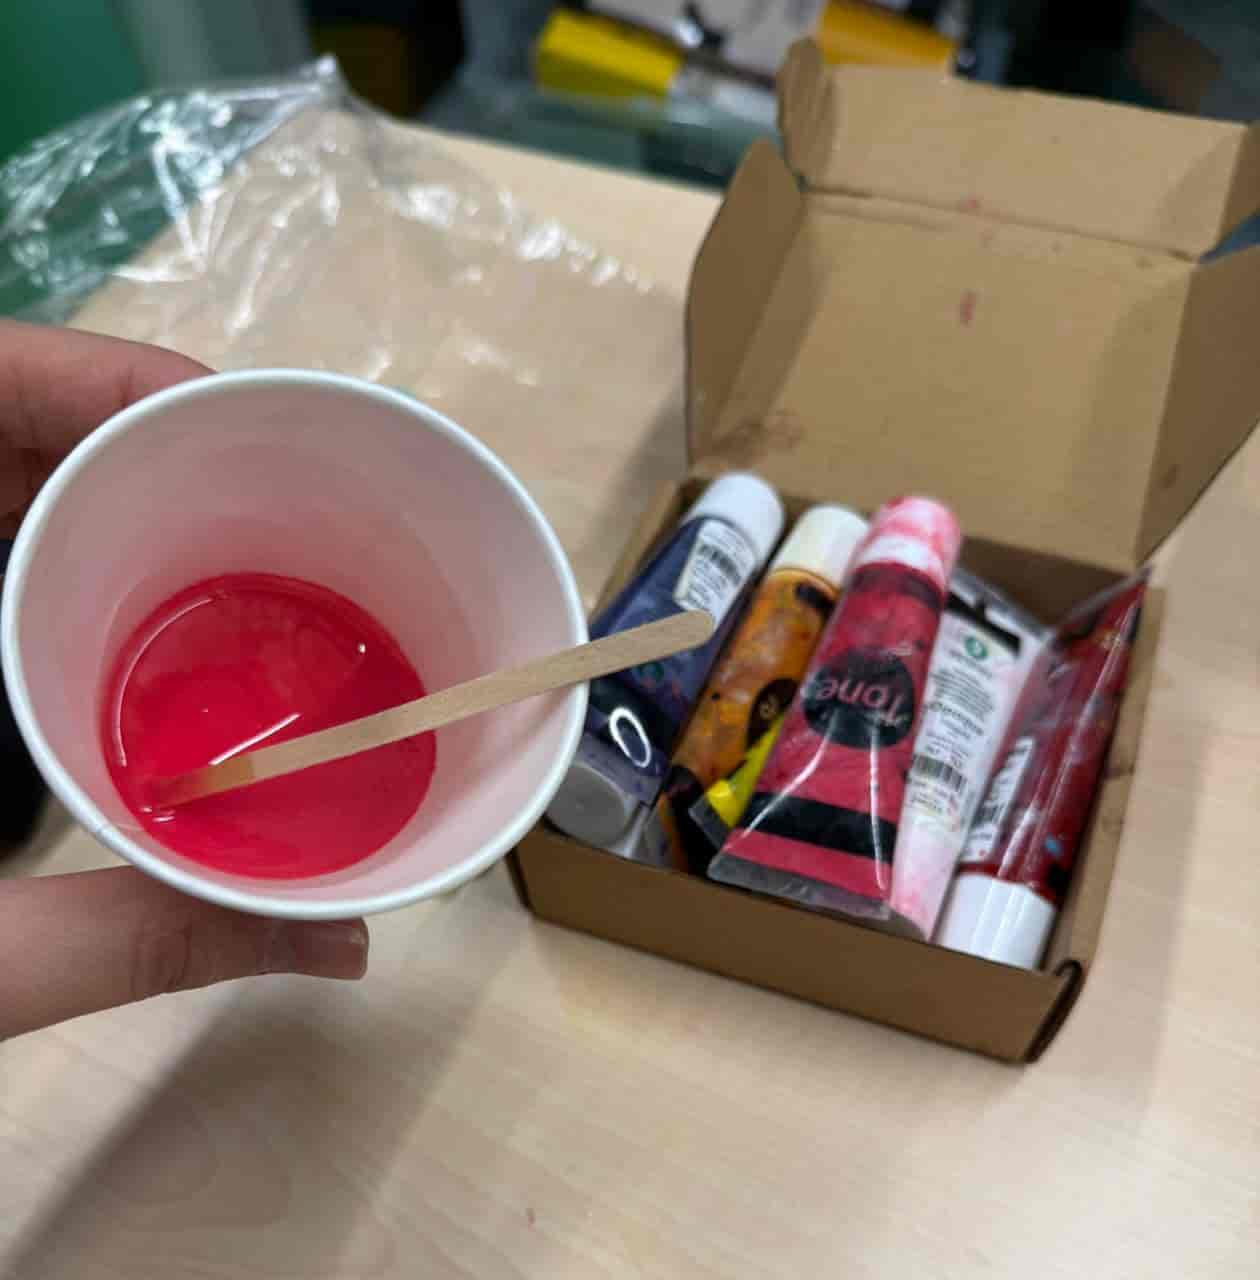
- Added a drop of red pigment
- Poured into the silicone mold
- Removed air bubbles by tapping
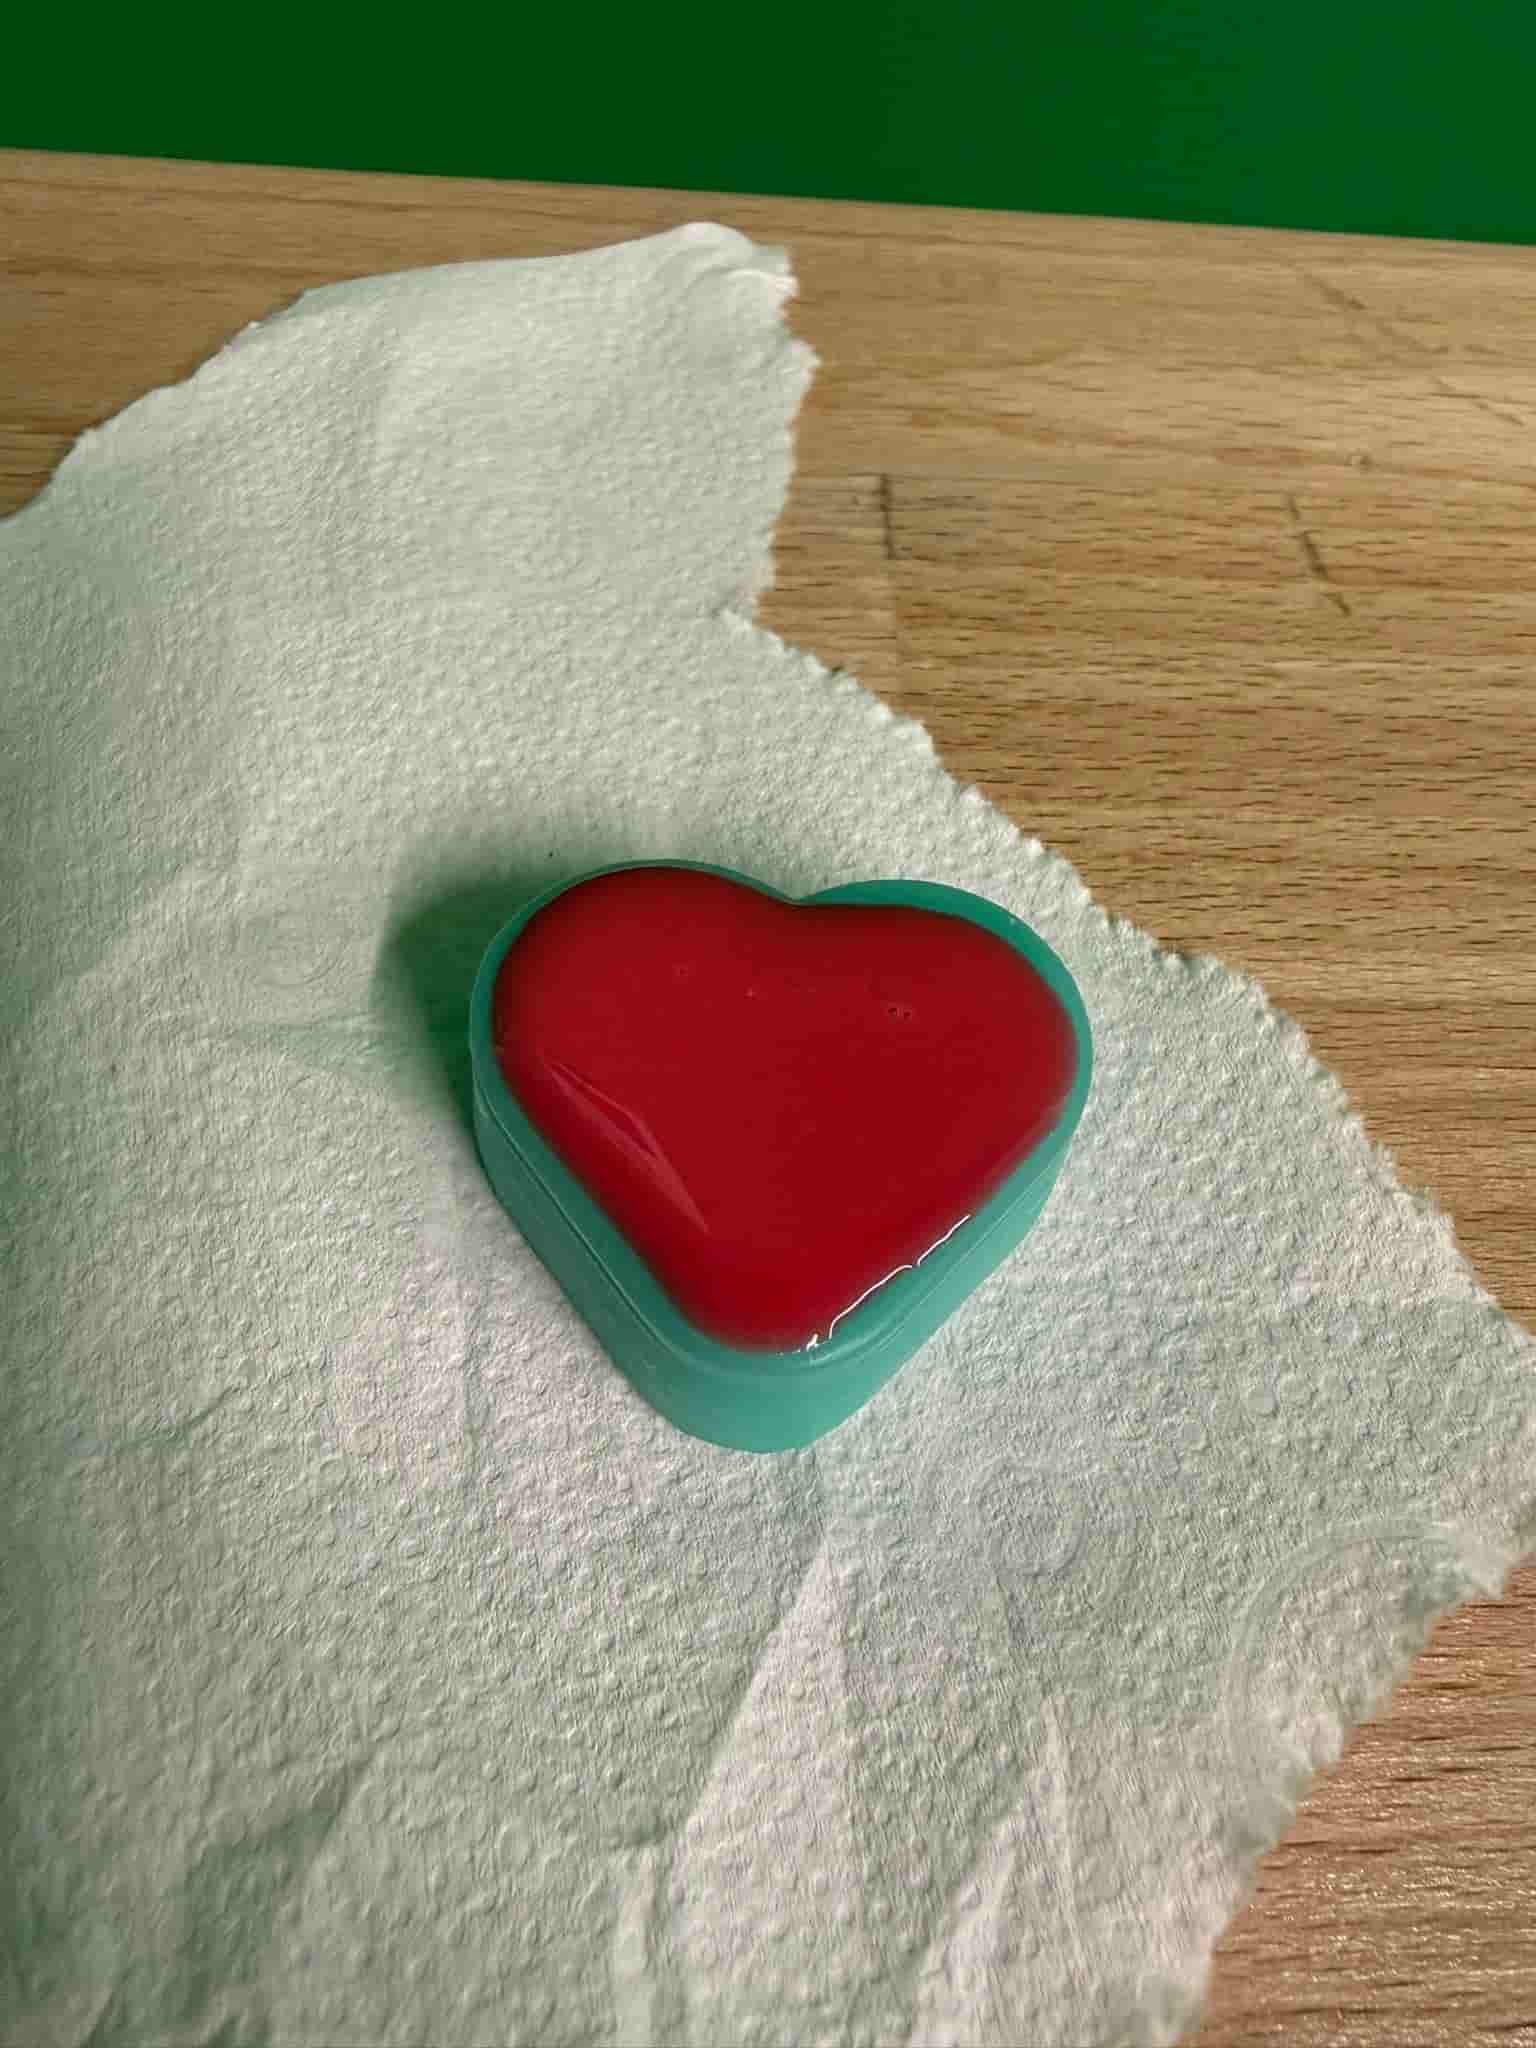
After 4 hours of curing, the final cast was complete.
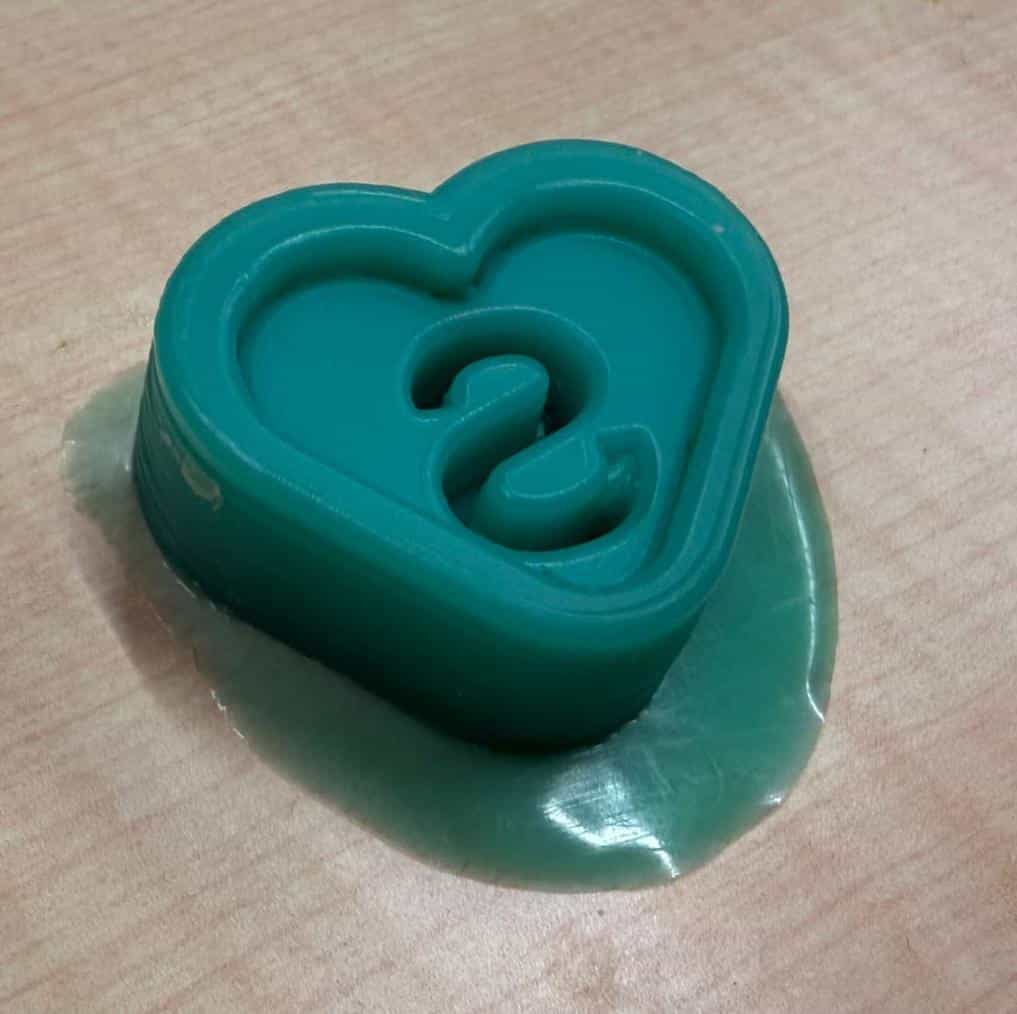
The final object successfully replicated the original design, including the embossed “S” detail. The surface finish was smooth, demonstrating that the milling parameters effectively eliminated visible toolpaths.
The next time, I should make sure to get rid of all air bubbles, since my silicon cast is not perfect.
Files: