13. Molding and Casting - Week 13
13.1. Assignments
Molding and Casting
group assignment:
review the safety data sheets for each of your molding and casting materials
then make and compare test casts with each of them
compare mold making processes
individual assignment:
design a mold around the process you’ll be using
produce it with a smooth surface finish that
does not show the production process toolpath
and use it to cast parts
extra credit: use more then two mold part
13.2. Group Assignment
Group Page about Material Safety
13.2.1. Mold making processes
We tried out 2 processes (how to make the positive):
13.2.1.1. Milling
When milling, we use the part we want to make and first decide, how many sides we need. In our case it was just one side. Then we model the positive in combination with a cavity, which also needs to be slightly angled for the mill, so it can reach the bottom of the mold cavity.
Then to generate the G-Code, I’ve chosen FreeCAD. It is a bit tricky to generate a rough and a fine path in a fast way. It’s way easier and faster to generate it in Fusion 360.
For Machine Settings, we used following:
Method |
Feedrate (mm/min) |
RPM |
|---|---|---|
Rough |
1000 |
5000 |
Fine |
500 |
10000 |
Fusion 360
Also Ferdi made a tutorial for doing it in Fusion 360: Ferdis Doc
FreeCAD
See below on how I generated the G-CODE.
13.2.1.2. 3D Printing
For 3D printing there are 2 possibilities to produce a smooth surface:
SLA Printing (event though it is not perfectly smooth, but extremely)
normal FDM printing and then post process the print
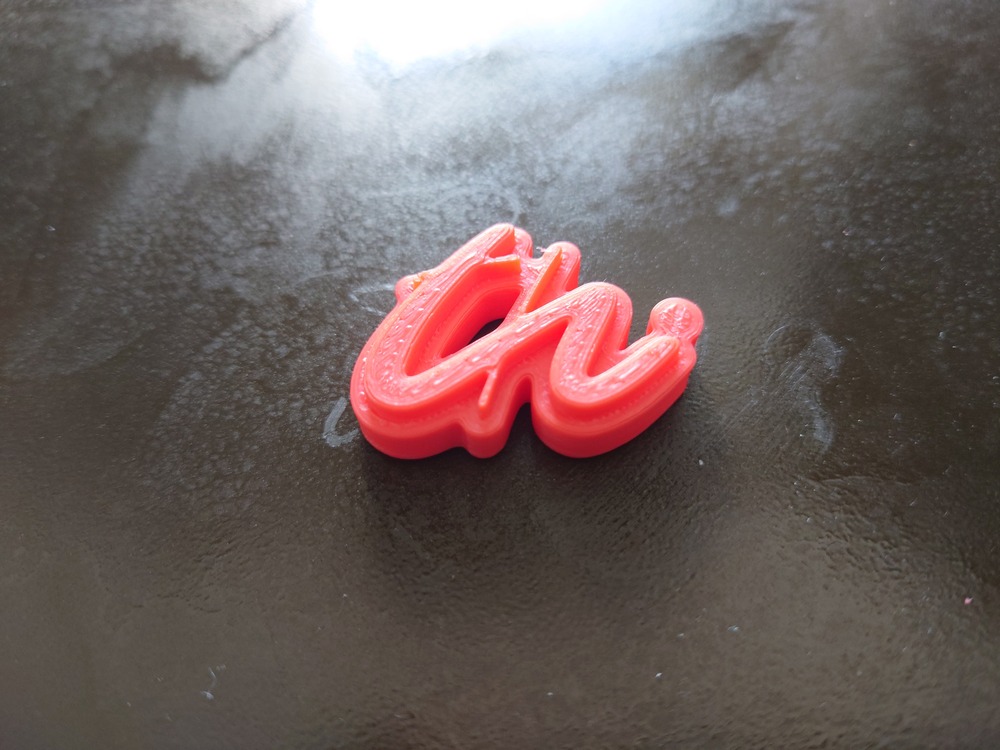
We used FDM printing to get used with the process.
There you have the possibilities of applying some material on the print to make it (like paint or similar) or you use a material, that smoothen the current print by reacting with it and dissolve it. We used the 2nd approach with ABS and Aceton-Fume, where the Aceton fume reacts with the ABS and smoothens the surface, when applied correctly:
You need:
Aceton
A closed container (which optionally can be heated)
the part on something, you can attach on it (to get the maximum surface that should get smooth)
OPTIONAL something to heat the container
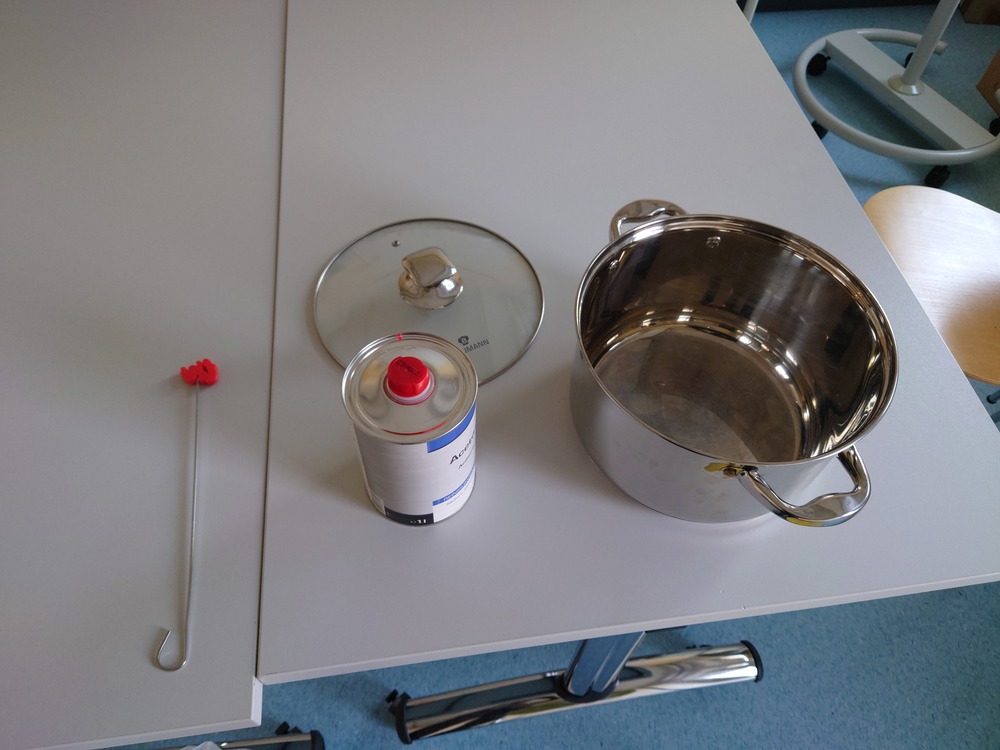
I then put a good amount of Aceton in the container. The I used a professional and completely normal Setup for keeping it in the container:
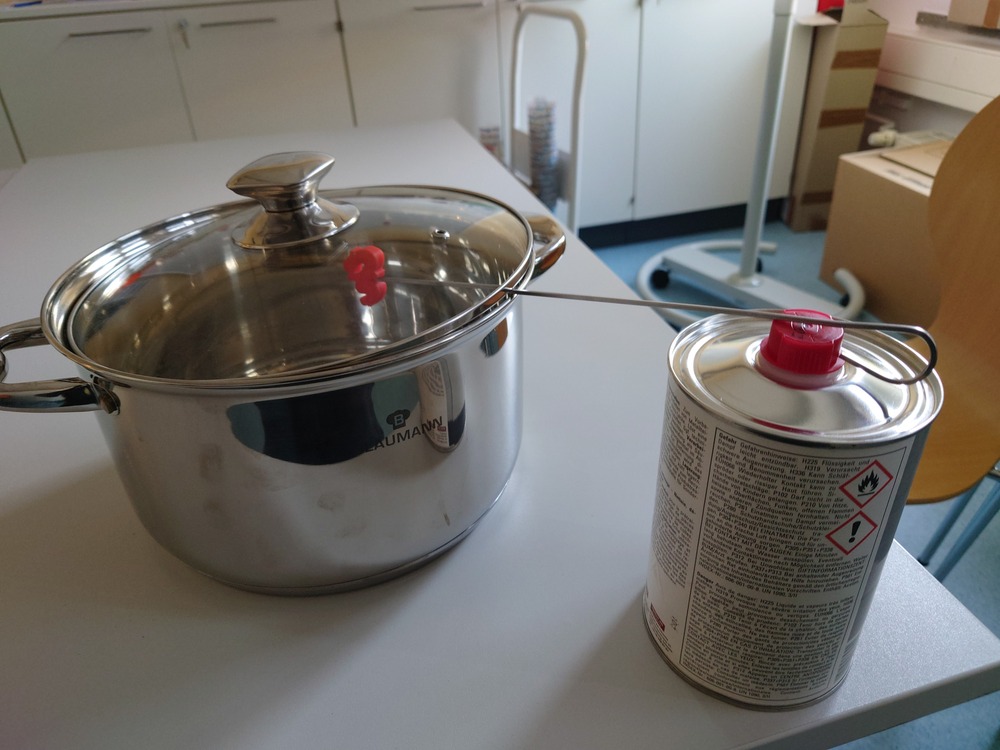
And then occasionally rotate the piece. And it its to slow, you can heat up the aceton-container (we use a portable stove top).
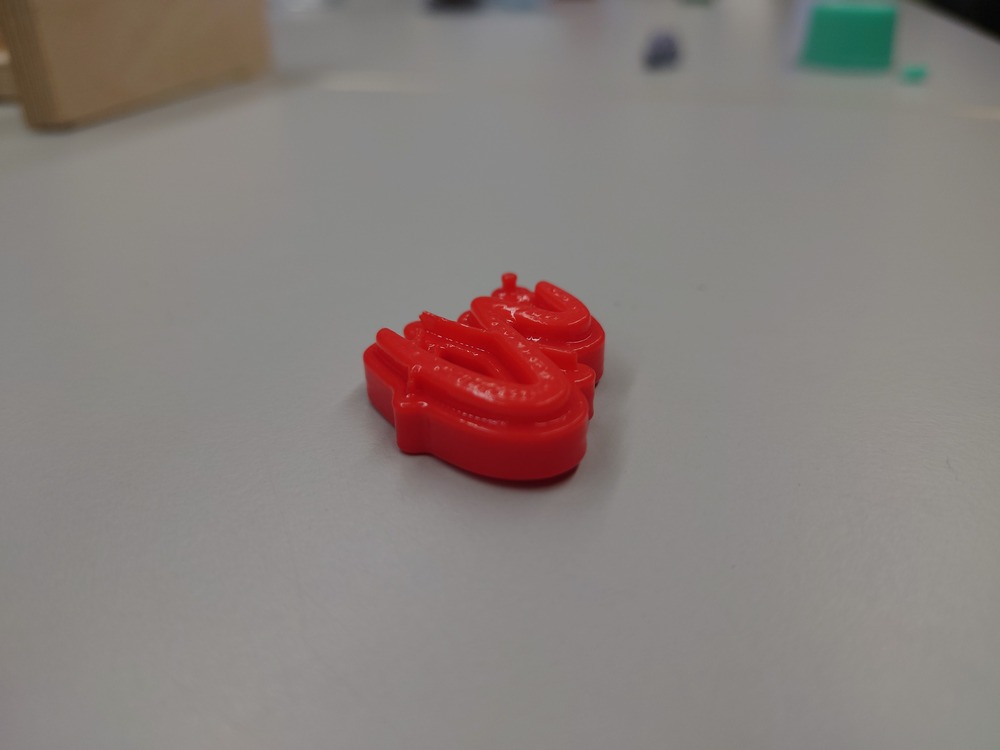
After a while, it gets quite smooth:
But I should have left it in there a bit longer.
13.2.2. Casting A mold
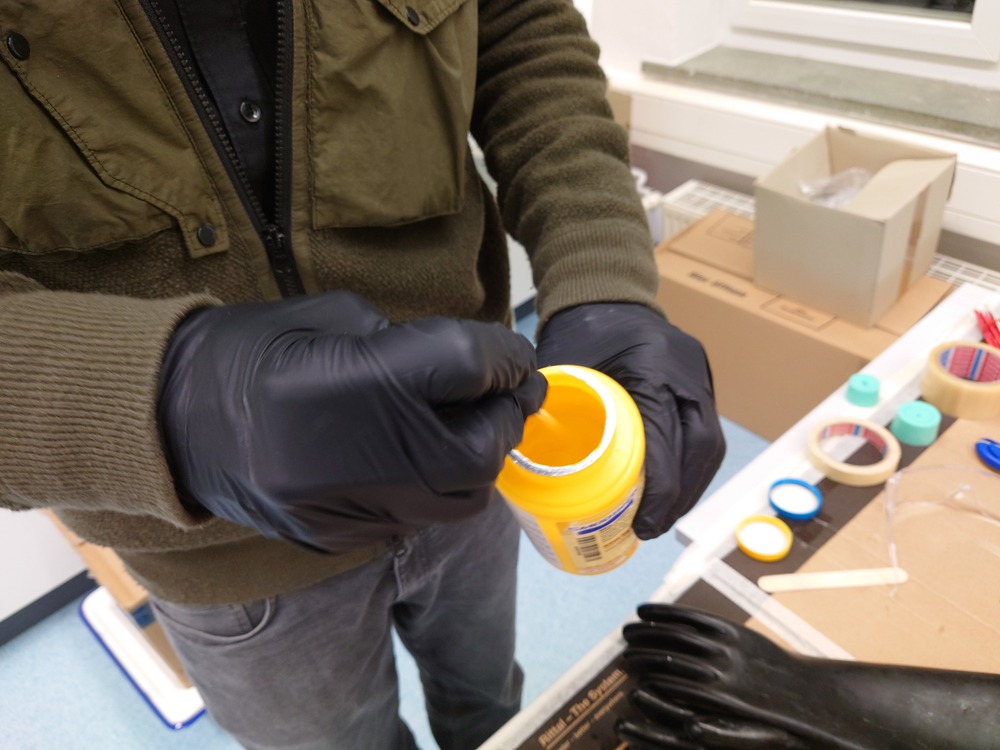
For the Mold, we used some silicons from smooth-on and also mix gelantine with material from a supermarket.
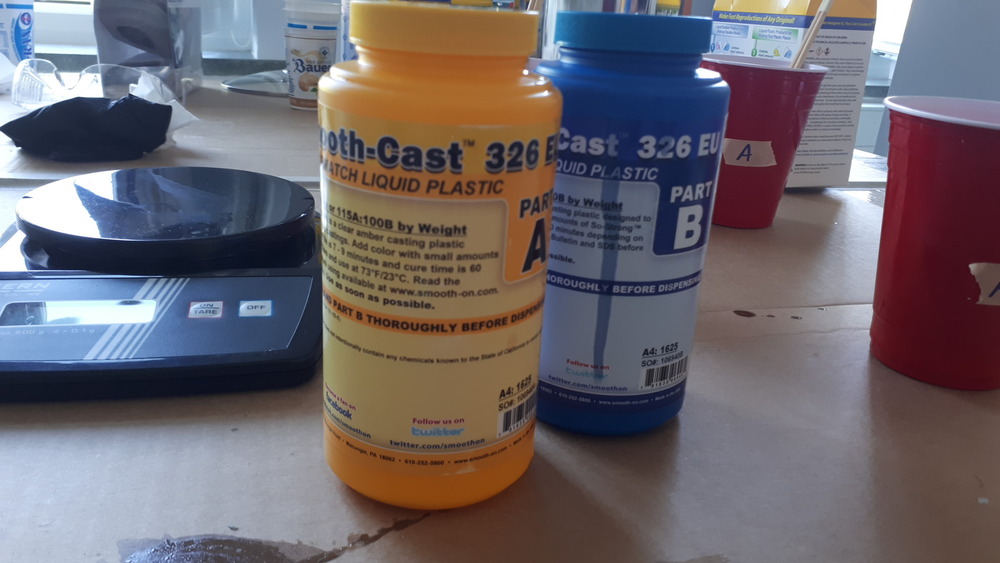
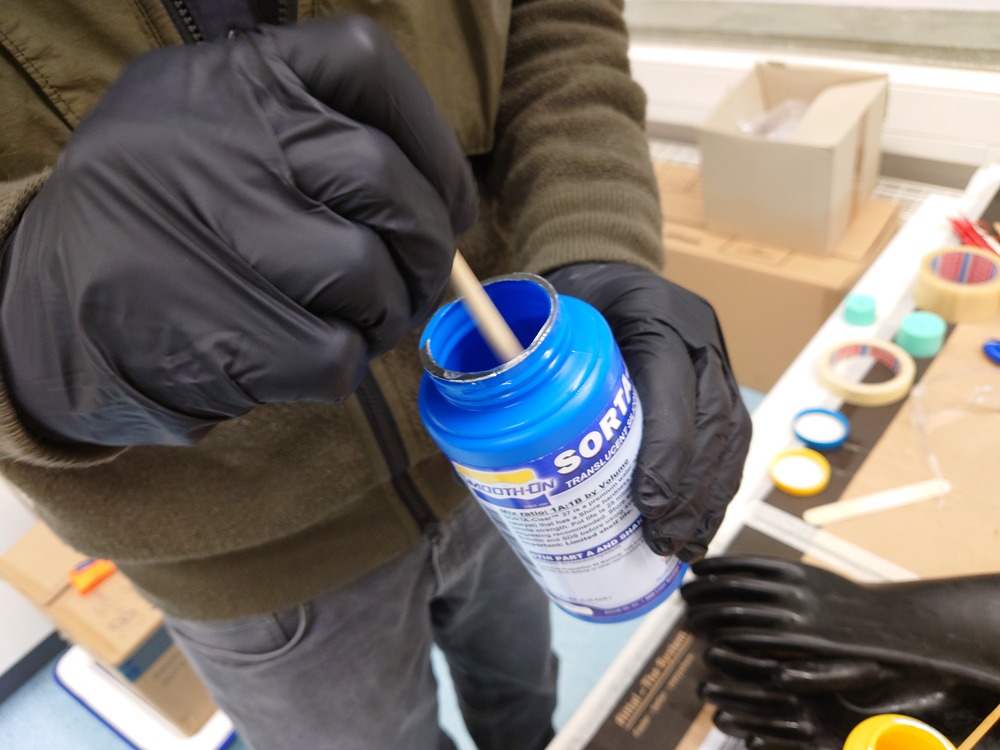
13.2.2.1. Silicon
The material consists out of 2 components, which increase their viscosity as time increases (the mixture ‘cures’) and the point, where it’s no longer pourable, is called ‘Pot Life’ and the time it take to be solid is called ‘Cure Time’.
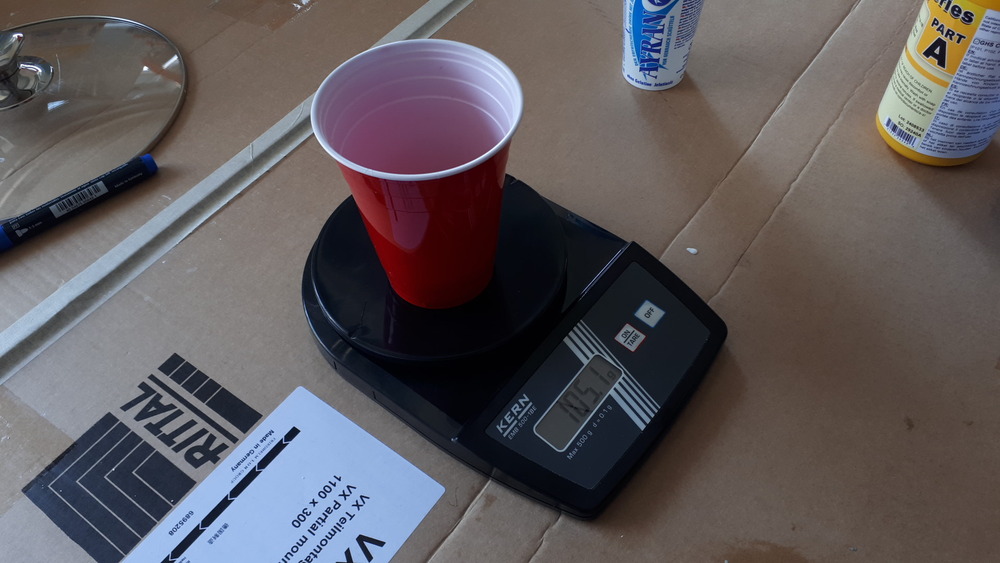
First we measured the volume for the mold to not mix more material then needed.
We used water to fill up the mold and afterwards put it into a pot.

 We had nothing to measure the volume so we used the mass of the water and used it as a base for the weight of the mixed material.
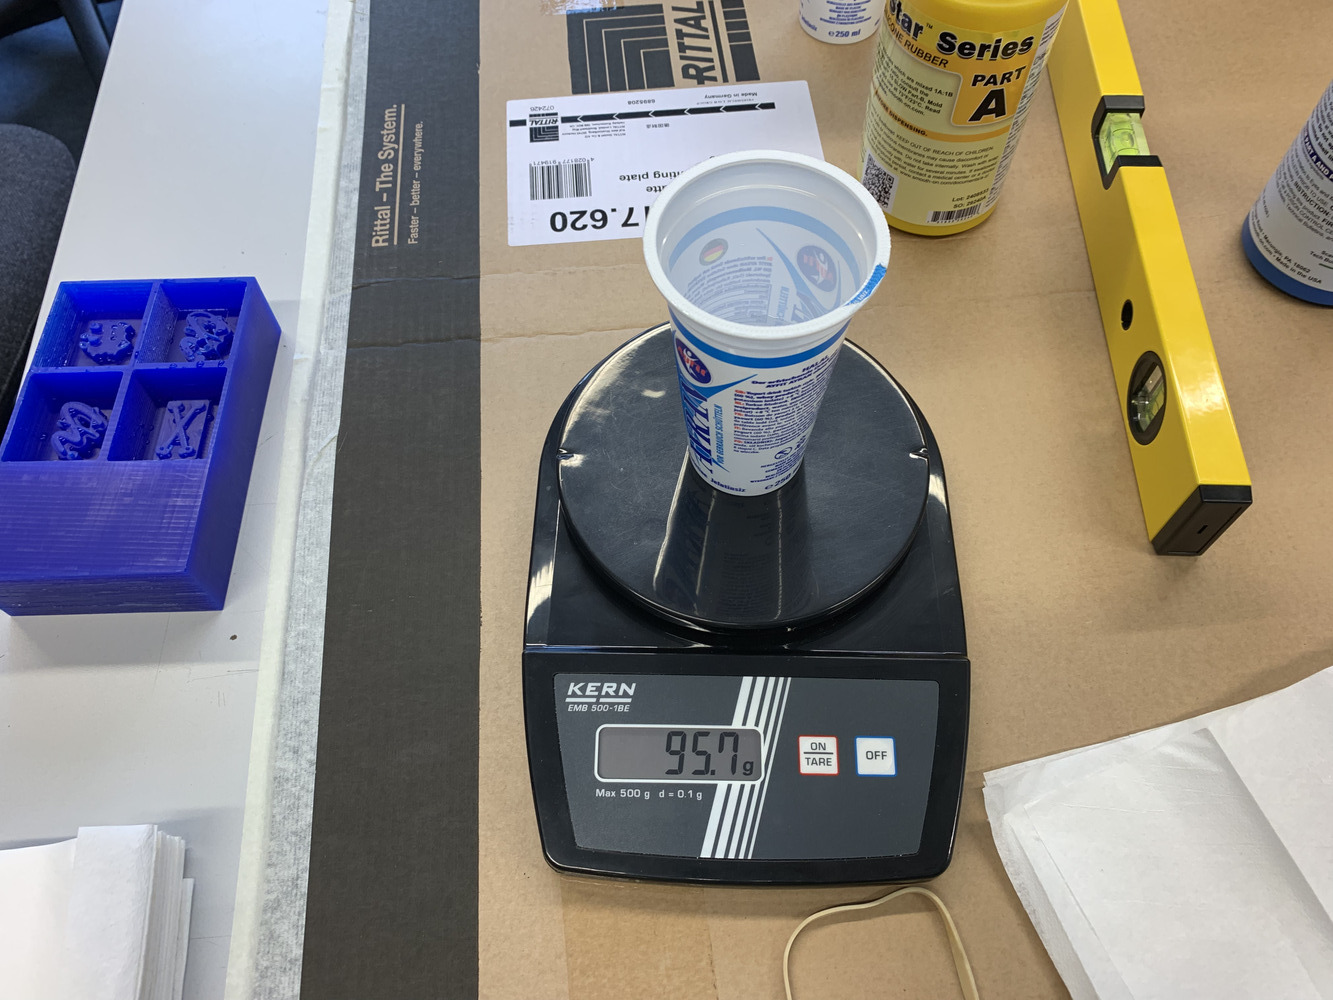
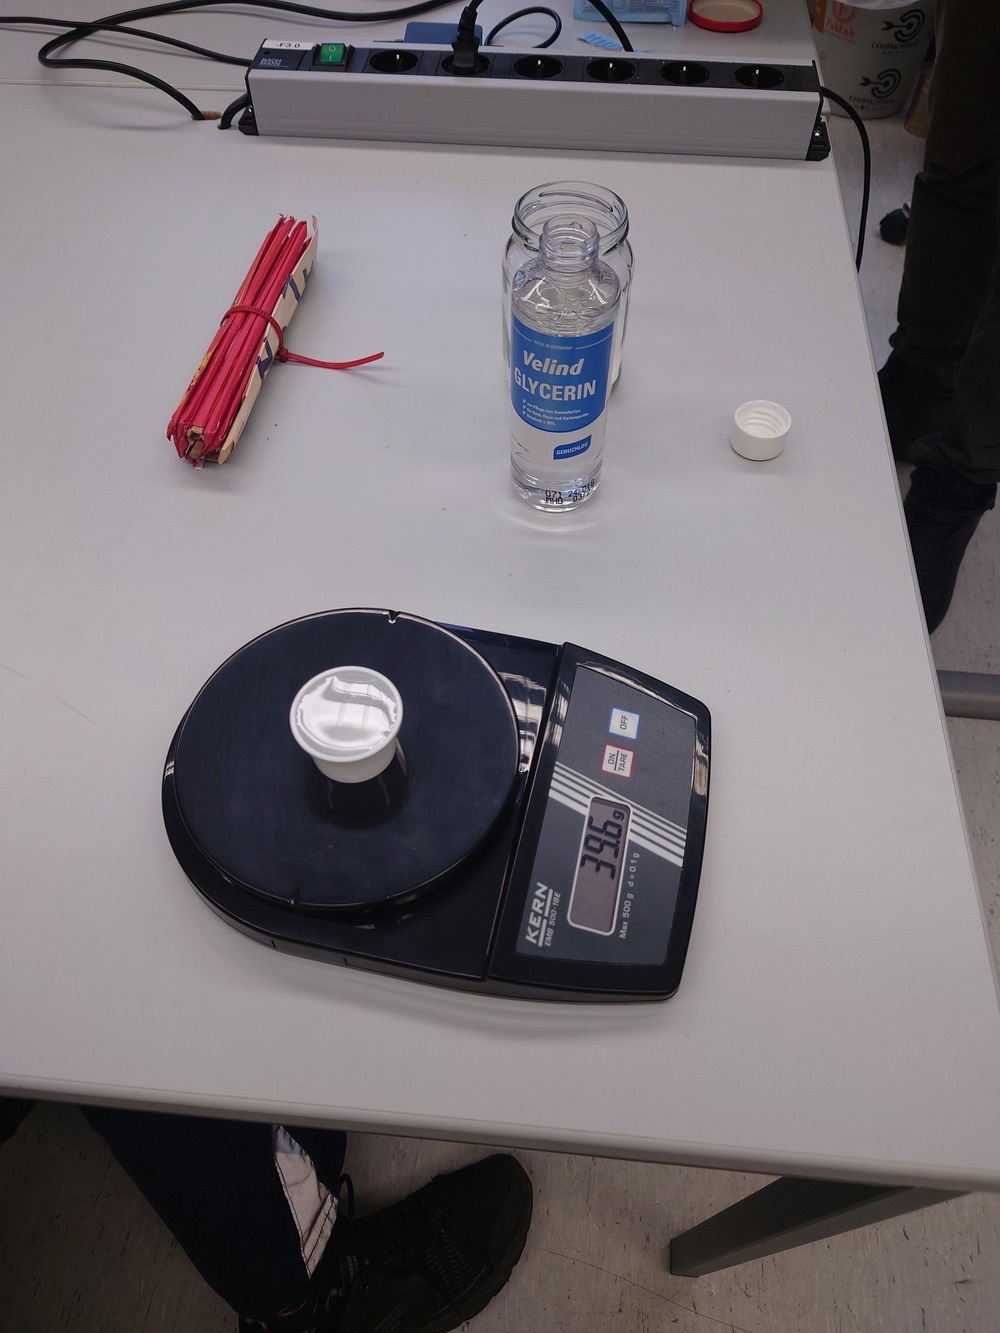
But the pot was to heavy for the scale so we filled it into a lighter container.
So we measured 95.7g of water. With an expected water density of 1g/cm³ we get
95.7g/(1g/cm³)=95.7cm³==95.7ml of volume to be casted.
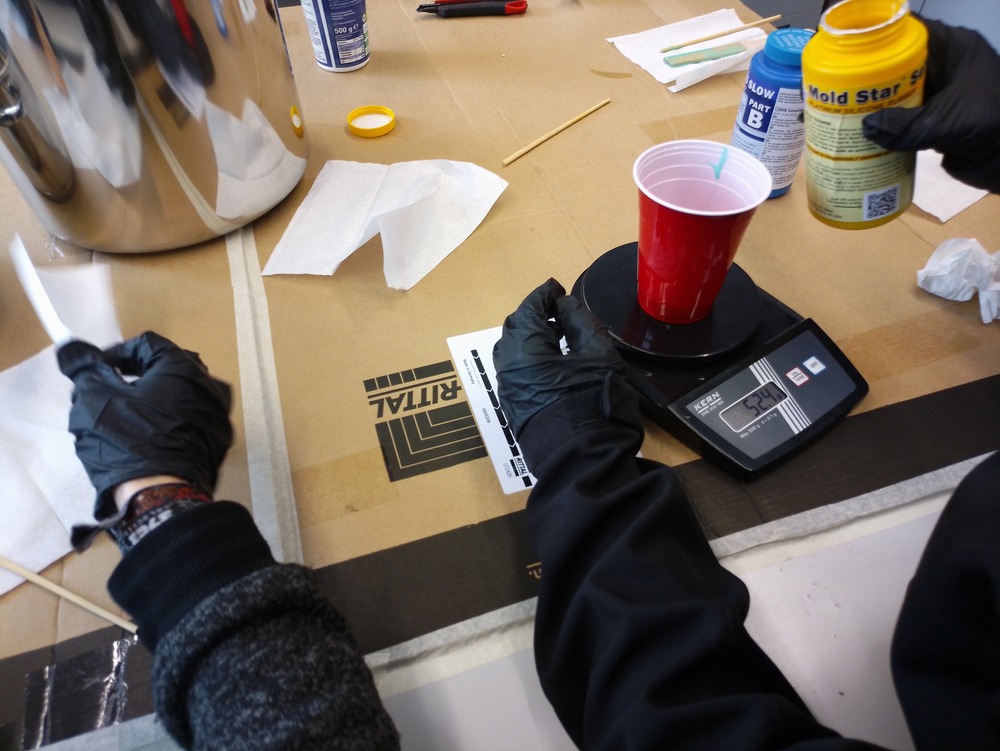
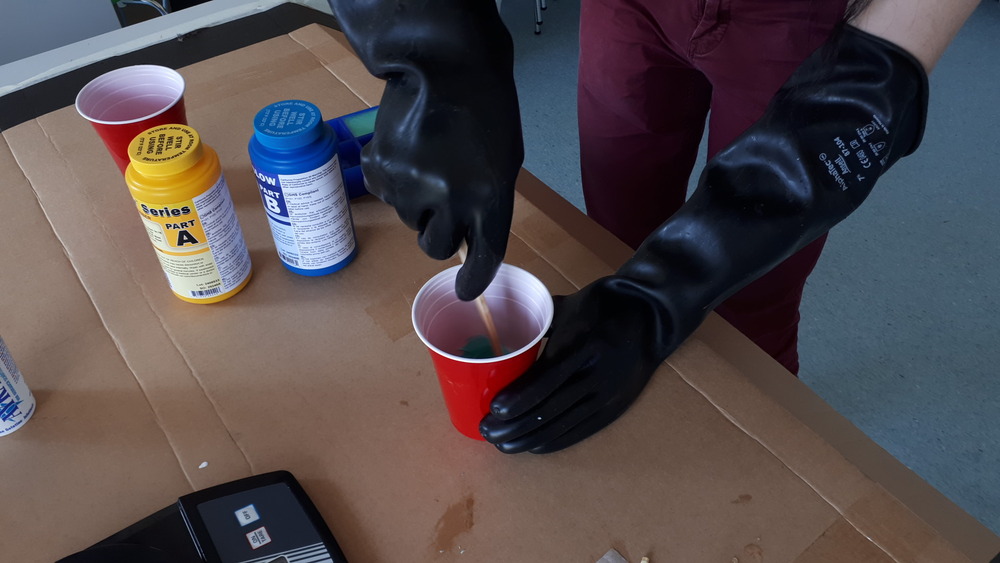
Because we did not know the actual density of the 2 component silicon, we just made the 1:1 ratio with a little bit more than the weight shown from the water.
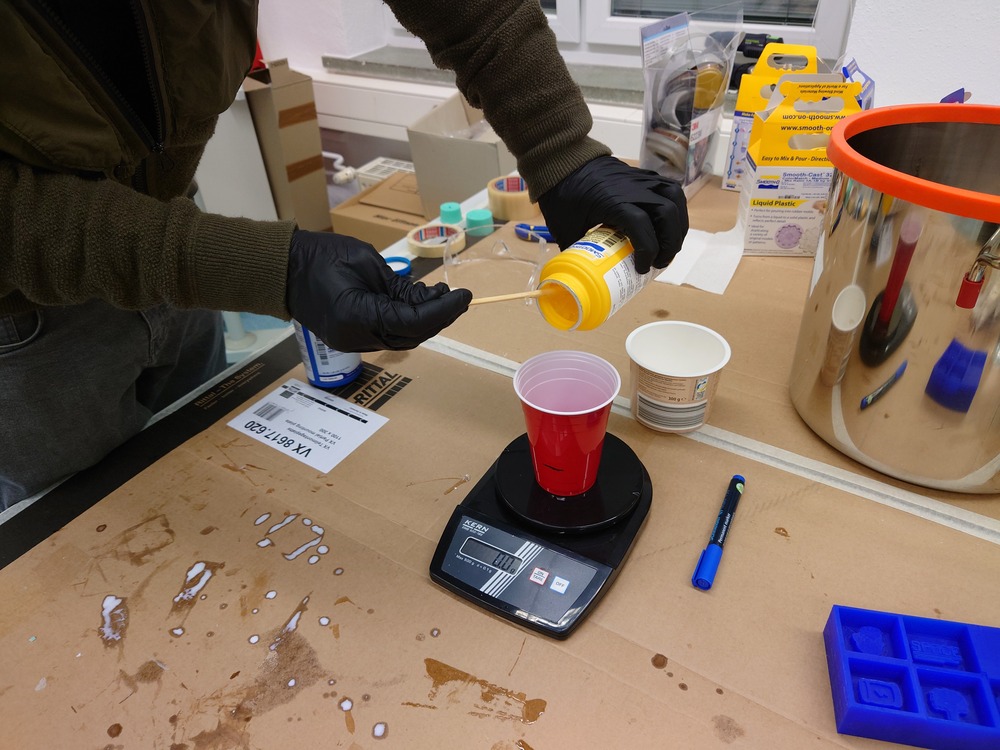
We measured 95.7g of water so we wanted a little bit more (in our case we used 105g). And so we used ~52.6g for each component.
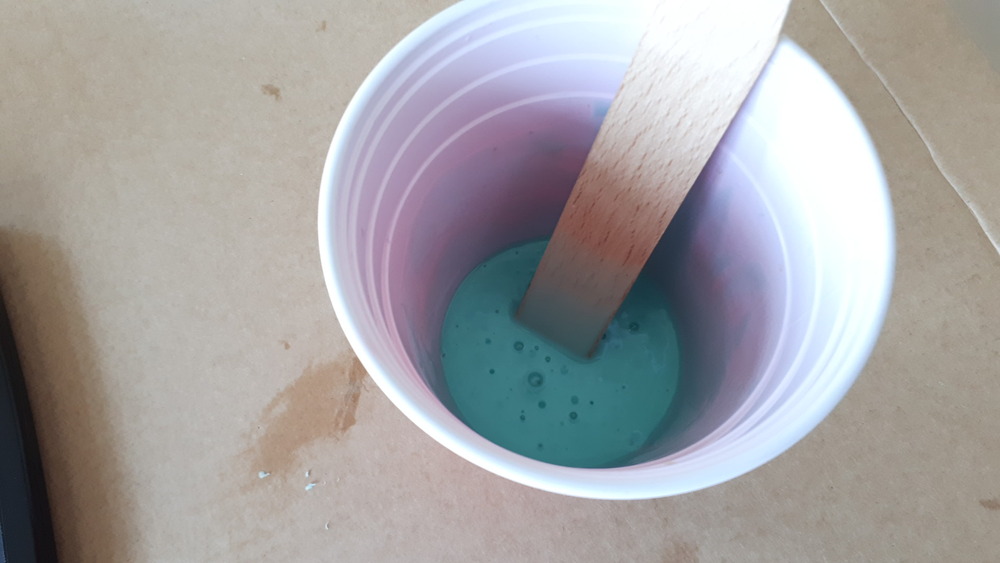
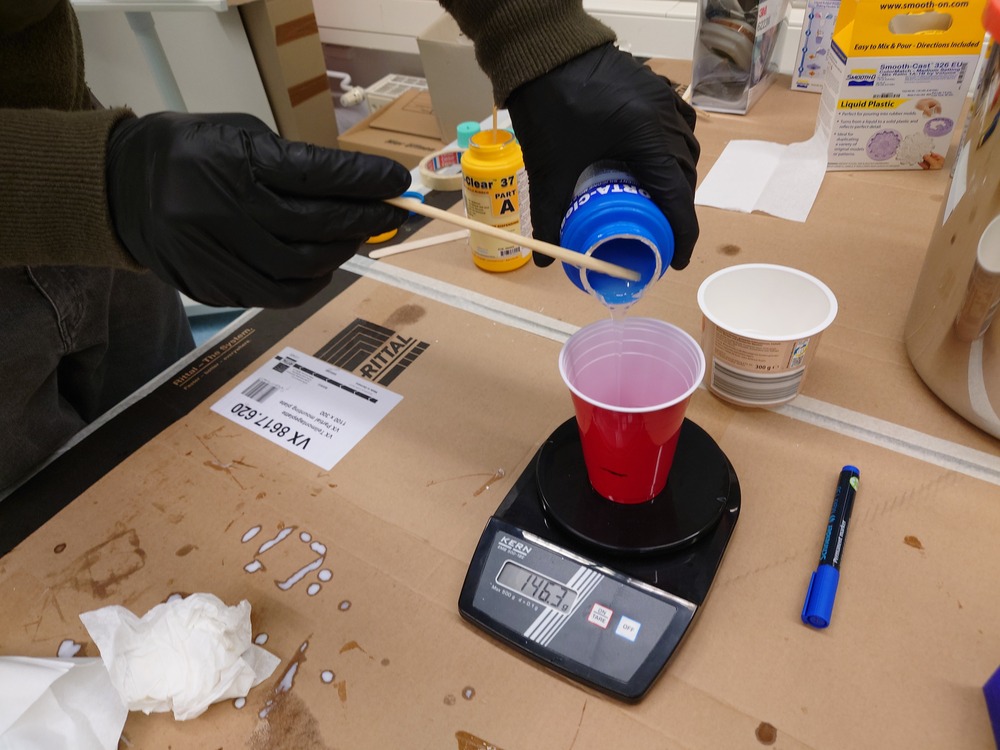
Then we need to mix the components thoroughly (while trying not to scoope):
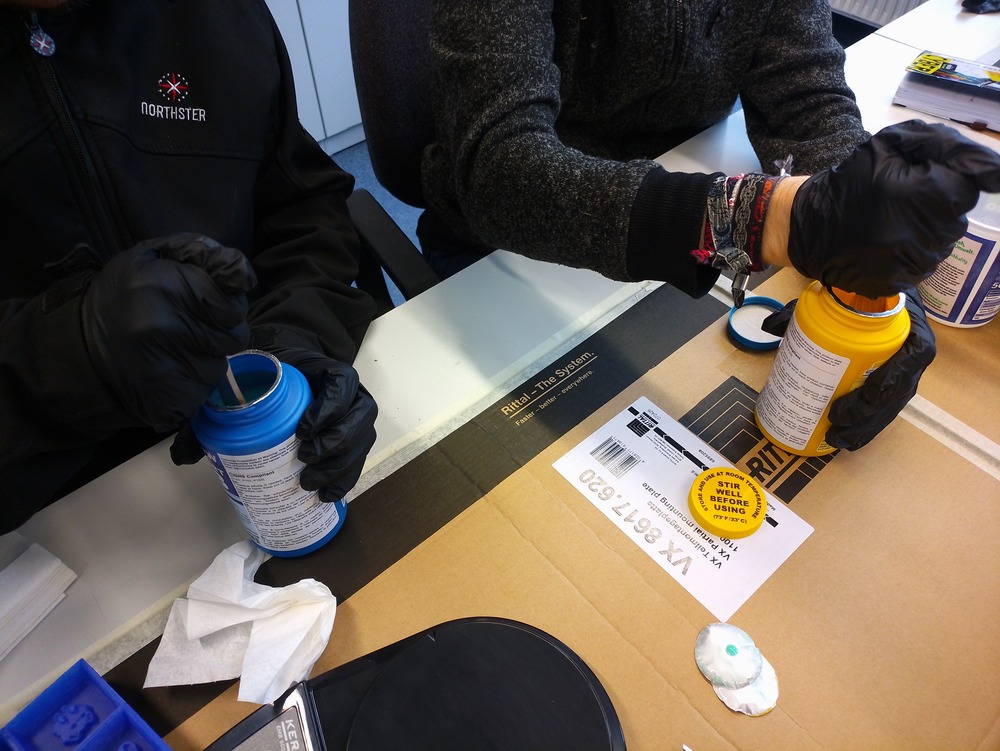
Next we mixed the components by checking the mixture rate with a scale to get a 1:1 mixture:
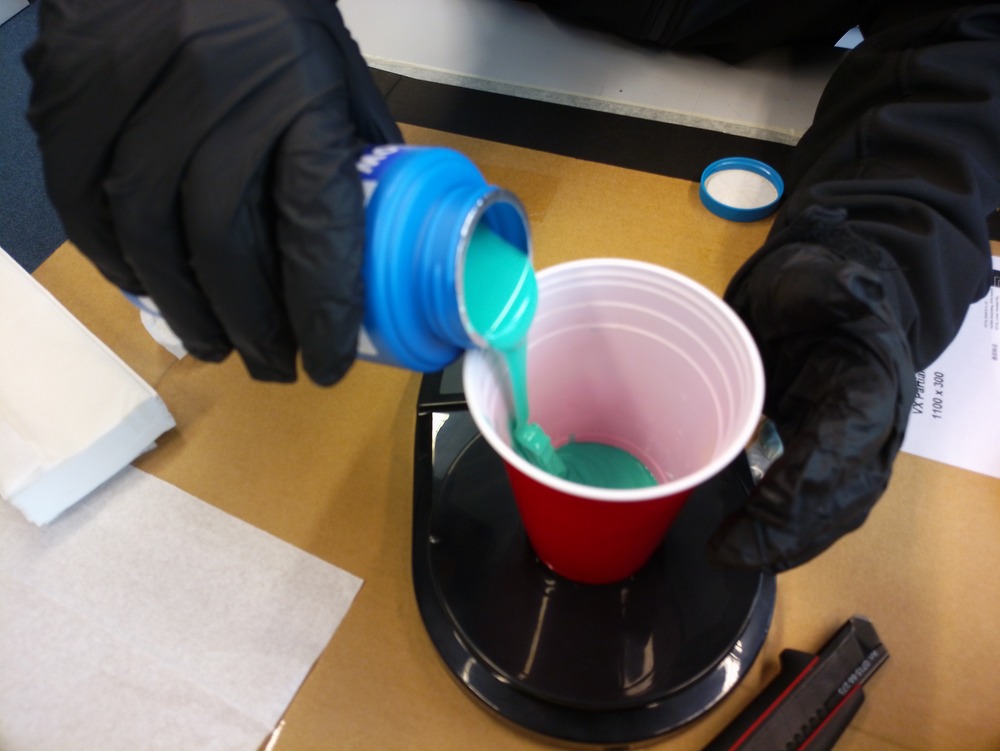
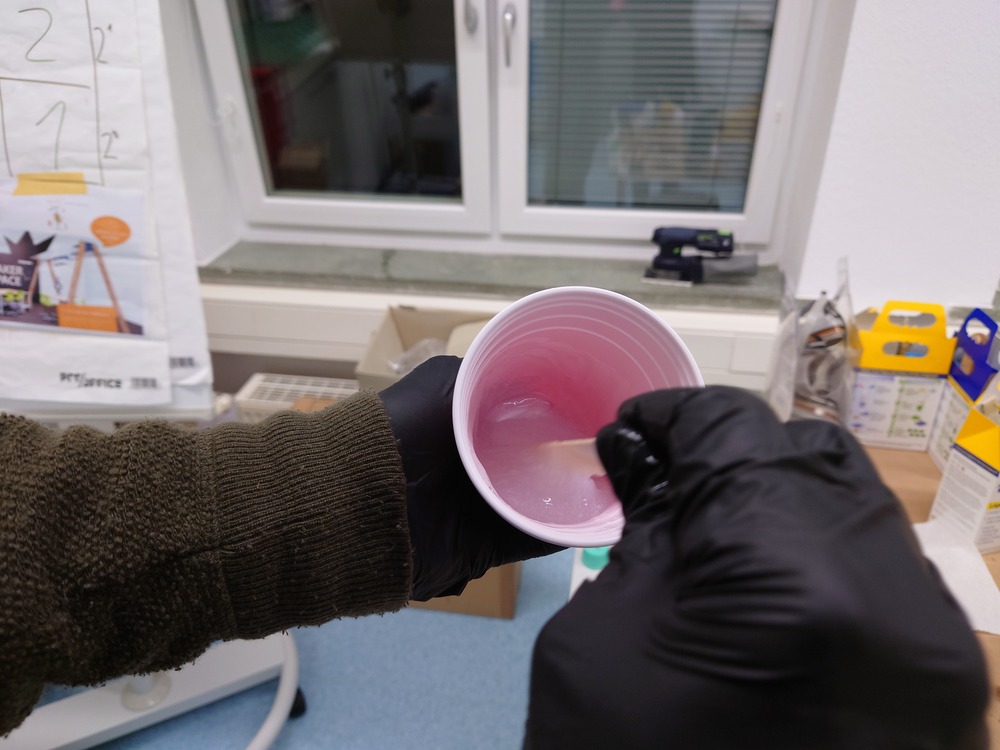
Then we mixed it very thoroughly (also no scoope), so that everything can get solid:
And then we degased it with a vacuum chamber:
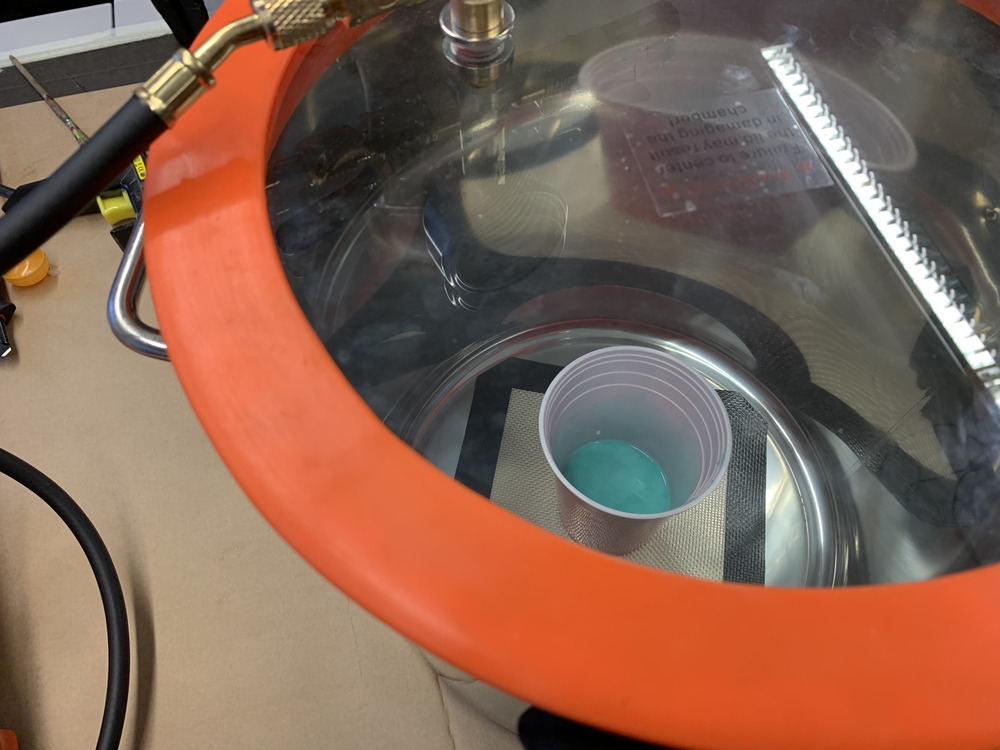
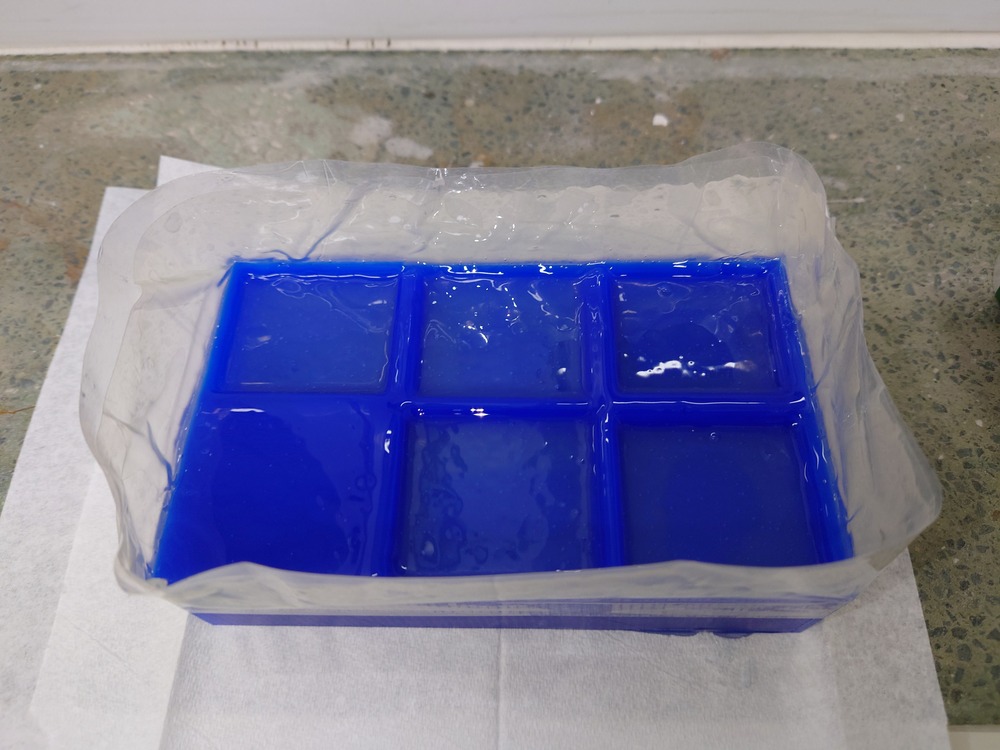
After that, we poured it into the wax…
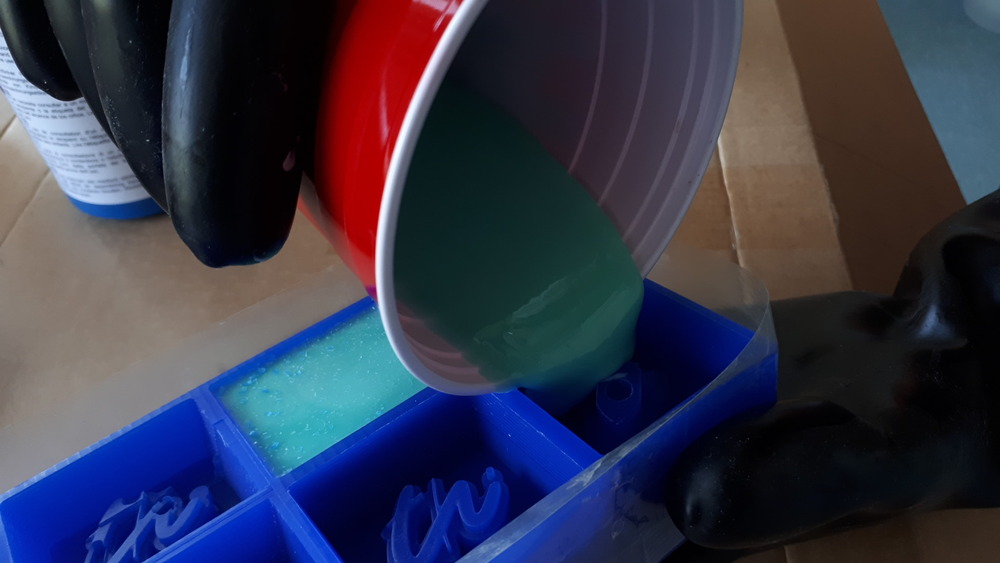
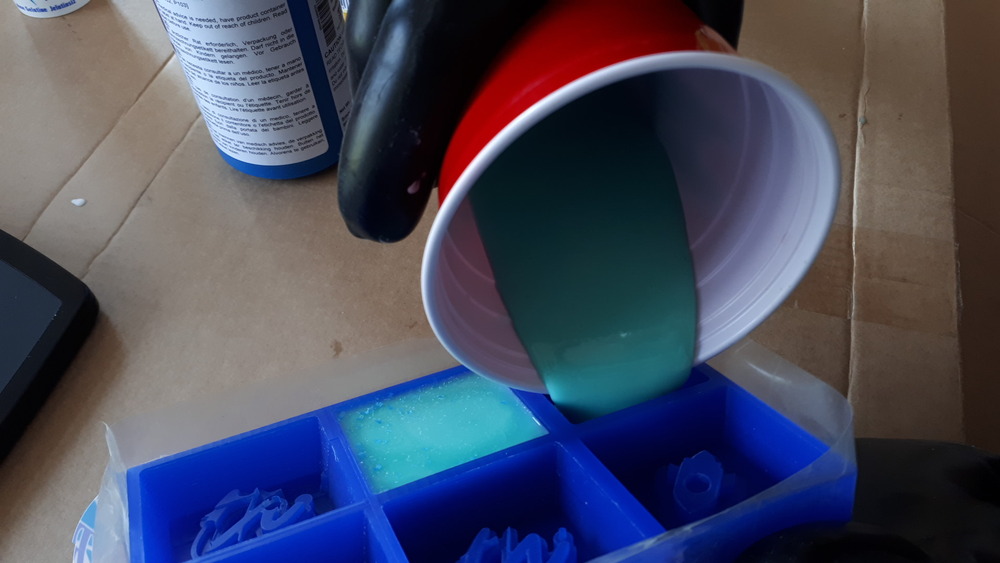
…and then again degased it again:
And after that, let it dry:
And after a while it was time to remove it:
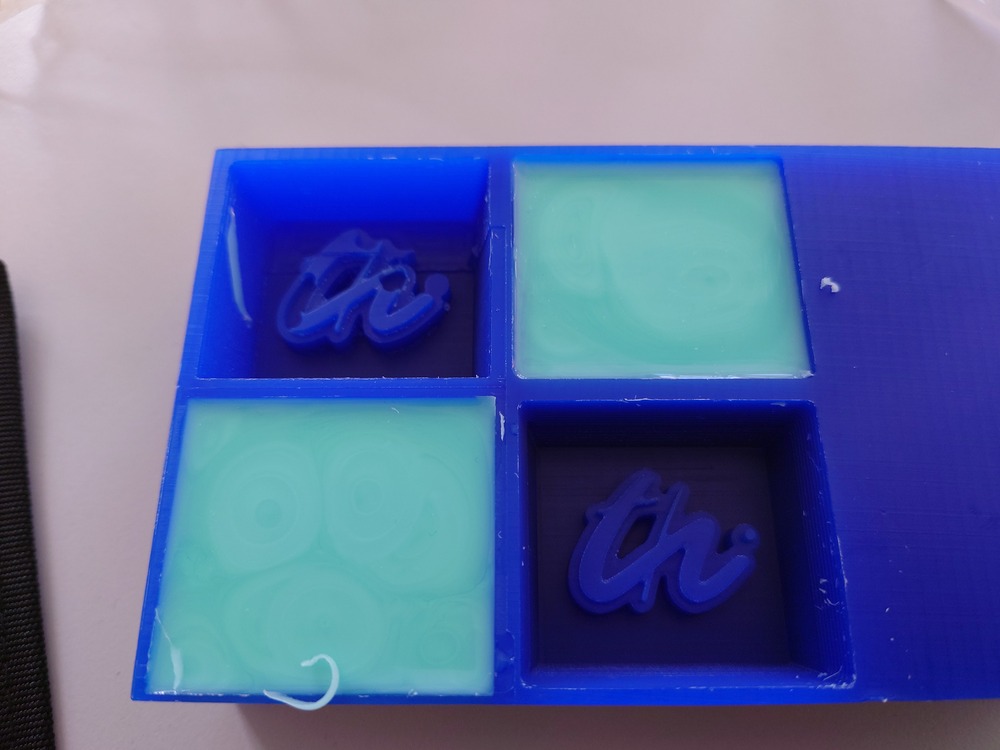
Which came out really nice:

13.2.2.2. Gelatine
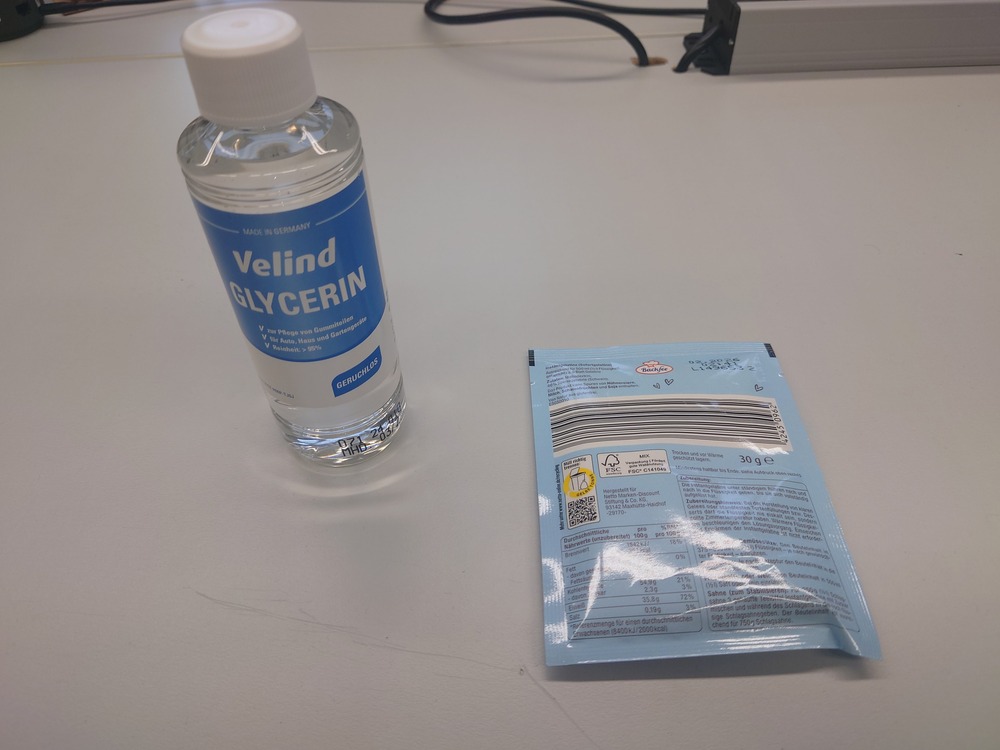
Then to mix a gelantine mold you need:
Ingredients |
Gelantine |
Glyzerin |
Water |
|---|---|---|---|
Mixture |
1 |
1 |
2 |
Then mix everything together
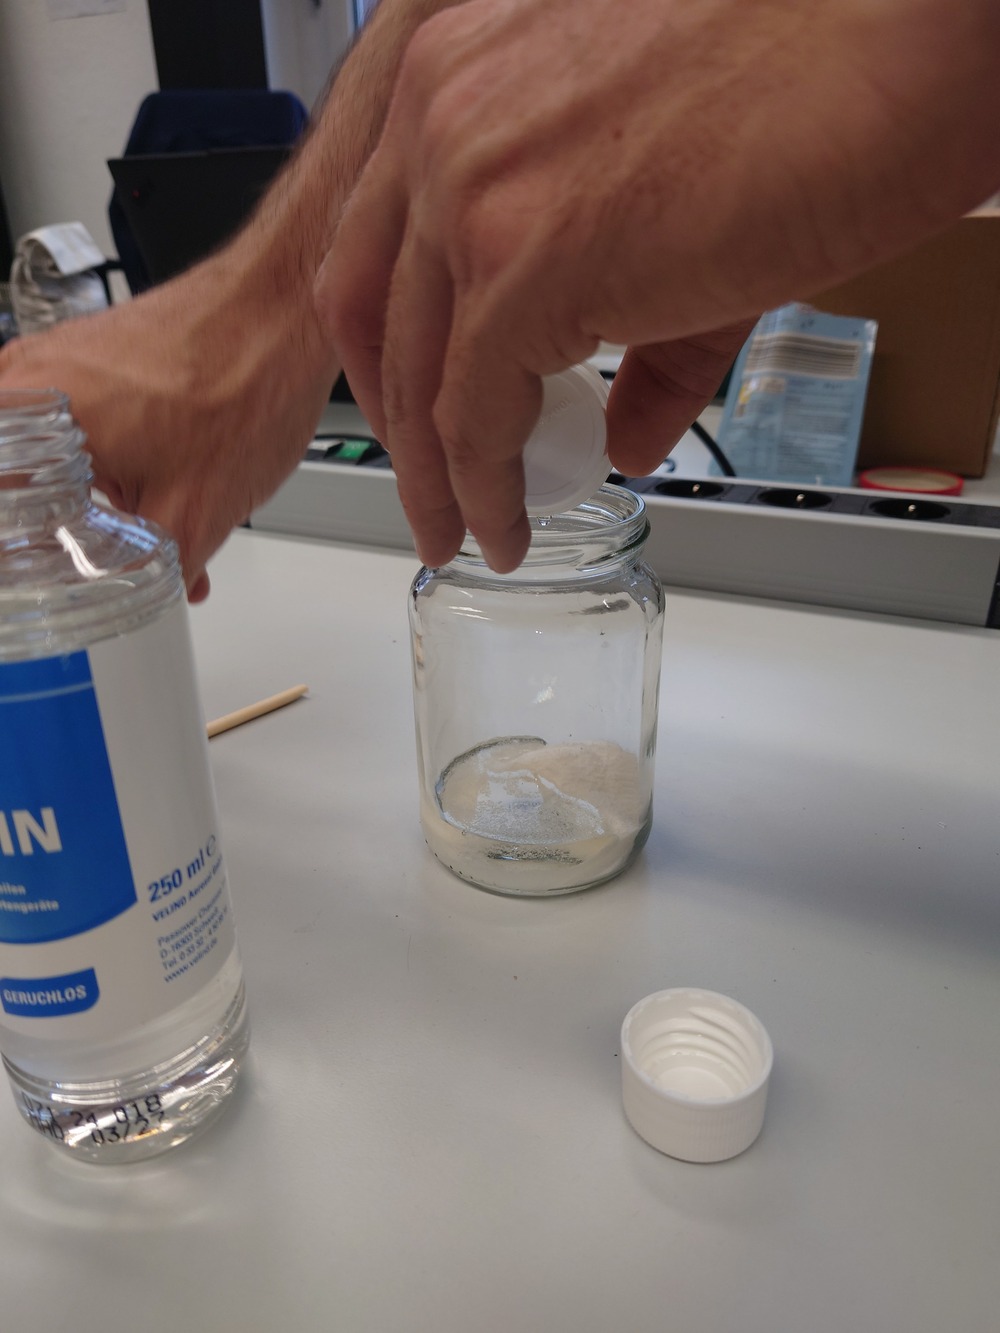
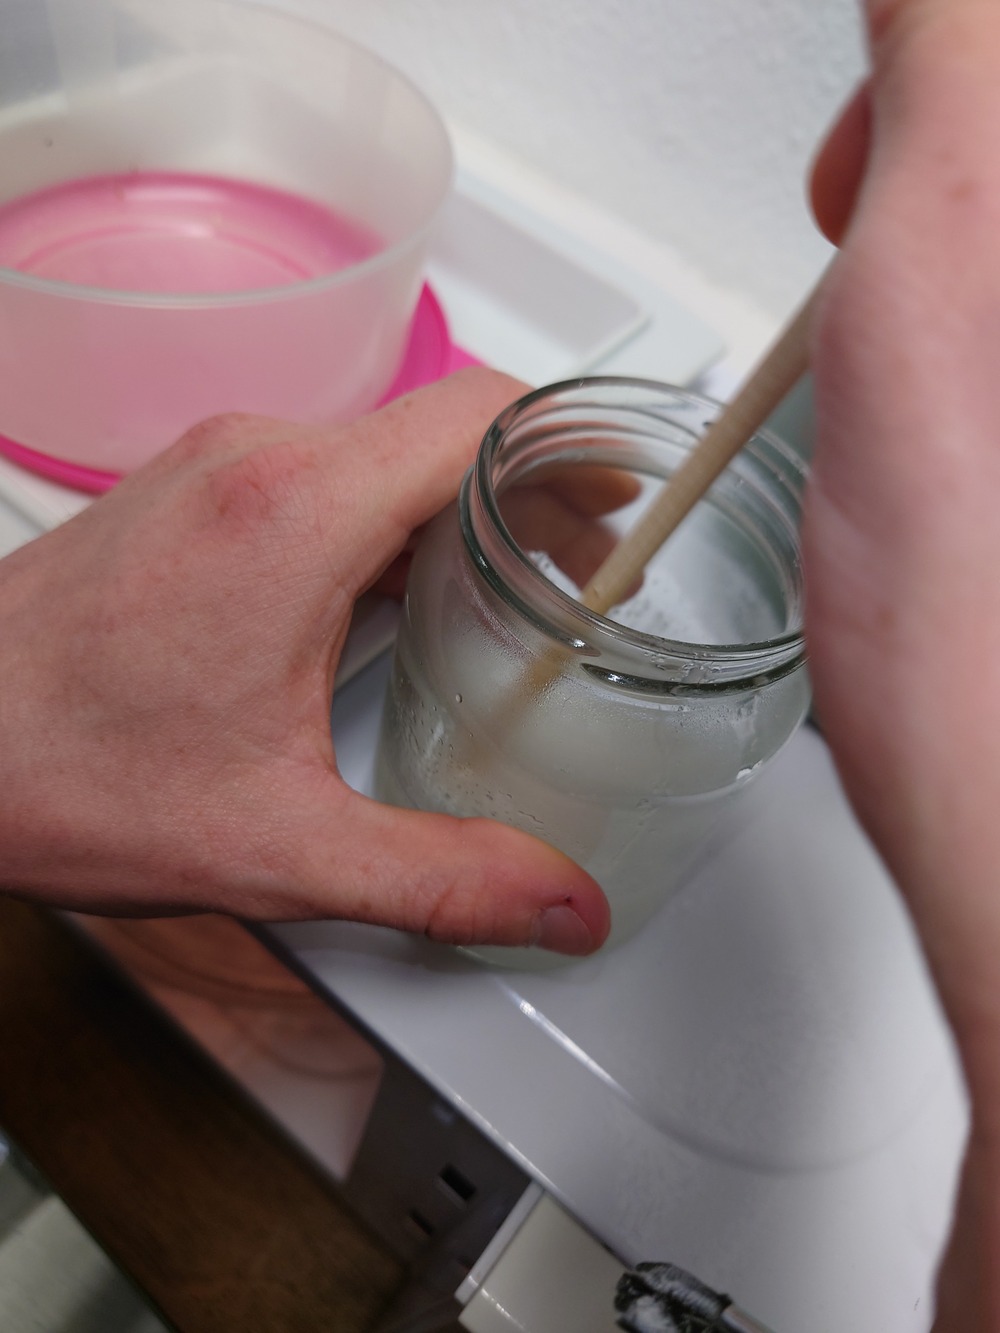
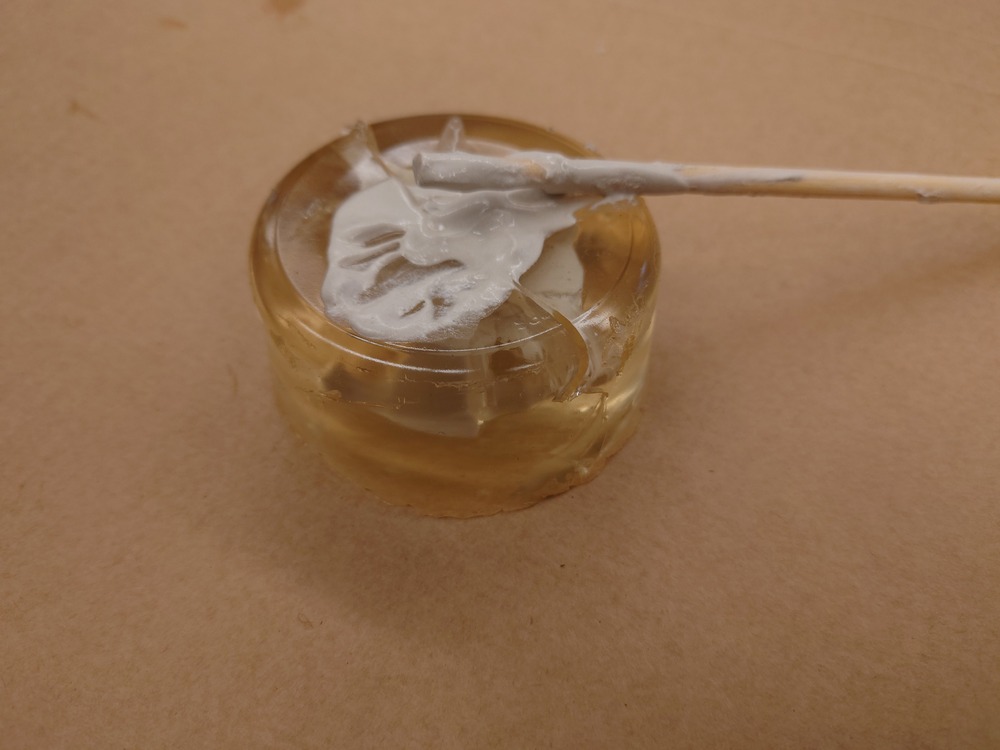
Heat it up but not to hot!!! :
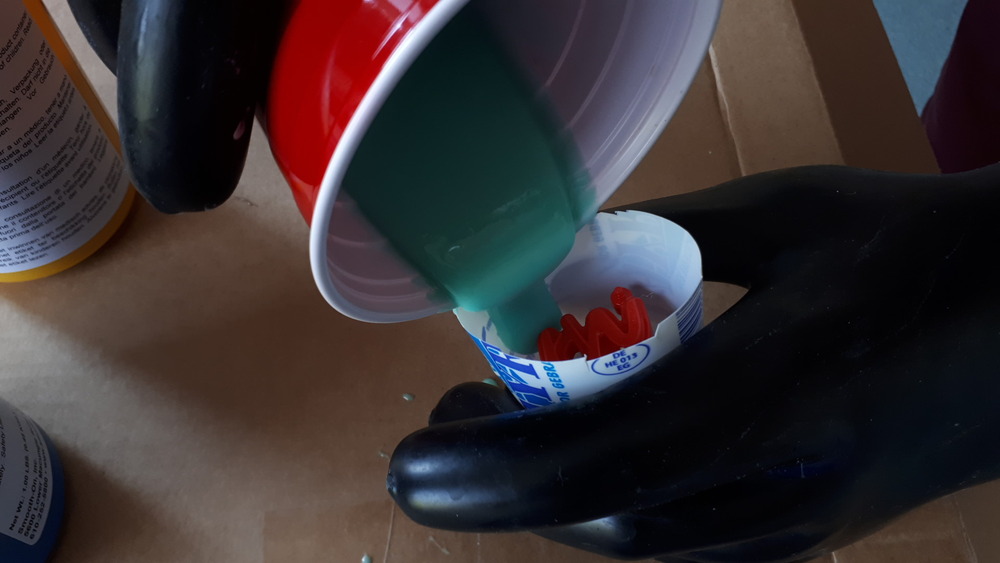
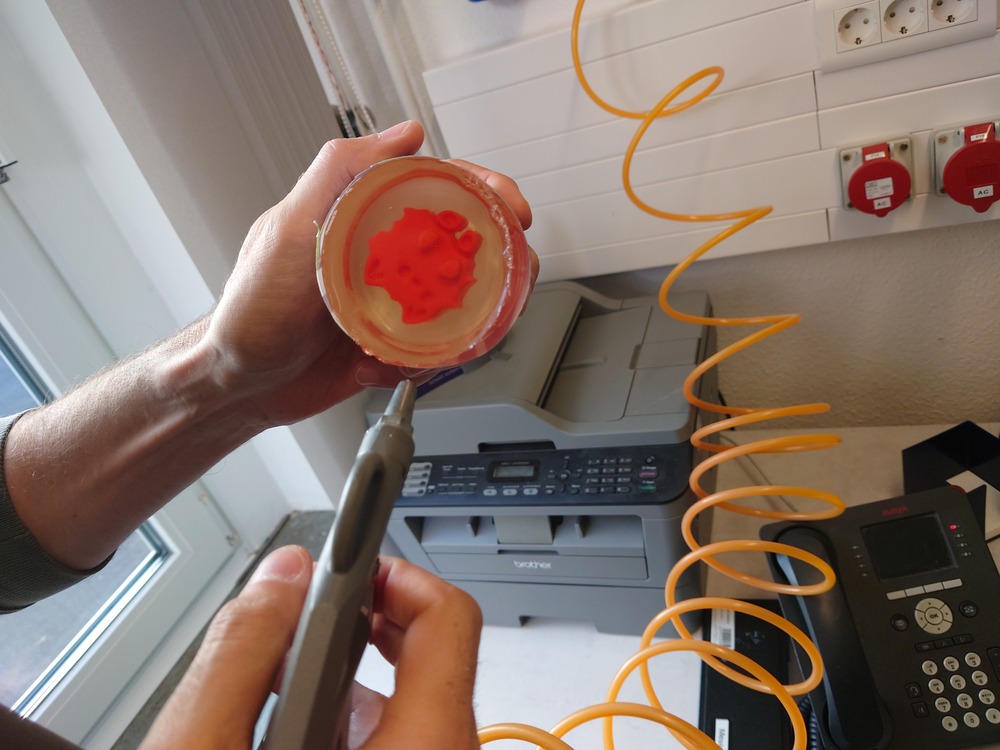
Then again create a positive (in this case a 3d print with aceton improved glued to a yogurt) and fill it:
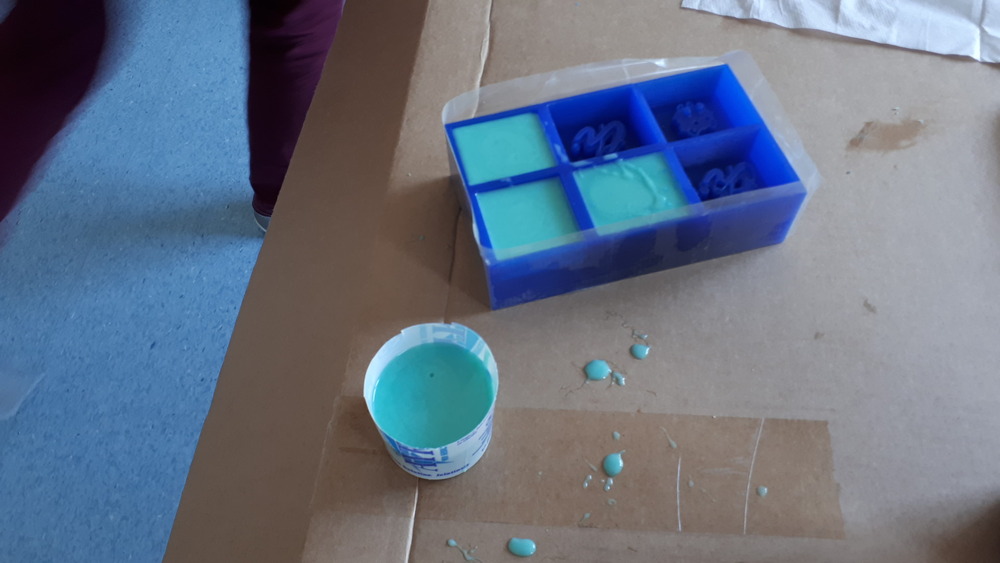
After filling, slap it a bit to get the air out (or again use the vacuum chamber):
…FREEEZING…
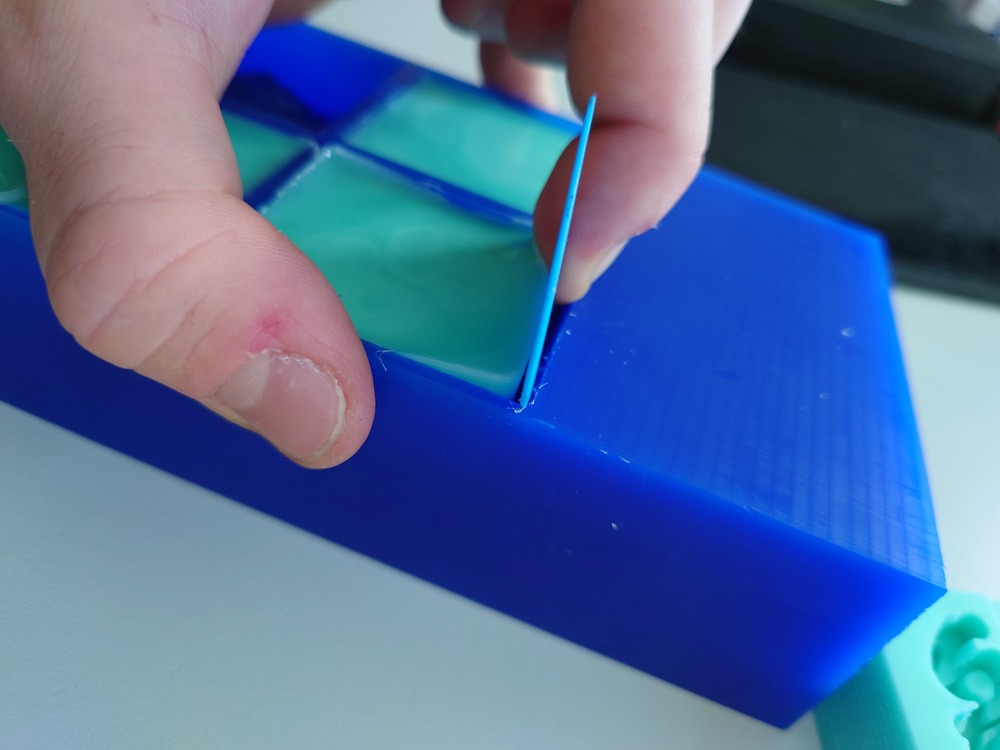
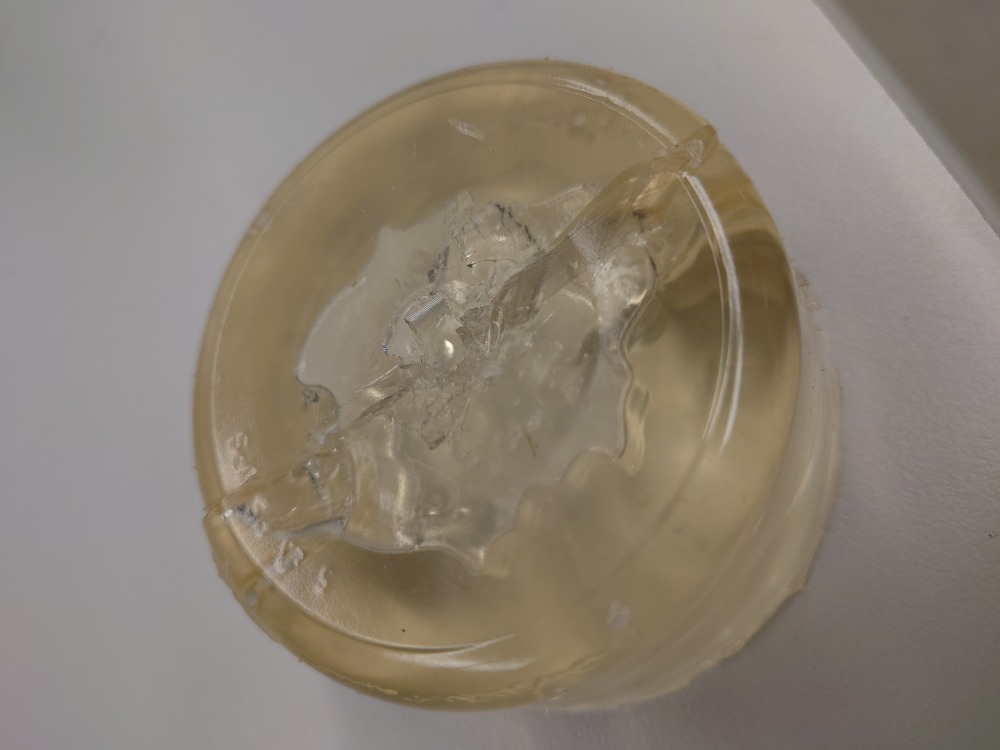
Then to get it out it’s easiest with high pressure under the mold:
And then make some cuts on the side to get it out:
13.3. Individual Assignment
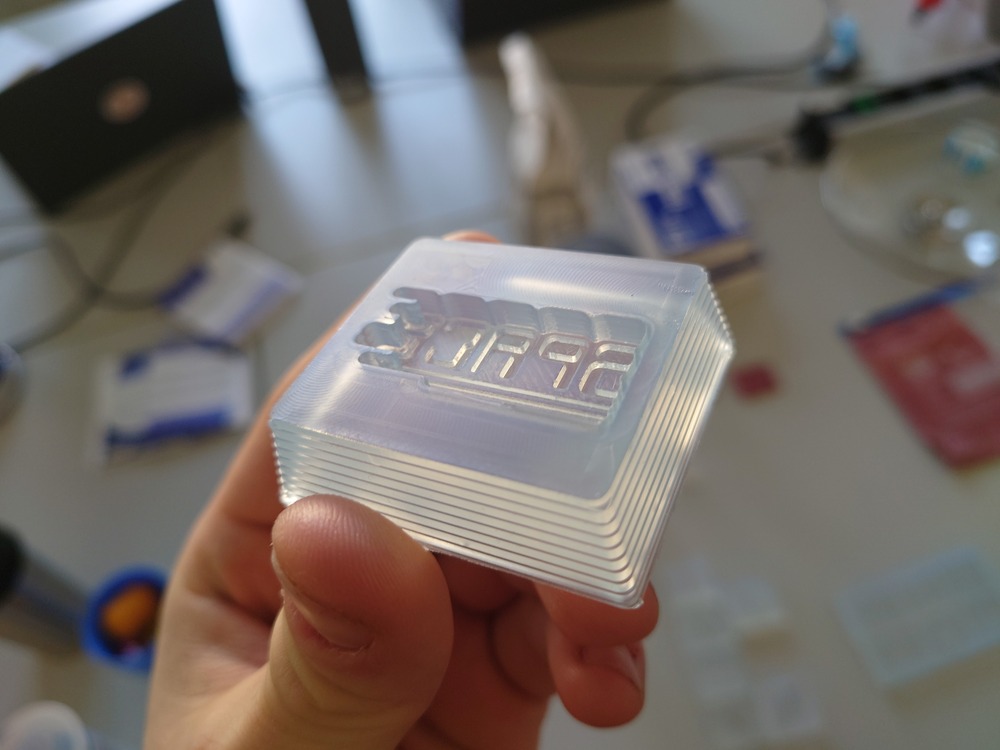
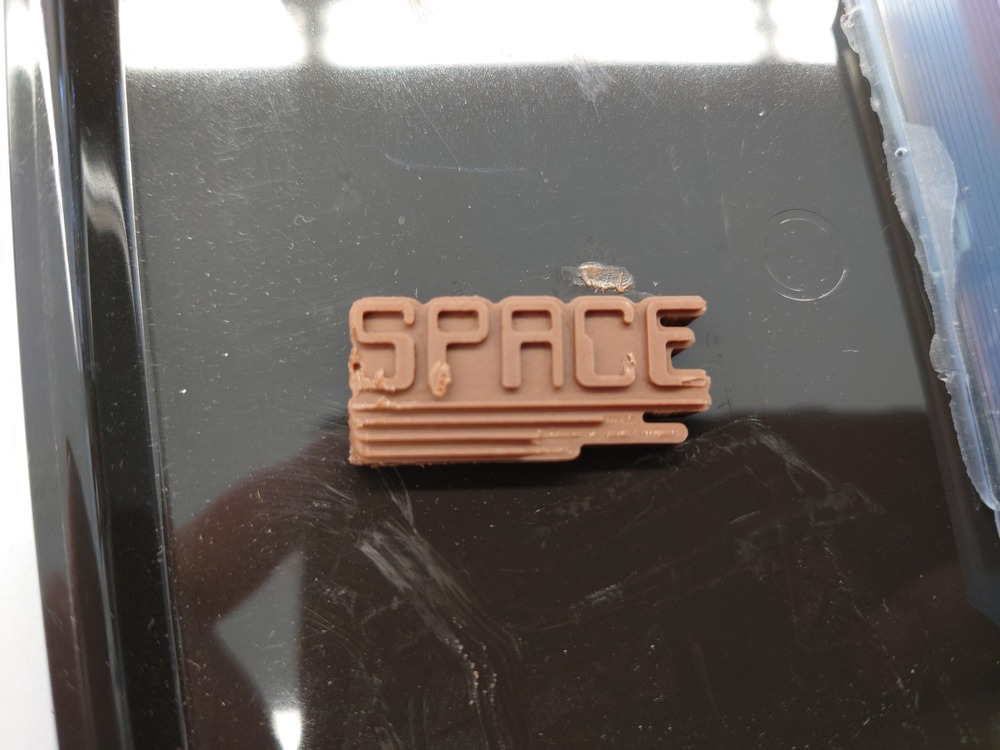
13.3.1. Creating a Space Mold Model
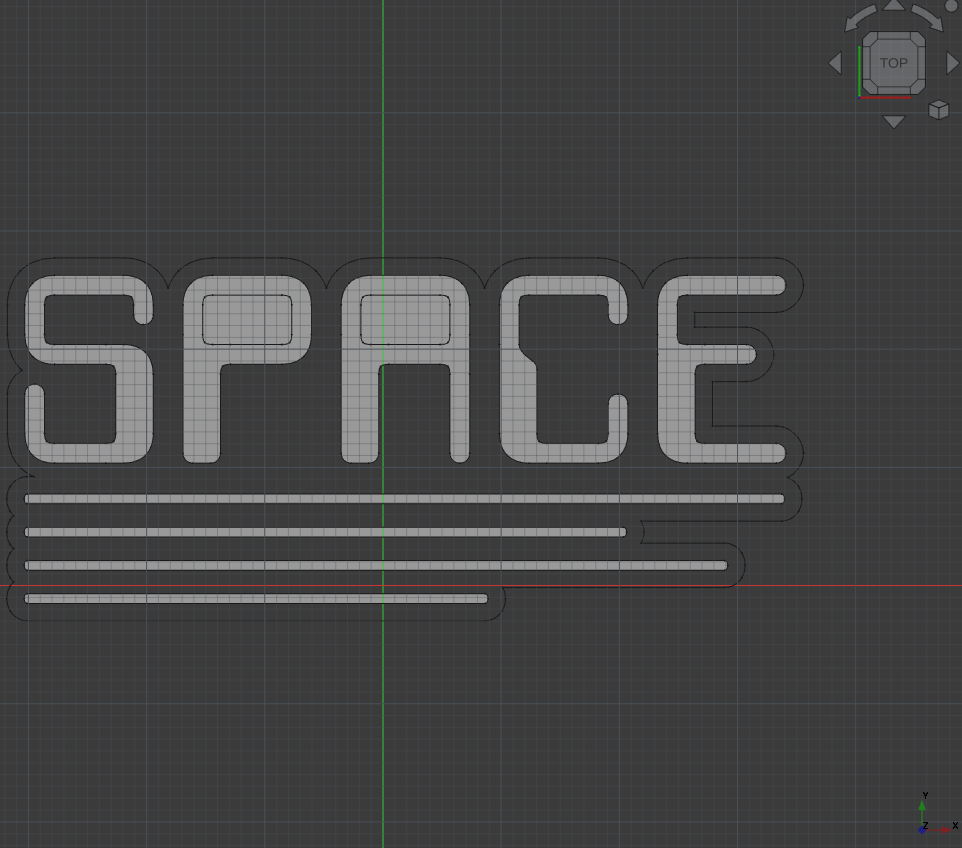
For my assignment I wanted to make a mold for making chocolate and I made it in the style of the logo from our hackspace (again).
13.3.1.1. Inkscape Preparation
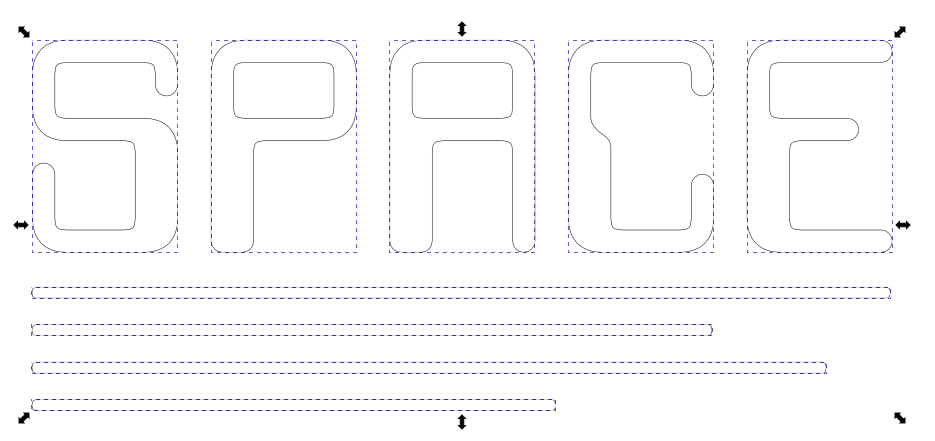
First I needed to improve the path of our Logo, because I wanted the get the outline of the path.
To do this, I:
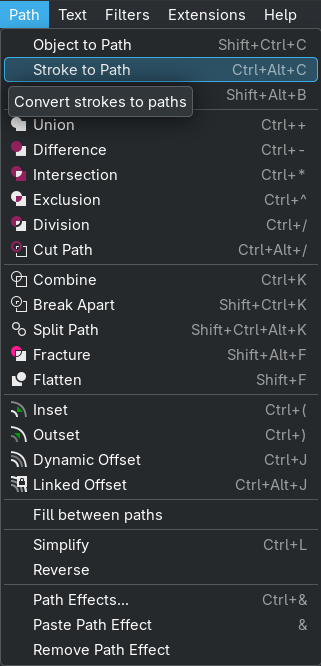
Merged the path above (those lines, that make the font a bit thicker are actually seperat paths) with:
Path->Combineand thenMade the outline of the stroke to a path (so the path looks like the actual font) with:
Path->Stroke to Outline
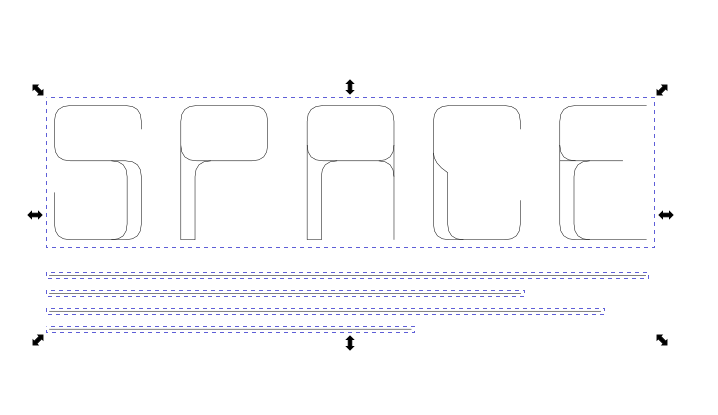
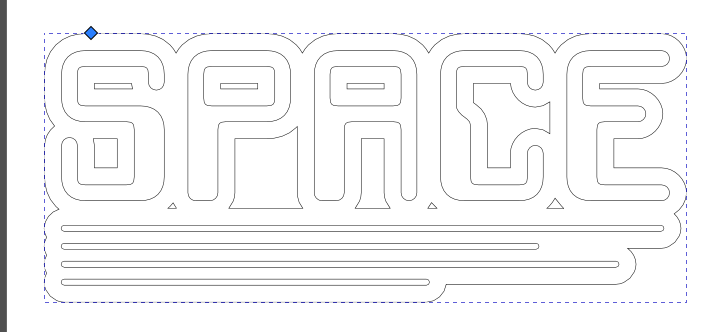
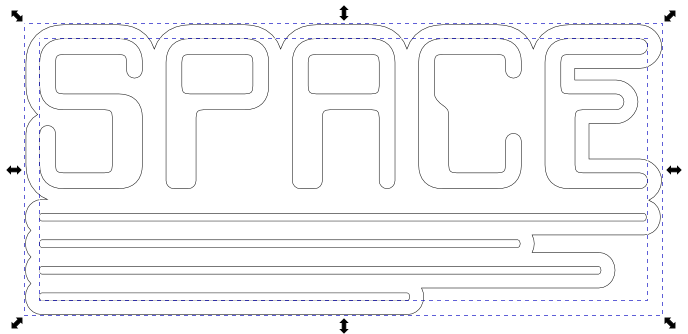
Then to create a cool outline as the base for the chocolate, Ferdi showed me the Dynamic Outline in Inkscape:
Create a copy of the path
Go to
Path->Dynamic Outlineand use it on the copy:

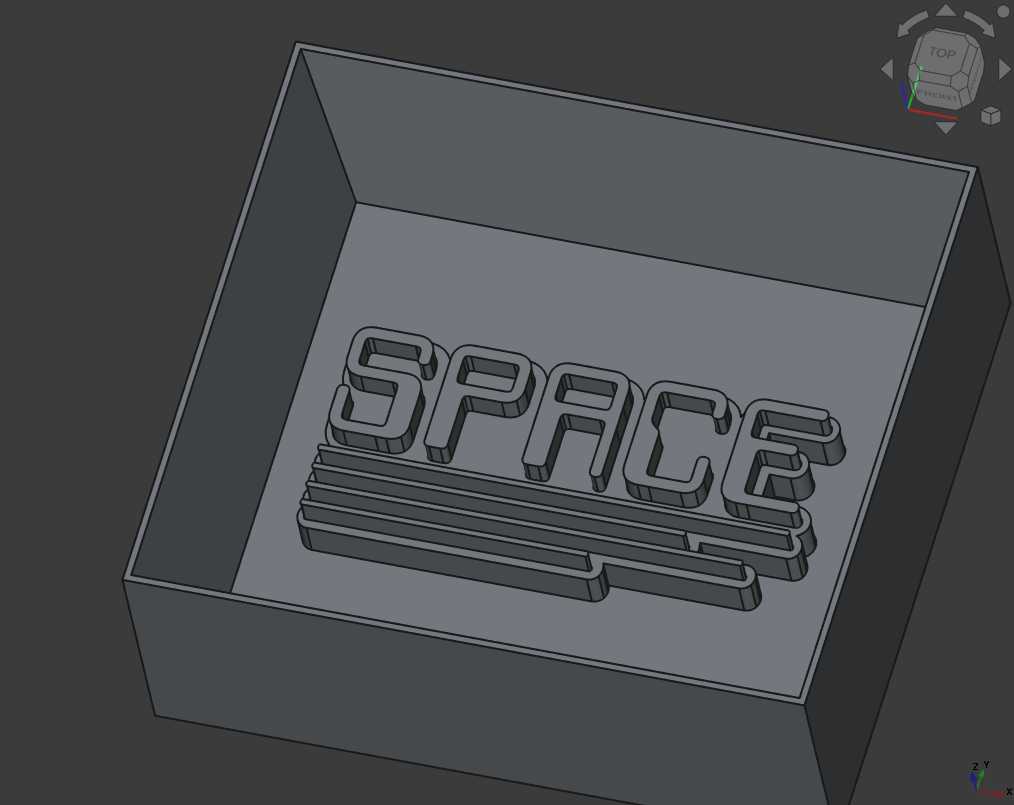
13.3.1.2. FreeCAD Modelling
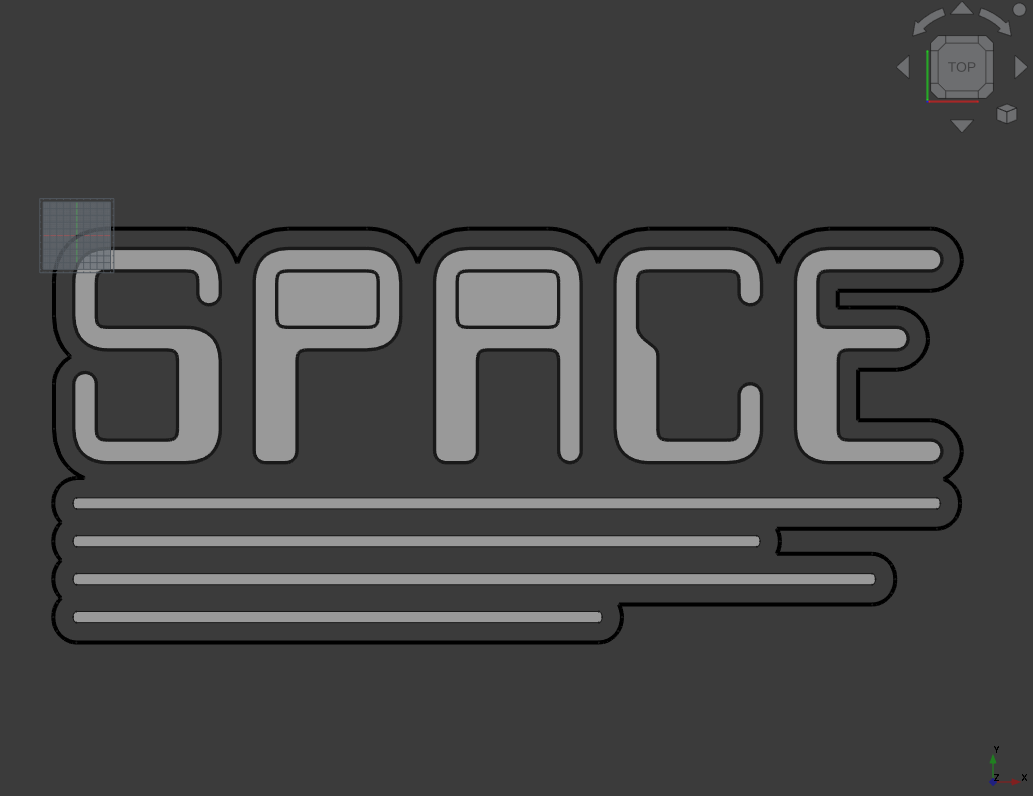
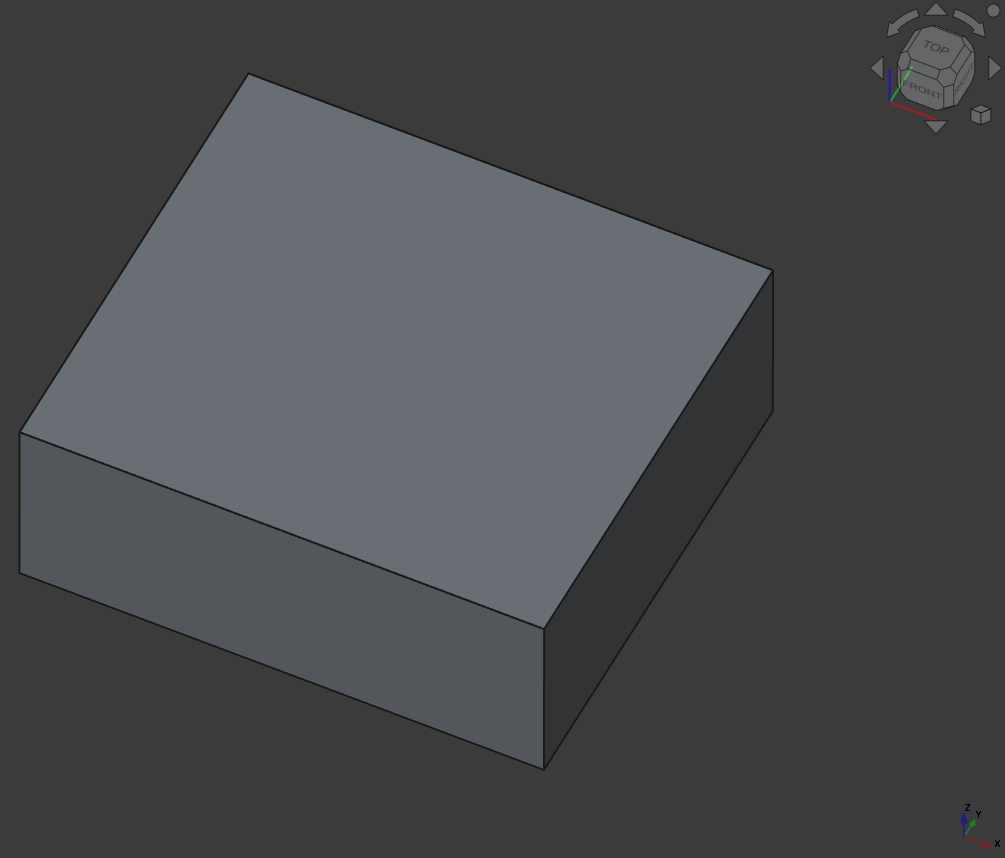
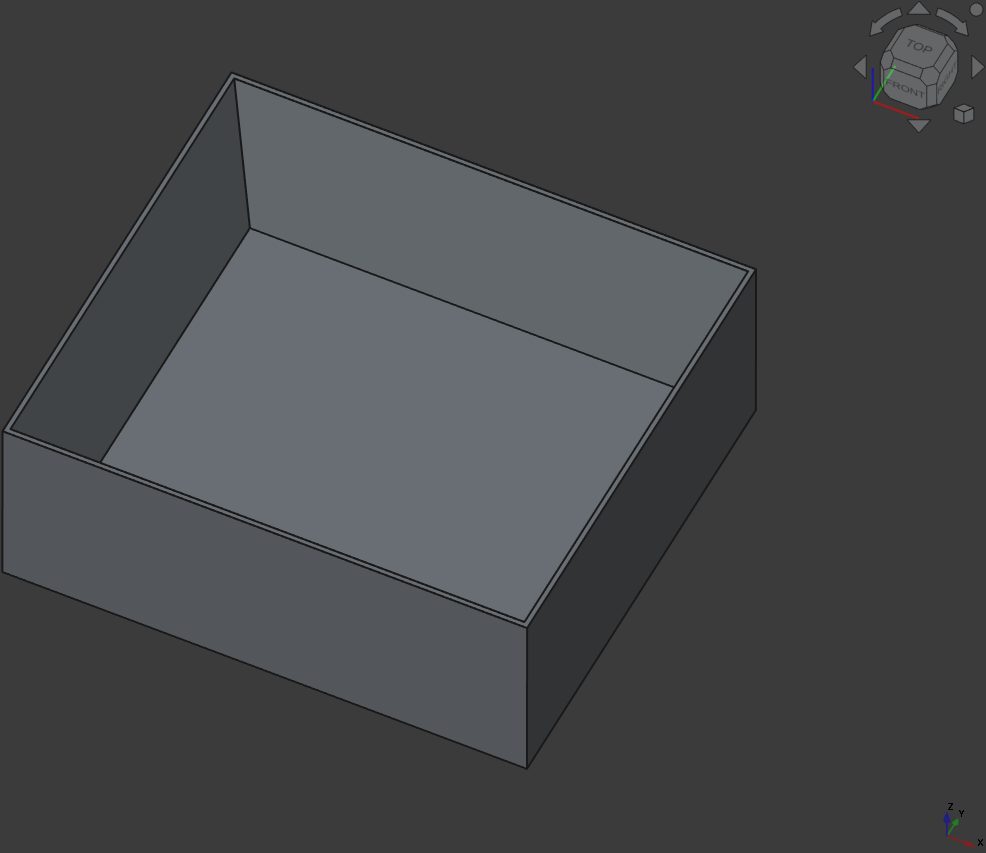
First I imported the SVG in freecad and resized it (it was made in the size of a banner).
Then to make a mold casting mold, I created a cube, added steep walls and extruded the font and outline:
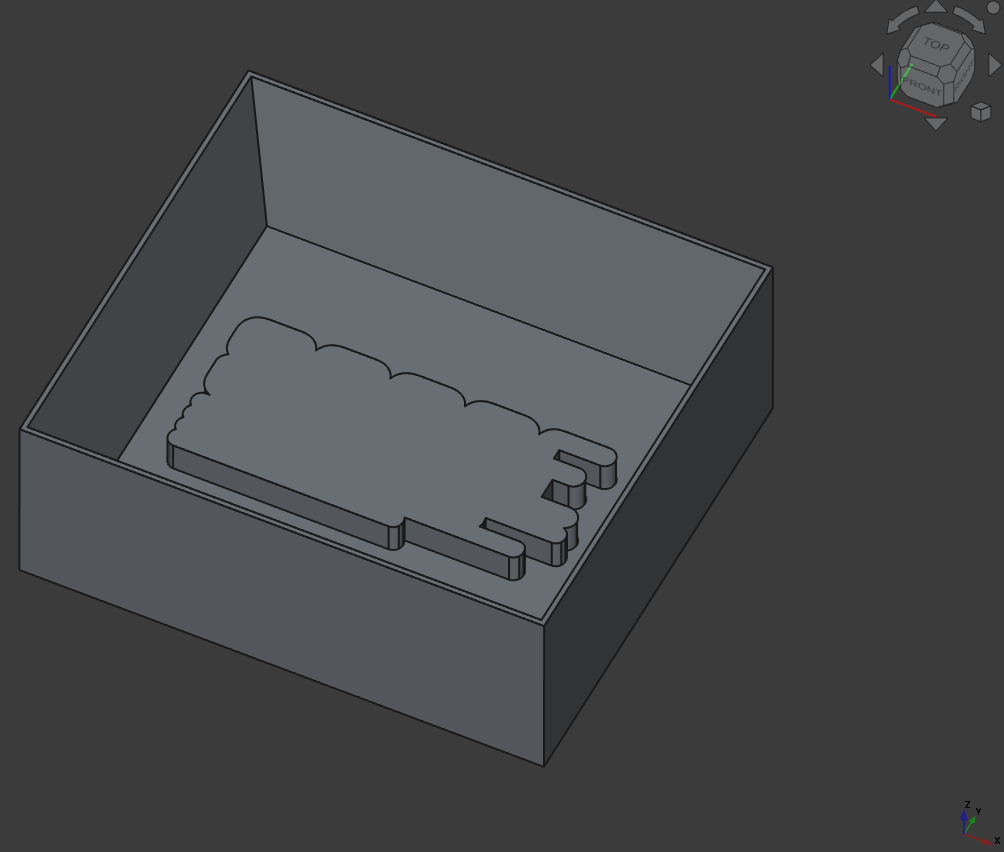
Here I first used the ‘Draft’ Workbench to convert the SVG path (only outline here) to a sketch (Draft to Sketch) and adjusted the size a bit in the sketcher.

And here the same, but with the other path.
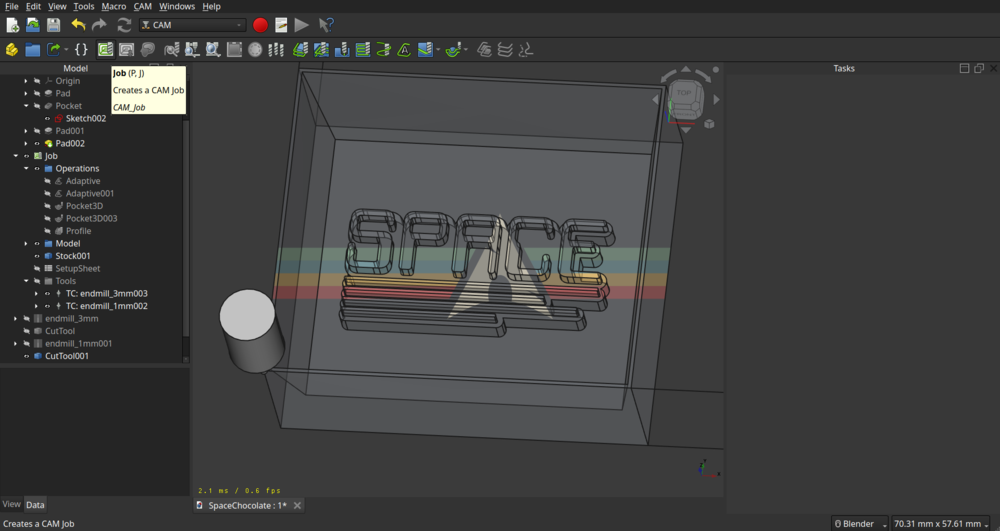
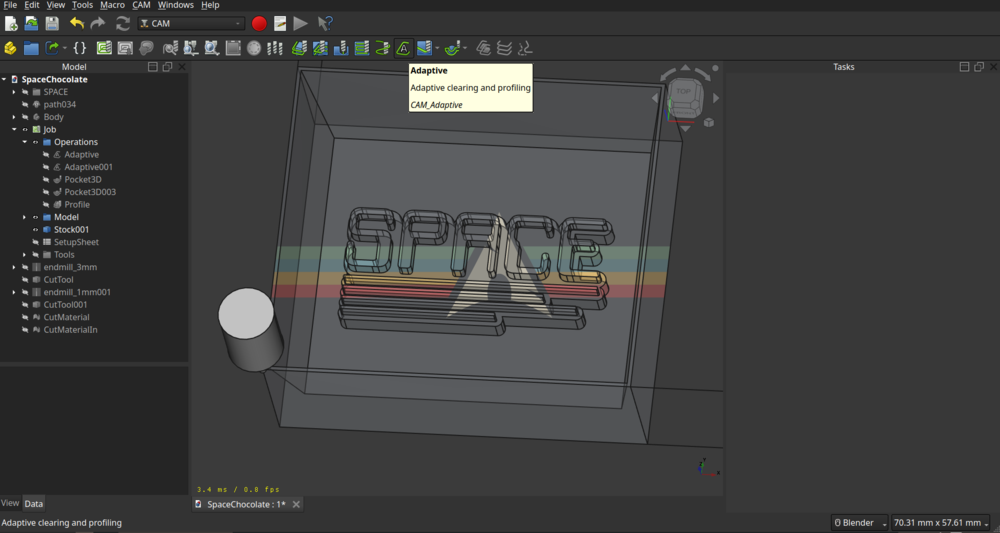
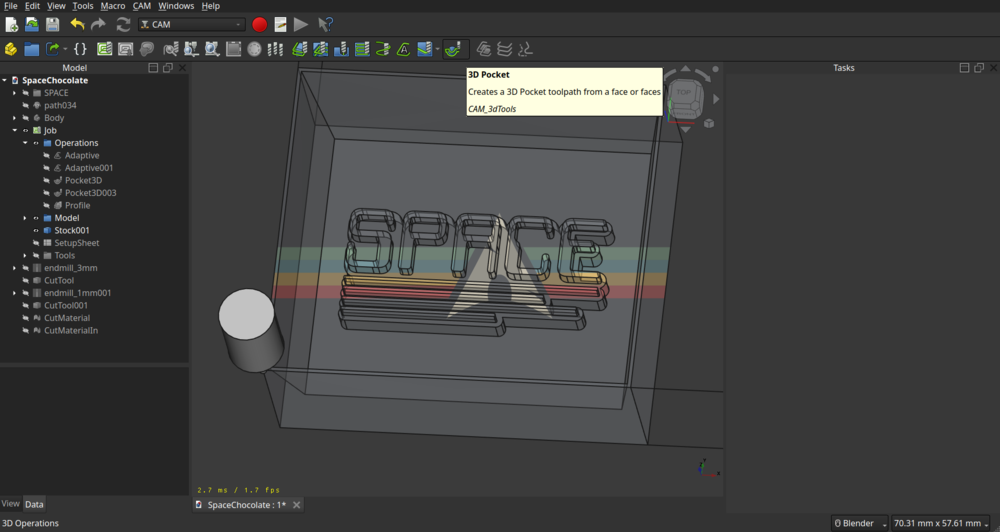
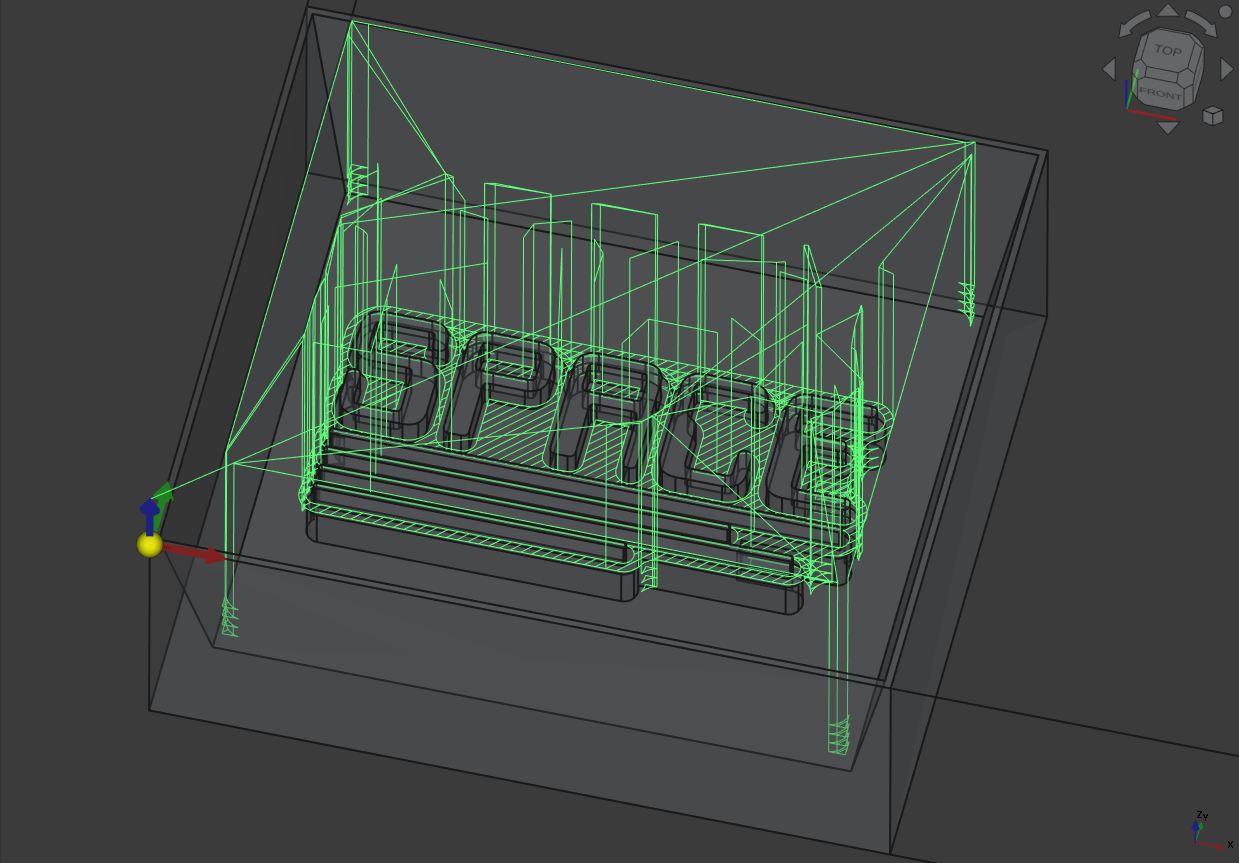
13.3.1.3. FreeCAD Path Generation
First you go to the CAM Workbench, presse JOB Setup and setup the needed tools, workpiece and initial feed rate and RPM. (Ignore the Arch-Logo behind the model ;])
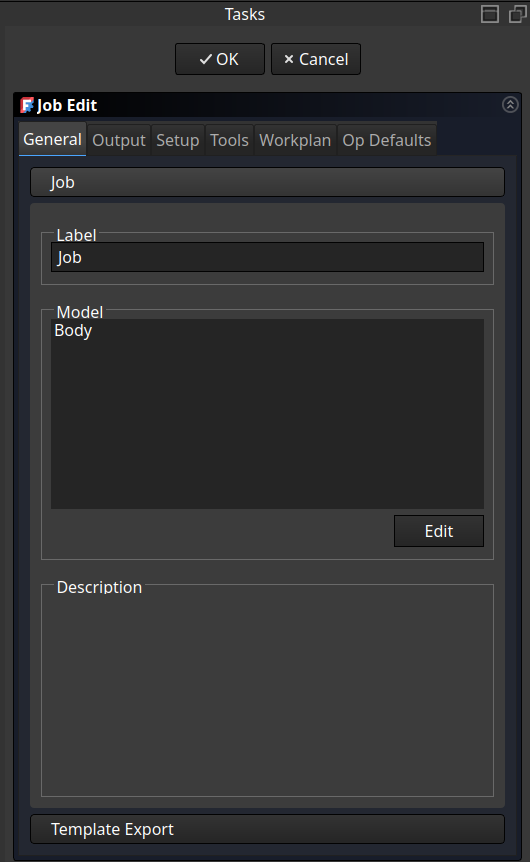
Select and add the body to the job
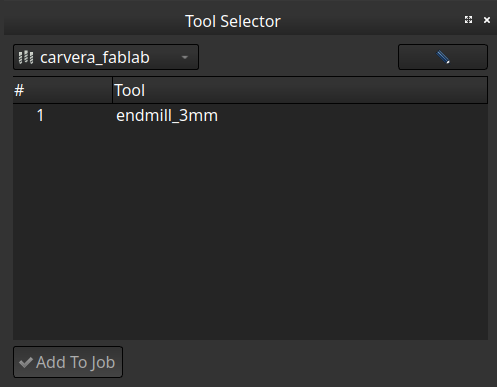
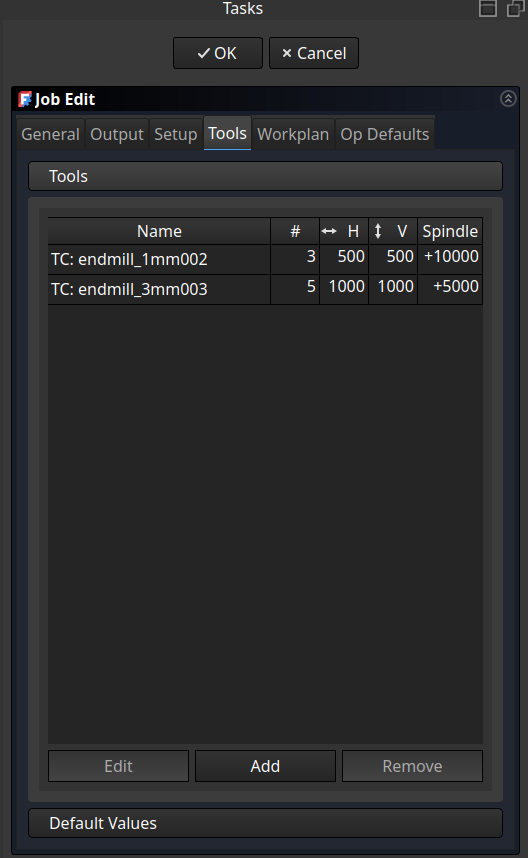 Add tools to the job and set the machine settings
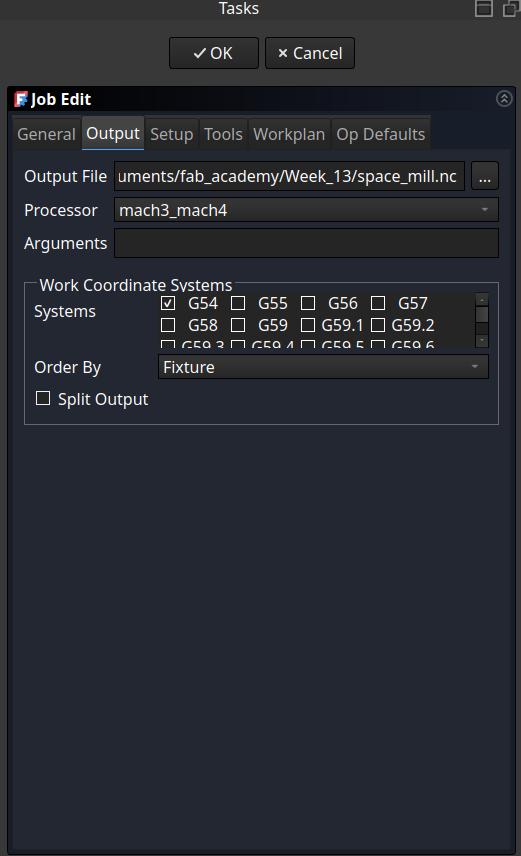
Change the processor the one used on the mill (in our case mach3/4)
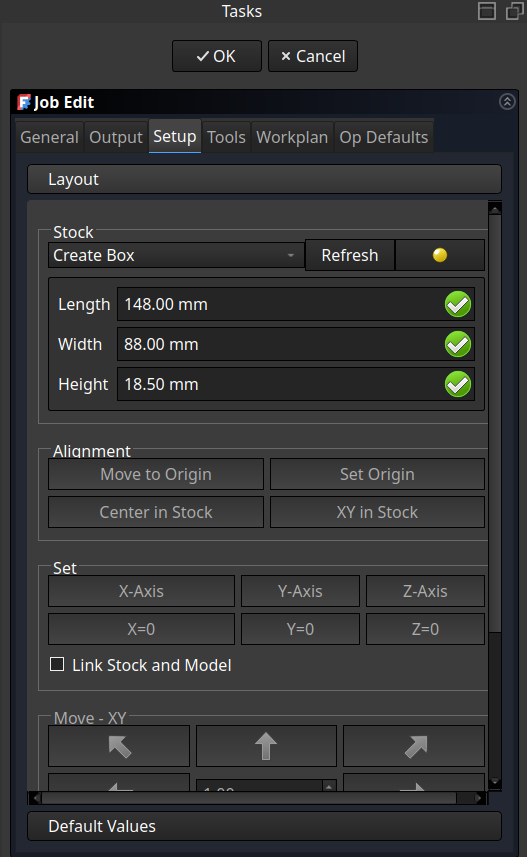 Adjust the stock material and set the origin point on top of the model to mill!
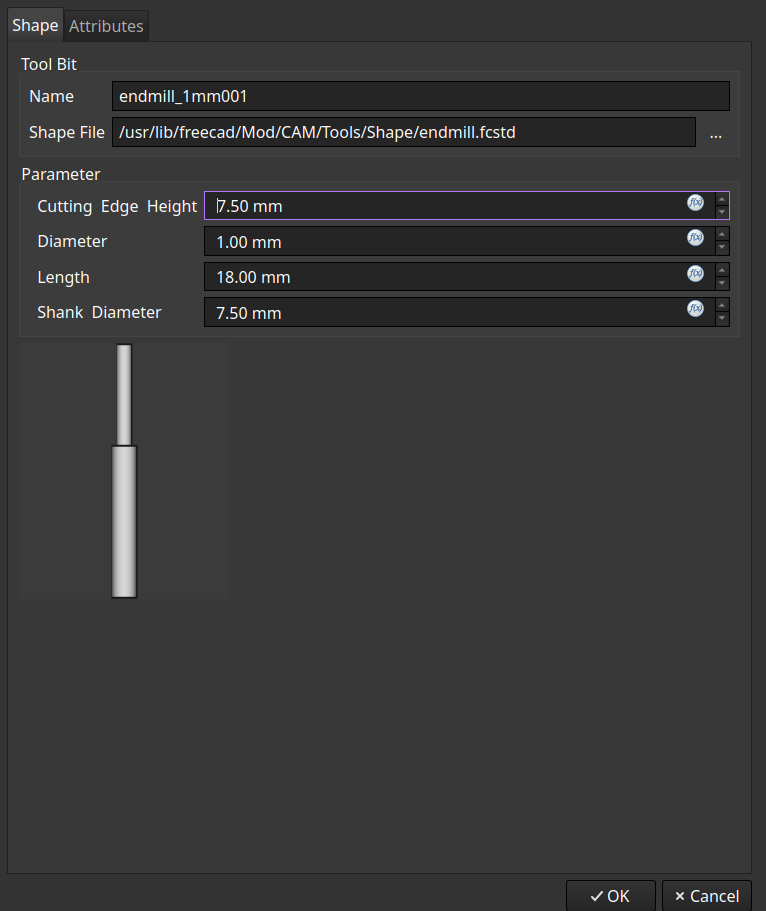
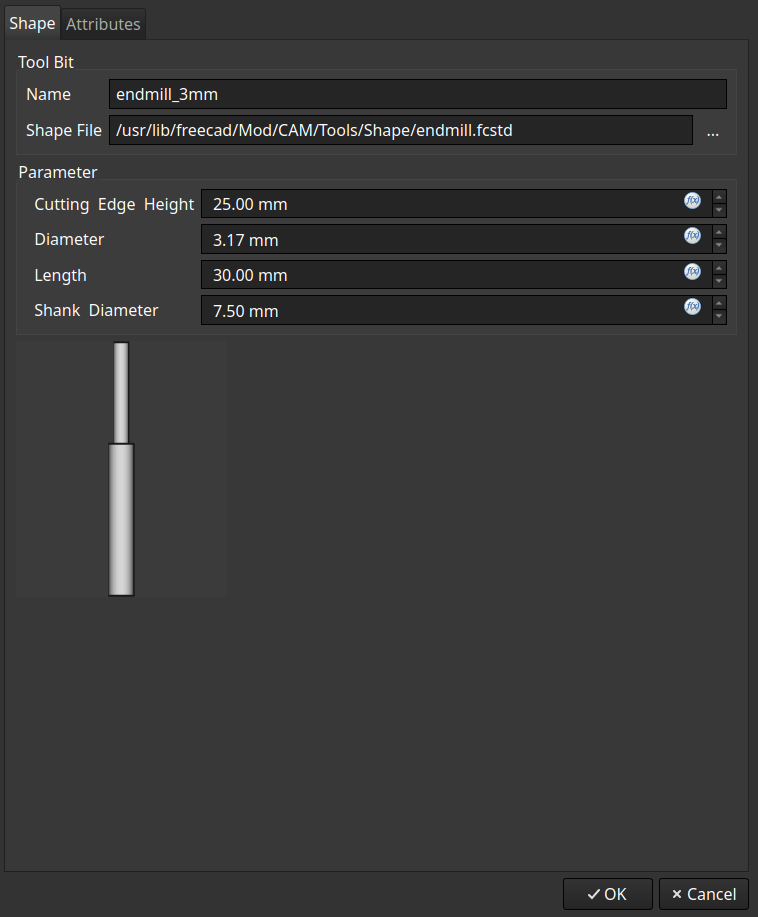
And don’t forget to set up the tools with the right dimensions:

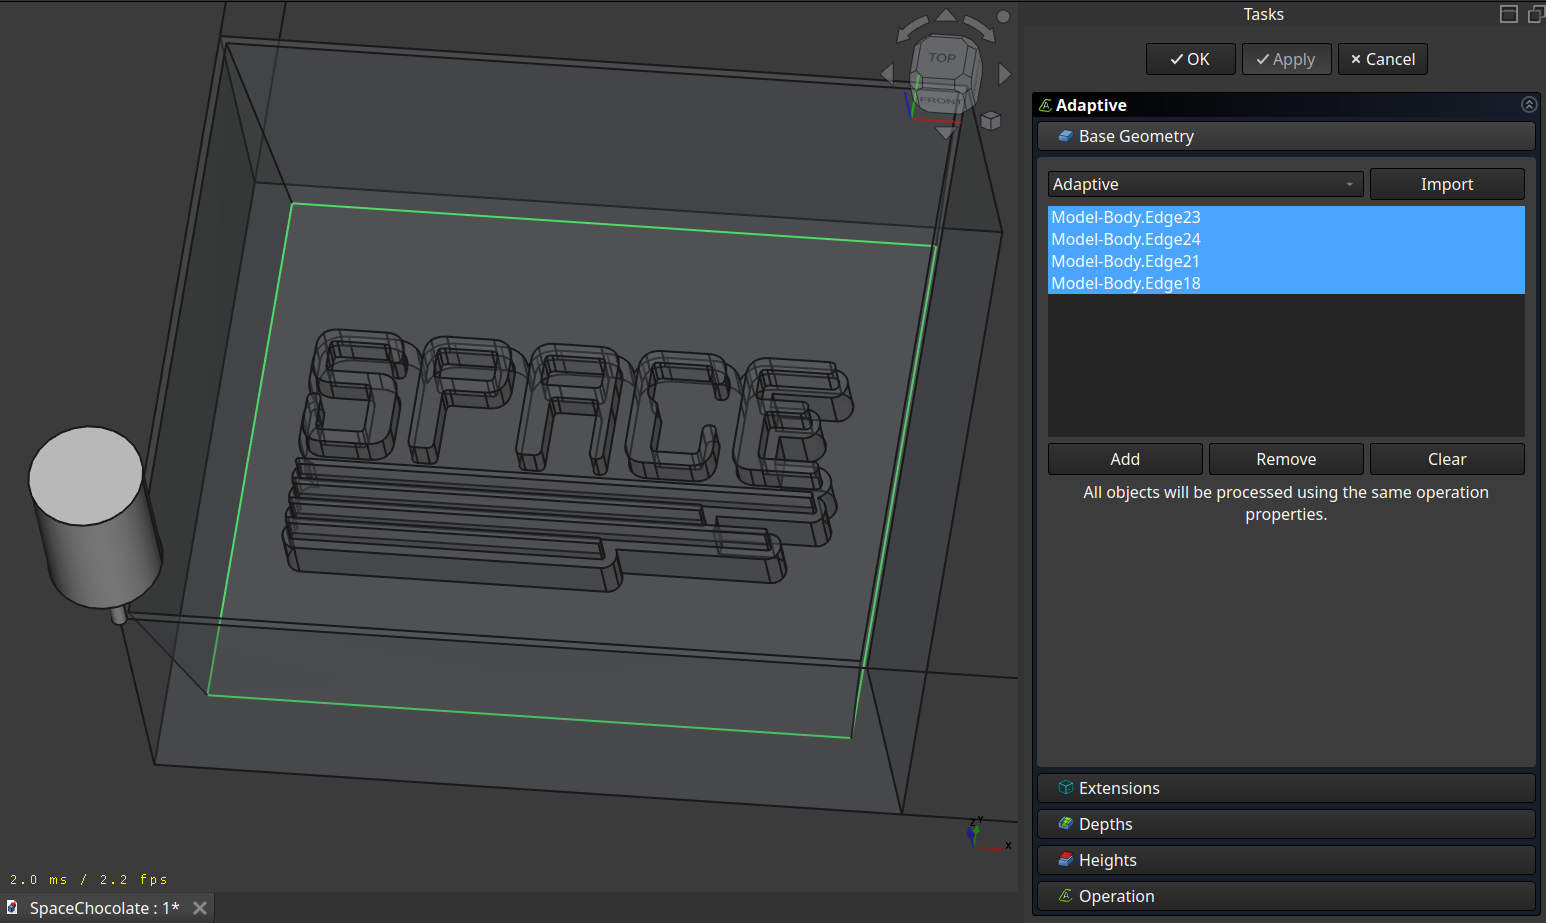
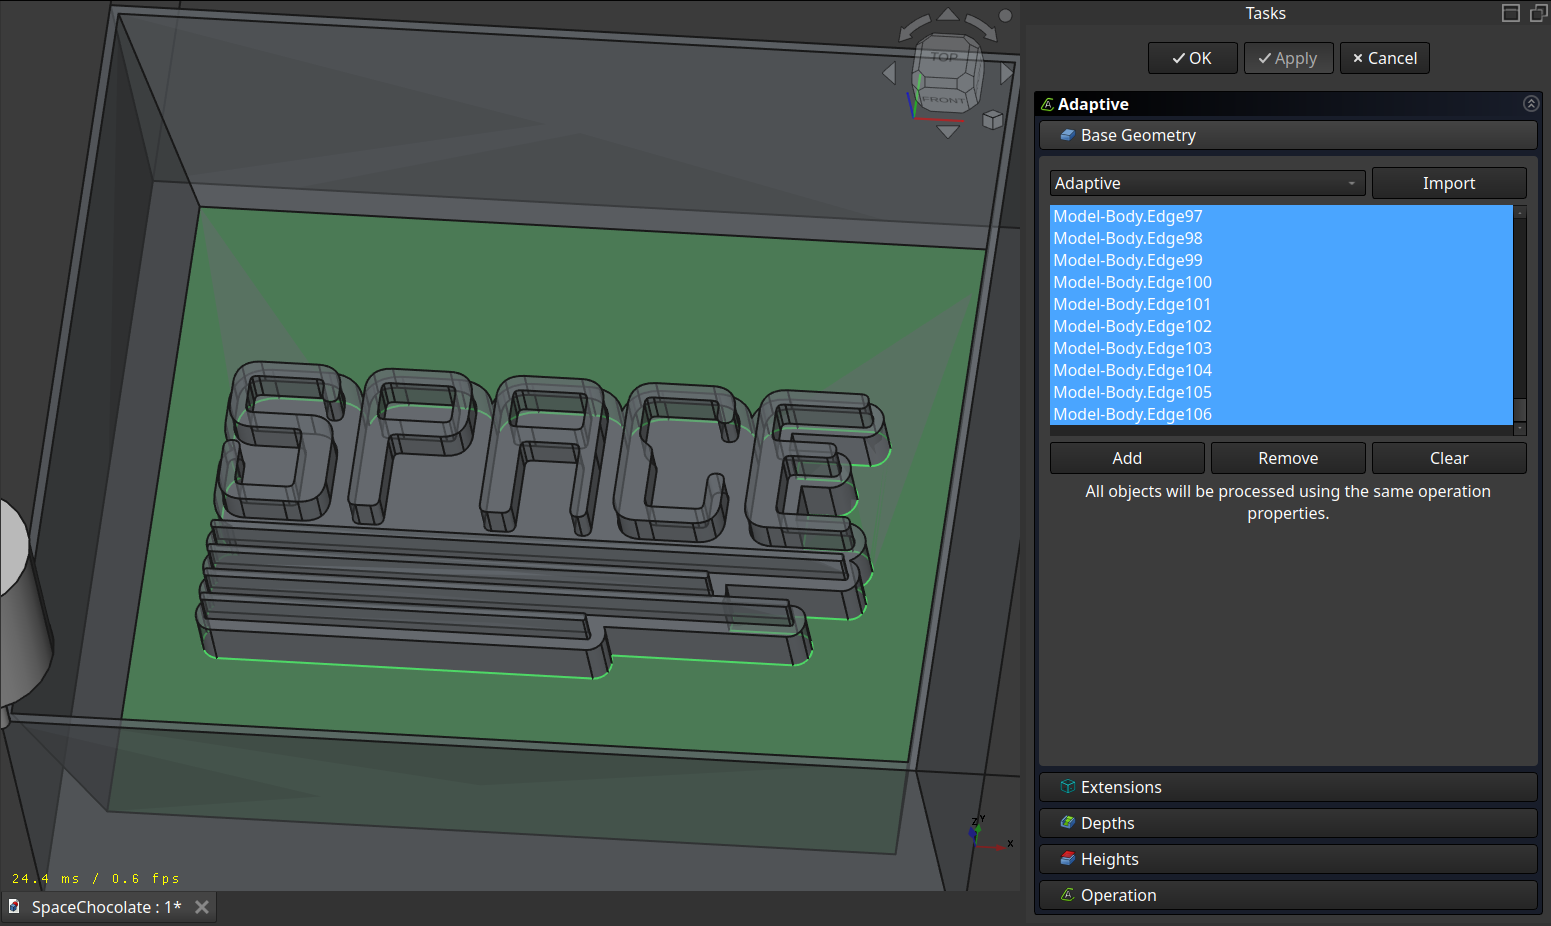
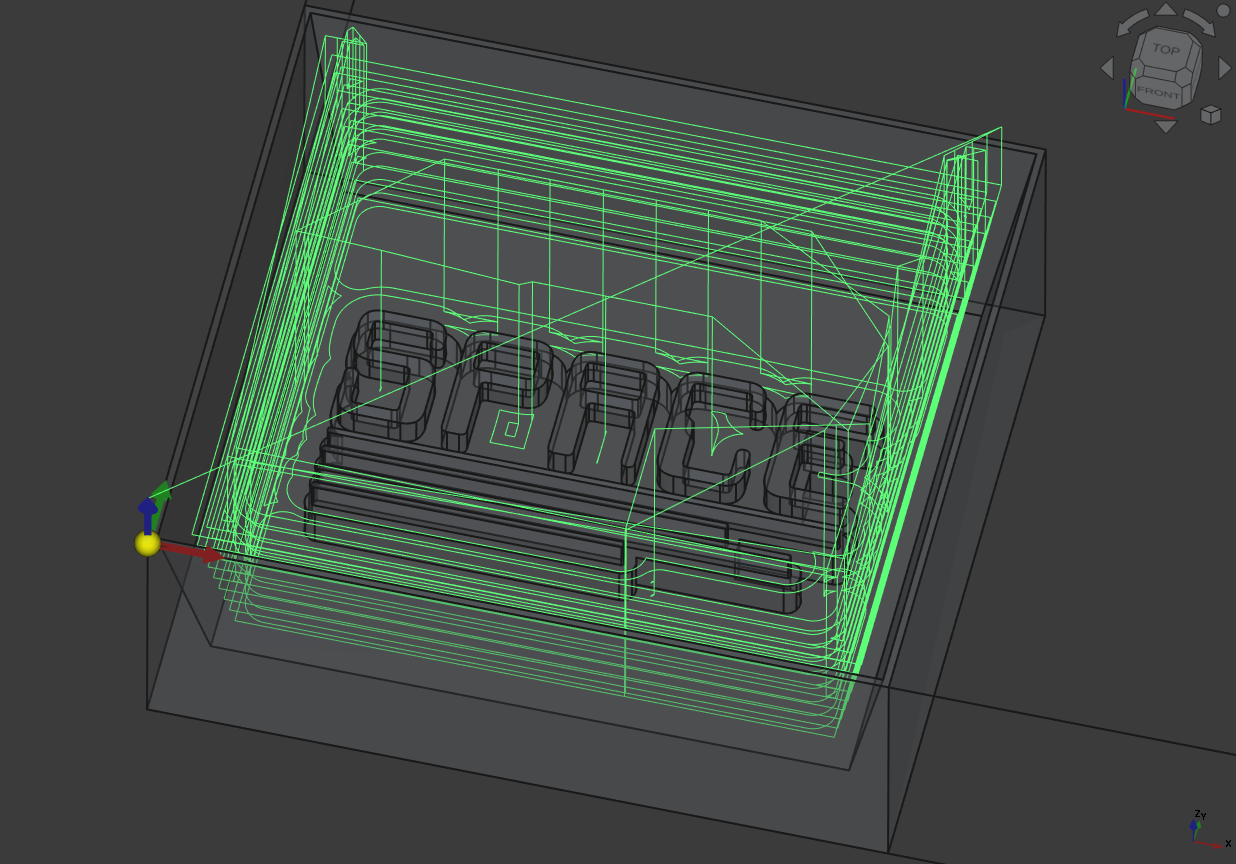
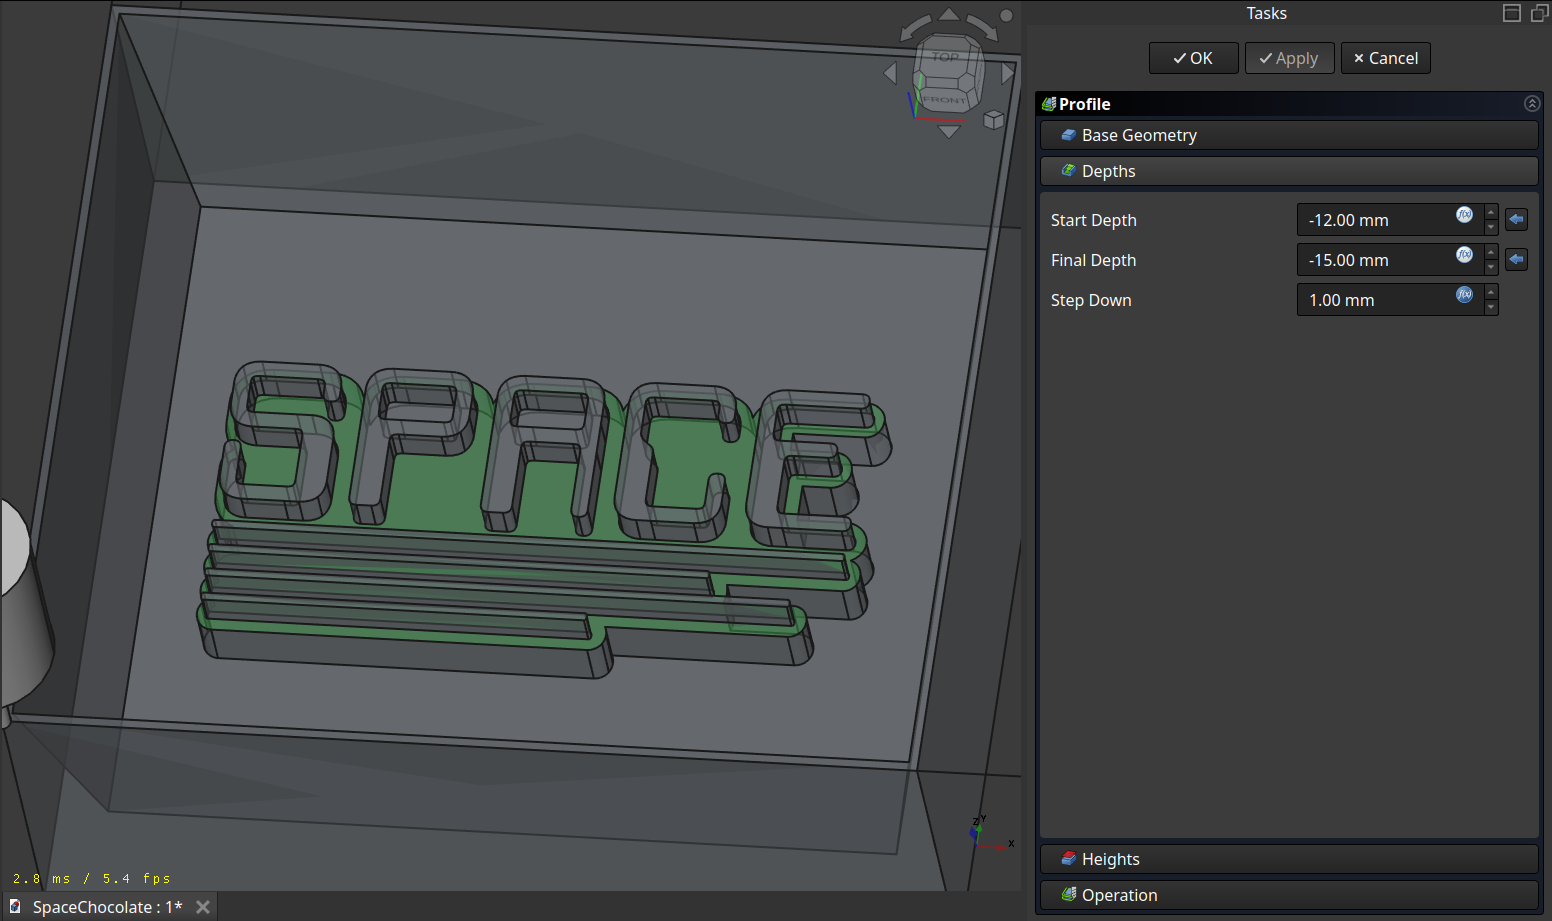
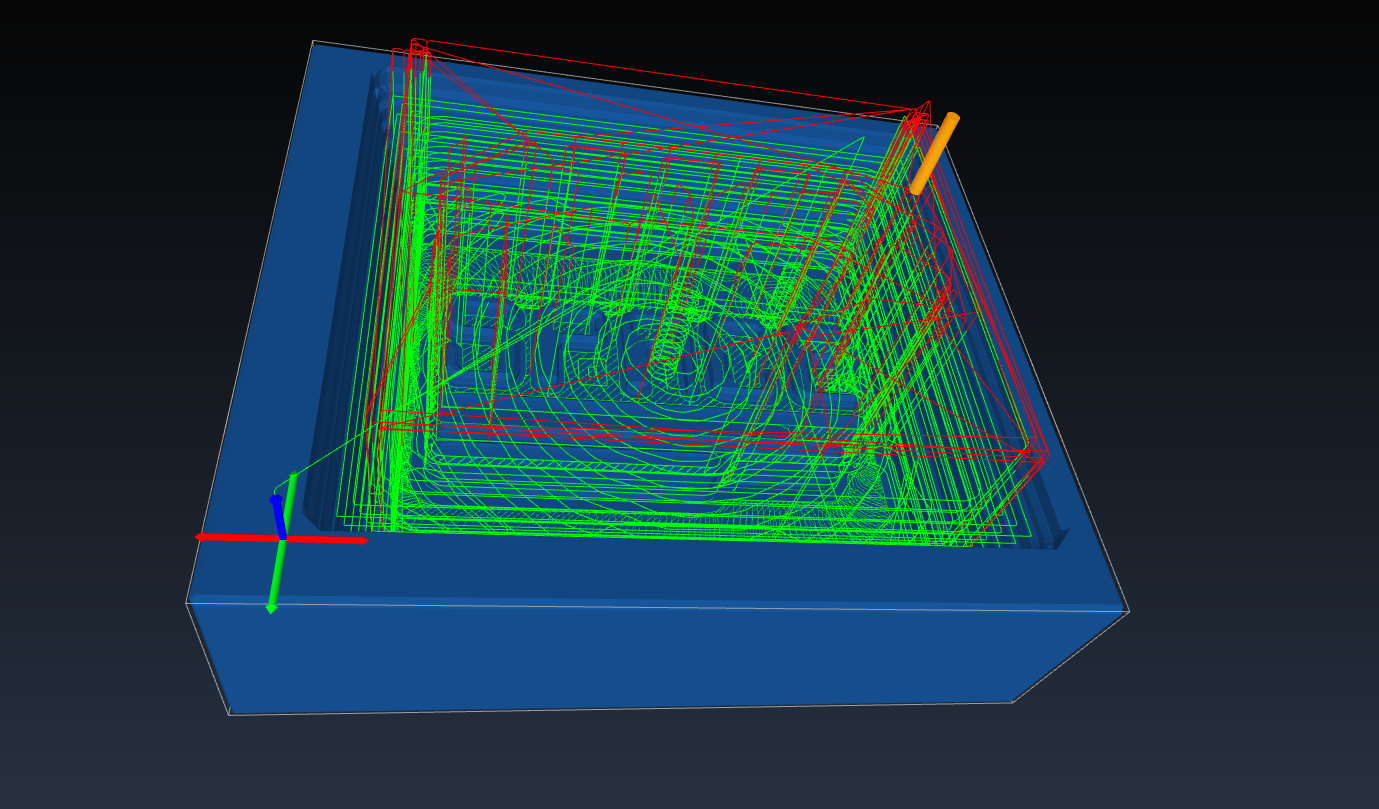
For creating the Path, it’s not as easy as in Fusion but I tried to mimic the way fusion generates a path (at least for the adaptive clearing). I first added a roughing job with the ‘Adaptive Clearing’ (which is not as powerful as as in fusion) for everything above the model:
Clearing
Select the outer edge for the clearing:
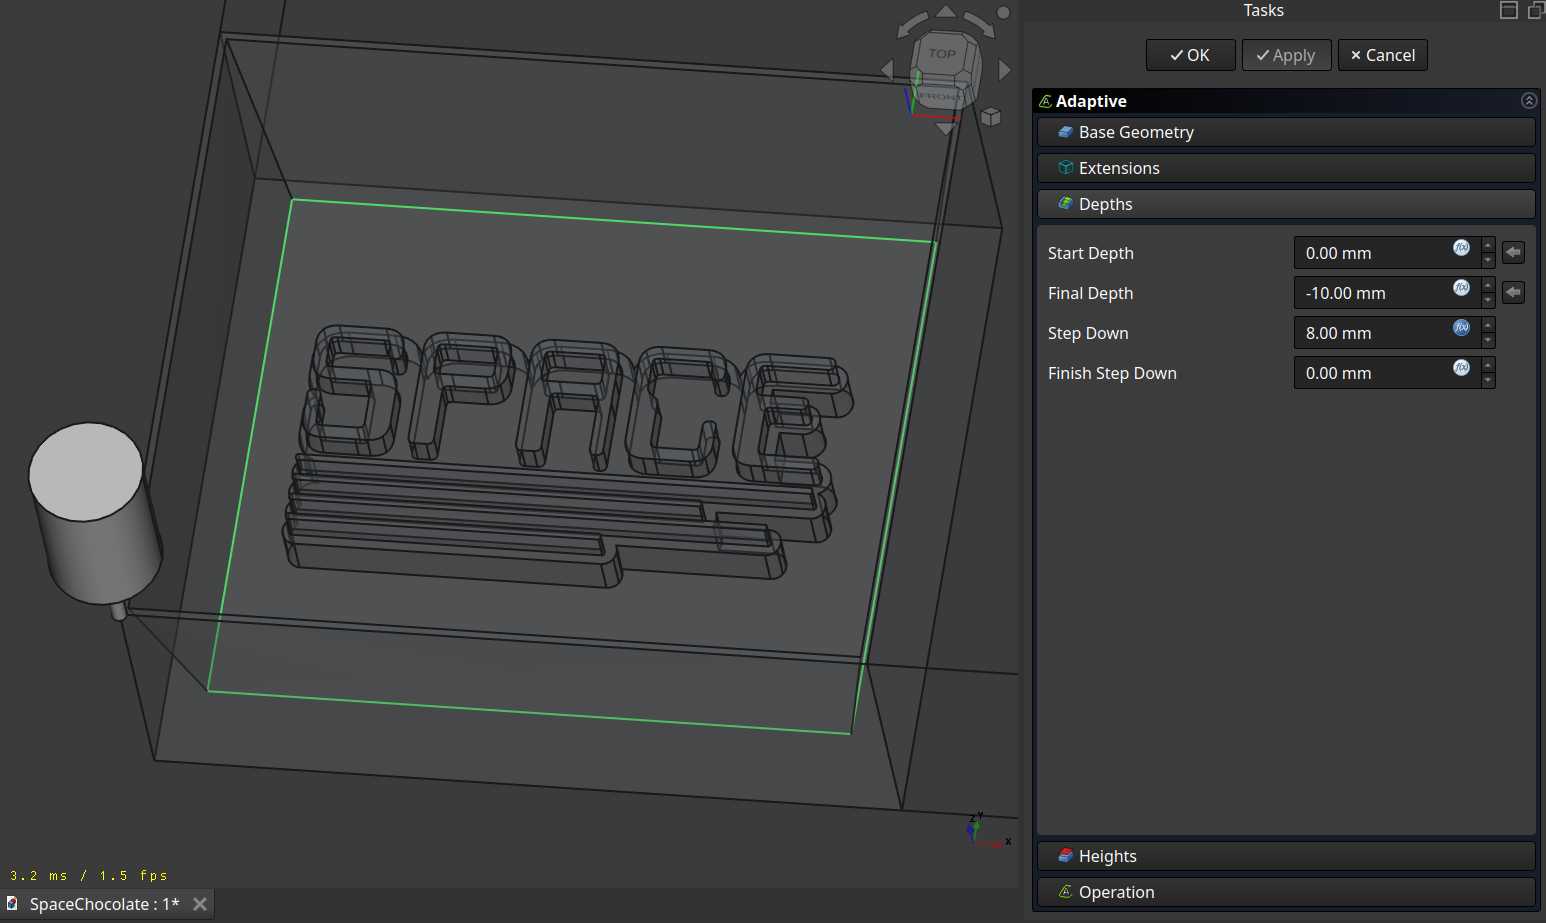
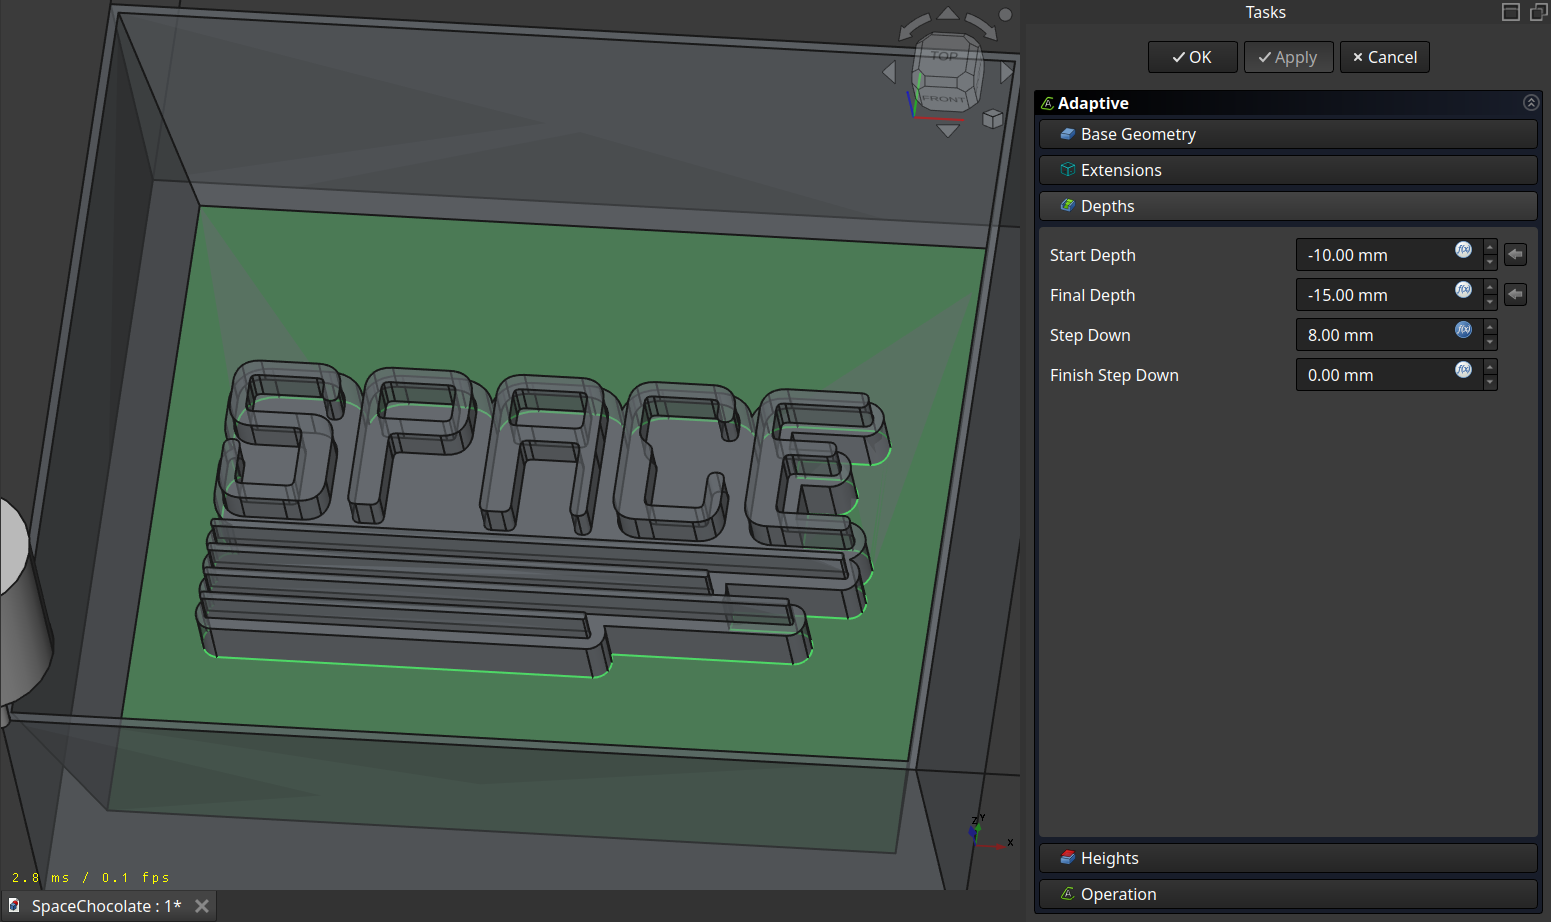
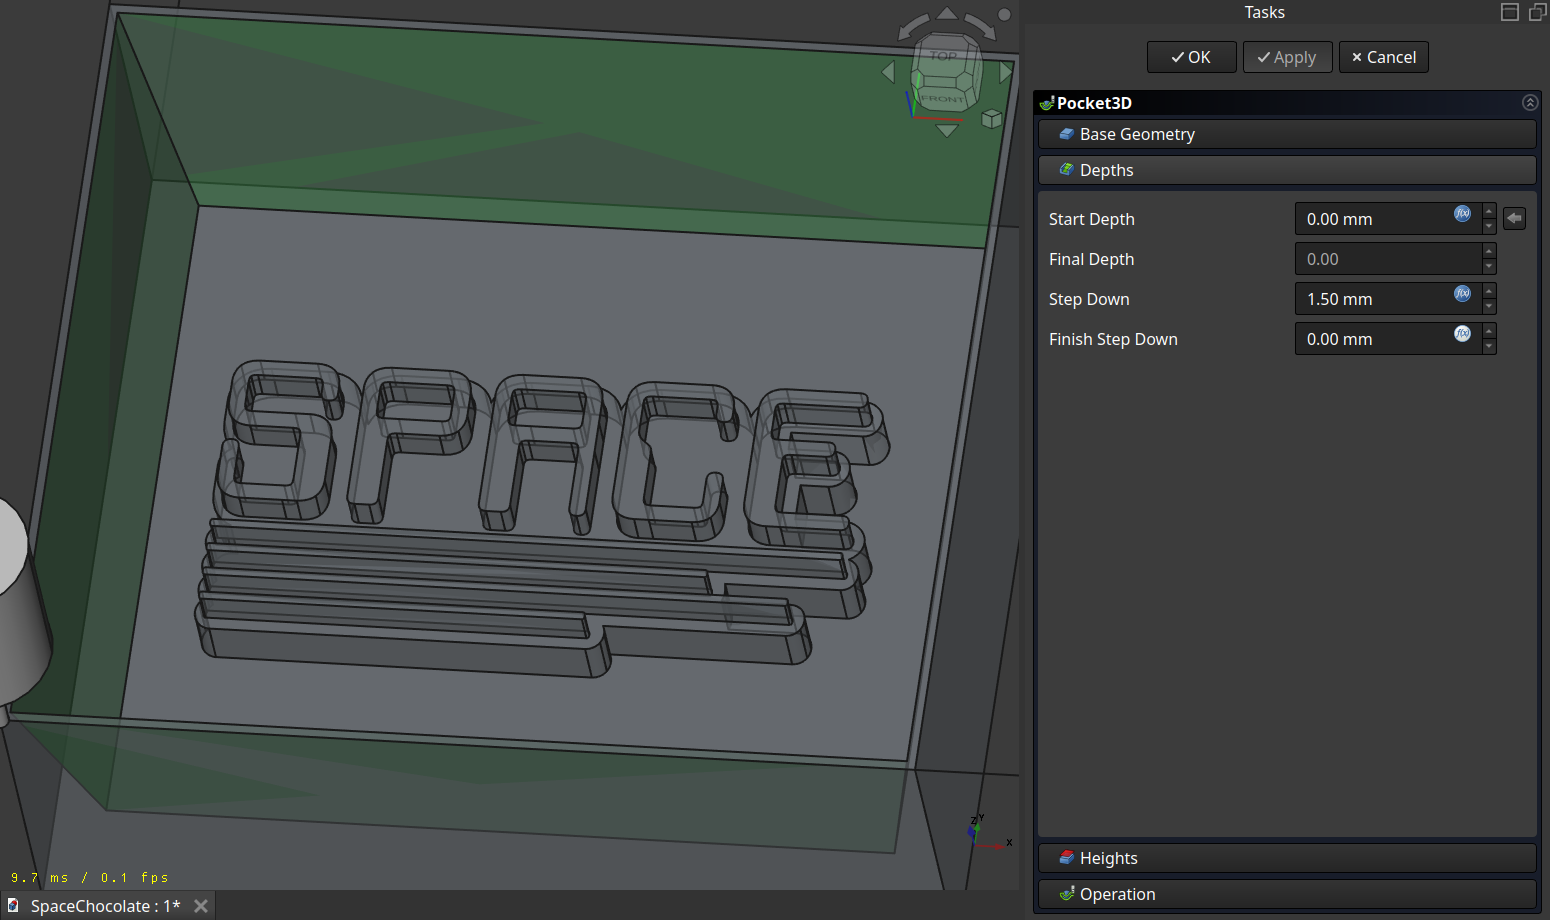
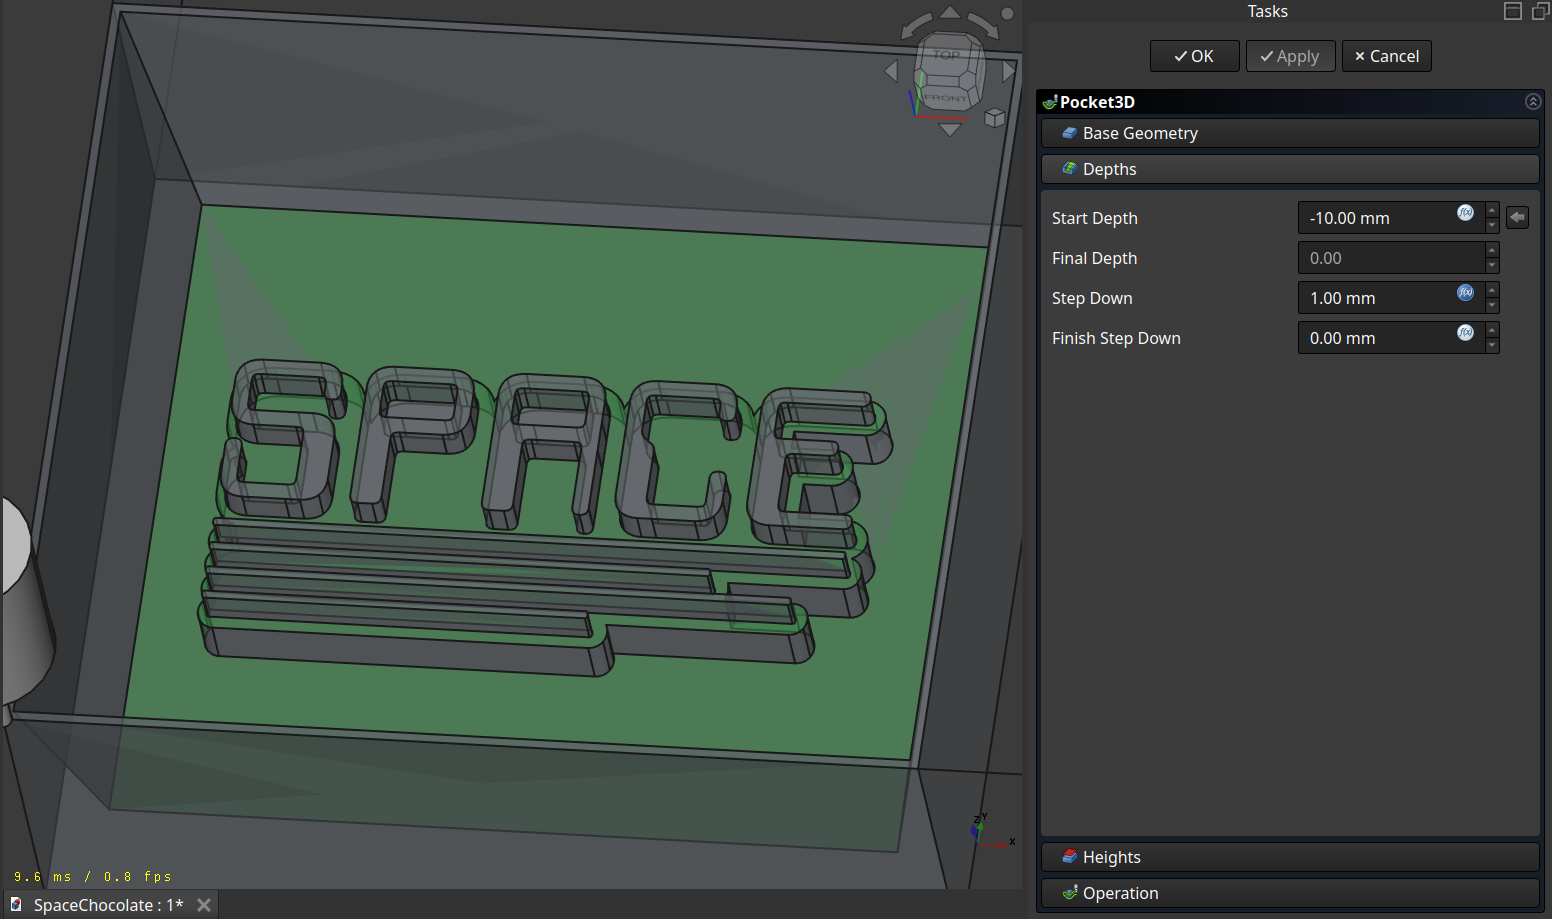
Set the step down:
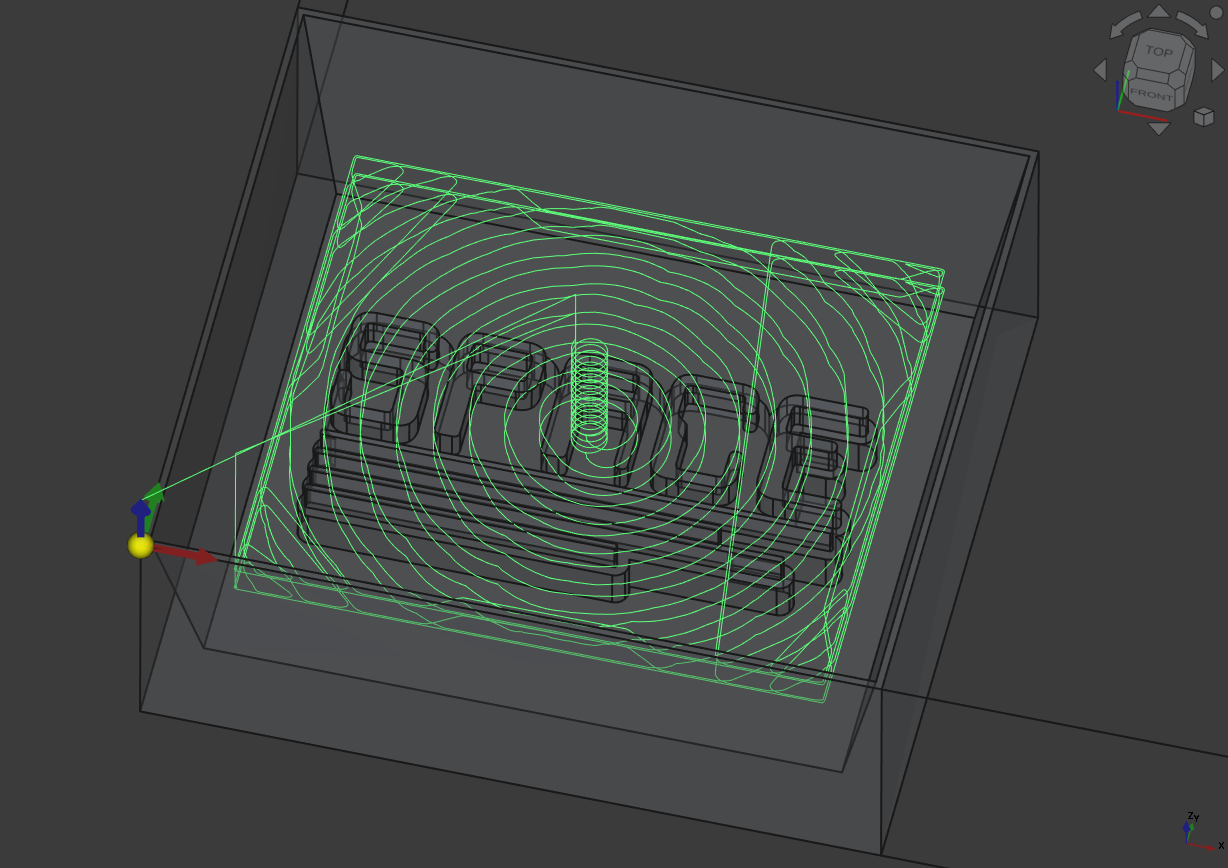
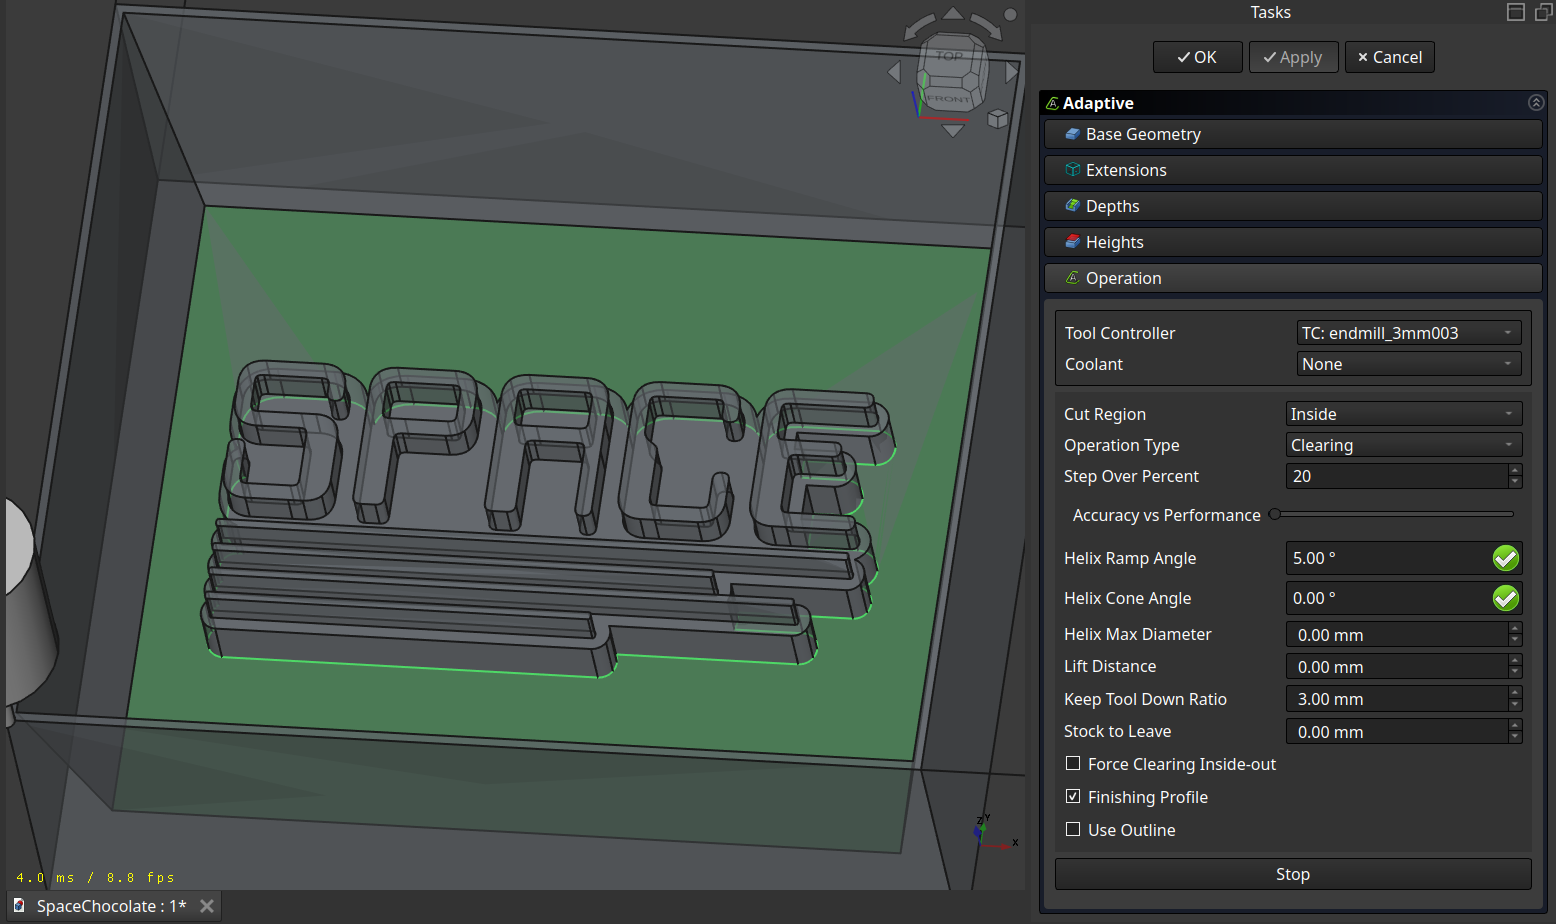
And Adjust the operation to your liking:

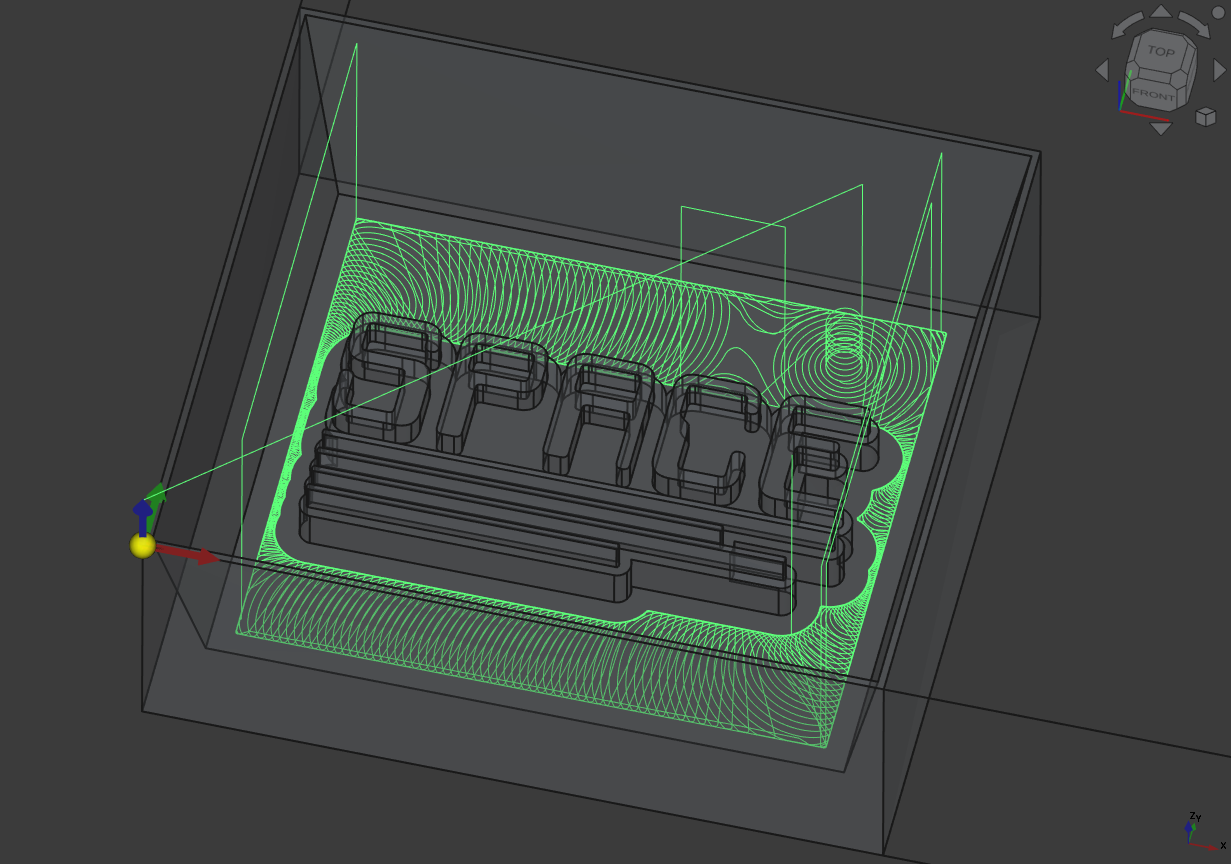
Which then results in this path:
Then I did the same for the rest next to the SPACE symbol:
Select the bottom side and also the outline of the cast which helped for the generation of the clearing.
Set the stepdown high enough, so its only one operation:
Getting this path:
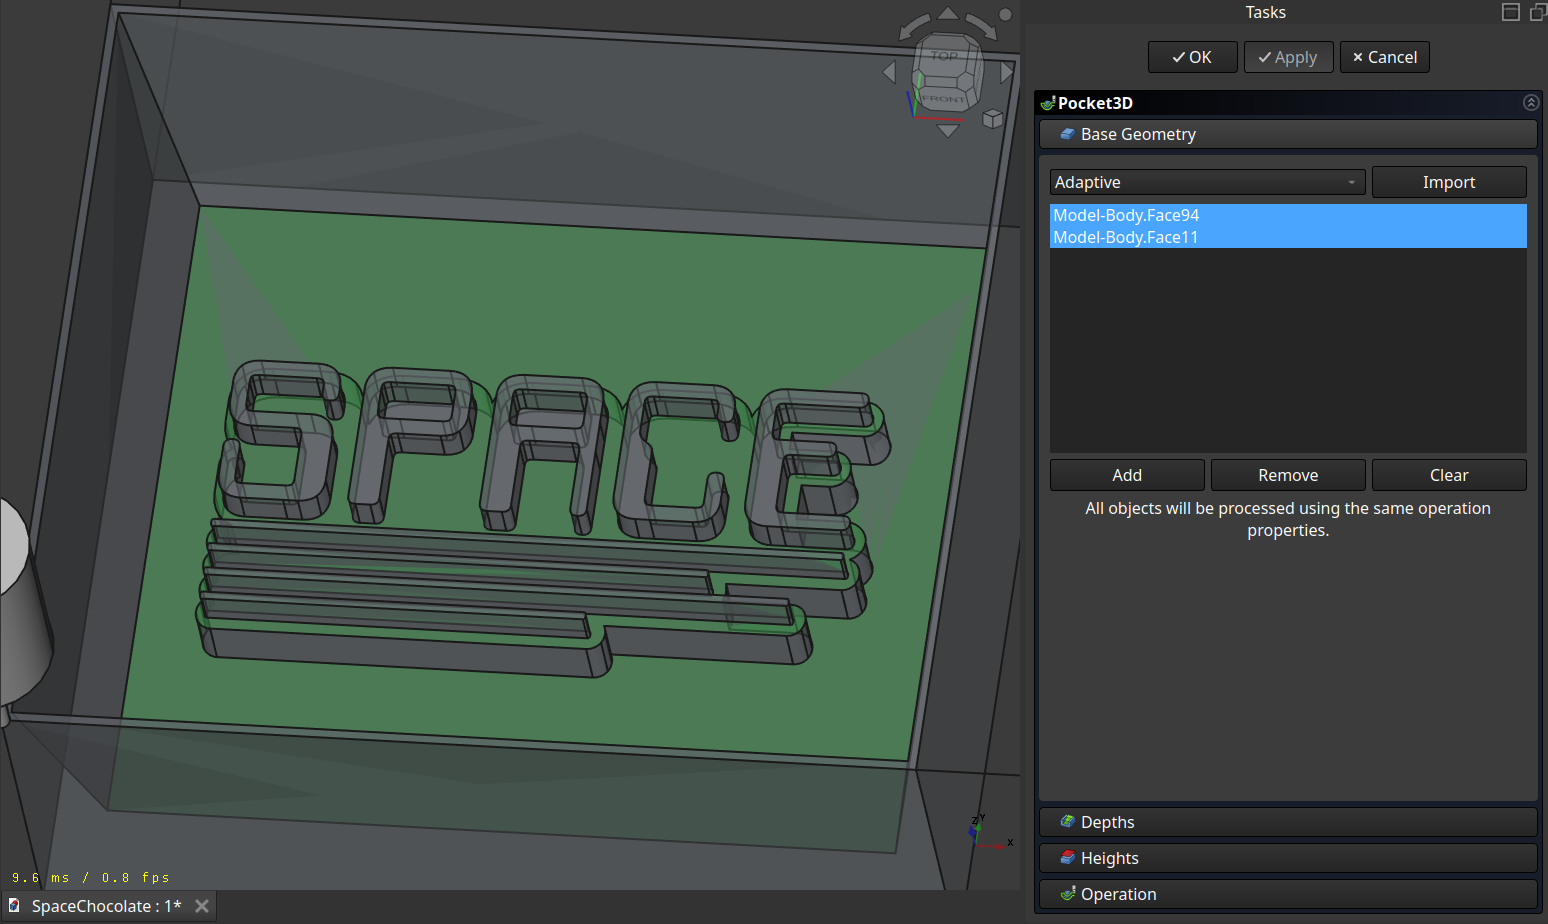
3D Pocket
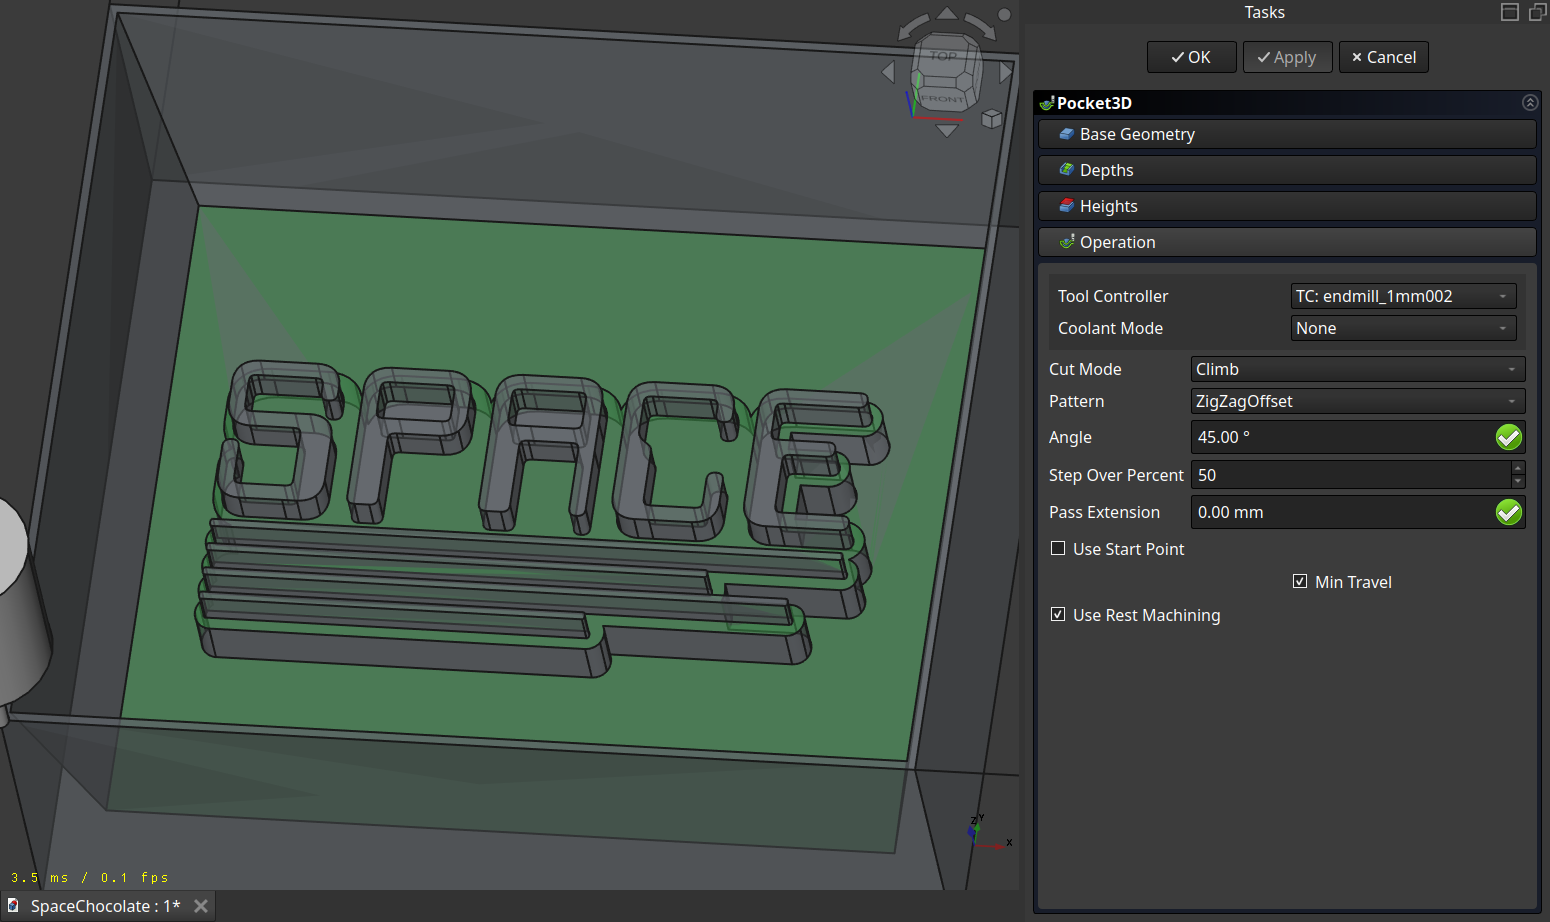
Next I used the ‘3D Pocket’ operation to remove the side walls. The nice thing about this operation is, that it can calculate the already removed material (‘Use Rest Material’) and then it does not generate a path there.
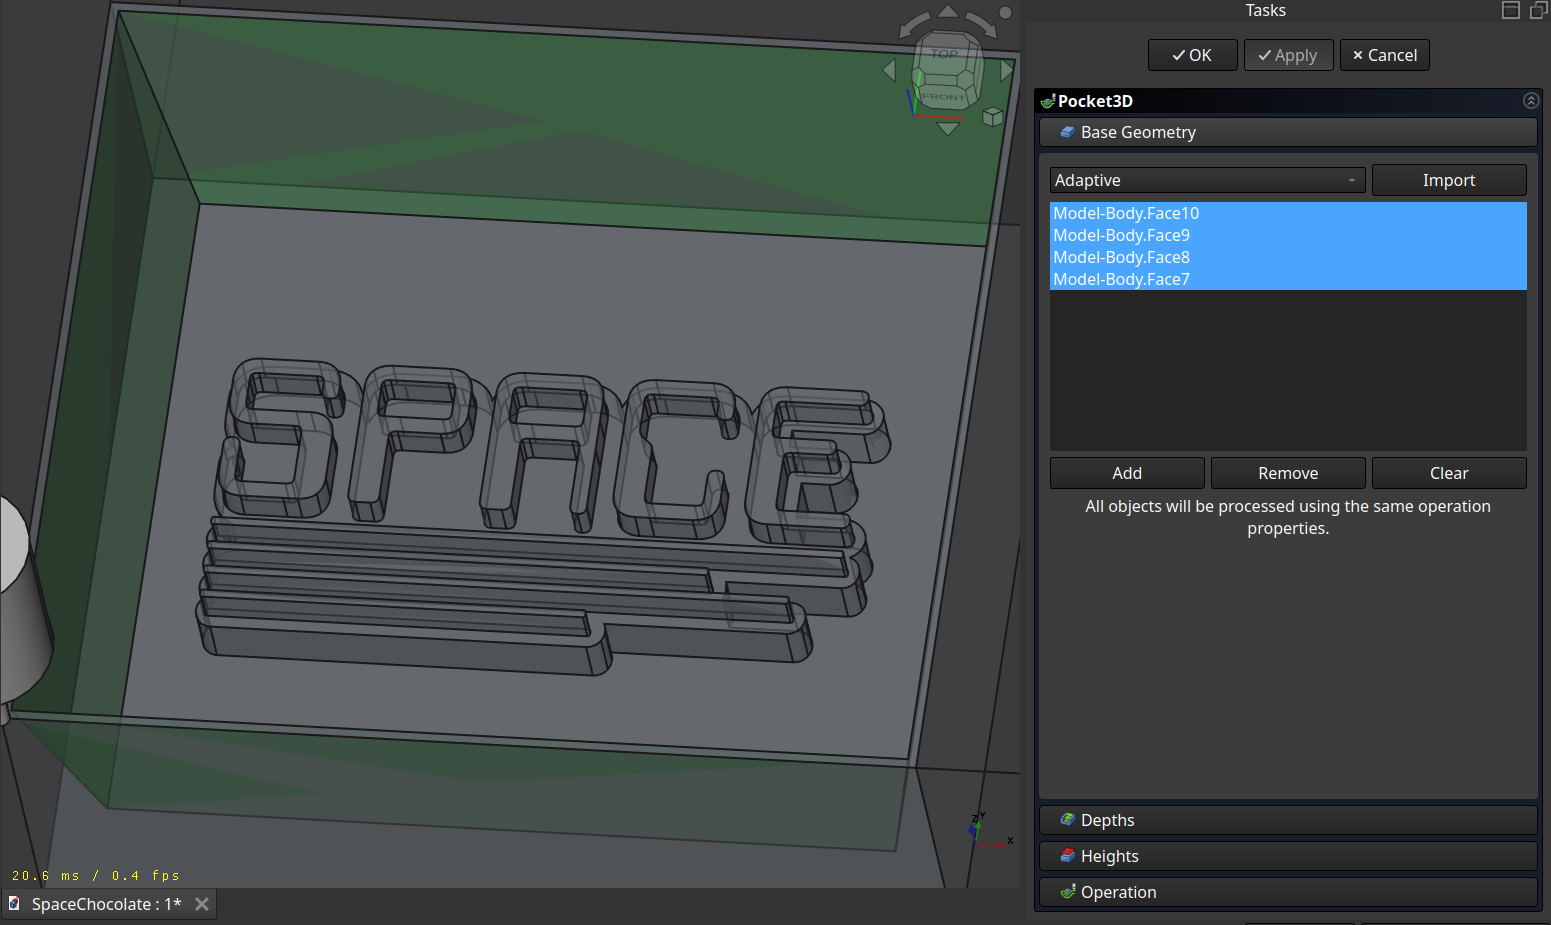
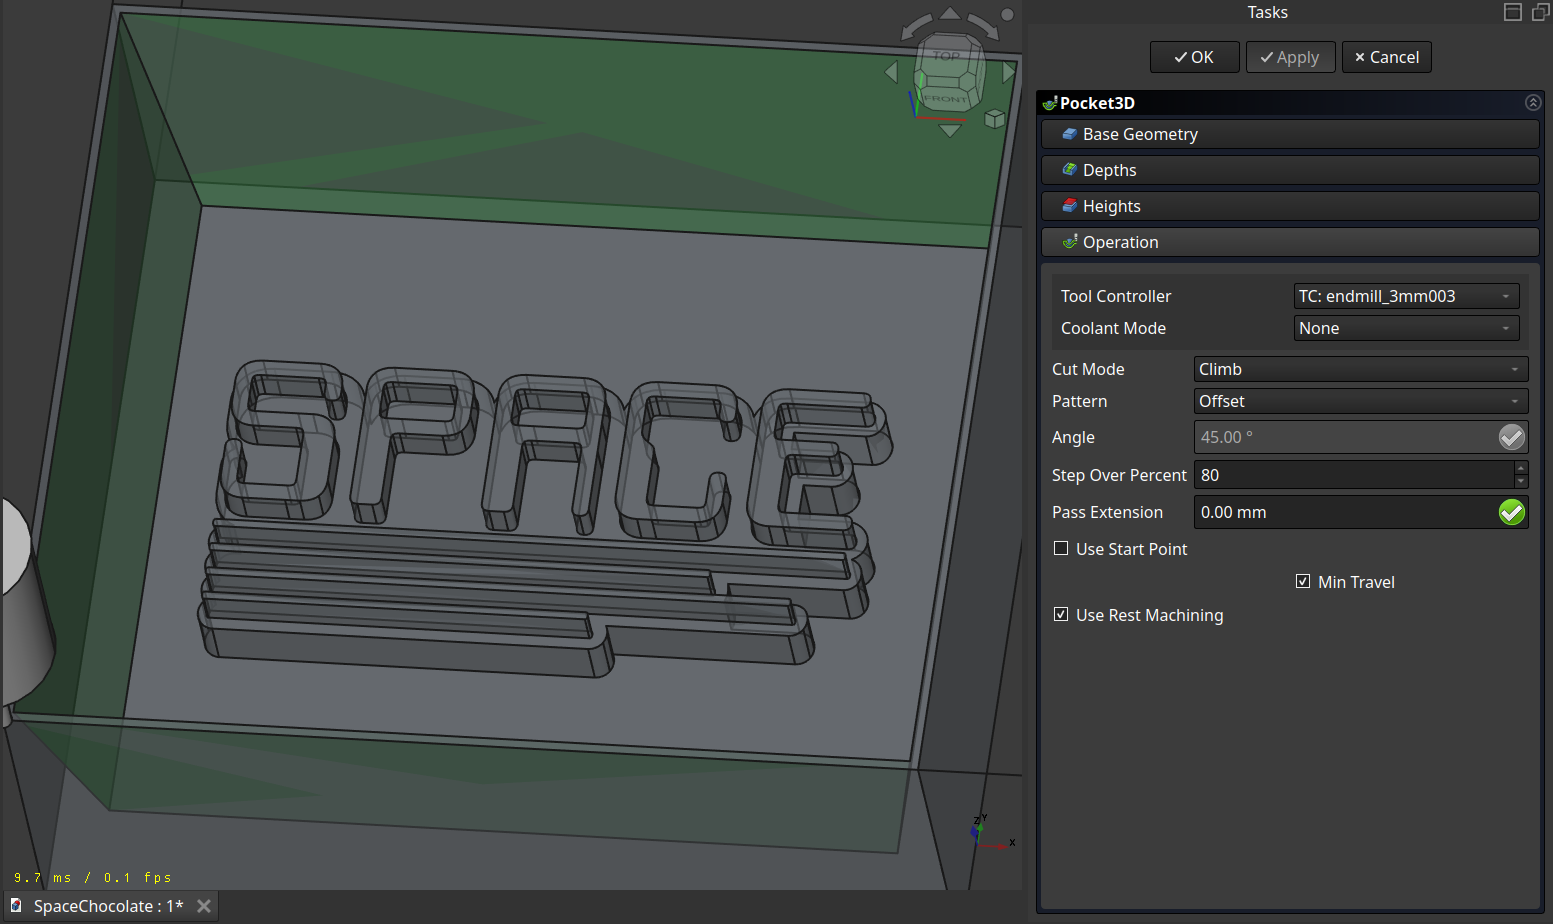 Here setting the ‘Use Rest Material’ is very important for time.
The path, making the sides steep and also make the first outline of the cast:
Then I made the same operation but this time on the surface of the cast structure and the bottom but with the finer tool.
The path hase some little corners which came frome the calculation of the resting material being not perfect (those movements where unnecessary -.-).
Important
Because the calculation of the resting material is not perfect, I did the following steps to get the path above for the finished G-CODE calculation:
Calculate all operation in the normal sequence
Move the 2. ‘3D Pocket’ operation one above
Recalculate ONLY this operation
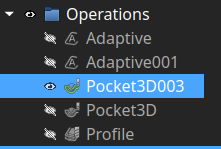
Profile
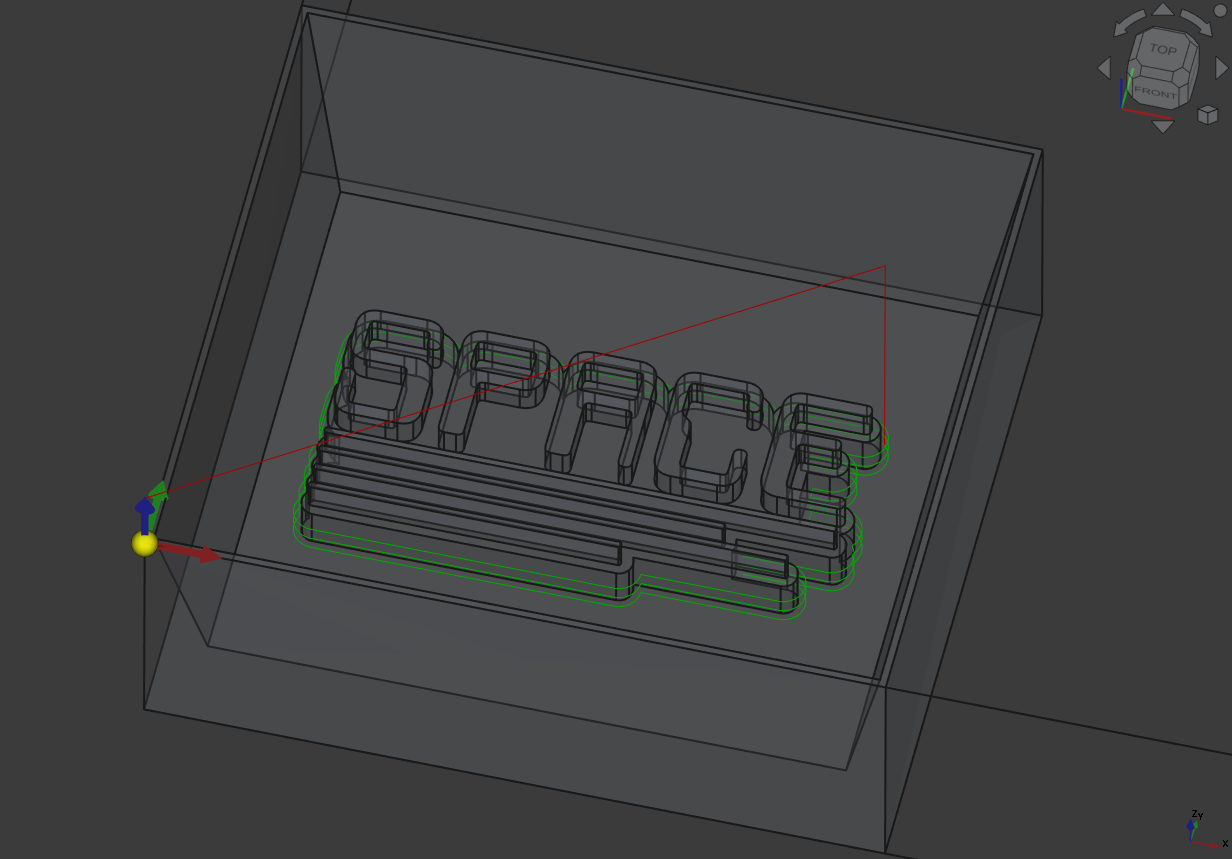
And to finish I made a last ‘Profile’ operation around the text with the finer tool.
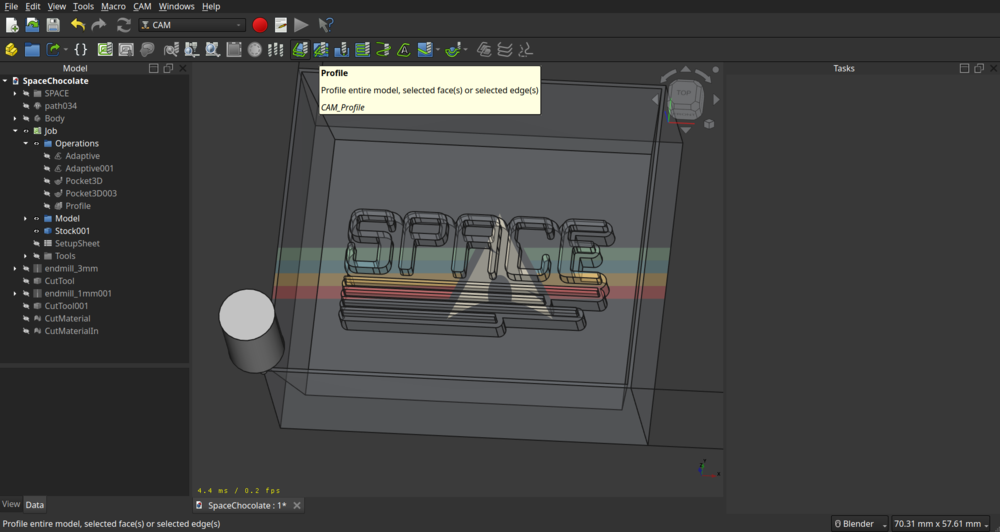
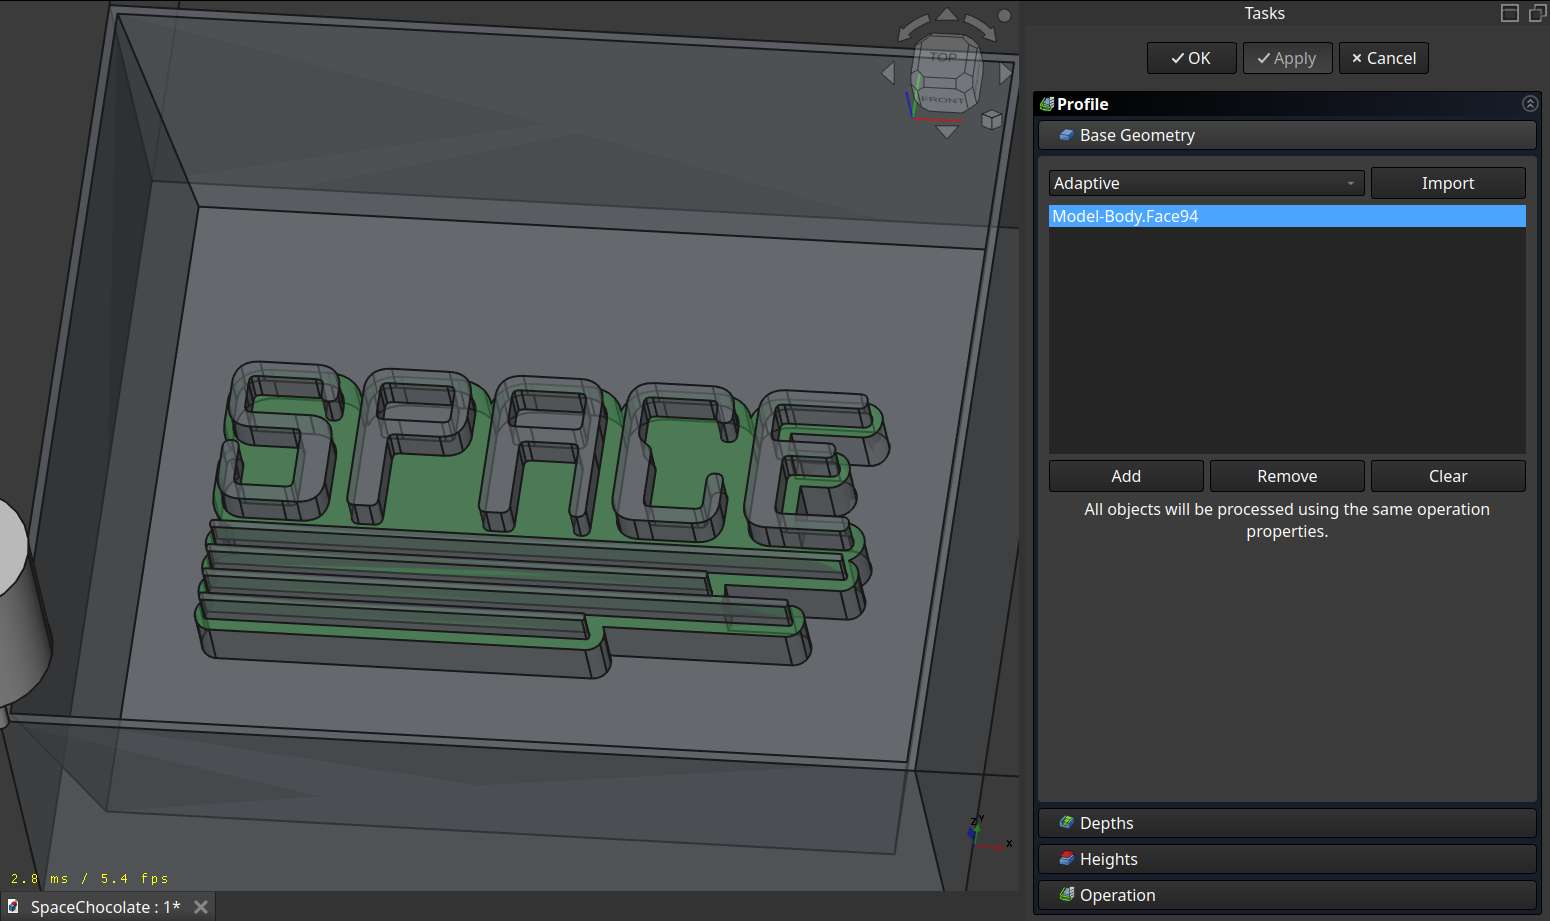
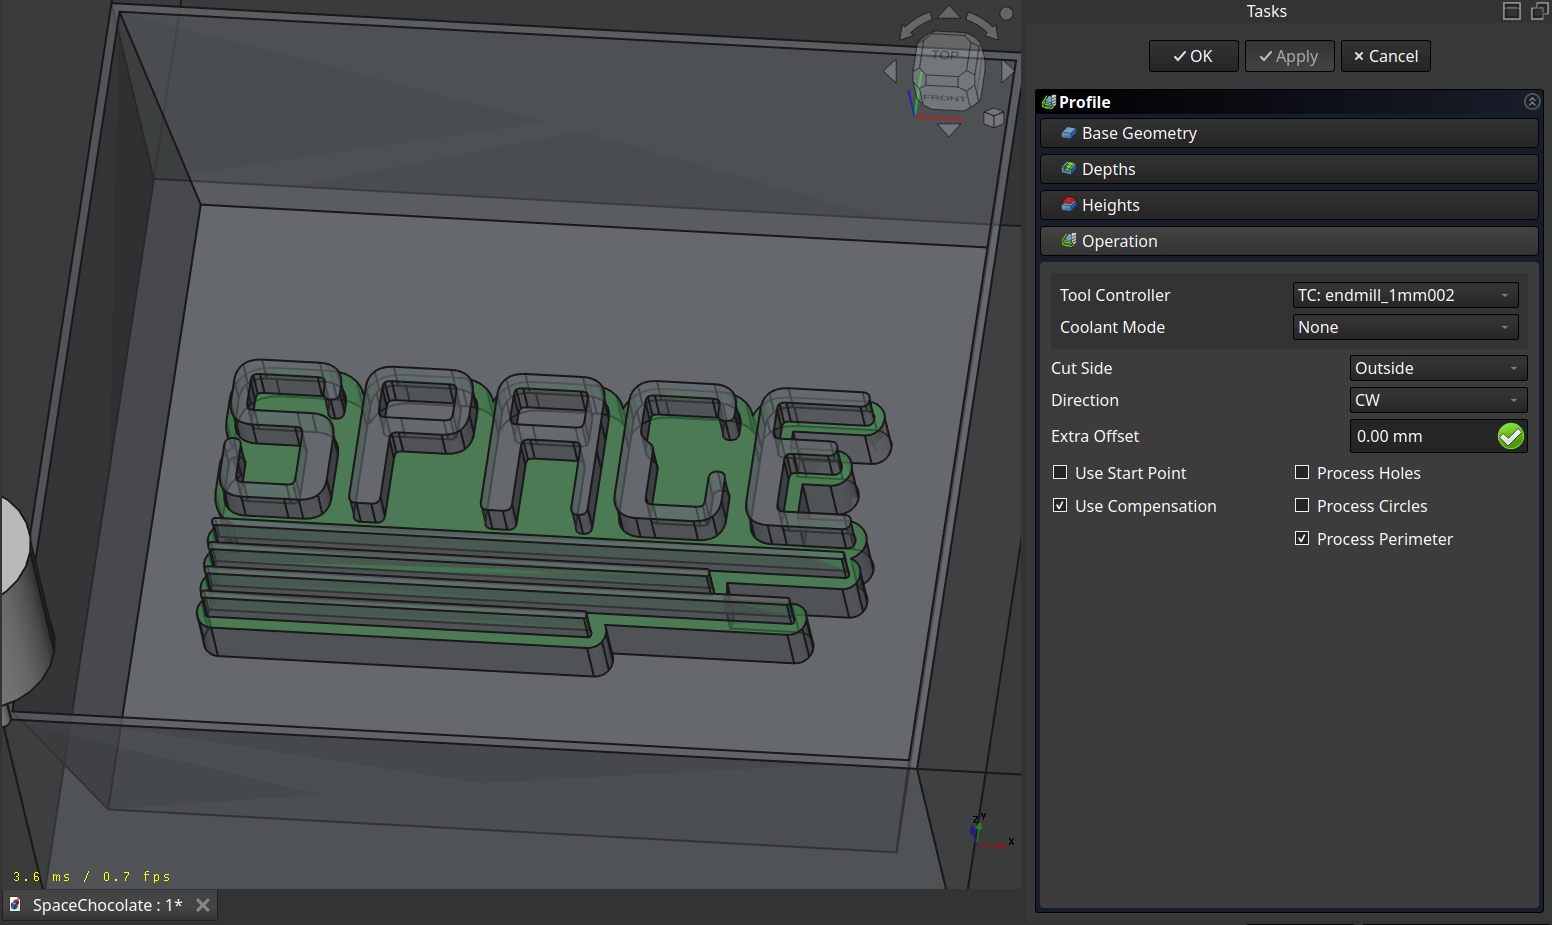
A normal profiling path:
Combined
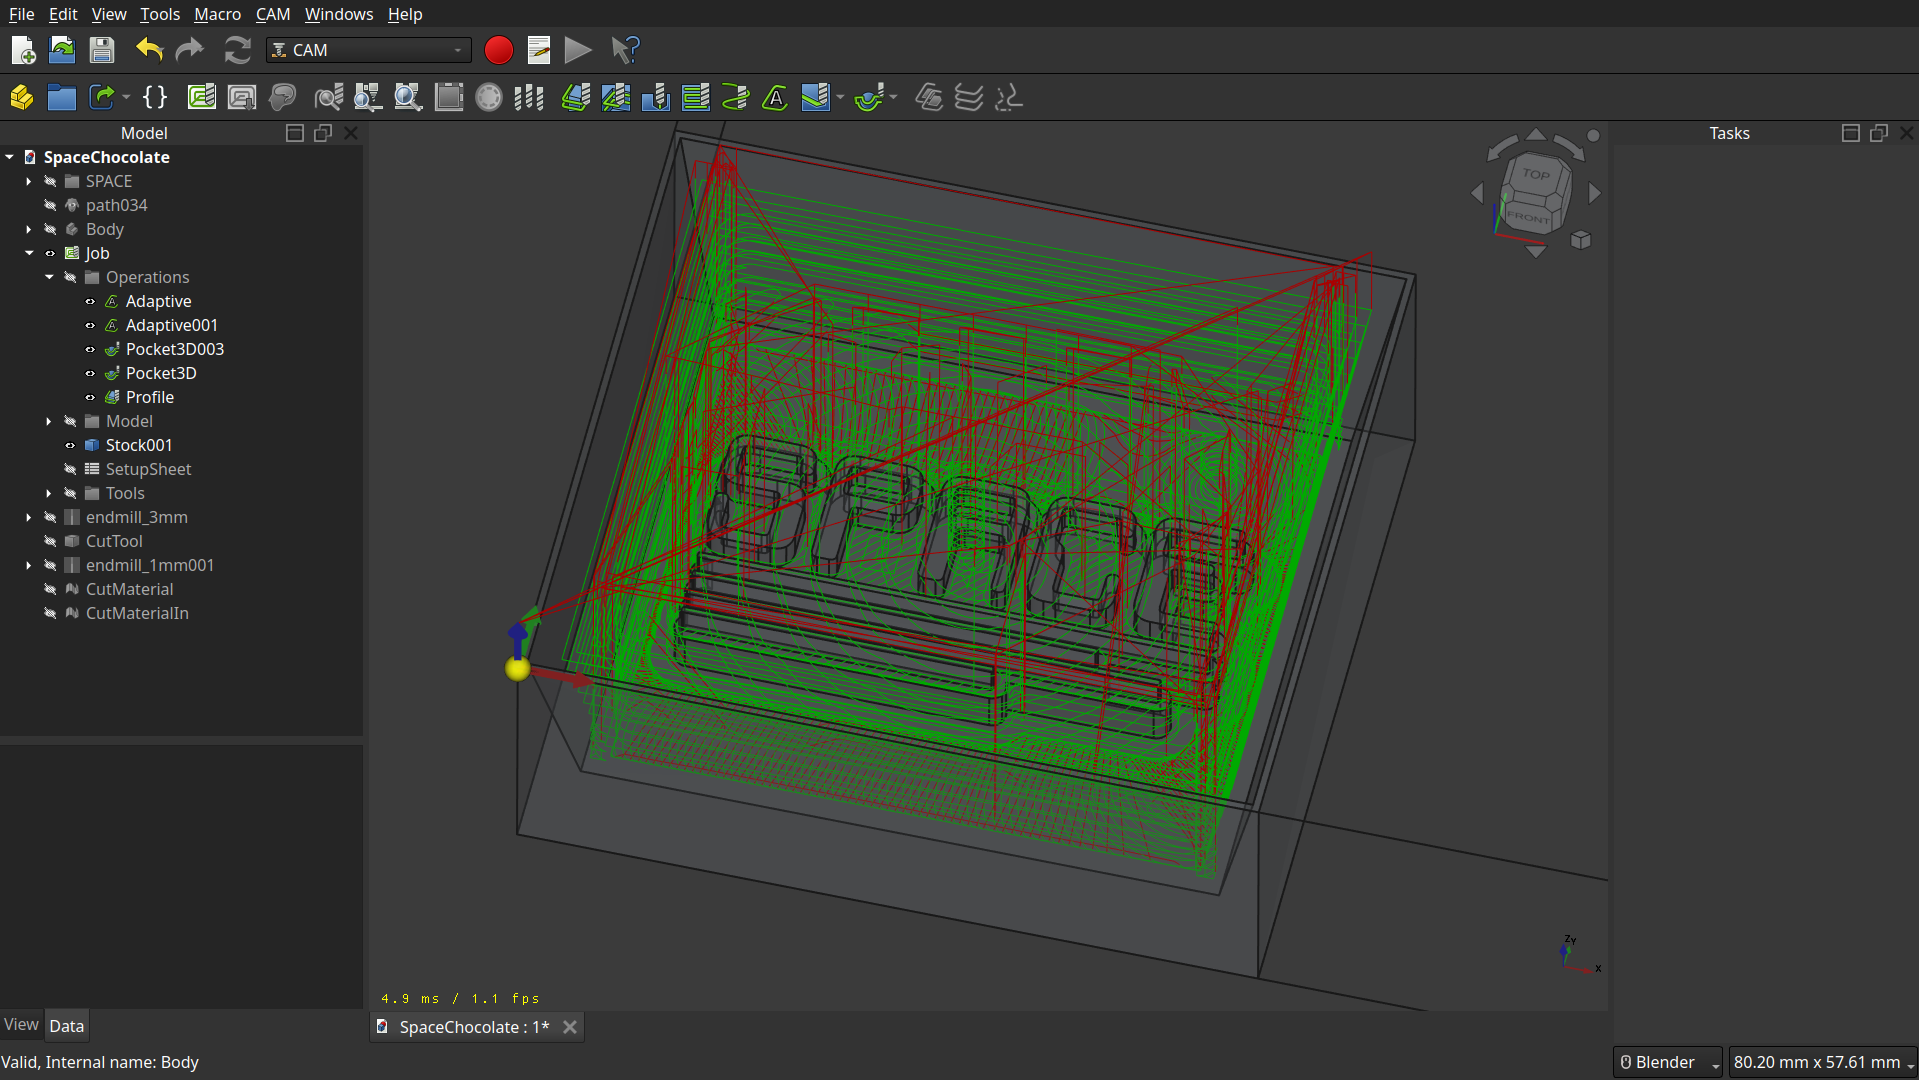
Simulation
Even though there is a Simulator in FreeCAD, I wanted to test CAMotics(Git).
And it’s more accutare than the one in FreeCAD and it also calculate a time estimate.
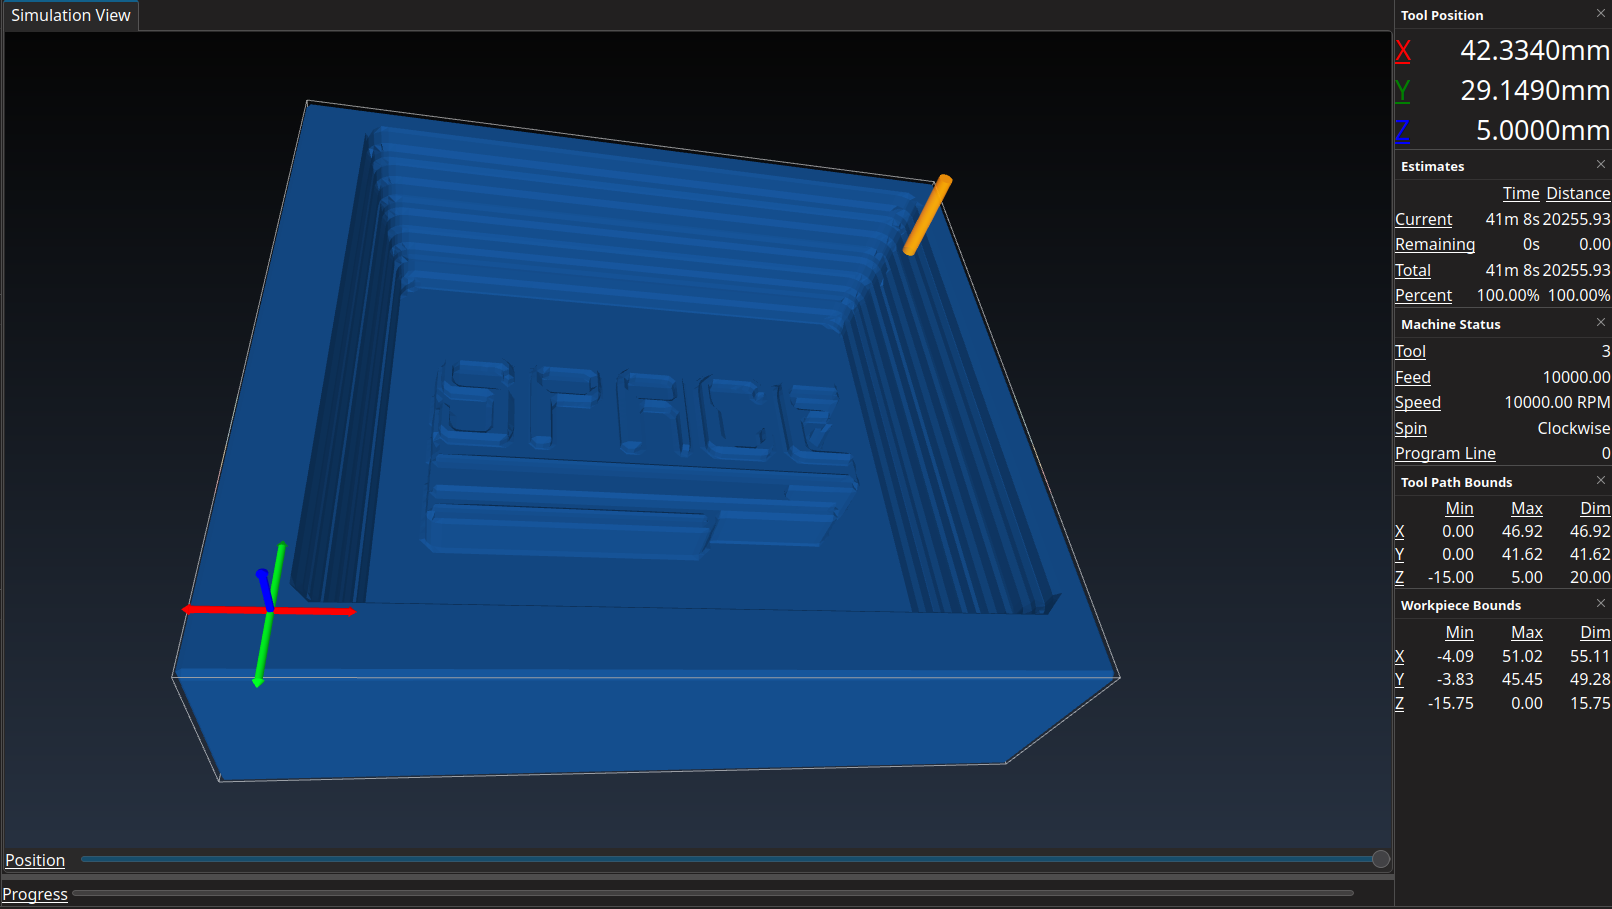
So about 40min., let’s see how accurate this is.
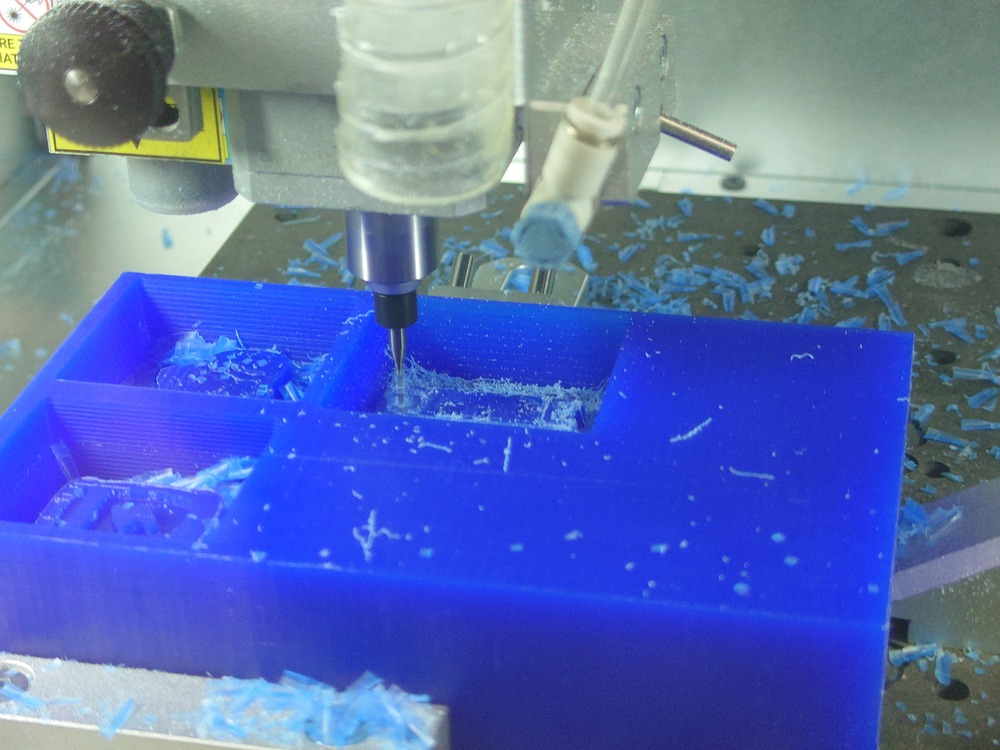
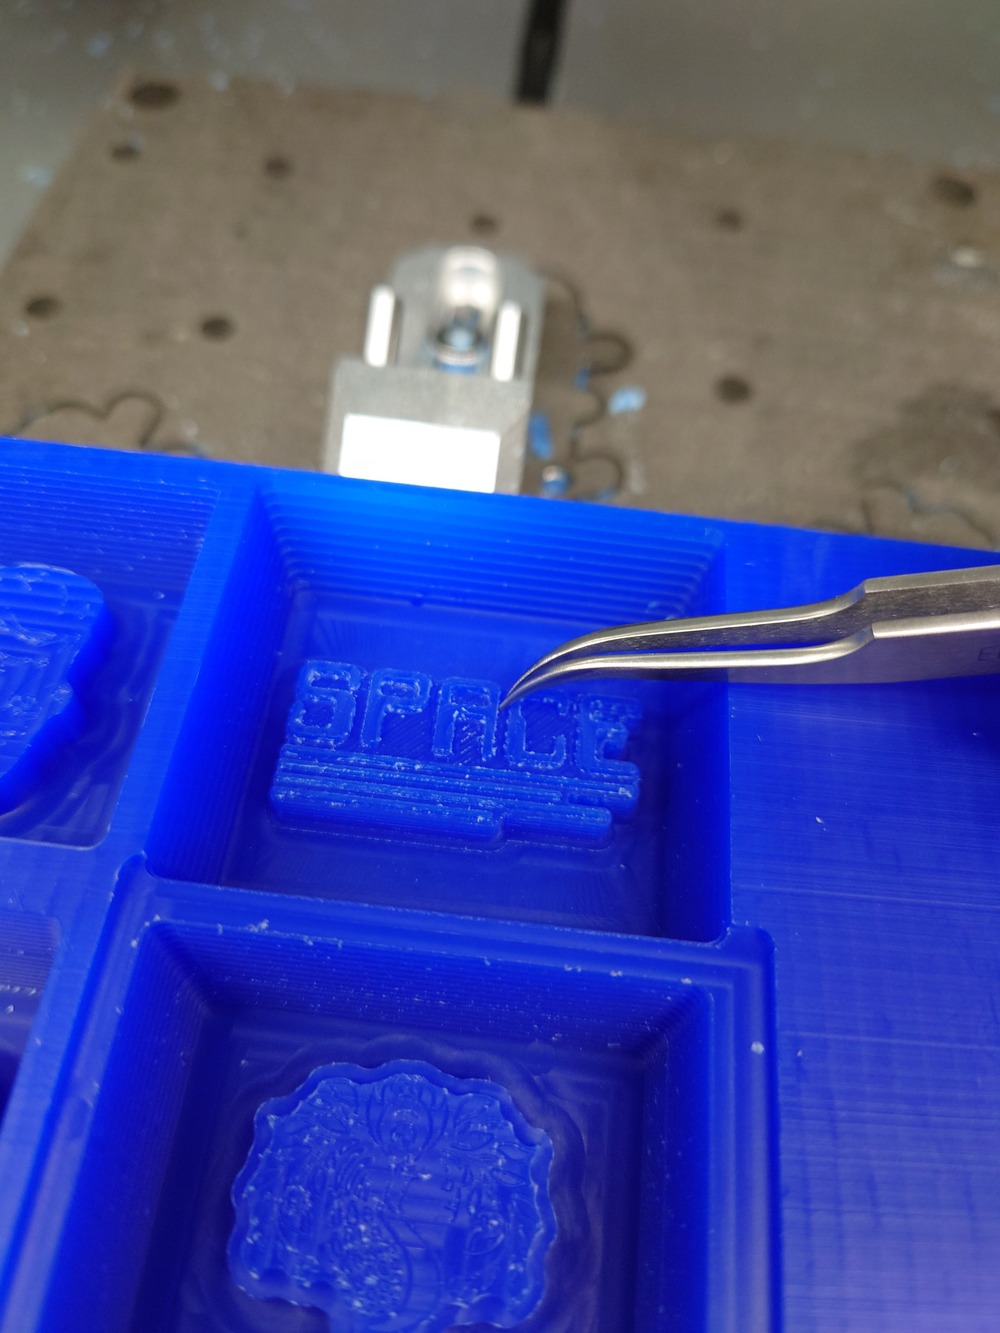
13.3.1.4. Milling the Mold
Then like always use the Carvera to mill it. First I set the origin so that other molds fit into the wax and started milling:
Rough
Fine
It actually took 25min :D.
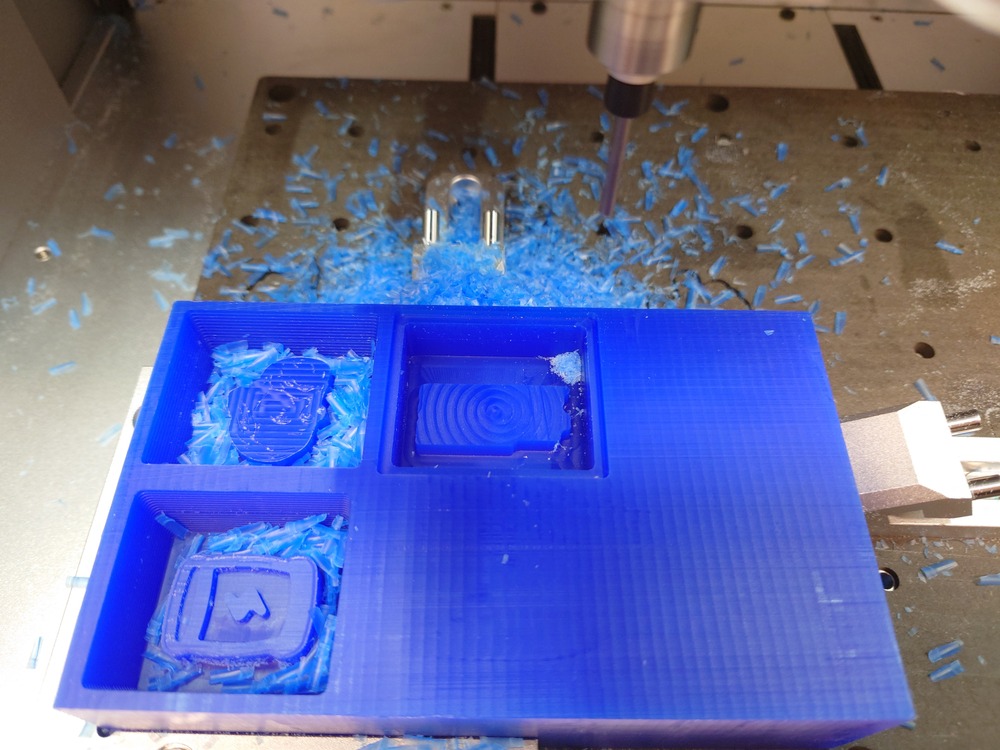
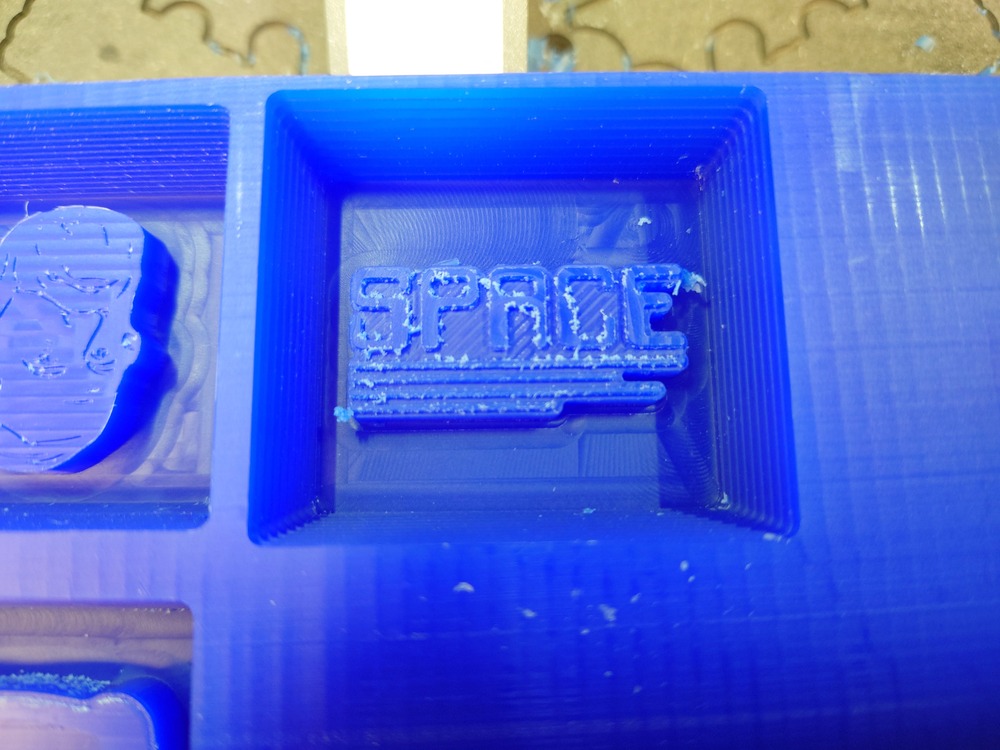
And after milling a bit of manual cleaning:
13.3.2. Casting a Mold
Again, first stirring and mixing:
 Then we used a vacuum chamber to degas:
And again after filling the wax:
…12 houres later…
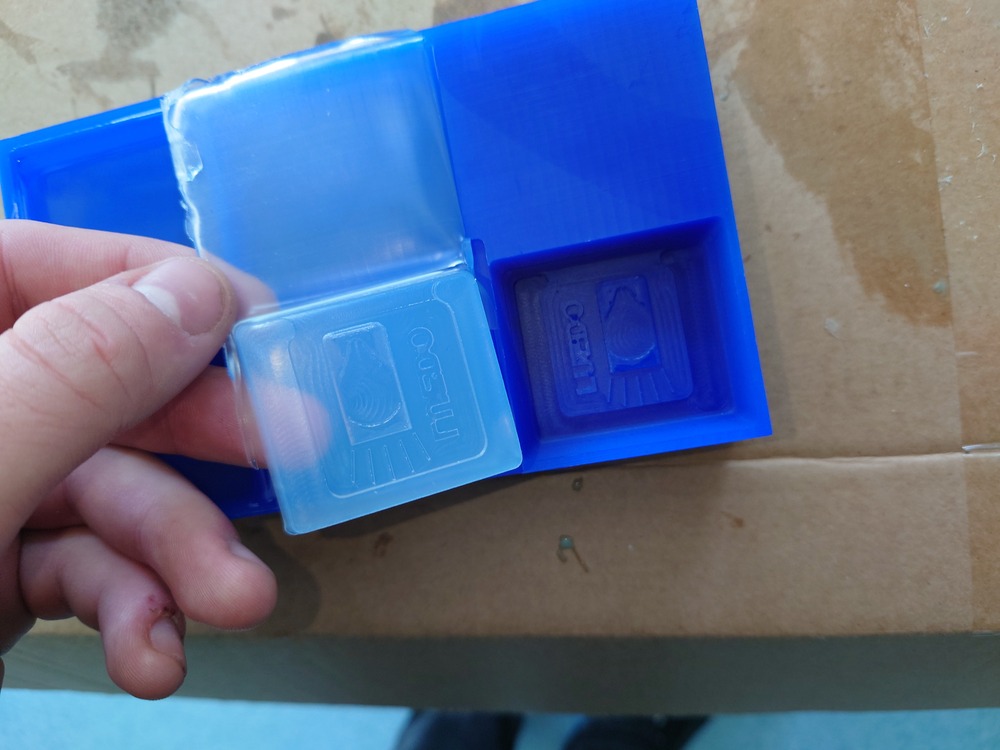
Nice
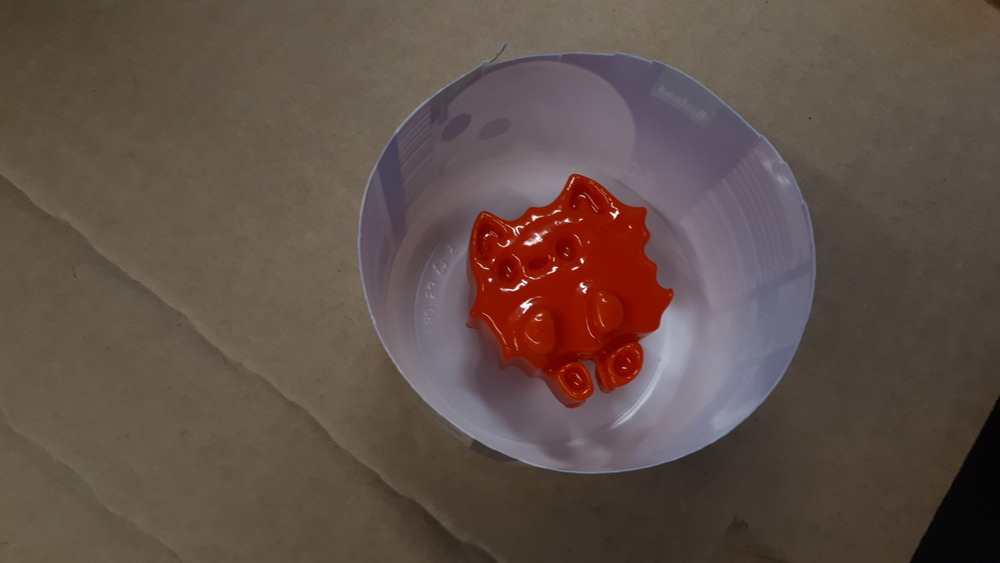
13.3.3. Casting Chocolate
For casting chocolate, the temperature is very important. To have a nice cast of chocolate, where the inside and outside get solid, you want to:
Heat up the chocolate to ~45°C so the sugar crystals deform and don’t transform to caramel
Cool it down to ~28°C so the sugar crystals are about to form again
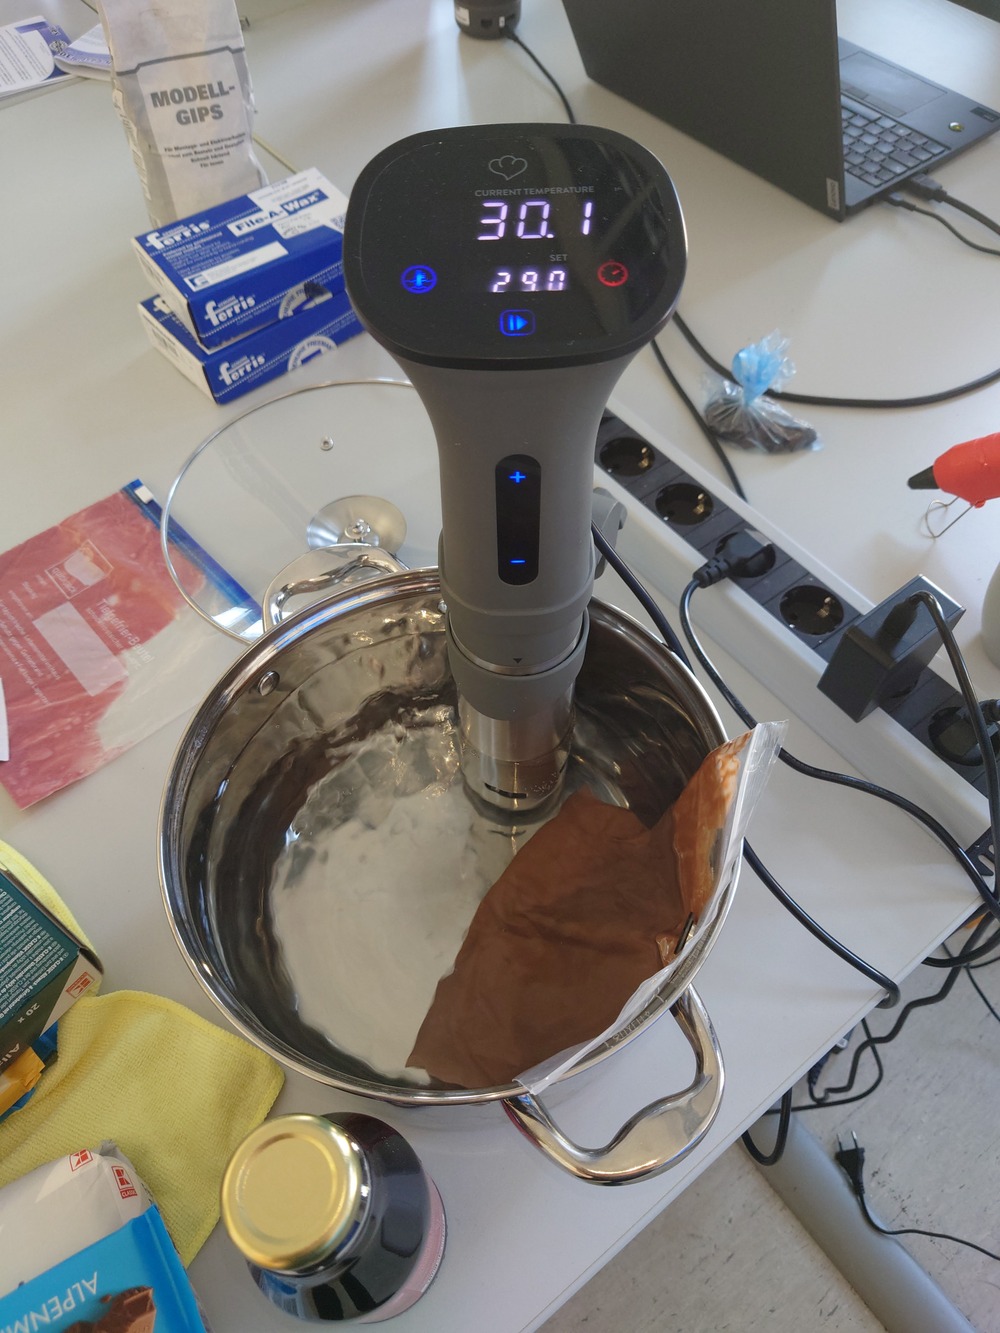
And a machine that simplifies this process is a Sous Vide.
We have this sous vide
So first we did the previously mentioned procedure:
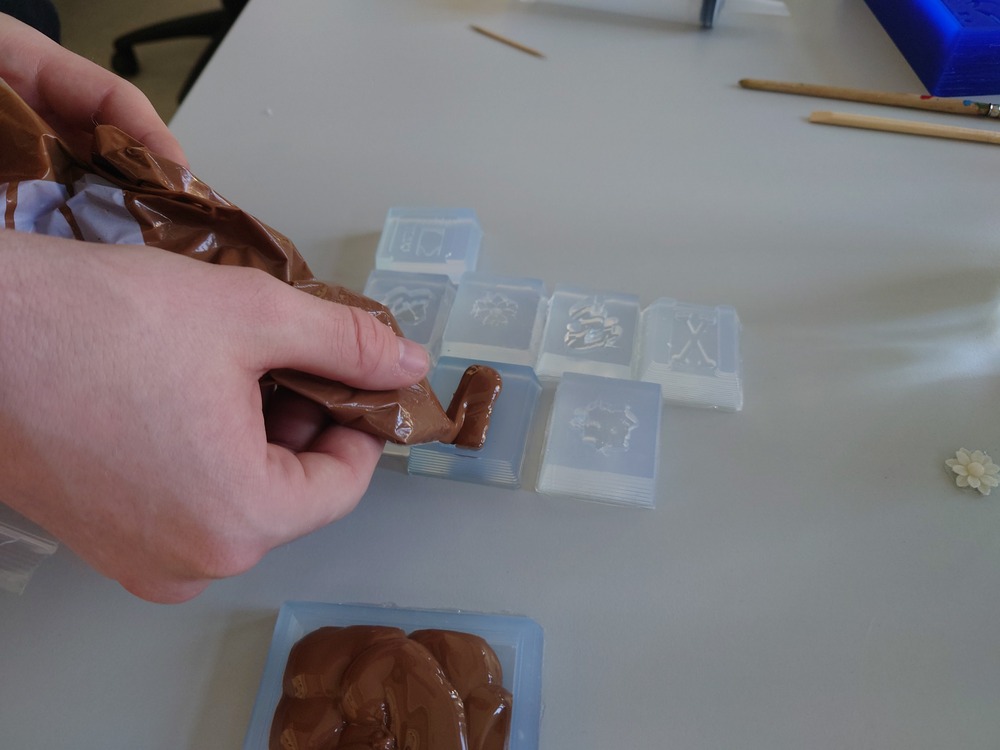
Then we cut up the bag to cast the chocolate into the mold:
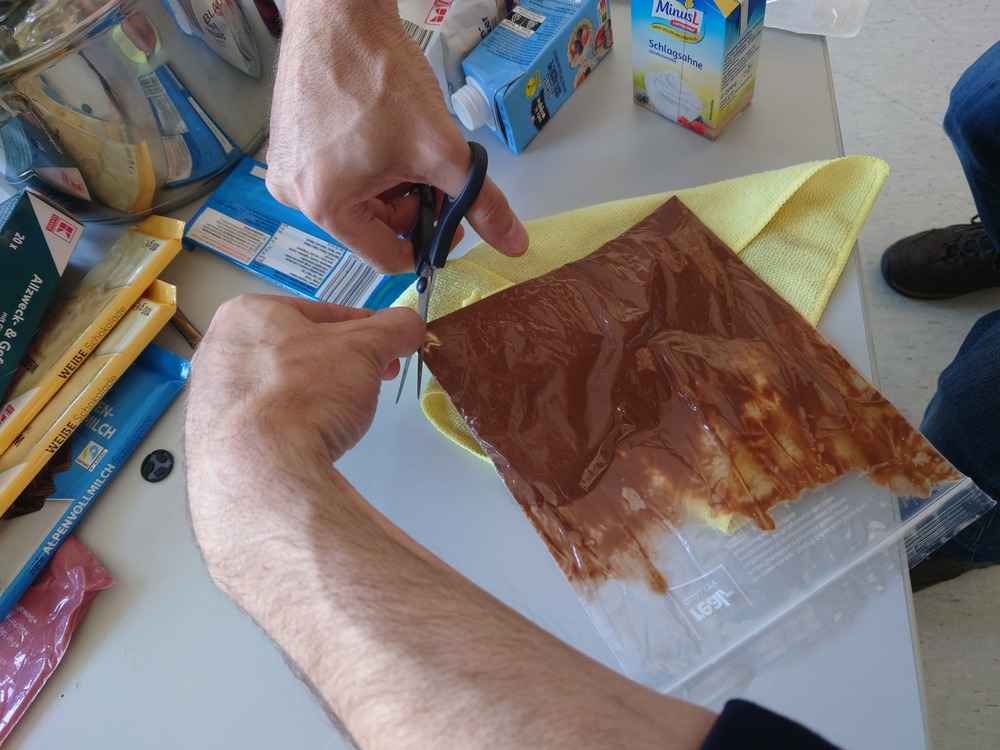
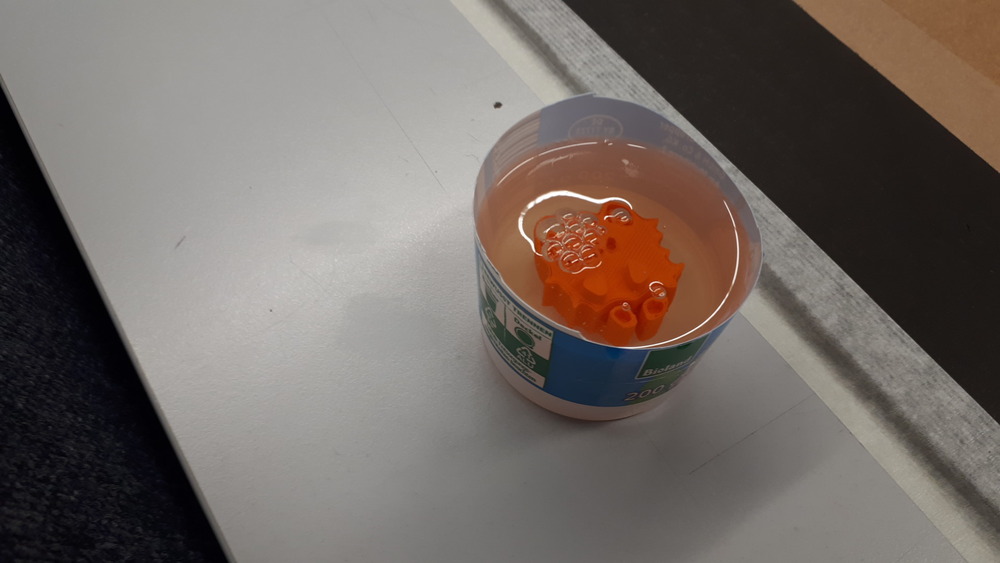
And casted:
Then to remove the air inside we just bumped the mold onto the table and used our fingers to shove it around:
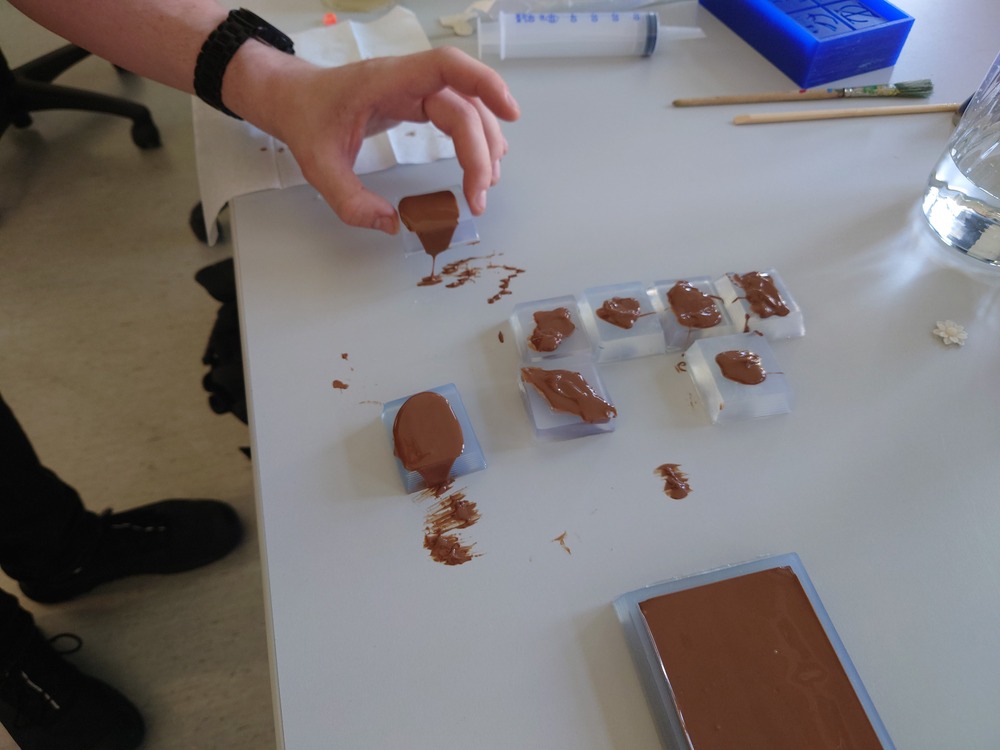
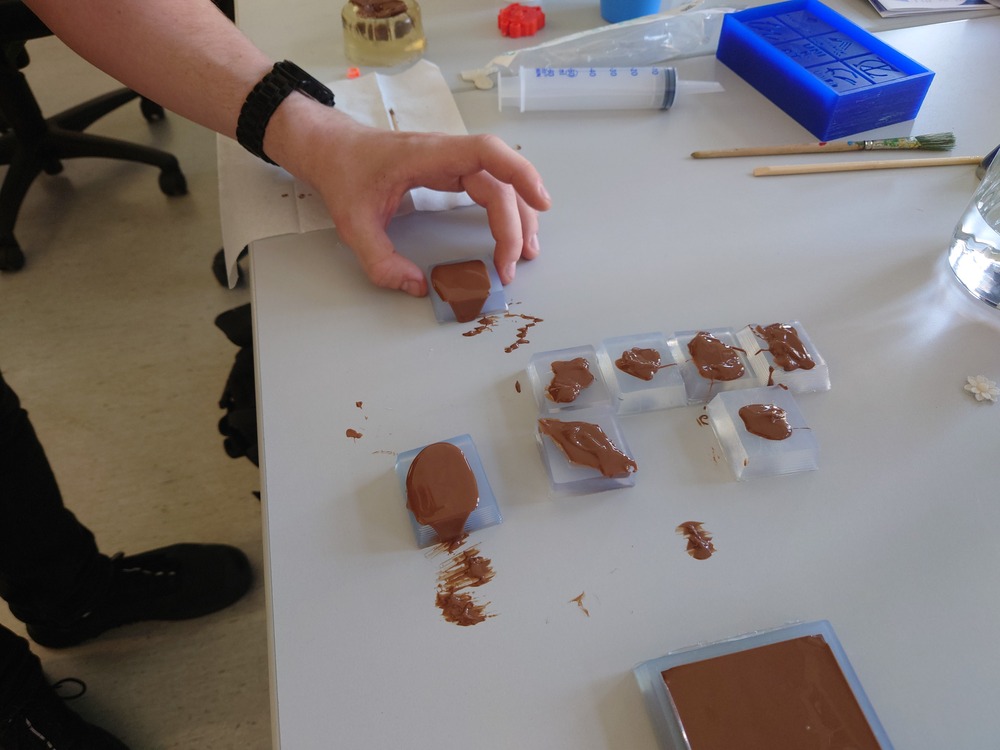
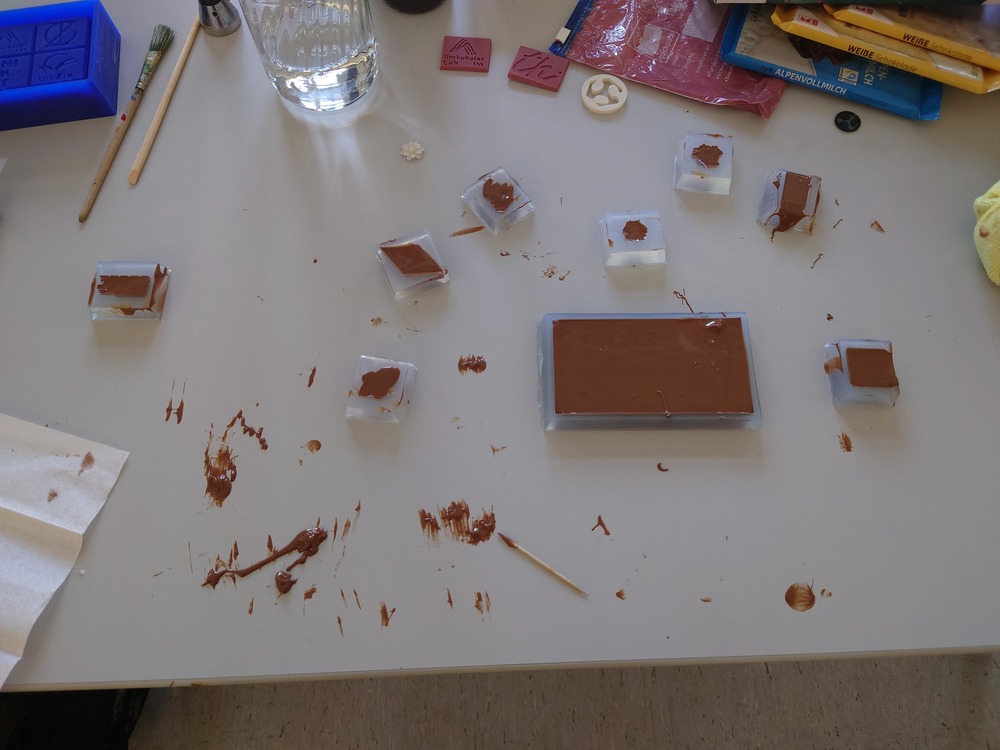
We where messing around with it a lot :]
Then we put it into the freezer for some time and finish:
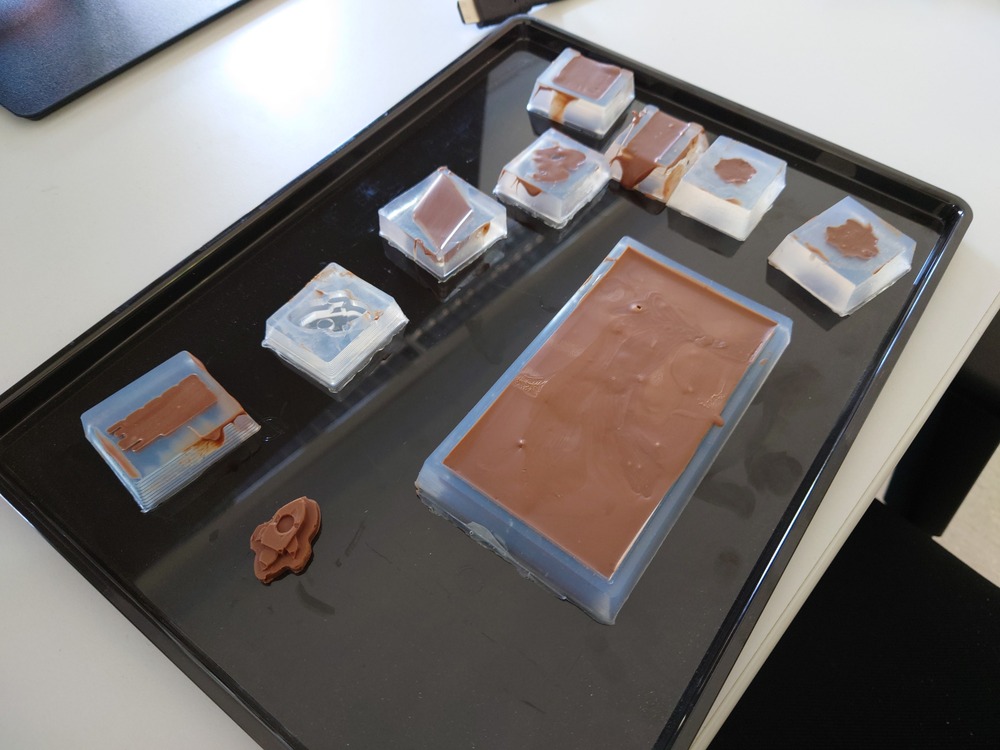
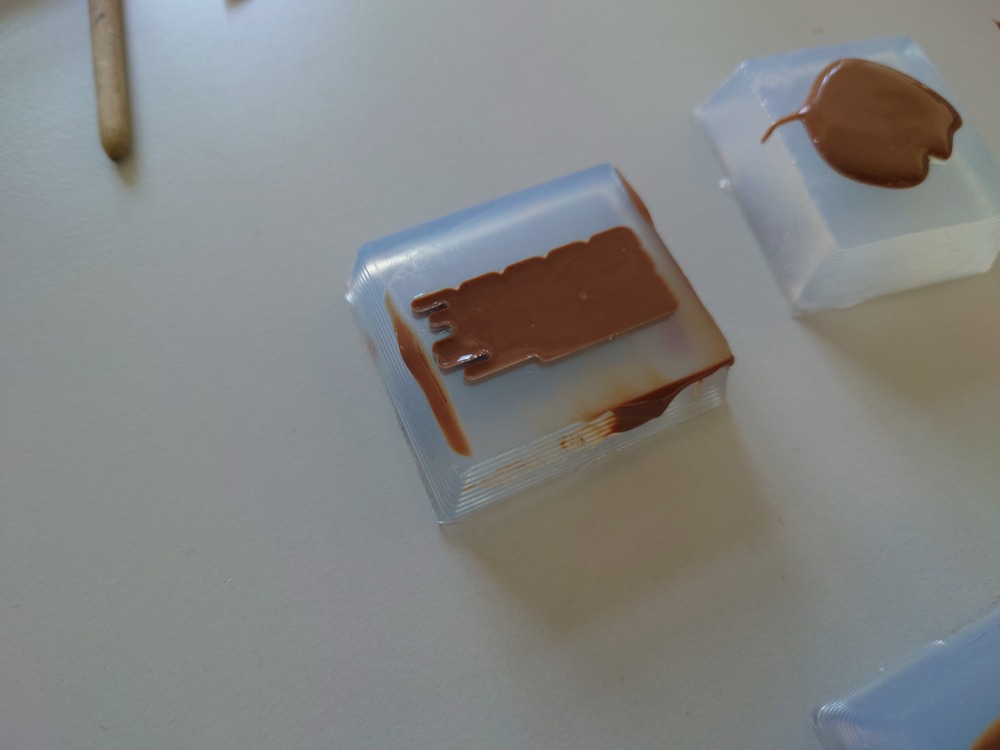
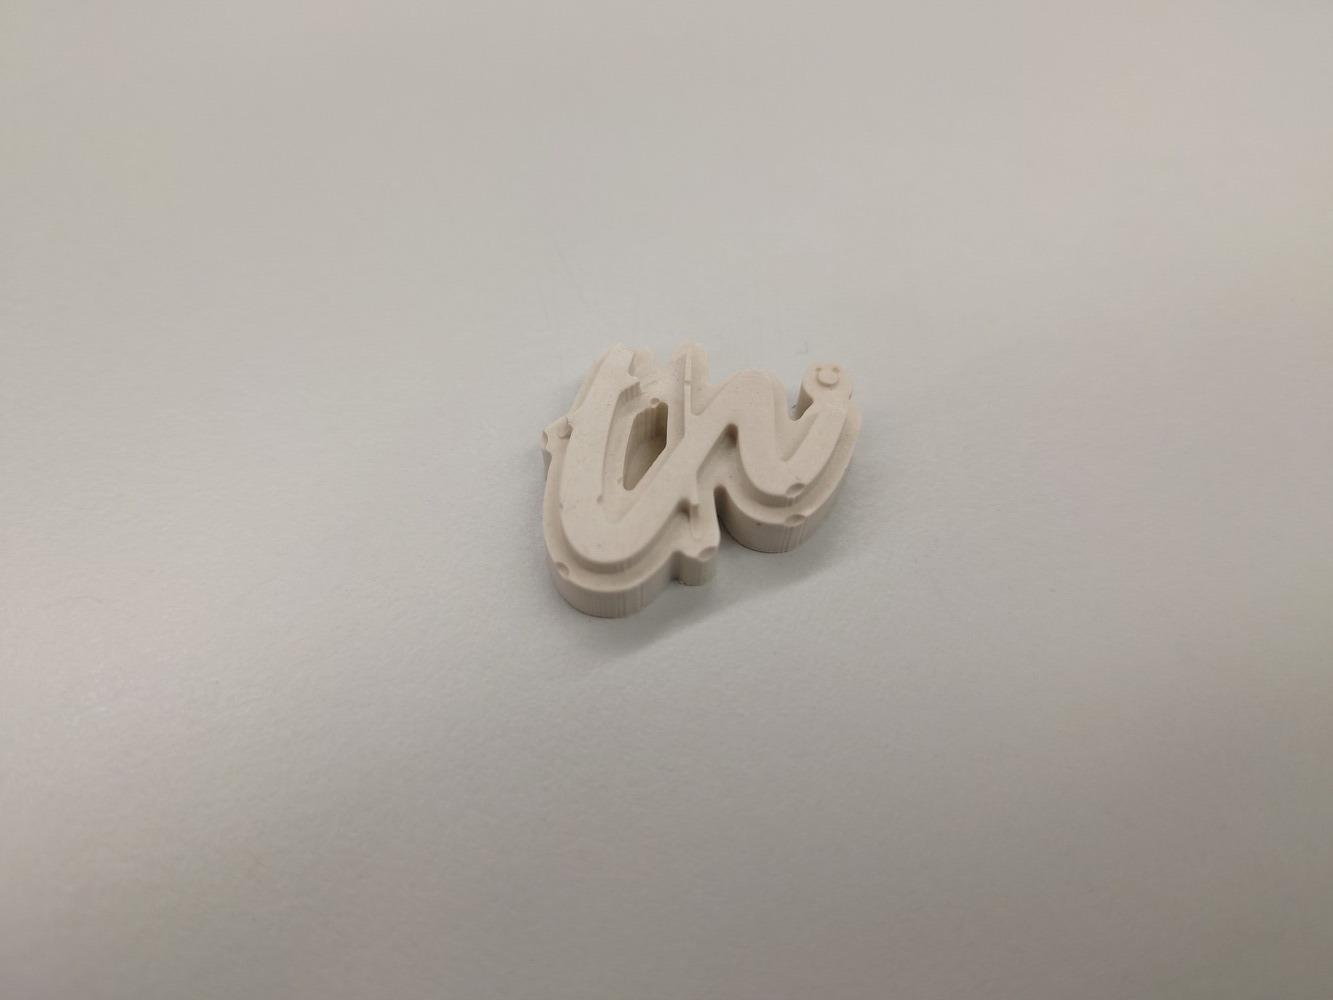
And then carefully removing and voilà:
Nice!
Not perfectly without air bubbles and also some chocolate was stuck in the mold.
I should have brushed something on the mold before casting the chocolate and maybe also use the vacuum chamber to degas it.
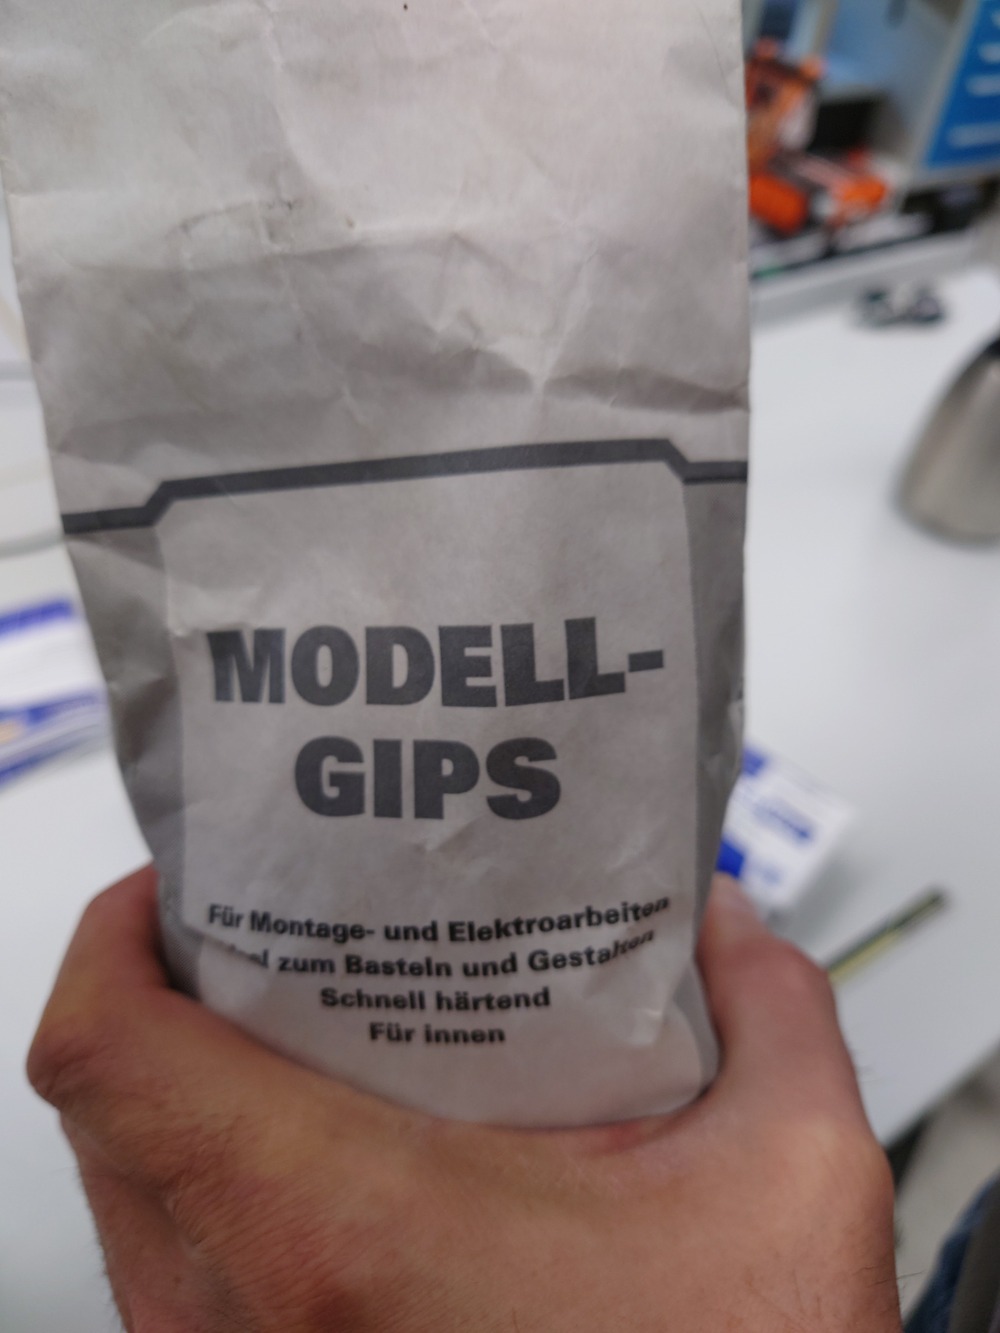
13.3.4. Casting Plaster
Then I also casted with plaster:
So first mix plaster (German ‘GIPS’) with water.
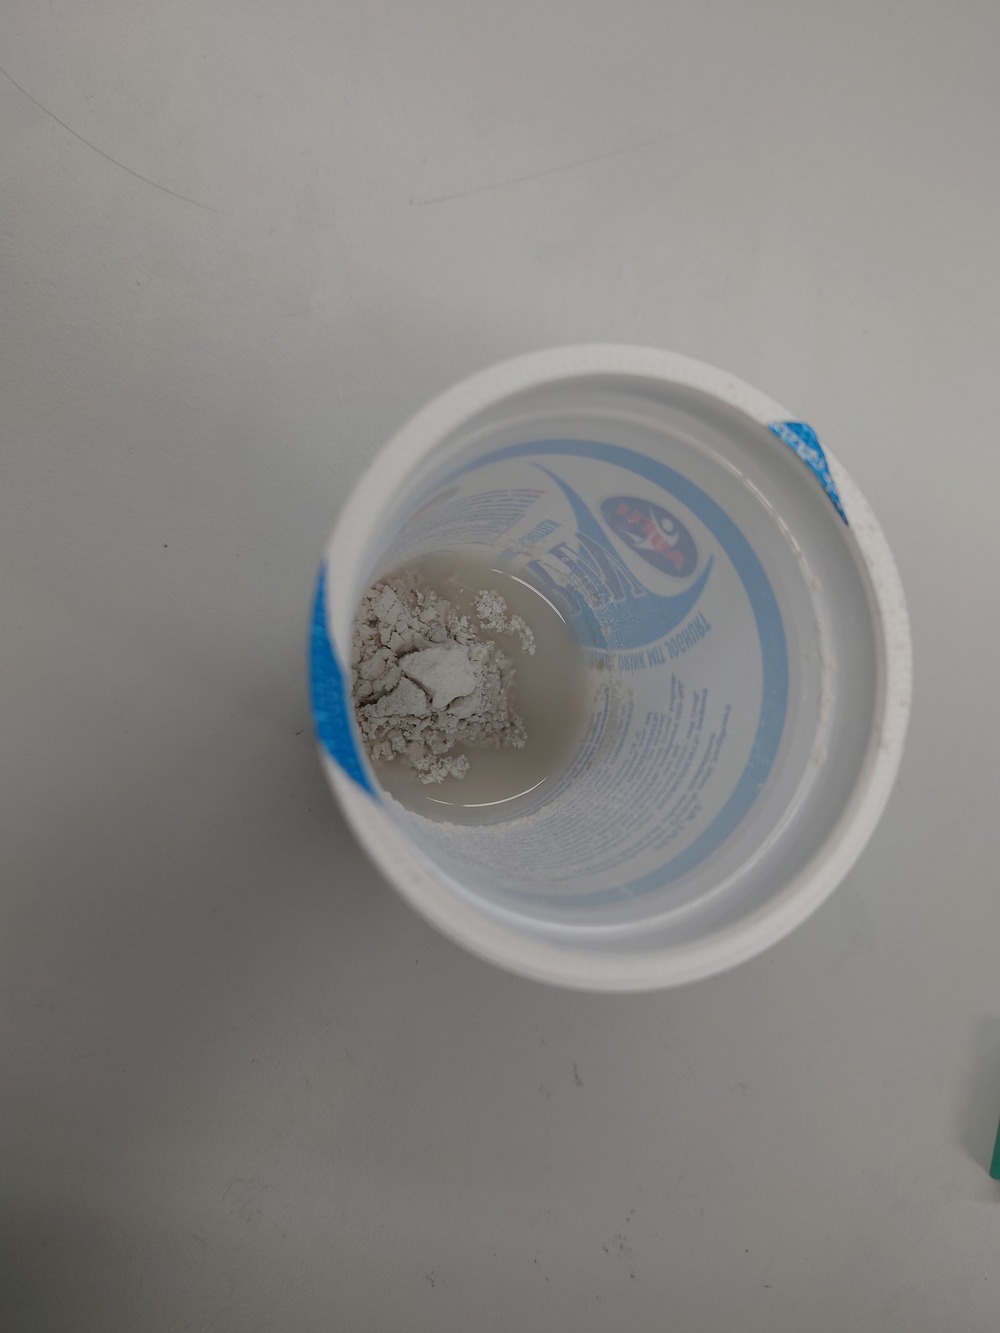
And then, if the plaster is still a bit viscous, cast it into the mold:
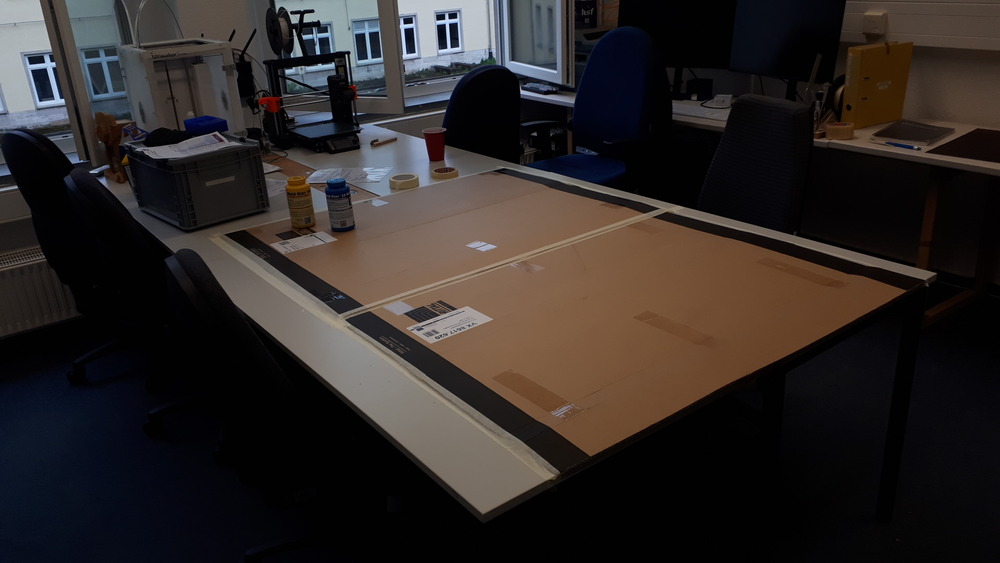
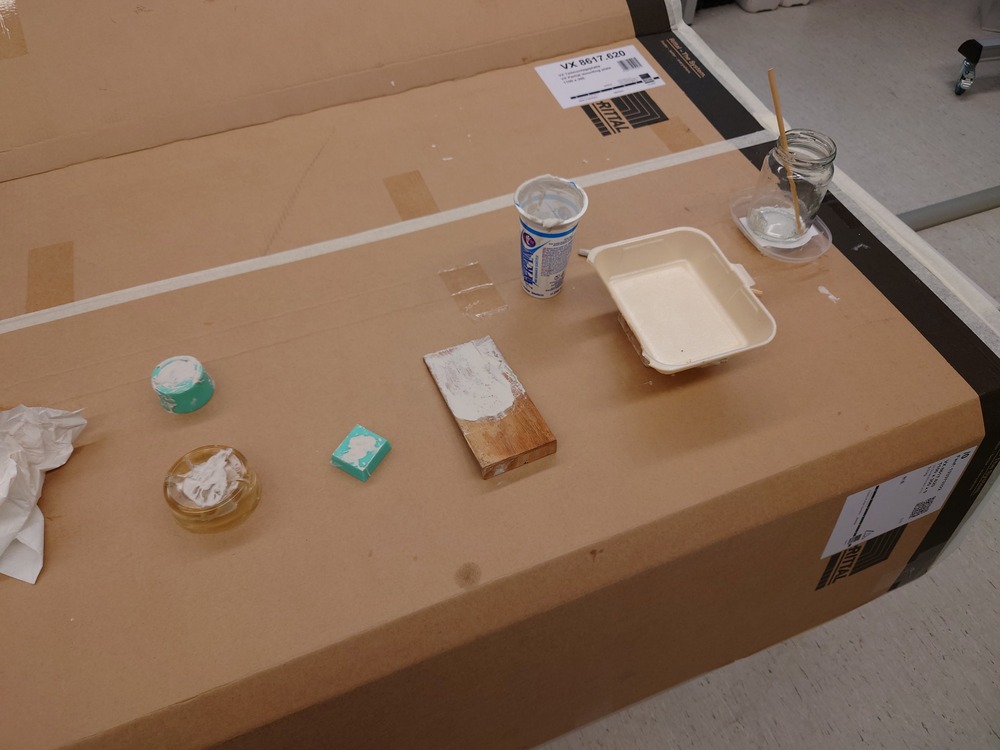
The workplace:
Waiting…
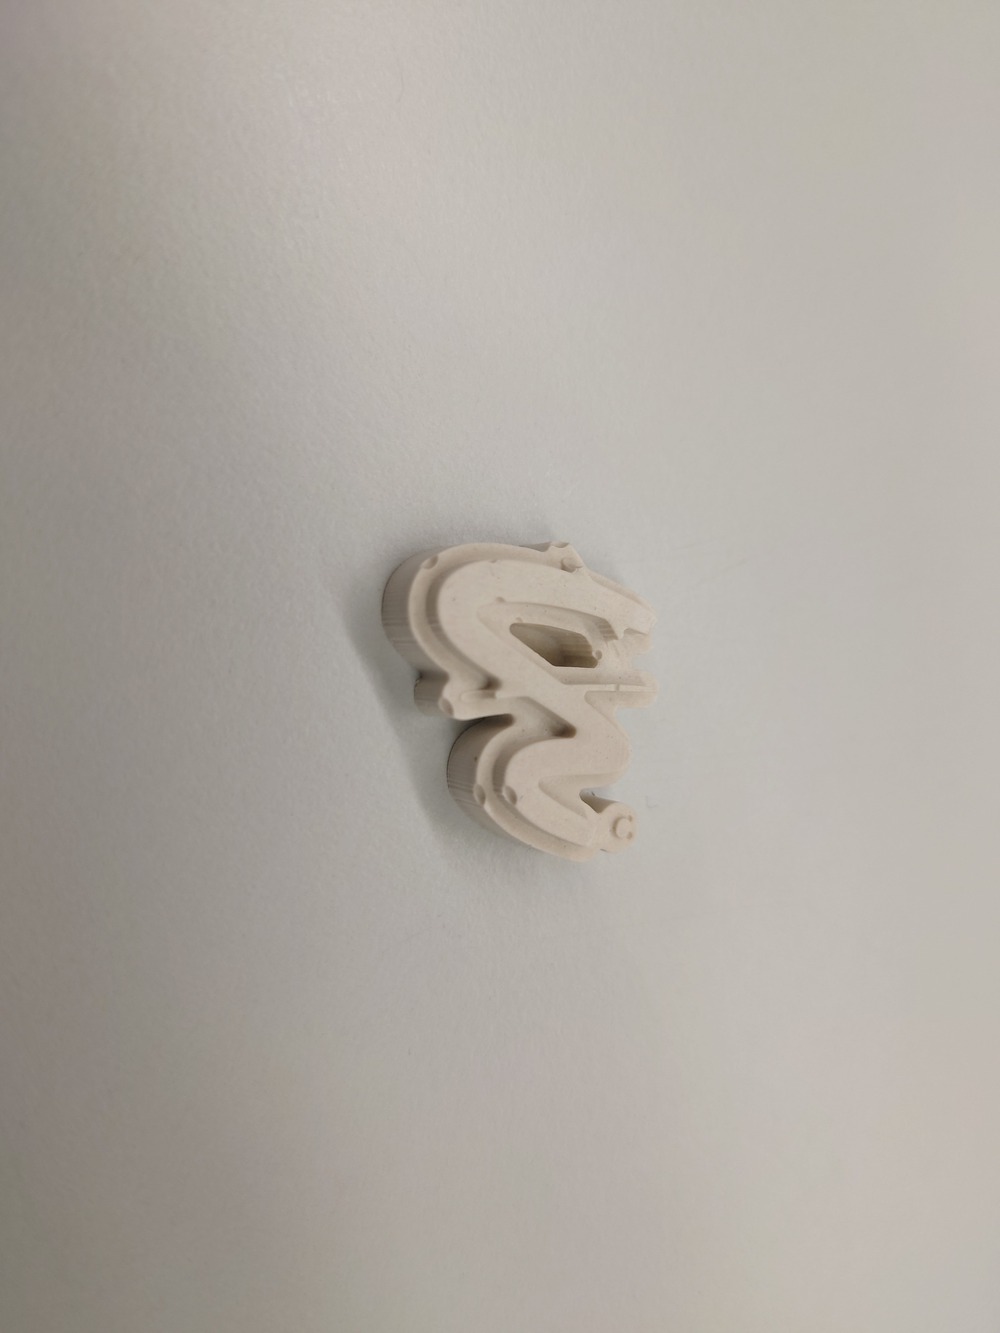
And:
Nice, again, maybe should have used the vacuum chamber to get the bubbles out.
13.4. Notes
matt wax for milling
for metal casting
cerrotru (tin)
zamak
mixing
use 3 glasses to mix without sheering
when casting, think about air, should entweichen
use a watch because of the cure-time
Parts of casting
sprue: da wird reingegoßen (konisch)
runner: distributes the casting material
gates: connects runner to part
riser: out for the air while poring
part
Materials Easy:
GIPS
WAX (candle)
Chocolate
Nougat
Soap
Silikon
use quickly all material after bought -> datasheet -> unusable after a time (splits material, hard to rühren etc…)
always 2 components because of the hardening
Pot Life: time you have, until it should be casted
Cure Time: time until hardened
mixed ratio: for the 2 components
Safety infos
what happens when on skin/mouth, how to treat, safety equipment needed
2 components
Designing 2 Sided Molds
rahmen zum verbinden
Becher
Rührstab nicht zu dünn, stabil wegen umrühren -> chopsticks good
stabil, flacher Boden
molds should be high enough -> we use 1cm -> when entgasen dann 3x volume
think about air comming out -> needs to have holes
Sachen mit Öl einreiben, damit sie leichter rausgehen