Designing my final project
My final project will be entirely 3d printed, which means I have to make my design while cognizant that it will be printed in parts and glued together. in order to reach those ends, I have ensured that my sketches are constrained, in order for me to use the absolute power of parametric design. My general thoughts going into designing were to make it in 3 parts, which ill be calling the unmoving base, the moving base, and the head. I also planned to take some liberties with my design, especially with the joints connecting the head to the moving base, in order to allow this entire project to be feasible.
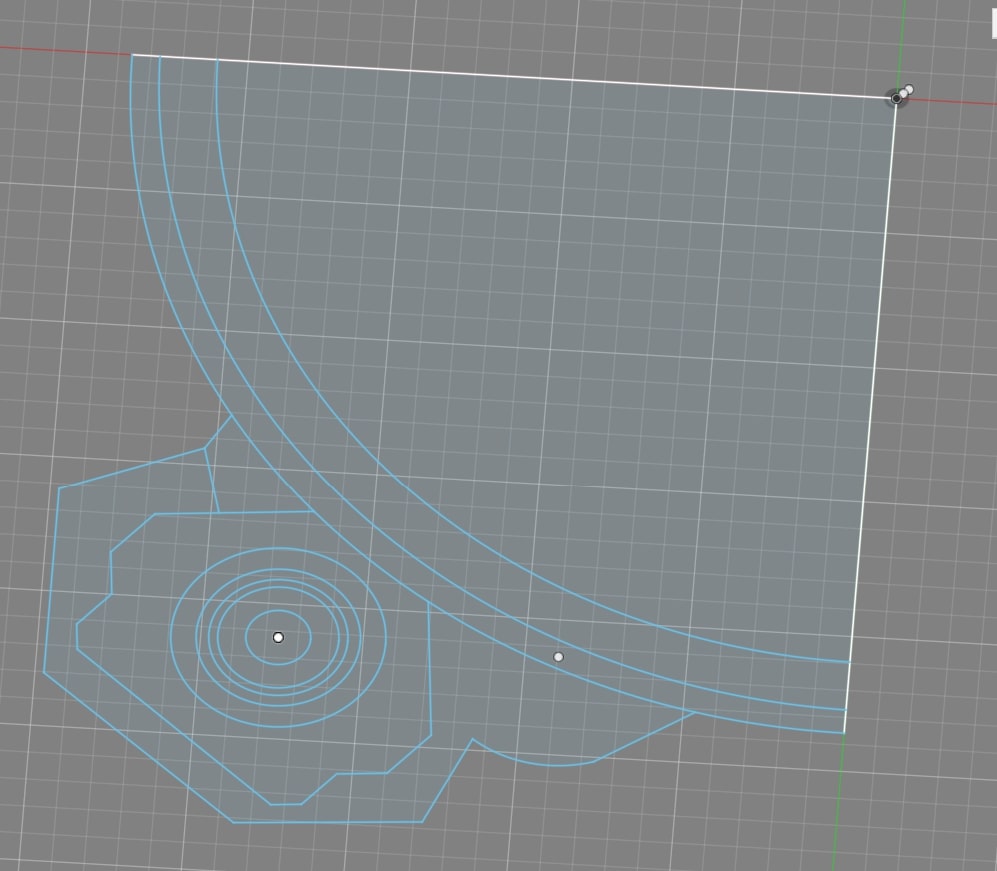
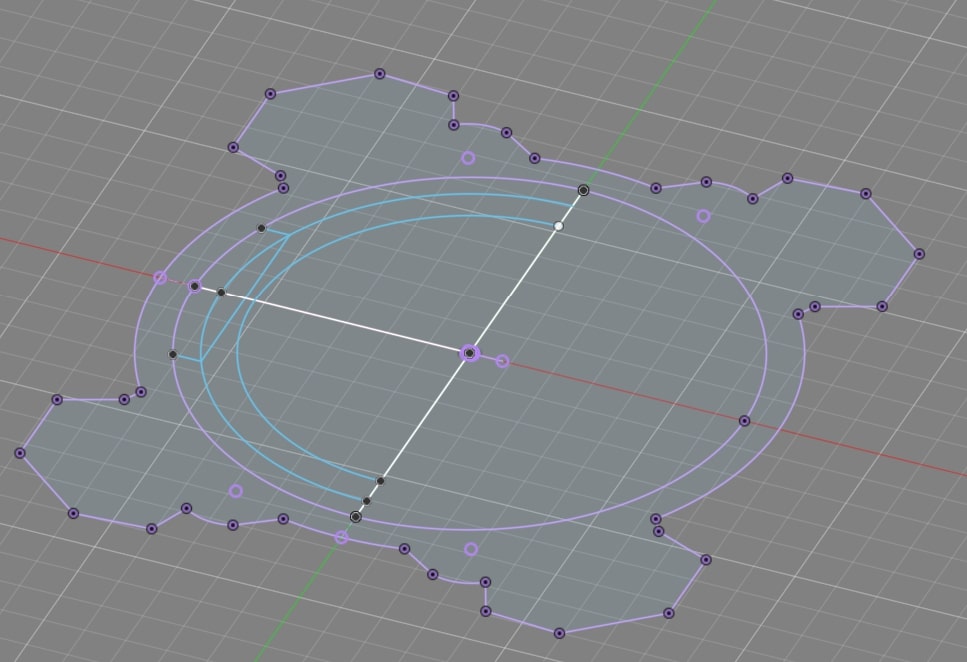
To start off my sketches, I used the 3d model from sketchfab as a reference. the license for using it is the creative commons attribute, so the link to the model is above, and the link to the models creator is here I imported this model into fusion360, where it was useless to work with except for as a reference, but allowed me to base my sketch off of it. I sketched using the tools below for 1 corner of it, then mirrored that to form the full circle
Sketch tools used
- Center Point circle: create a circle from a point and a diameter, used to make the details.
- Line: forms a line between 2 points
- Center Point Arc: creates an arc between a center point and a radius point, if you made the ark 360 degrees it would be a center point circle.
- Dimension: Constraint, allows you to modify the length or angle of something, which would cause it to dynamically update
- Rectangular and Circular pattern: allows for a part of a sketch to be copied in lines(rectangular) or around a center point(circular)
- Mirror: allows for any part of a sketch to be mirrored over a line
2D to 3D
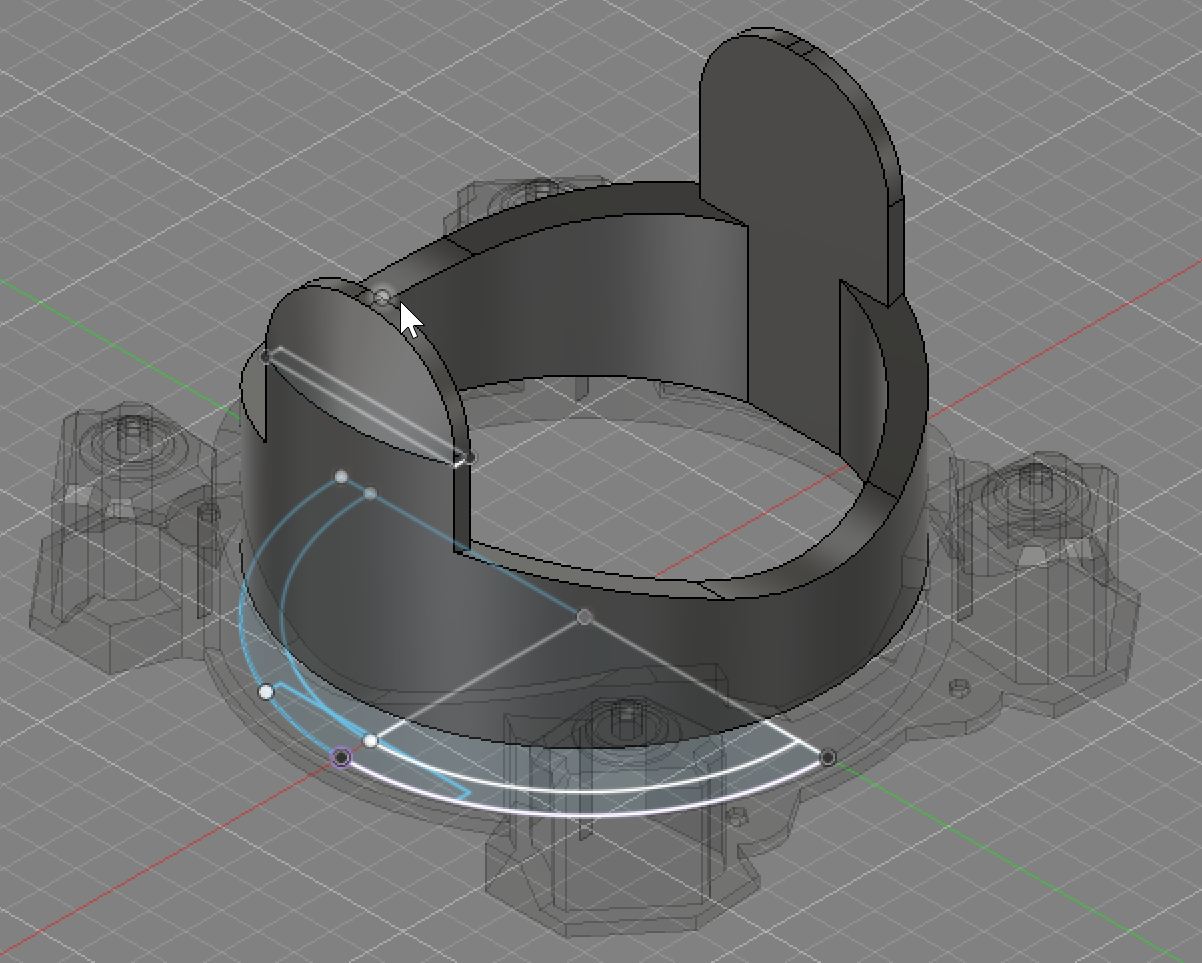
After finishing the sketch, I started to make the base 3d. For this, i mainly used extrude so that they matched it was the same size as the 3d reference and its size was a convenient number to work with. I then used chamfer to get some of the curved, like inside the circular raised part
Moving Base
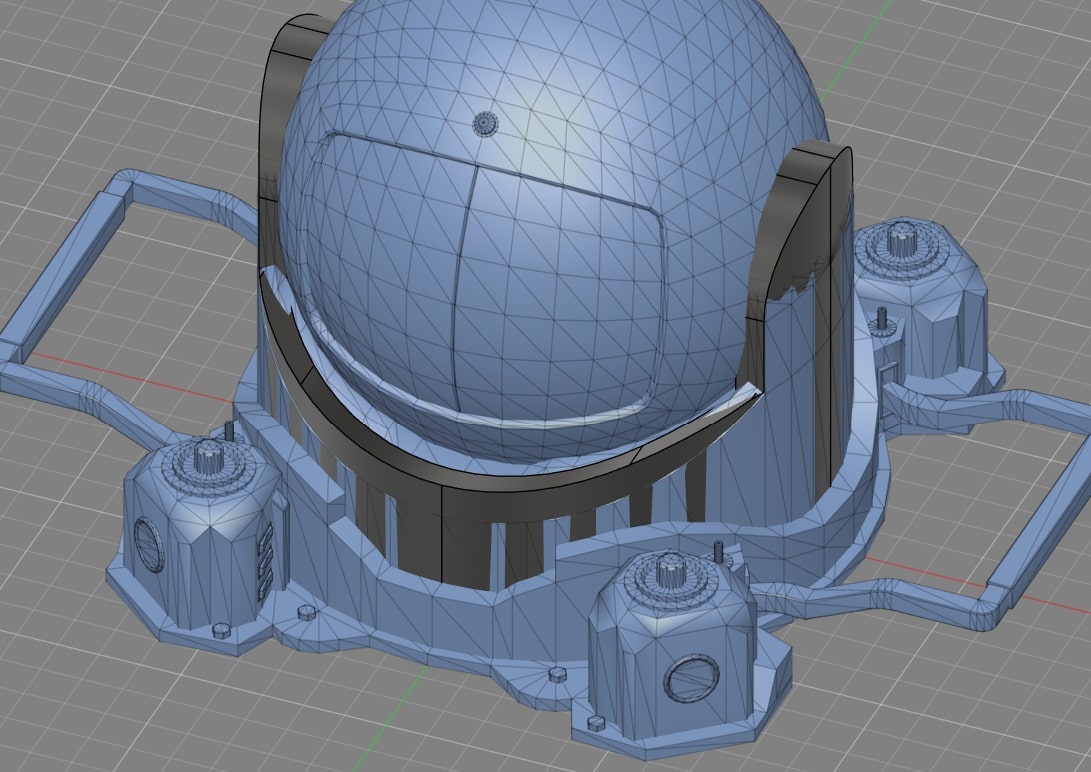
After finishing the unmoving segment, I started the lower moving segment, which I call the moving base. I paid attention to make it look like the original model while still modifying the arms on the side to be bigger. I used a sketch, extruding the filleting and chamfering for this. It followed the same workflow as above, with the exception of more chamfering, which I found worked funny around circles. It worked in a good funny way, as it resulted in a better resemblance to the original model
 After making the both parts of the base I realized that I had made multiple mistakes in a row. The first mistake I don't even know what caused it, but parametric modeling was turned off. I choose to blame this on the new fusion version that I updated to prior to starting the design, but I doubt they would turn off parametric modeling by default, so I really don't know what caused this. This is mostly fine, as I made it so that any changes to my sketch would update the 3d body, without having to go back, but it still put fear in me as I no longer had a way to go back if I had a serious issue.
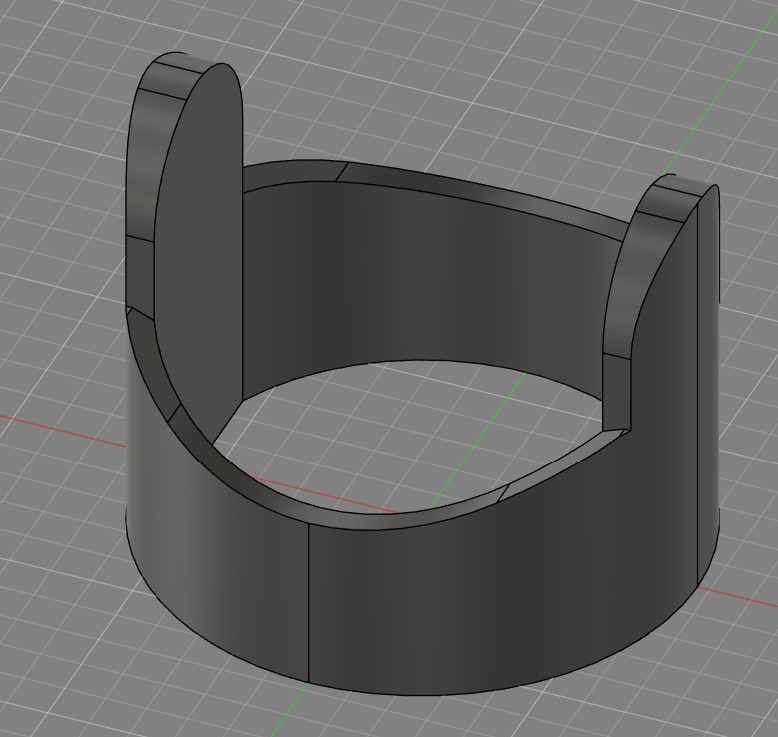
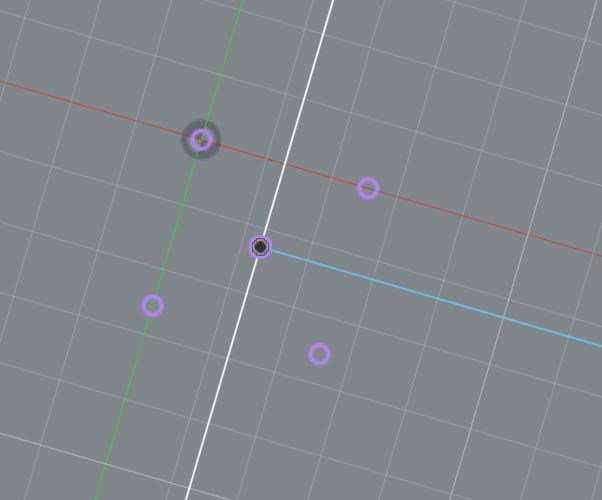 The second, more trivial issue, is that my 2 bodies were not aligned. While this is easily fixed by just moving the sketch to the right area, I will have to redesign the arms as they were made to align with the spear and the other side of the camera. I also took this time to try to make the arms resemble the original a bit more, as I felt they were a bit too "bulky". I also started thinking about tolerances more, as I had to make sure it could spin comfortably without looking like it has many gaps in it.
I continued on with my work, but needed to change something and I ran into another problem due to parametric being off. Because it was off, it didn't even let me go in and change the sketch. This meant that anything I had made before turning parametric on I could not fix, and combined with the off center origin, I was forced to restart
Optimizing fusion 360 for my laptop.
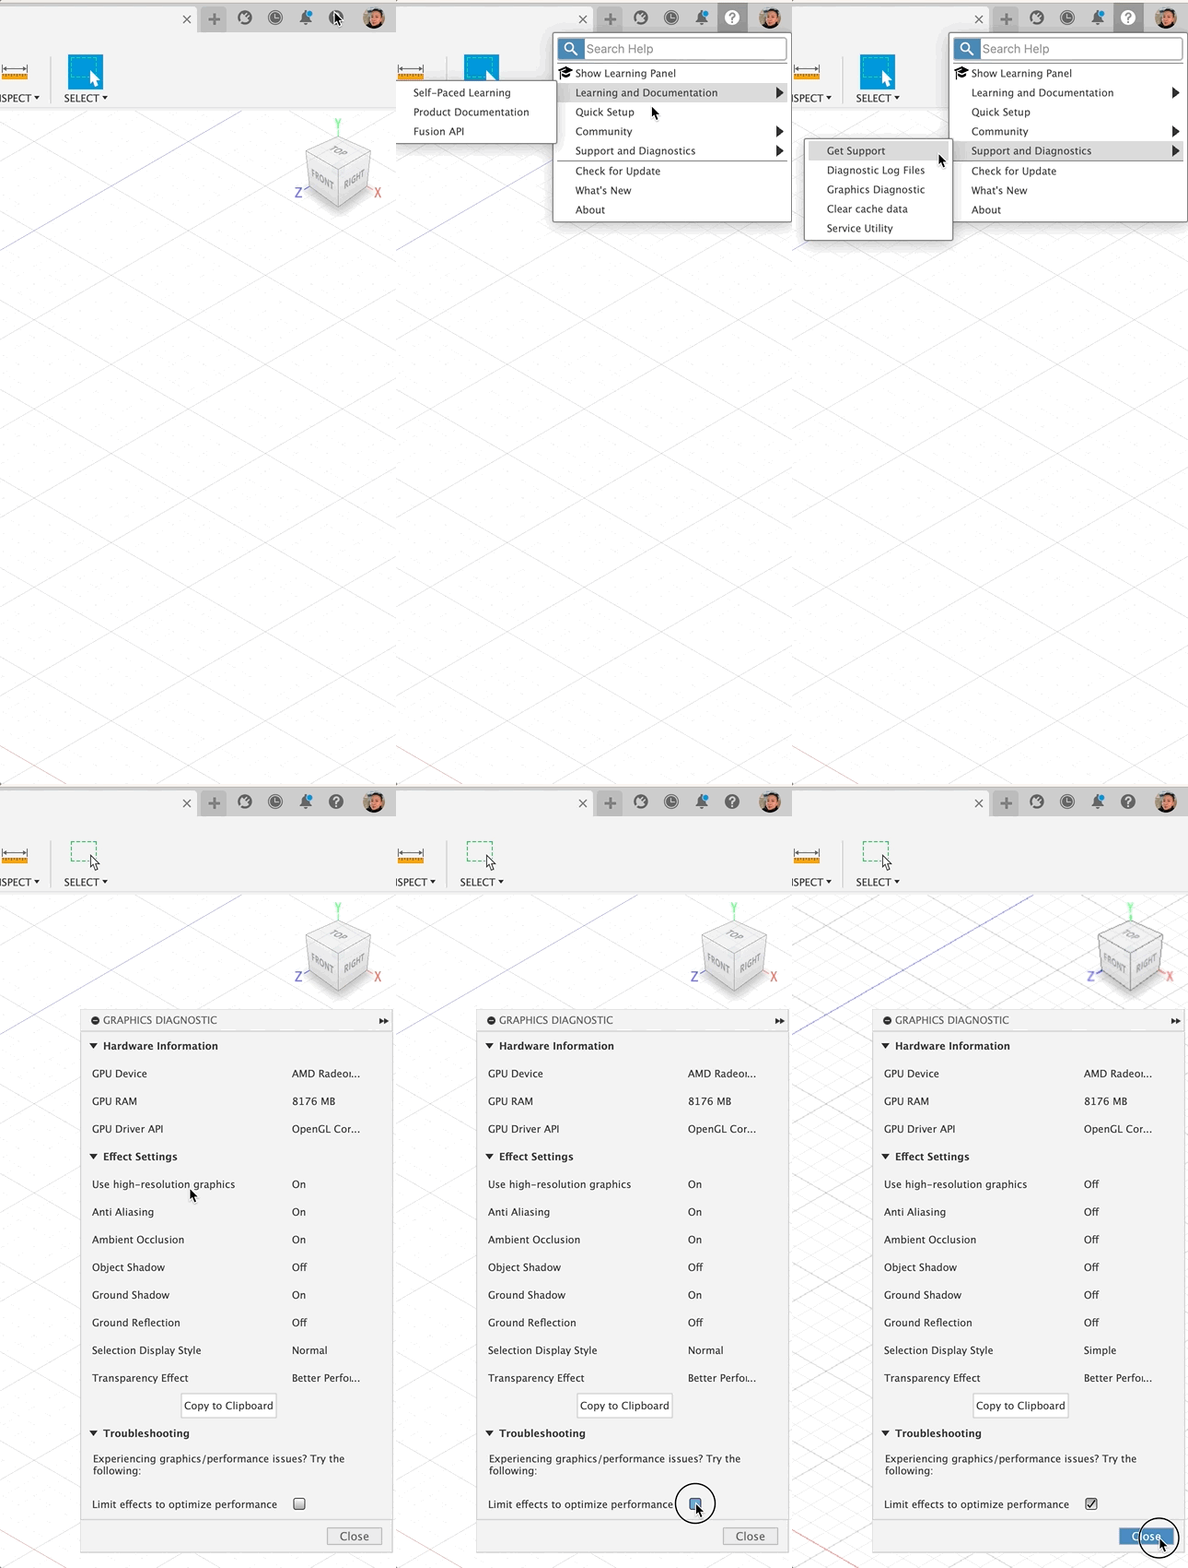
My laptop is not the best, it is one of the new snapdragon laptop chips, but not the good ones, it is the snapdragon 8cx gen3, which is almost identical to the snapdragon phone chip of the 8 gen 3. The advantages are battery life, and heat, but the disadvantages are everything else. It struggles to run fusion 360, mostly due to there being no native arm build of it as of early 2025. In order to run fusion well, I had to turn on the limit effects to optimize performance. If you need even higher performance, follow this article from Autodesk.
Second try at designing the final project
I basically recreated what I did on the first try, but this time with parametric modeling on. While it was a setback, I took me half the time to get back to where I was.
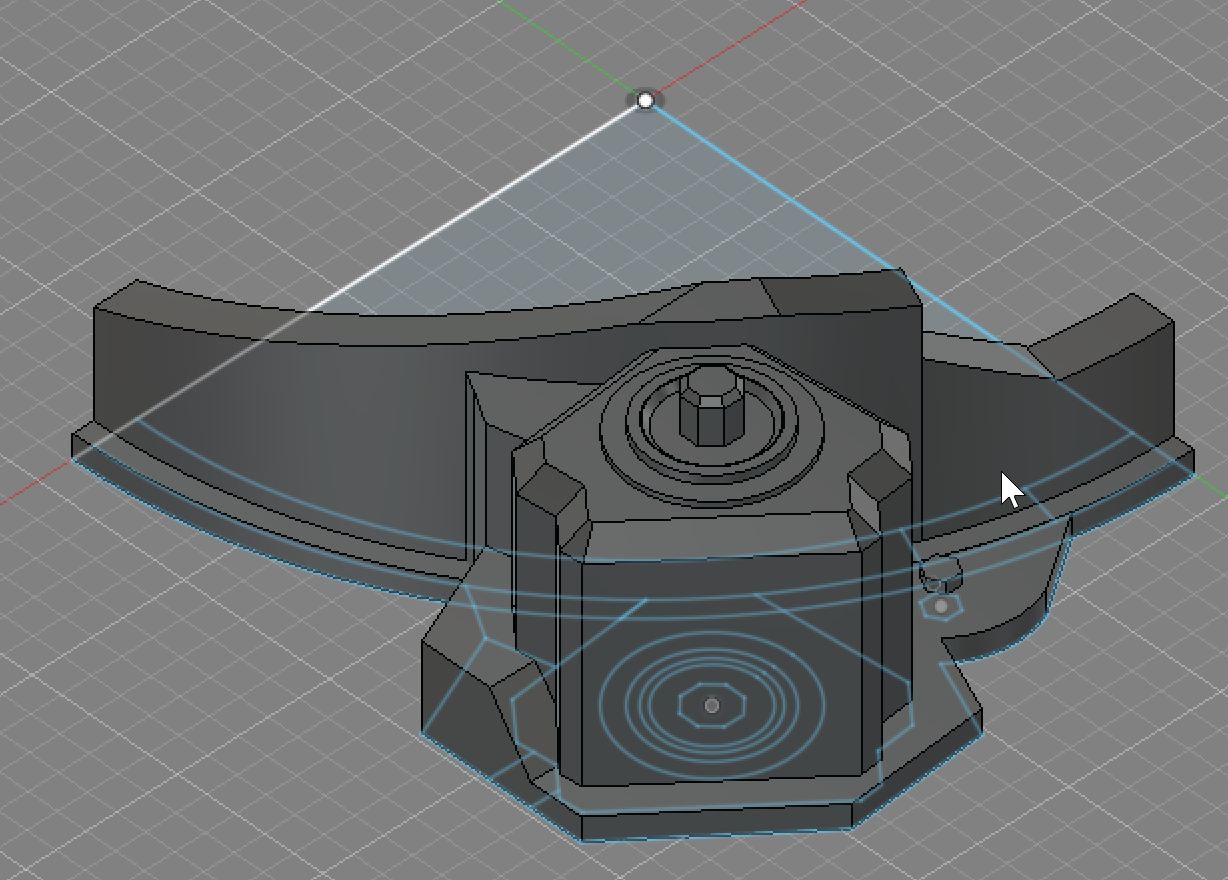
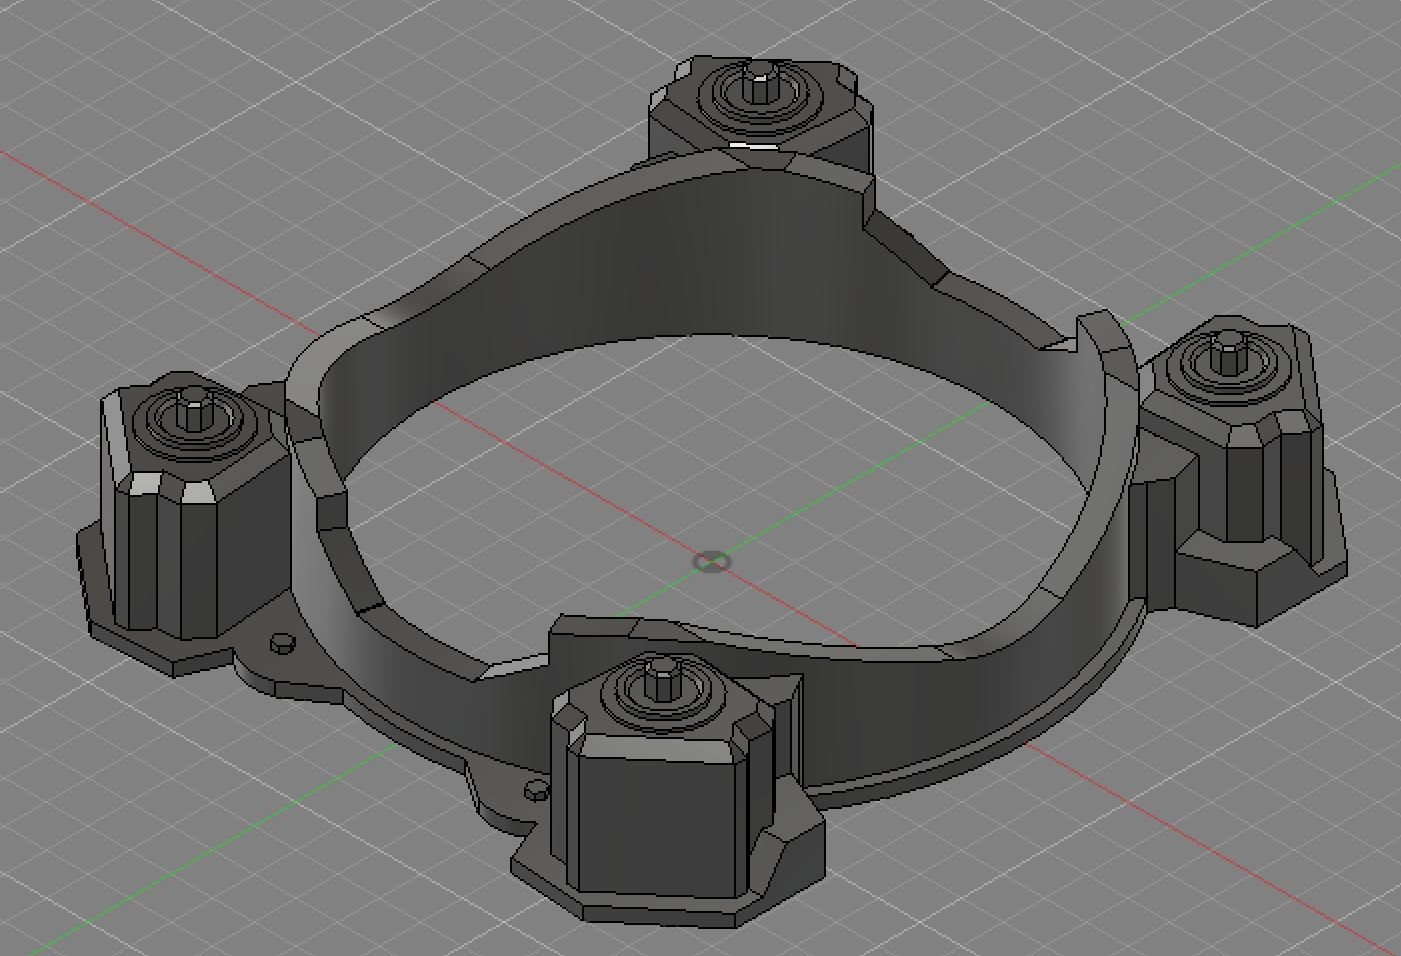
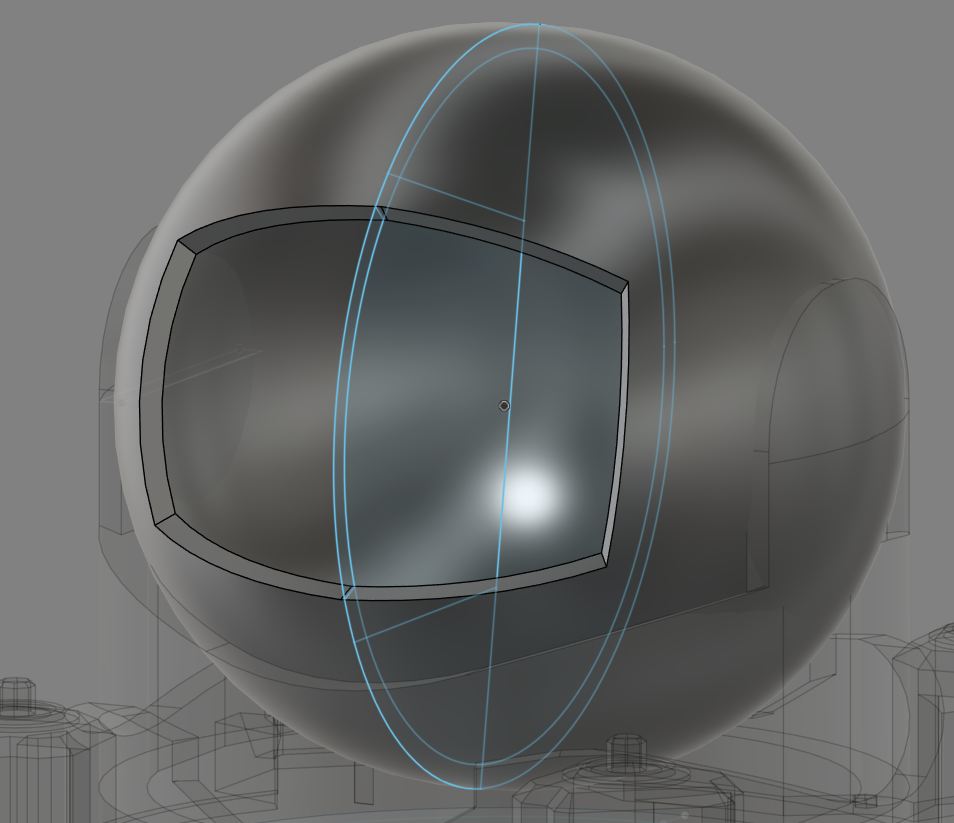 After getting back to both parts of the base made, I started on the head. Because it was a sphere, I made a simple sketch and then I made heavy use of the revolve command in order to create the circle. I used fusion's equivalent of constructive solid geometry here, by revolving multiple times, to either make the full circle or remove parts to make the window. After getting the circle, I made even more use of chamfer and fillet in order to round the corners
I left the inside empty, as the design in there will be dependent on the electronics I use. During the design process, I also did my best to leave as much room for electronics as I could, by not adding material anywhere I could avoid.
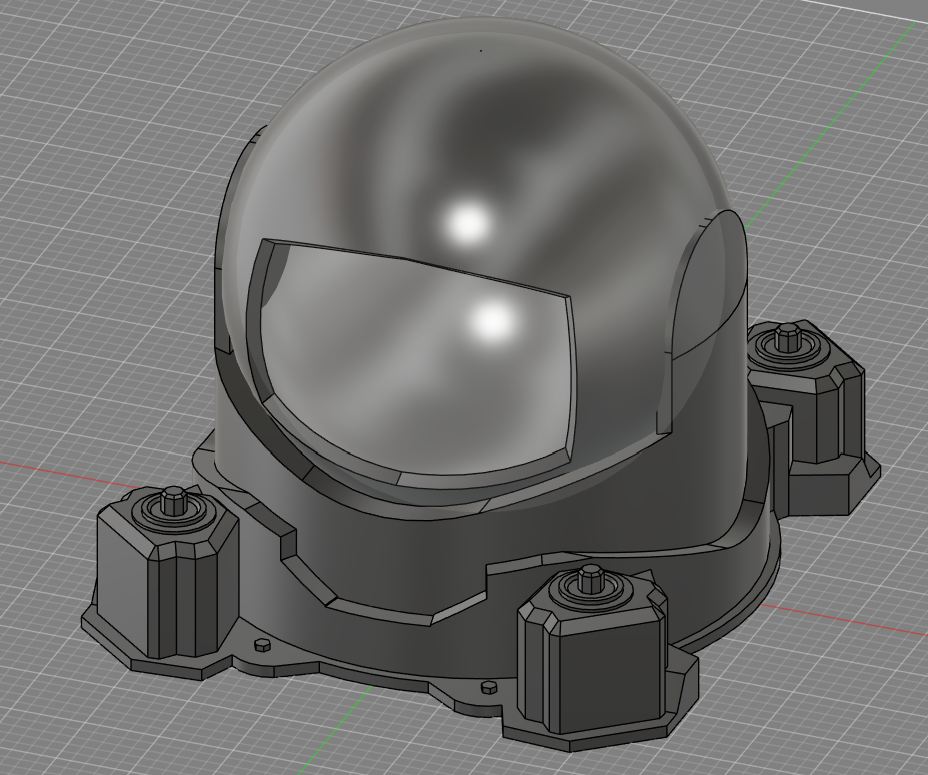 overall, I am happy with my final design, looking at it based off what I wanted it to look like, and looking at it based off how easy I think it would be to make in real life. I had to sacrifice some things, or leave out some details for right now that will be filled in as I design the circuit it will use
A quick tip for fusion
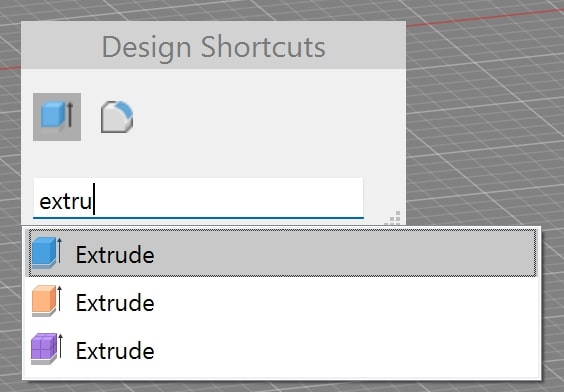 The only keybind that is required for fusion is the S key the S key is the keybind for search, where any word can be typed in and the action related to that will be automatically sourced. I would say im pretty competent with fusion, and if I had to learn all the keybinds or memorize the position of the tools in the upper toolbar, then I would not of been able to learn as much as I have
Other CAD software I tried
Blender
Blender is the gold standard of free software. While I never planned on using it for my final project, I am a fan of Free and Open Source Software, and am looking into fusion alternatives as I exit school and have to start paying for a license. Blender is popular because it is used in every 3d design industry. Movies nominated for oscars have been made in it, games have been made with it, and some people like to make their 3d prints in it. The reference design im using to base my fusion 360 design of my final project was made and animated using blender. I never made anything, but rather played around with the sculpt tool, and I feel that it would be much more suited for making the head of the camera, as any non-flat geometry is hard to work with in fusion 360.
Because I didnt do anything too advanced with blender, It was pretty simple to work with. It is different from fusion in that it mainly uses mesh modeling, which is essentially each 3d model is a bunch of really small points connected together, which are moved by a modeler to create advanced shapes. At first I was just playing around with blender, by inserting a monkey model using the ++Shift+a++ command. I then went to the top left and set the mode to editing, where I could start to work with the vertices. I didn't go any further than pulling them to see how they interacted with eachother, then stopped playing with the vertices. After that I wanted to try a cloth simulation. For that, I followed this youtube video, and ended up learning about subdivide, and object properties.
AI 2d image generation for manufacturing with Chatgpt
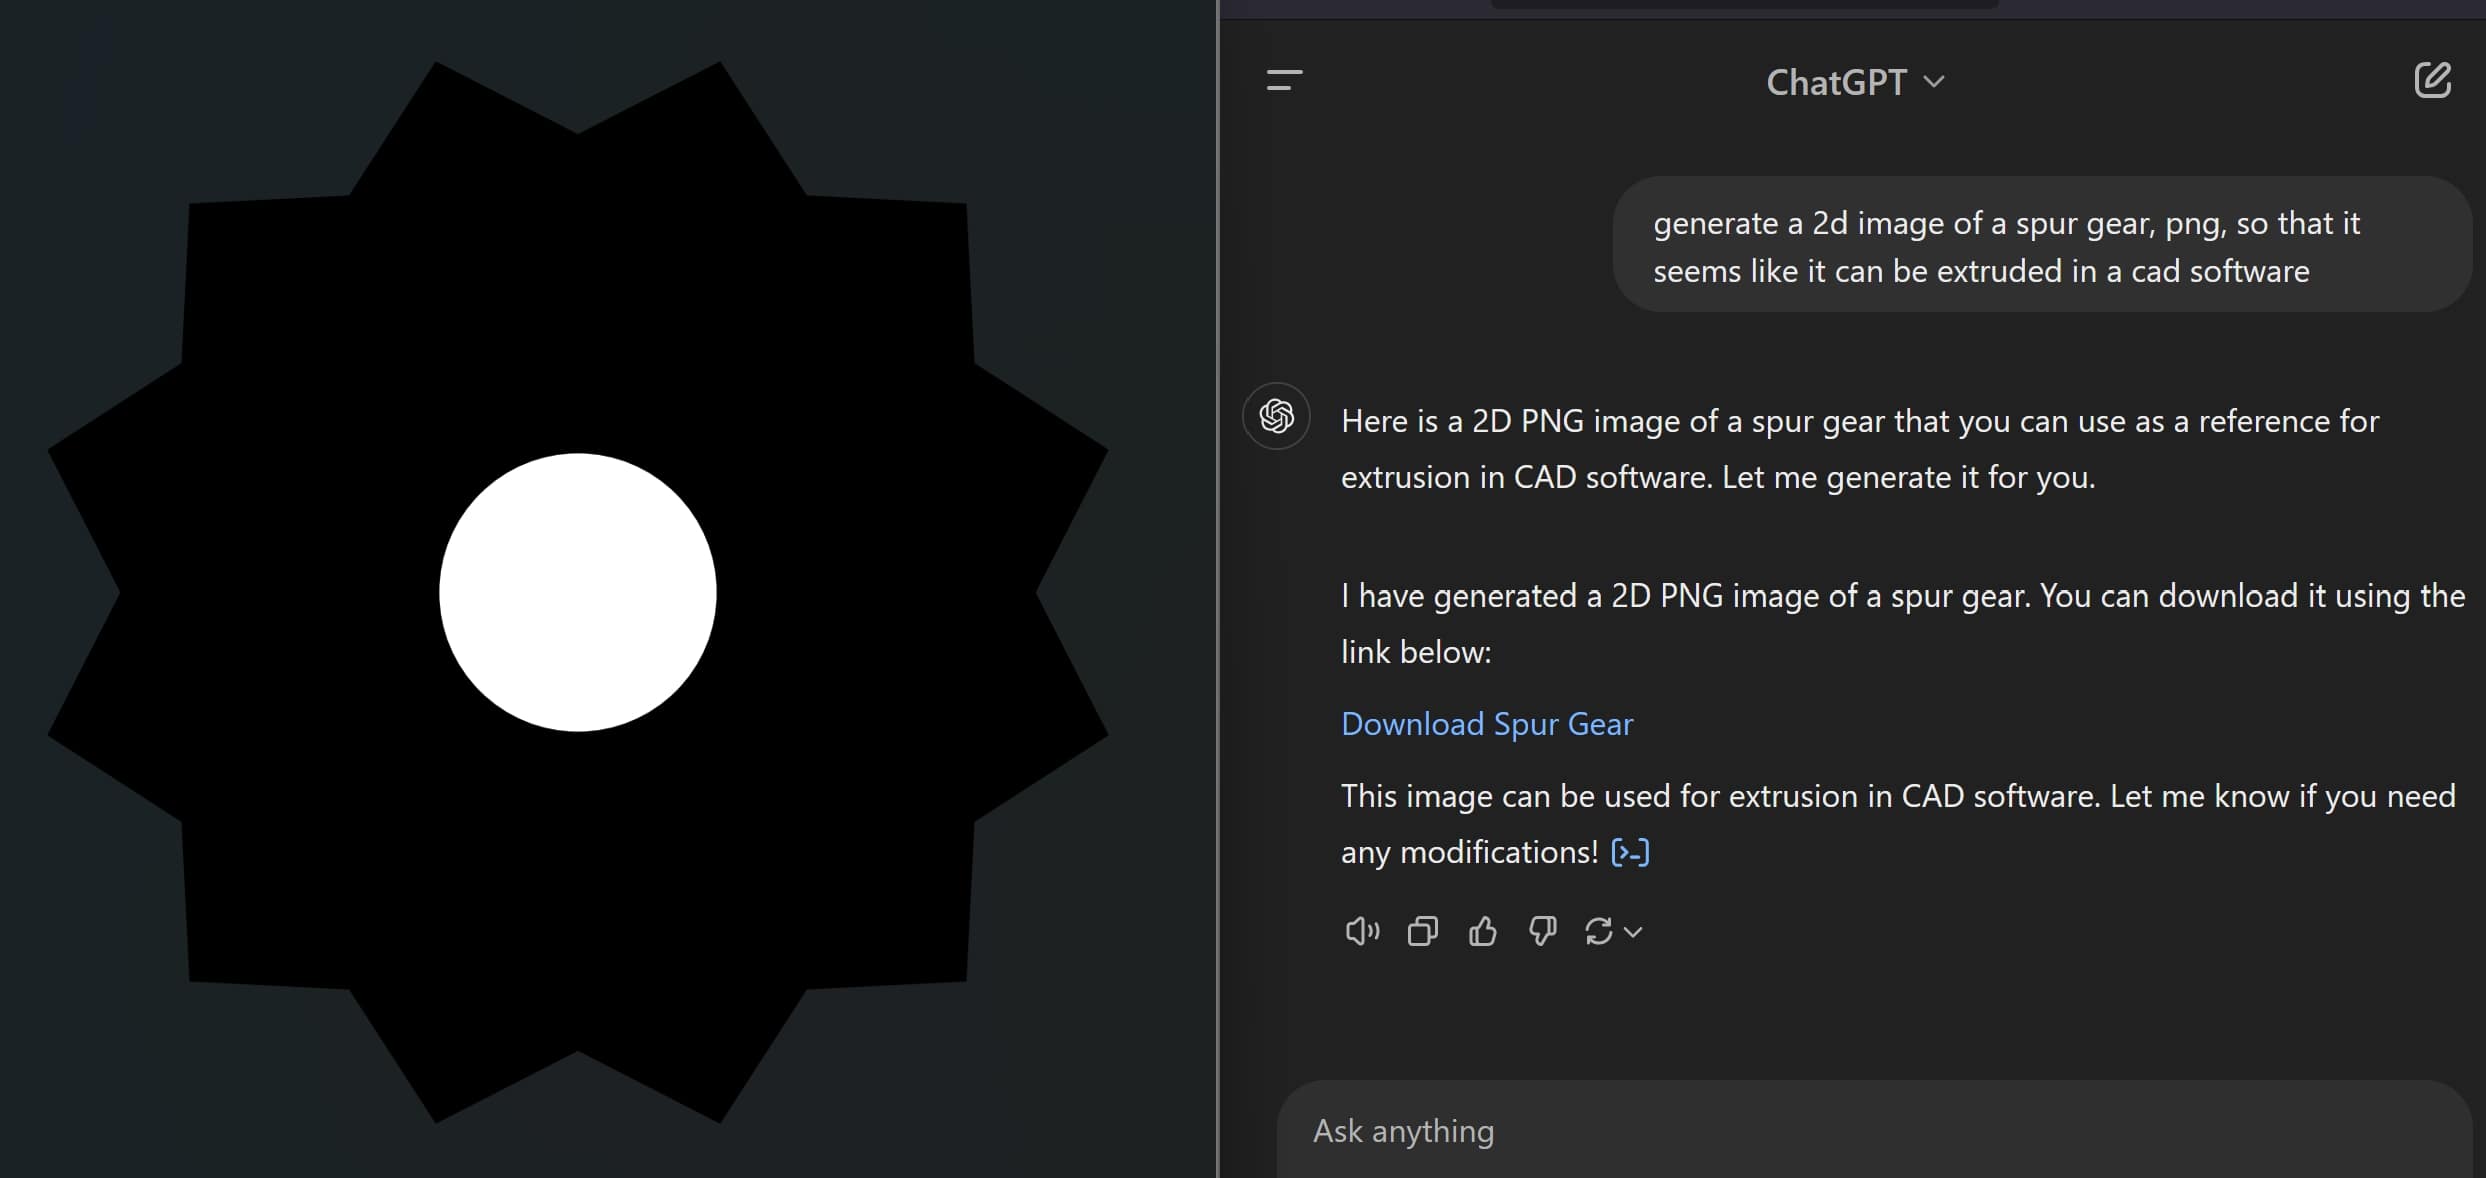 For the 2d AI portion, I decided to test chatgpt in creating a black and white image, that I could then trace and convert to a 3d object. I went about this by having the AI generate the gear as in full black and white, and orthographic, so that the trace had an easier time. for more complex shapes that can be explained really well, this could actually be useful for complex laser cuts. this all relies on the AI being able to translate your words into a design, which does not work well in 2d or 3d. This is not good, don't do this. It is only good for something where you need either a decorative image really fast, or a reference image if you can only describe what you want to build through words
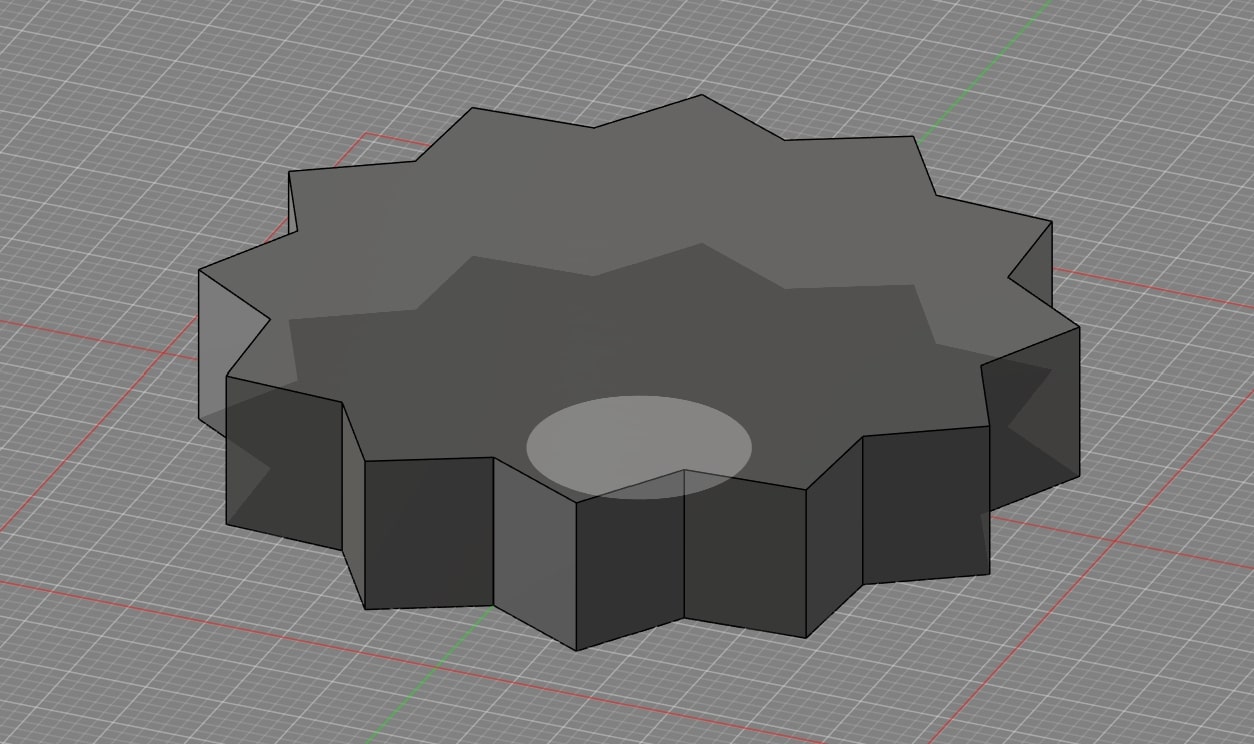
3D AI Generation with Text to CAD
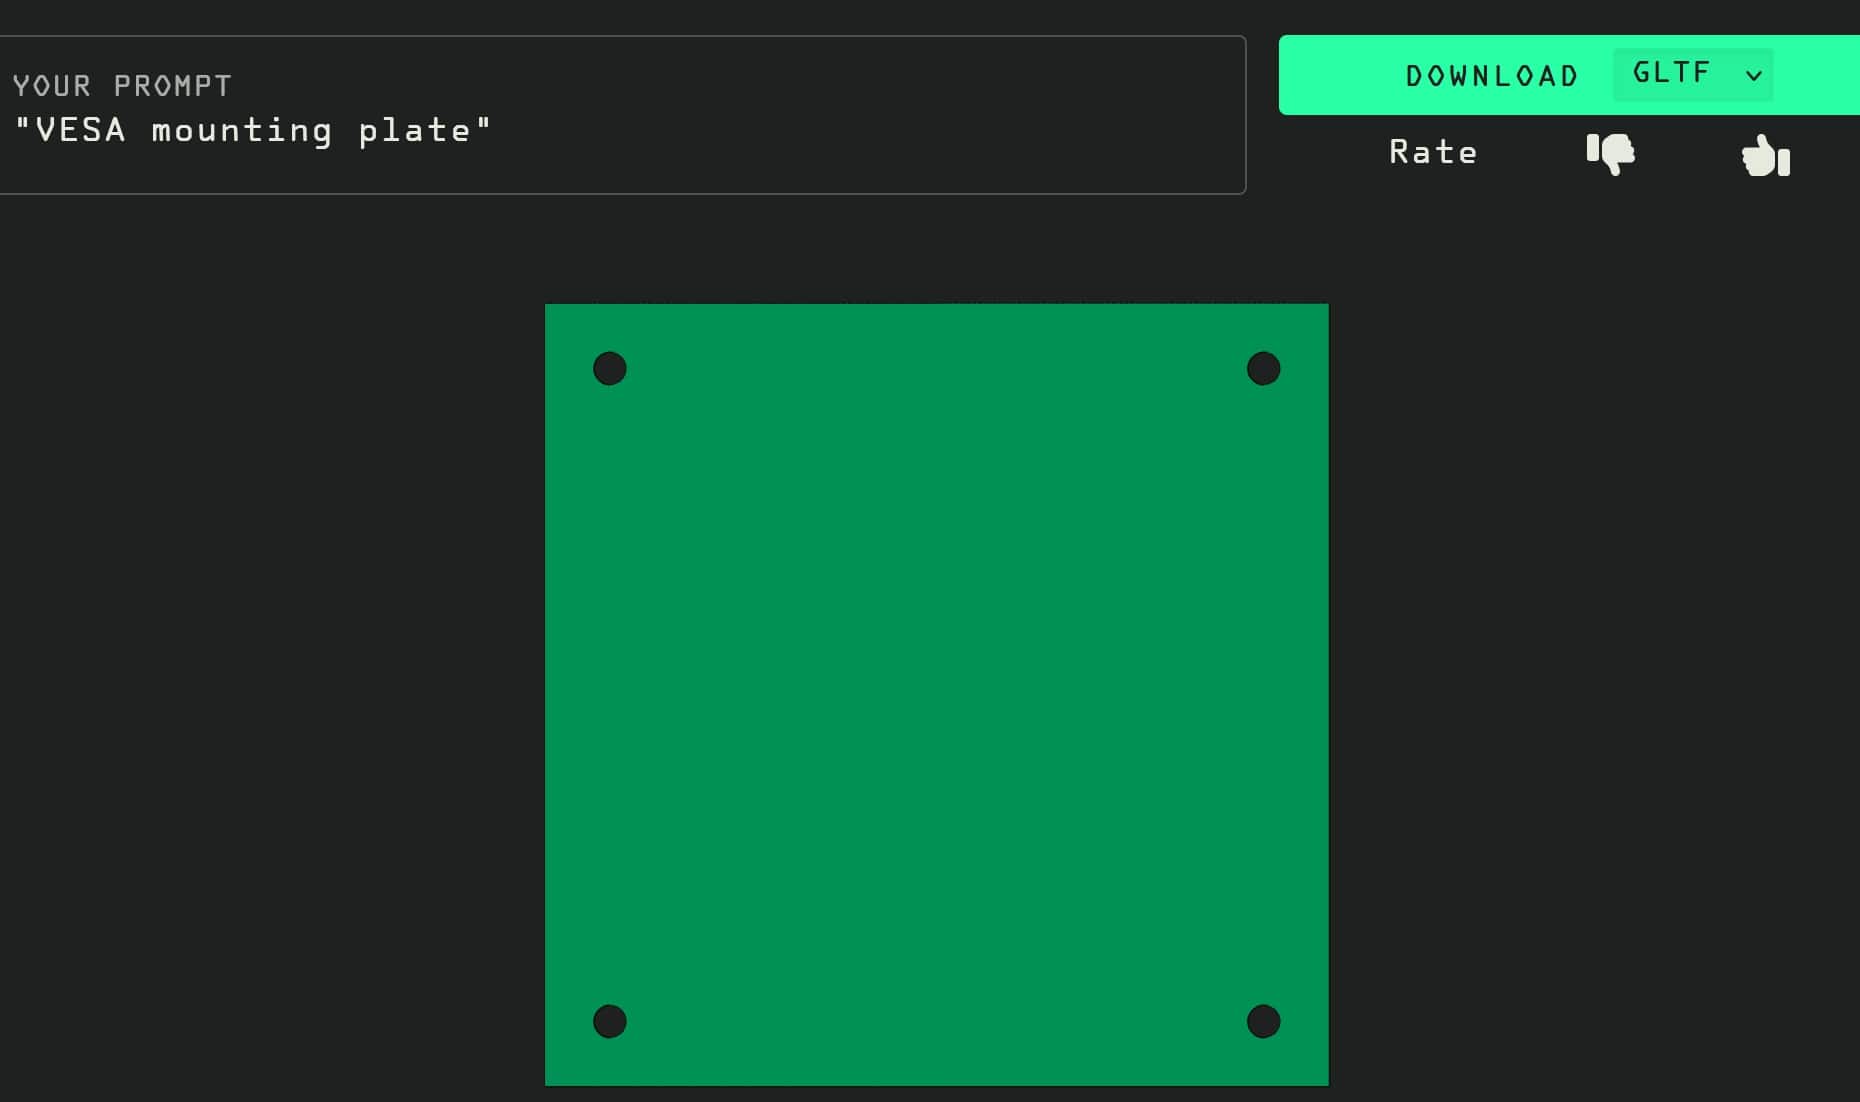
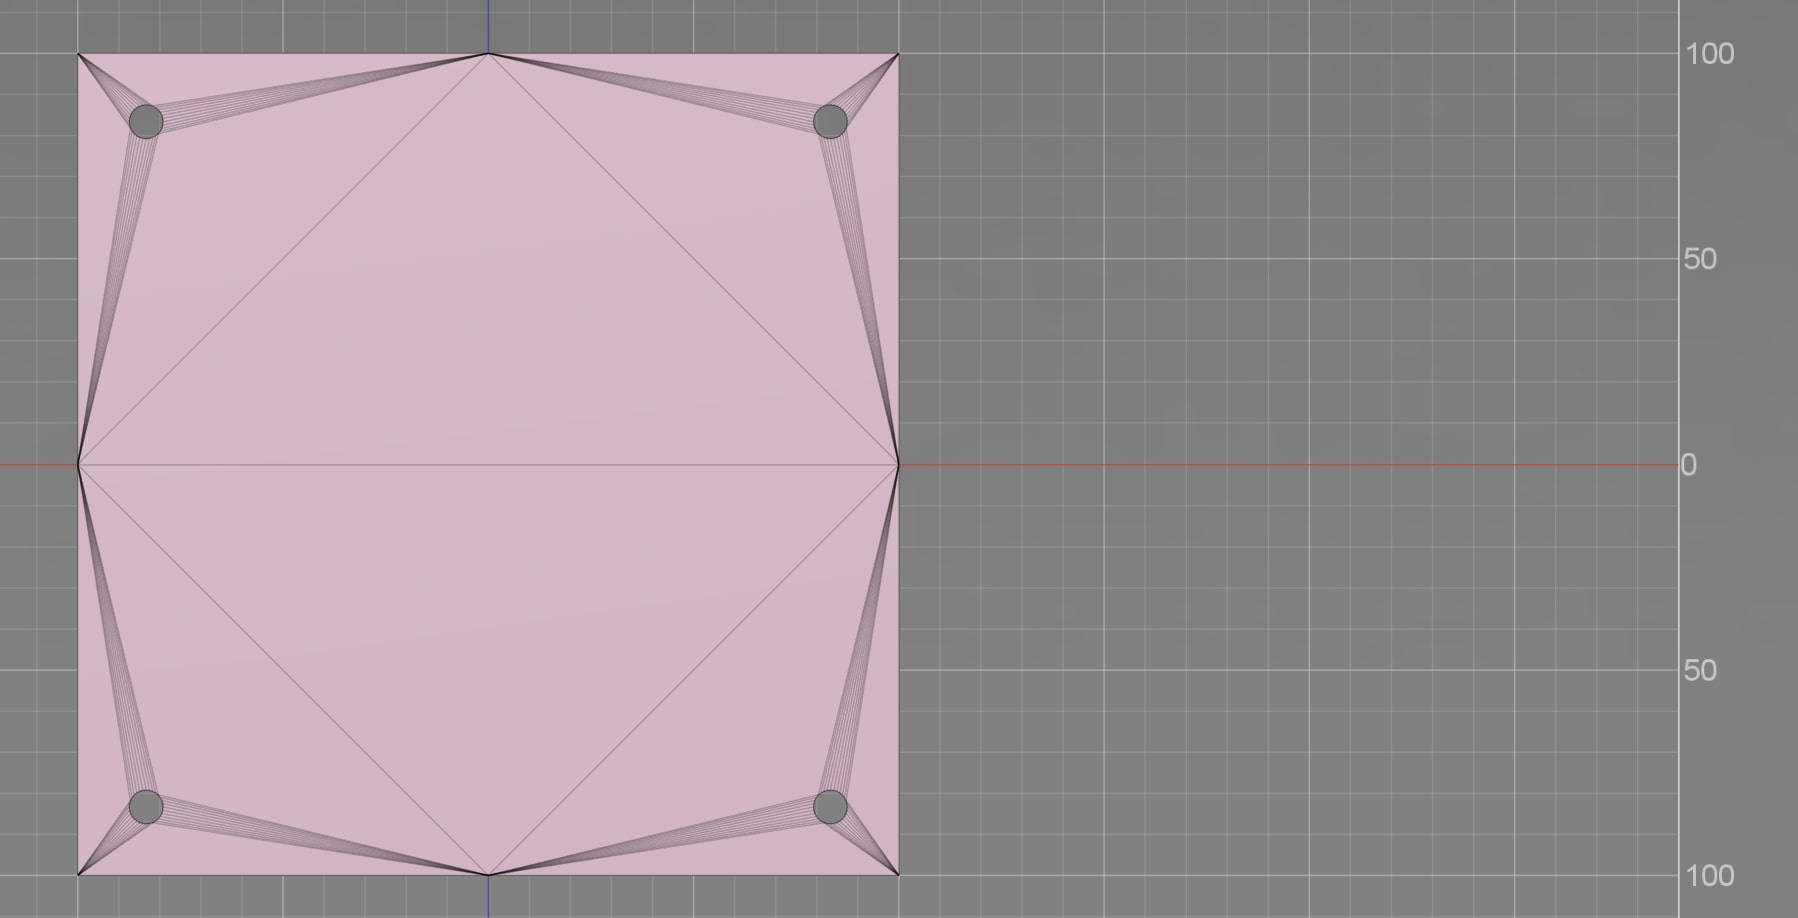
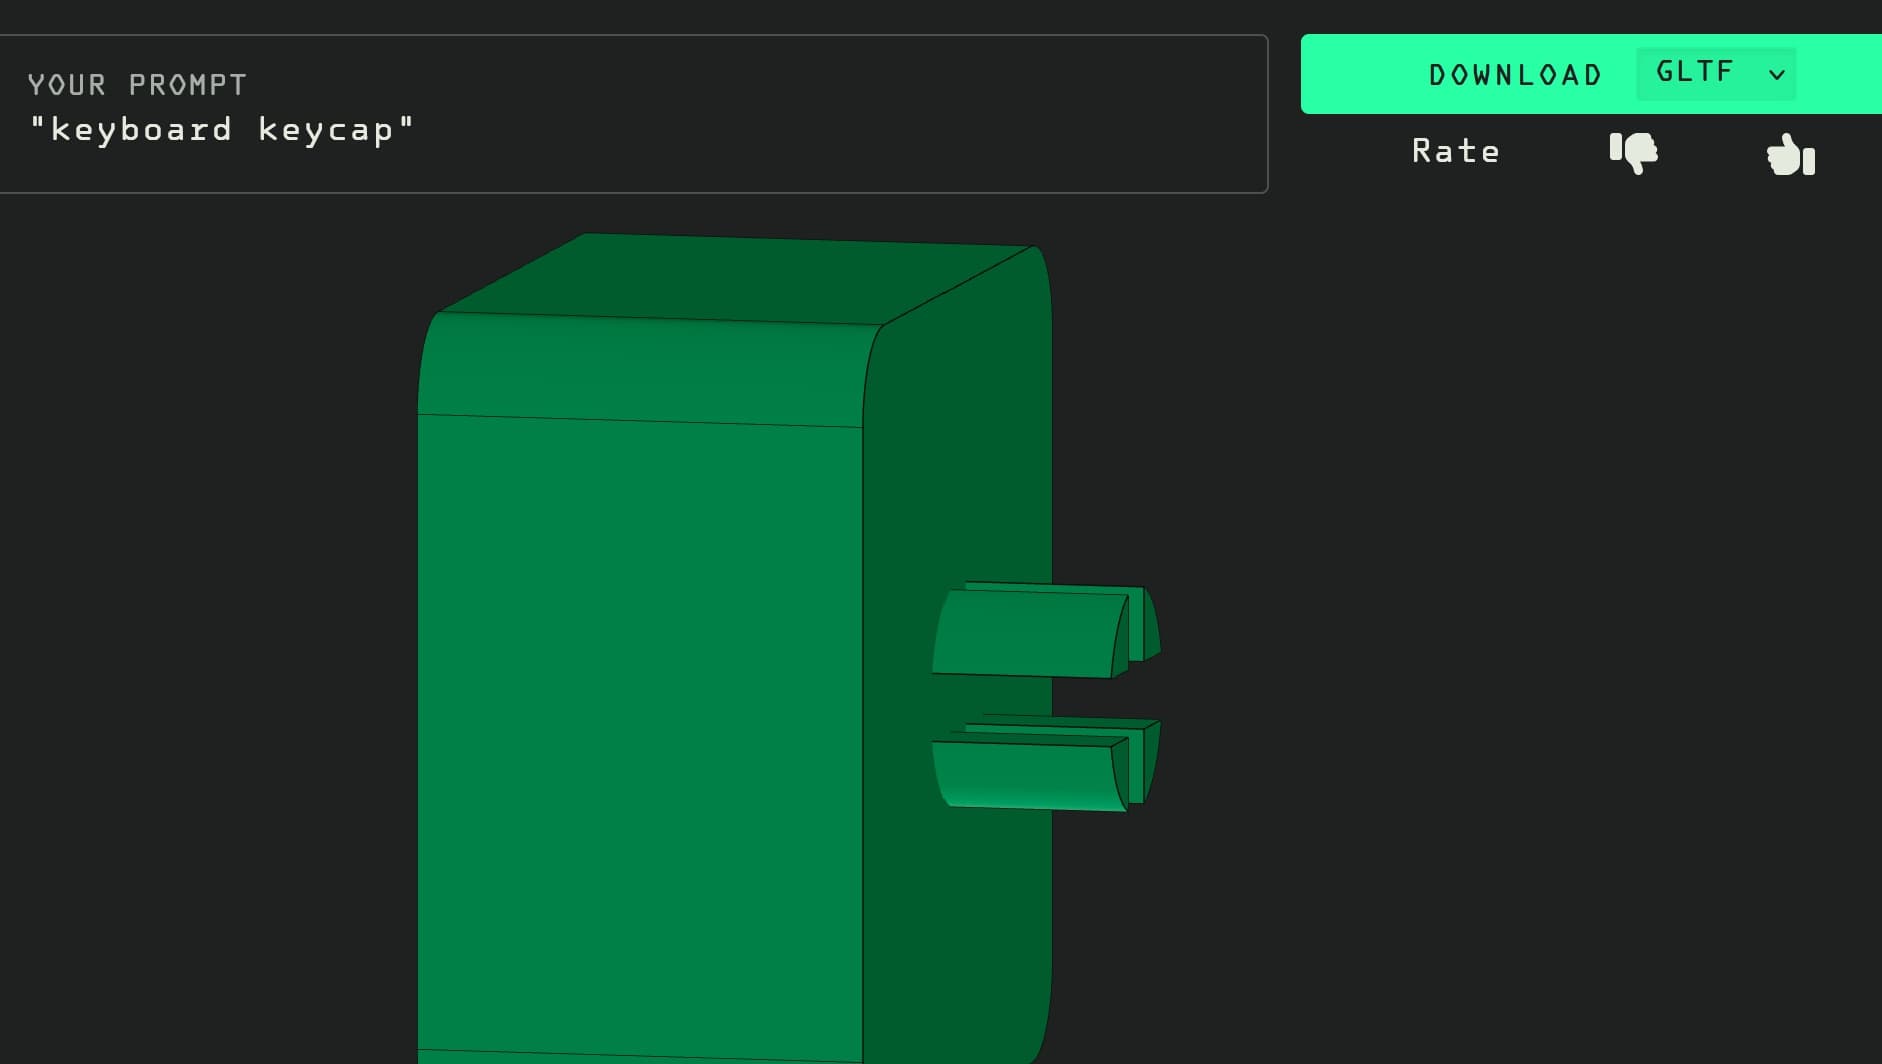
In conjunction with 2d AI, I tried out Text to CAD for directly generating 3d parts. I started off with a simple keycap, but then got specific on a VESA mounting plate. This plate was not to the right size, but only required scaling down in order to make it the exact size. I also tried a keyboard keycap, where it generated with the right connector to fit to a keyboard. This works very well for a very fast, very simple design, but is unable to create anything too advanced
SculptGL
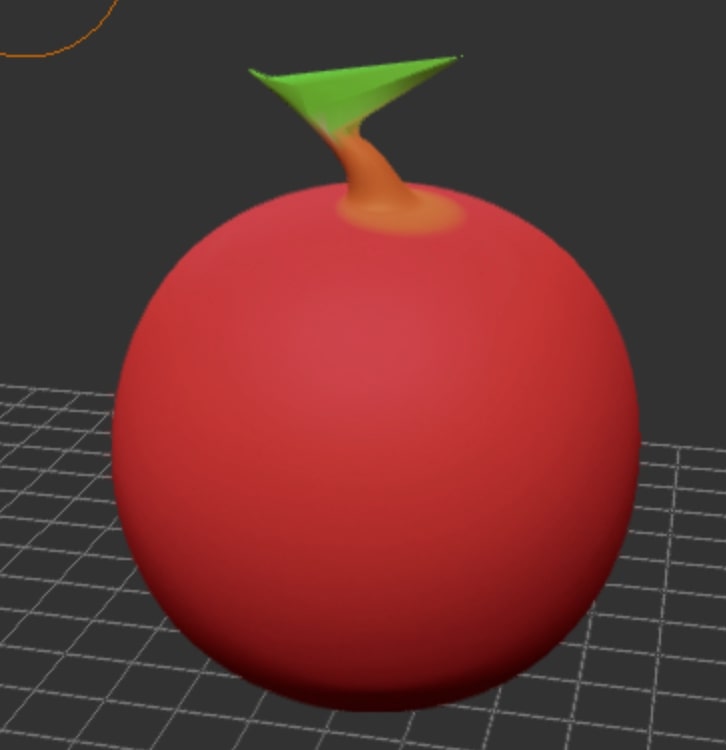 SculptGL uses an interesting technique for creating 3d objects, instead of sketches like fusion, or meshes like blender, it instead uses something only describable as clay-like sculpting. you are given a ball, and tools such as add, remove, flatten, and curve. with those tools you can make almost anything, but it is not precise, there are no dimensions you can give to it, and there are no advanced editing options like mirror, or copy & paste. I don't see much use out of a software so manual.
Inkscape
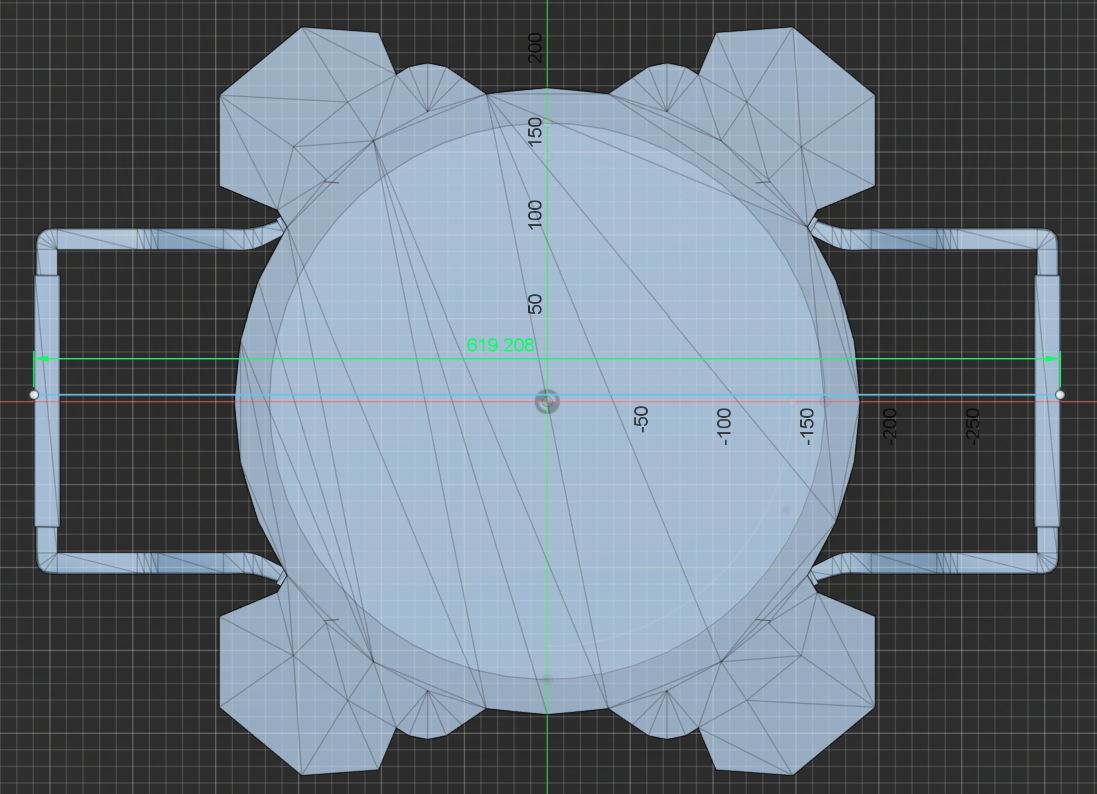
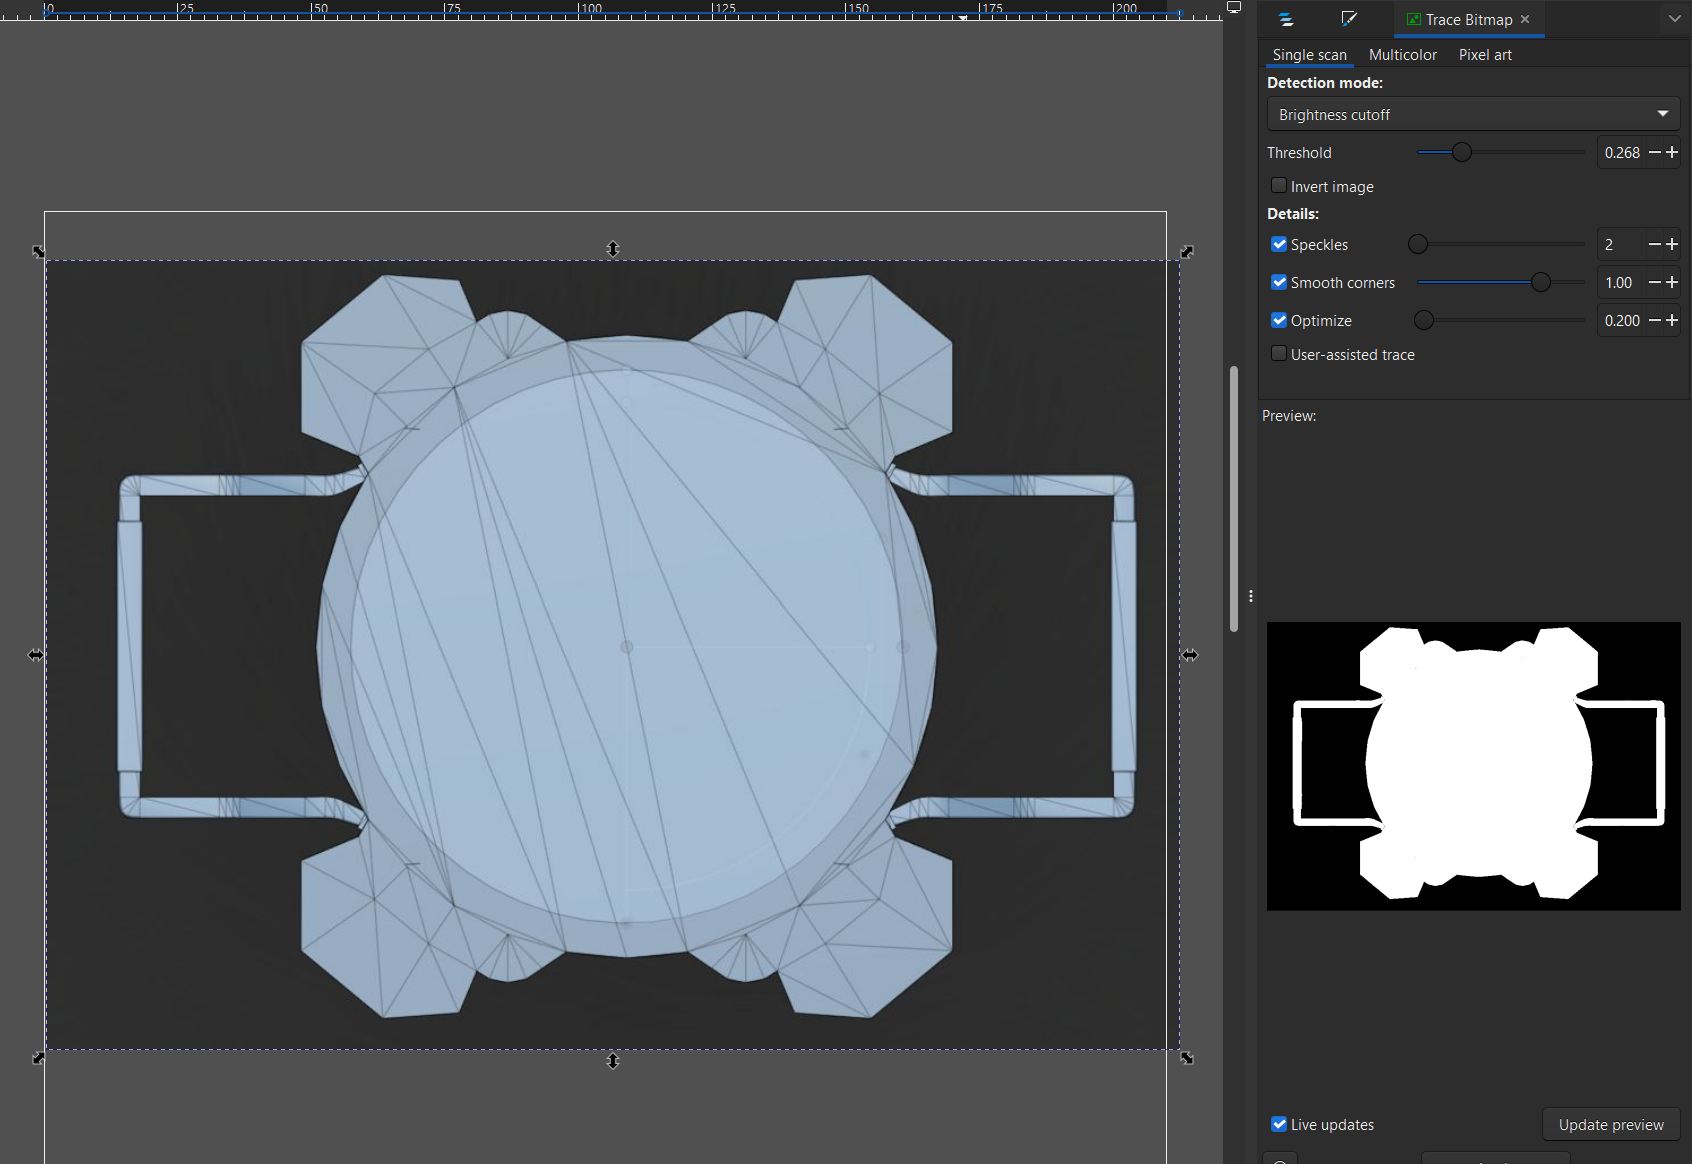 For inkscape, I decided to trace the bottom of my final project design. this would allow me to lasercut a base, which I dont plan on doing except maybe to physically see the scale of it in cardboard
GIMP
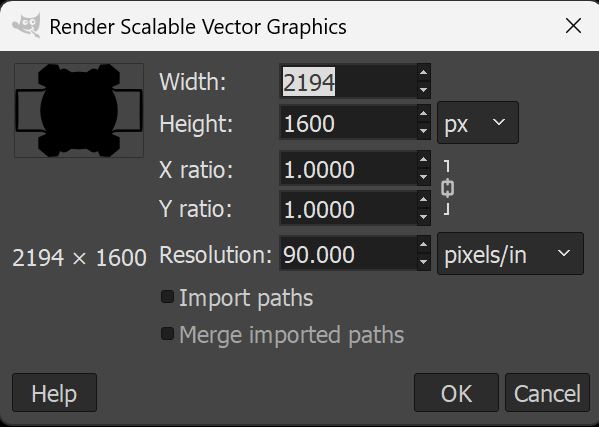 GIMP is a open source photo editor dating around 30 years back. GIMP will be useful for me for photo editing, which I previously used the online tool pixlr for. The reason its better than pixlr and inkscape for this purpose is that compared to pixlr it is really fast to open a blank canvas, and compared to inkscape it is really easy to work with bitmap images.
Vector Vs Bitmap
Vector
Inkscape uses vector, or essentially images that are comprised of infinitely thin shapes that are filled in. This means that as an image is enlarged, it will be able to retain a constant quality.

Bitmap
This is different from bitmaps, which GIMP uses. bitmaps work just like how a screen works, an image is made with a limited amount of pixels. For an image, pixels cannot be added or removed without changing the base image, which means that it does not scale well when enlarged.
Compressing the files.
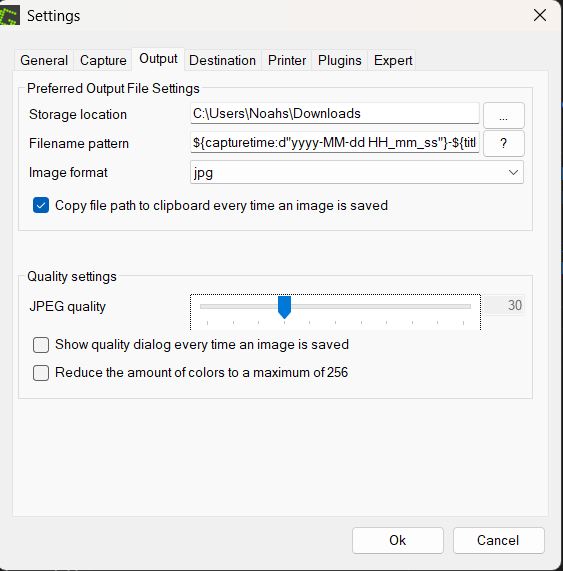
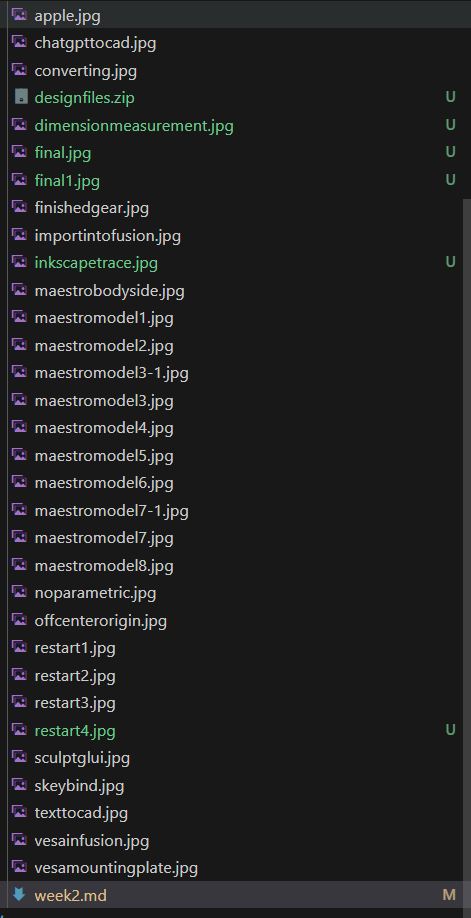 In this page alone, I have 32 images. In order to save space, these images need to be compressed. the best way to do that is to convert them to jpg, as regular windows screenshots are pngs. I started by manually converting them, but halfway through taking all of these screenshots, I looked for a way to take screenshots and have it save as jpg. Somehow, windows does not have a way to do that within the default settings, and therefore I had to install a new screenshotter. I settled on Greenshot, a free and open source screenshotter with multiple useful options I could change on it. the most important options to change are the keybind, which I set to Shift+Alt+S, which is very similar to the default windows screenshot button of Win+Alt+S. The next option that I changed was to make the default image format jpg, which helped to save on storage. the most impactful change I made was to the JPEG quality, which I dropped to 30%. This meant that after I switched to it, I no longer had to worry about compressing any of my images. For other files, like the design files, I used the built in windows zipper.
Compressing Issue
Although I did my best to compress the files, some were too big. The offending files were my blender project, which was 23mb uncompressed and just a bit over 10 when compressed. The second was my sculptgl file, which was 10mb regularly and could only get down to 8mb, which combined with the other files would go over the 10mb commit limit.

Fix
Upon further testing and suggestions from my global evaluator that AI was very powerful for this, I asked it and it gave me good solutions For daily work, I use a mixture of chatgpt and grok, chatgpt seems to the best for anything that has an image involved, and grok just is the best for code or writing.
Blender
Full chat link here
For blender, it gave 9 points on how I could downsize. Most points didn't apply to my specific case, but point 9 did help. Since my project wasn't that complicated of a model, but instead an animation, Blender saved all of the individual frames to the project, it inflated its size massively. Going into blender and removing the animation frames took my file from 21mb to 500kb.

Sculptgl
Full chat link here
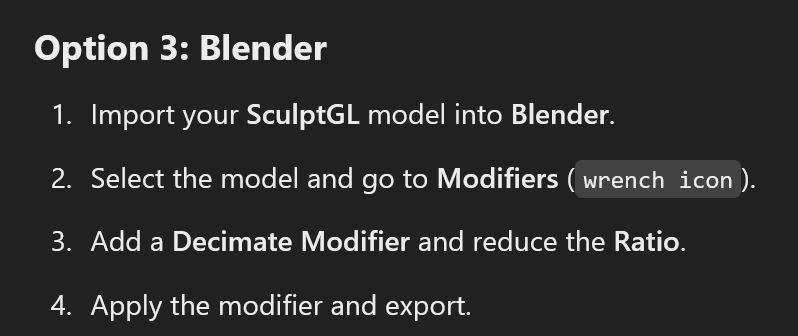
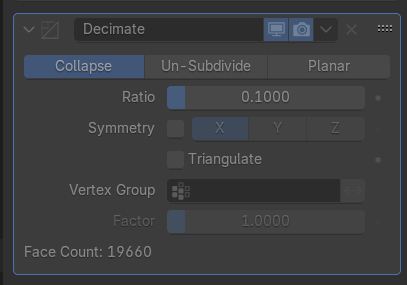 For my stl from sculptgl, AI suggested using the decimate modifier on a bunch of different software. I decided to go with blender, because I still had it open from fixing the Blender file above. By importing the STL into blender, I was able to go to decimate it. It originally started at 400k polygon,s but I took it down to 40k without a visible loss in quality. This is because my scultgpl was essentially a circle, and circles are hard to make with just lines, so they are made by making a bunch of really small segments. The more segments, the less blocky it looks, but the larger the file is.
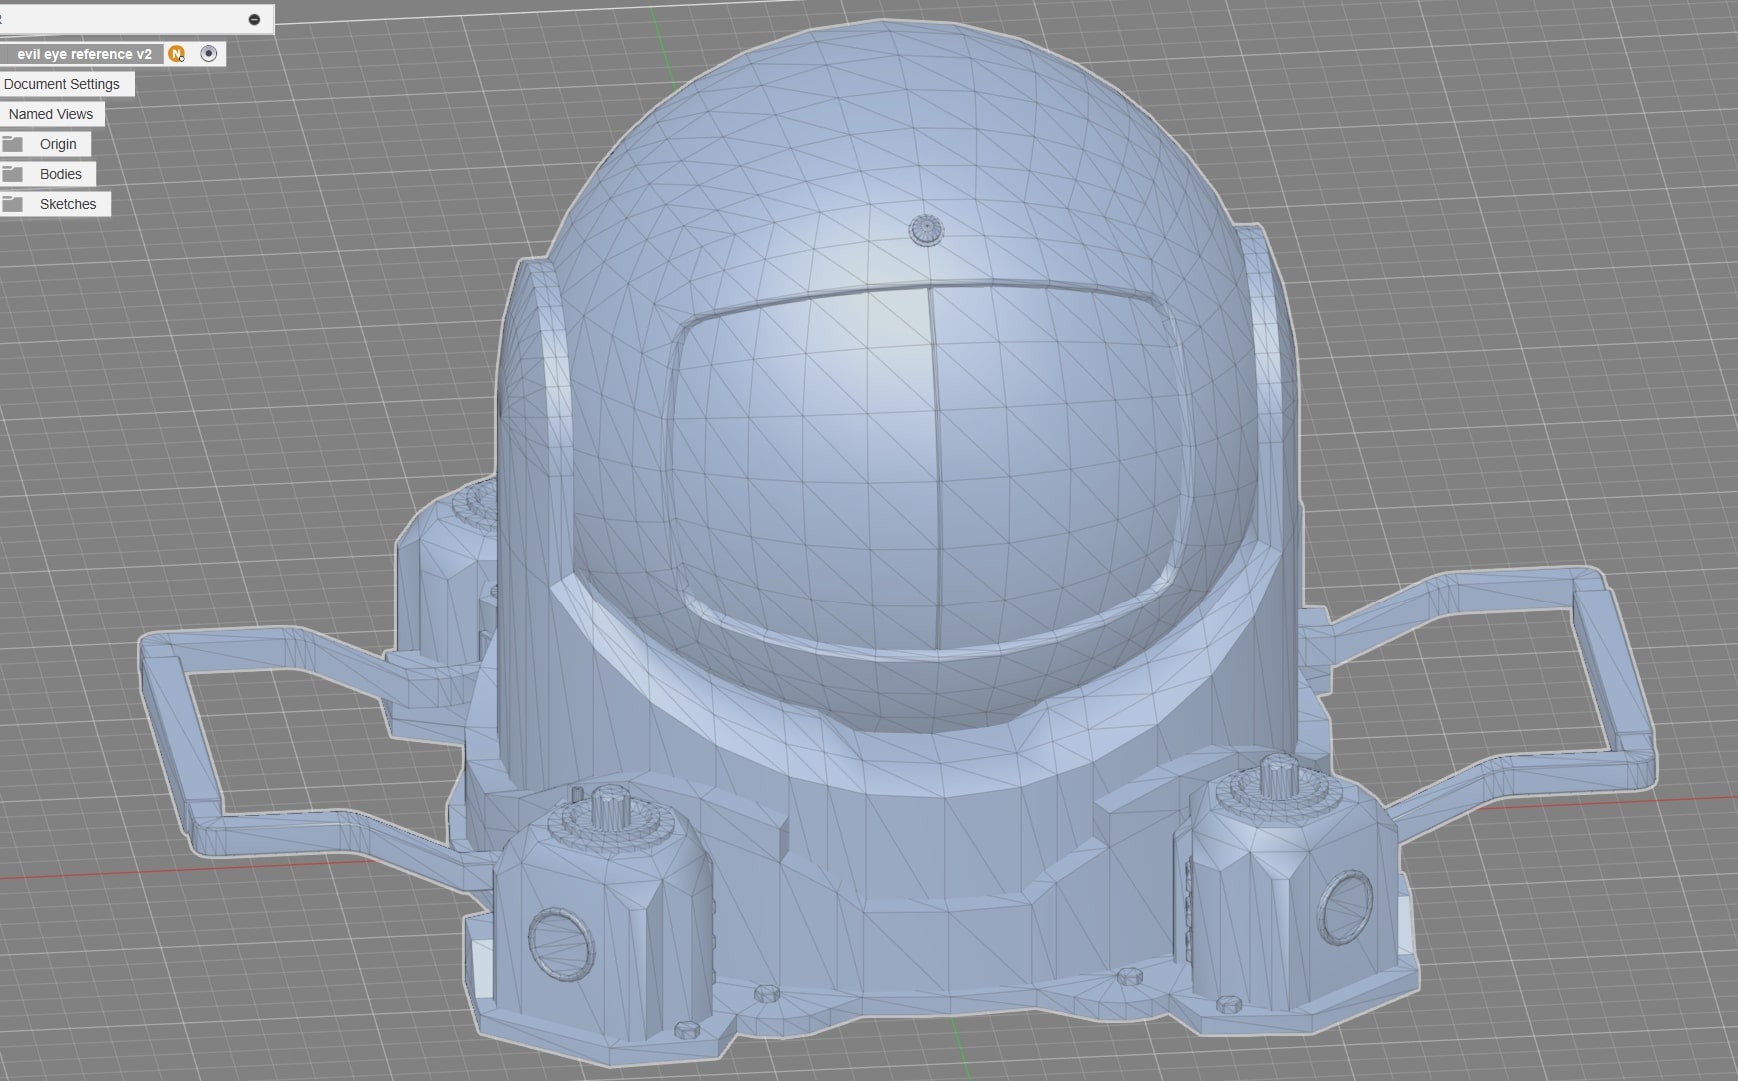
Gallery of 3d design
Heres all the images I took while doing my final project design with fusion 360, for more detail on creating it look to my fusion 360 section above
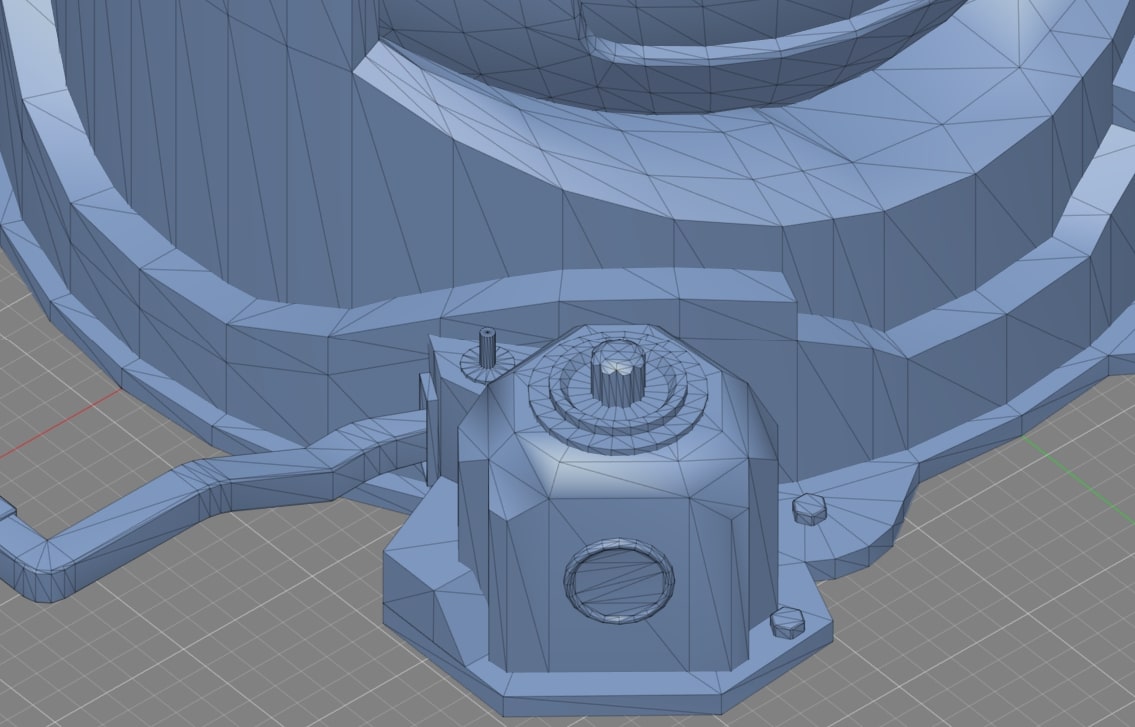
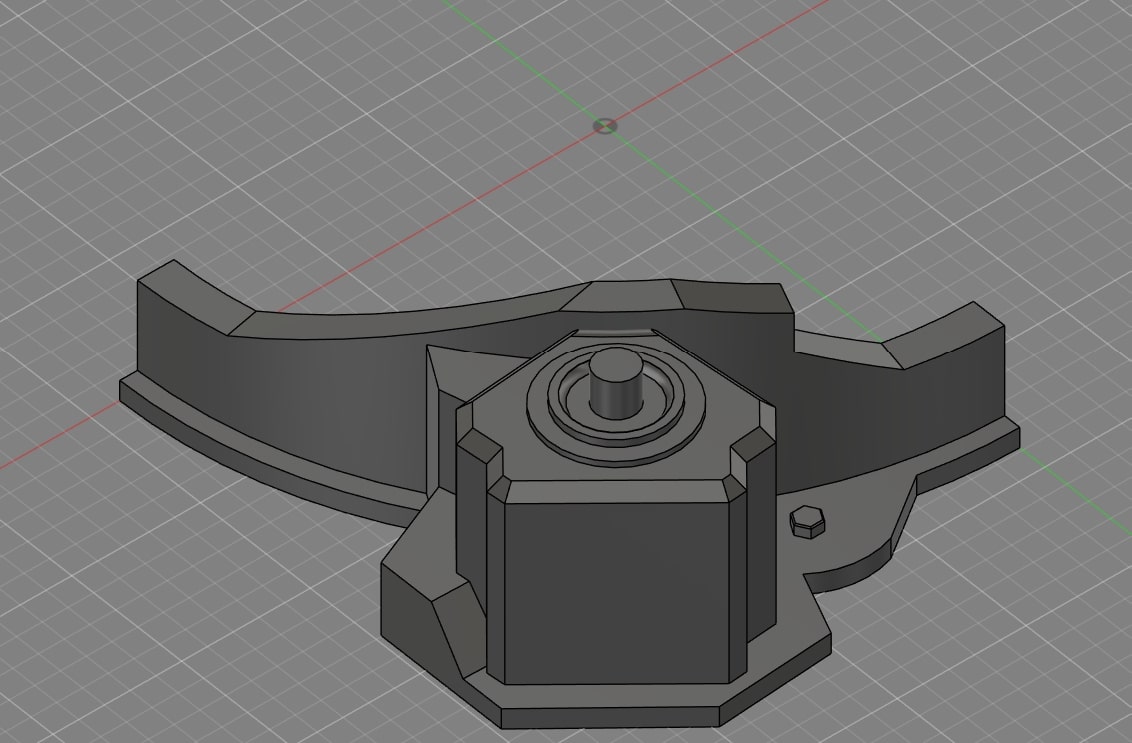
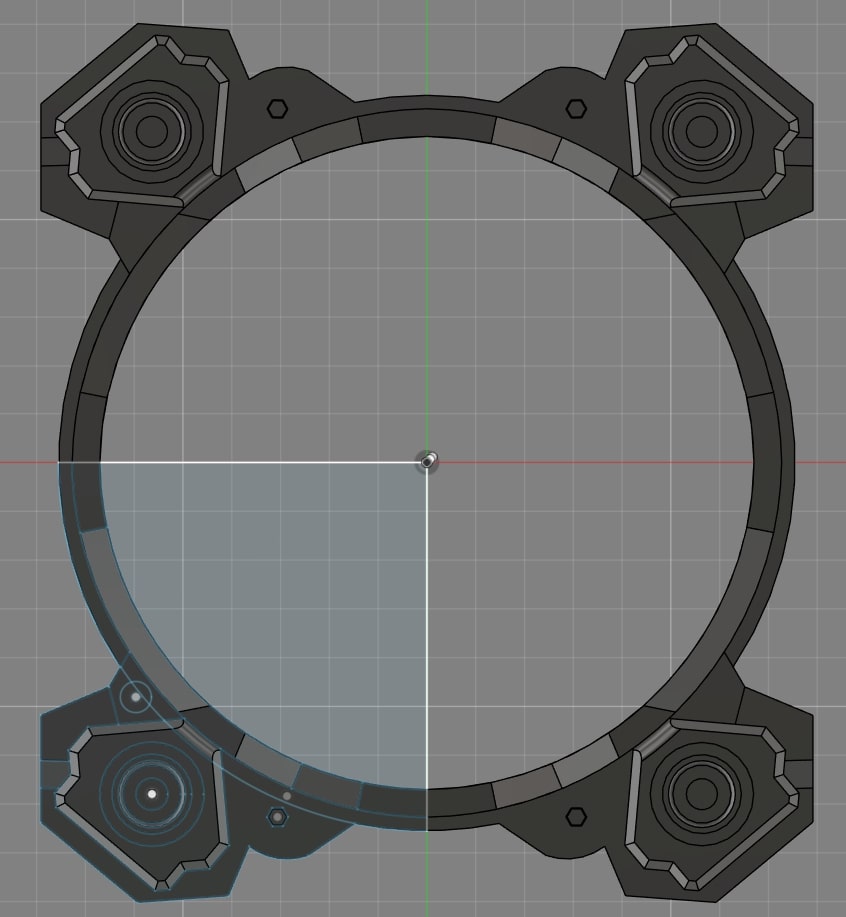
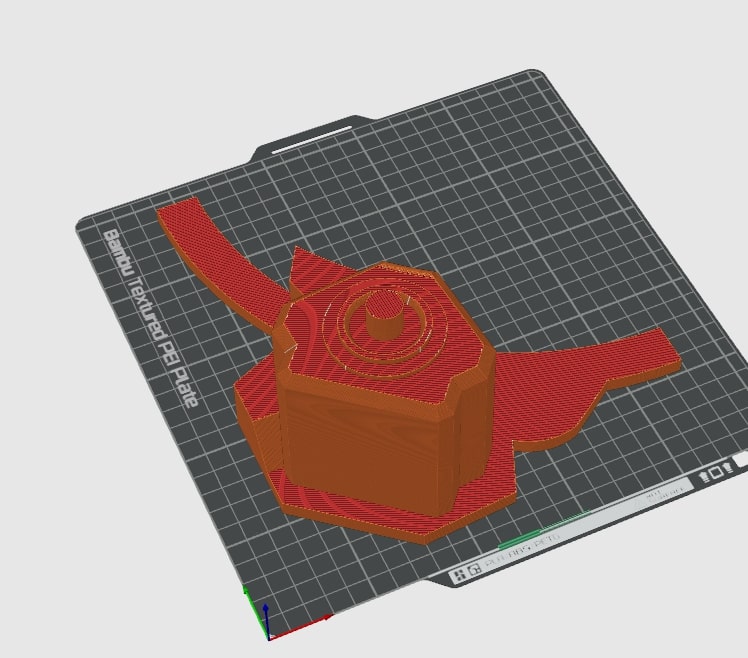
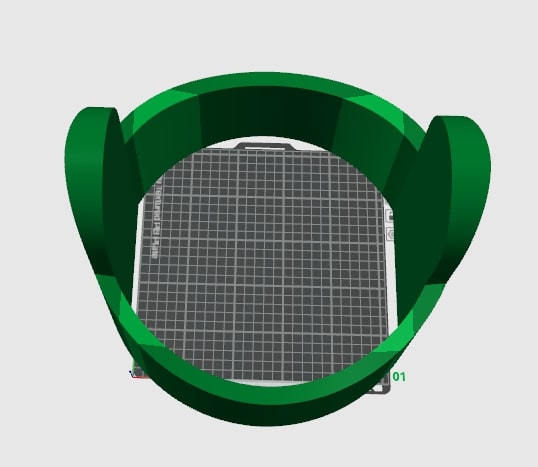
after restarting
Video Compression
Recording with OBS
In order for my videos to fit in the 10mb commit size max. I used a bunch of different methods in order to compress my video, but the easiest way was to compress as I recorded. This was done in the OBS settings, by changing the bitrate. In File -> Settings -> Output, I changed the bitrate and recording format. bitrate is how many bytes per second are recorded, and I used 600kb/s or 0.6mb/s. recording format is what format the recording is saved in, for that I used .mp4 as it is the most common format. After all of this, my 5 second video was around 3 mb
Editing with Davinci Resolve
After recording the video, I needed to edit it, and for that I used davinci resolve. Davinci is a software that I downloaded before having grandiose ideas about learning to edit videos, but never ended up doing anything with. I only needed to trim and crop my video, and could of done it with an easier software but wanted to start building experience with. Its workflow is very simple, as you create a project, import media into that project, edit that project, and then render/export the product. For learning how to crop and trim, I skimmed through this 470 page pdf by the creators of davinci, and this short video on how to crop. After cropping my video, I had to go down into the "deliver" tab on the bottom, change the format to .mp4, and change the bitrate to 600kbs again so it didn't add any size. After all of these edits, I got my video down to 1.4 mb
Final Processing with FFmpeg
After finishing my edits, I wanted to make sure the video was as small as it could be using ffmpeg. Using chatgpt, I used chatgpt to generate the command to compress the video. The main heart of the command is the -crf 23, which at higher numbers reduces quality and file size
ffmpeg -i videofromblackmagic.mp4 -vcodec libx264 -crf 23 -preset slow -acodec aac -b:a 128k compressed_video.mp4
Reflection
Overall, designing the 3d model taught be a lot, especially about how to work with spherical geometry in fusion 360. It also taught me to pay attention to important details like the origin, and to make sure I was using the project command to reference existing sketches in new components. In regards to the other software, Im going to make an attempt to make any non 3d design files for my final project in free software, replacing coreldraw with inkscape for laser cutting, and kicad for pcbs. The pros of paid software is that its good, the cons are that you have to pay for it. This week is more setup, with the video compression with obs being a very simple way to get passable size files. Loosing my work in fusion360 to a random option being off annoyed me, but also makes me more aware of this in the future. The other software were mostly easy to use, except for blender requiring me to learn every keybind without a easy to use menu like fusion's search. Overall, just because of my previous experience in fusion, I would prefer to do 3d with fusion. For 2d, I am still in the process of moving from coreldraw to inkscape, but thanks to their similar UI inkscape isn't that hard to learn.
Design Files
If you want the design files, a STL of the 3d design, a Native fusion360 design file (.f3d) and the svg, scaled to the right size, the zip folder can be downloaded here If you want my blender files, which was 21mb, or my sculptgl files, which were 10mb, contact me through my email: noahsmither0@gmail.com
