Wildcard week
This week task was to Design and produce something with a digital process (incorporating computer-aided design and manufacturing) not covered in another assignment, documenting the requirements that your assignment meets, and including everything necessary to reproduce it.
I wanted to make a pen as I have done before, but add in the rotary attachment for my labs laser cutter in order to engrave my name.
Pen Making
Im not the best documenter in my class, if you want a really good workflow on making one yourself, I would suggest Amalia Bordoloi's documentation on pen making.
Multi Color Wood
After cutting the wood into 2 inch chunks, me and some fabmates also decided to further cut the cherry wood into even smaller .5 inch chunks, which allowed for us to glue them back together
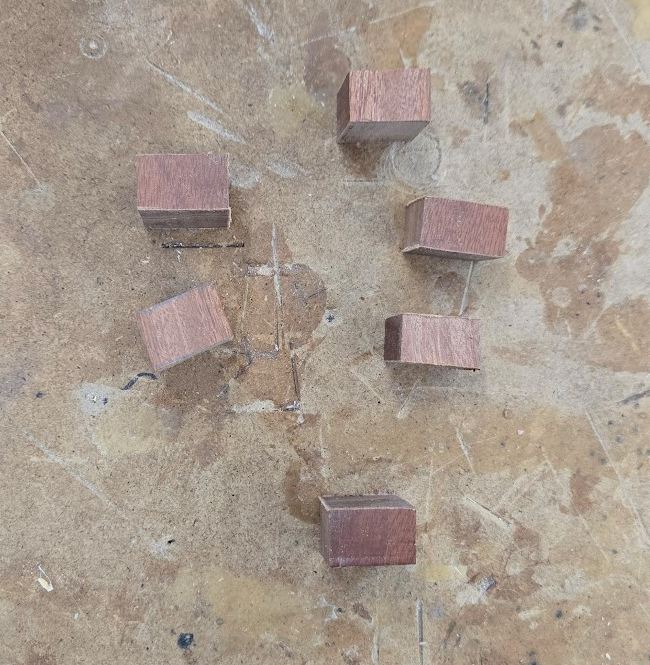
We then used superglue on that wood
 .
.
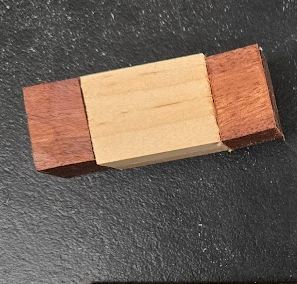
After making the multicolored wood, I continued the regular workflow. I sanded down the inner brass tubes, and glued them inside the wood. After that I started on chiseling the wood. Just like the first time making a pen, I cracked the wood while it was too thick, and then was too scared to continue carving, so I kept it as it was, which was very thick.

Pen Engraving
After making my pen, I started on engraving. Together, with (Cooper)[https://fabacademy.org/2025/labs/charlotte/students/cooper-cumbus/] and (Tyler)[https://fabacademy.org/2025/labs/charlotte/students/tyler-russell/about/], we figured out how to use it. We started by finding a former fab academy alumni from charlotte latin, Richard Shan's Documentation on it. His documentation showed what to do, but for the exact procedure, we found the manual online. We found out the hard way to not plug in the rotary attachment while the machine is powered on, as it caused inconsistent movement. This inconsistent movement would only happen when I went to a full test cut in the pen
I found the workflows on other sites not detailed enough, so heres my (hopefully) perfect workflow on using the Rotary Attachment: 3-Jaw Chuck with the Fusion Epilog Pro 48
If your a future fabber at latin, I hope that this workflow serves you well, and if not, you can find my email.
Workflow
- Move the bed all the way down - In the jog menu, click on the line with arrows on both sides of it to turn on jogging of the bed, then set it at least 10 inches under the cutter.
- Turn off the machine - Flip the key next to the screen on the machine from pointing towards the - to the o
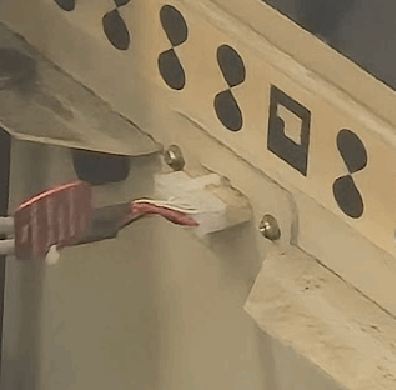
- Put the Rotary Attachment in the top left of the machine bed - look at the first image below
- Plug in the rotary attachment to the top right port in the machine - make sure its snug
- Turn on the machine - Set the key back to the - symbol
- Let the machine start up - If the rotary device is detected, It should end the startup by moving the laser right over where your pen will eventually go
- Measure your pen. Specifically, measure the length of the area you want to engrave on, as well as the diameter in that area
- Load your pen into the jog - look at the third image below, turn the silver away from you
- Use the manual focus - look to the third image, its the bar in the middle, set it to just barely touch the wood
- In coreldraw now, set your page size to the length x Π*diameter of the pen * this will be the area you design on, left-middle of the page will be the leftmost and top of the pen.
- Design - Look to this section with a better explanation
- After getting your design, print to load it in the epilog software.
- Clicking on your design, look to the left side of the screen to set your coordinates. The Y MUST be 4.5 inches, and the x can be anywhere from 0.1 to 3, with 0 being exactly the end of the arms on the attachment. this does not have to be perfect, it can all be fixed
- Set your engraving settings as if you were doing it on regular wood
- Send it to the machine
- Check if its cutting in the right place using the trace button in the bottom left
- Fix where its cutting, modify the x coordinate in step 12
- Check if its cutting in the right place using the trace button
- run the cut
- do not unplug the rotary attachment without powering off the cutter first
Supplementary Images
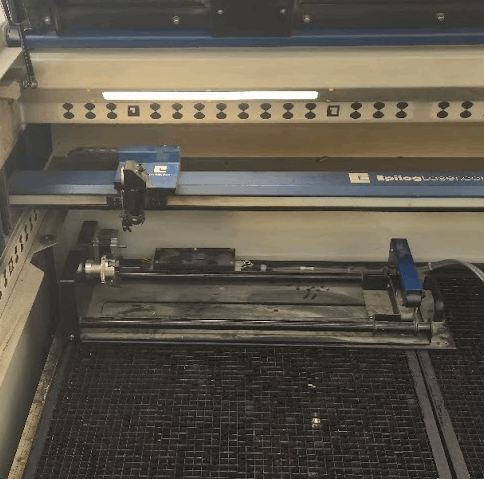
Where the rotary attachment should be placed
on the left Where it should be plugged in (WITH POWER OFF)
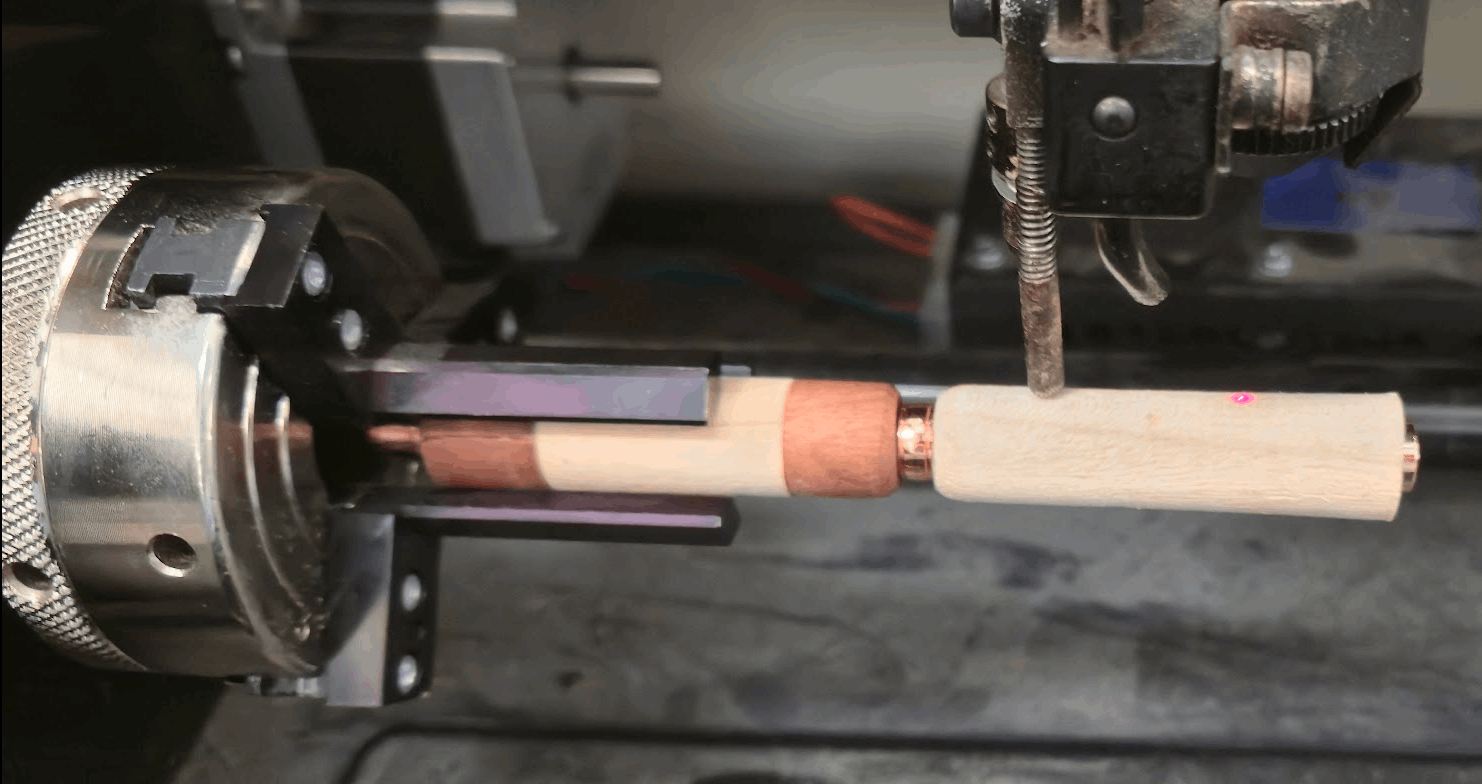 The tightener shown on the left, where the laser should be after homing shown through the red dot, as well as the manuel focus beam
Physically understanding your 2d design
I feel like understanding how to design for the rotary attachment is kind of hard to understand, so I'll try my best to explain it here Essentially, the x axis (left and right) still works like normal, moving the laser left and right. The y axis will rotate it. Higher up in the Y will go away from you. If your page size is set to the perimeter of the page, Π*diameter, then the exact middle of the page won't rotate
 This is the head of one my favorite videos, from a video where he used a python program to unwrap it from 3d into 2d, more info can be found on }his article. I rotated it to be just as the machine would work.
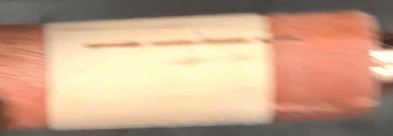
Cut Failure
As I talked about lightly earlier, my first cut failed. The rotary attachment, even though it spun 3 times in a row while testing, on the actual cut it just didn't spin and instead put a line into my wood. Luckily, this was kind of expected as I did it on the small portion in the front.
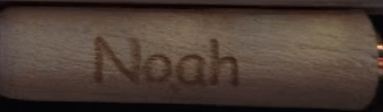
Cut Success
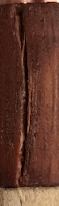
After the machine failed, I came back the next day hearing that it started working again. I went to engrave my name on the main piece of wood, and it preformed perfectly
Going Further
After engraving my name, I realized that the engraving went much deeper than I first thought it would. When I was younger I had absolutely horrible handwriting, so I had some "writing therapy" classes. In those, they sometimes gave me an "ergonomic pen"
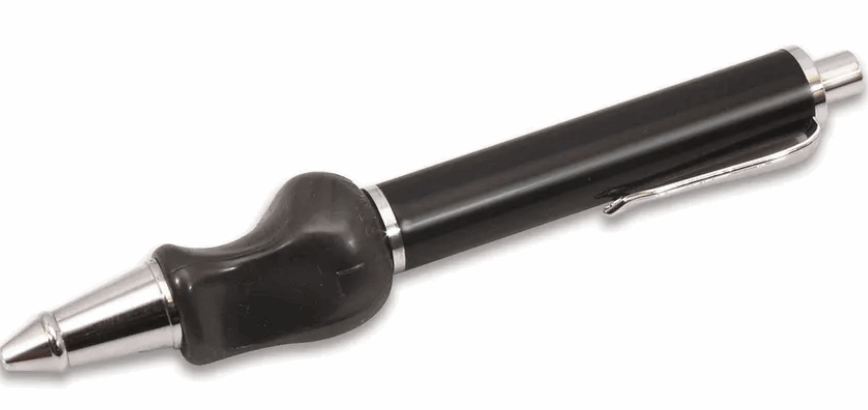
Those pens were actually much more comfortable to hold, and I realized after looking that I could probably make that

After following my workflow with 3 equally spaced ovals, I got that result. In terms of comfort, I the pointer and thumb fit really well, but the middle finger oval should of been placed much closer to my pointer.
Reflection
This was a pretty fun week. I wish I could of worked more on my final, but nothing "wild" really applied to my final project that I thought of. Using Engraving to do the equivalent of 2.5d milling on wood could be useful, especially considering that wood starts to become flexible when thin. Using the rotary attachment wasn't that hard, but I don't think I plan on using it again as in my mind it has a failure rate of 50%, even though I was the first one to use it and the only failure in my class.
Design Files
The pen file for my name, as well as the file I used to engrave the ergonomic holes can be found here