Final project
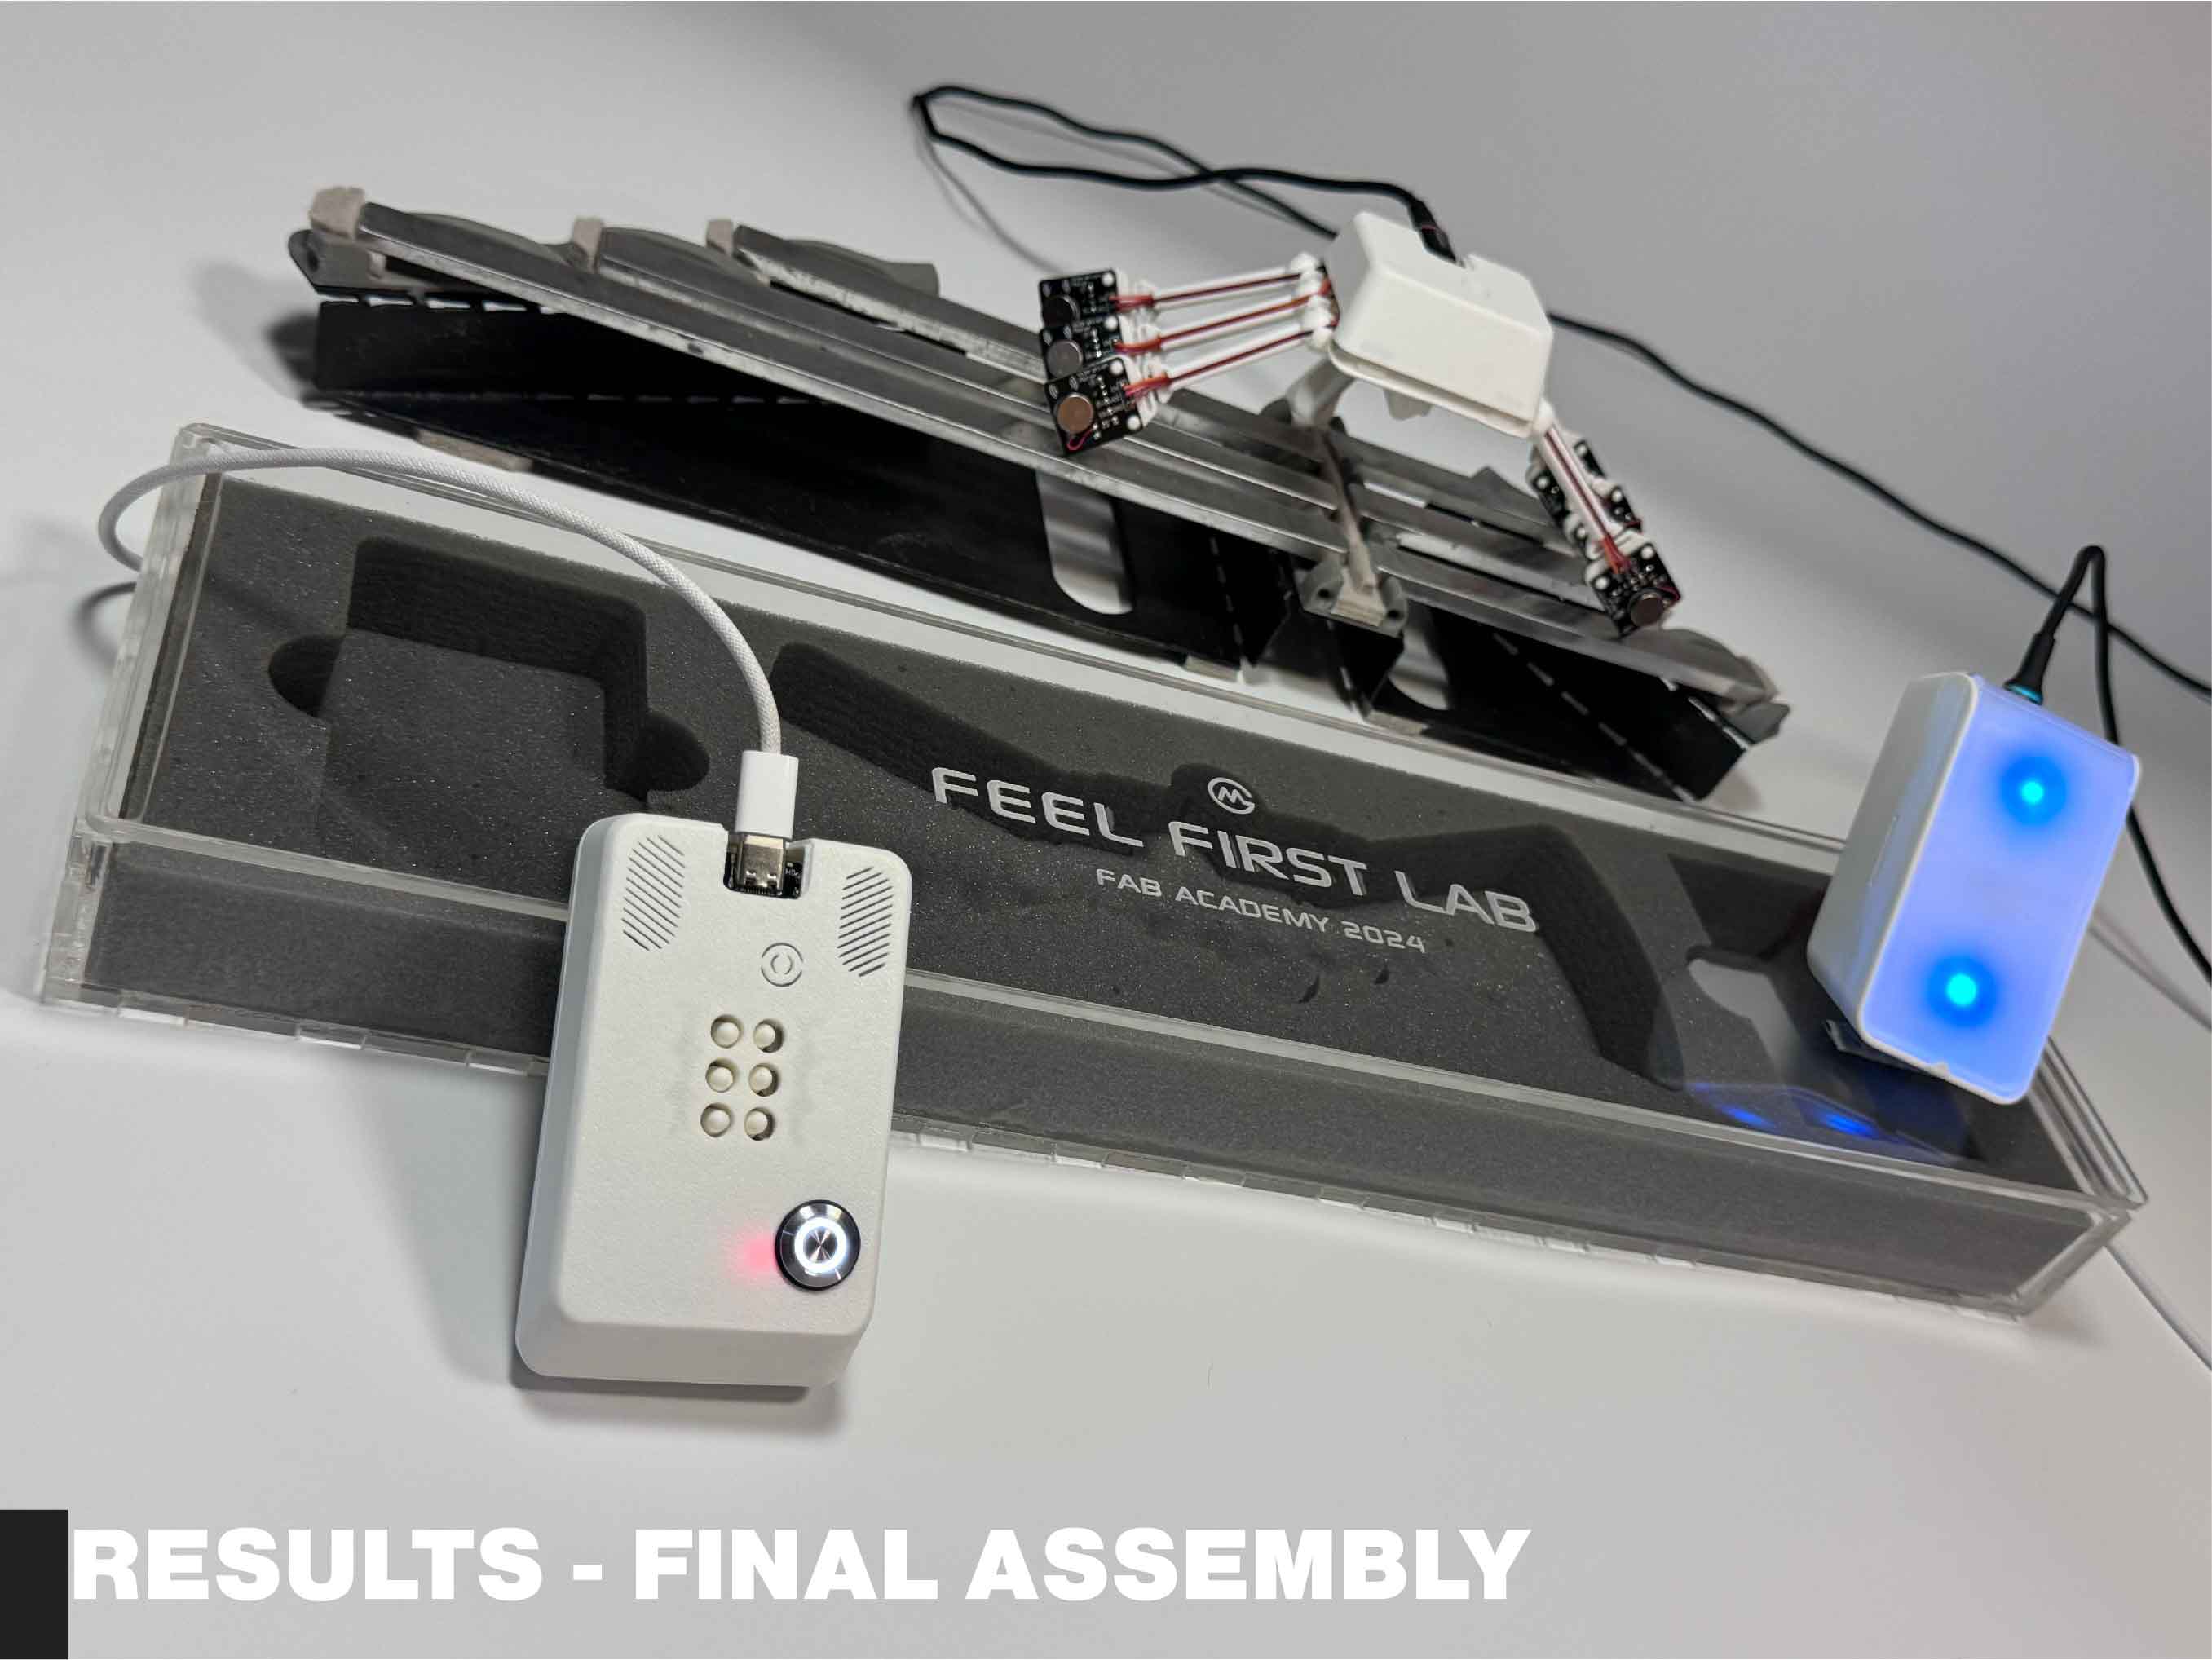
Information related to the development process of the final project: sketches, prototypes, failures, lessons learned, files to download, final result, etc.
I am an industrial designer and an enthusiastic participant of this program. As a dedicated learner in the world of digital fabrication and hands-on prototyping, I am excited to showcase the projects and skills I've developed throughout this course. Join me as I explore the intersection of creativity, technology, and innovation in the realm of digital fabrication.

Information related to the development process of the final project: sketches, prototypes, failures, lessons learned, files to download, final result, etc.

Summaries of parameters of each machine and access to all downloadable material used in each project.
List of the topics seen throughout the course and summary of the weekly individual and group assignments.
Sketch of a potential final project. / Work through a git tutorial. Build a personal website describing you and your final project. Refer to the lecture material for examples. Upload parts 1 and 2, to the class archive.
Model (raster, vector, 2D, 3D, render, animate, simulate, ...) a possible final project, compress your images and videos, and post it on your class page. Modelled experimental objects/part of a possible project in 2D and 3D software Shown how you did it with words/images/screenshots Included your original design files.
Group assignment:Characterize your lasercutter's focus, power, speed, rate, kerf, joint clearance and types. Document your work to the group work page and reflect on your individual page what you learned.
Individual: Design, lasercut, and document a parametric construction kit, accounting for the lasercutter kerf, which can be assembled in multiple ways. Cut something on the vinyl cutter.
Group assignment: Characterize the design rules for your in-house PCB production process: document feeds, speeds, plunge rate, depth of cut (traces and outline) and tooling. Document the workflow for sending a PCB to a board house. Document your work to the group work page and reflect on your individual page what you learned.
Individual assignment: Make and test a microcontroller development board.
Group assignment: Test the design rules for your 3D printer(s) Document your work on the group work page and reflect on your individual page what you learned about characteristics of your printer(s)
Individual assignment: Design and 3D print an object (small, few cm3, limited by printer time) that could not be easily made subtractively 3D scan an object (and optionally print it)
Group assignment: Browse through the datasheet for your microcontroller. Compare the performance and development workflows for other architectures. Document your work to the group work page and reflect on your individual page what you learned.
Individual assignment: Write a program for a microcontroller development board to interact (with local input &/or output devices) and communicate (with remote wired or wireless devices).
Group assignment: Complete your lab's safety training. Test runout, alignment, fixturing, speeds, feeds, materials and toolpaths for your machine Document your work to the group work page and reflect on your individual page what you learned
Individual assignment: Make (design+mill+assemble) something big
Group assignment: Use the test equipment in your lab to observe the operation of a microcontroller circuit board (as a minimum, you should demonstrate the use of a multimeter and oscilloscope) Document your work on the group work page and reflect what you learned on your individual page
Individual assignment: Use an EDA tool to design a development board to interact and communicate with an embedded microcontroller
Group assignment: Measure the power consumption of an output device. Document your work on the group work page and reflect on your individual page what you learned.
Individual assignment: Add an output device to a microcontroller board you've designed and program it to do something.
Mechanical Design (part 1)
Group assignment: Design a machine that includes mechanism + actuation + automation + application Build the mechanical parts and operate it manually Document the group project Individual assignment: Document your individual contribution
Machine Design (part 2)
Group assignment: Actuate and automate your machine. Document the group project Individual assignment: Document your individual contribution
On your final project site post a system diagram for your project, list the tasks to be completed, make a schedule for doing them, and meet with your local instructor to review these.
Group assignment: Probe an input device(s)'s analog levels and digital signals Document your work on the group work page and reflect on your individual page what you learned
Individual assignment: Measure something: add a sensor to a microcontroller board that you have designed and read it.
Group assignment: Review the safety data sheets for each of your molding and casting materials Make and compare test casts with each of them Compare printing vs milling molds
Individual assignment: Design a mold around the process you'll be using, produce it with a smooth surface finish, and use it to cast parts.
Group assignment: Send a message between two projects Document your work to the group work page and reflect on your individual page what you learned
Individual assignment: design, build and connect wired or wireless node(s) with network or bus addresses and a local interface.
Group assignment: Compare as many tool options as possible. Document your work on the group work page and reflect on your individual page what you learned.
Individual assignment Write an application that interfaces a user with an input and/or output device(s) on a board that you made.
Design and produce something with a digital process not covered in another assignment, documenting the requirements that your assignment meets, and including everything necessary to reproduce it. Possibilities include but are not limited to wildcard week examples.
Design and document the system integration for your final project.
Propose a final project masterpiece that integrates the range of units covered.
Your project should incorporate:
Where possible, you should make rather than buy the parts of your project.
Develop a plan for dissemination of your final project.
Prepare drafts of your summary slide (presentation.png, 1920x1080) and video clip (presentation.mp4, 1080p HTML5, < ~minute, < ~10 MB) and put them in your website's root directory.
Complete your final project tracking your progress.
Create the project plan.
Track the progress of your project.
Summarise and communicate the essence of your project development.
Feel free to reach out if you have any questions or would like to get in touch.