Week 5. 3D Scanning and printing
This week’s heroshots
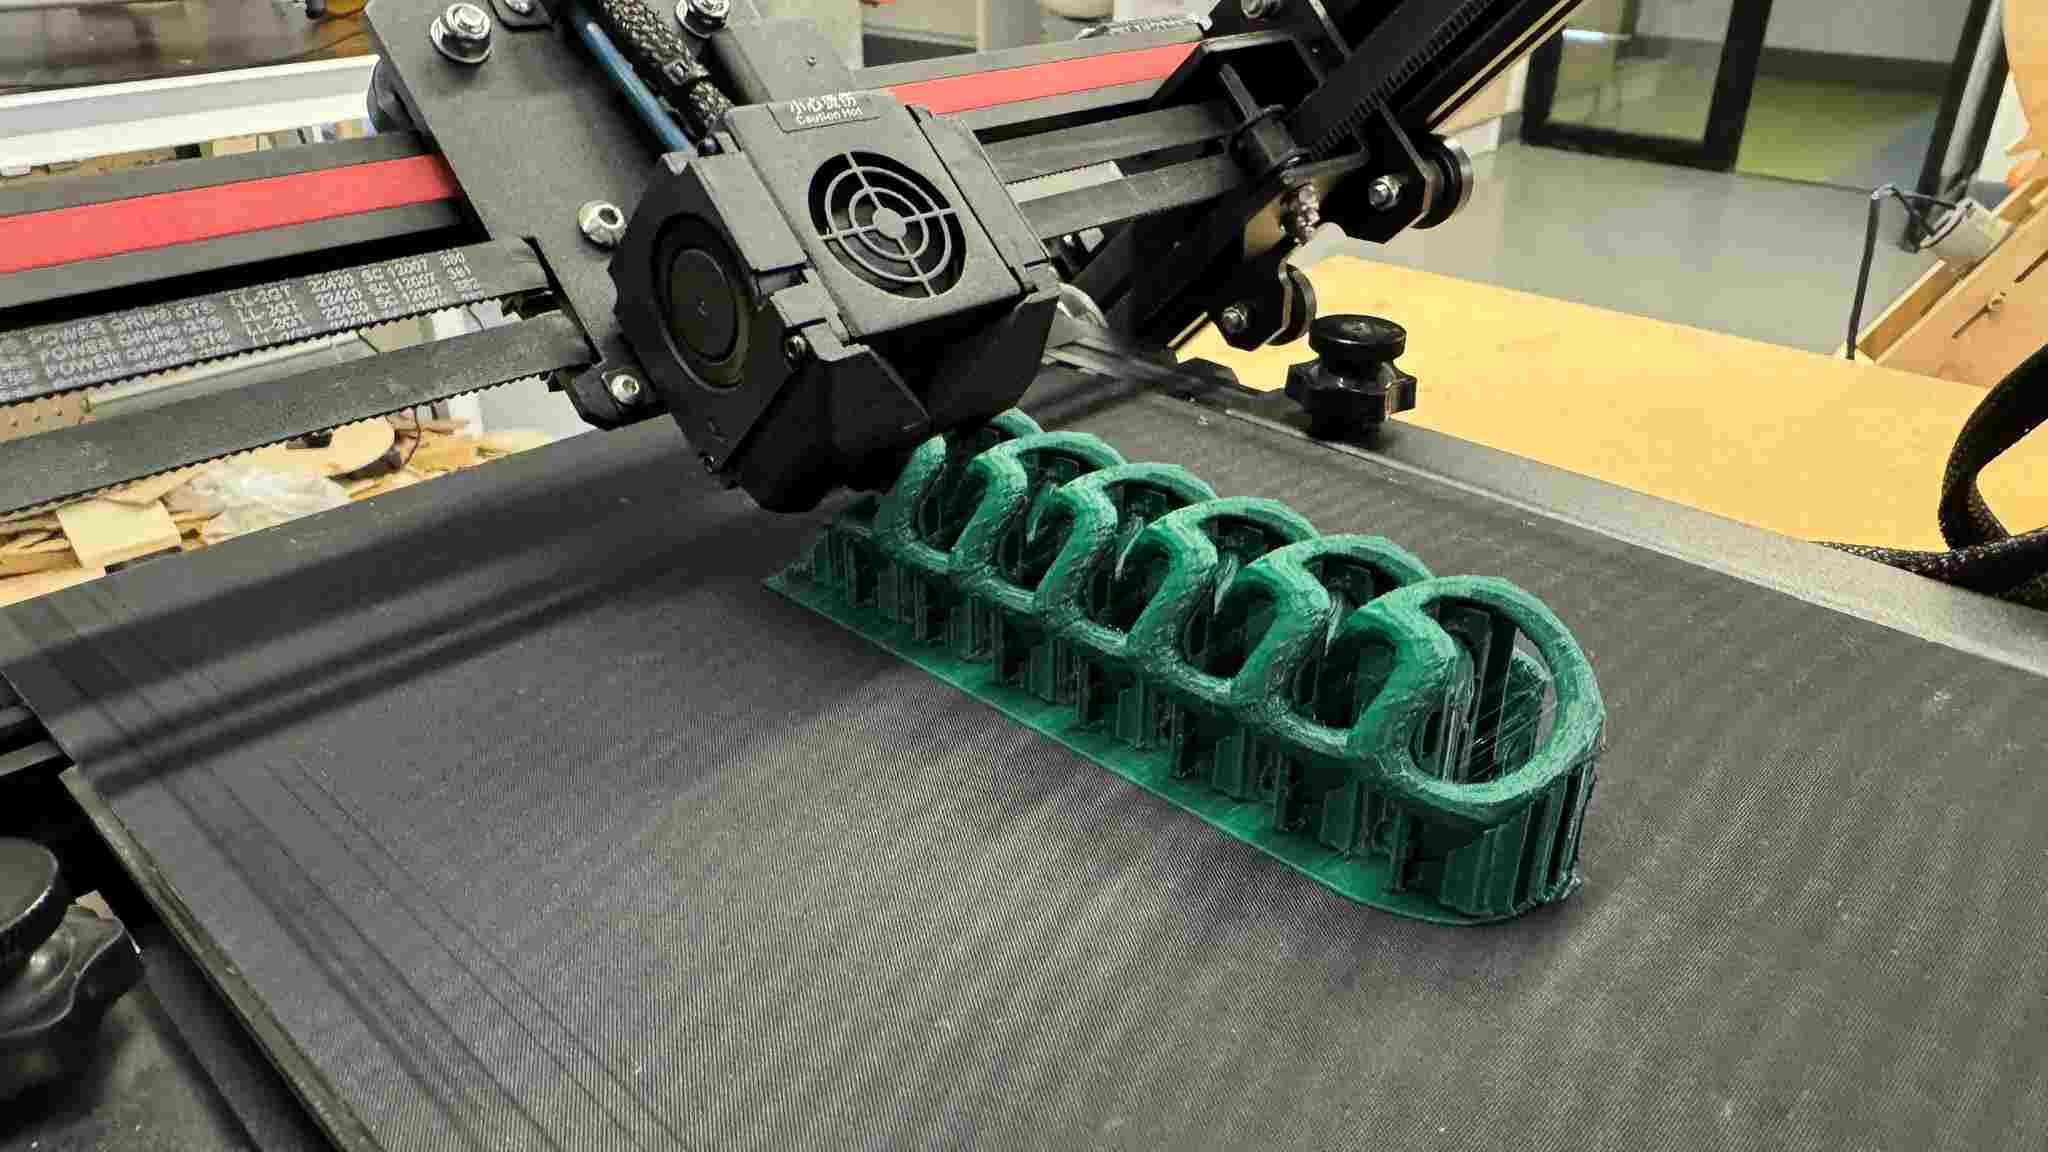
My 3D printed chain on Ender CR30

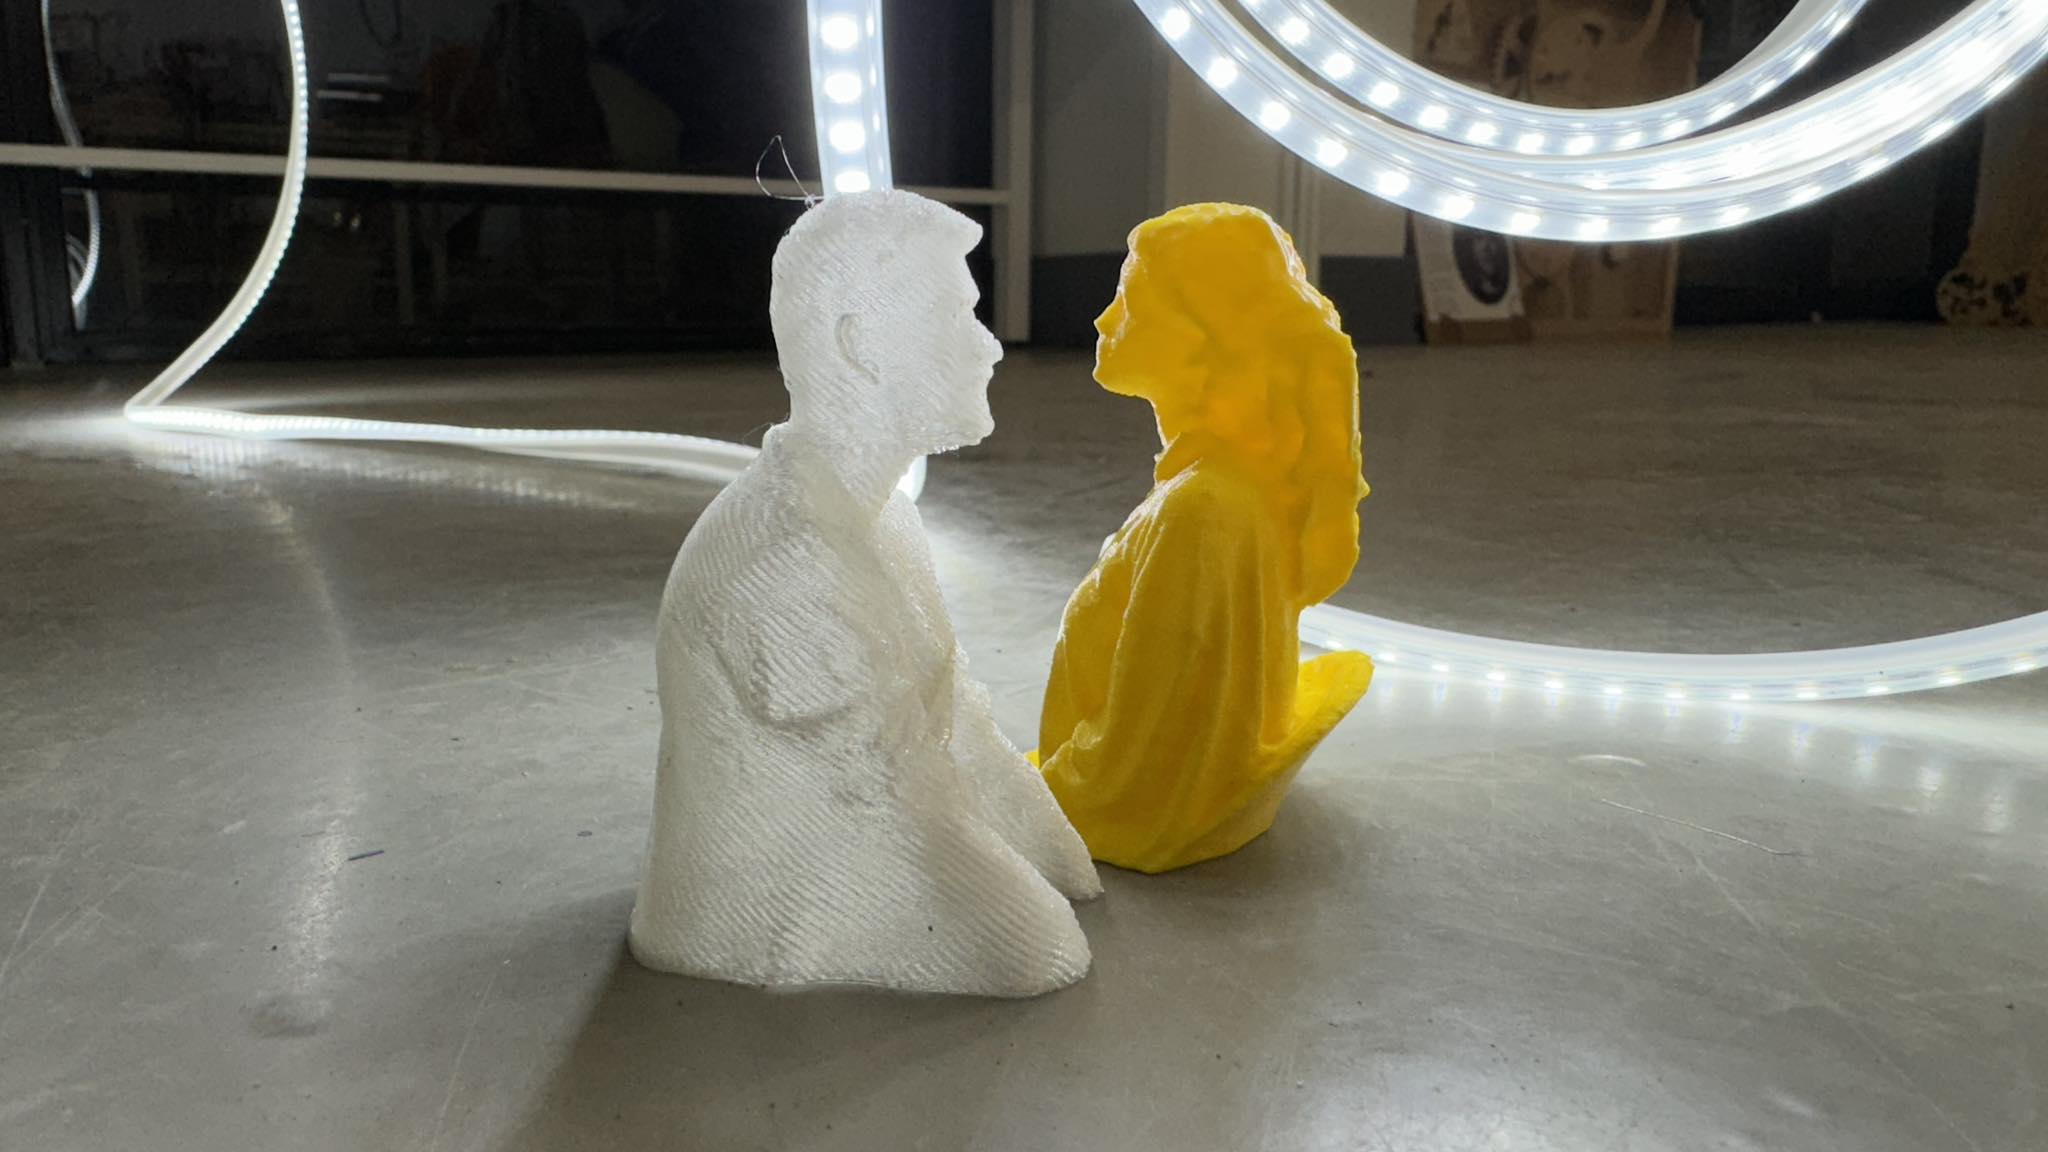
3D prints of Areg and me, 3D scanned with Scaniverse.
3D scan of Areg with Luma
Individual assignment
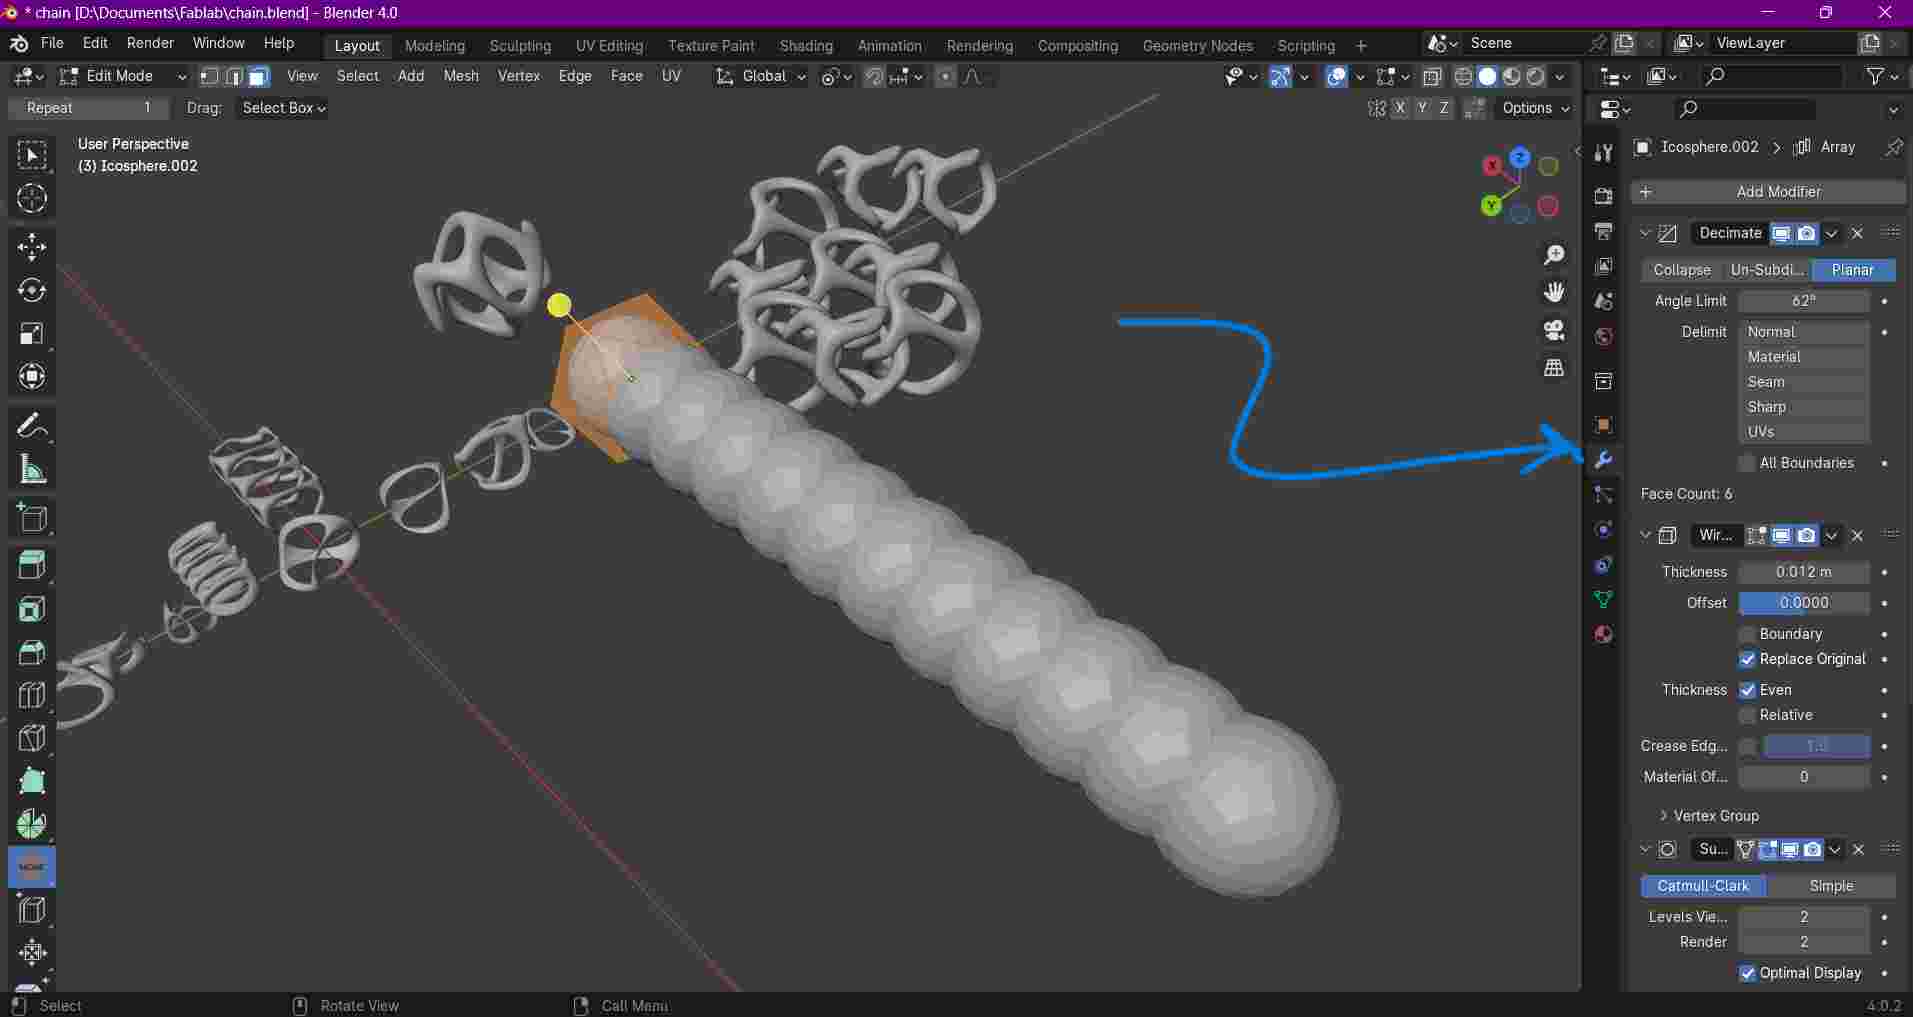
The task was to make something with additive technology that would not be able to make subtractrive way. I decided it could be a chain. I started modeling in Blender (version 4.0) and tried modifies with some primitives.
Here are some versions and I choose one of them.

For making this one I started with icosphere and added this modifiers
- Decimate (Planar)
- Wireframe
- Subdivision Surface
- Array
Experimented with different variables and got the result.
Why this design could not be printed subtractively it’s because it would be too much material wasted, it’s needed to be cut from different sides and under overhanging parts, and even in the case of using 5 axes subtractive machine, the chain would not stand still after some period of milling, because it doesn’t have flat surfaces to stand on any of sides and chain parts could not be stuck with each other in case of fixing one of the sides.
I wantend to try the 45 degree printing technology. In our lab there was Creality CR30 that has unlimited Z axes.

For slicing on that kind of printer I tried Cura, then Creality slicers but they were working a bit heavily. I tried Sain Smart slicer which is specialzed for 45 degree printers and sliced with it.
Slicing parameters.
material: pla,
nozzle: 0.4,
layer height: 0.2,
Sliced with supports, bed adhesion raft type, infill 15%, wall thickness: 3 layers, speed: 50mm/s.
For first try I noticed that nozzle is hardly touching the table. So it needed to be adjusted. We cleaned it after that adjusted height of table with using a paper sheet to check distance between the nozzle and bed. If paper sheet slides too easy under the nozzle that means the bed needs to be set higher. For that there’s a regulator under the bed.

After I tried again and first layers were were not touching the bed. But as it was just supports I let continue.

And after 9 hours it was surprisingly printing okay.
Here I am excited for my first 3D print in my life.
Thanks to Areg for helping me with cleaning the supports
…and the results

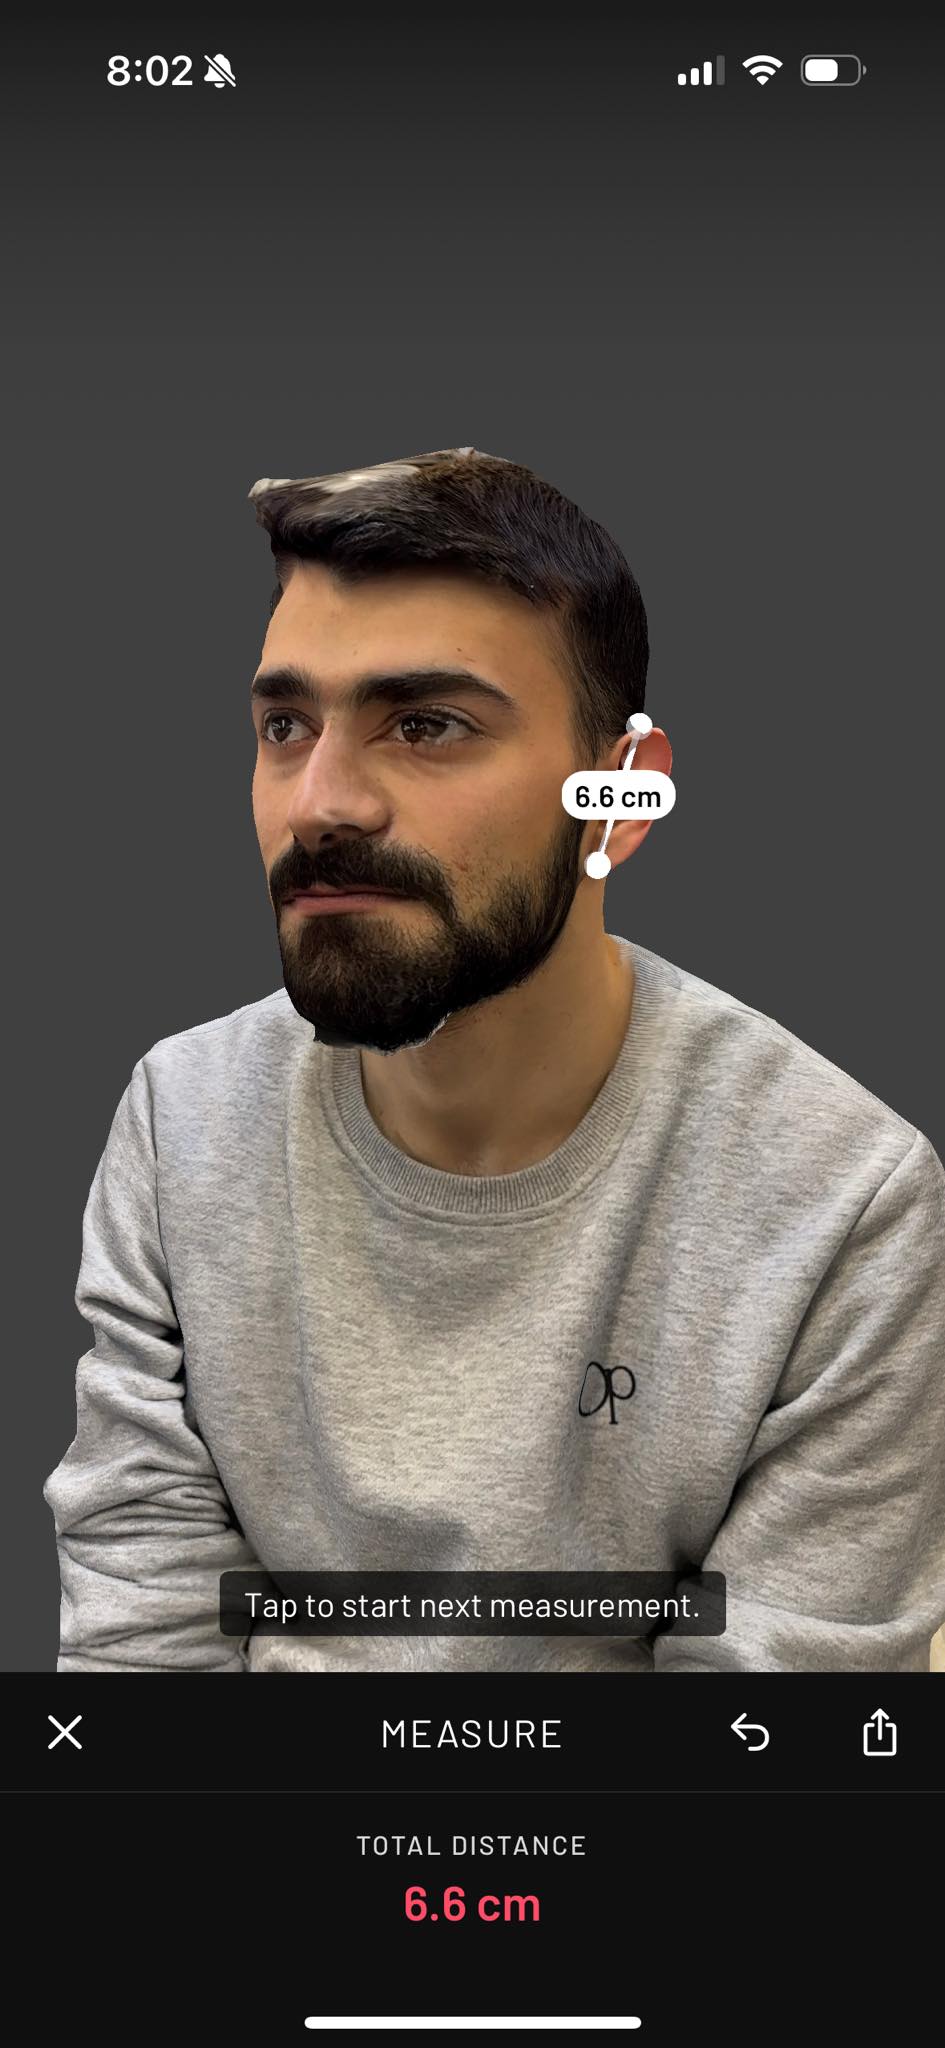
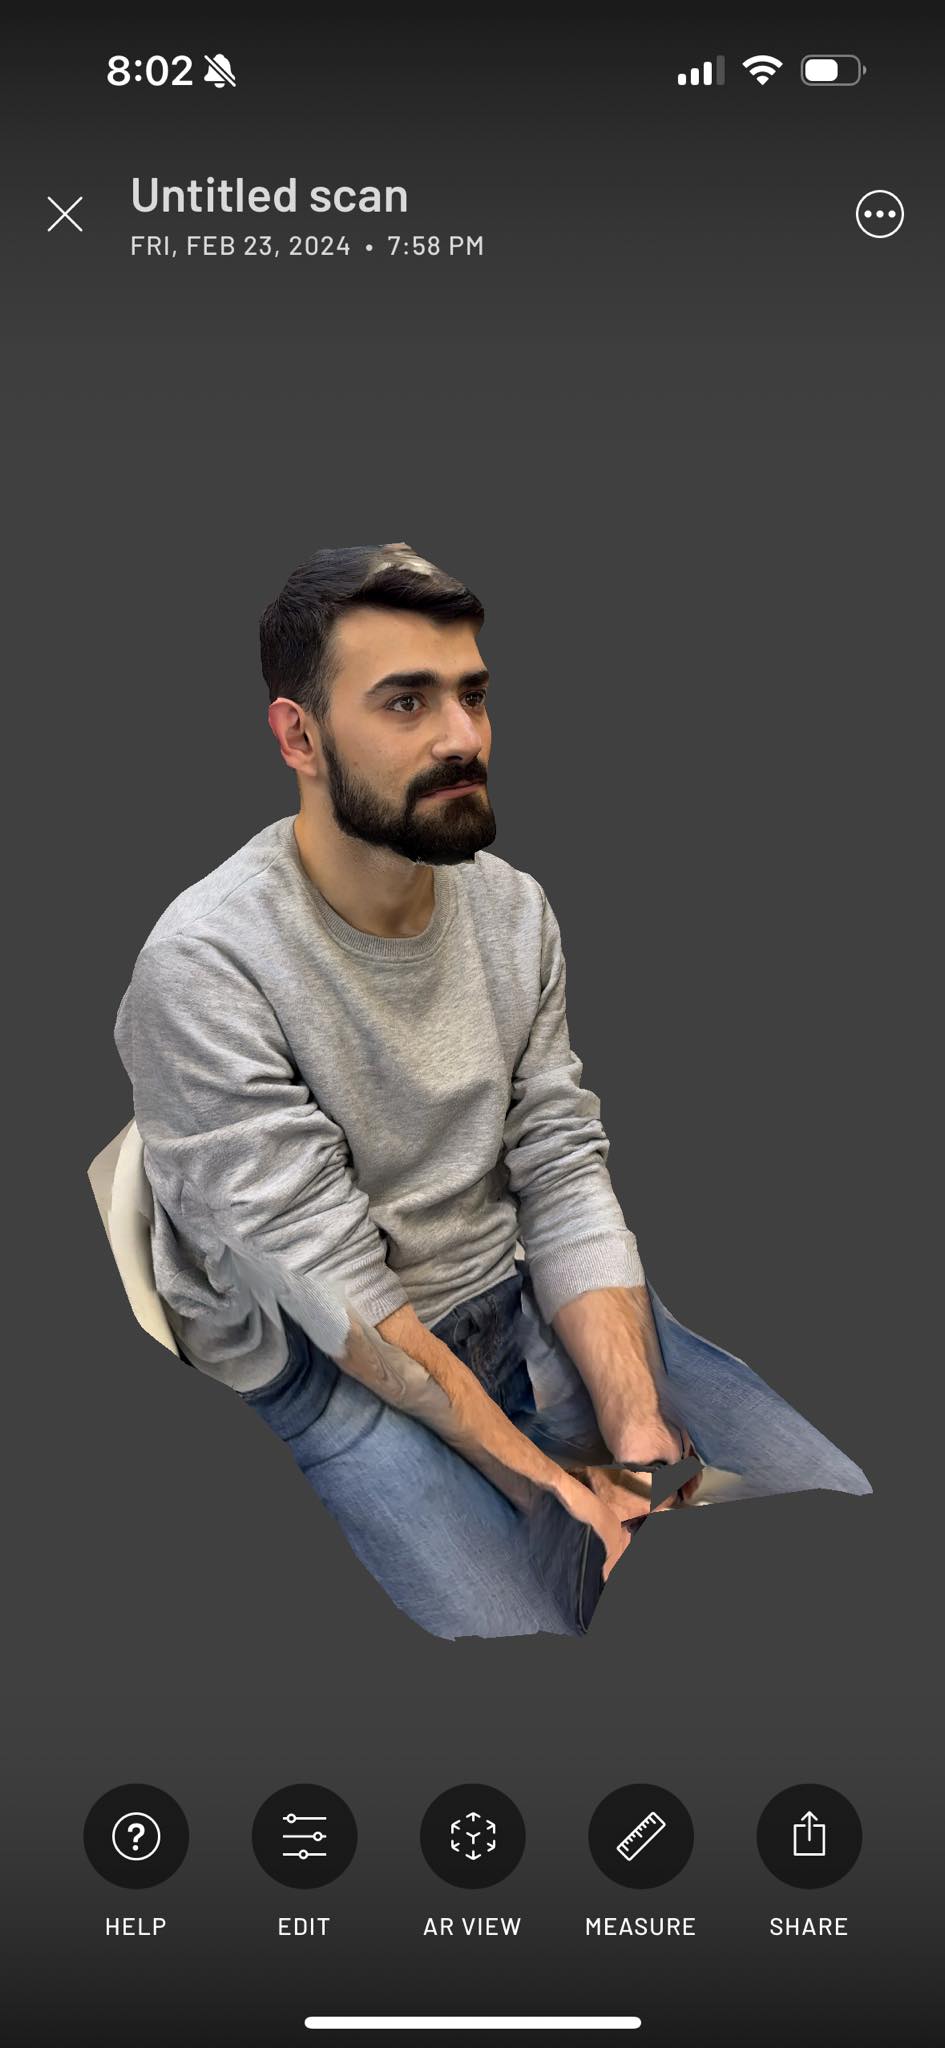
3D scan and print
For 3D scanning we used variety of programs on Iphone which are supporting LIDAR.
This one is made with Scaniverse, which dealed with scanning better in my opinion.
also used Luma, Kiri
Areg’s scan.
The program supports different export settings, so I tried stl usdz glb formats and imported to Blender to see which is best.
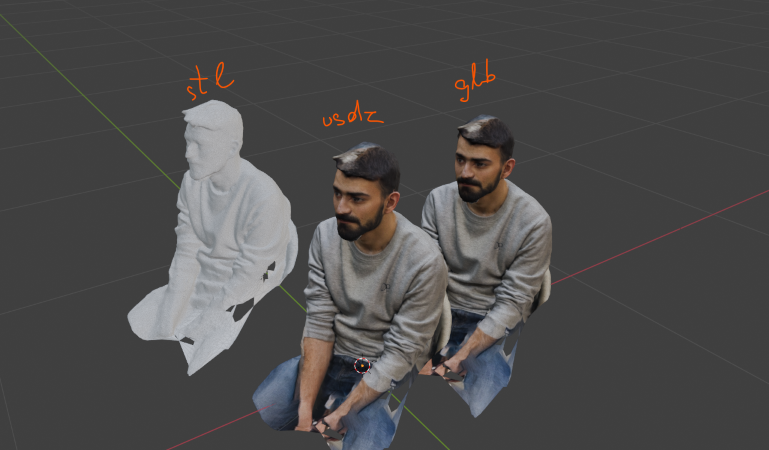
For mesh usdz and glb formats were well, stl was more heavy file.
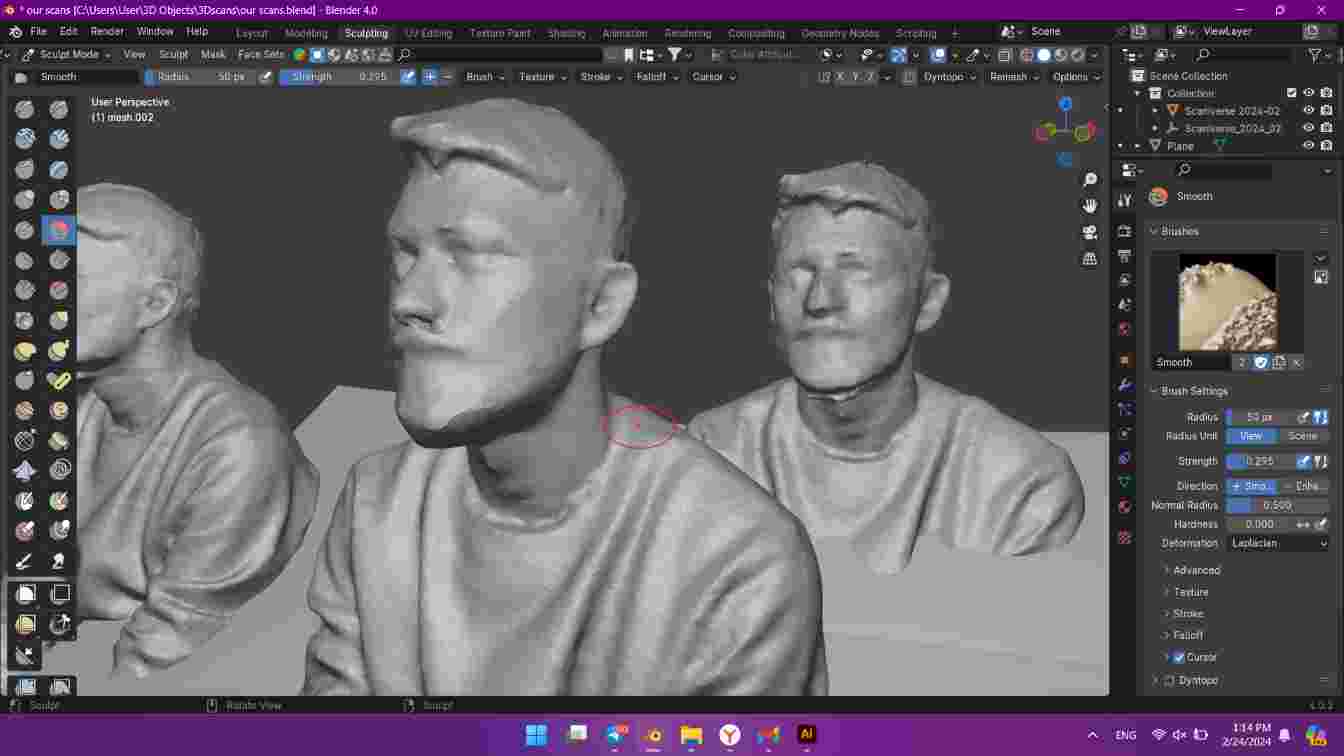
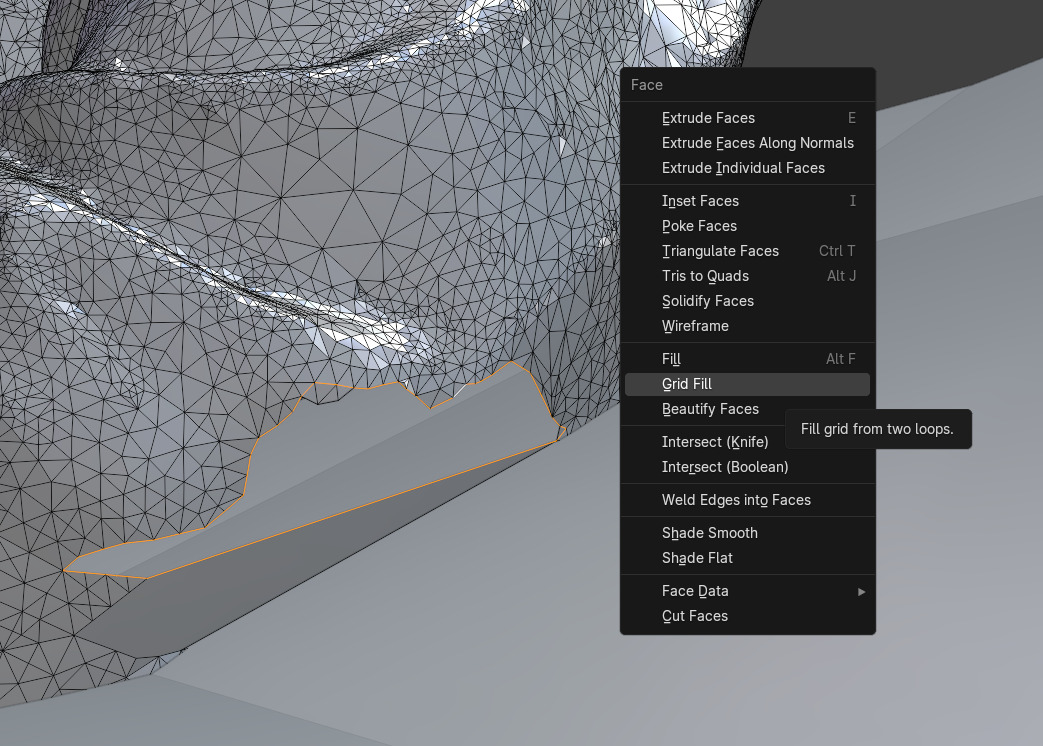
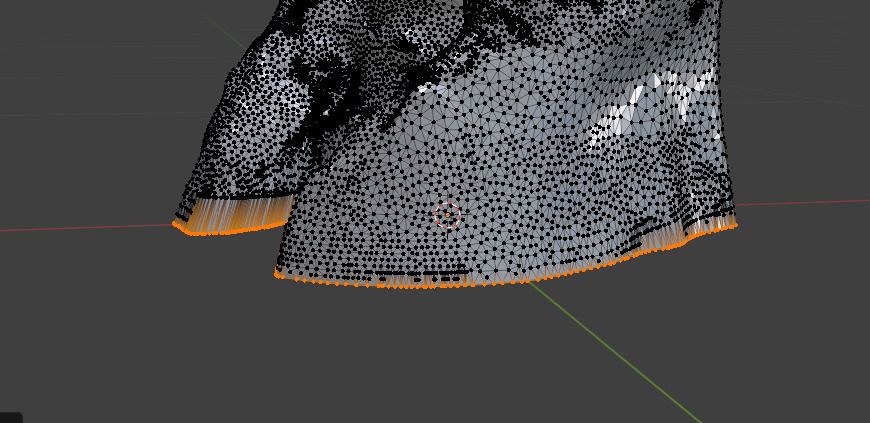
I started fixing mesh after and filled the holes.
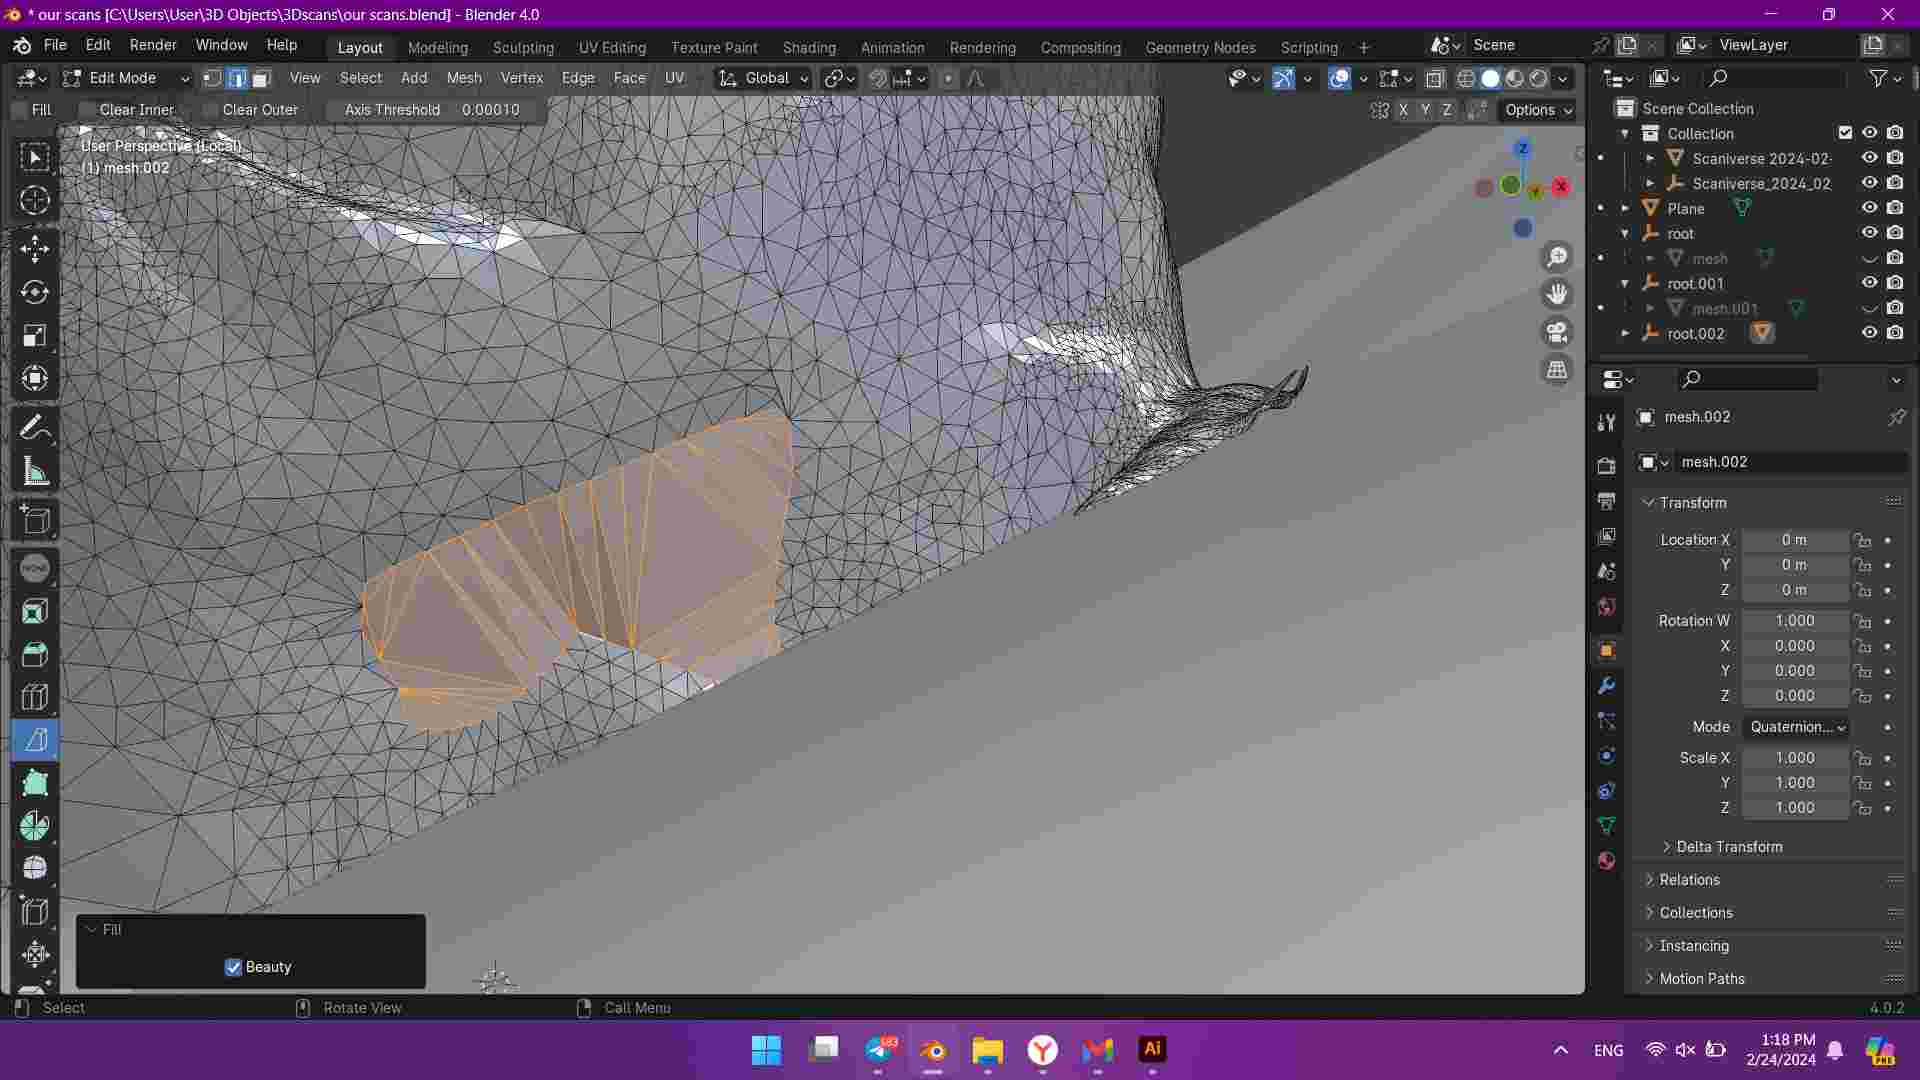
Then I created a plane to cut the model out, and gave a some thickness to the plain.
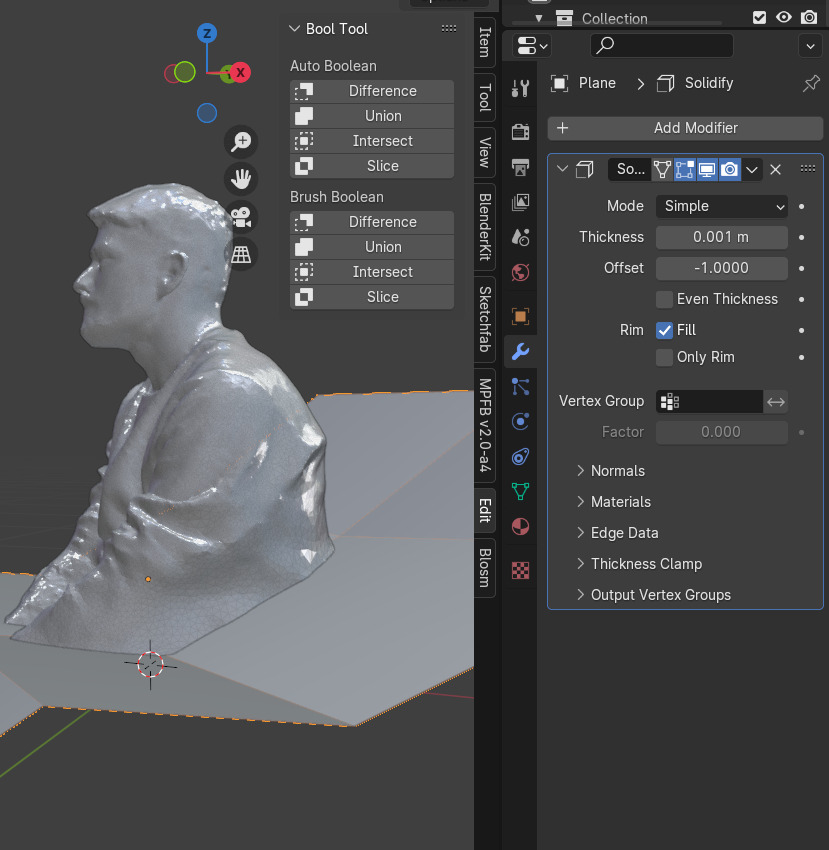
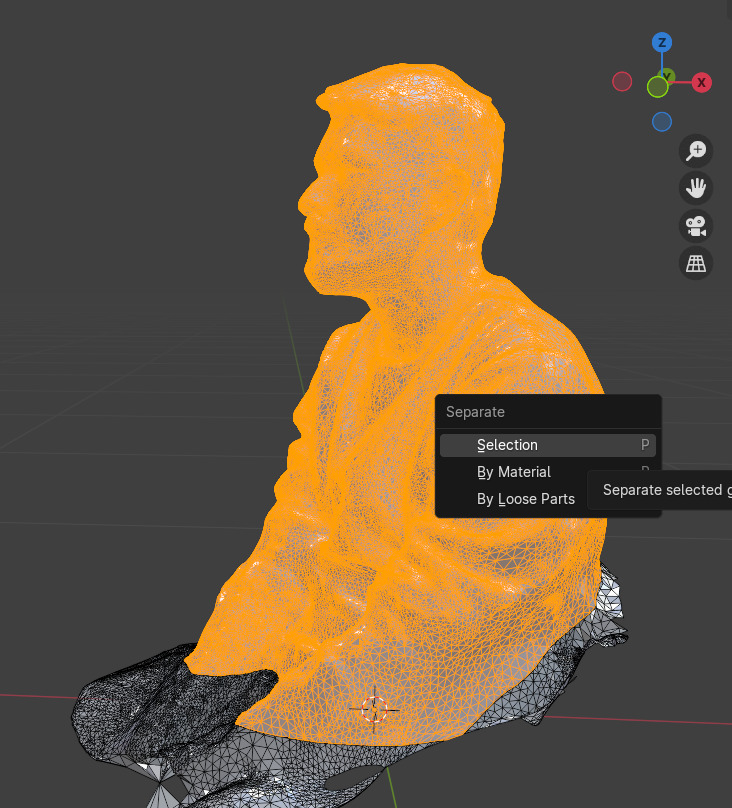
Selected bottom vertices and flattened them.
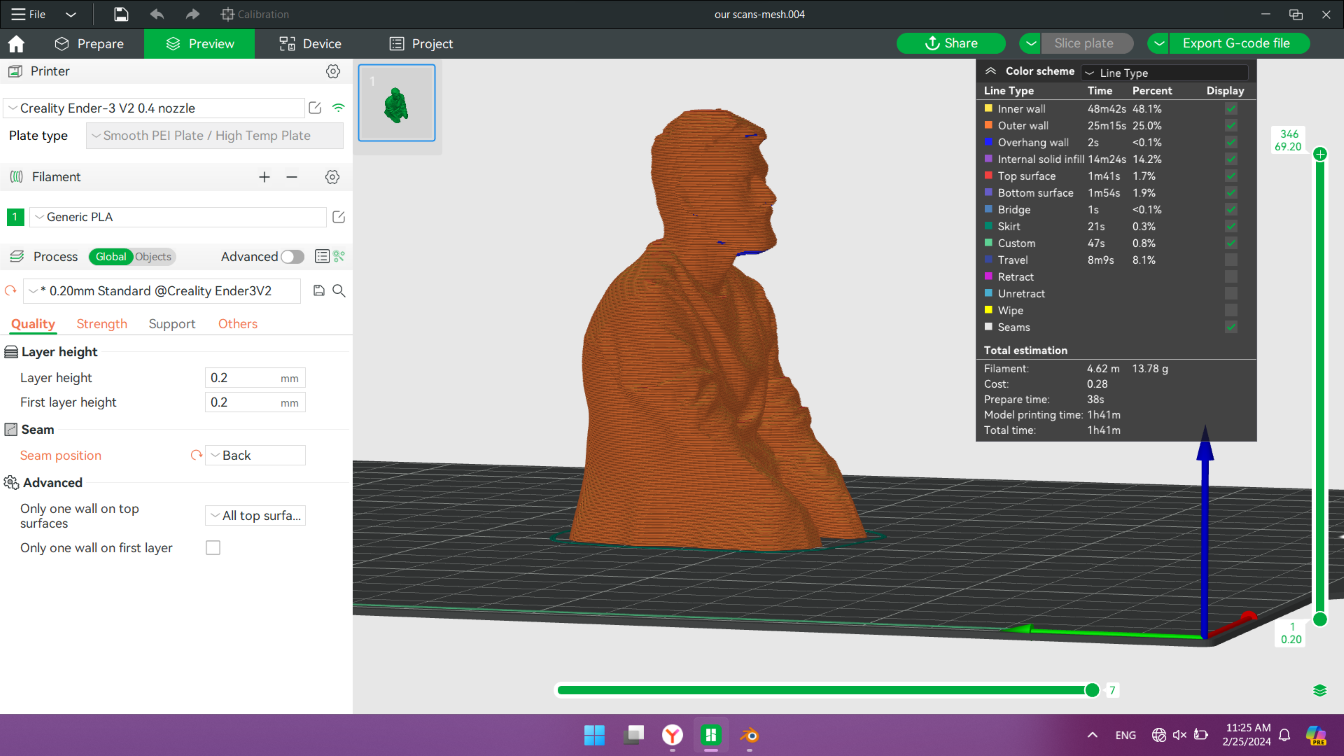
Sliced with Bambulab
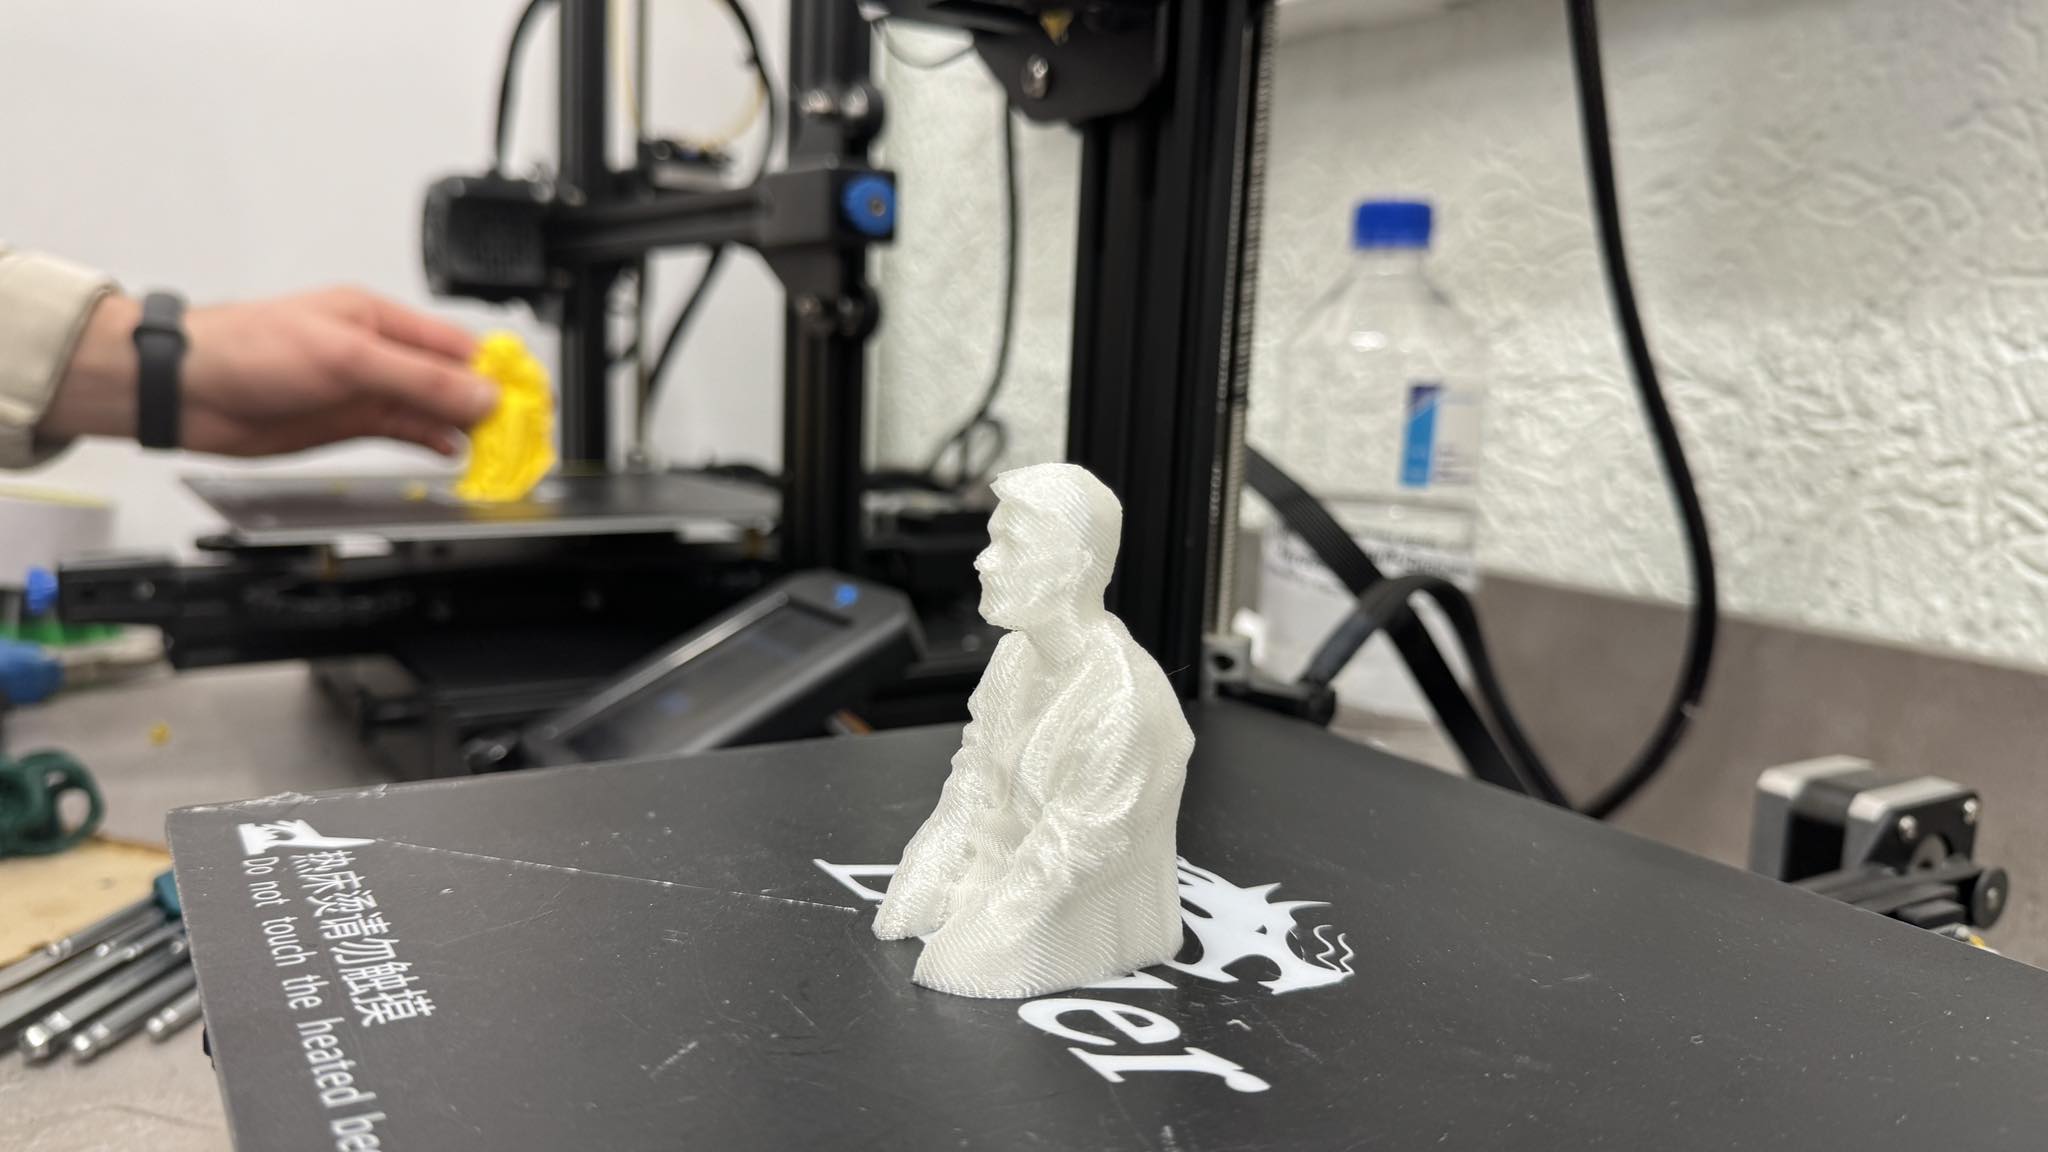
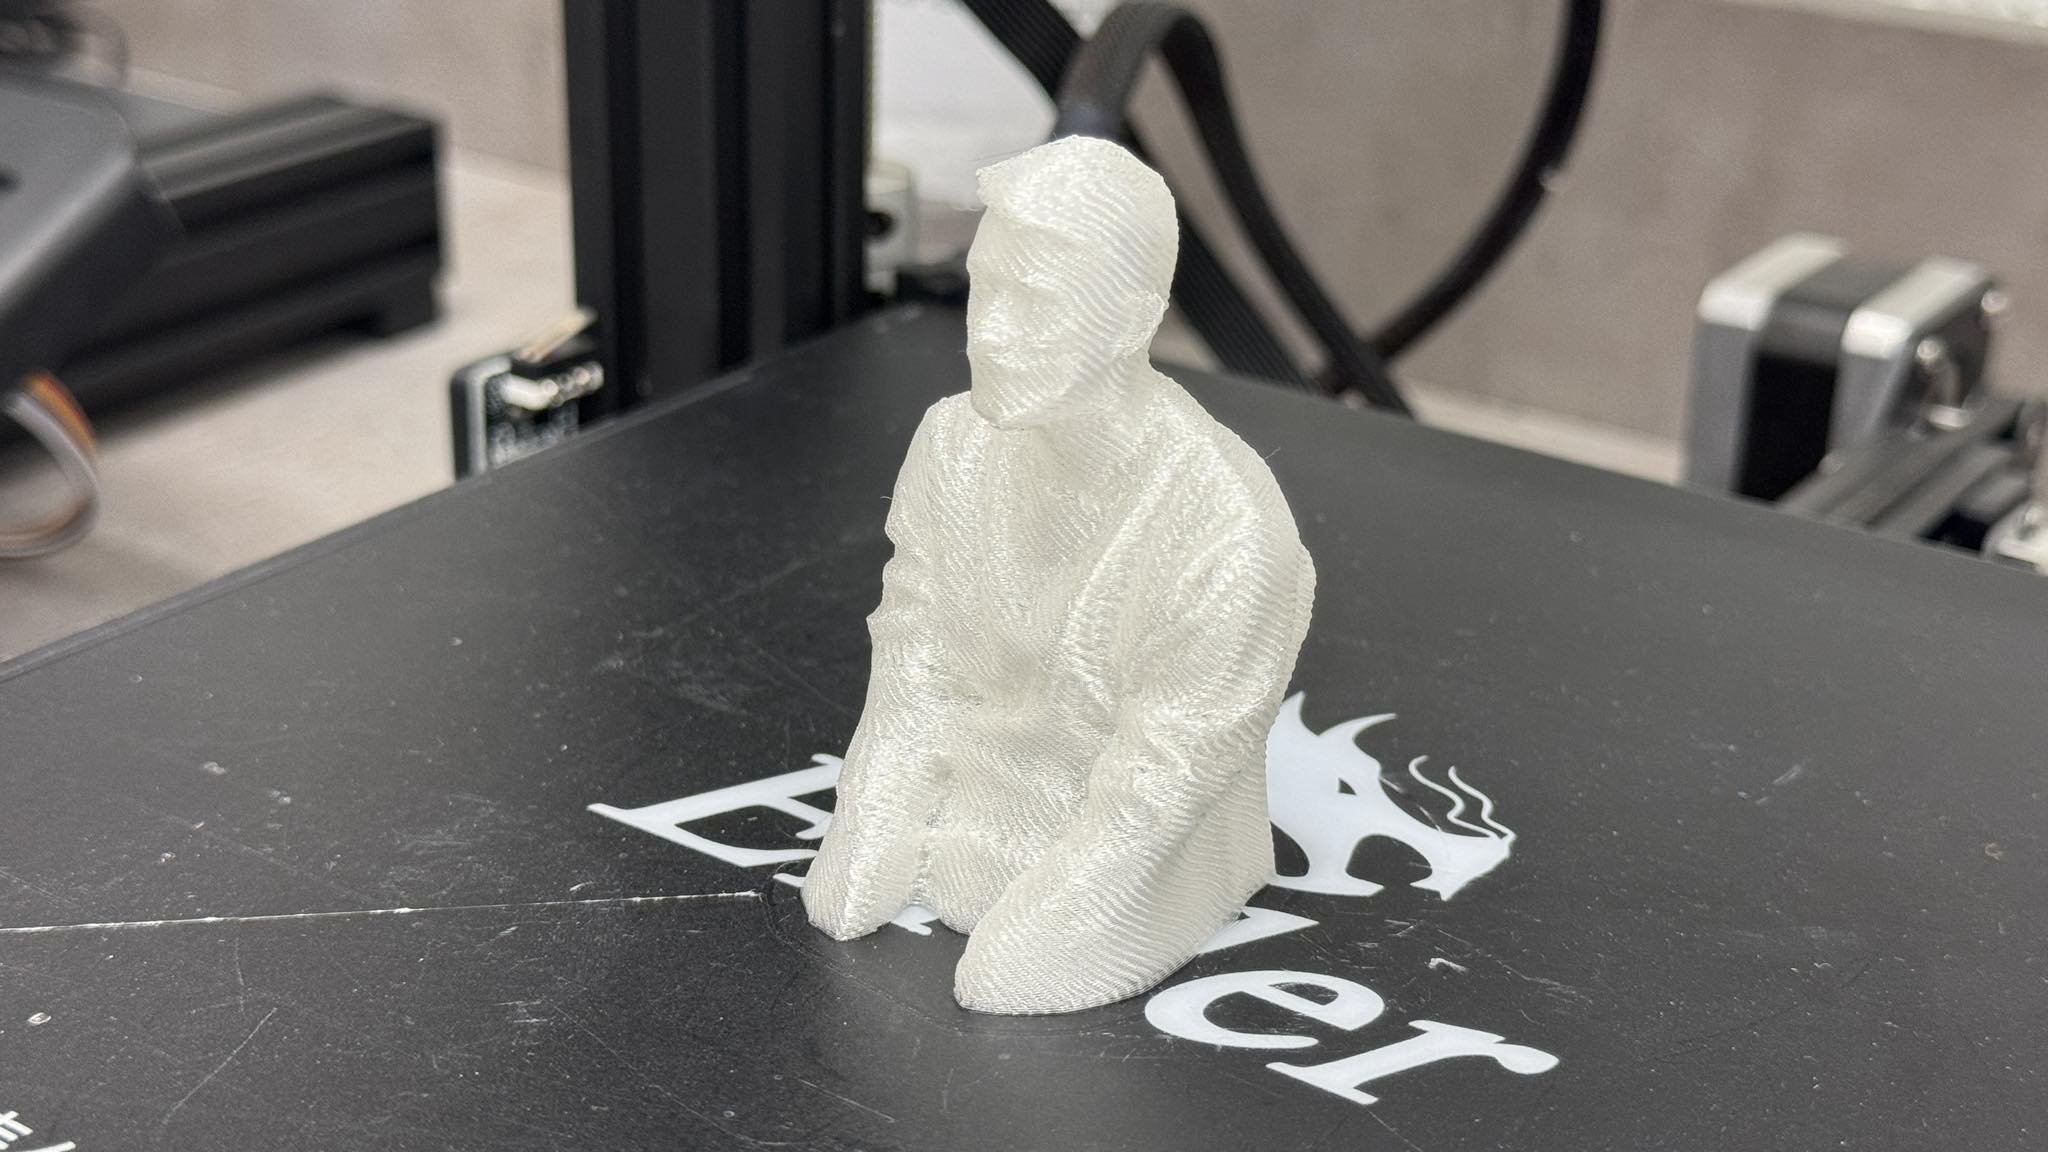
Here it was the first fail, but it looks cute anyway. My print wasn’t good because the wall thickness was not enugh for the first try, then I made it 4 layers.
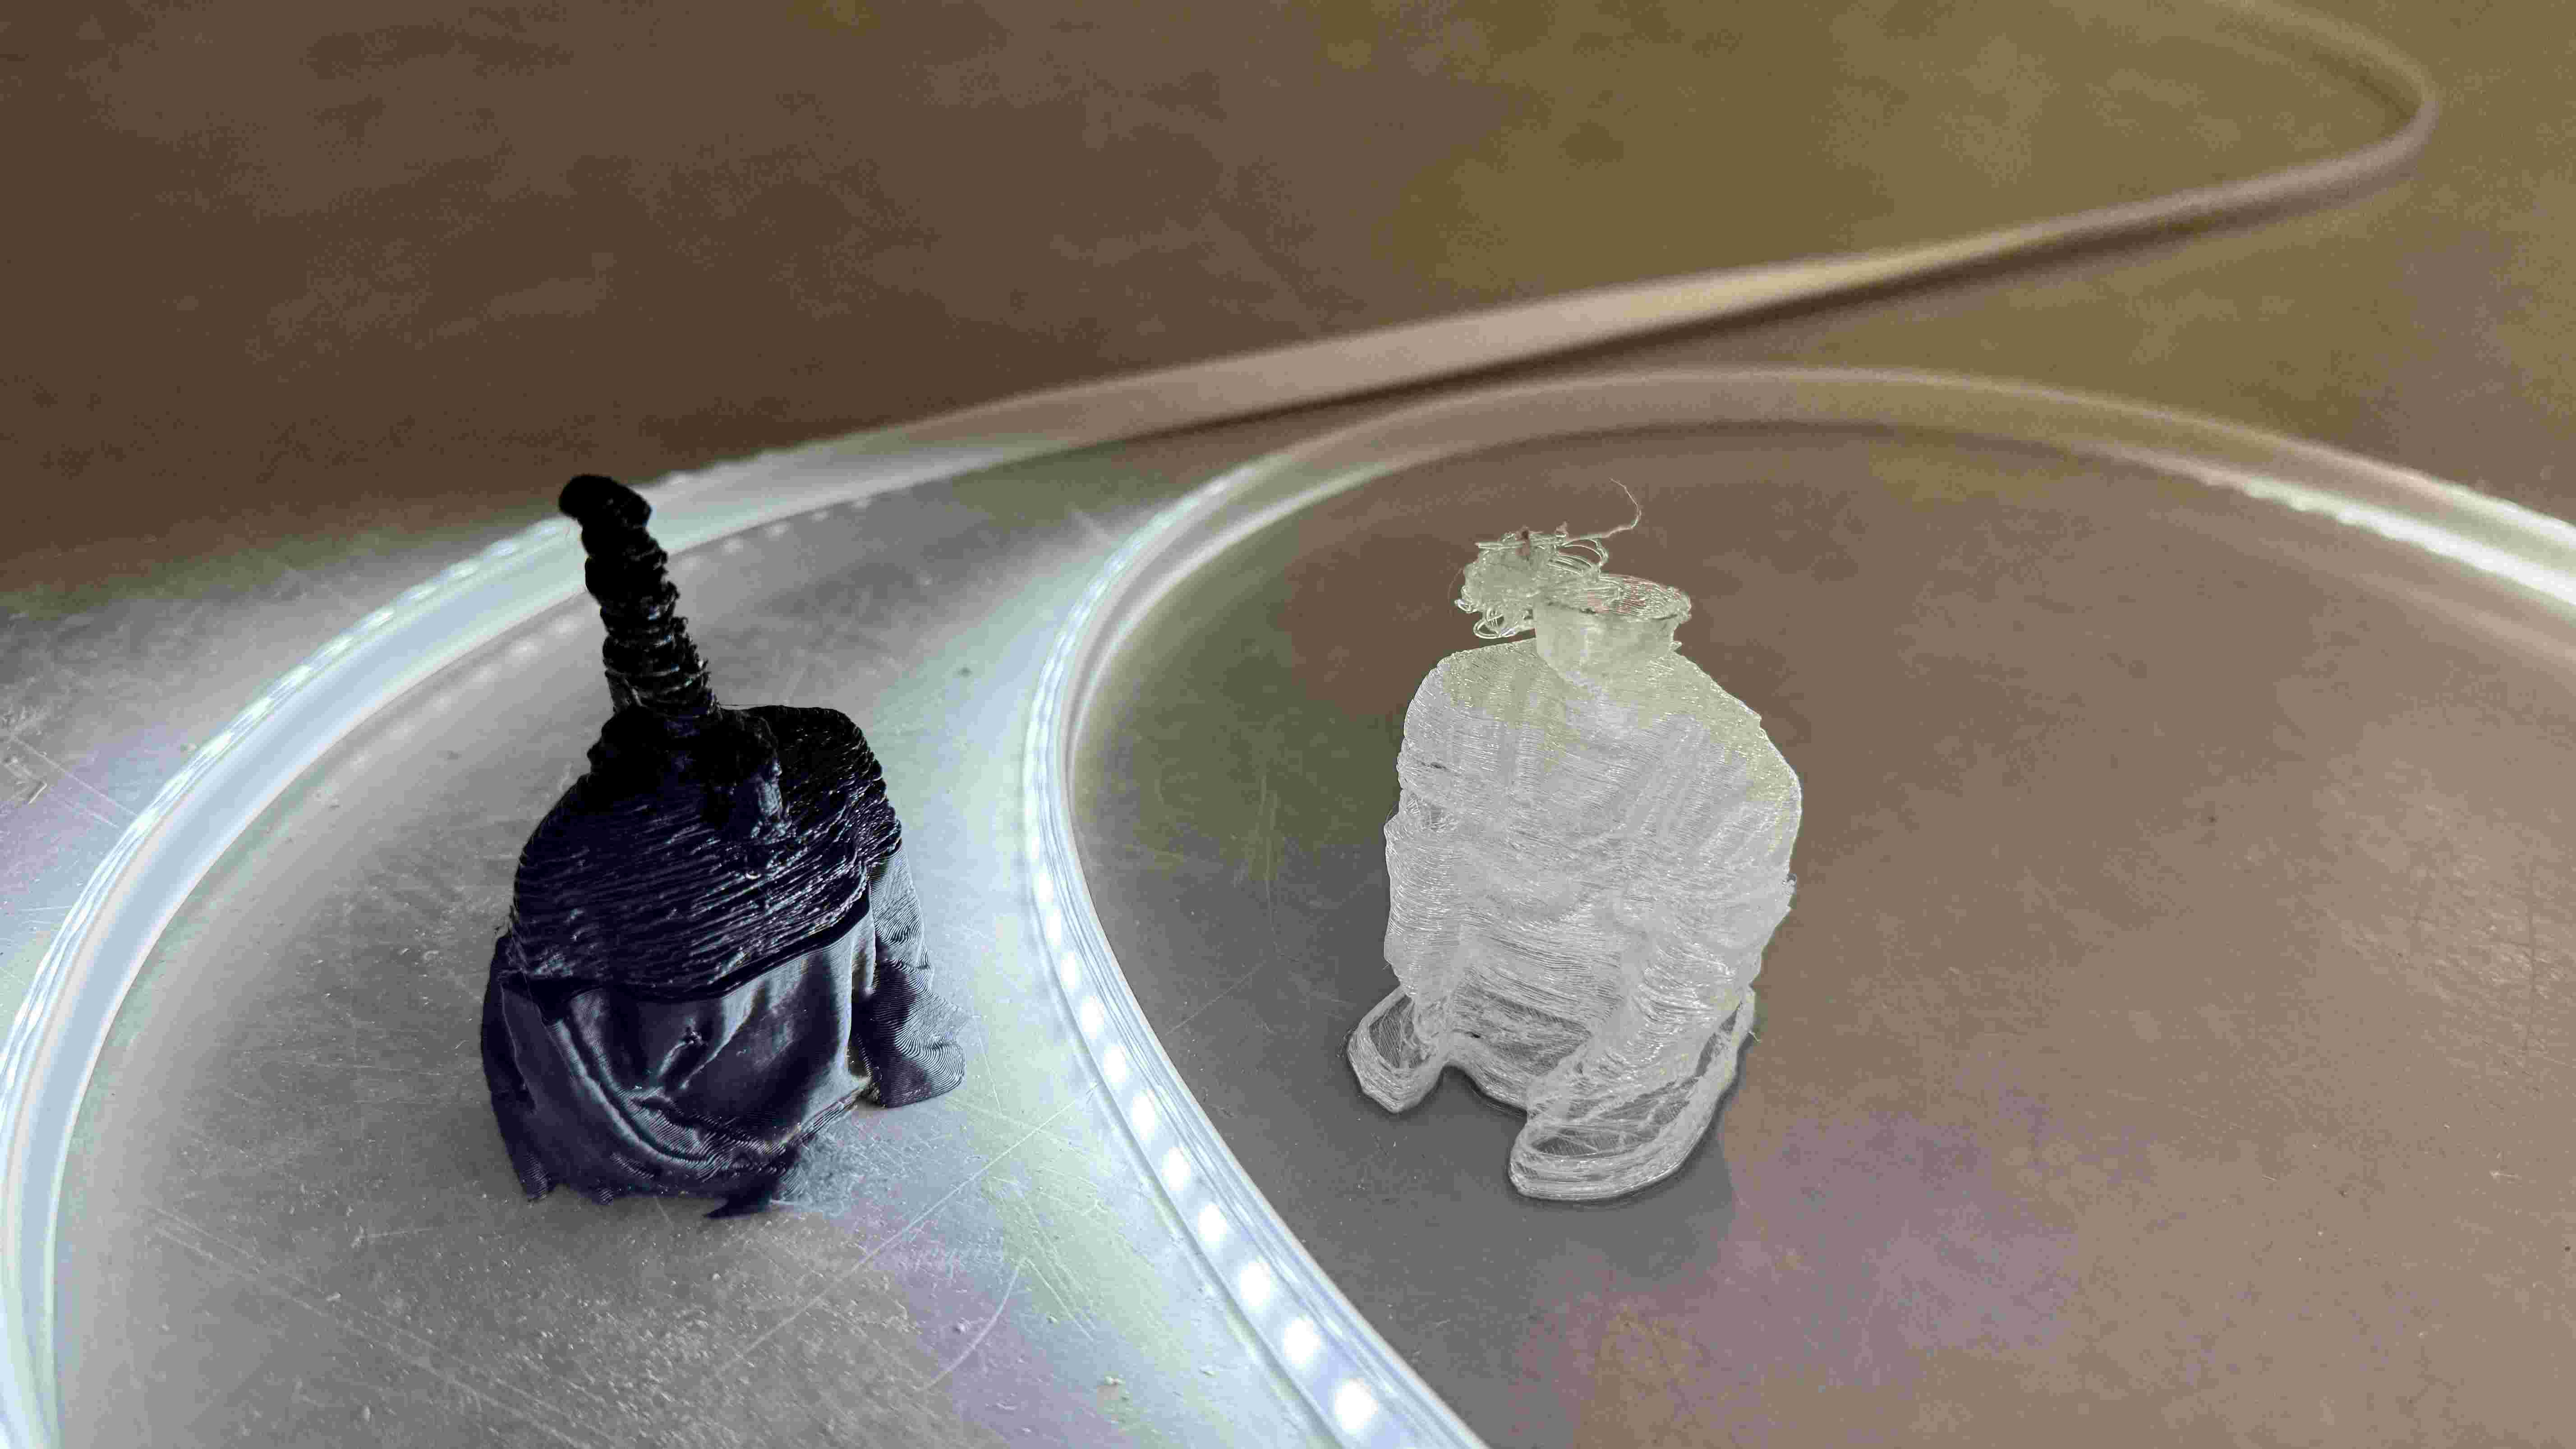
And final result of printing me and Areg.
Texture of Areg’s statue was a little bit different then my previous try and also was different from my statue. That’s because it was sliced in Bambu lab 3D slicer. I did not sed specific settings but I think the layers there has some variating heights which is specific g-code from Bambu lab. It was meant to be transparent, because I used transparent PLA but the result came out texturized and with matt effect on it. On both slicers Bambu lab and Ultimate Cura there is a setting for fuzzy wall layer, which works on hiding standart 3D printing horizontal layers, but this time it was not enabled. But Bambu lab has more variations of infills, it has a functionn of automatic arrangement of the detail on bed so it would need less supports and that I like more about Bambu lab slicer.
Group assignment
My group assignment started together with Areg. We were testing out Areg’s 3D printer. It is Anycubic Mega X. He’ve chosen that printer because of it’s bigger table sizes relatively to other printers.
Printing Technology: FDM (Fused Deposition Modeling)
| Anycubic Mega X | characteristics |
|---|---|
| Layer Resolution: | 0.05-0.3 mm |
| Positioning Accuracy: | X/Y 0.0125mm Z 0.002mm |
| Print Speed: | 20~100mm/s(suggested 60mm/s) |
| Nozzle Diameter: | 0.4 mm |
| Build Size: | 300 x 300 x 305mm |
| Operational Extruder Temperature: | Max 250ºC |
| Operational Print Bed Temperature: | Max 90ºC |
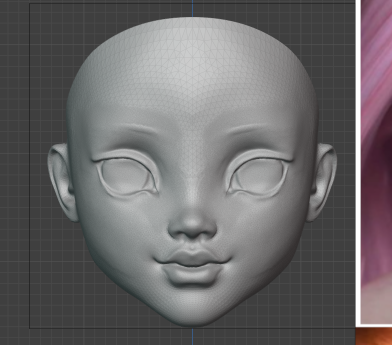
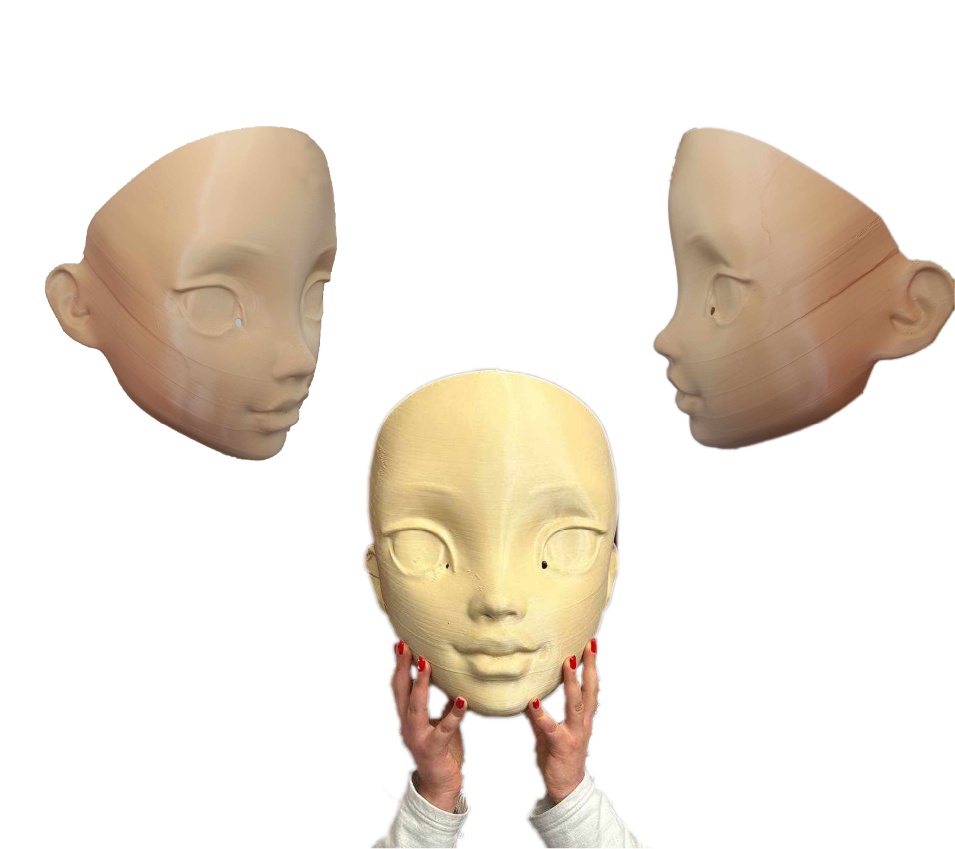
For testing we decided not to take an ordinary testing geometric shapes. So I made in Blender a doll face with using of sculpting. So I made this model, which is supposted to be a mask.
In our goals were to print it out with no supports use. The second challenge was printing with ABS plastic. It’s a hard material for 3d printing but it’s final appearance is worth it. ABS has appealing shine and smooth surface which is a benefit for us to let the surface of product right the way as it came out from printer. But anyway ABS is much easier to smooth after printing with using an acetone.
Our goals to deal with
- faster printing time
- no supports
- smooth surface
- ABS challenge
- big printing sizes
More in Areg’s documentation.
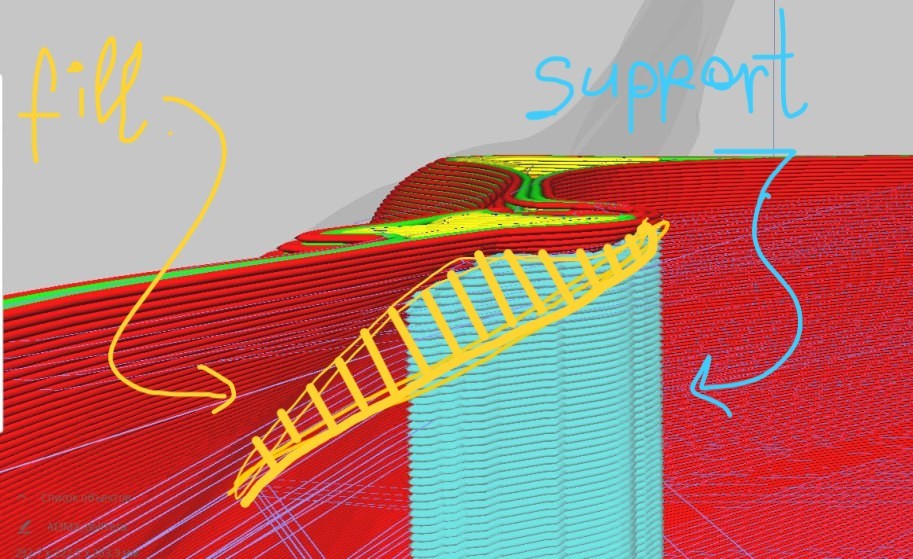
After first try of slicing but here appeares floating parts, marked red, which need supports. First getting rid of supports. because they cost material and time.

In the parts where the slicer warned about floating parts, I filled the mesh and made it grow increasingly in order to supports not to be needed.
As we were intended to test the maximal speed we put 0.8 mm nozzle to save time. The layer heights changed accordingly to 0.4 mm. In this case the heating needs to be increased in order to manage the thicker filament to be melted properly.
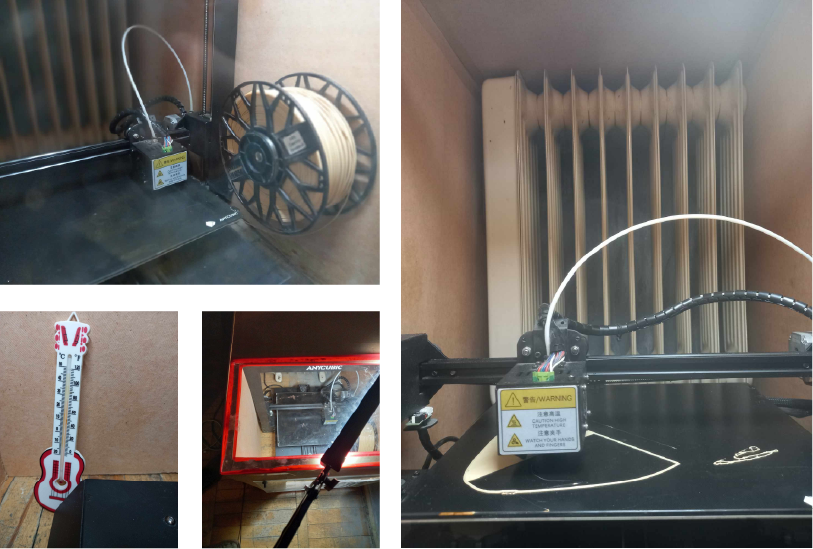
First tries of 3d printing were failed. After few layers printing was coming off from the bed. The reason of what was weak adhesion. There exist adhesive sprays but it didn’t work and the printing wouldn’t last long. This problem was solved with ABS melted liquid. ABS in reaction with acetone is liqudising and Areg experimented this to put on the bed in place of adhesive spray. This try worked well.
The challenging thing was that the model is big and for 3d printing with ABS it needs to be in hot condition to keep layers heated to stick one in another. The following 3D printer was not supported with thermal chamber. So Areg built an cardboard box with acrylic transpartent window and placed the printer and an extra heater in it. This helped as we see. Temerature remained hot for all printing time.
Areg’ve shown the process of serving the 3D printer, cleaning ang changing the nozzle. This part is in his documentation. As he had an experience with 3D printers, It was really useful to have this group project together. And the result is not perfect but accepting the challenges.
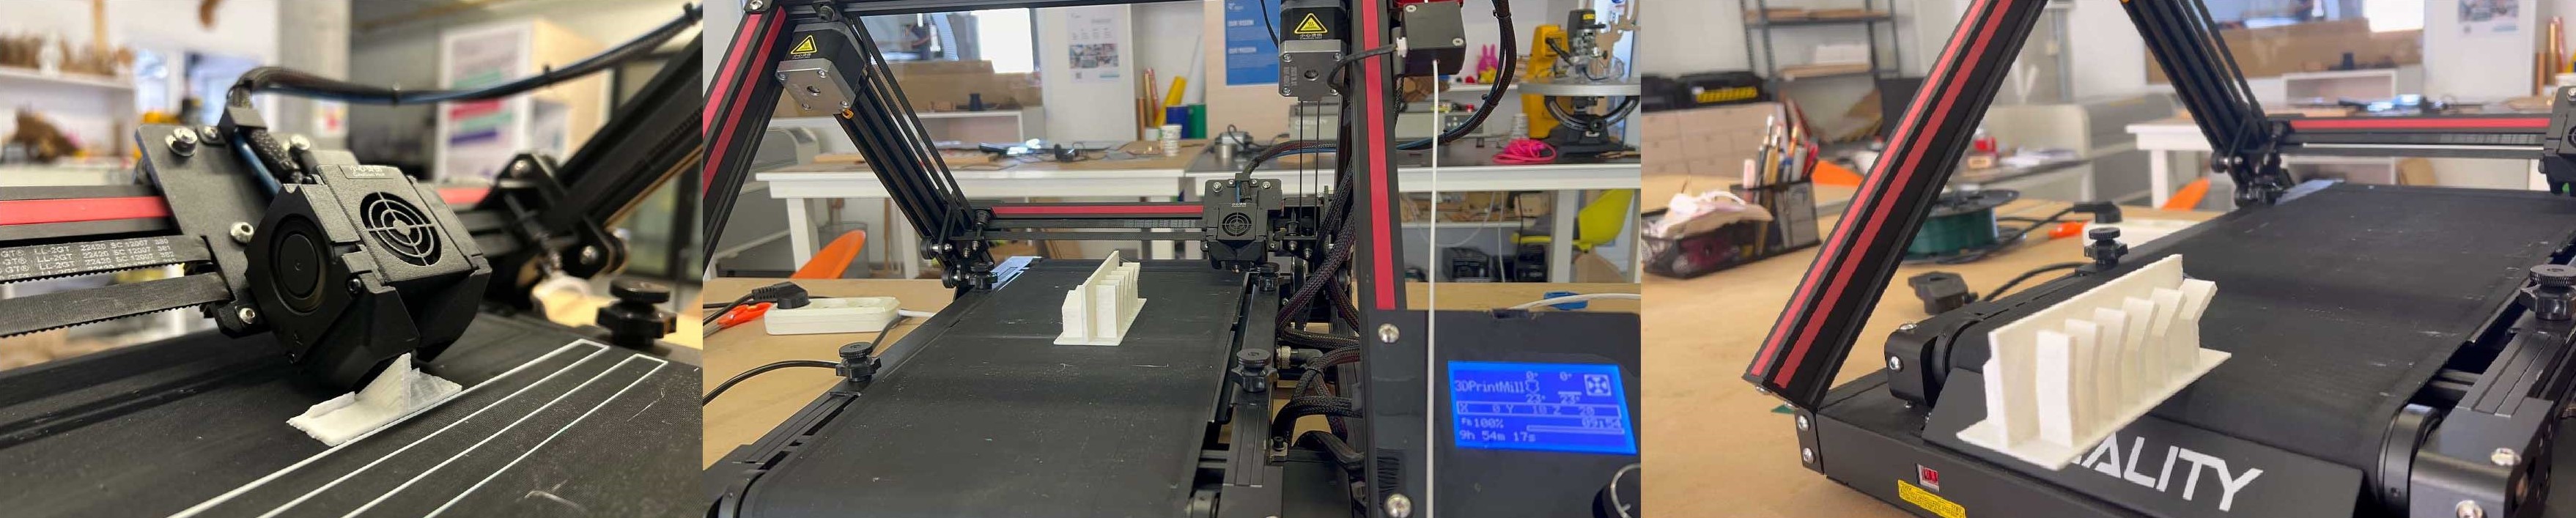
Testing other 3D printers
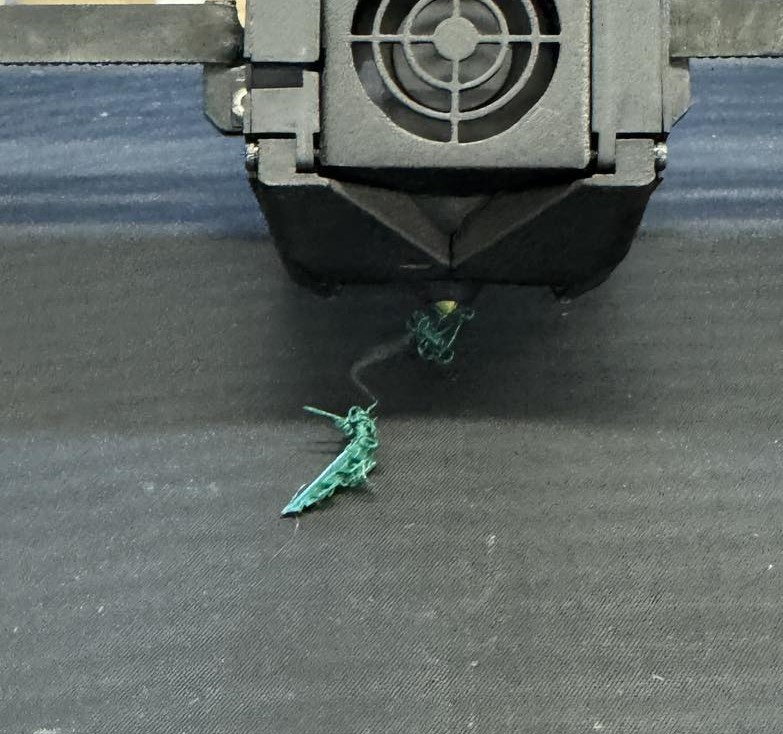
Moreover, as part of a group assignment we’ve tested also the Creality 3d printers that were in lab. Crelity Ender versions and CR30 45 degree belt 3D printer. We’ve learned how to change filament and calibrate printer’s bed also. And with some 3D models were printed to check each 3D printers’ angle, overhang and bridging best abilities.
Test model printed on Ender 3 Pro.
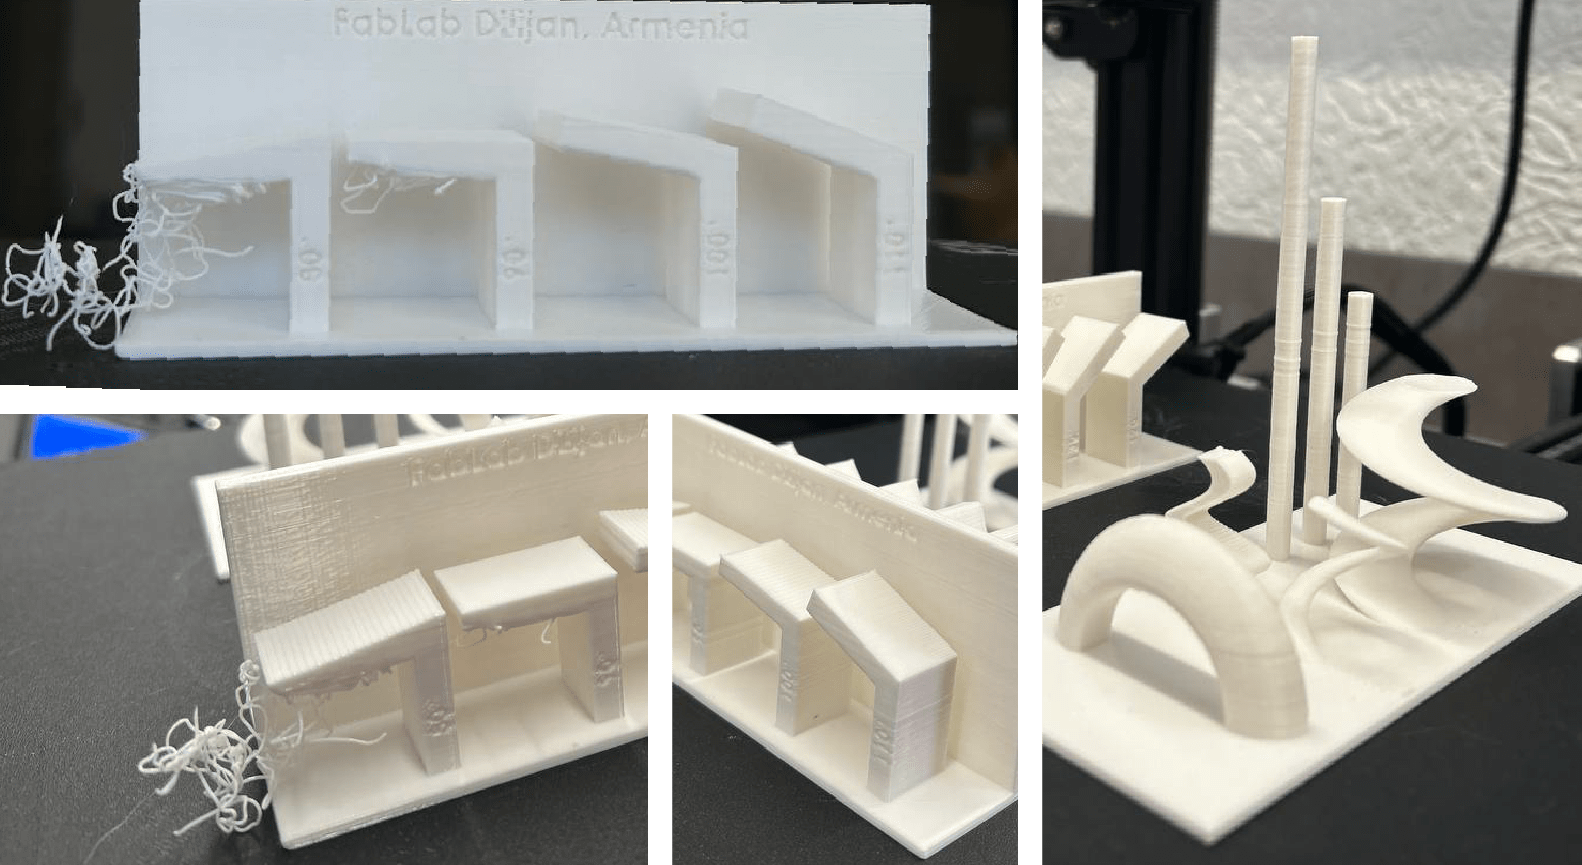
Test model printed on CR30.
Conclusion
This week was my most favorite and it was really expectations = reality. I was informed about 3d printers a lot before but this was my first time of having an opportunity to create something with additive technology use. I’ve been fond of 3D scanning too. The only reason I got pro version of my iphone was LIDAR supported on it. And this process was really fun. So I’ve learned a lot about 3D printing and after this I feel confident to use this kind of machines in my projects. Also an important skill is keeping in mind while 3D modeling that the thing will be produced and the shapes need to be optimized for 3D printing.