Week 2. Computer Aided design
This week I explore 2D and 3D design programs. Since I am an industrial designer I already have got some experience of work with several softwares but I’m interested to find new features and especially I want to learn Grasshopper in Rhino or geometry nodes in Blender. Here is a huge list of programs and features provided by FabLab in class materials. I went through the list and explored all links.
Planning
Here is a list of programs that I am already familiar with and what I am intended to learn.
-
Raster graphics
- Adobe Photoshop
- Krita
- AI Stable Diffusion
-
Vector graphics
- Adobe Illustrator
-
CAD modeling
- Fusion 360
- Solidworks
-
Mesh modeling
- Blender
- Grasshopper in Rhino
- Geometry nodes in Blender
-
Animation
- Maya animation
- Blender animation
-
Sculpting
- Zbrush
- Blender sculpting
I found these links useful and interesting.
- Collaborative drawing-Aggie Draw with friends
- FreeCAD library For CAD parts
- Mods For every situation
2D Graphics
Raster
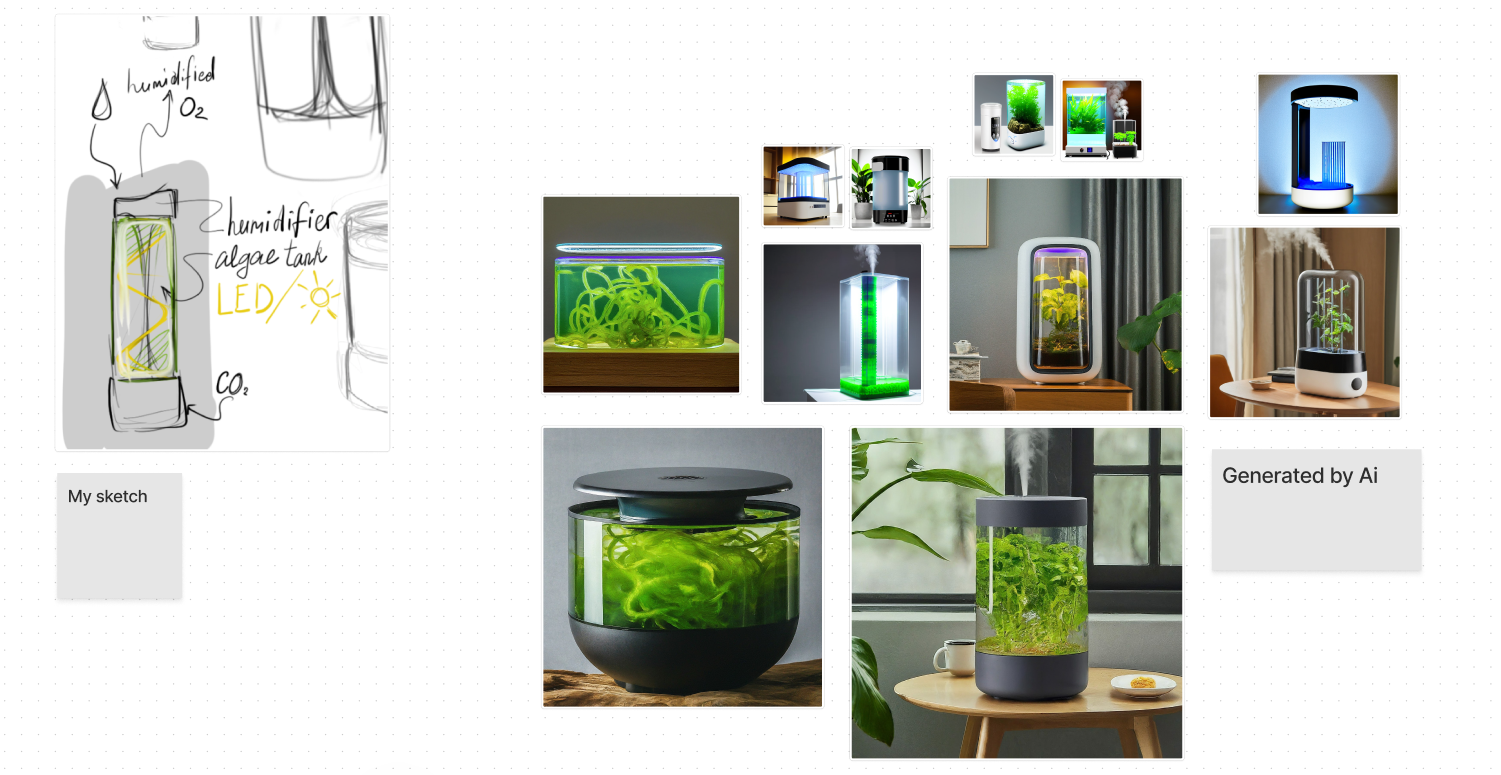
I used a drawing drawing tablet to draw some sketches for my final project.
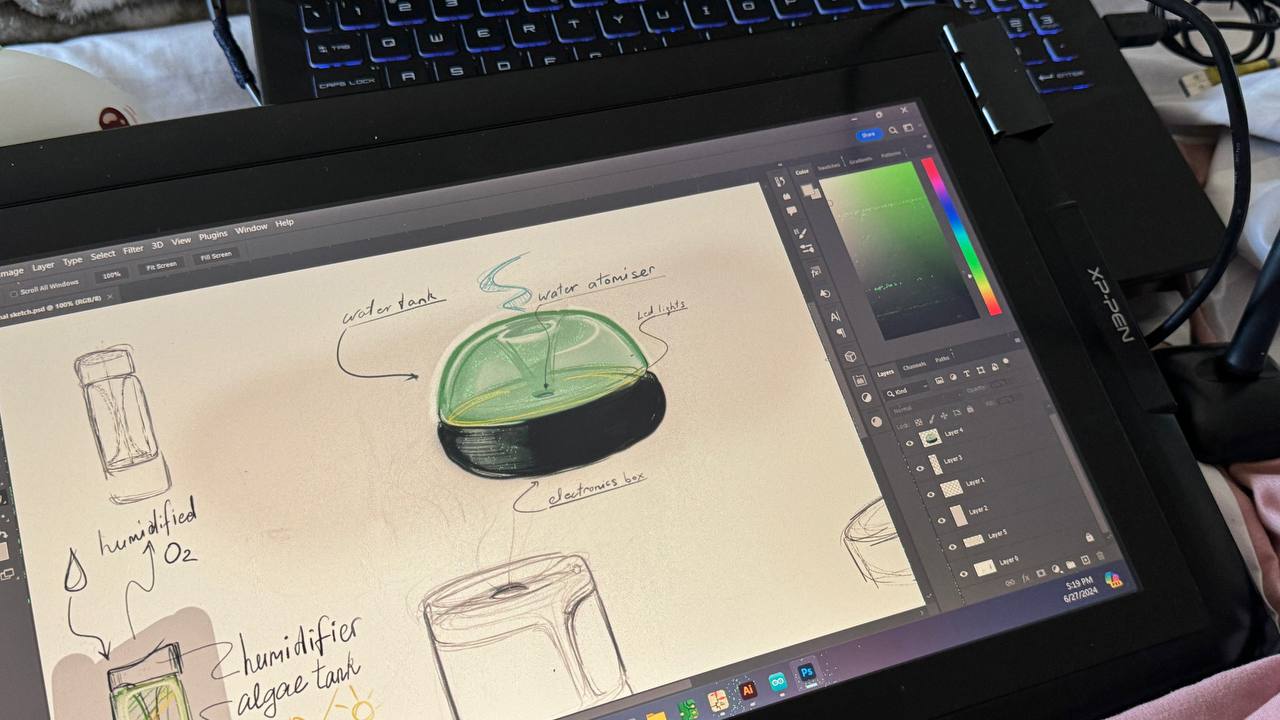
The tablet I am using is XP-pen 15.6. This device provides pressure and opacity during drawing. This feature supports Adobe Photoshop. Which I will use for sketching.
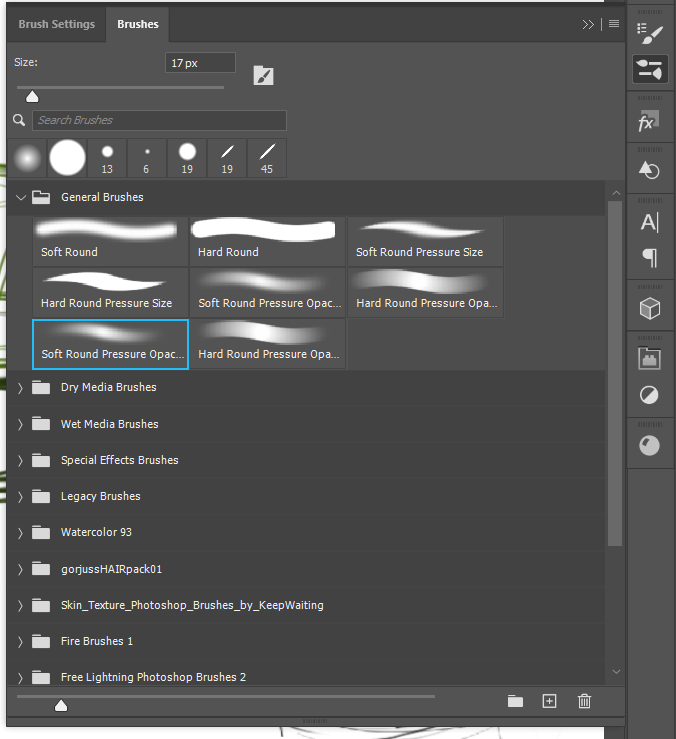
Tried different brushes in brushes panel.
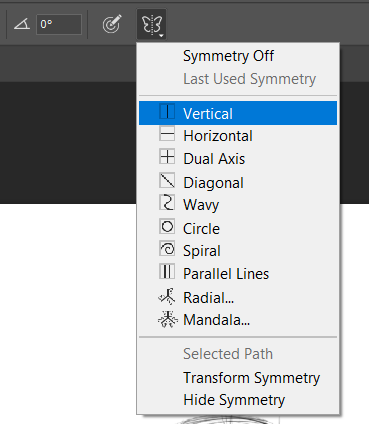
To simplify drawing a symmetric object I found a feature Symmetry. This allows to make a symmetry axis and drawing reflects on the other side of the axis. I used vertical.
I’ve done some sketches. It’s not challenging thing for me because I experienced industrial sketching for my university years.
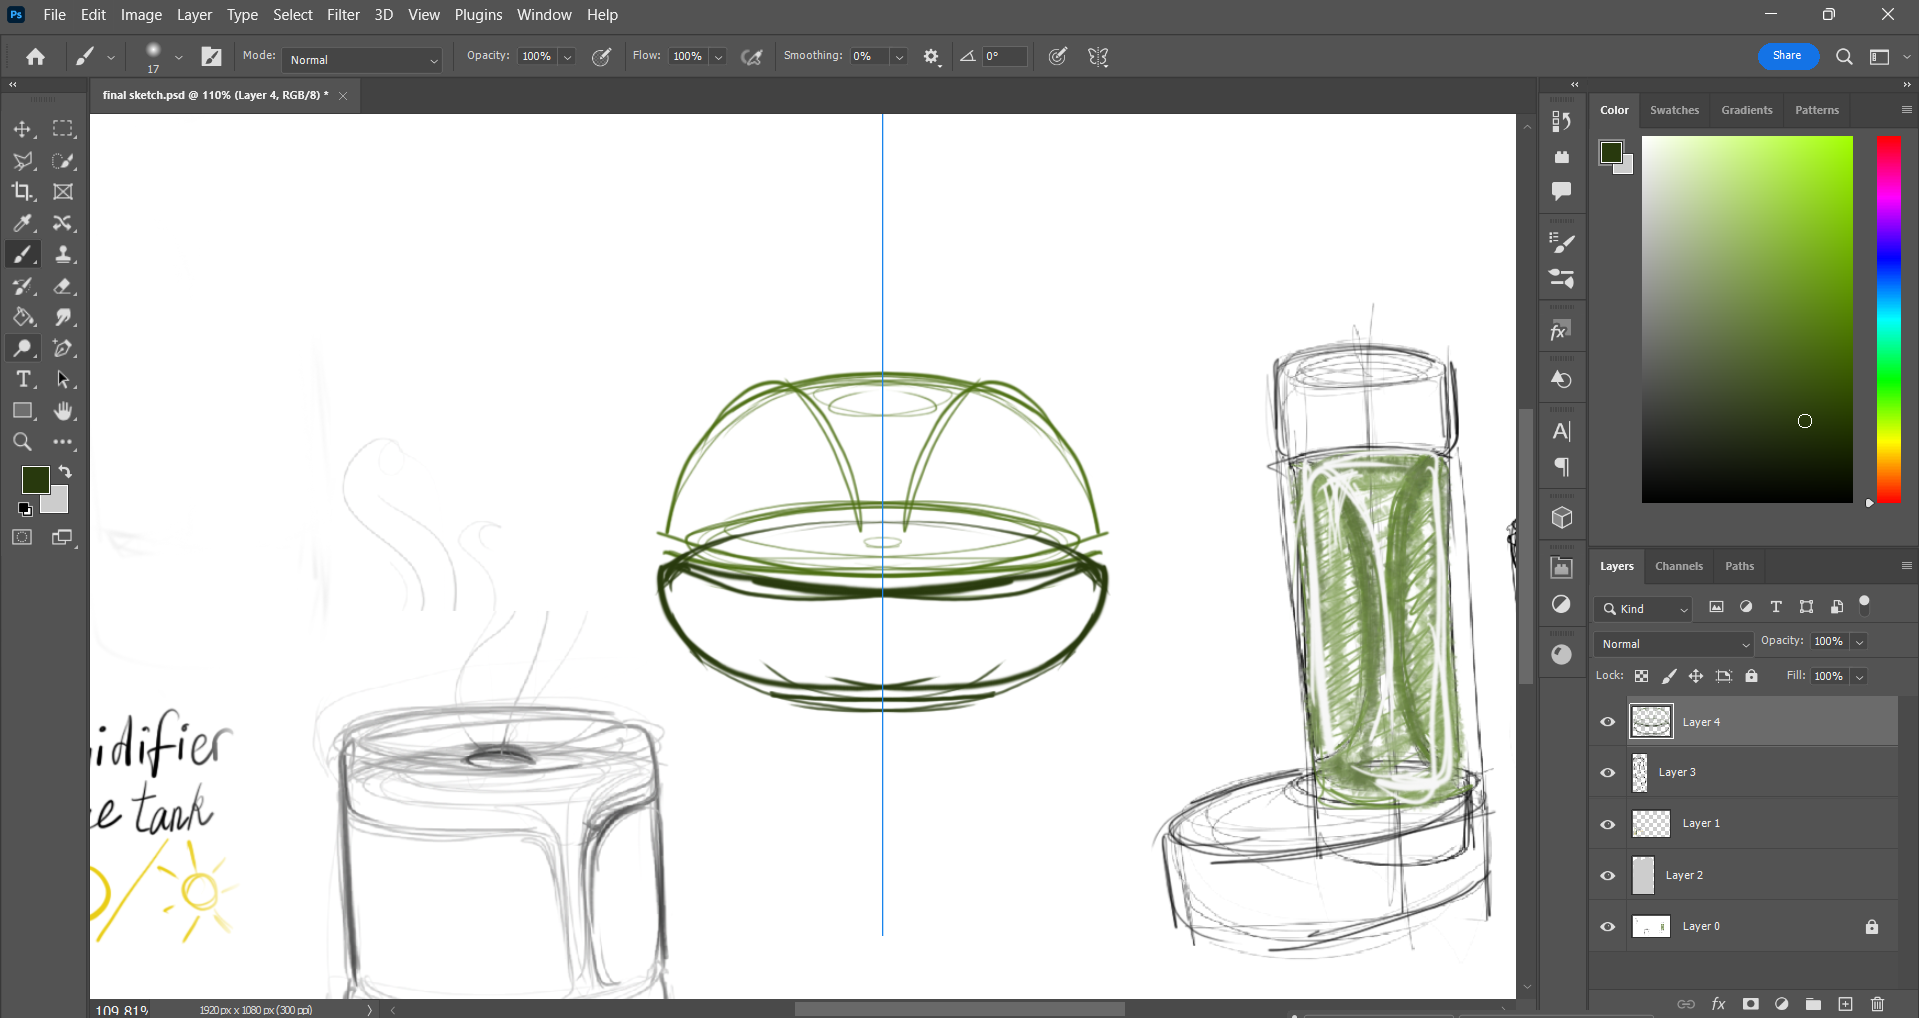
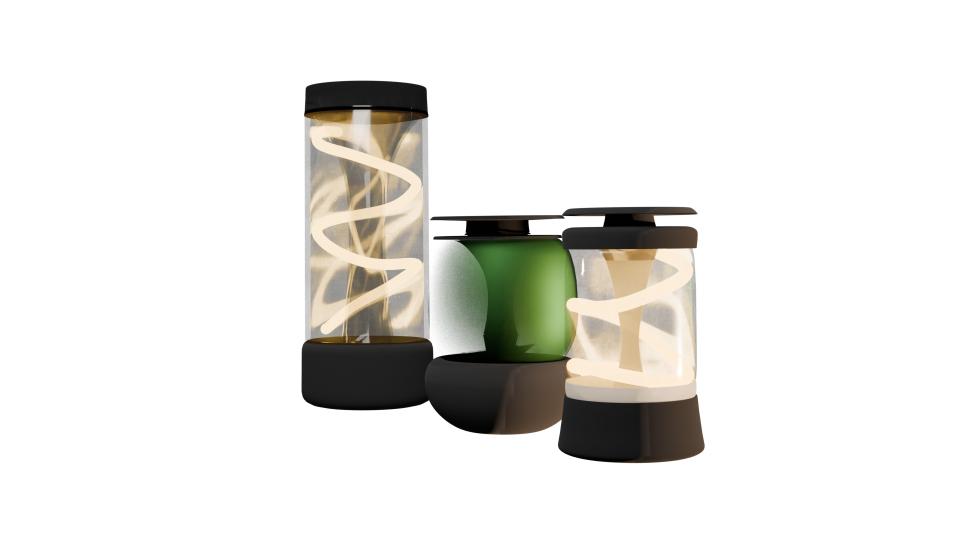
I done some variations of shapes that could be my final project.
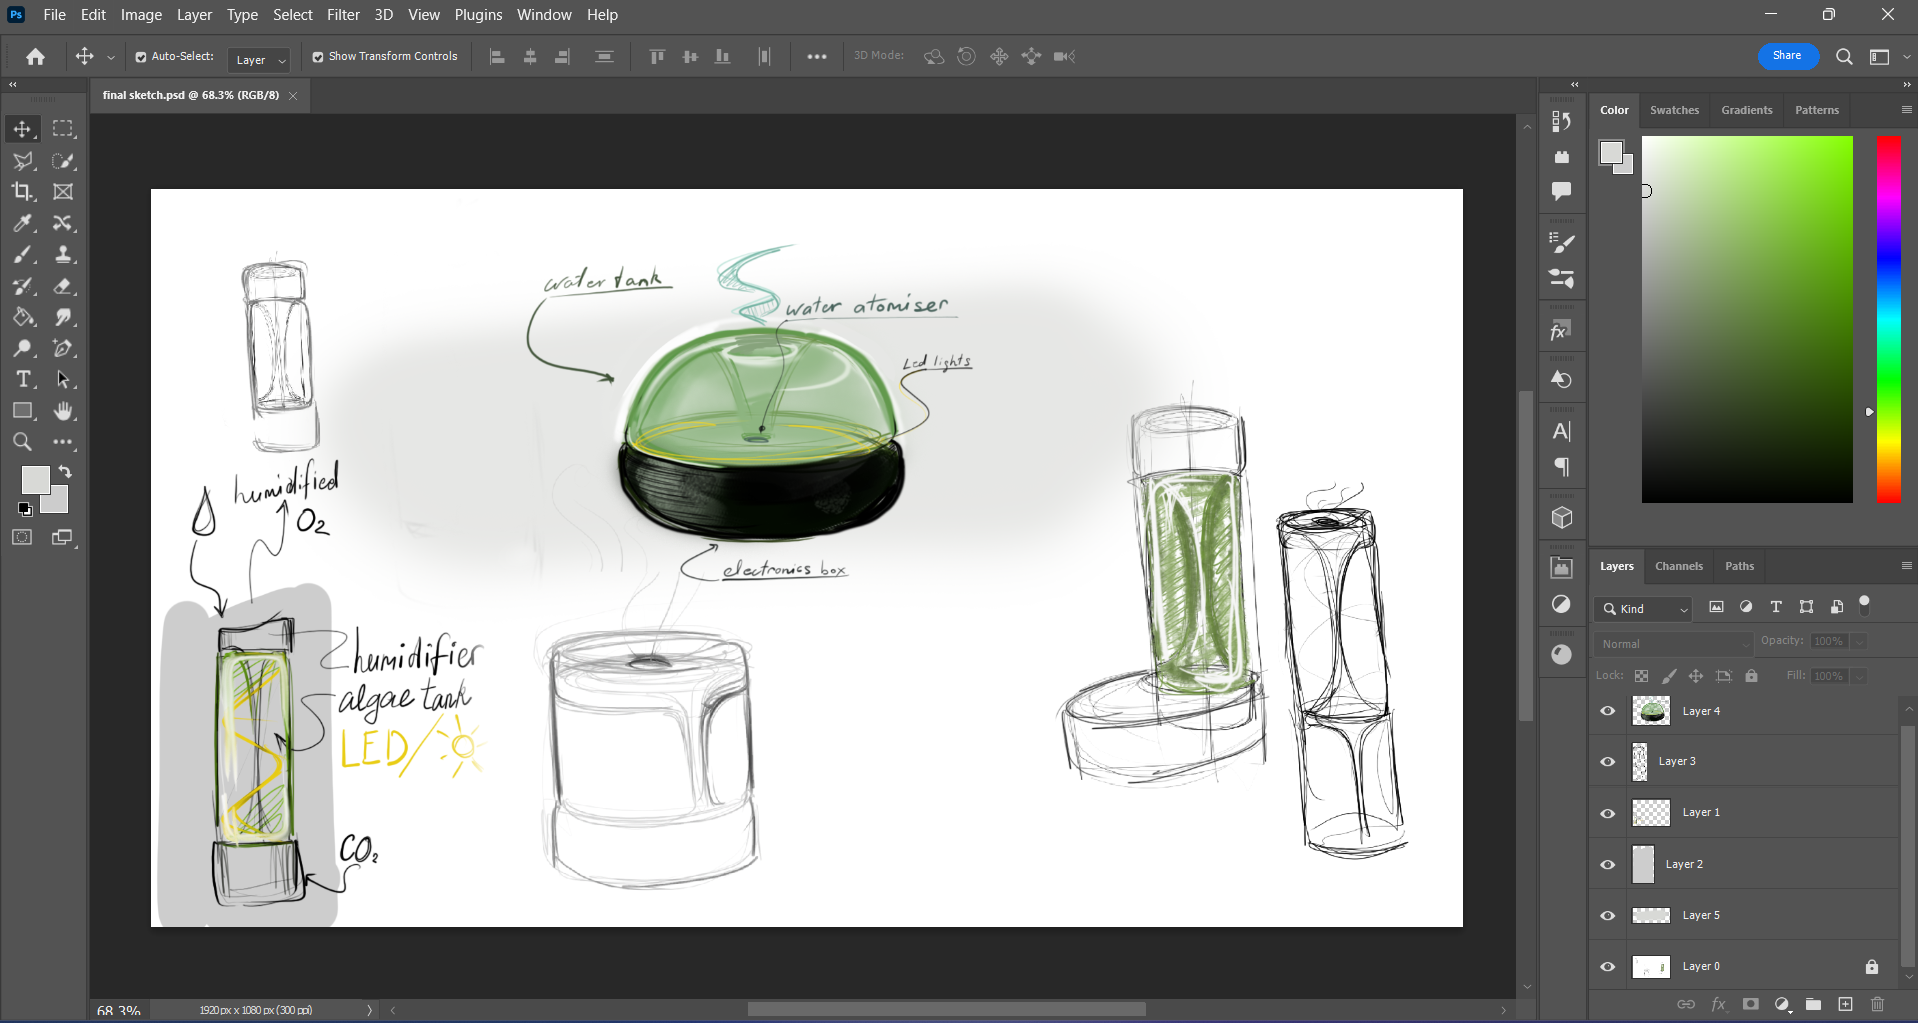
Here’s a result of my ideas for my final project design. Later I am going to make sketches with AI.
AI - text2img
I was interested to have an AI text-2-image generator on my computer and learn to interact with right prompts with it. There were many instructions on the internet how to install Stable Diffusion to local environment. So I was already familiar with Git and I have already had installed Python to the PATH. Mine was version 3.12 or higher but it requires 3.10.6 version. That caused a problem but about that later.
So the required actions
- install git
- install python version 3.10.6, check “Add Python to PATH” in installer.
- create a new folder anywhere to install there the AI
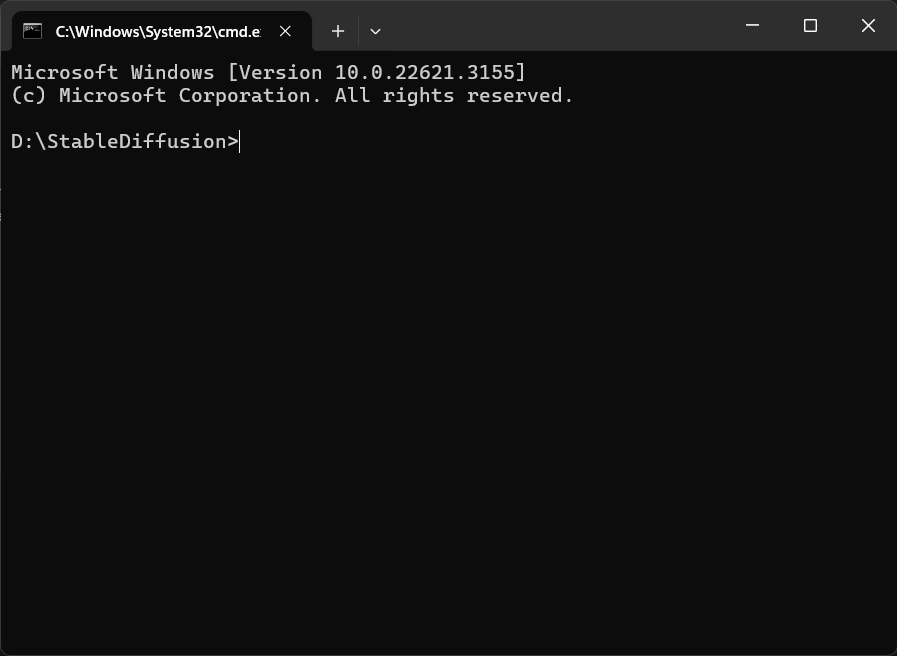
- in the created folder replace the stroke in address bar with cmd
Command line opens
- run here this command. (I used this repository )
git clone https://github.com/AUTOMATIC1111/stable-diffusion-webui.git
In the folder there is created a new folder with repository files. There is a “webui-user.bat” file in the created folders.
- right click on “webui-user.bat” > edit file.
here I replaced Python version. git pull and –autolunch for keep AI updated, and set PYTHON=(installed python3.10.6 address to python.exe) for bringing to PATH my older version of Python installed. Then save the file.

git pull
@echo off

set PYTHON=C:\Users\User\AppData\Local\Programs\Python\Python310\python.exe
set GIT=
set VENV_DIR=
set COMMANDLINE_ARGS=--autolaunch

call webui.bat
It installs after some time and that’s all set up process.
txt2img prompts.
I tried some prompts.
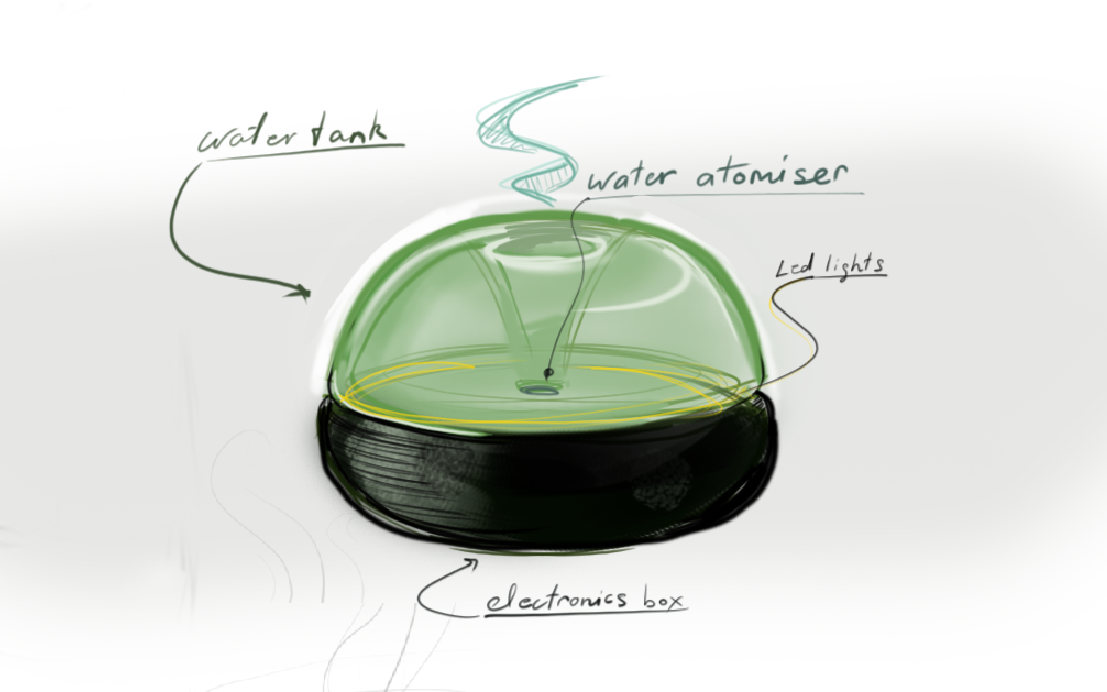
a photobioreactor with an air humidifier function, tank filled with micro algae, a modern device, 30 cm height device, on the top of the table
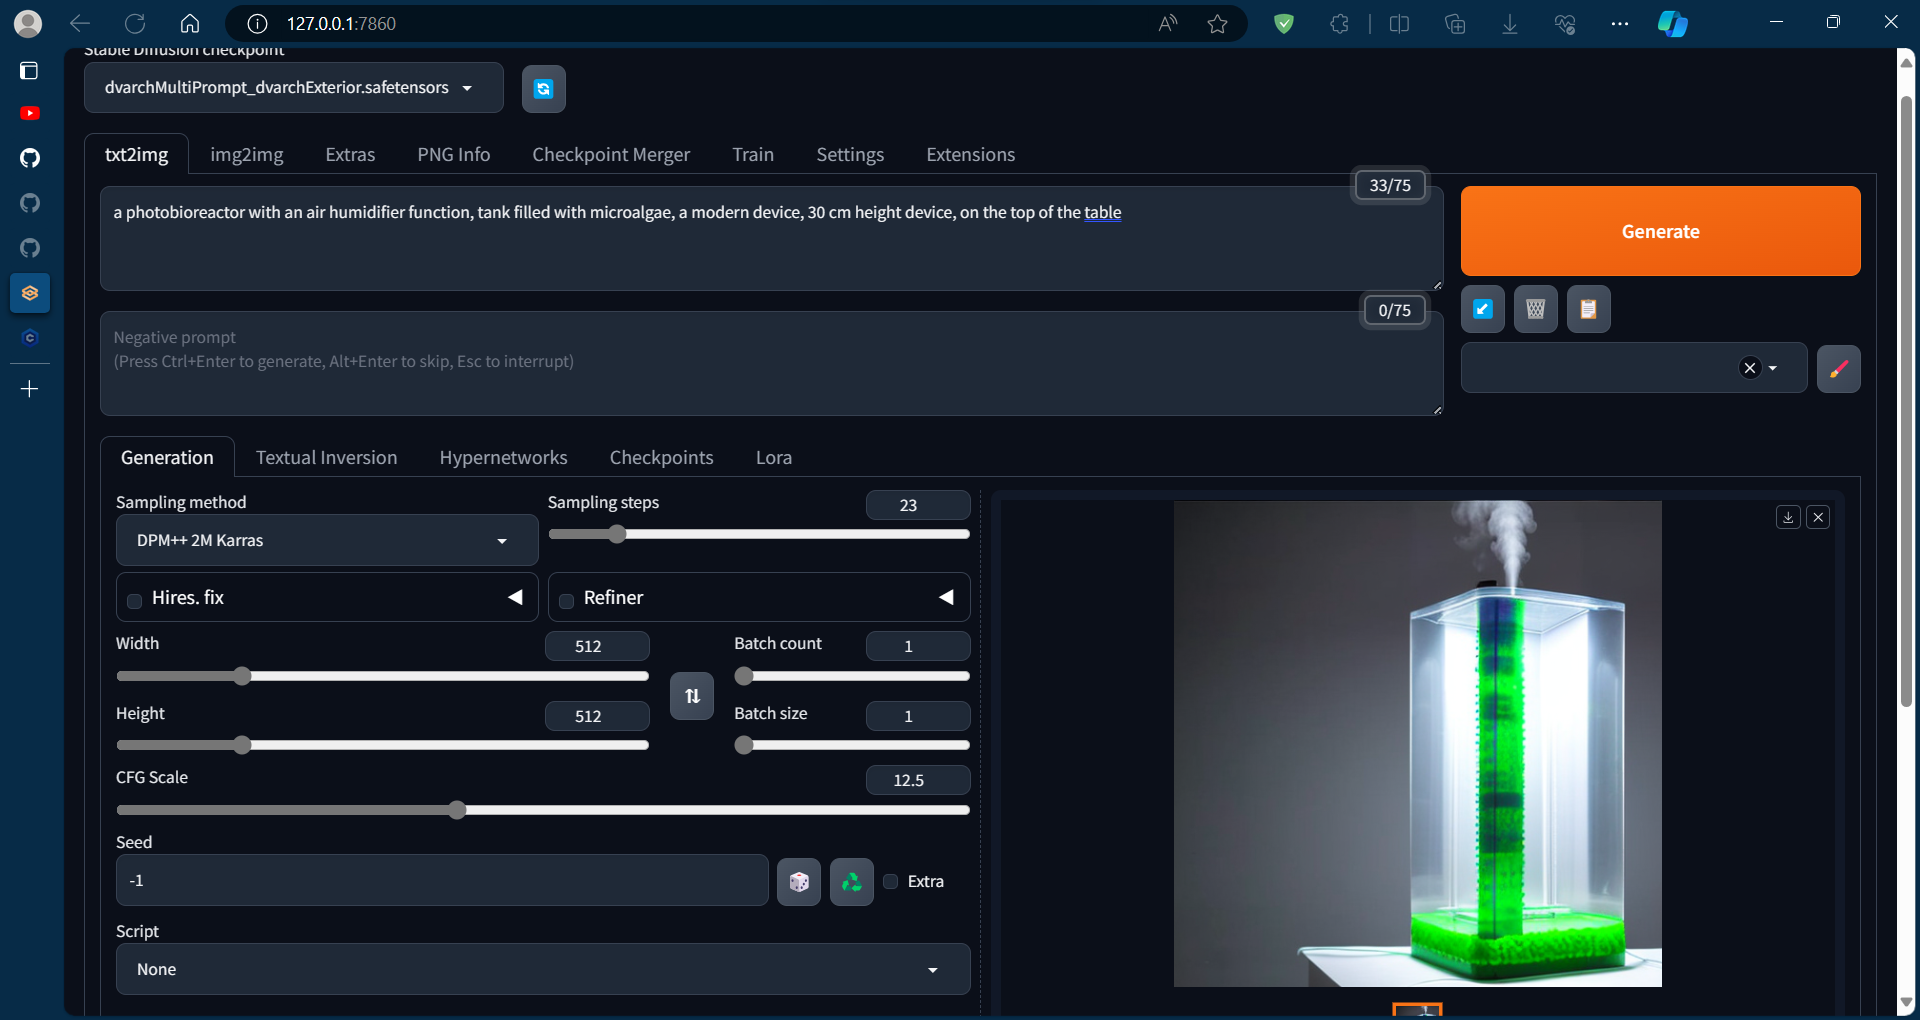
I need more time of practice with the prompts, but at least this is a result given by AI, that uses a model trained for generating architecture. So I am glad with result and with succeeding the installation.
3D Programs
Parametric design
I was hesitating what to learn for parametric design. I like how all the stuff looks like created with Grasshopper or Geometry nodes in Blender. I watched comparisons of these two and my decision stopped on Blender, because it’s working much faster and it’s open sourced. Further more I am already familiar with modeling in Blender.
Getting started with geometry nodes in Blender. So we open the Blender > delete the default cube > add new cube > go to geometry nodes section > enable wireframe in visual overlays > create new node tree.
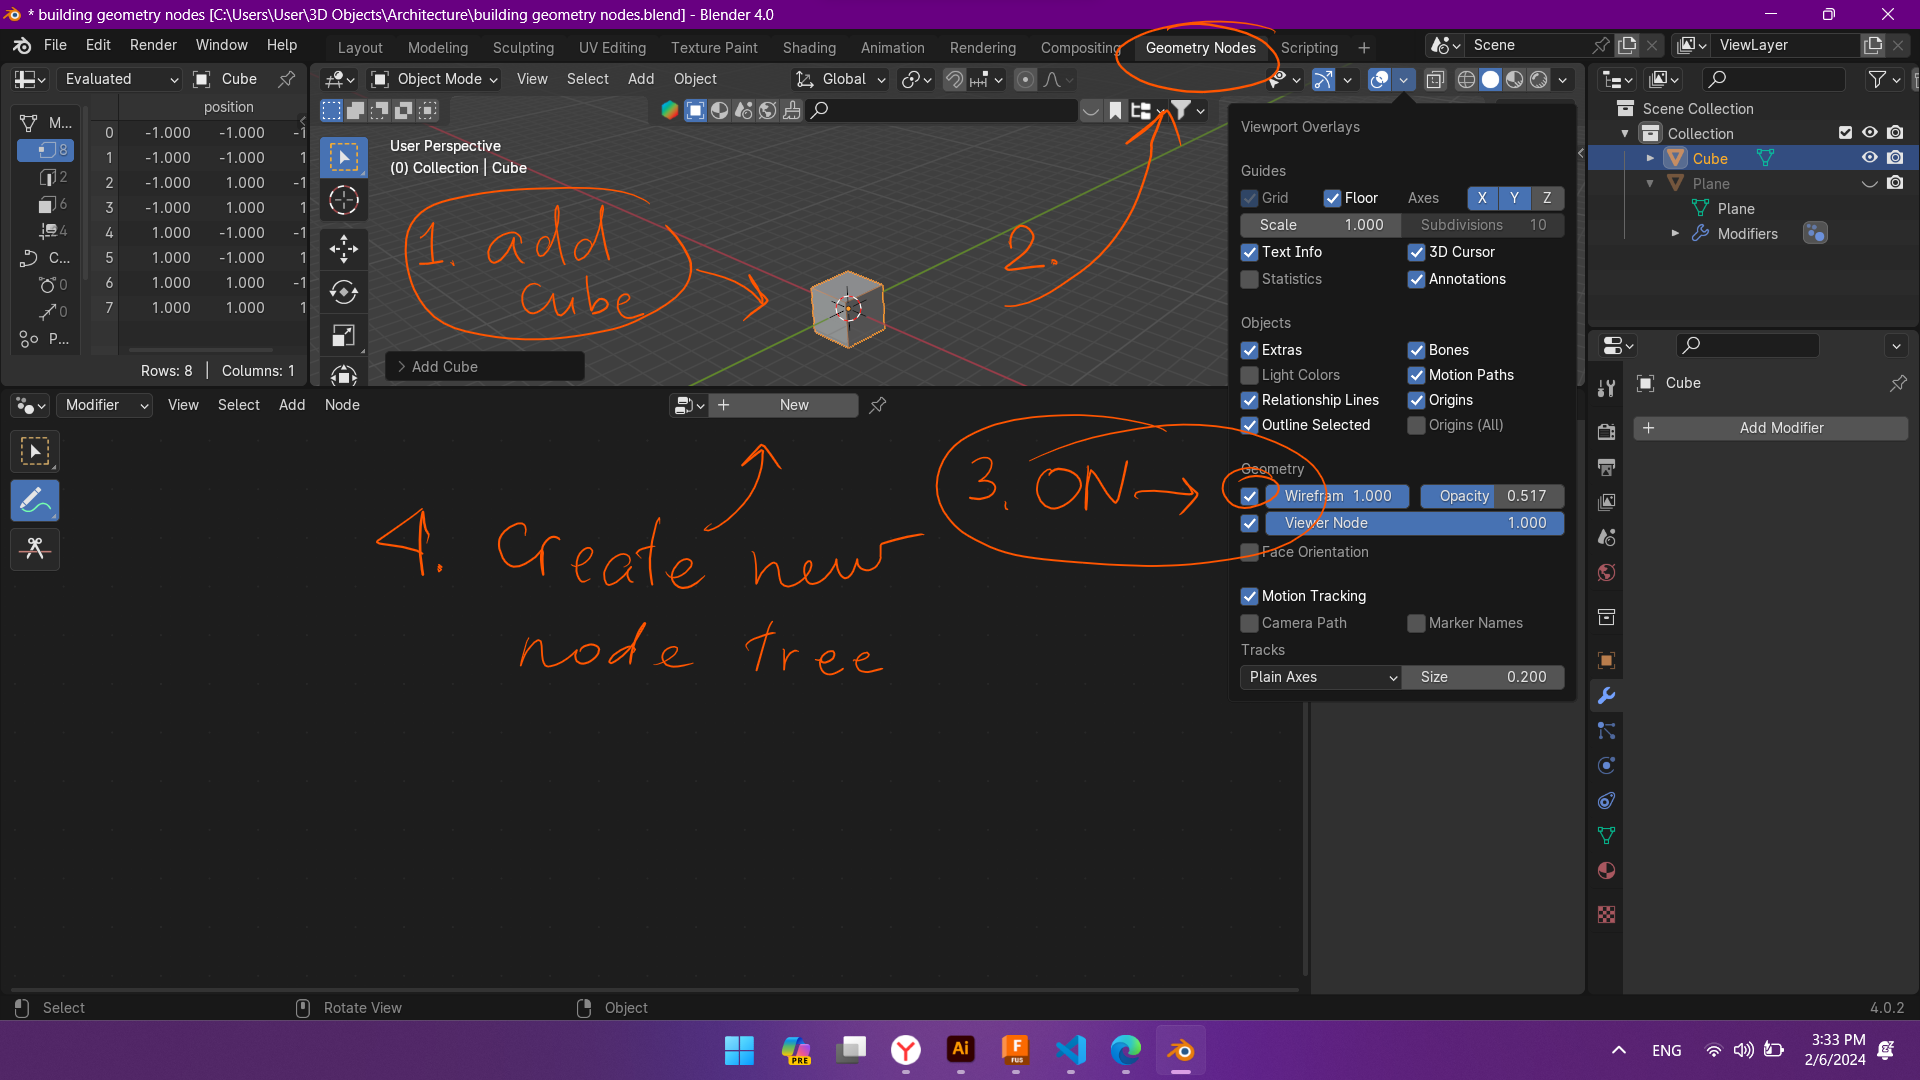
I am watching this tutorial on YouTube.
I decided to make a building which is related to my second idea of final project.
Adding a cube primitive to node tree.
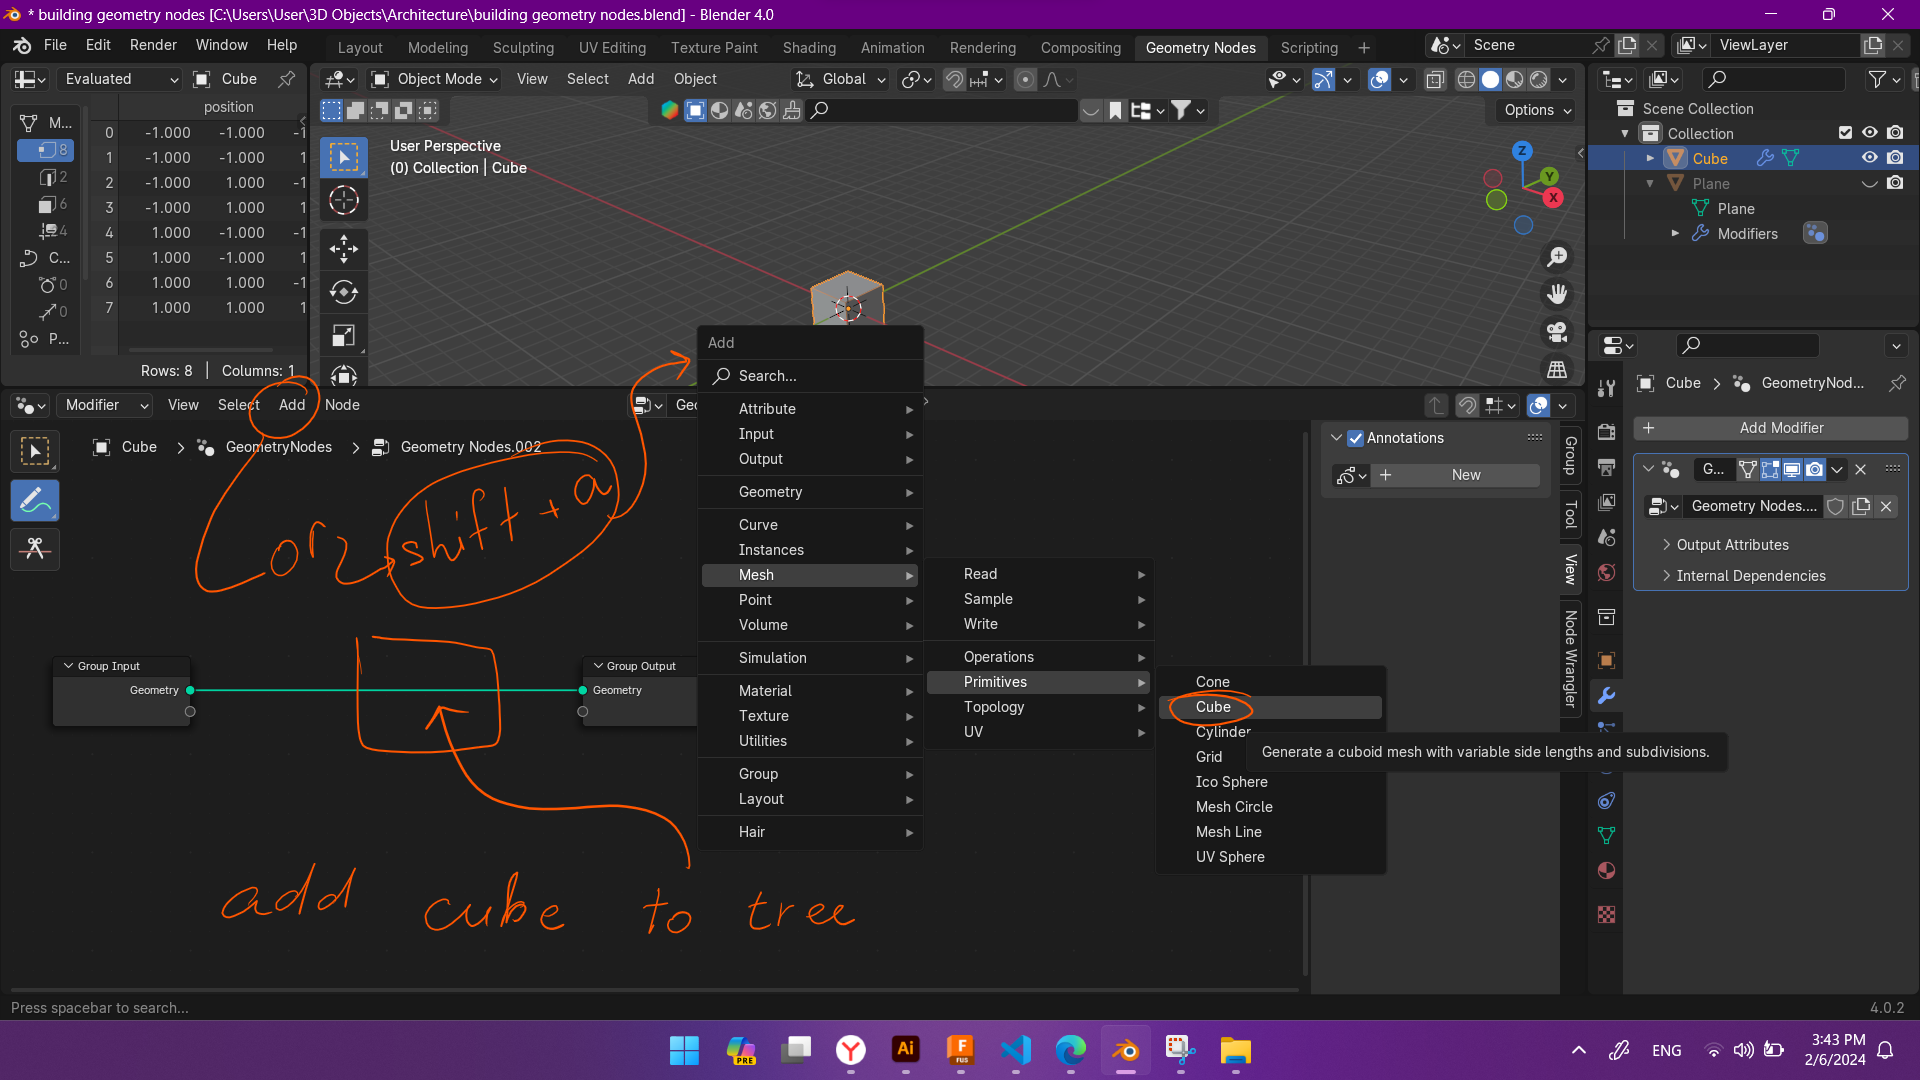
Connectend transform node and math nodes.
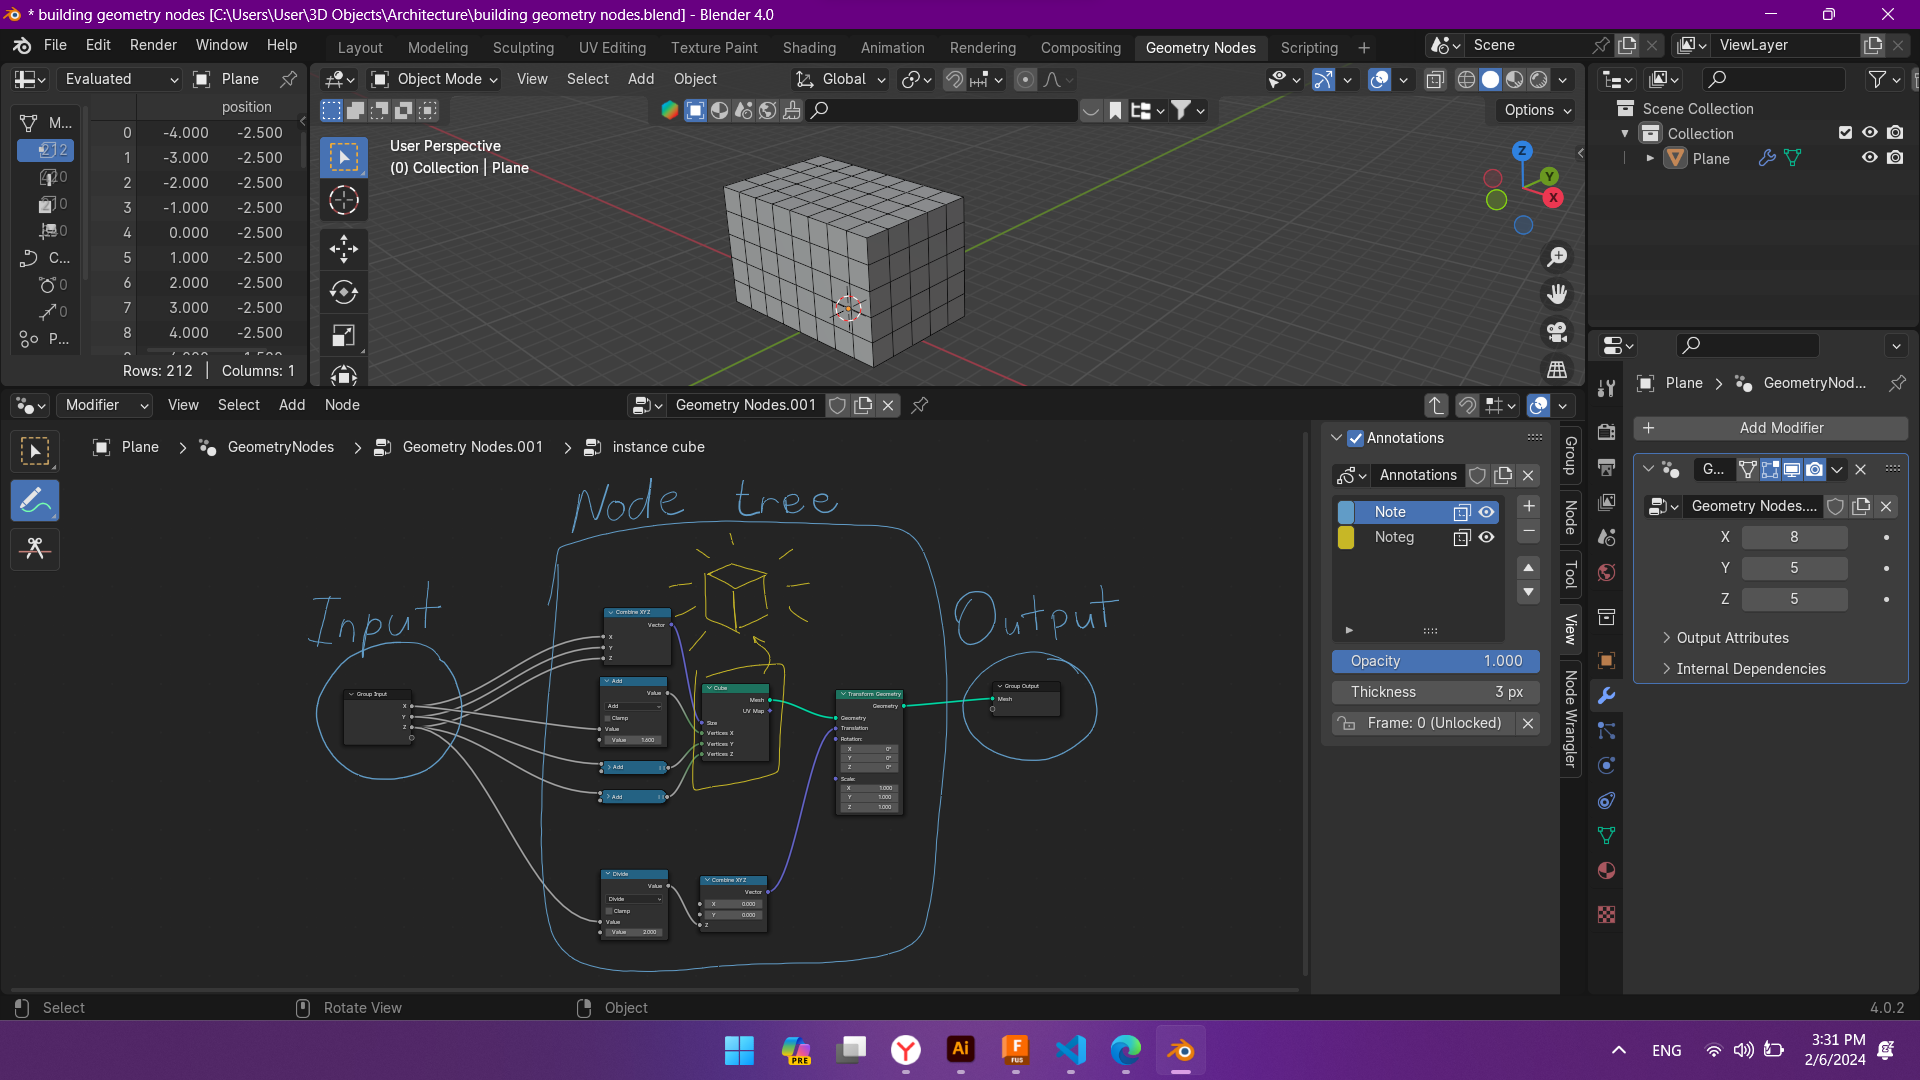
The math parameter adds 1 vertice to the 1 scale value added, so it becomes divided by one when scaled.
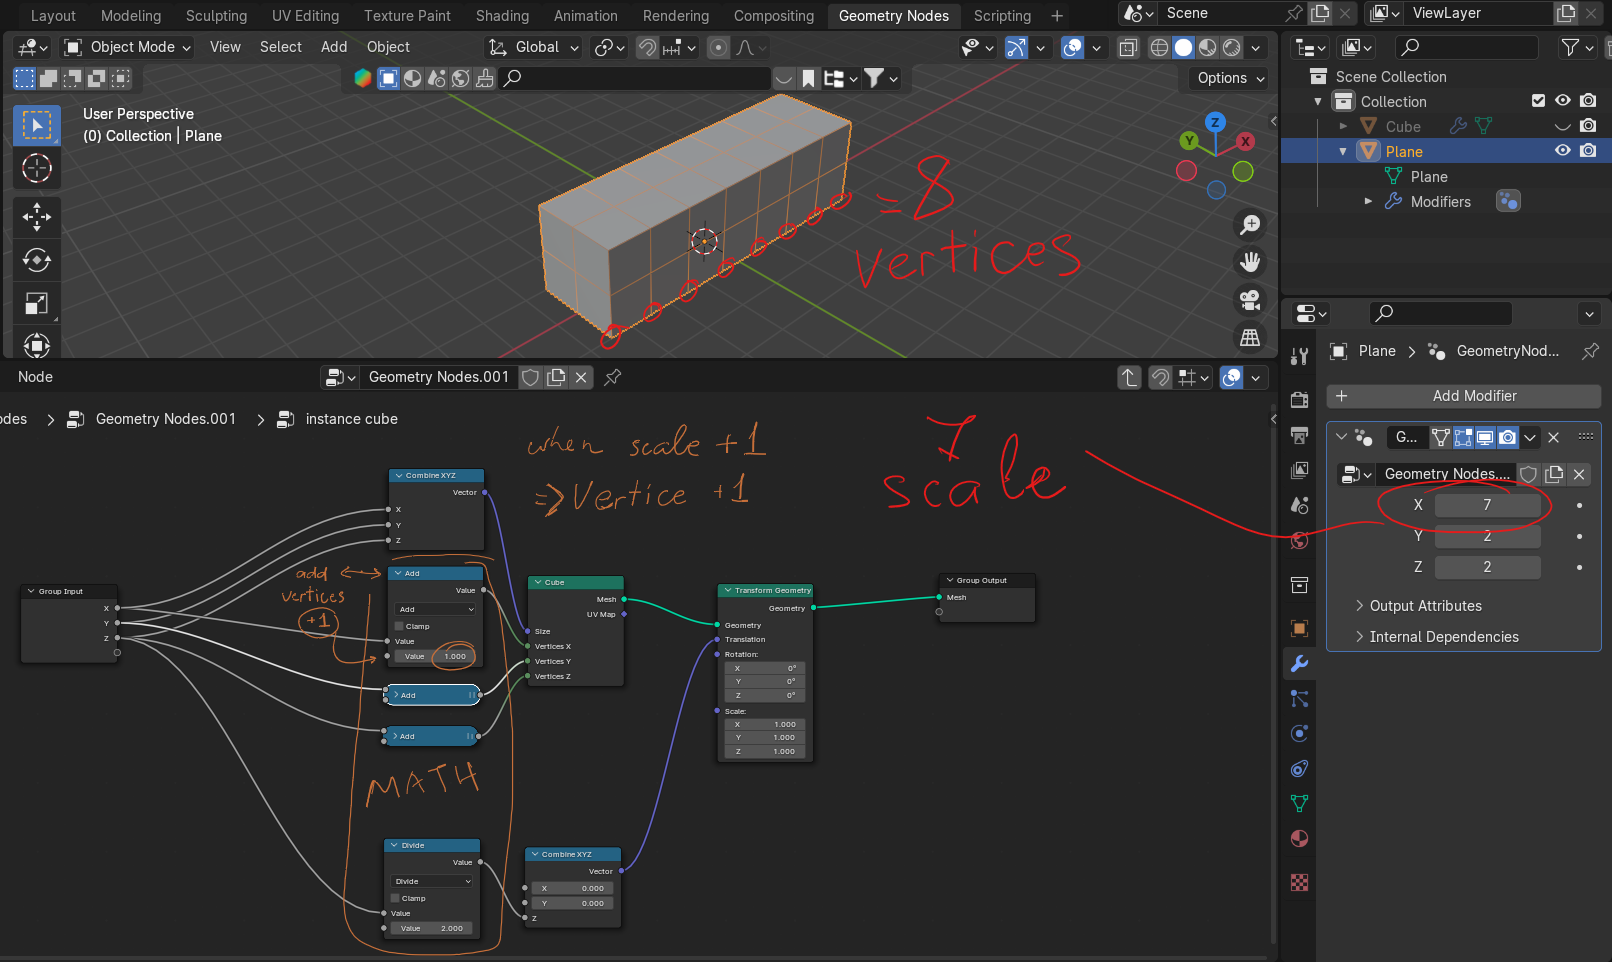
And here is what I got.
Sculpting
In documentation of Lorena Delgado I found an interesting software Make Human. I’ve always been searching for a realistic humans and rigs for my projects in Blender. And I got to try this immediately. I downloaded latest version of plugin mpfb2, which is addon for Blender. And then I Installed the zip folder into Blender addons.
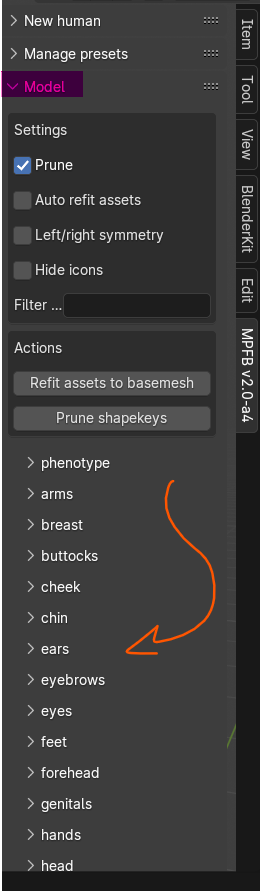
It appears in right panel (shortcut N ) and from list I chose Make human from scratch. It lets adjust proportions and parameters. Then pressed create human and after continued changing properties more detailed in the model section.
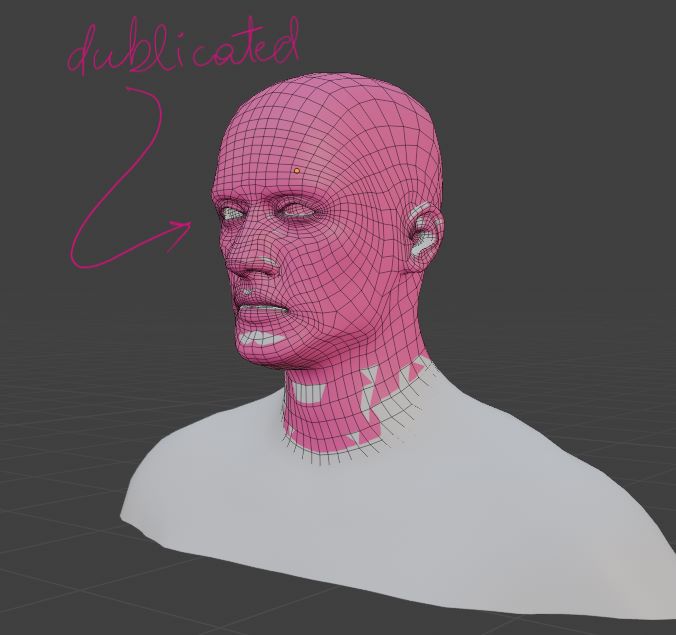
I want to try sculpting in Blender, because I am already accustomed with modeling techniques.
For sculping I duplicated Ctrl + D model’s head. And splitted body in the edit mode with knife tool. Separate parts with P and return to object mode. Select only duplicated head and go to sculpting section.
Went through this tutorial, that explains all inbuilt Blender brushes.
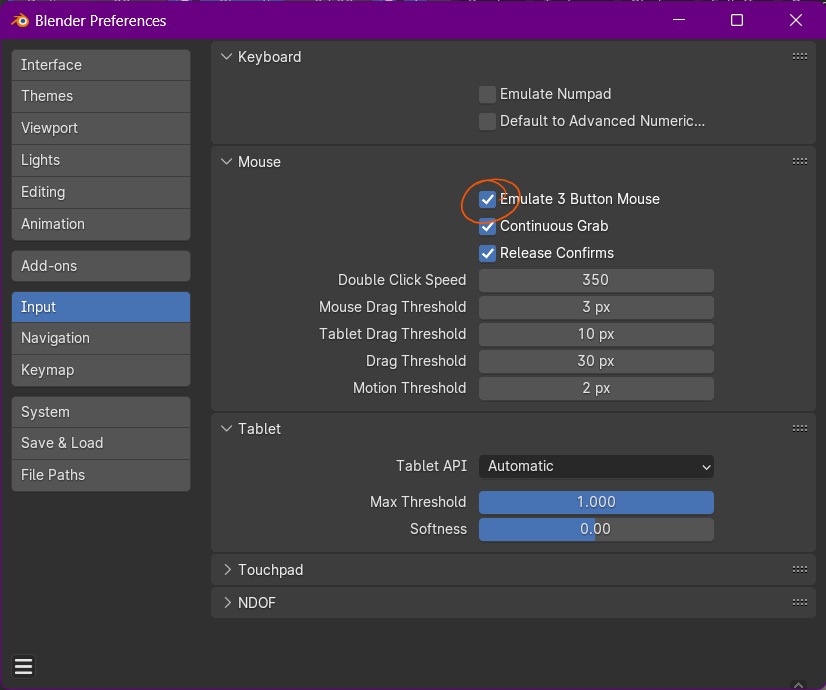
Navigation with pen
To navigate with tabled pen I searched and found a way that says it’s needed to enable this checkbox in the preferences in Blender. So this works with Alt and pen touch instead of middle button of the mouse. For zoom in and zoom out we press Ctrl + Alt + pen navigate. For pan it works with Shift + Alt + pen.

Also I turned on symmetry in the X axes. So I could scupt only one side and it would affect the other side.
Info
The feature Dynotopo also does remeshing, but only in that exact parts of mesh where some brush touches while its tuned on. And it can adjust size of mesh or reduce when viewport is close and enlarge mesh when mesh is far from viewport.
Turning on wireframe will make visible mesh. I decreased opacity so it will not disturb me but I will be aware of the mesh of my object.

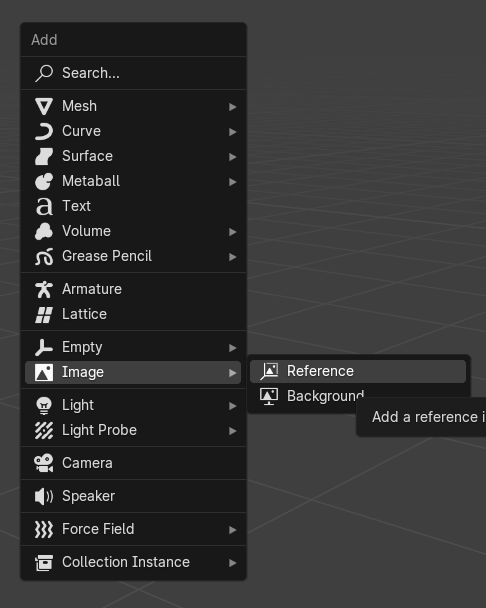
I added reference images. That will help me to accurately sculpt the form in frontal and profile views. Shift + A > image > reference
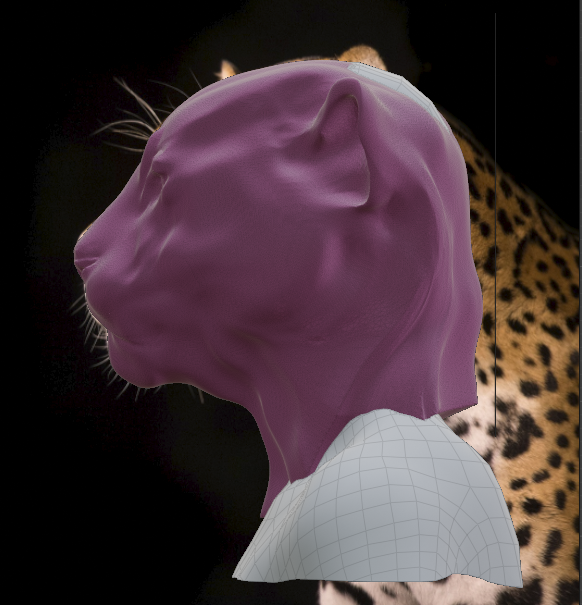
Reference in profile view and in front view.
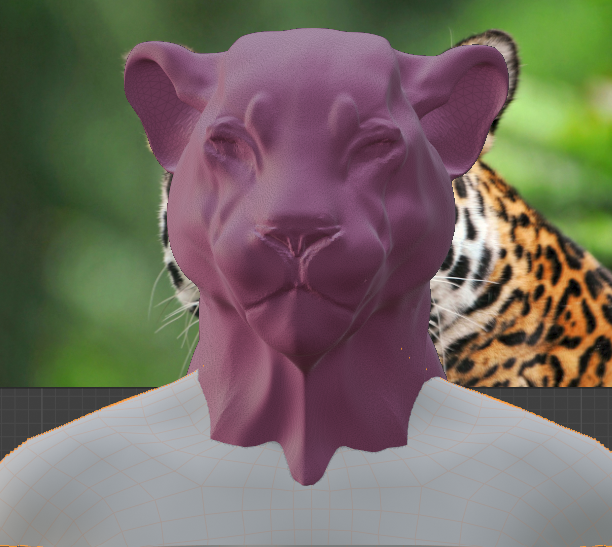
I was so caught up in sculpting that I forgot to document the process. Whole head took about two hours to make like this. In the process I mostly used brushes Draw for sketching the face at the start, Smooth, Elastic Deform, Snake Hook and Thumb for ears.
VR modeling
I used VR glasses to do some experiment with VR 3D modeling. I’ve seen many videos how people do that and it was very magnifying. The VR glasses I’ve used is Meta Quest 3.
Here is a program for 3d modeling in VR called Gravity sketch.
After some time of experimenting and having fun I made some models related to my final project.
From there I can export glb files. Link here
Opened file in Blender and rendered.