Week 14. Interface and application programming
In short
For this week I want to try do some application for controlling devices with mobile app. In my case I was looking for a way to make an IOS application which was not the easiest thing. But there is a program Blynk which allows to make widgets and control the board via unique authenticate token. For connection I am using WiFi and a module ESP12-F which supports WiFi communication.
Group assignment
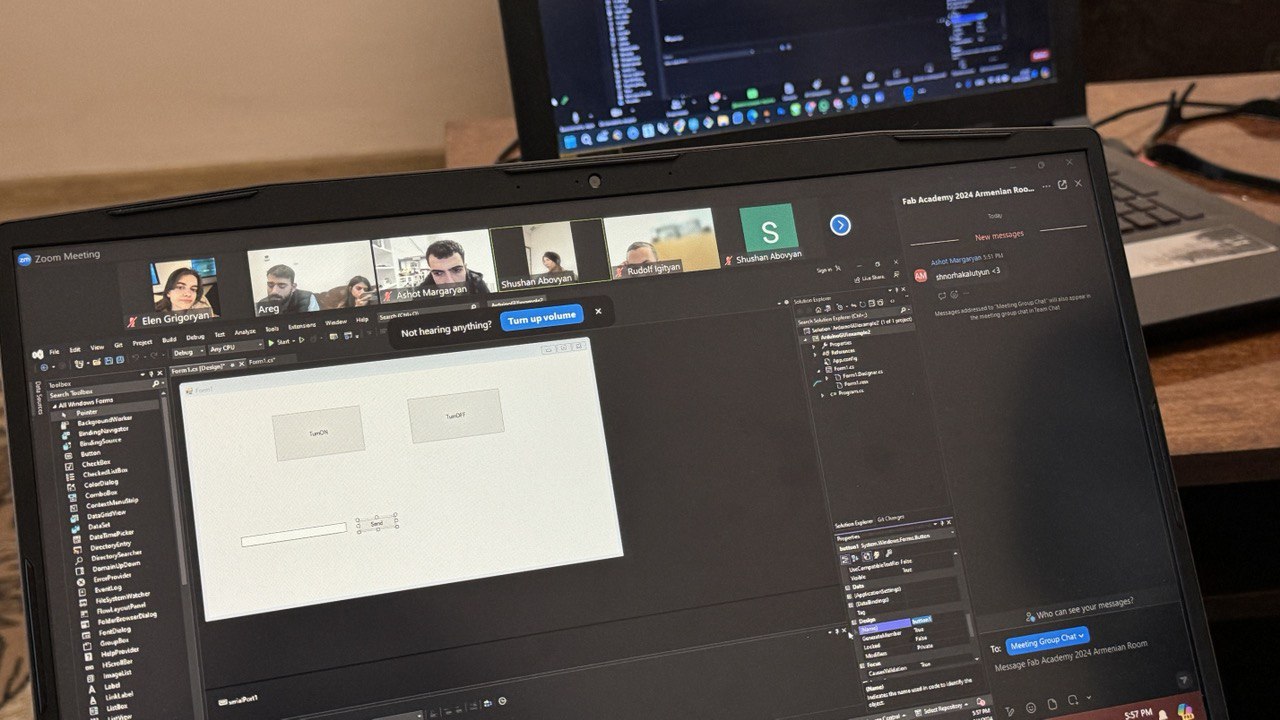
For group assignment we explored processing method for creating interfaces. Also we followed steps and instruction by Shushan, and created some interface using Visual Studio. Thanks to Shuhsan for instructing this week’s group assignment.
Heroshot
Steps
1.Install ESP12-F libraries to Arduino IDE.
2.Install Blynk on smartphone or open on WEB and register/log in.
3.Install Blynk libraries to Arduino IDE.
4.Set up a datastream and device on Blynk, make interface with widgets.
5.Get authenticity token and include in Arduino code.
6.Write a code including authenticity and wifi credentials and pin controls.
8.Upload code to ESP-12F and make sure server is connected.
9.Control device using mobile app or WEB interface.
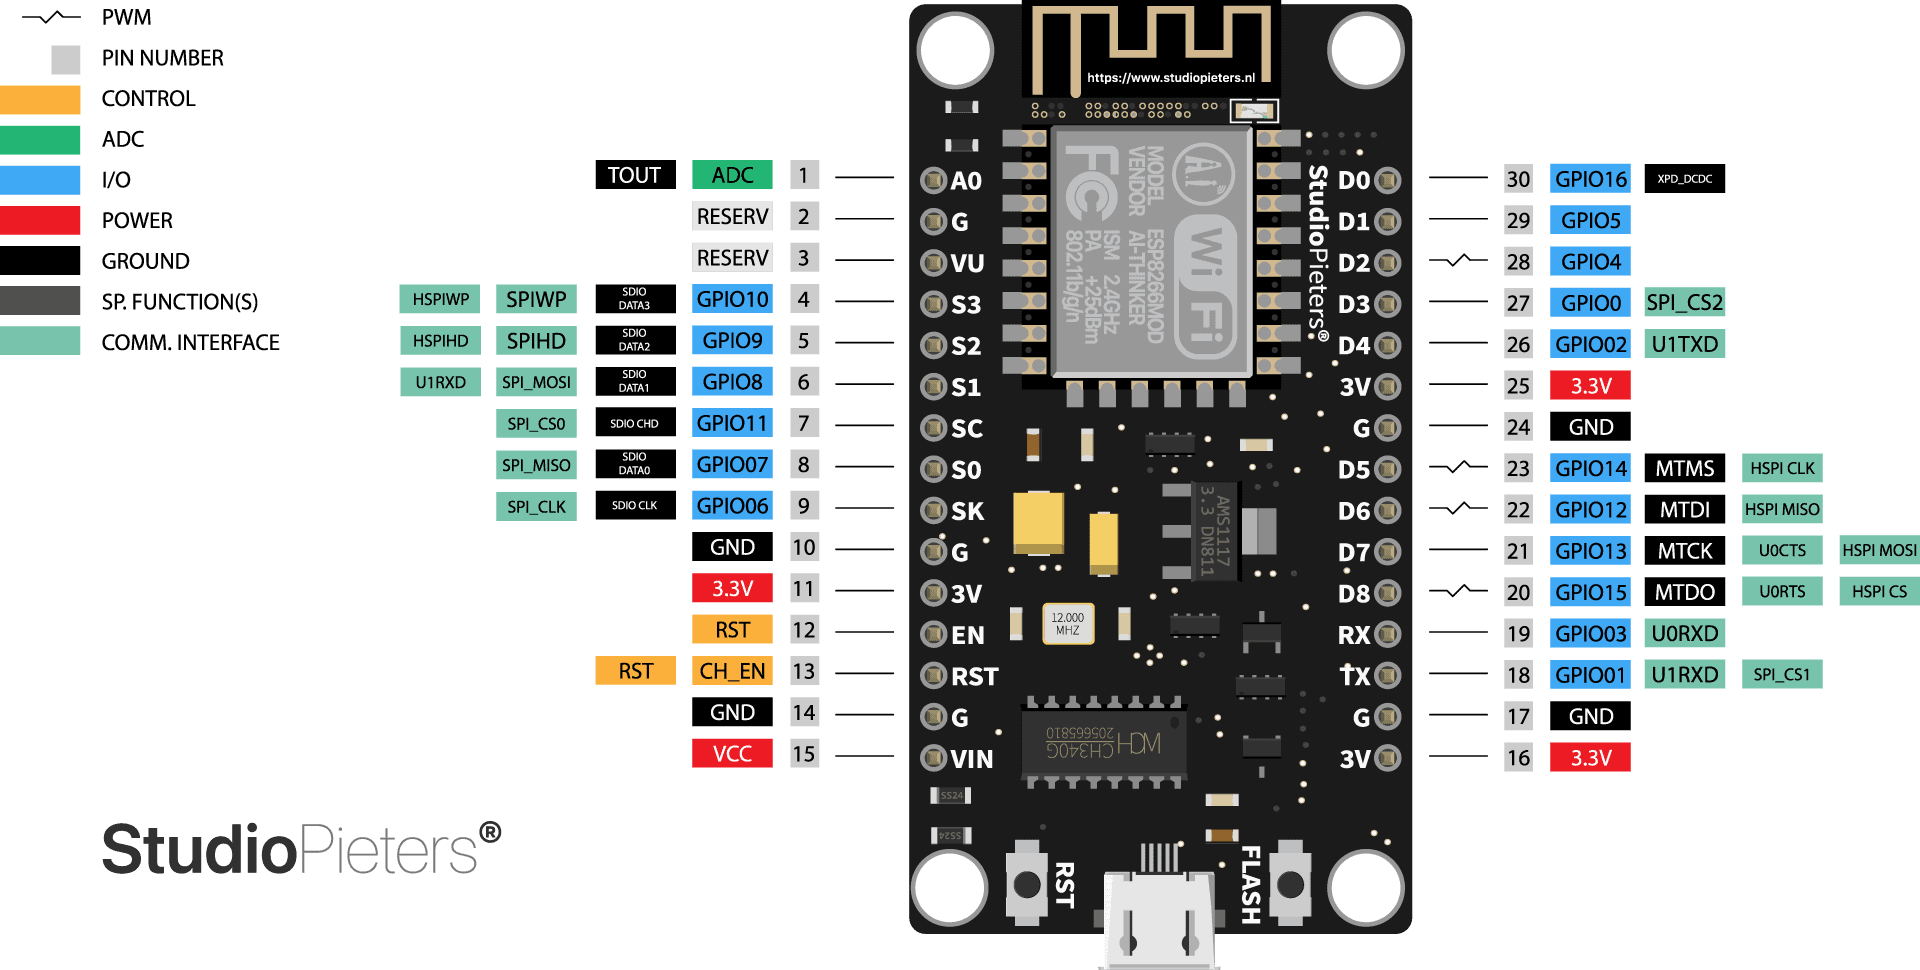
ESP-12F module
This is a ESP-12F module I am using. ESP8266 is basicly the same so I put the pinout of that because I couldn’t find good pinout graphics of ESP-12F.
I have already tried WiFi communication between two modules of ESP-12F, so I already have installed libraries and drivers in networking and communication week.
Download and installed CH340 driver.

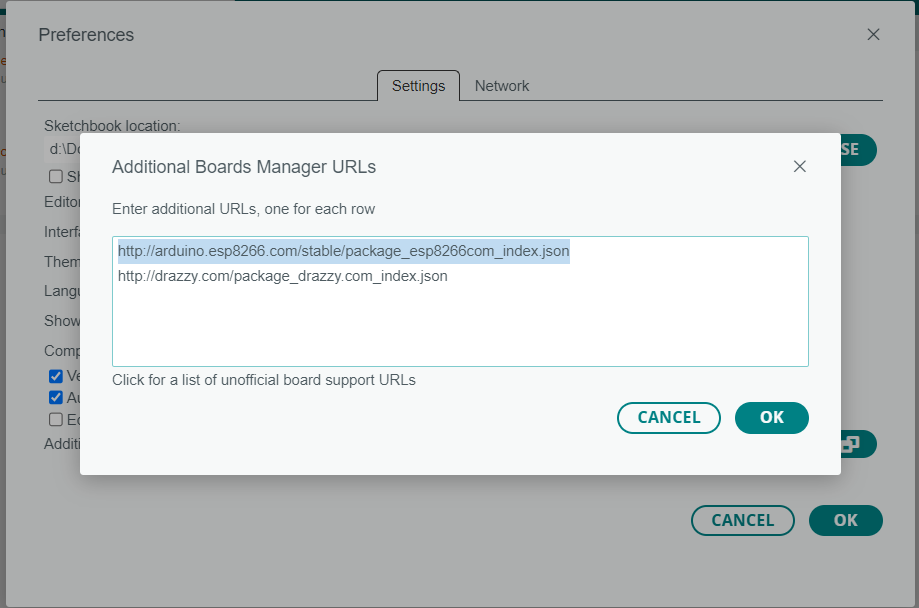
Installing Ardino library packages for these chips to the additional boards manager. File > preferences > paste the following URLs in additional boards manager.
http://arduino.esp8266.com/stable/package_esp8266com_index.json( for ESP-12F, ESP-12E, ESP8266 )https://dl.espressif.com/dl/package_esp32_index.json( for ESP32 )
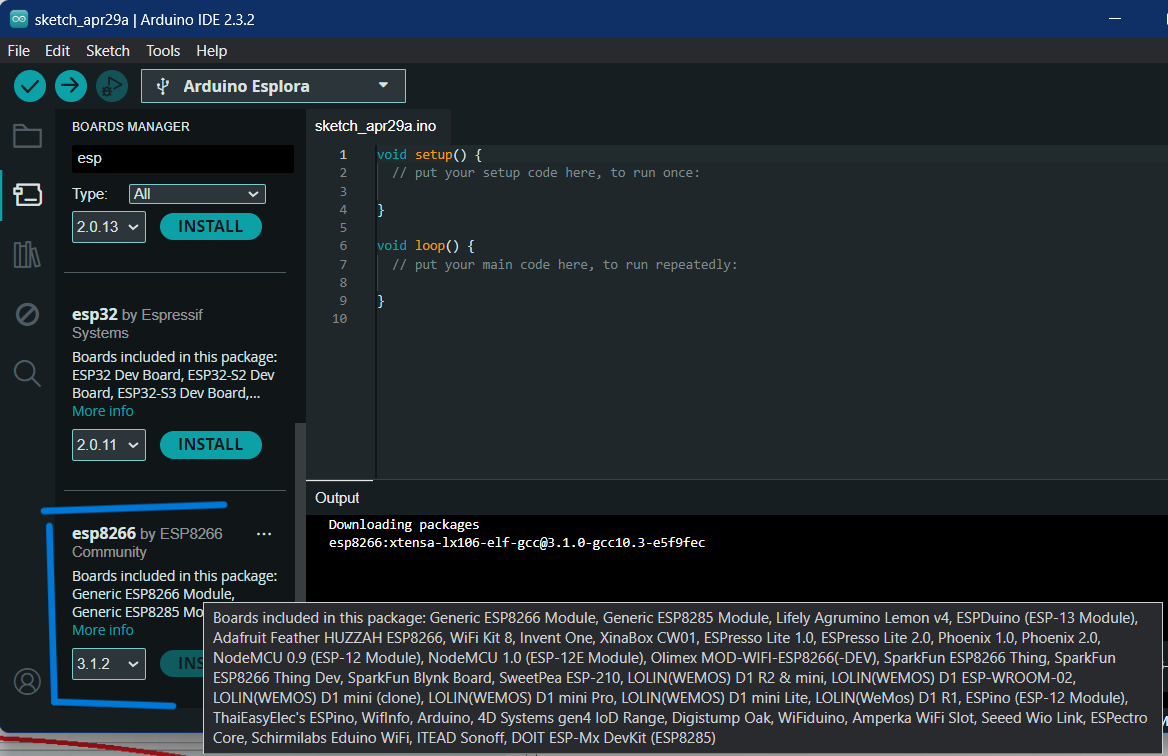
install esp8266 boards manager package
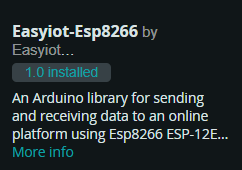
Install Easyiot-Esp8266 library
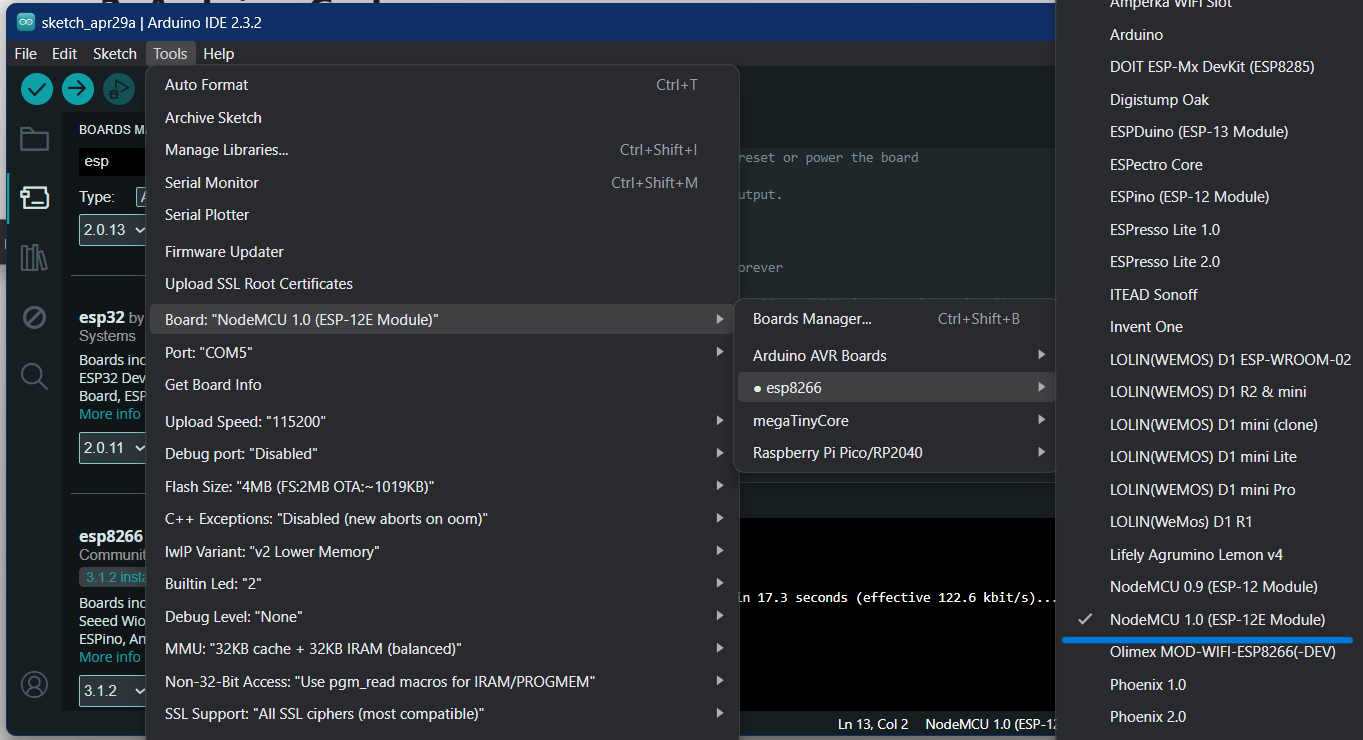
Select “NodeMCU 1.0 (ESP-12E Module)” (it works for both ESP-12E and ESP-12F).
Blynk
Blynk is a platform that allows users to create Internet of Things (IoT) projects using a visual interface. It provides a mobile app and a cloud-based server that enables users to connect and control devices. Blynk supports Arduino, ESP8266, ESP32, Raspberry Pi, and more. Users can create custom interfaces using various widgets, such as buttons, sliders, LEDs, and graphs, and then program the behavior of these widgets using a simple scripting language. Most of this is available for purchasing an upgraded version. But there is enough functionality for using free version.
Install
Library installing to Arduino IDE. link
Include .zip into Arduino. Sketch > Include library > Add .Zip library
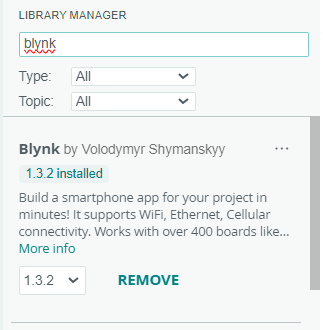
Here is library the latest version at the moment. (Blynk_Release_v1.3.2)
or just search in library manager and install from there.
Additionally install Blynk from Apple store or Play market for mobile And log in/register.
Setting up
This part can be done either on mobile or on website. It’s needed to make a New template Choose hardware and connection type.
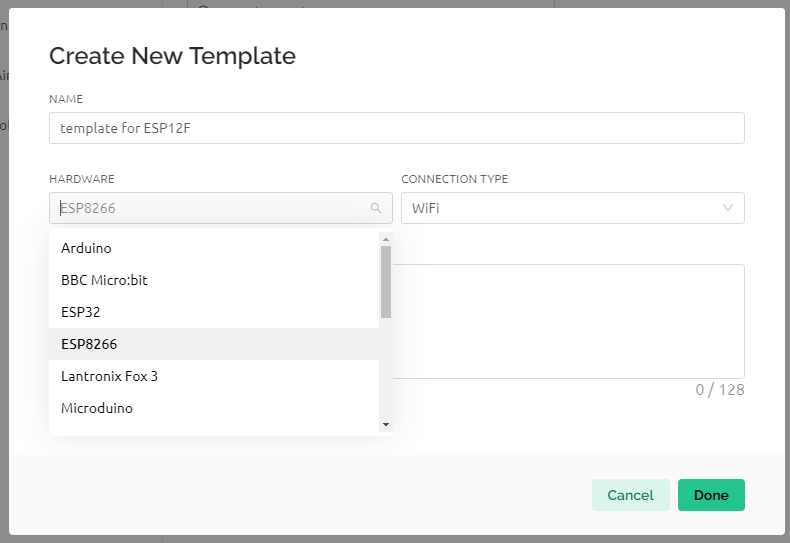
I have ESP12-F which is same as ESP8266. So I choose that.
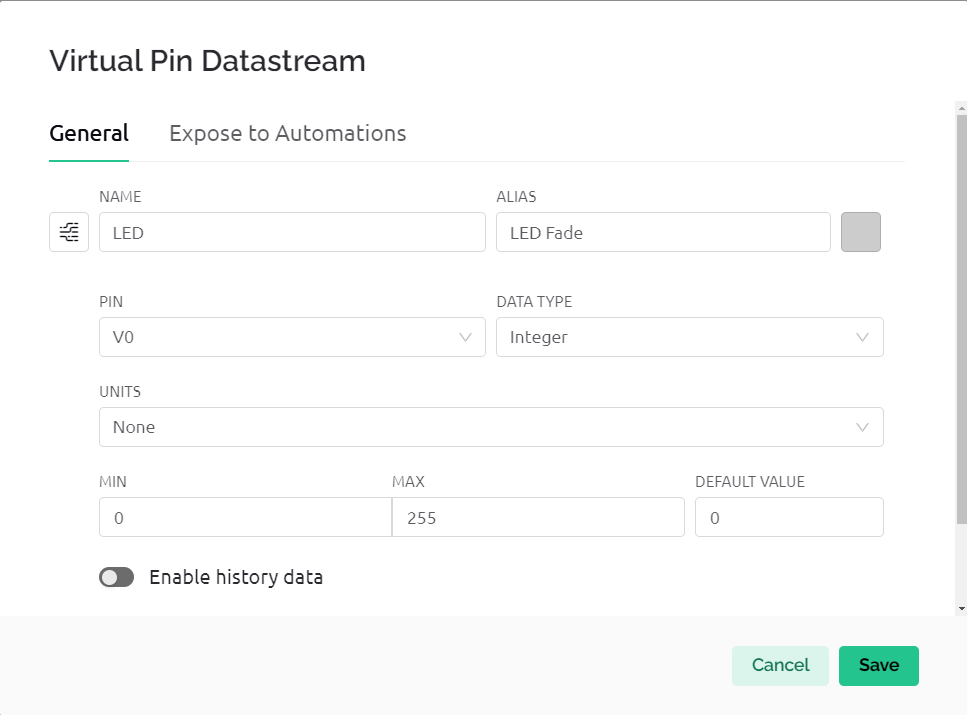
Then it’s needed to create a New datastream. Here is option to choose Virtual pins, Analog or Digital and other. I tried with digital first but changed after to virtual pins, because it’s more convenient to have many options of pins, virtual pins are unlimited, and you can use a virtual pin in separately from board’s pins.

I want to make a slider for controlling LED fade. So I set values 0-255. And V0 is number of my virtual pin.
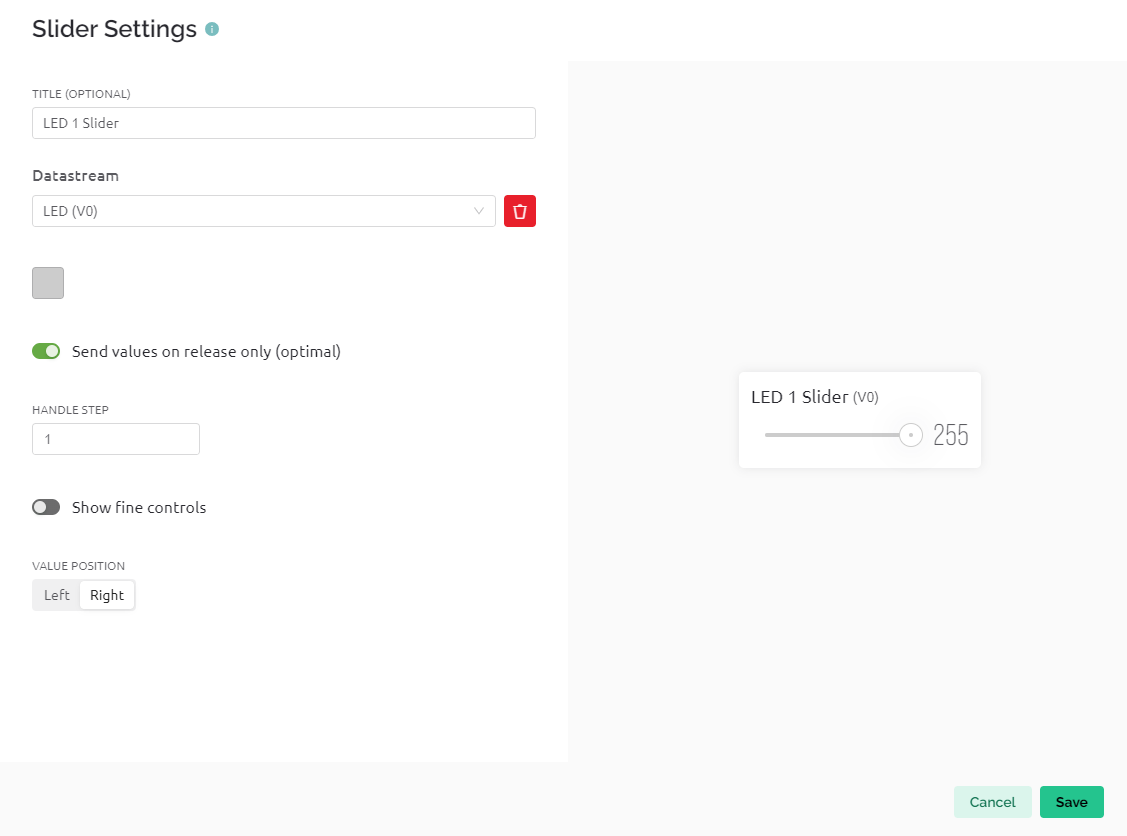
And then in Dashboard tab we’re creating the visual interface. I add slider and set it to control the datastream which I have created. Choose from Widget Box widget and place, resize them on the Dashboard.
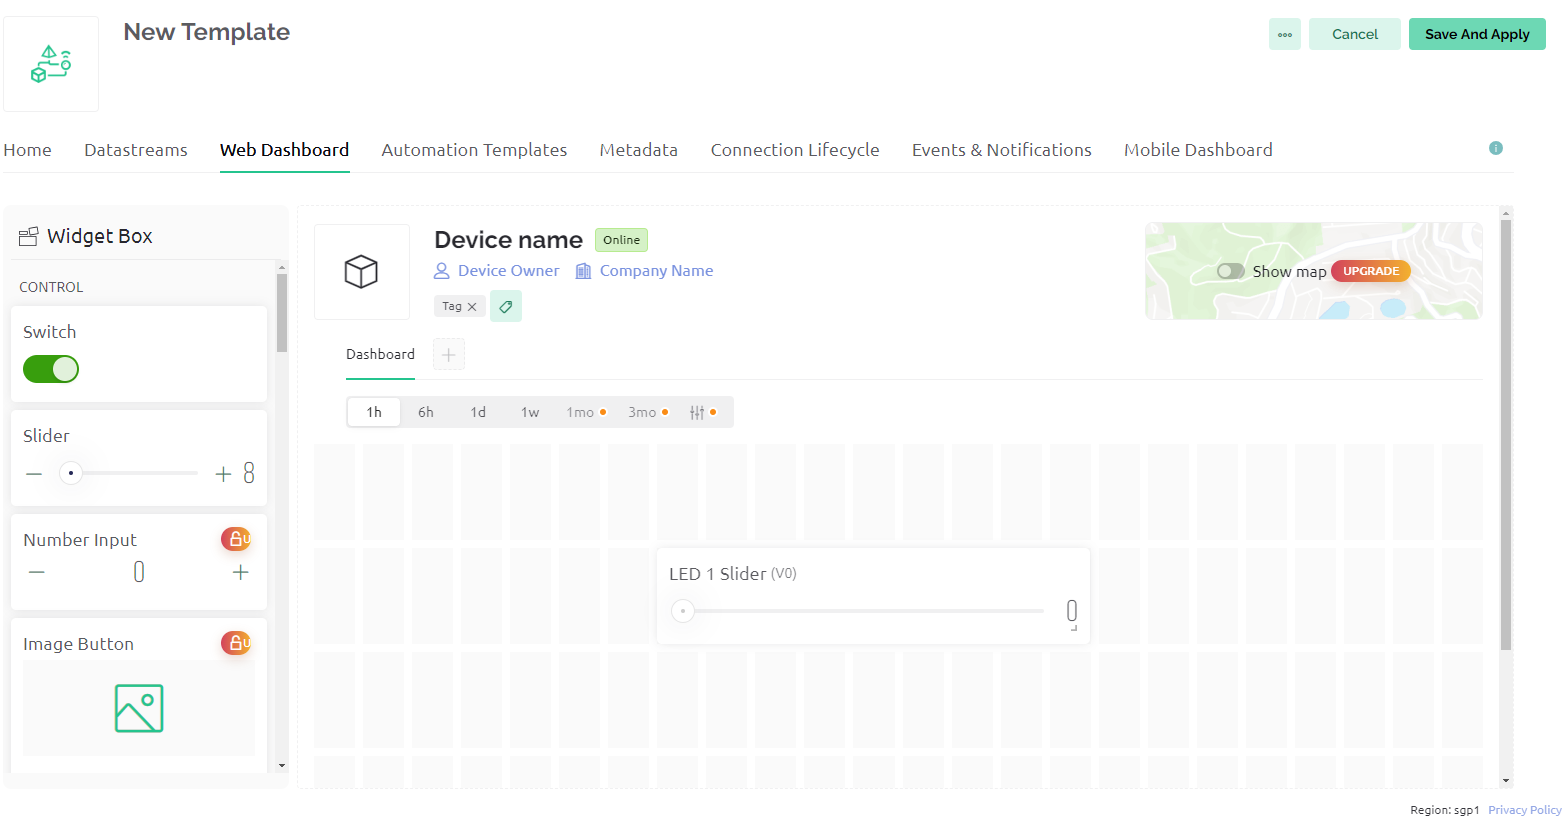
By clicking on widget we’re setting it up. (name, colors, text, values)
After this Save and go to Devices tab. Click New Device and From Template. Then I am choosing the template that I’ve already created.

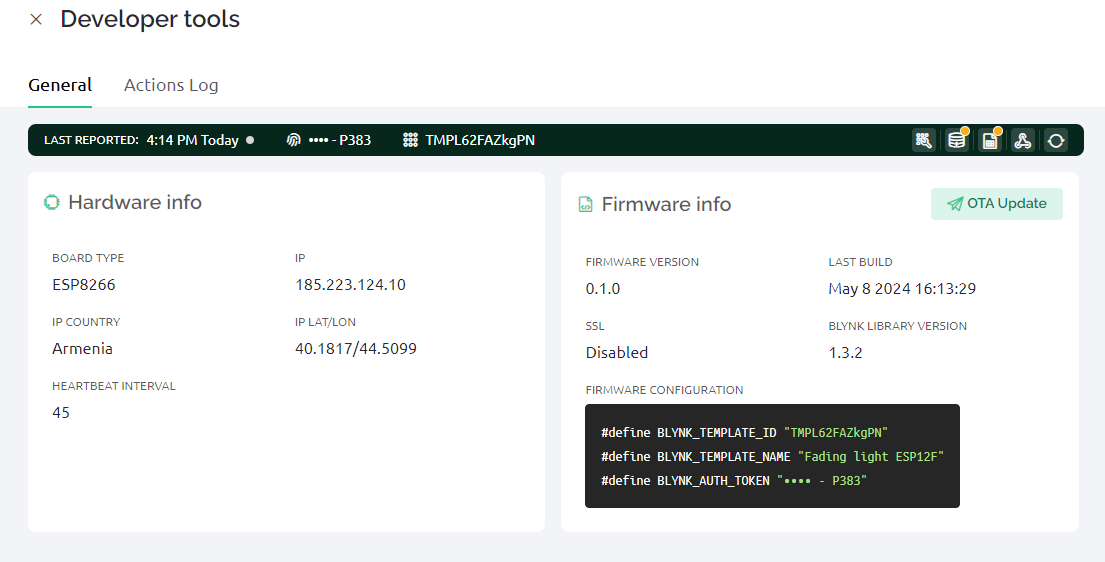
Here I get the authentication token to copy. It is in Developer tools.
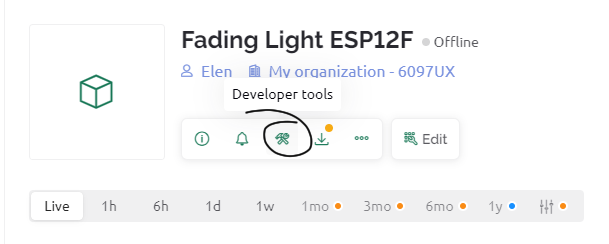
Copy codes and include in the code in Arduino IDE.
Code
I’ve struggled on this much but finally I made this code. It’s partially taken from different code examples. Here are examples provided by Blynk. And a documentation for getting started and support.
Here is the code with explanations on each line.
#define BLYNK_FIRMWARE_VERSION        "0.1.0"

#define BLYNK_PRINT Serial

    // libraries and defines the WiFi credentials and Blynk authorization token
#define BLYNK_TEMPLATE_ID "TMPL62FAZkgPN"
#define BLYNK_TEMPLATE_NAME "Fading light ESP12F"
#define BLYNK_AUTH_TOKEN "Syz7_B8V-5aH91ZoqOg00eoDAbIrP383"

#include <ESP8266WiFi.h> // wifi library for esp8266-esp12
#include <BlynkSimpleEsp8266.h>

char ssid[] = "ADAMAND";
char pass[] = "adamand2015";

    // Blynk widgets and variables used in the sketch.
WidgetLED led1(V0); // Virtual pin in Blynk
const int ledPin = 2; // gpio2 pin on the board

BlynkTimer timer; //variable is used to create a timer that runs every 300 milliseconds.

    //function is called when the microcontroller connects to the Blynk server.
BLYNK_CONNECTED() {
  Blynk.syncVirtual(V0); // synchronizes the state of V0 Blynk widget with the microcontroller.

  int value = millis() / 1000;
  Blynk.virtualWrite(V0, value); //sending value in elapsed time
    // You can send any value at any time.
  // Please don't send more that 10 values per second.
}

    // This function will be called every time Slider Widget writes values to the Virtual Pin V0
BLYNK_WRITE(V0) {
  int sliderValue = param.asInt(); // assign incoming value from V0 to variable

  Serial.print("V0 Slider value is: "); // print on serial monitor the value from the widget
  Serial.println(sliderValue);

  analogWrite(ledPin, sliderValue); // LED pin gets the value from the slider
  delay(30);
}

void setup() {
  Serial.begin(9600); // initializes the serial connection
  Blynk.begin(BLYNK_AUTH_TOKEN, ssid, pass); // sets the wifi connection.
  pinMode(ledPin, OUTPUT); // Led pin set output
}

void loop() {
  Blynk.run(); // runs the Blynk and timer functions, allowing the microcontroller to communicate
  timer.run(); //with the Blynk server and update the state of the Blynk widgets.
}
After the code successfully uploaded Blynk printed this nice logo in the serial monitor.
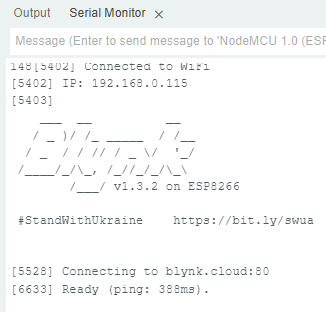
Slider values are printed on serial monitor.
And this is the interface I made for mobile.
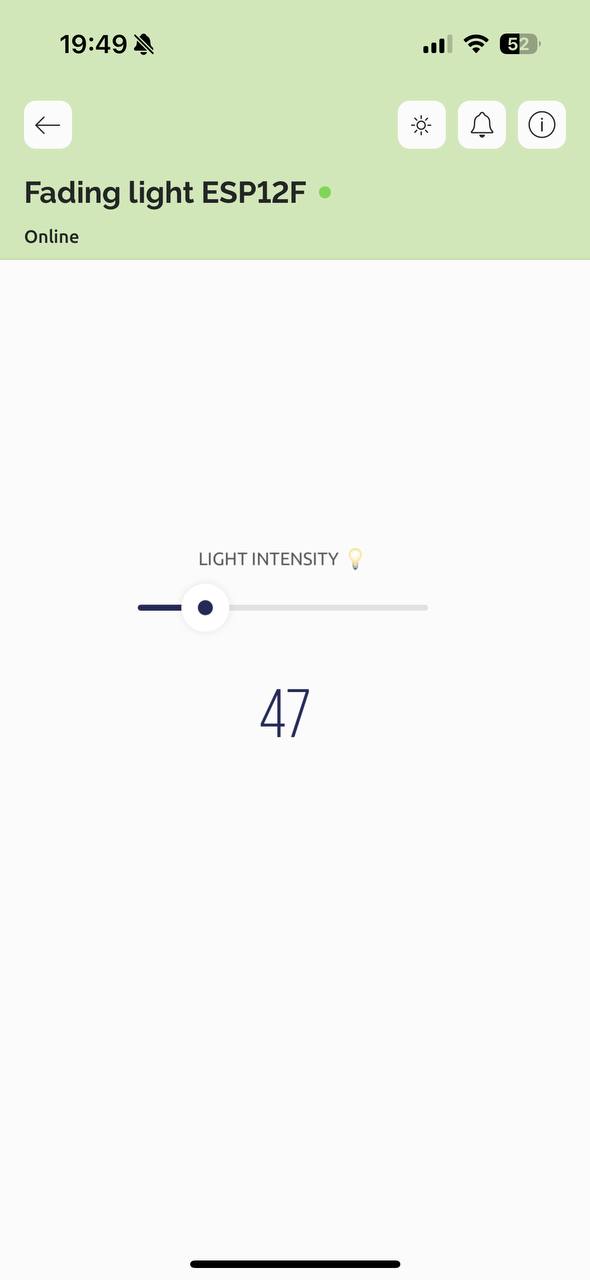
Here is how it worked finally.
Conclusion
For this week I really wanted to make some control application on smartphone. Since my smartphone has operation system IOS it was not possible to develop and host an application. So I am glad that Blynk exists and provides possibility for easily developing an application. Later I discovered that ESP32 supports connection to Apple home app, which is used to control smart devices at home. But there is lack of this microcontorller in our lab I’m afraid. So I’m planning to use this method as soon as I obtain some.