Week 3. Computer controlled cutting
Short description
This week we get to known with cutting techniques. At first we get acquainted with manuals of machines that were in our FabLab with our instructors. We learn how to use vinyl cutter and technically serve and use laser cutters. We cut some details for testing machines and for our assignment. For this week we use vinyl cutter and laser cutter machines.
Final results of vinyl cutting and parametric designed press-fit construction.

Group assignment
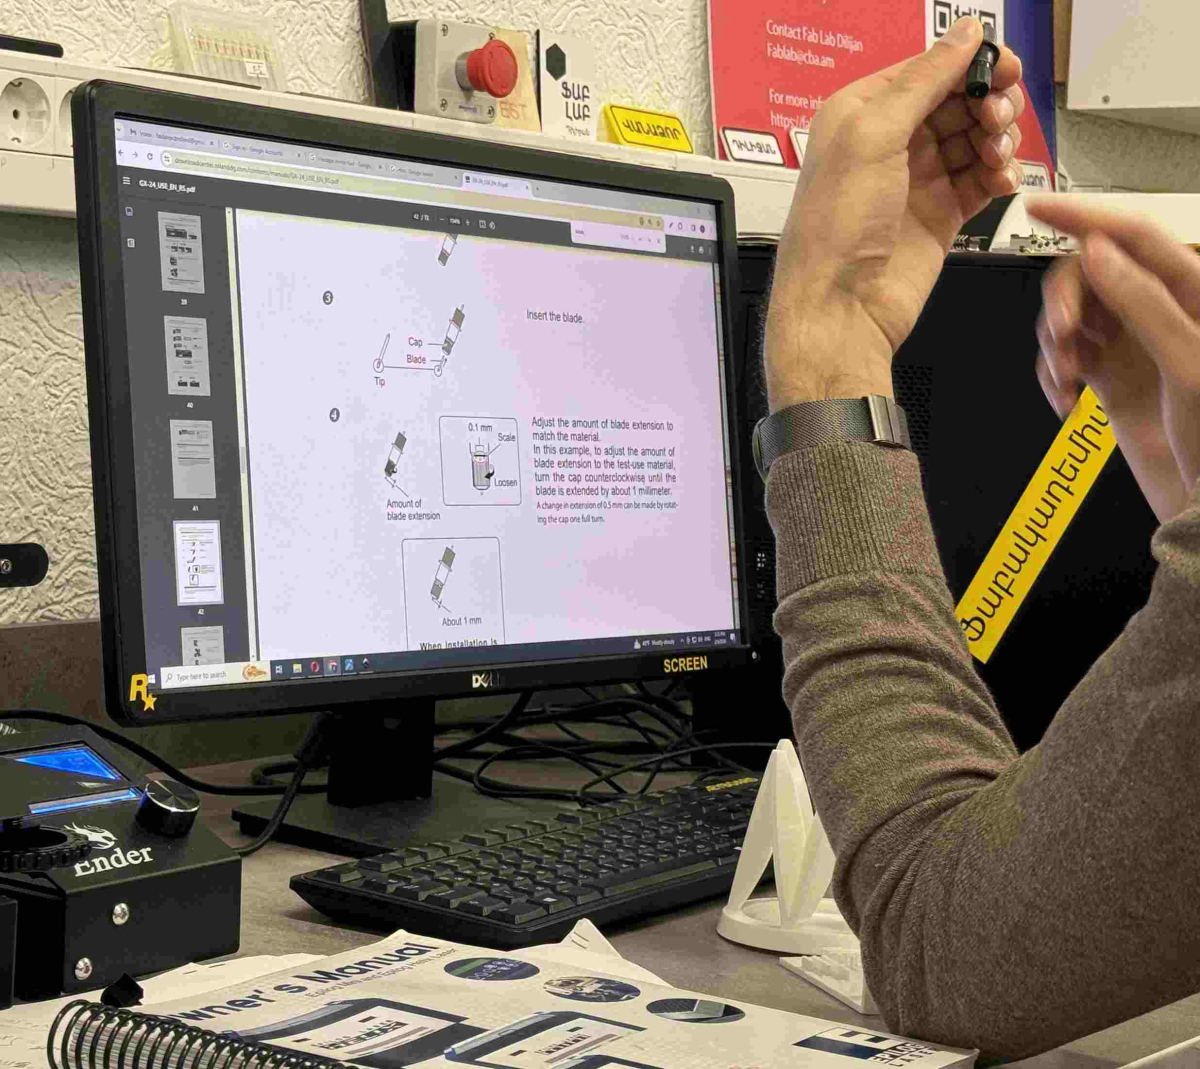
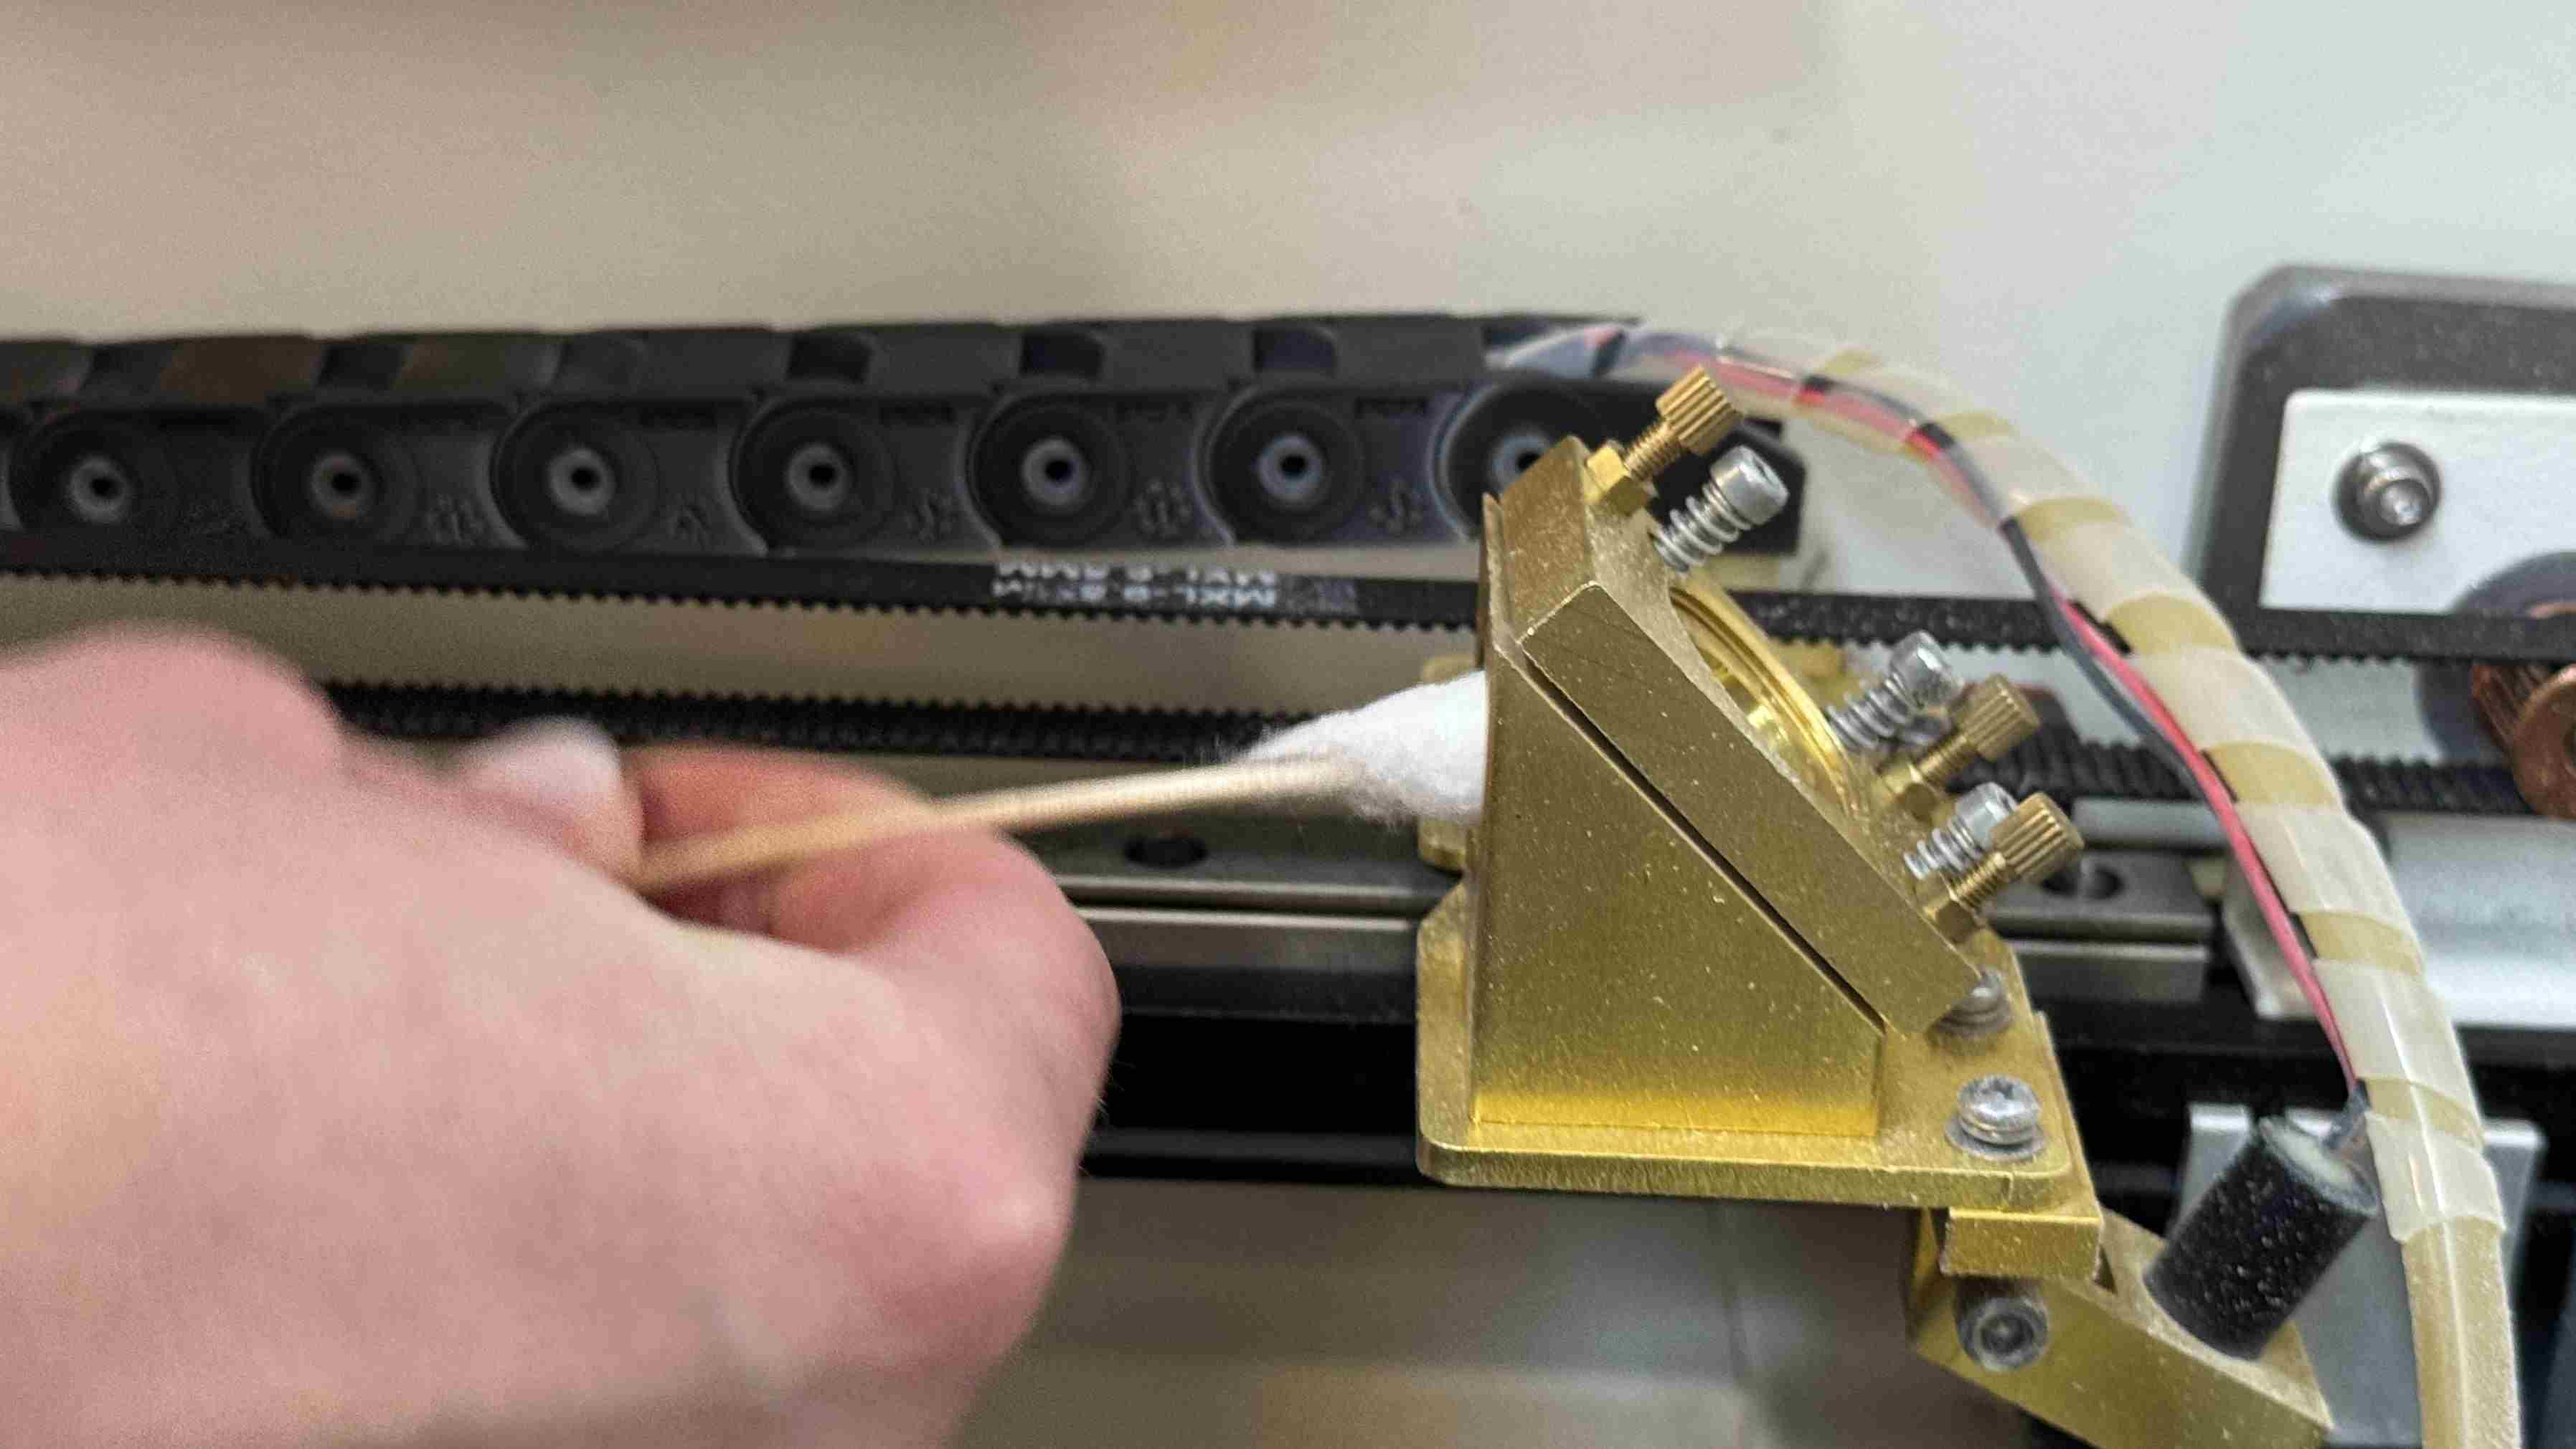
Group assignment started with Babken. He instilled in us the obligatory habit of reading manuals for every new machine we meet. We read Vinyl cutter machine’s manual on web. It was 5 page PDF file and laser cutter’s manual, a heavy book, we would’t manage to read all but checked essential things and warnings about working and safety. Arlso as we got known to the main tips for working with cutting machines we started to dismantle and clean some of parts of laser cutter machine. Babken showed us how does it work, what parts are in there and what function each of them complete.
Kerf
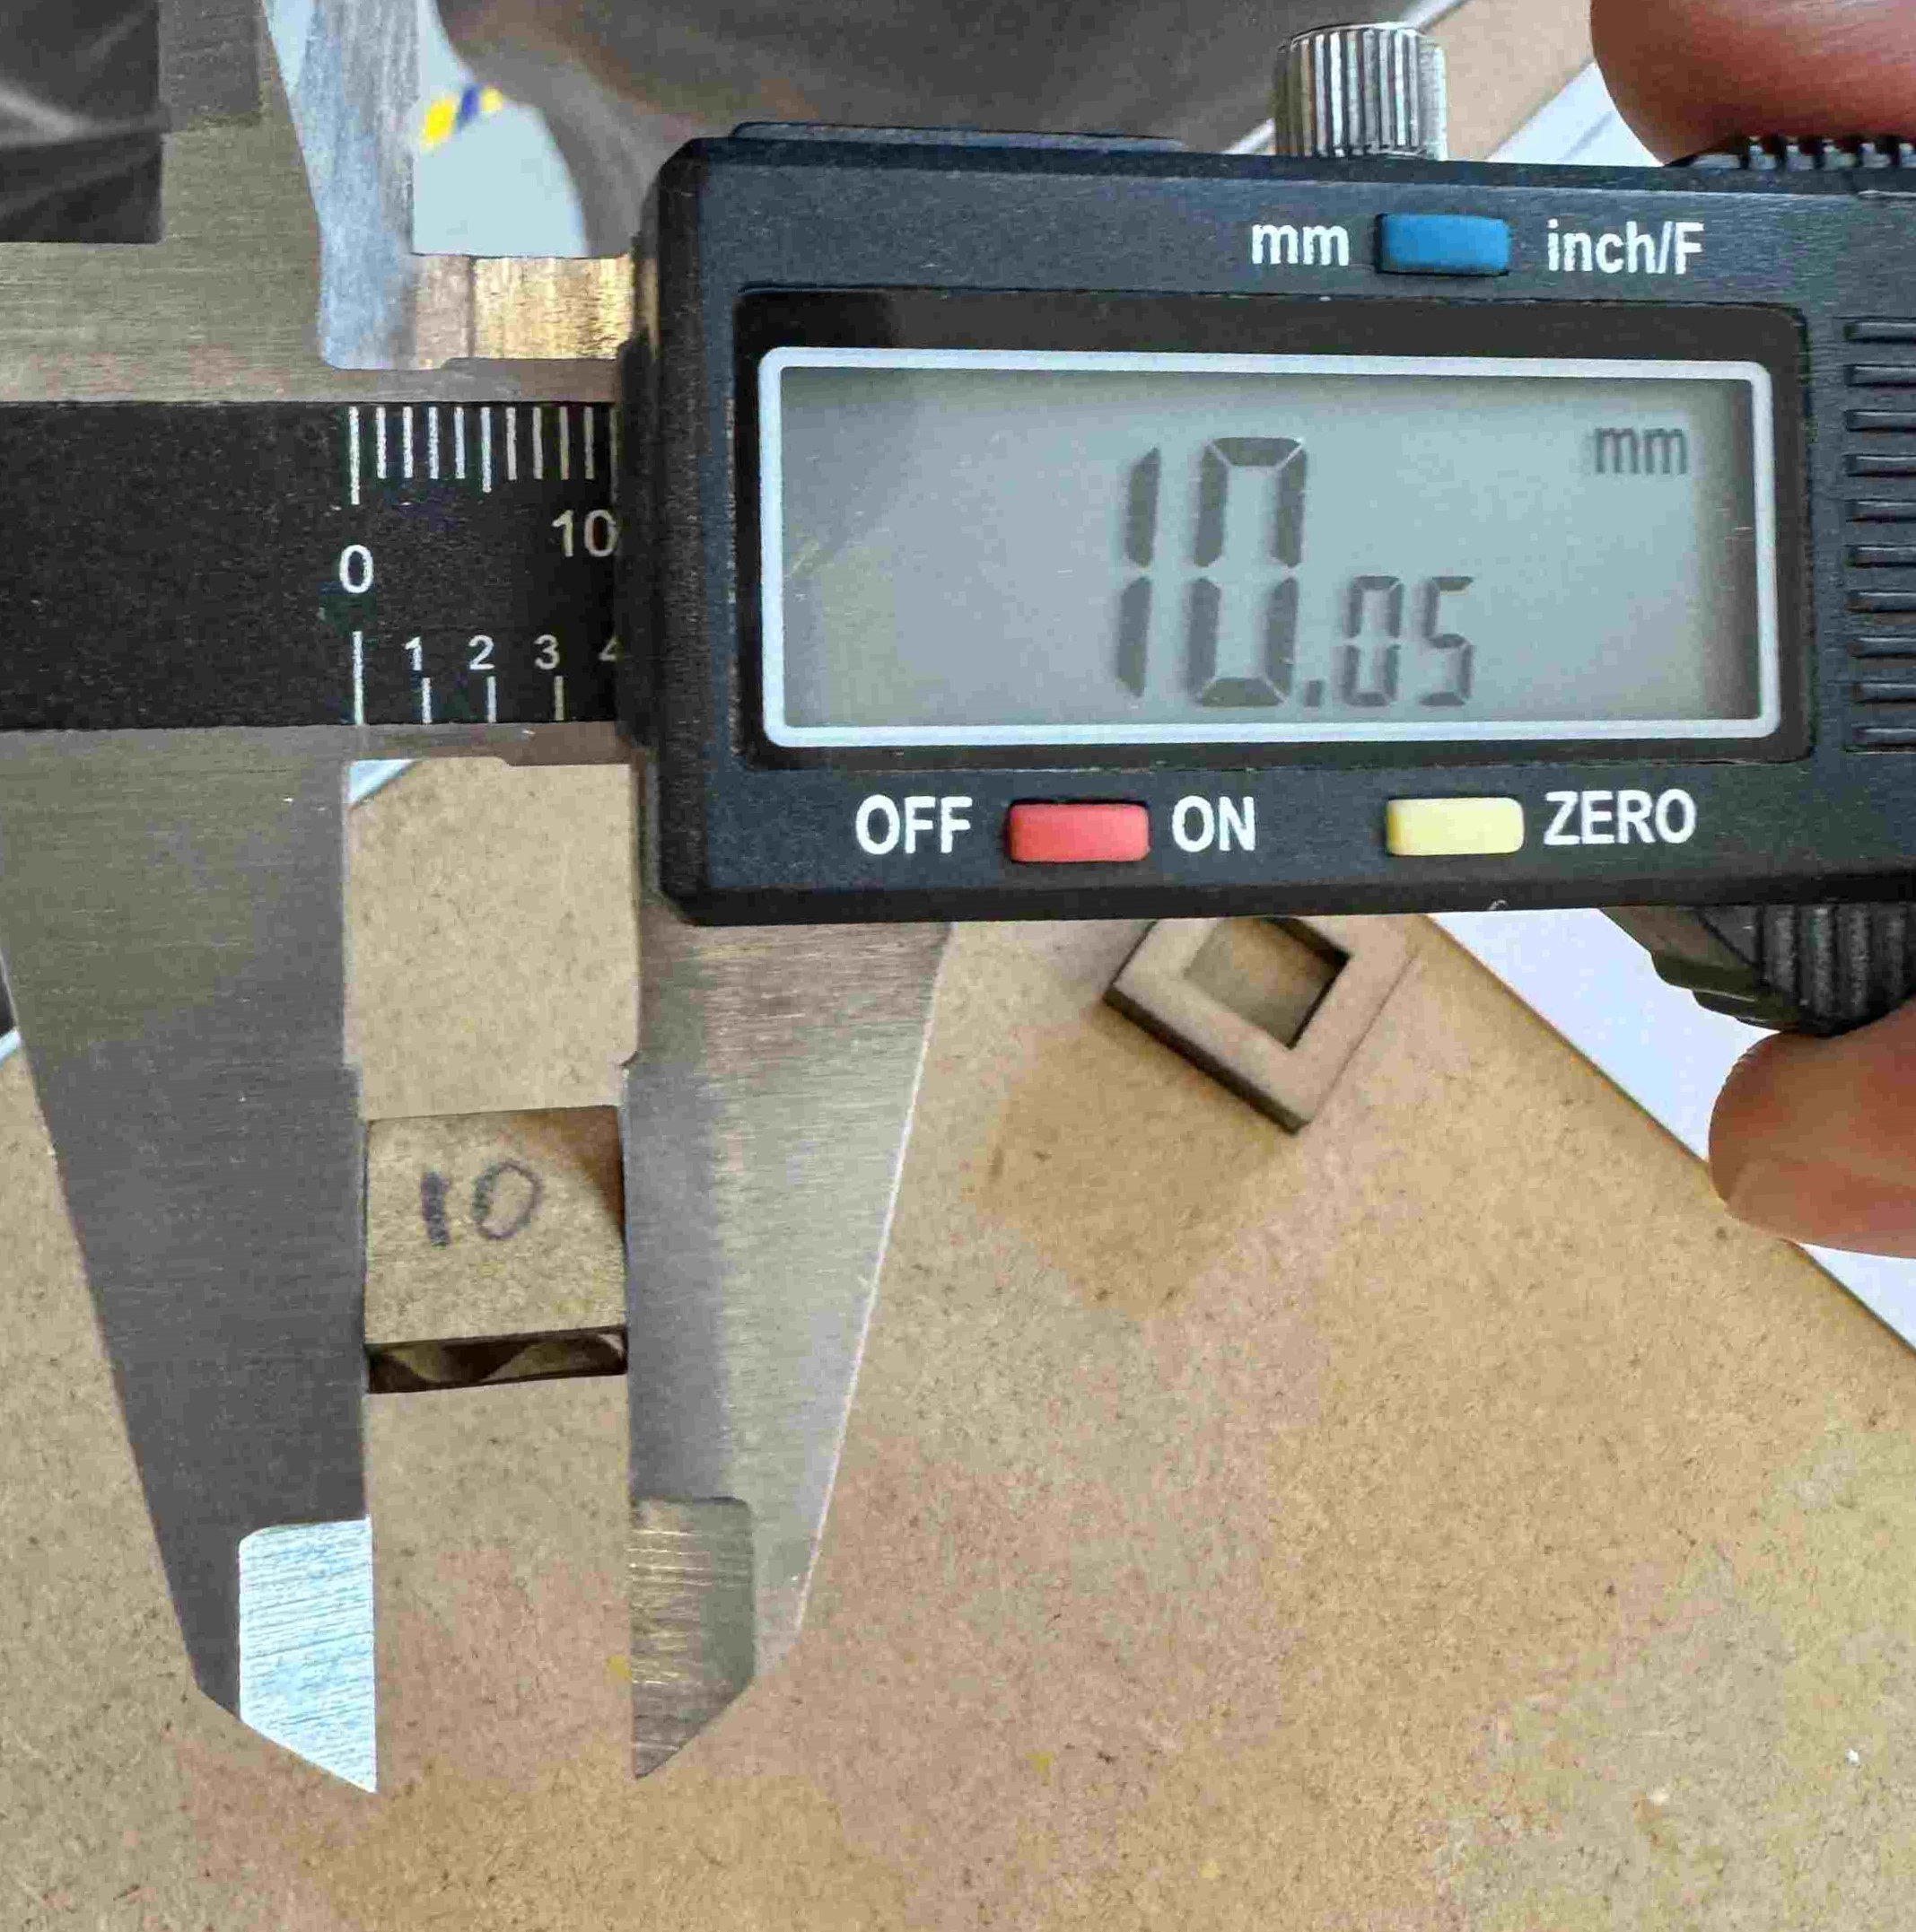
Checking the kerf on laser cutter.
For this test we cut sqares with 10 mm and 20 mm edges.
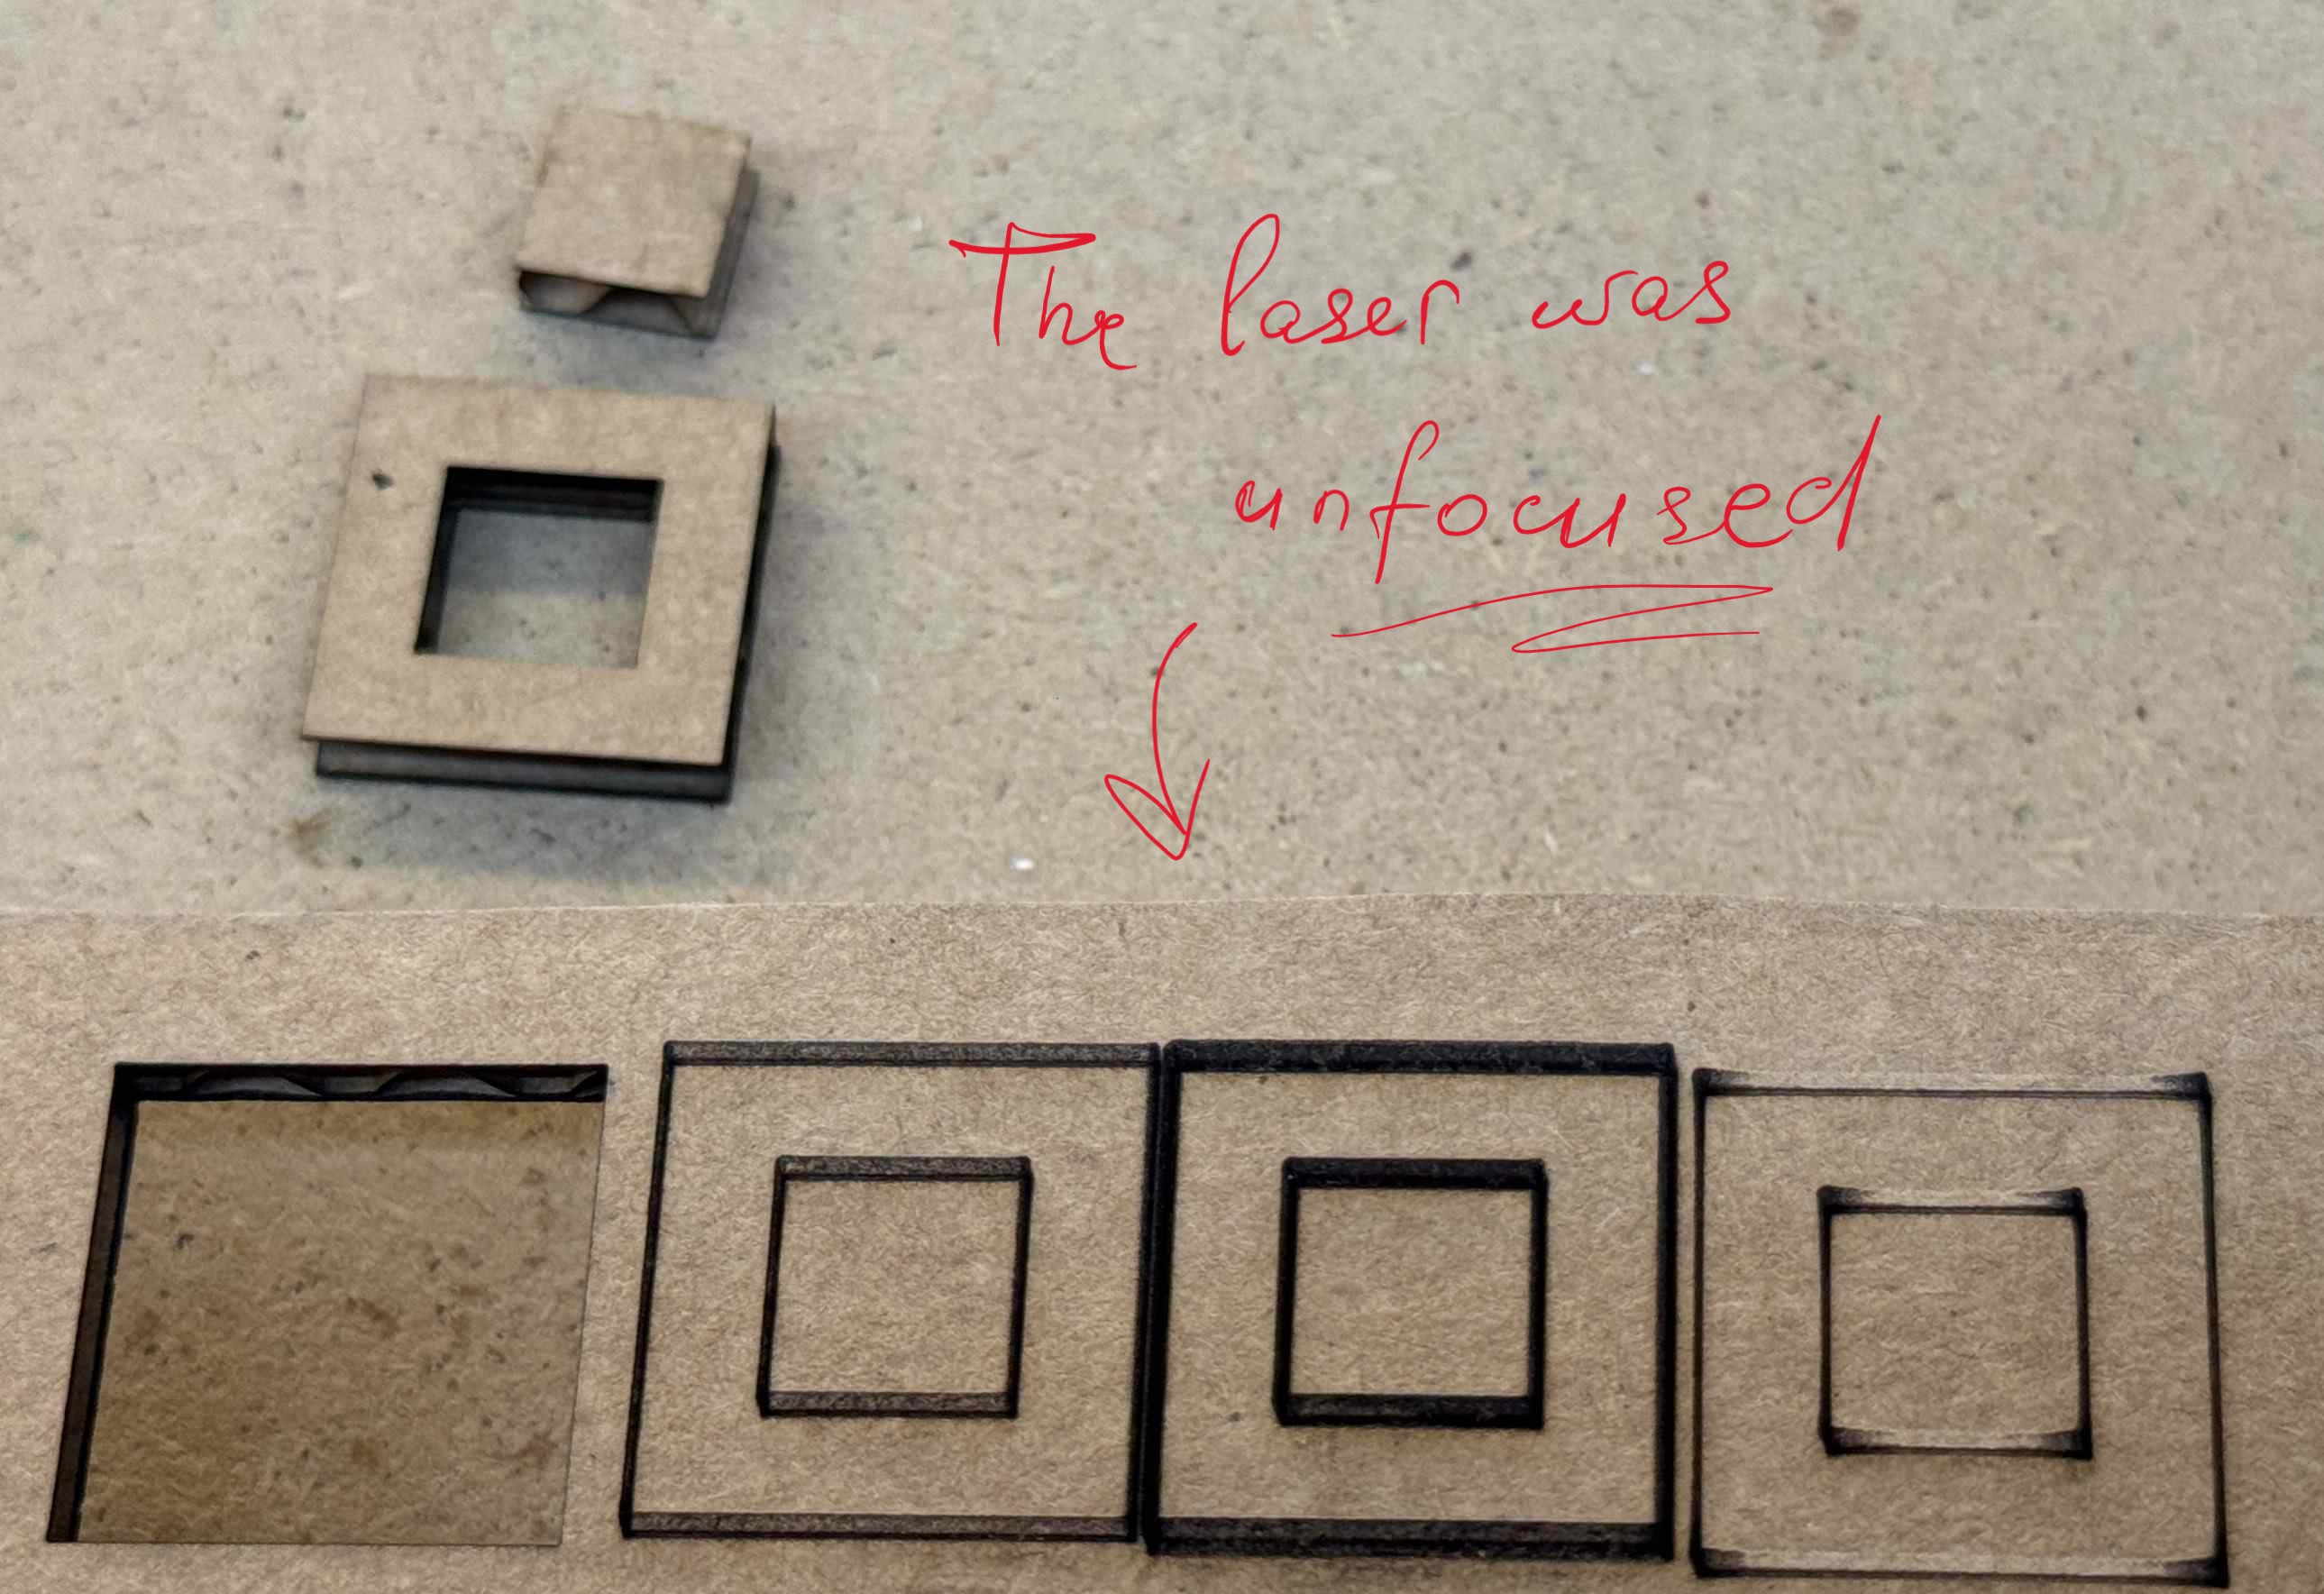
The first cut we measured the widths and the difference was 0,25 mm. So for getting exact size we offset down outer and increased inner square by 0,125 (0,25/2) so all the sizes will get smaller by 0,25

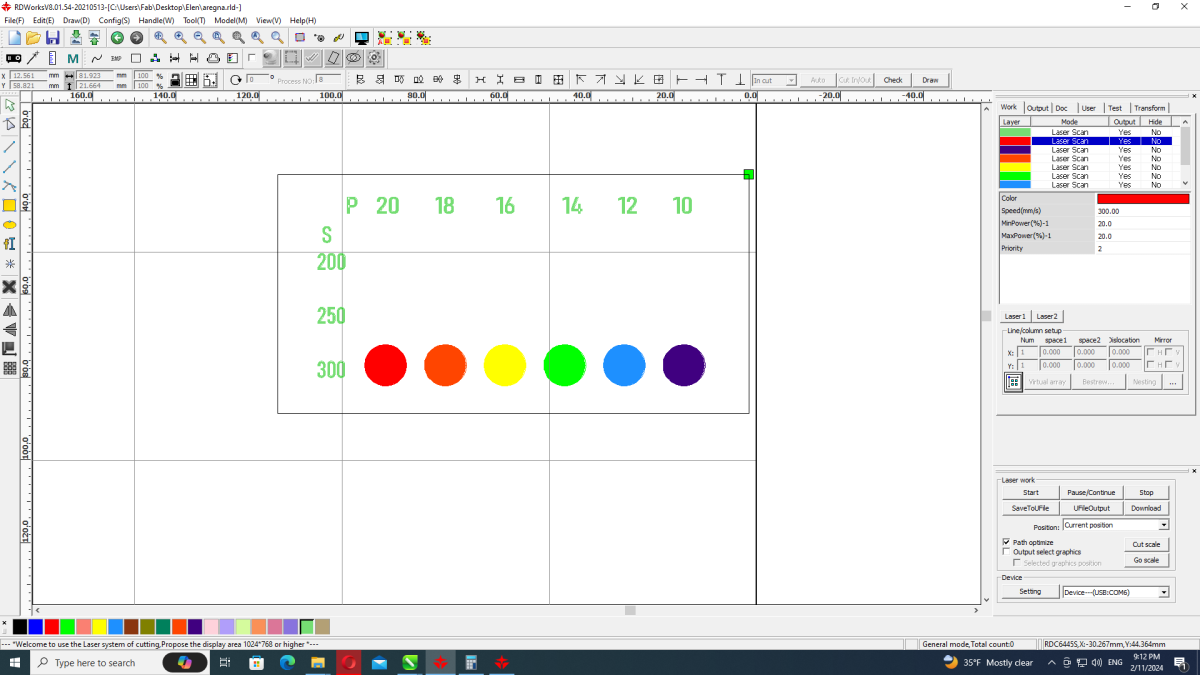
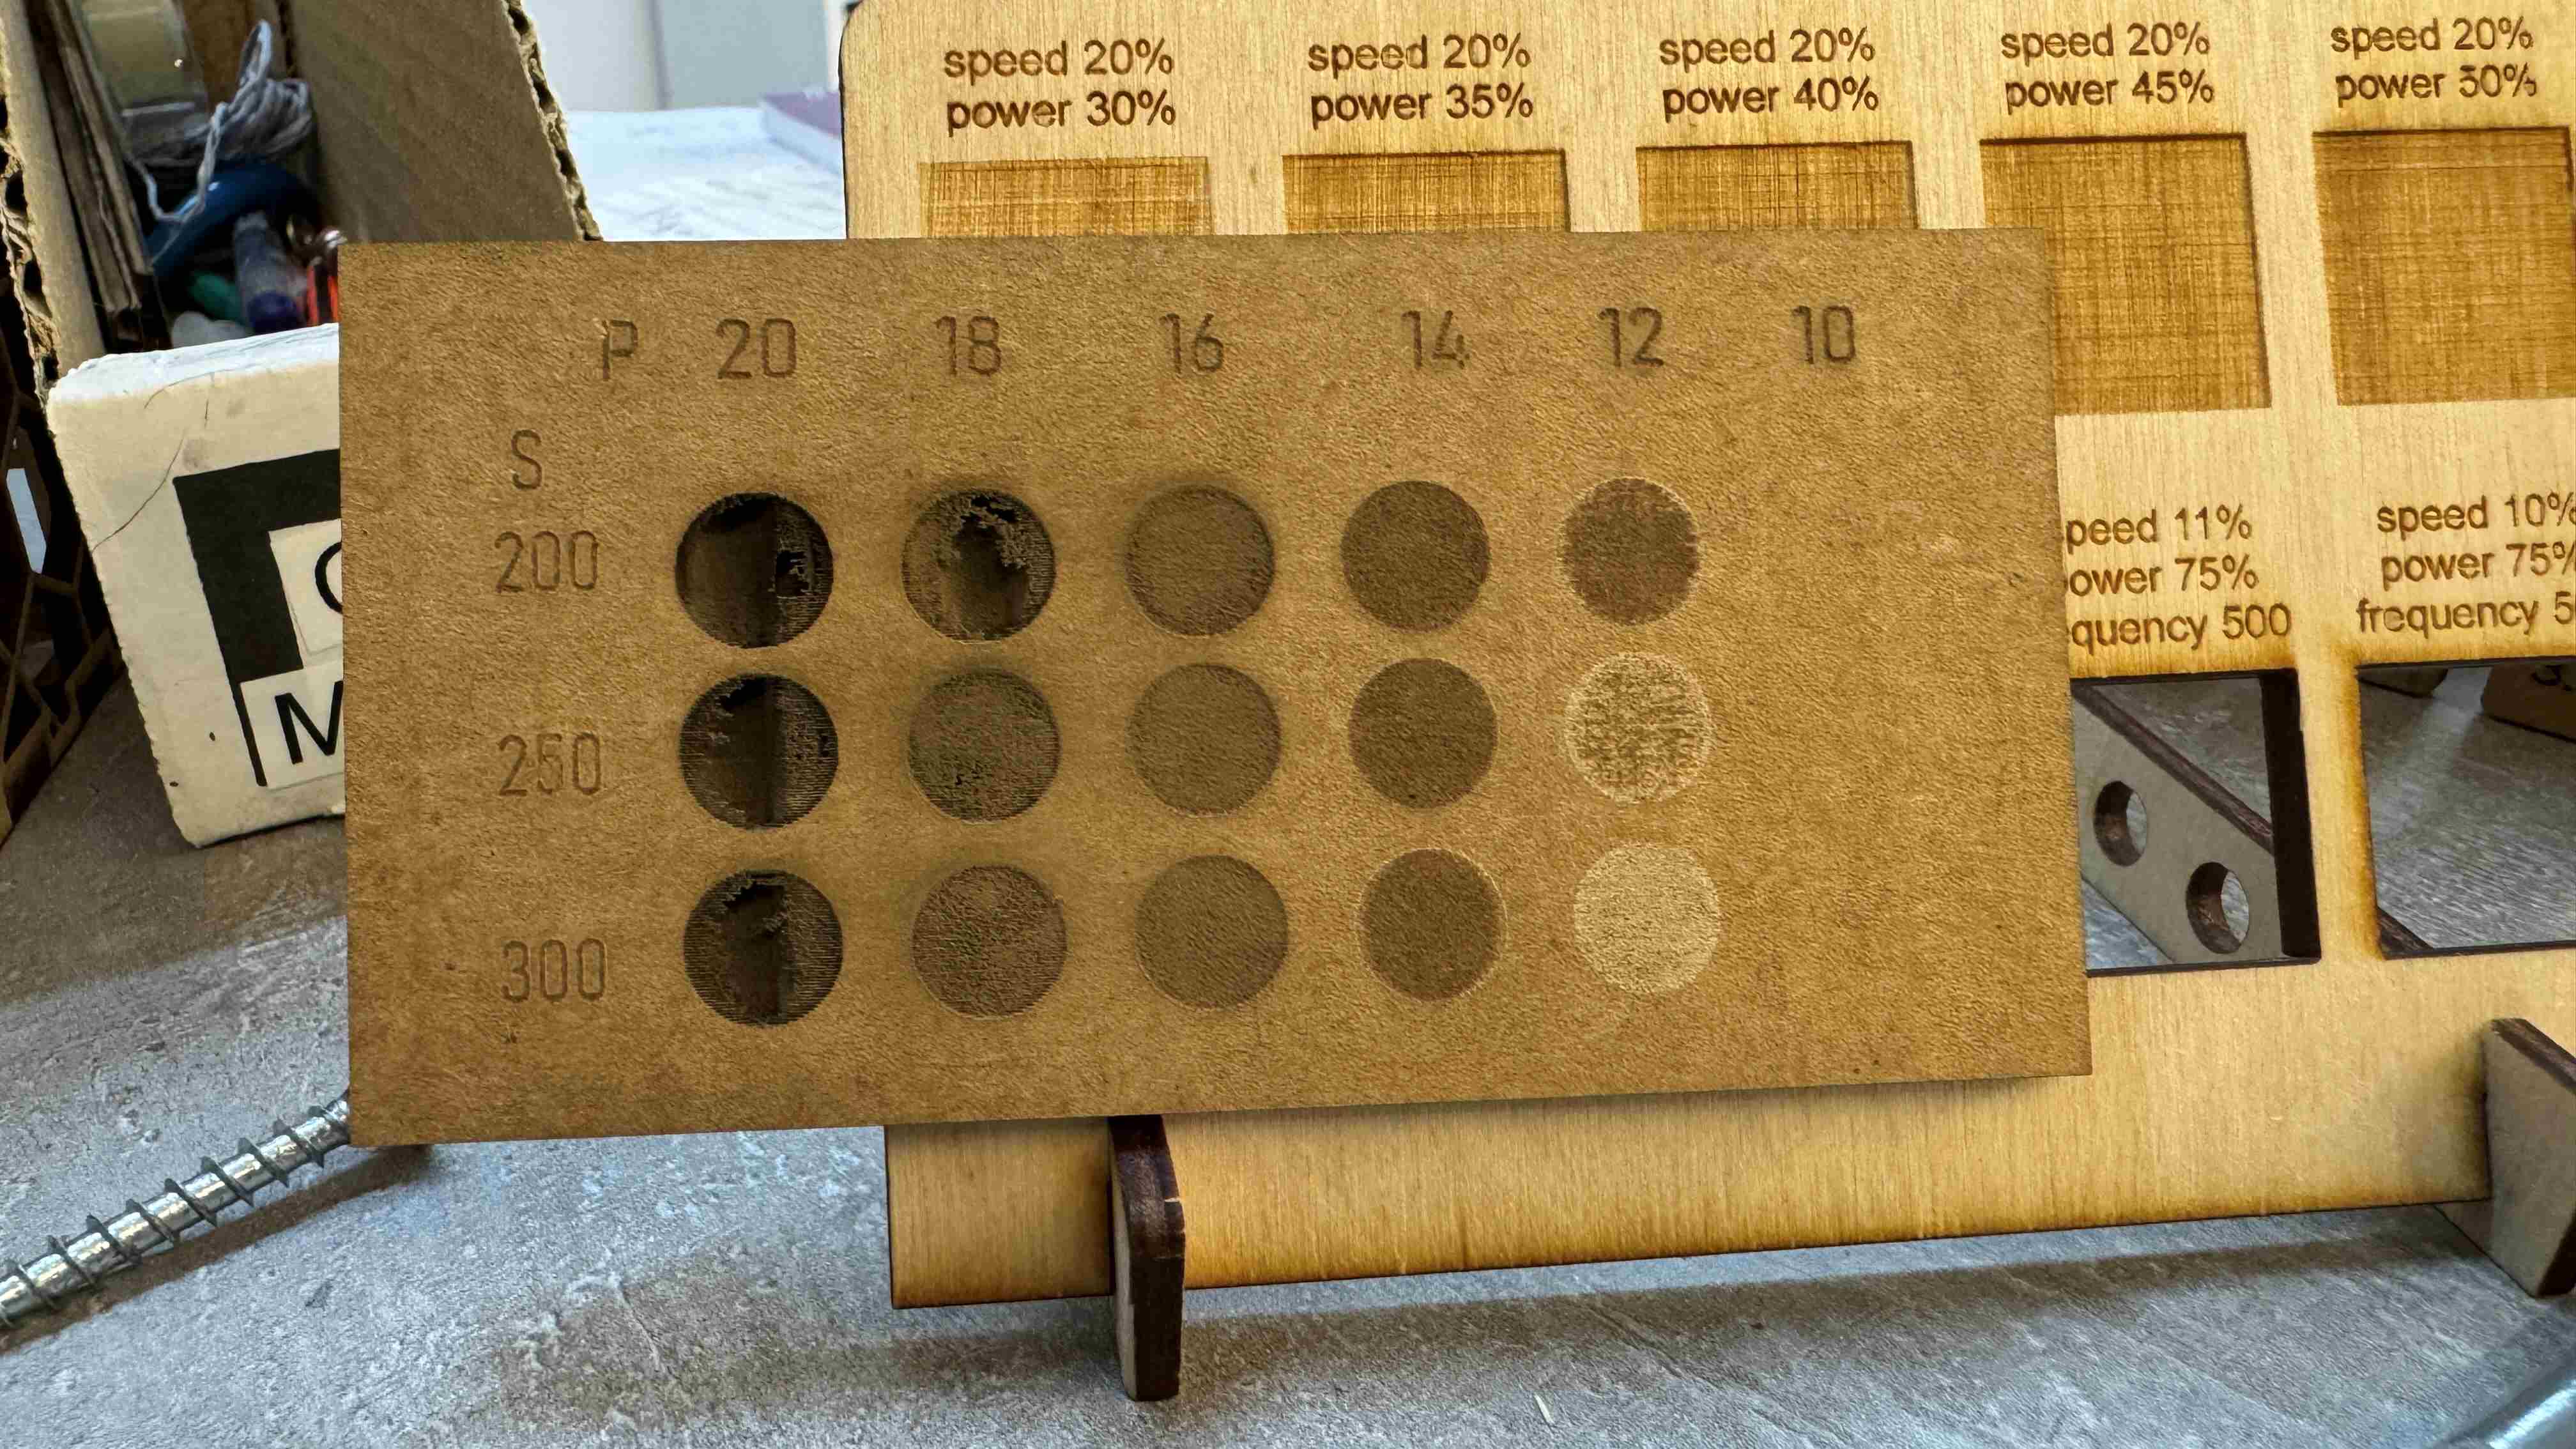
Engraving test
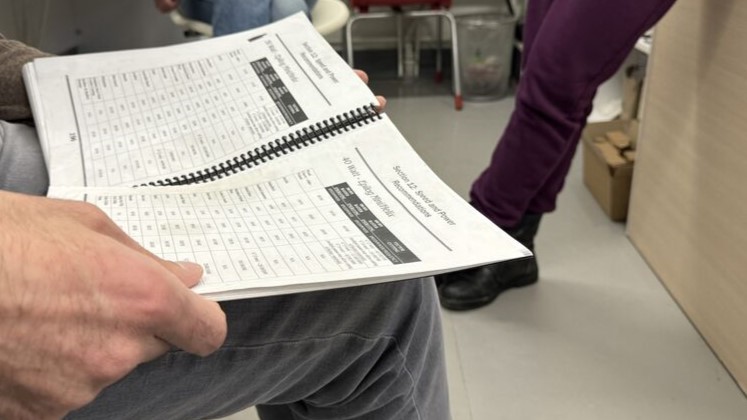
We tested speed and power on laser cutter. So we made this table and set speeds 200 250 and 300 and power decreasing 20 - 10
Vinyl cutting
introducing to vinyl cutter
we are using Roland gx24 vinyl cutter. The advantage of this cutter is that it is able to measure the size of paper placed in it. In cutting area there are rollers for keeping and rolling paper placed in the machine. It’s needed the paper piece to be adjusted keeping rollers near the edges of paper.

on upper part places of rollers is marked with white lines. And necessary thing paper not to be folded while it’s placed in the machine. So flatten paper. And also align the paper with this vertical stripes on the machine before fixing it.
When machine turns on it requires to submit the type of paper placed in it ”” select sheet”“. For this it has 3 options:
- roll
- piece
- edge
We chose piece and it is measuring size of it with sensors placed on back and front of cutting area and under the moving part. It gave this parametersW: 273 and L: 77
after we check real size is 300 and 140.
so it keeps the safe area 3,5 cm both edges.
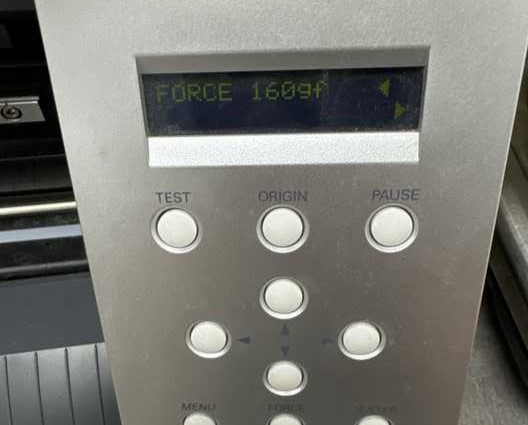
two parameters is needed to be set up
- force
- speed
Its playing a sensible role the temperature of the room where have been stored vinyl because it deforms and the same vinyl paper may not be cutted accurately after being stored in different temperatures with the same parameters. so we need to test it.
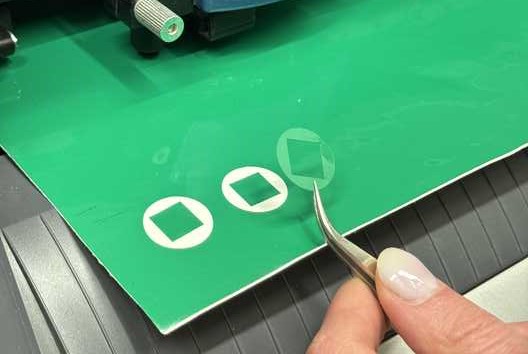
If force is set two high then the white seet under the vinyl is being cut. perfectly if on the white piece there will be no mark of knife, but cut enough that the vinyl sheet needs to be taken off easily.
This circle and rectangle is default shape for cut testing. If it cuts underlayer sheet then it is over forced it can cause ruining of knife. Width of knife is 0.1 mm. So we need to lower the force.
And the speed parameter set high may cause distruction of paper when it’s going along very sharp angles. So either lower the speed for cutting small shapes and angles or fillet sharp angles.
Cutting stickers
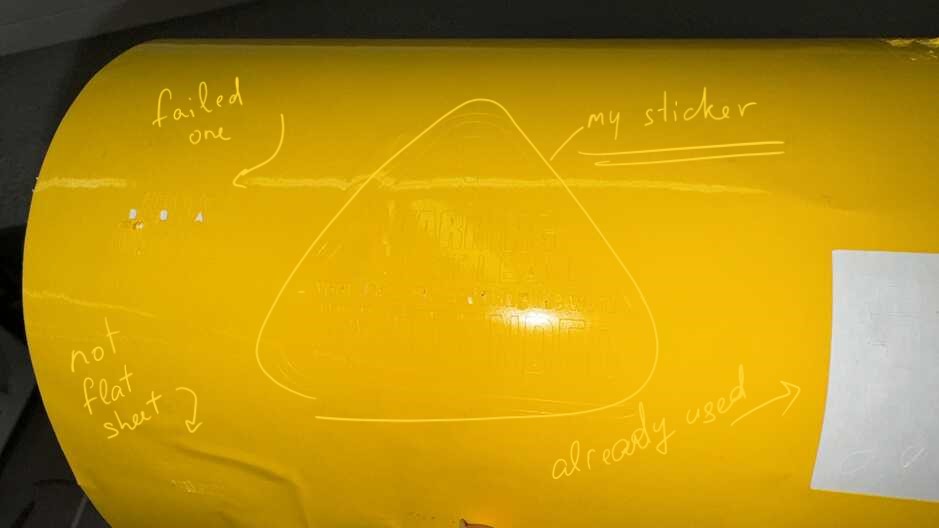
We had seen a lot of warnings “Don’t leave laser cutter to operate unattended” in the manual of laser cutter. So our instructor offered to make one big sign and stick on the laser macine.
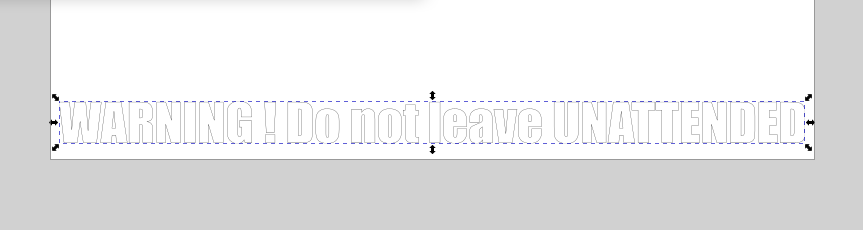
I used Adobe Illustrator to make a “Warning” sign and cut out. I made two compositions horizontal text and a triangle shaped signs. After picking up fonts it’s needed to brake them so the machine will get paths to move knife along. For that select every part and go Object > shape > expand
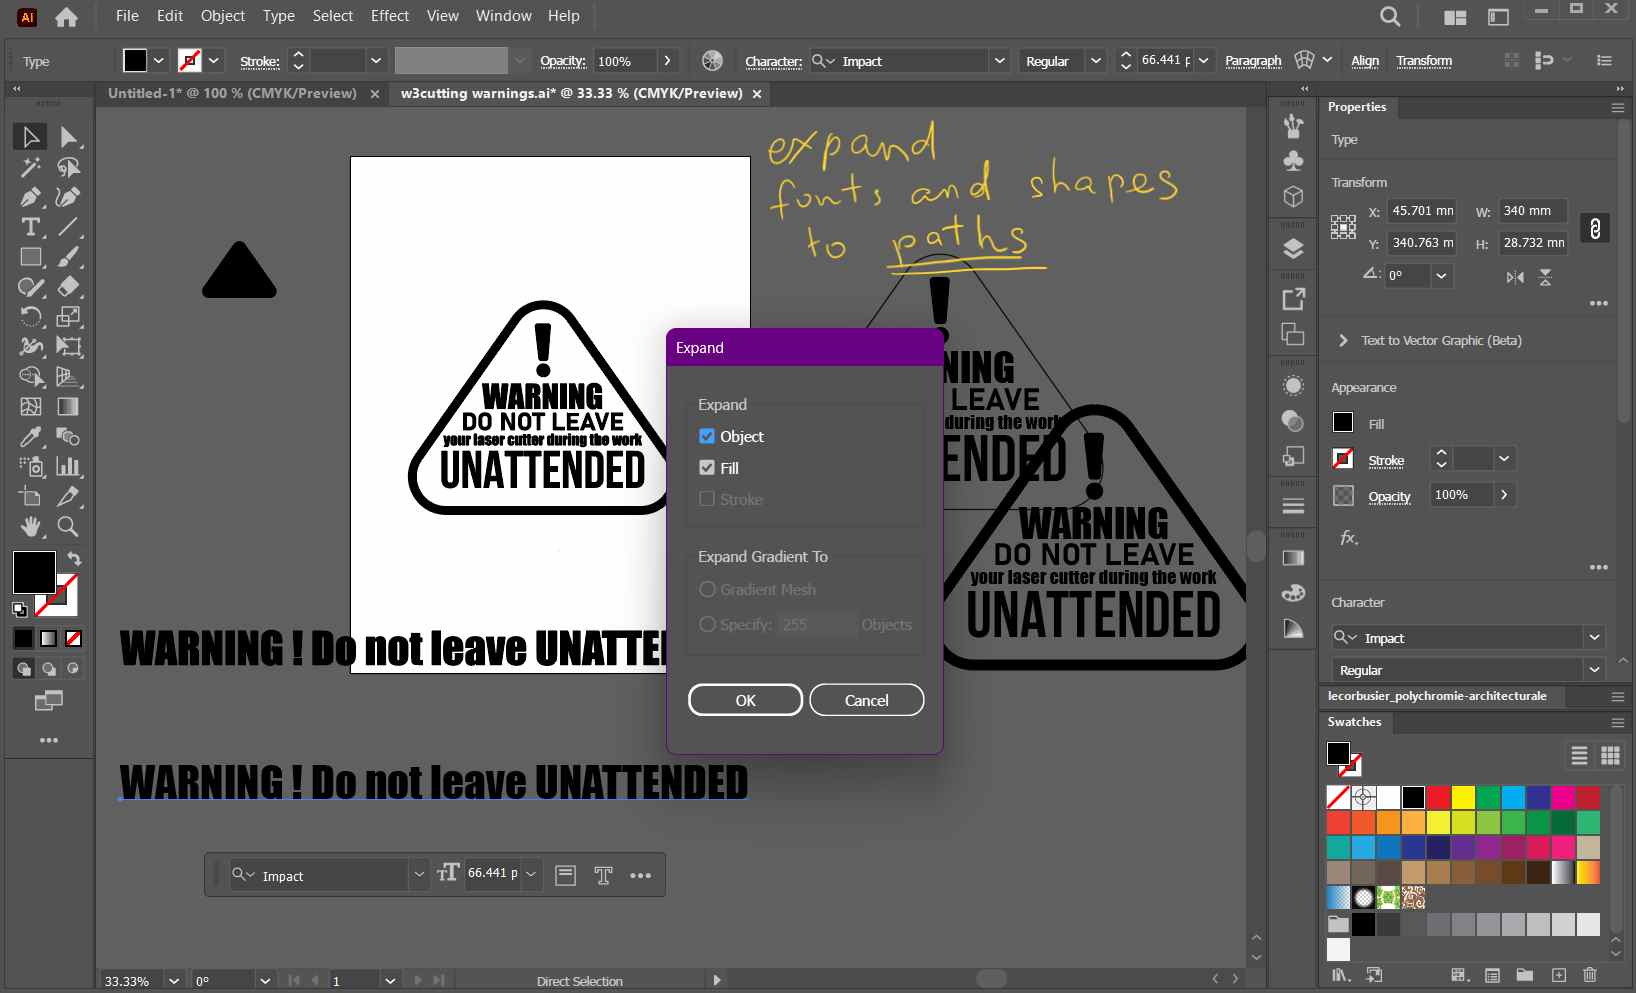
Machine currently is connected to lab’s computer and Inkscape is related software to the program. So I exported needed parts to SVG and sent to Inkscape.
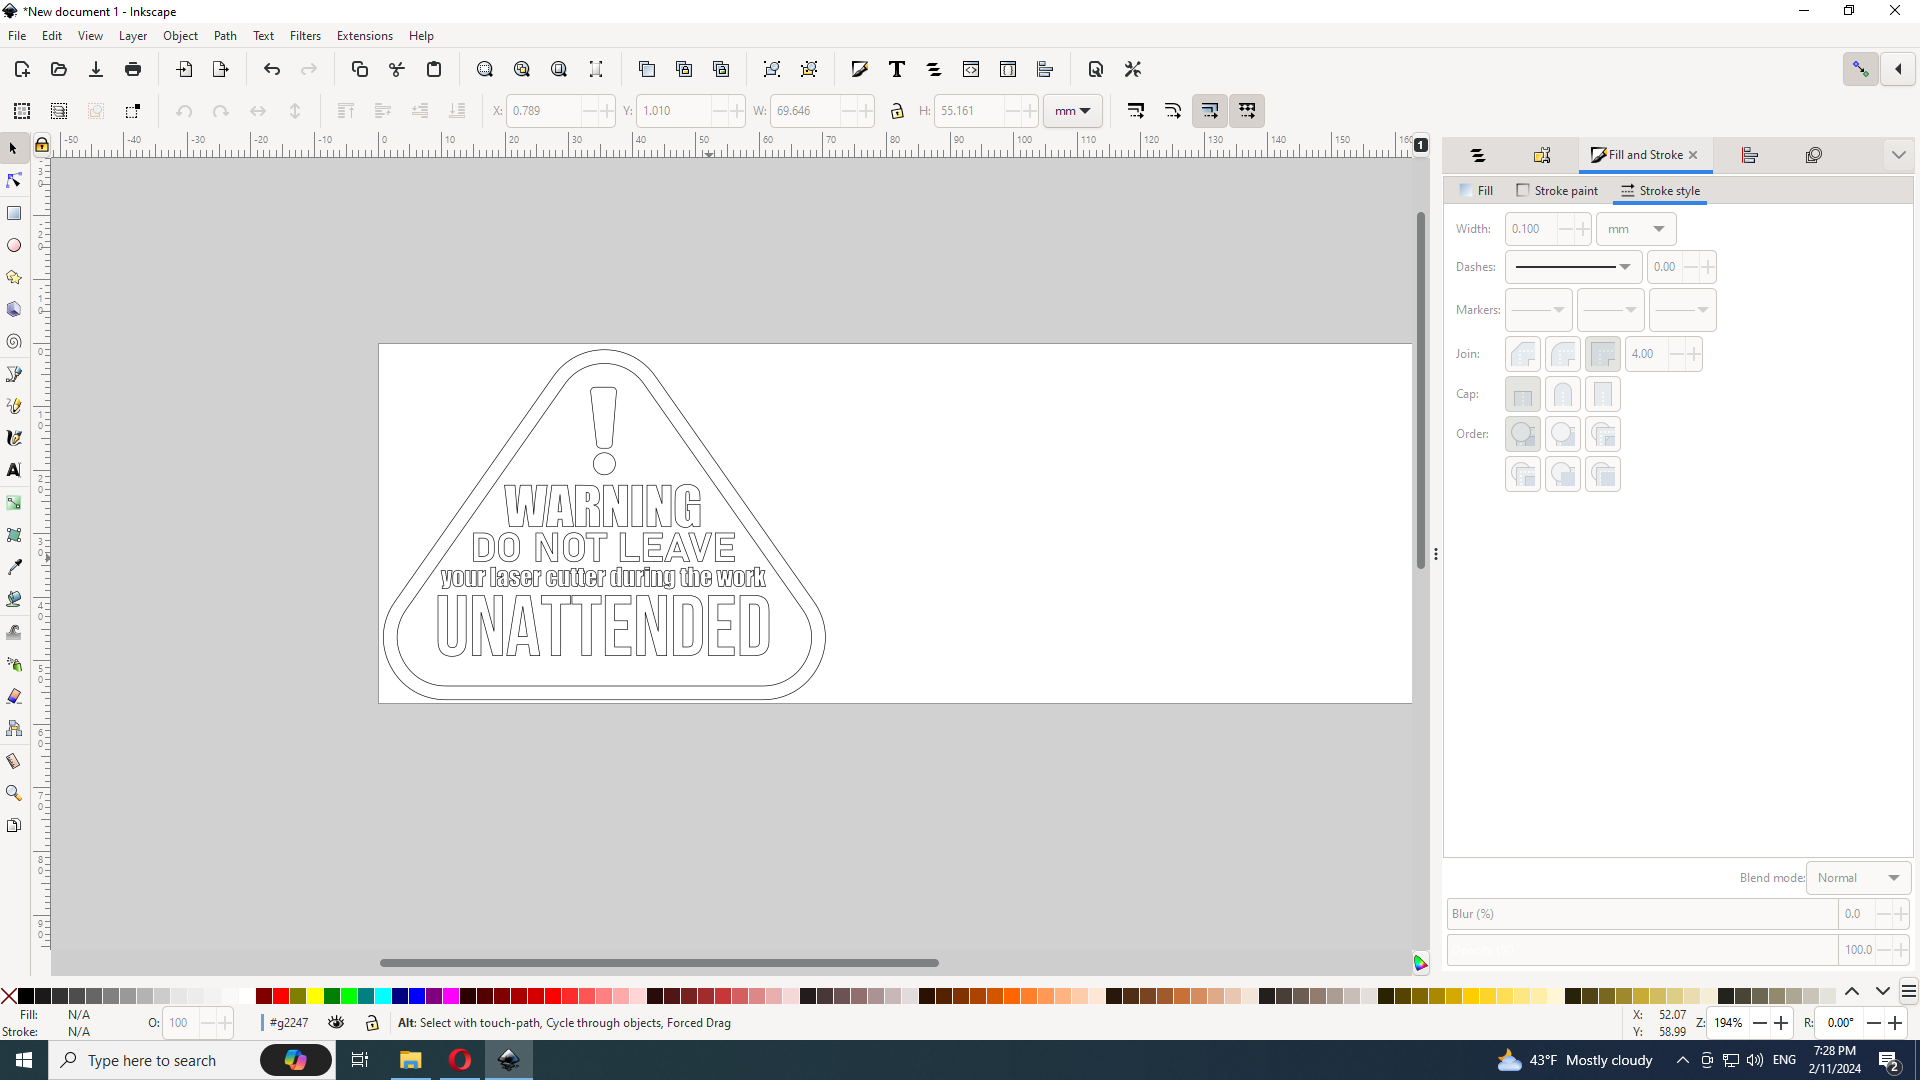
In Inkscape we make a document with exact same size as our peace of vinyl. So pick the measures from machine and write in the File > Document setup. By dafault the left bottom angle of the document is the origin and it’s where it starts cutting.

I set the cutting form to the bottom of piece the measures of which I got from machine and made all the lines 0.1 width stroke as the knife is same size. If any shape is filled and not stroked then machine will move through that area thousand times and the same will be with higher widths of stroke.
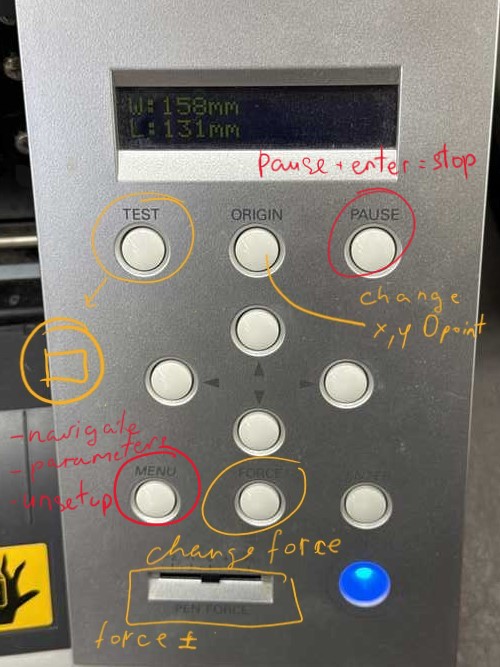
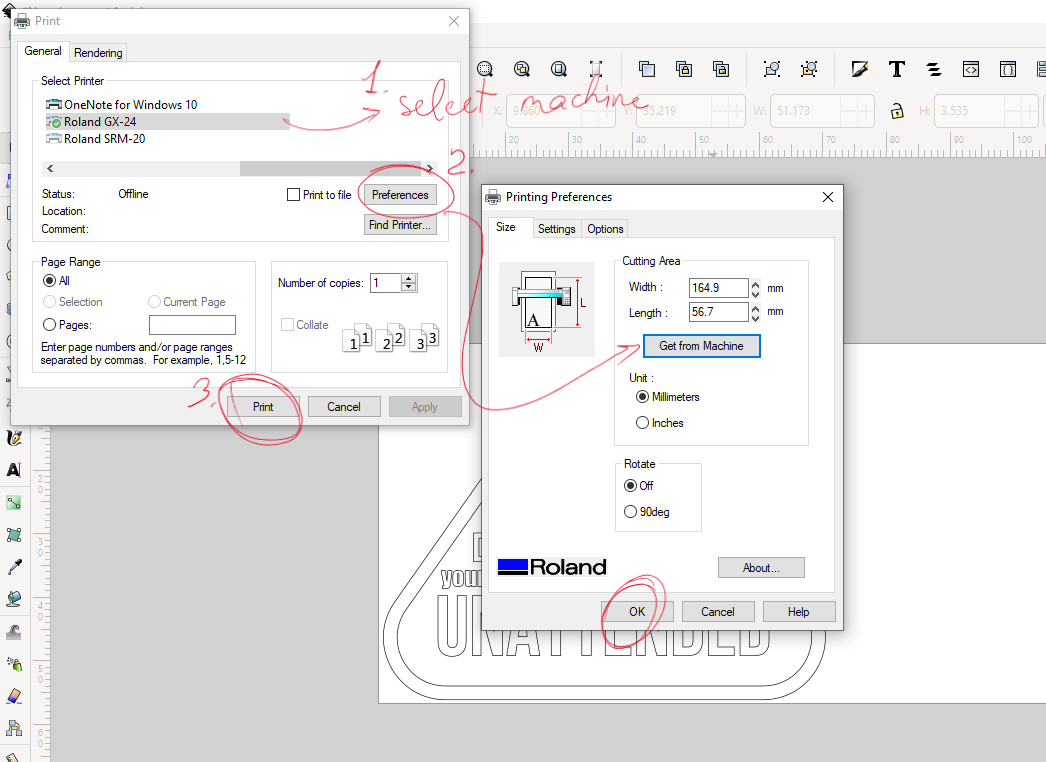
And after setting with and placing the shape in the document in the right place Ctrl + P opens print window where our Roland is already related.
Then to take vinyl out of machine press menu > unsetup.
I put another piece of vinyl which was already used but had enough space for making few stickers. I placed that inside as I didn’t want to waste big roll for a small sticker. It was dirty but I switched origin to a place where was give or take enough space of flat sheet. I pressed origin for new origin place on the cutter and from the software I used get from machine for getting the new measures starting from new origin. I changed documed size and placed my stcker shape. It was a new experiment because no one used change origin feature before on the cutter. They just change place of object on the document.
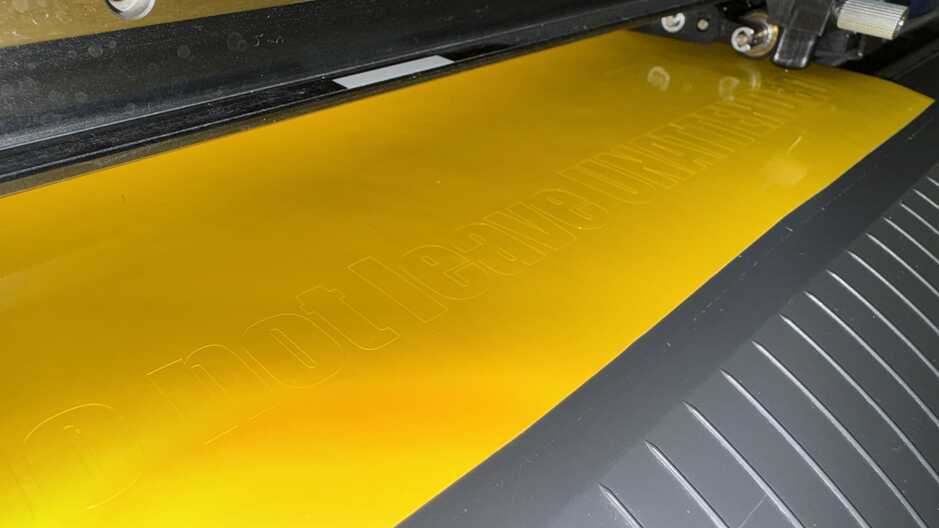
I hit print and it started cutting from the new origin.
I unsetup the machine and took out the piece.
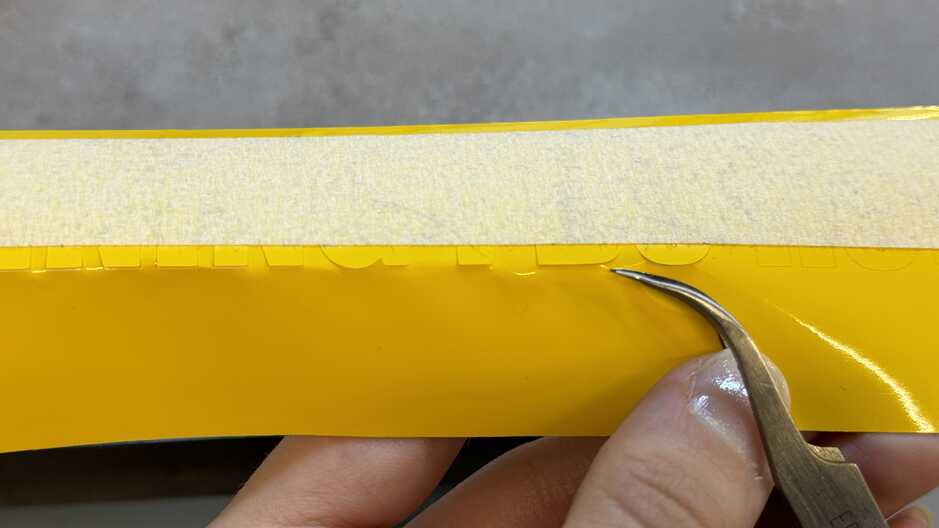
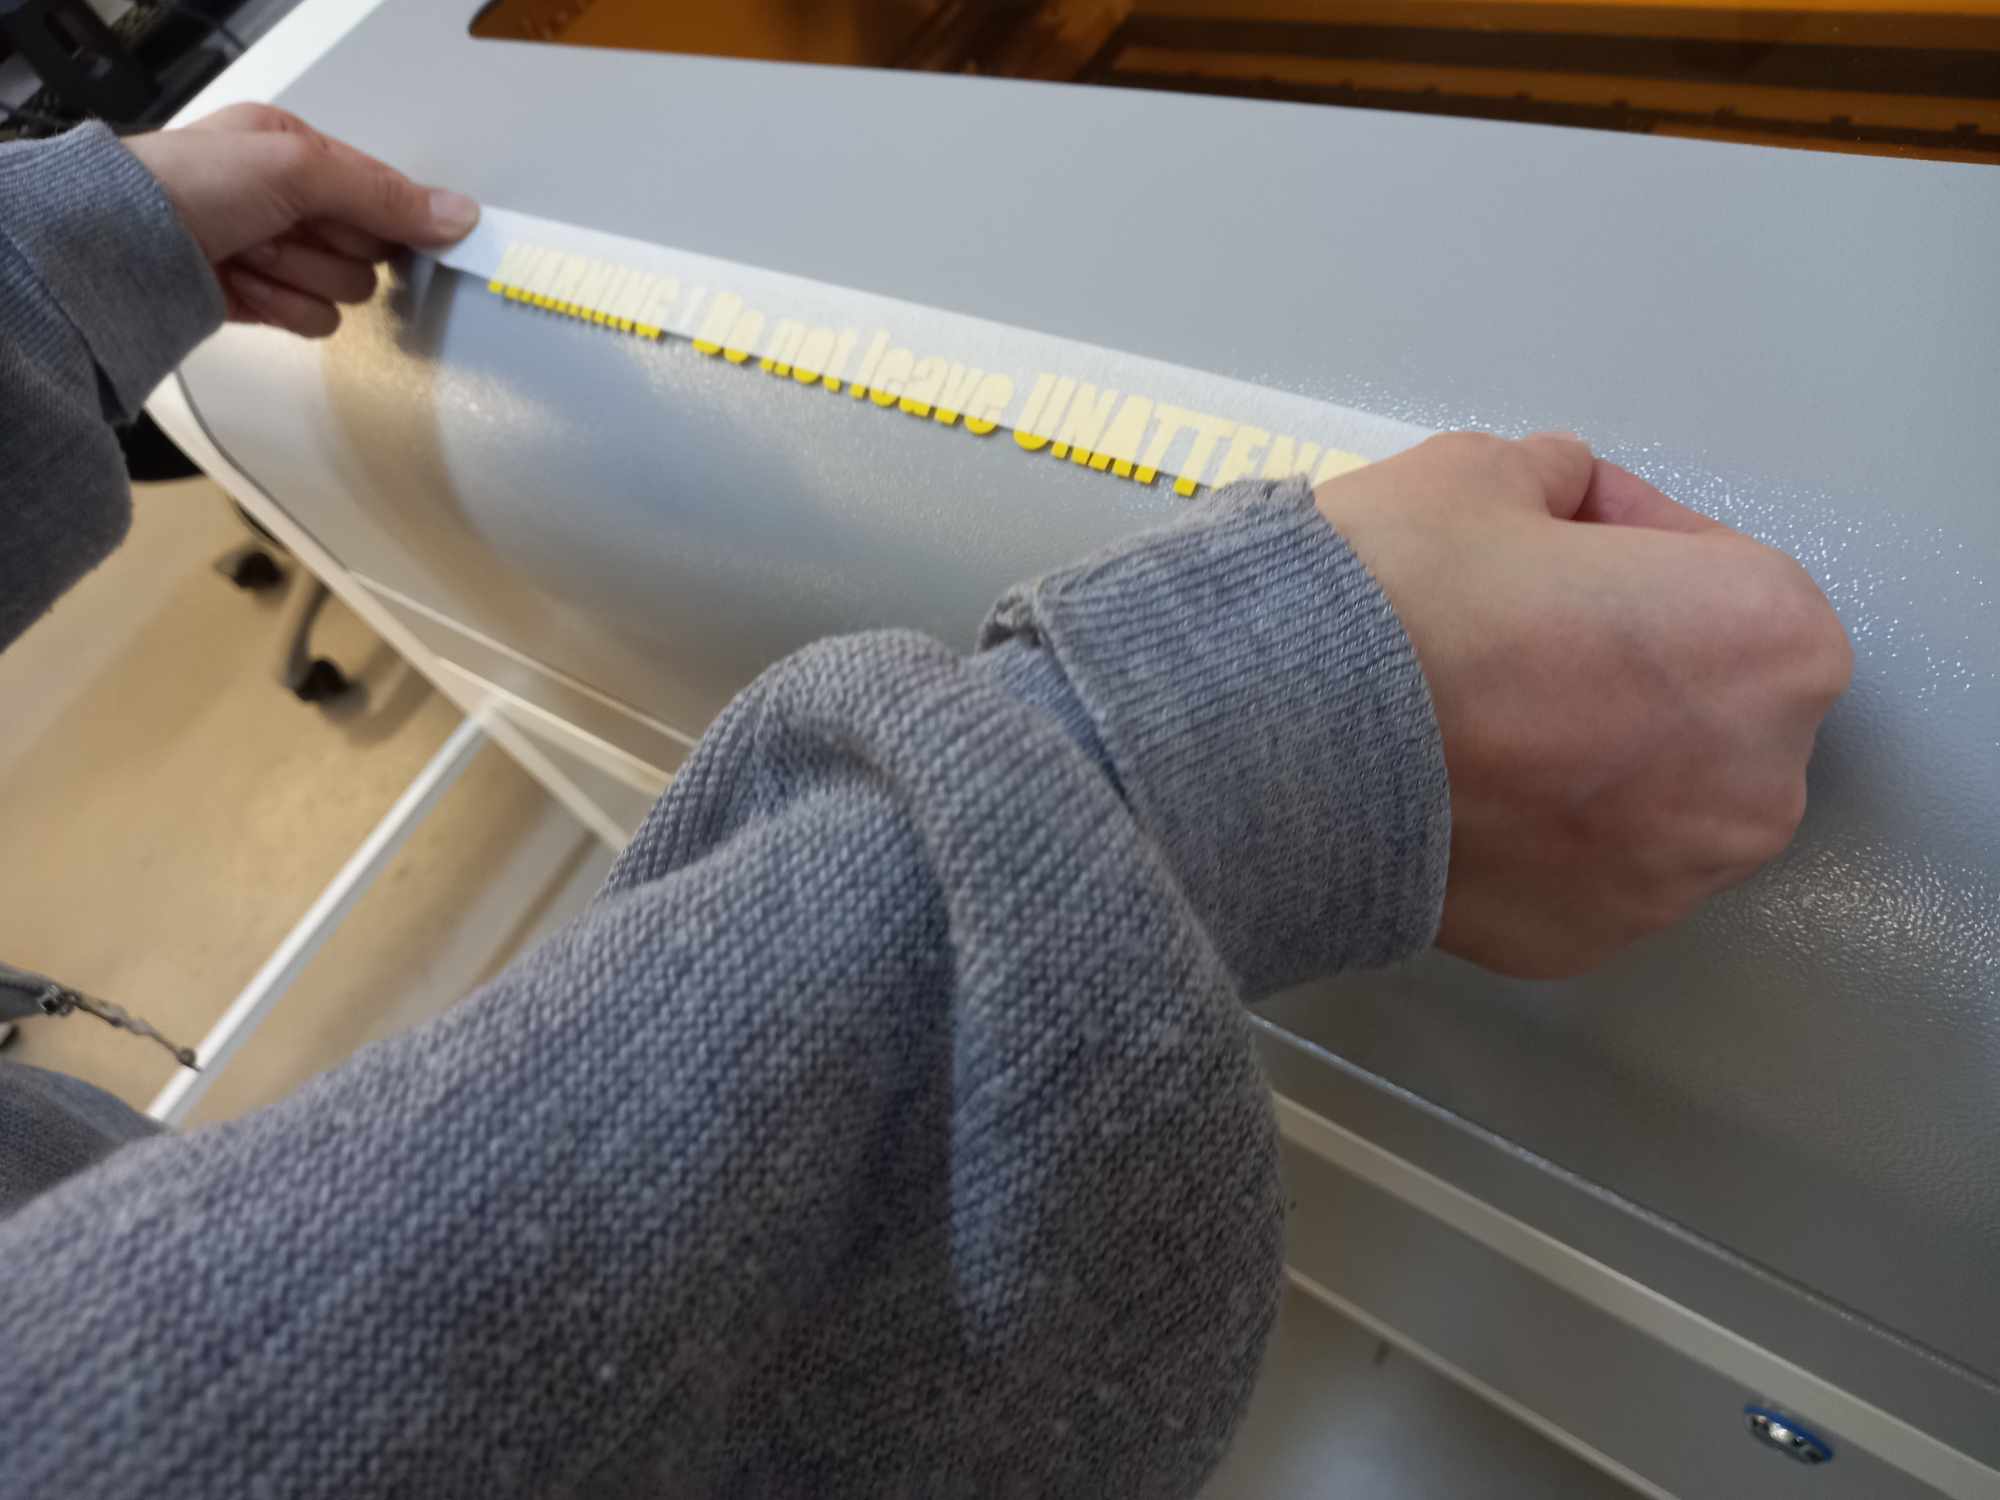
Regardint to my instructor’s advice I sticked a pate only on half part of letters and the remaining parts I pulled out a little bit with tweezers. After this process I took out tape with letters on it.
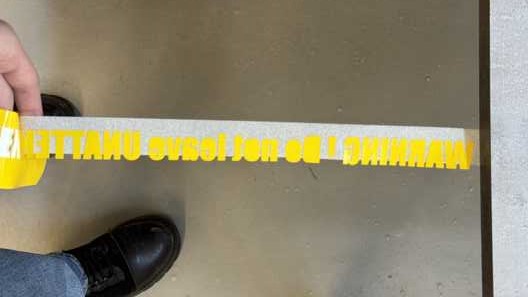
A small part stood on the vinyl. I placed it manually and took out letters’ inside parts.

Same process with second sticker.

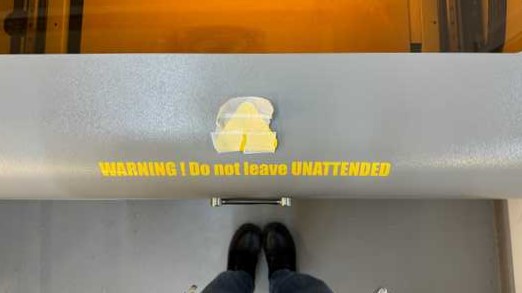
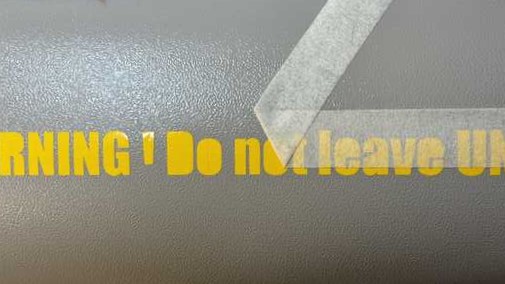
The trouble with this small letters was that surface of lazer cutter was not flat. this grains won’t let the small letters to stick properly while I was taking out the tape.

And the final result.
Laser cutting
Parametric design
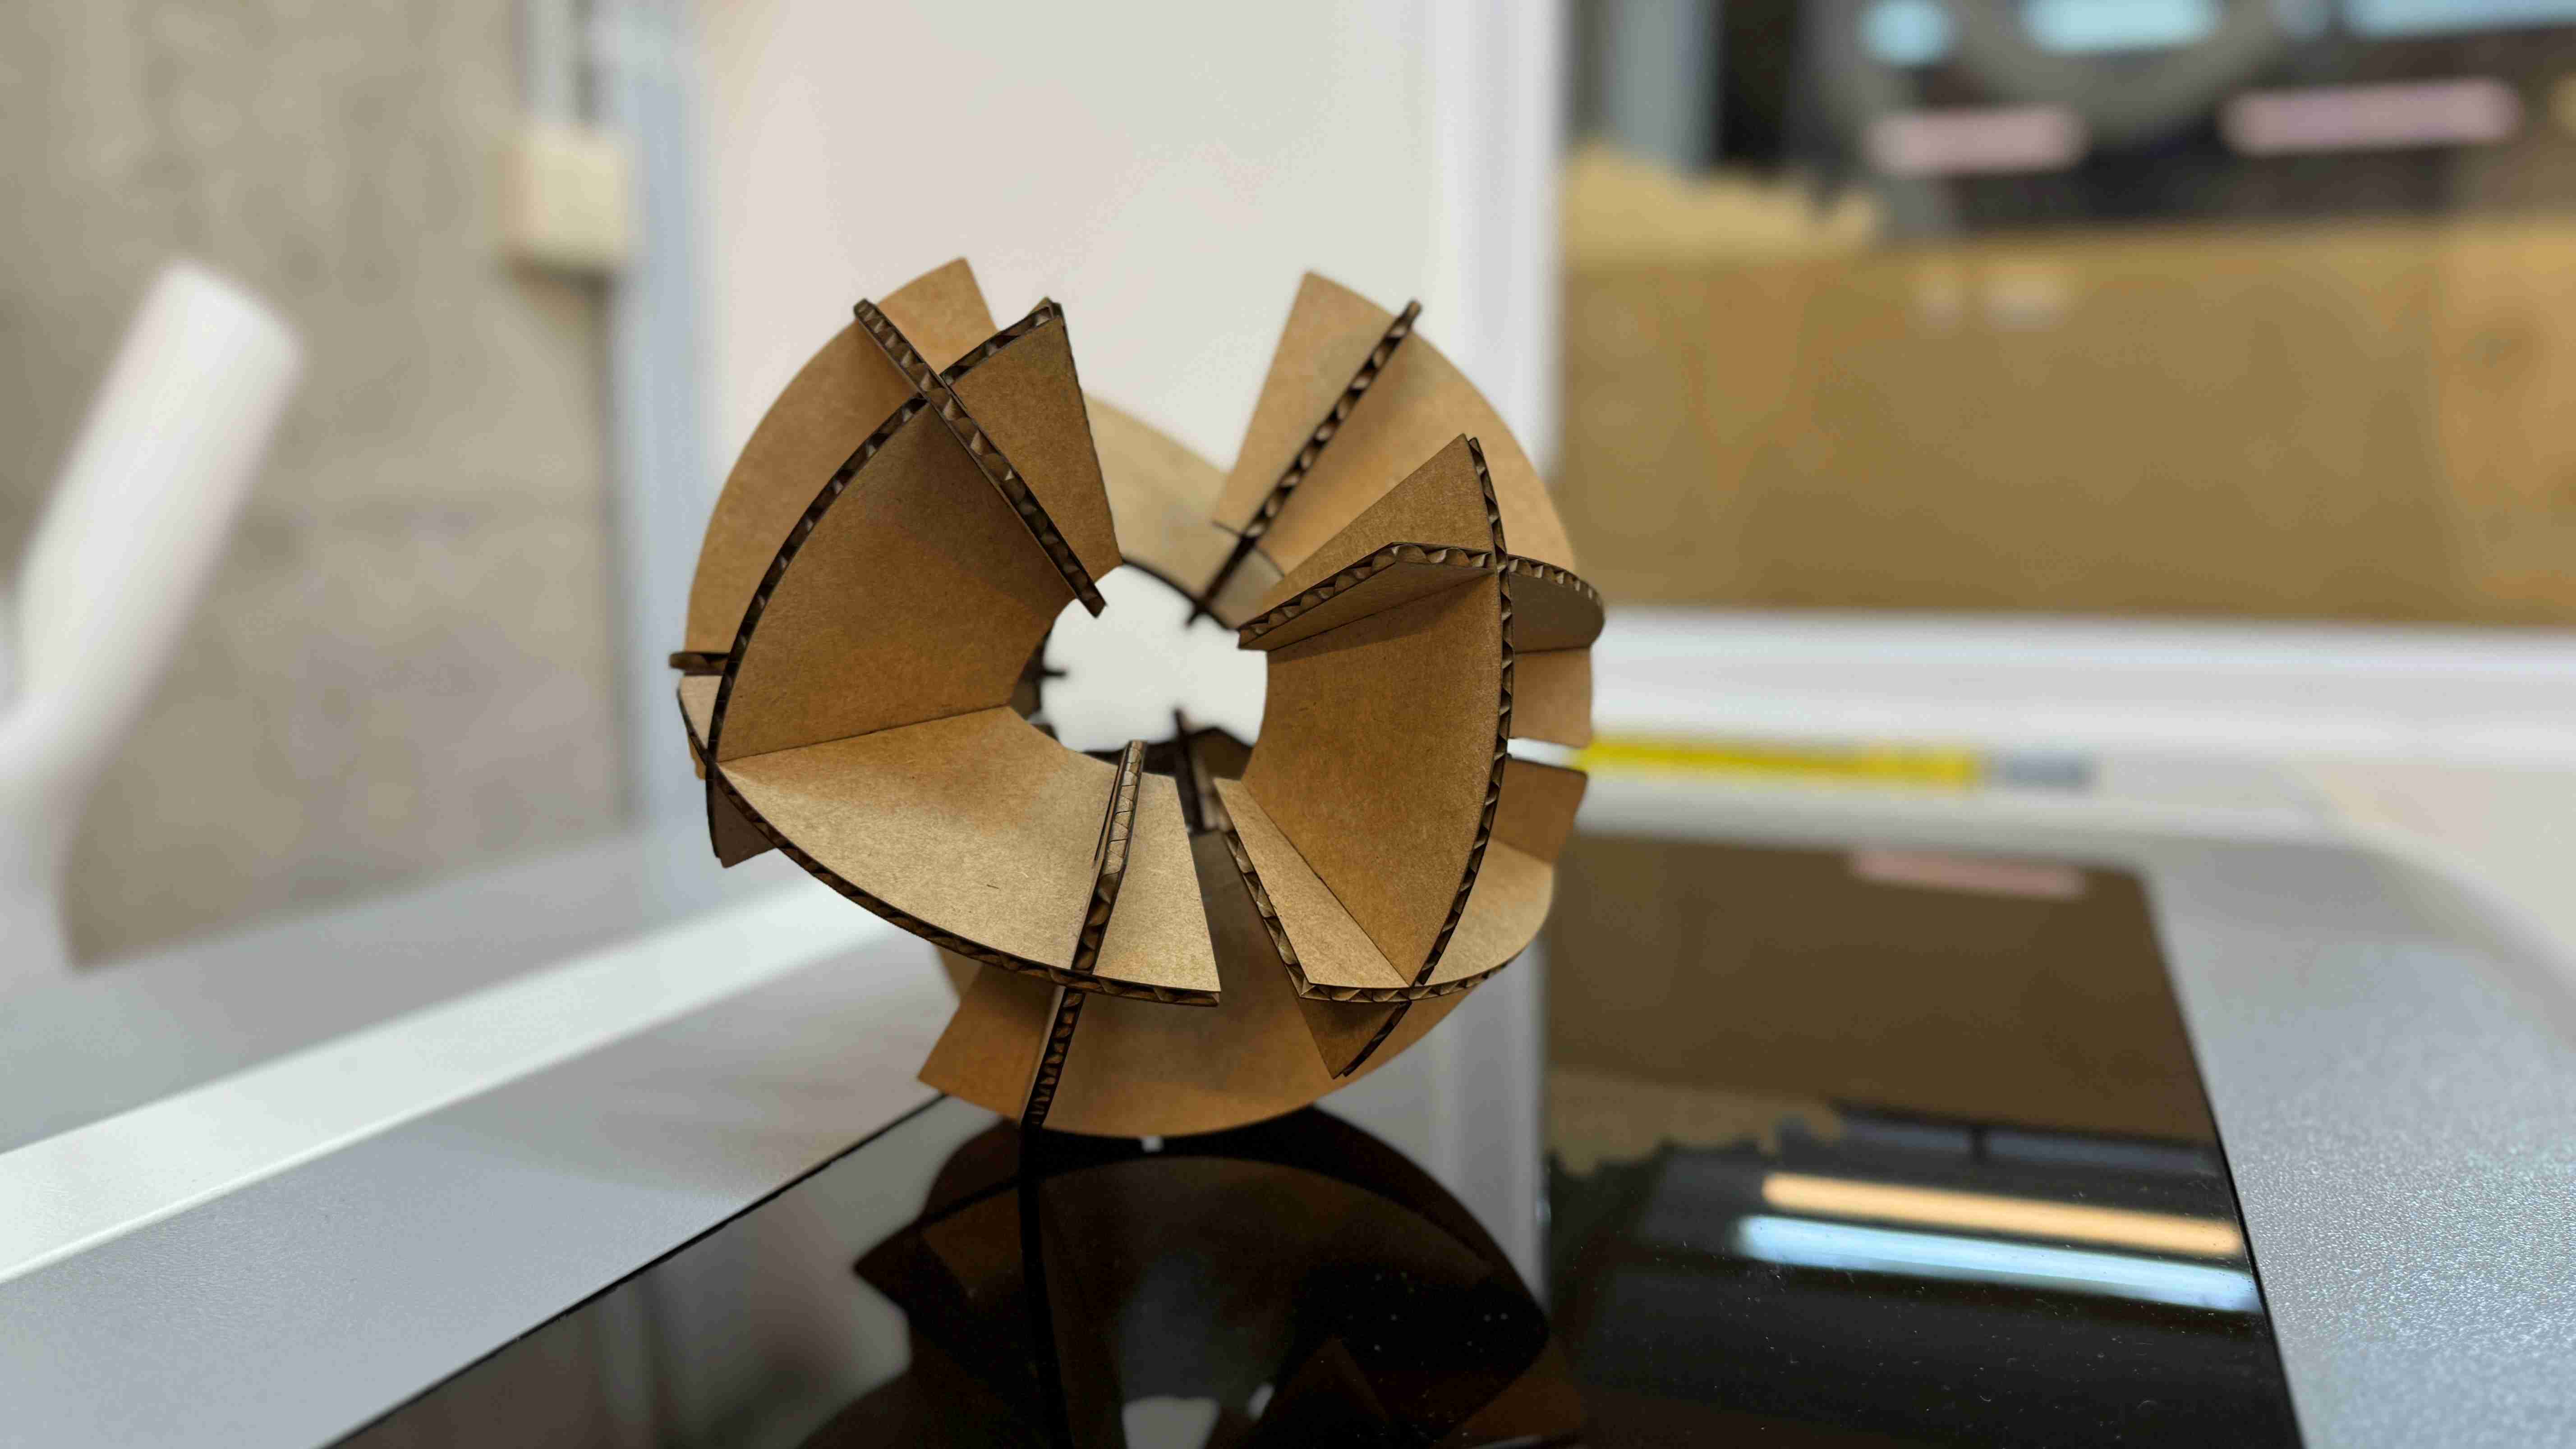
With press-fit joint construction I wanted to make a composition like this sketched one. Parametric design was very useful in my case because at first I misunderstood our cardboard thickness that we were going to cut. And then I just changed one parameter and all design worked well.

I used Fusion 360 for parametric design. I have not used parametric design before.
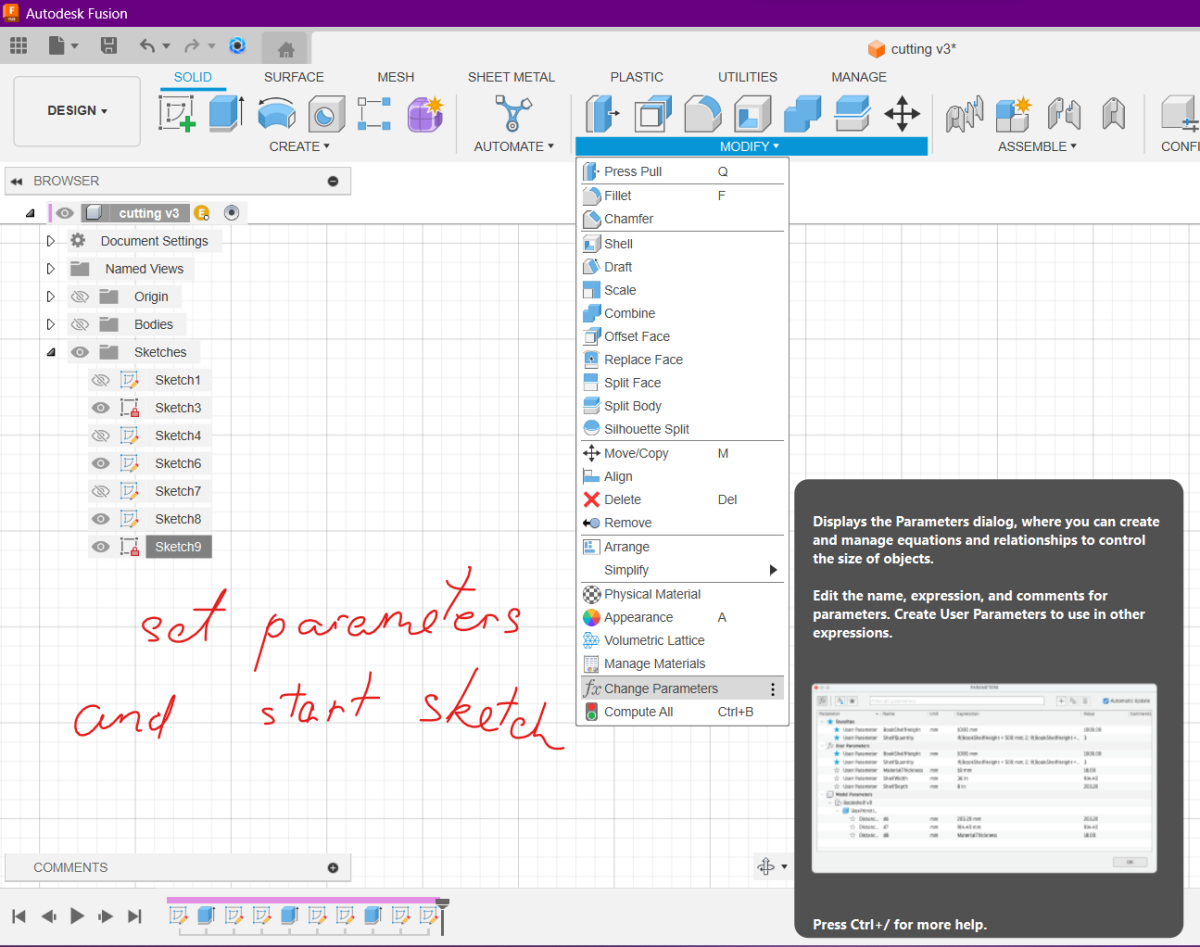
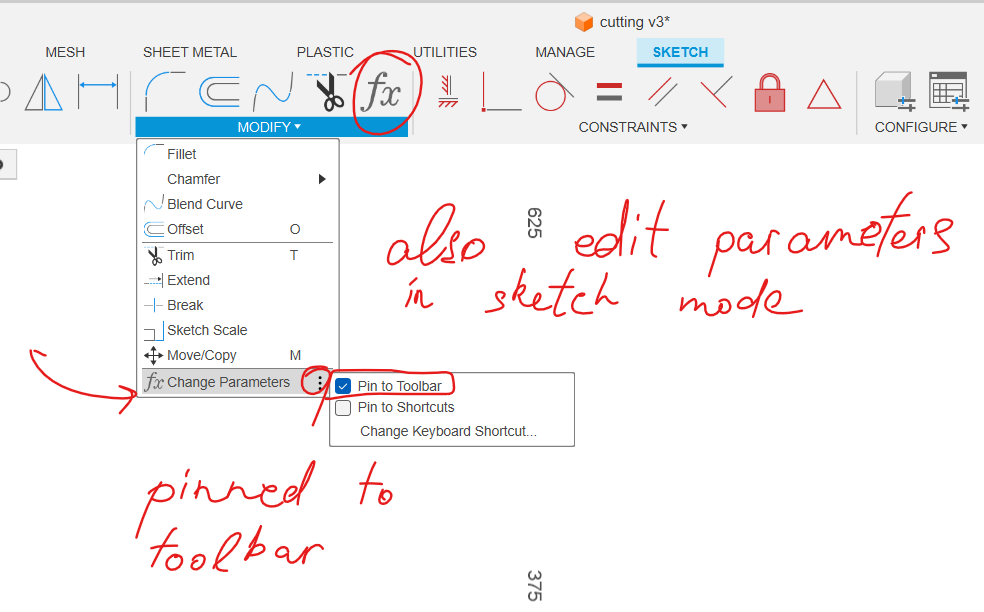
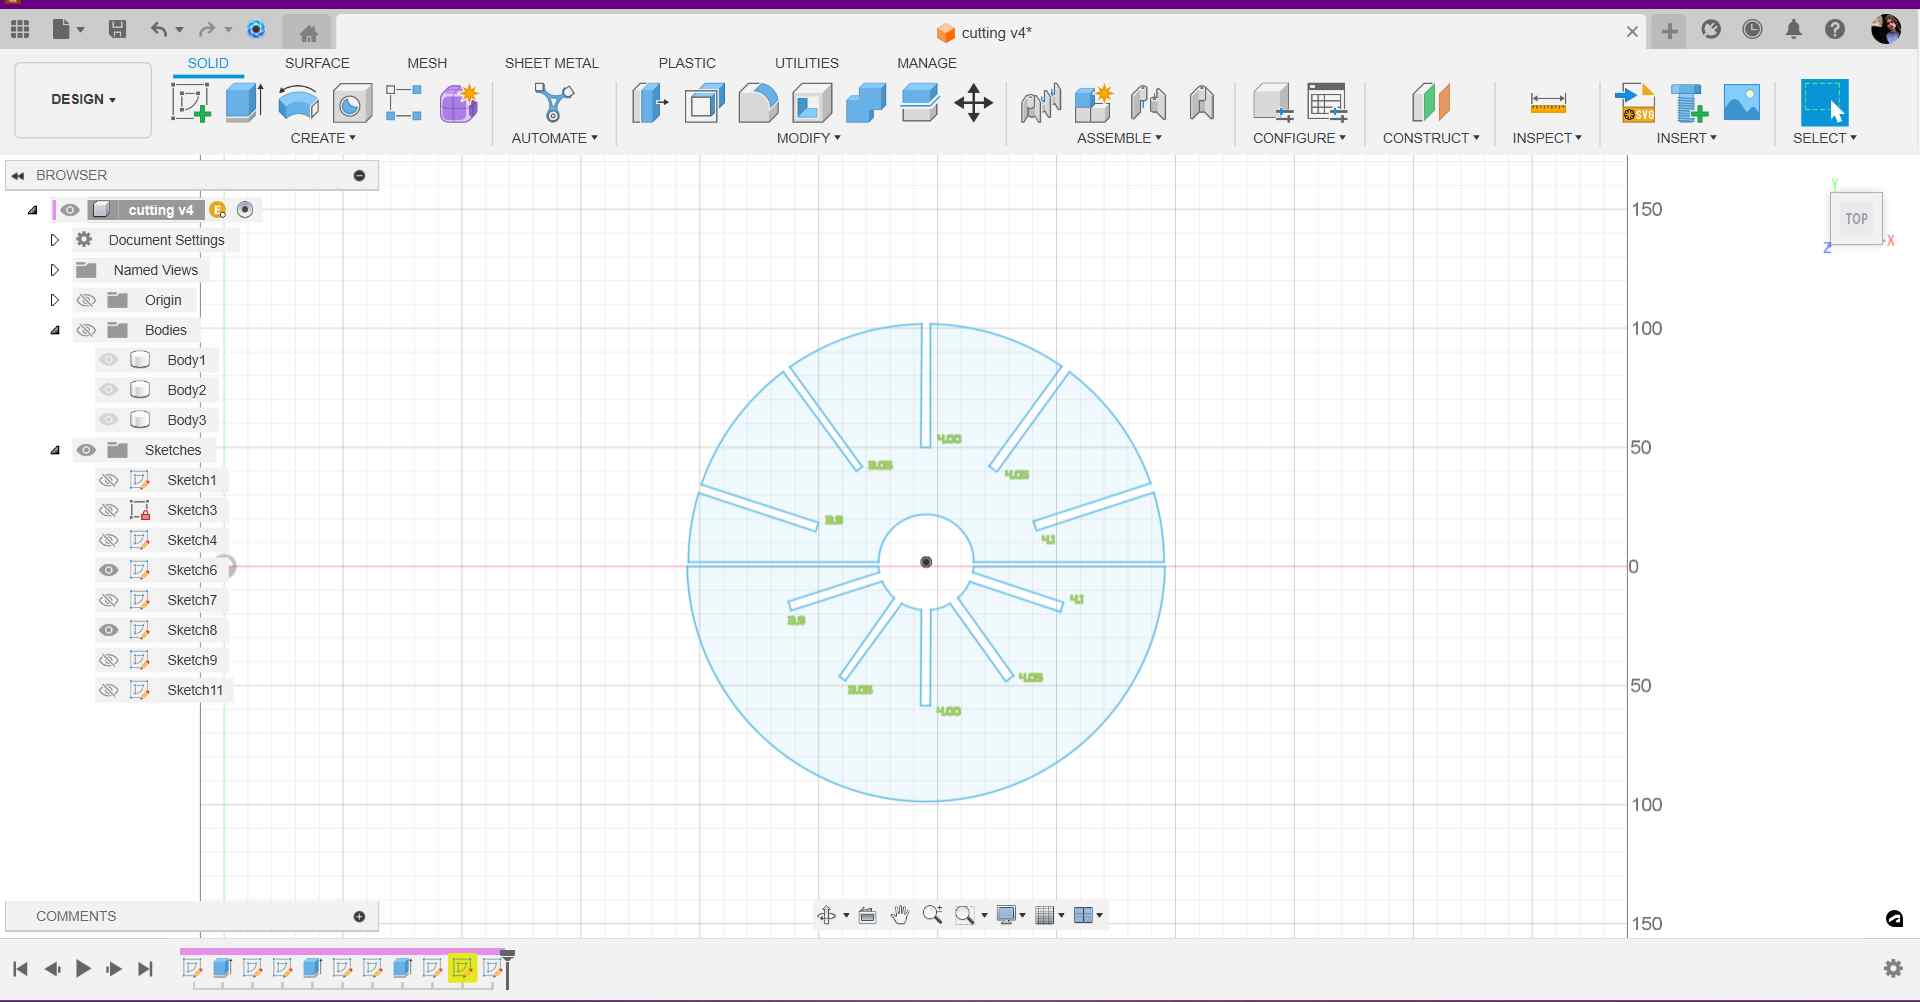
For joints I used symmetry modify to the lines and construction line. As it was supposted to be on circle shaped detail I set angle parameter for construction lines and these are also parametric.
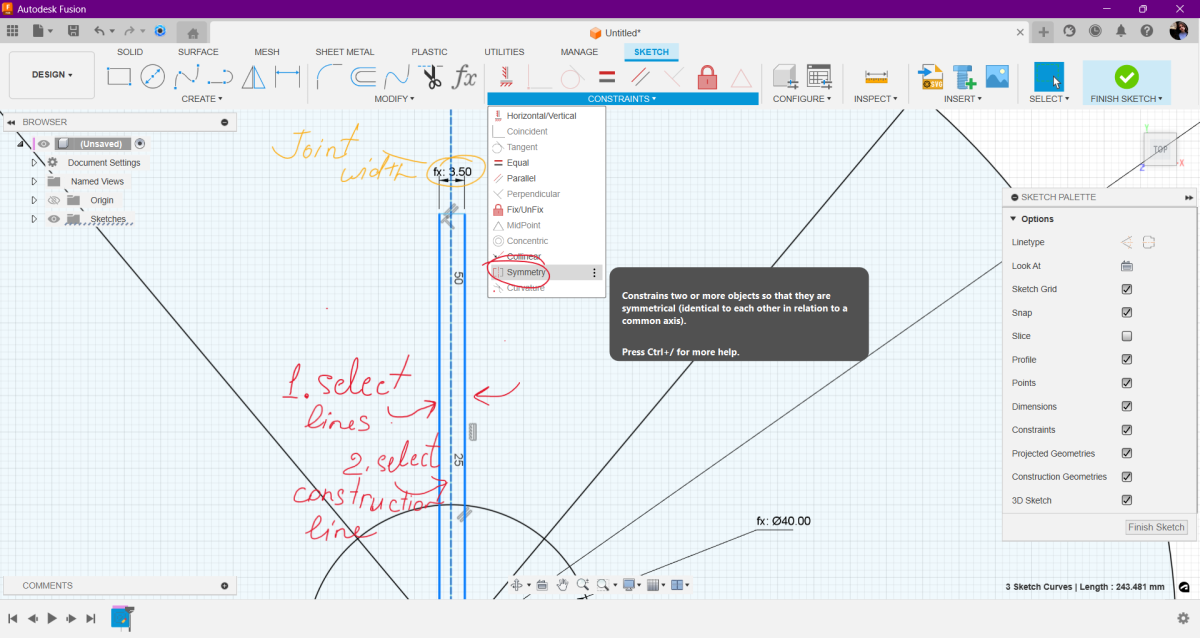
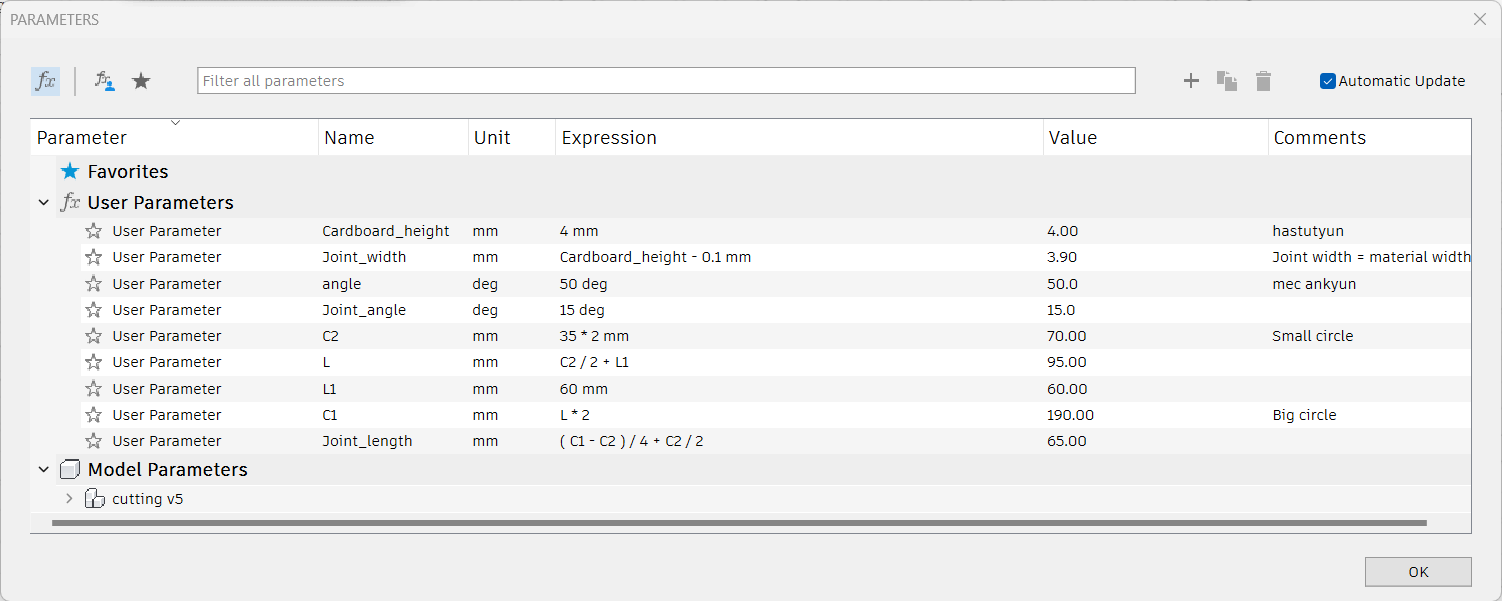
Here is a list of parameters and a detail I made. After I finished sketch I opened anorther and projected (linked) the firstt sketch, and used circular pattern to make 4 of them. I need more but I rather try this out first and then use more cardboard.


I had trouble with breaking text in Fusion 360 into lines. It warned:
Warning: Could not retrieve the profiles of the selected text!
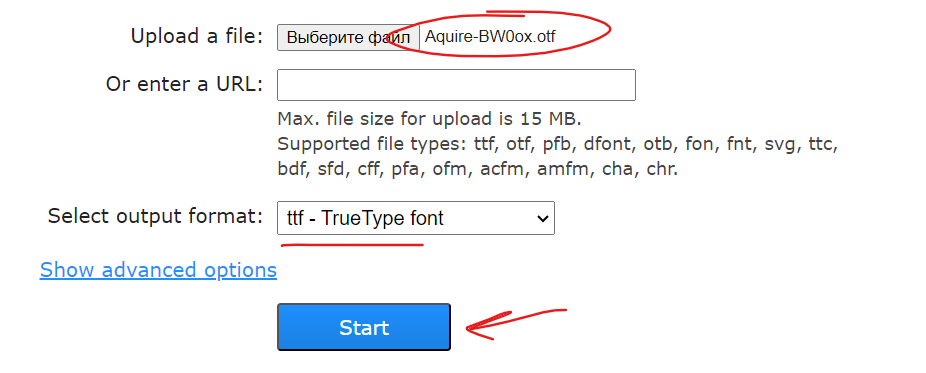
The problem was in the font but I searched solving and find this.
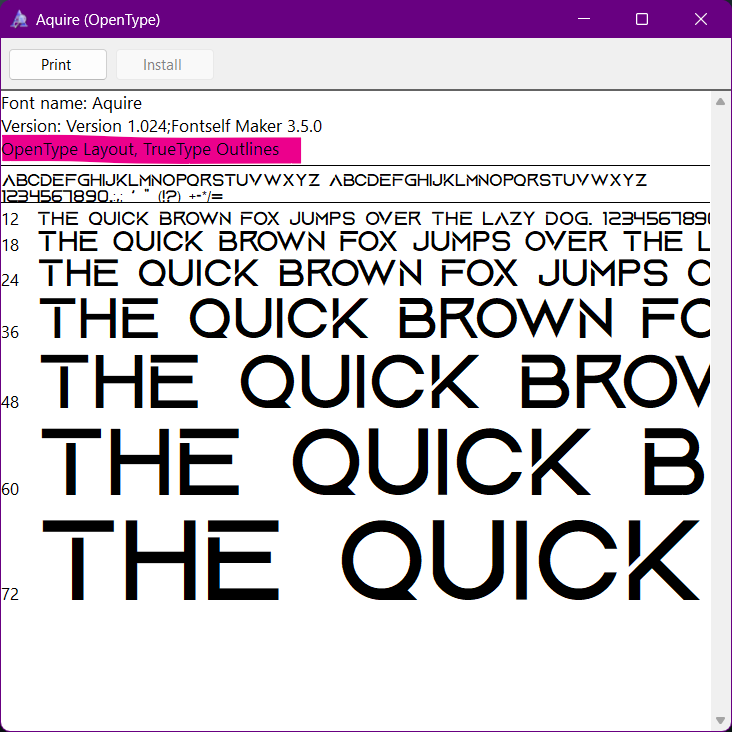
It’s because this font is not otf outlines. But there is solution in this Tutorial
Press-fit test
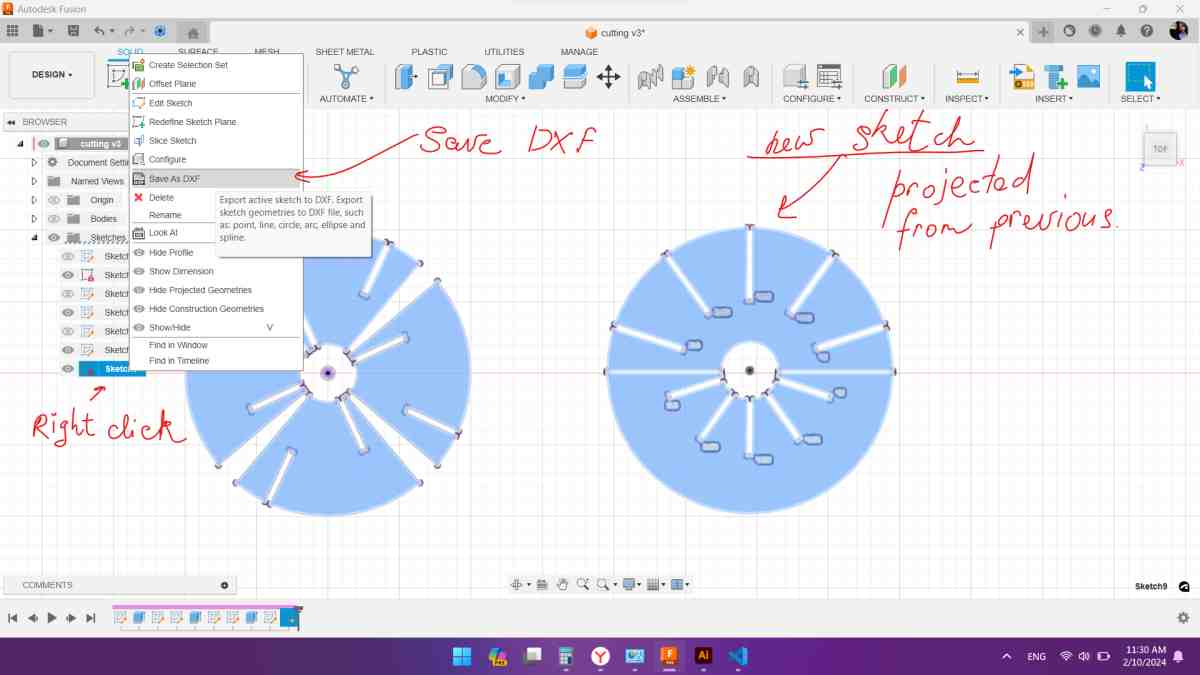
For press-fit ruler I set tifferent widths for joint increasing and decreasing by 0.5mm. Middle point is 4mm. Export file DXF didn’t work well, so I tried exporting sketch with right click on sketch Save as DXF.
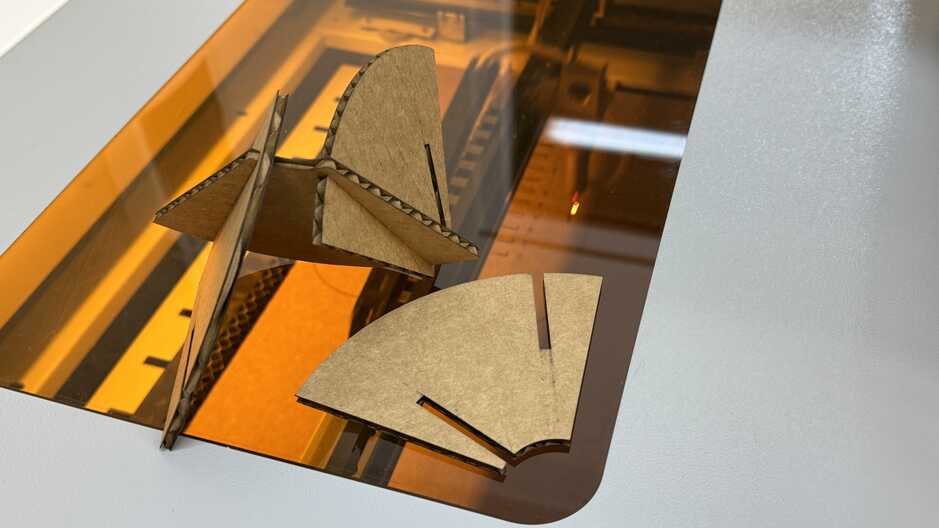
Here is my testing press-fit construction ruler that shows widths of joints increasing and decreasing by 0.5 mm. Since I misunderstood about cardboard thickness which I mistakenly thought is 4 mm. But actually it was 4,1 2mm which I discovered after. And so that automatically made the kerf factor. Best fit was 4 mm on 4 mm.

After tests I finally fixed widths in my parametric design file for 4 mm and arrayed parts side by side to use minimum of space on the material.
Cutting

On the laser for cutting cardboard parameters I used is
- Speed: 30,
- Min and Max power: 50

Cutted out and assembled parts.


Conclusion
So this week I liked very much working with laser cutters. For future I’d like to advice to check material’s thickness first then start designing and cutting. Also in this week in the lab we tried engravings on cardboard and aluminium sheet with laser cutters.