Week 9: Output devices
Group assignment
The page describing the group assignment for this week (measuring the power consumption of an output device) can be found here.
Introduction
The week we continued working with PCBs. Our task was to design and make a board that would include an output device.
The plan
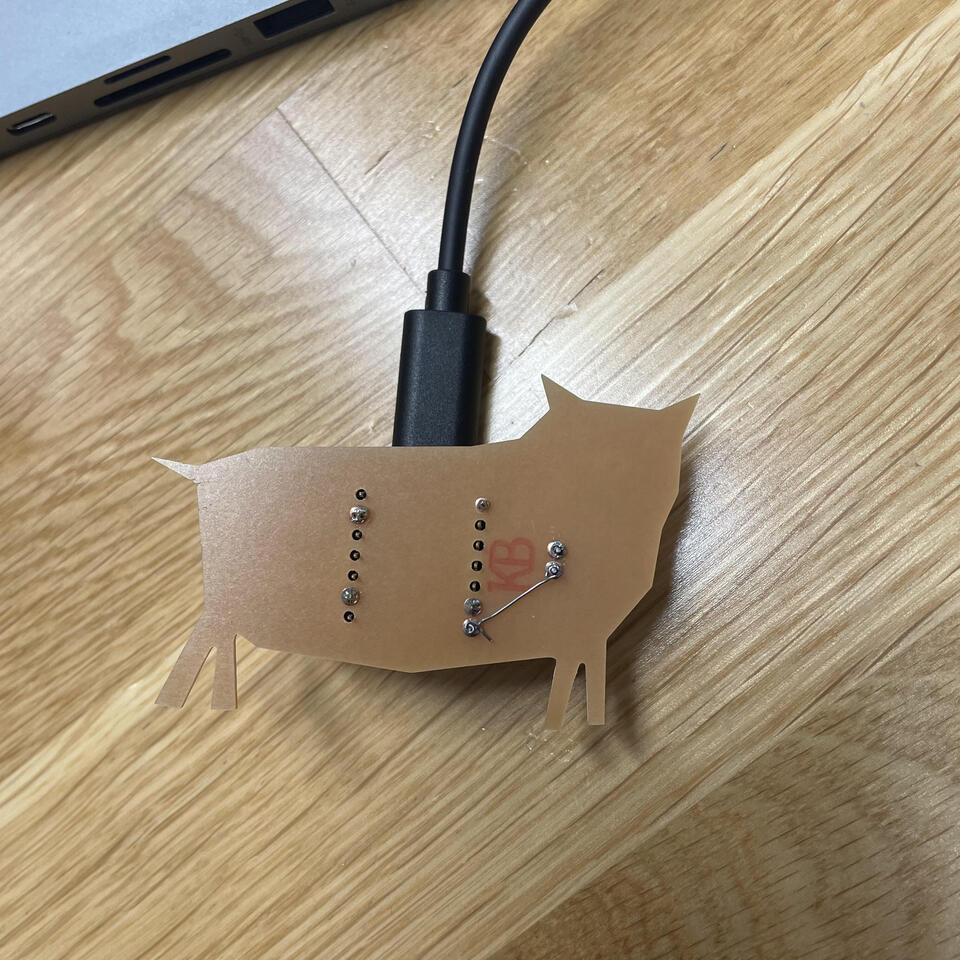
I would like to make a pig shaped board with a mini speaker and a button. When you press the button, the pig would oink.
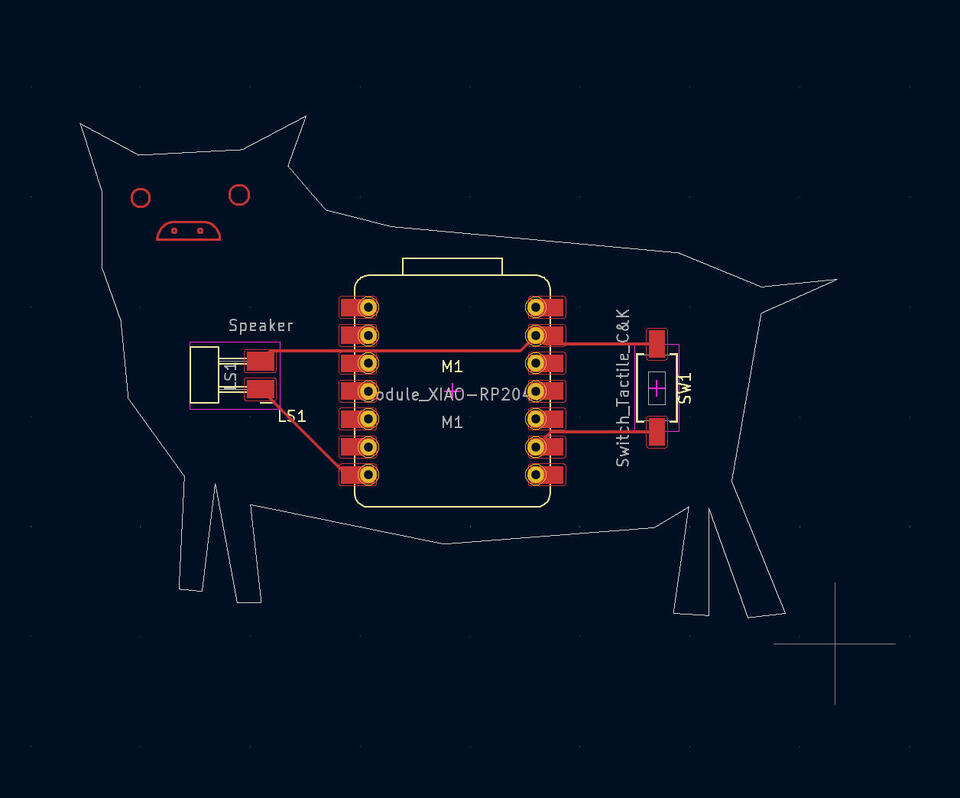
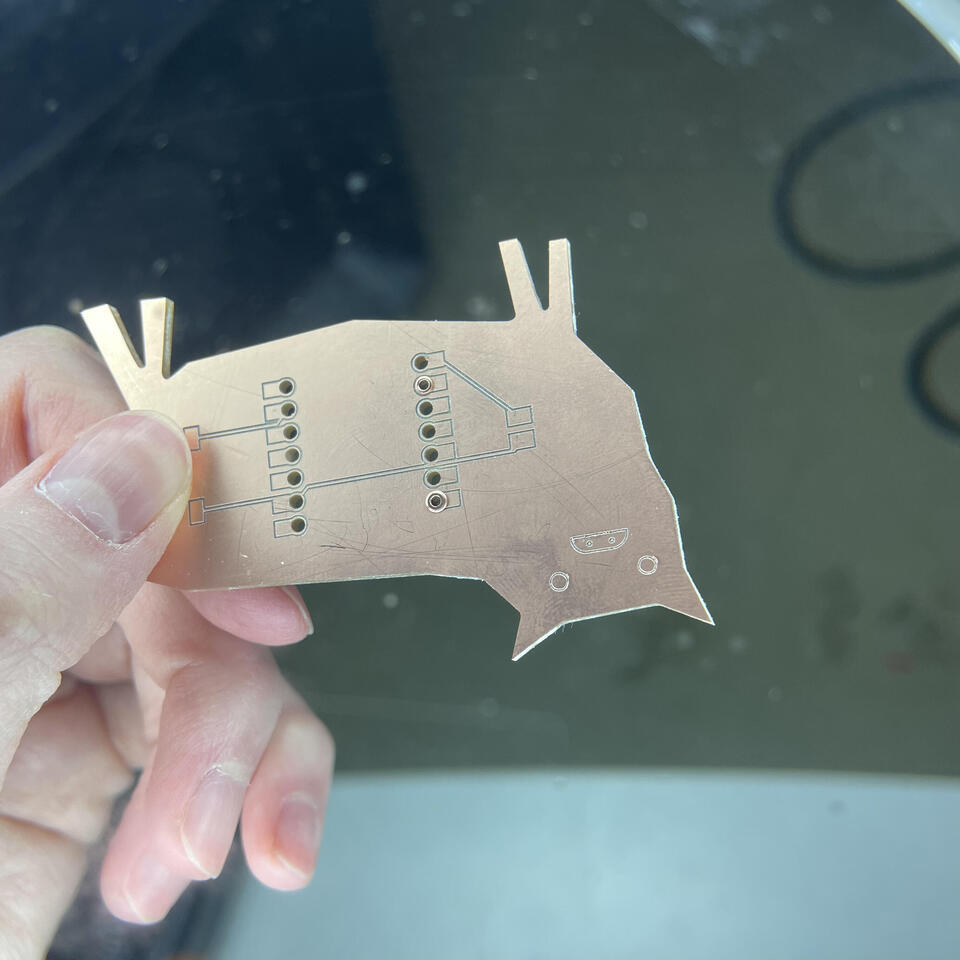
The design

|
|
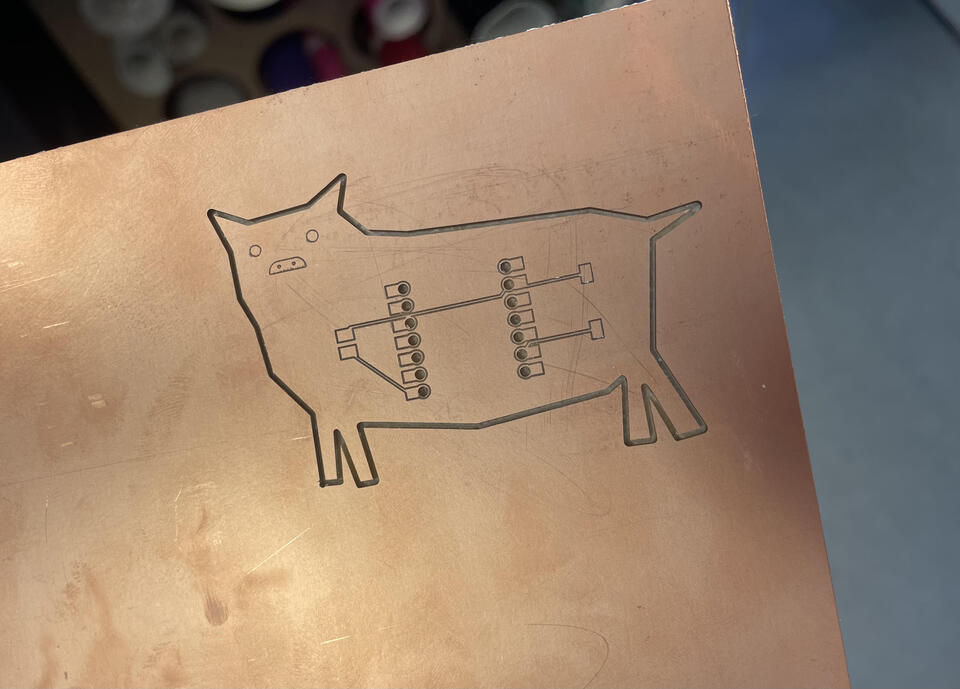
I used the KiCad tool to make the design. I don’t think the speaker I used was in the fab library (or at least I haven’t found it), so I put some general speaker there. After that I cut it using the milling machine in the lab.
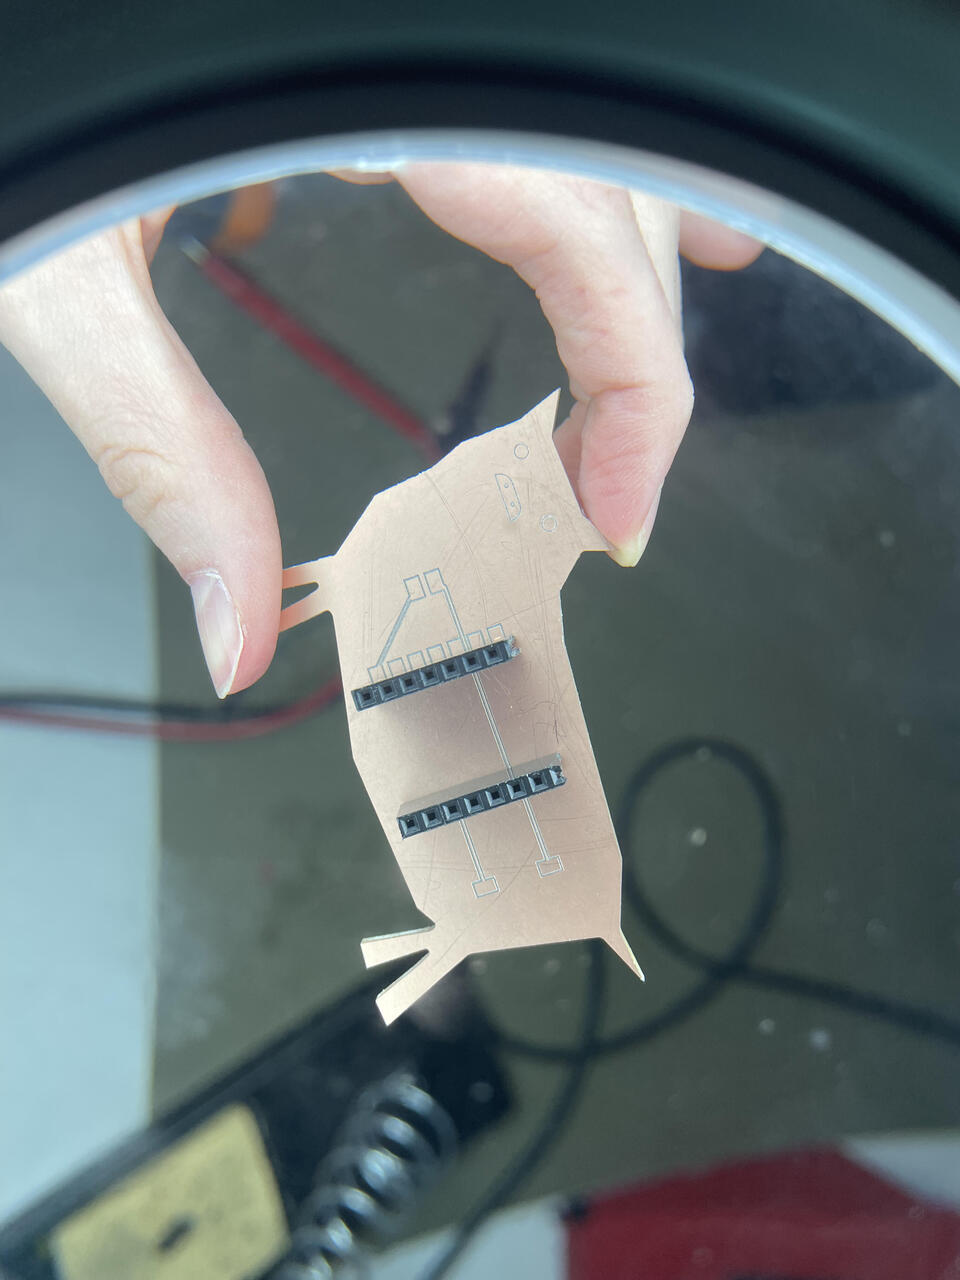
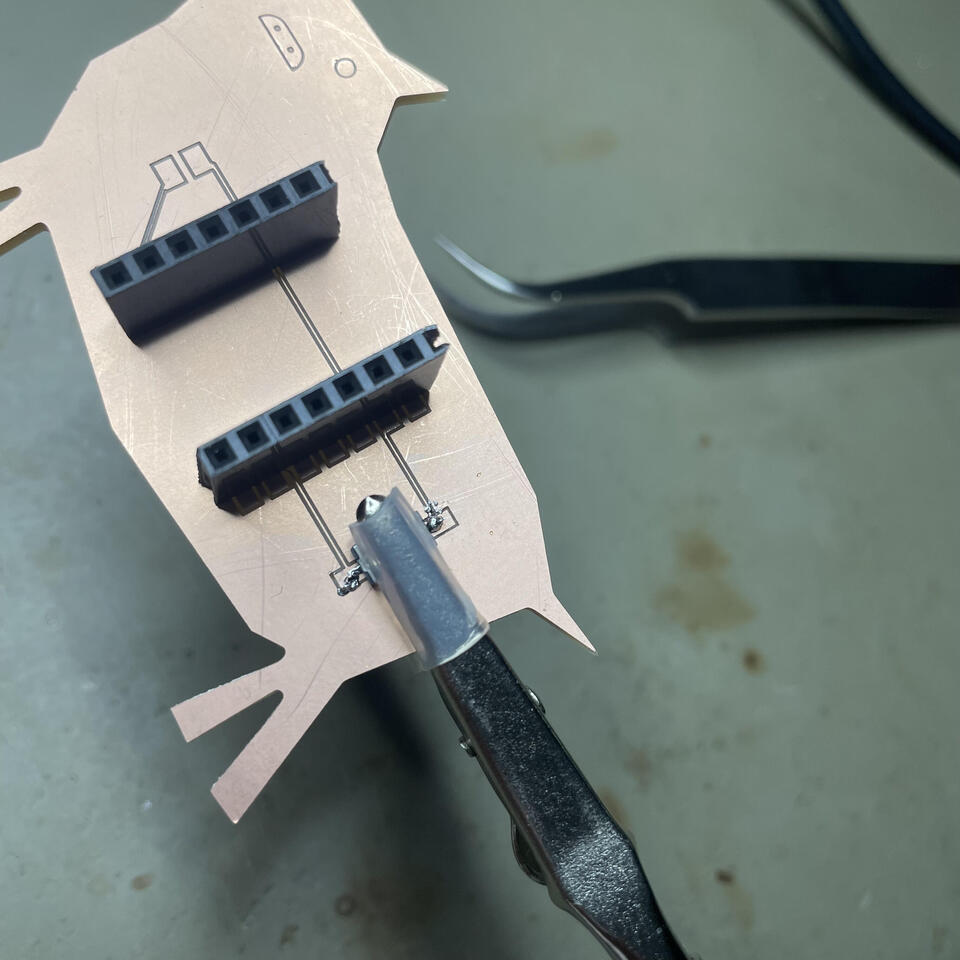
The soldering
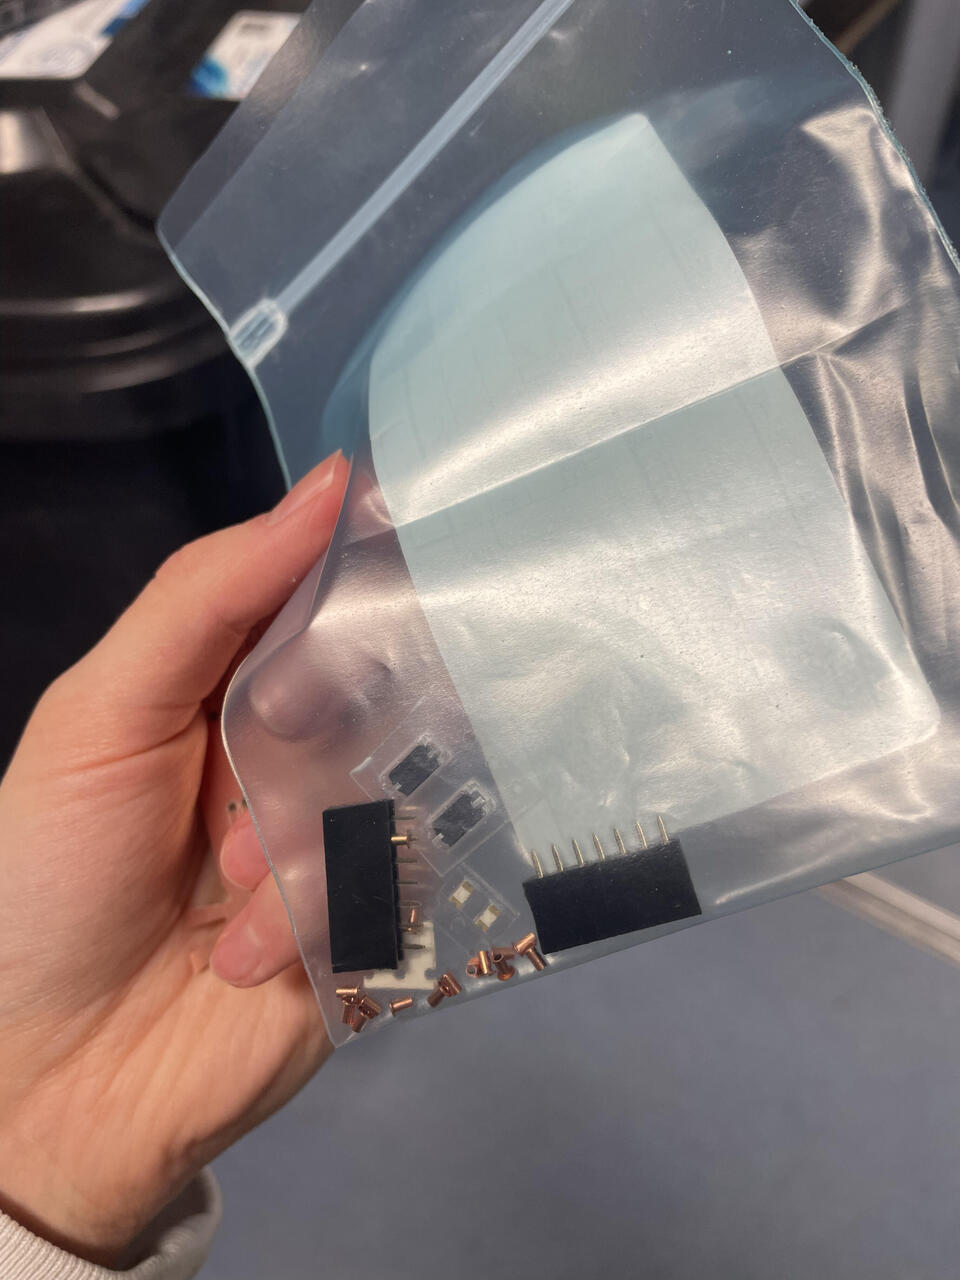
Next I looked for the components that were needed. I am using the female headers so the Xiao board can be attached and reattached smoothly. Decided to use the rivets so the header sticks there better, and it is connected to the copper - next time I would just put the board from the bottom of the PCB, as that eliminates the need for rivets.
|
|
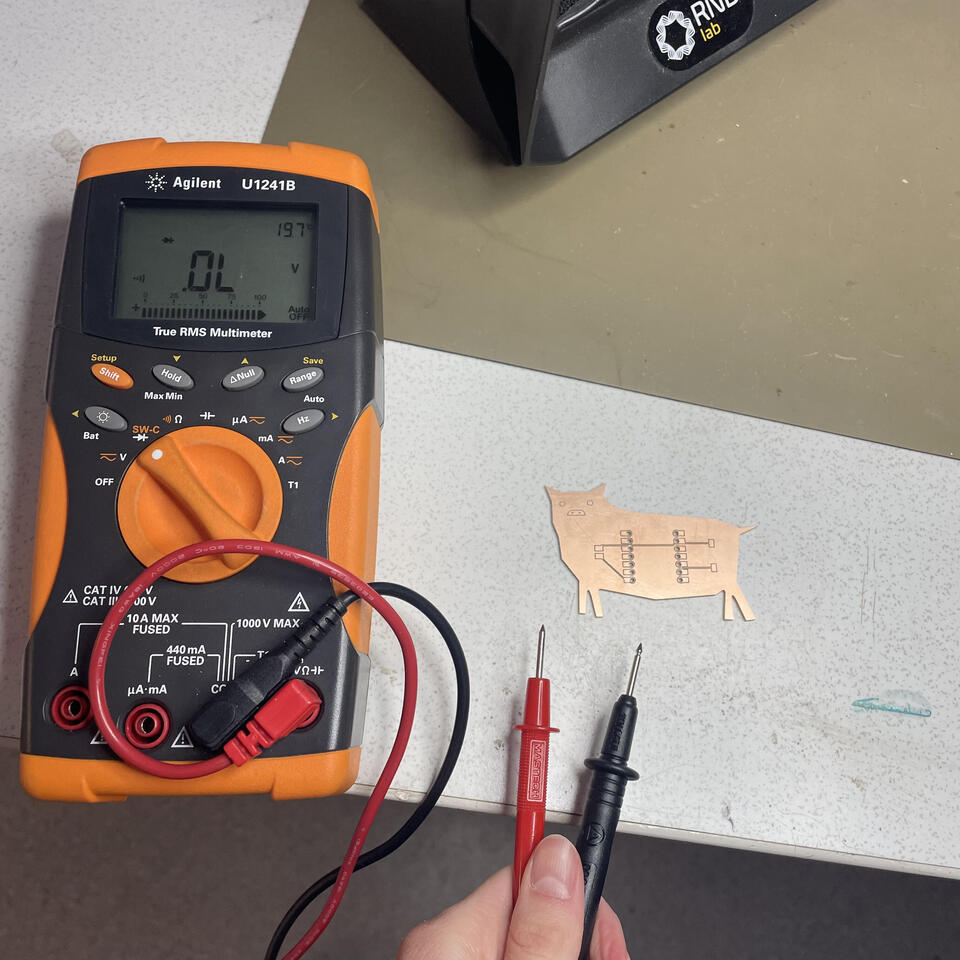
The first try on soldering the switch was a big fail and recovering was long. My soldering skills are still quite poor, but at least I got better at fixing my mistakes. For the longest time there was a short circuit somewhere (that I couldn’t find) but I managed to find it at least.
|
|
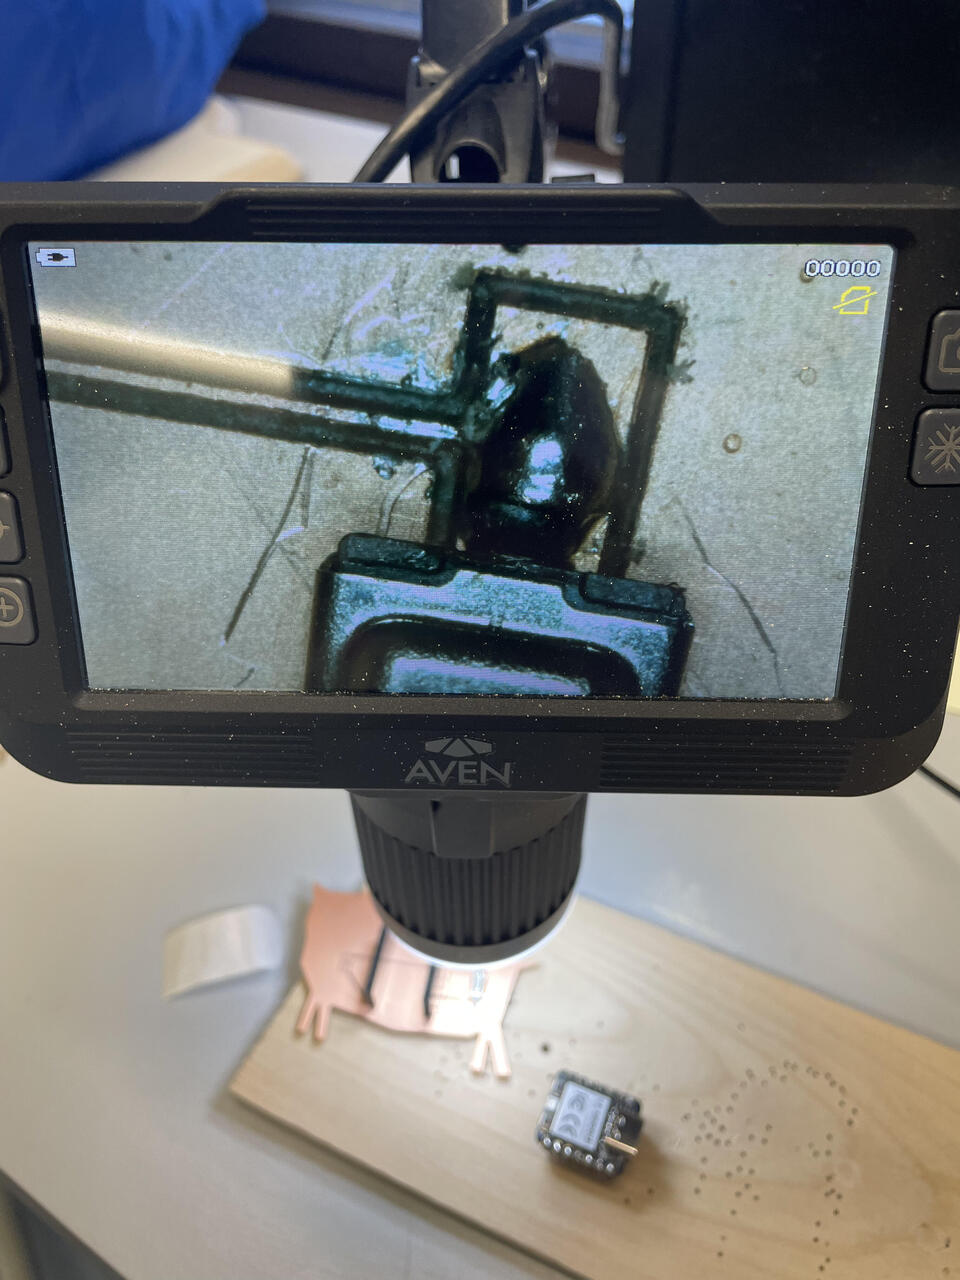
I really liked the “digital microscope”. It made is easier to see.
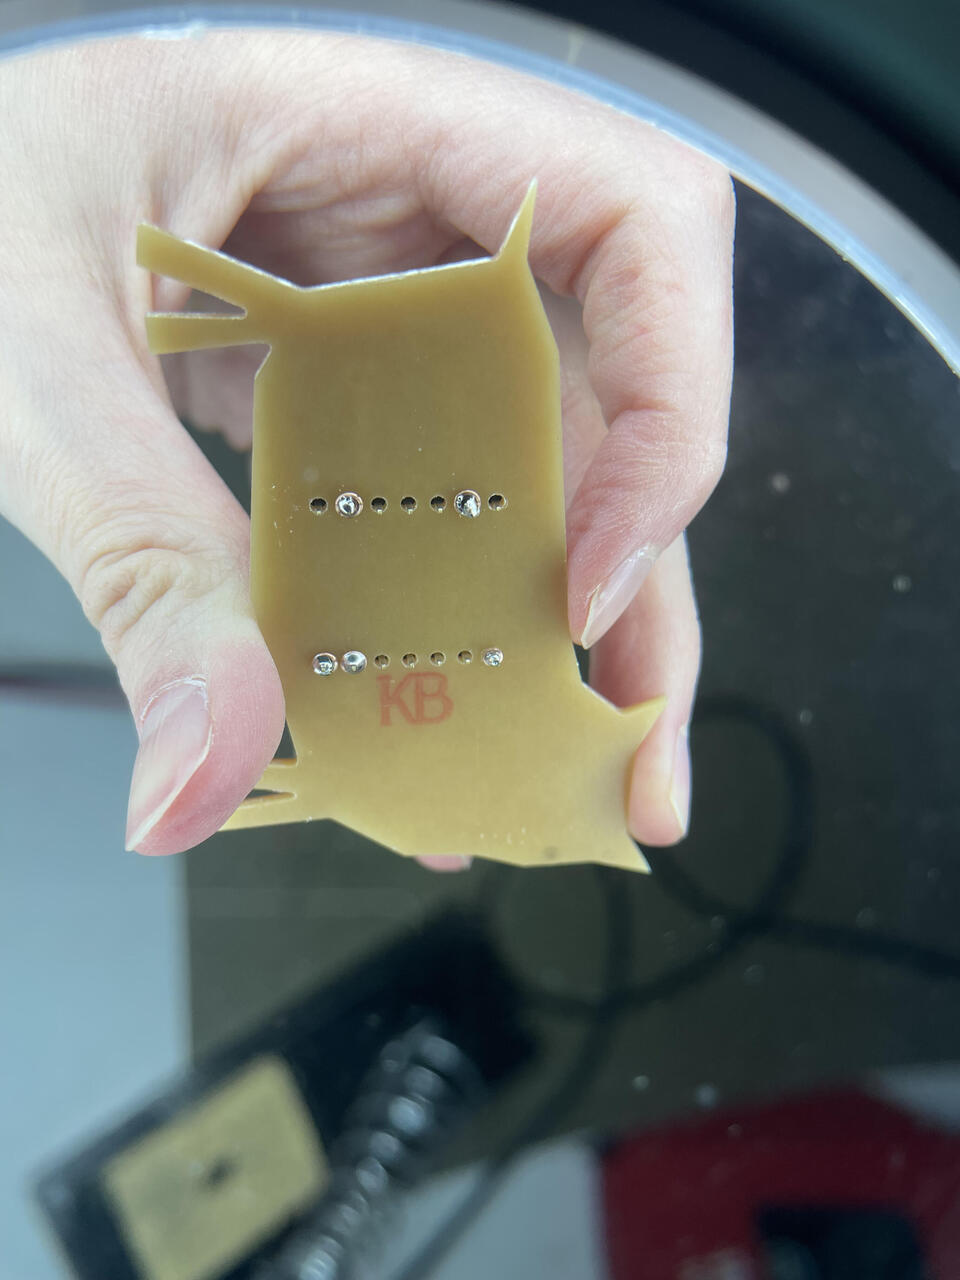
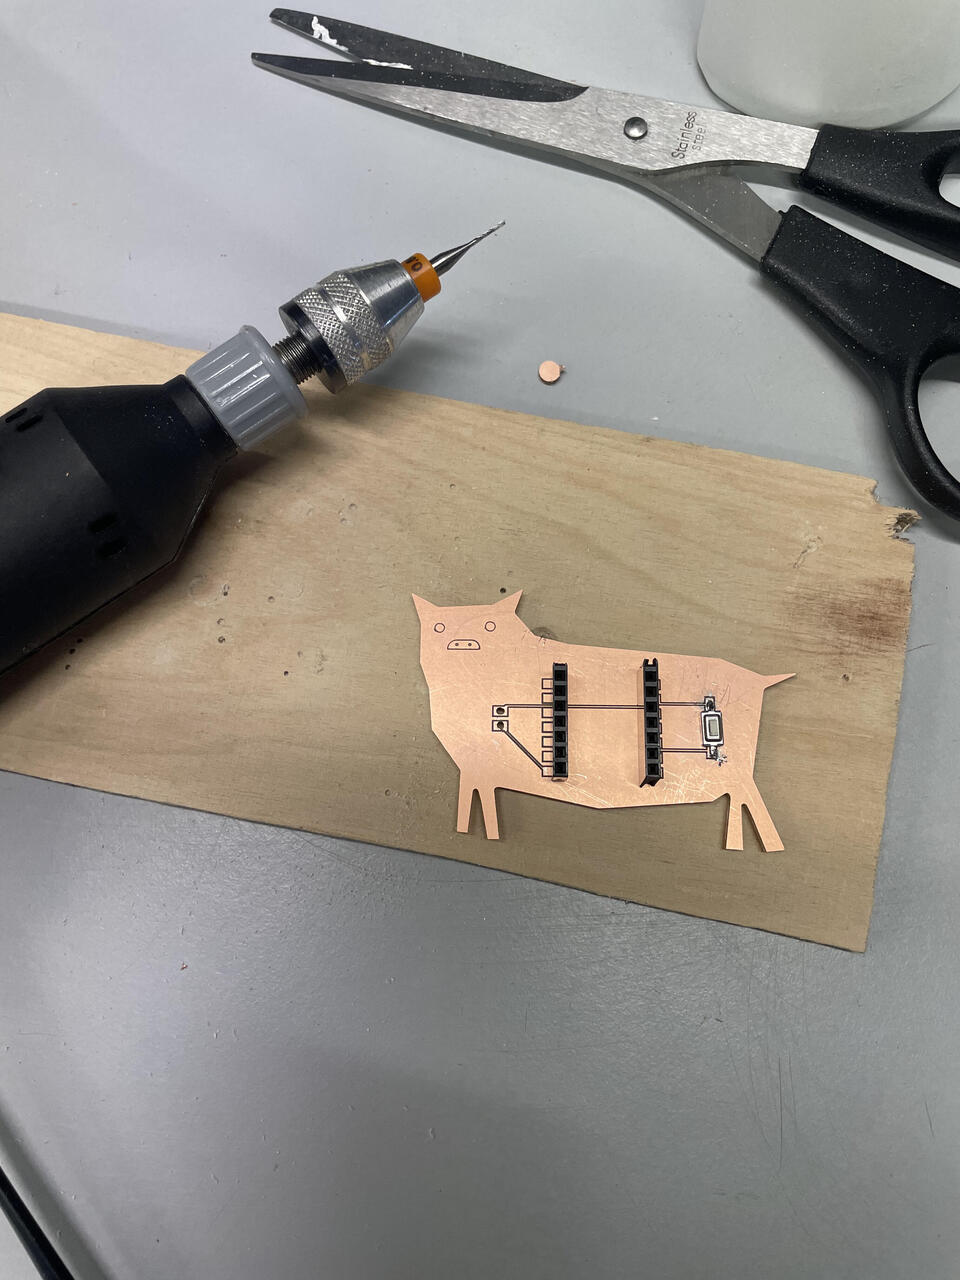
Then I manually drilled the holes for the speaker. I also wanted to use rivets, but the holes were too small, so I had to redo them (multiple times). I think I maybe put the rivers upside down? Not sure if that’s possible, need to investigate.
|
|
At the end the pig was quite scratched :D (battle scars).
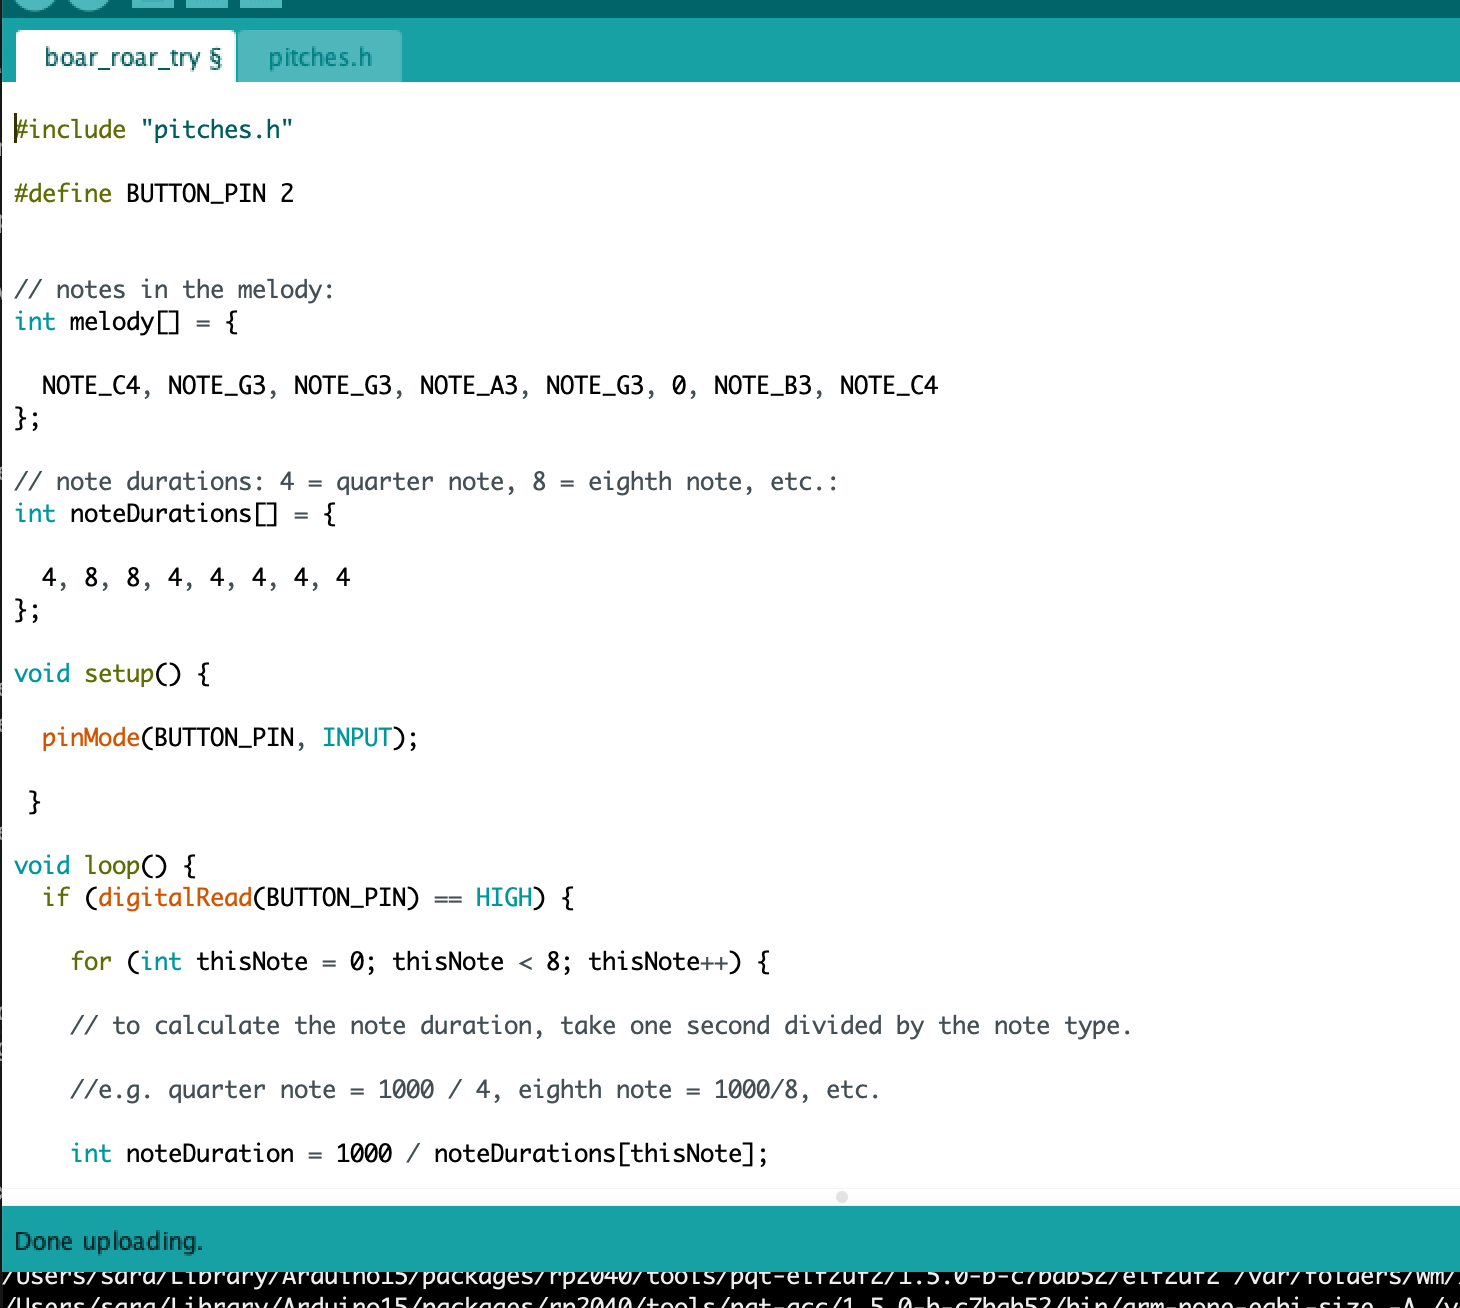
The code
Code is the example “toneMelody” from Arduino/File/Examples/02.Digital/toneMelody. I played with the code a bit, but I haven’t come up with my own melody.
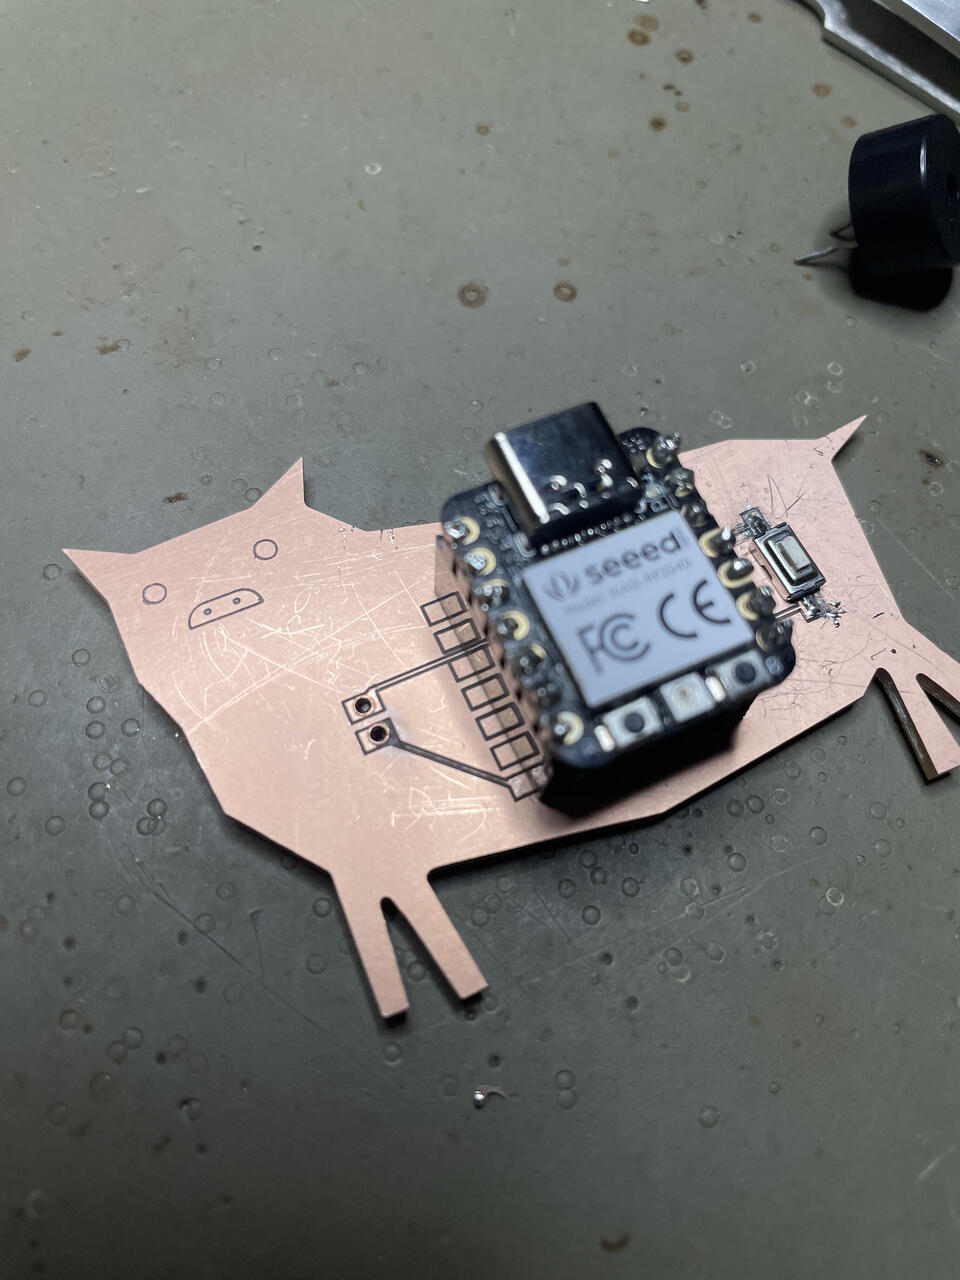
Final pig
Inprovisation
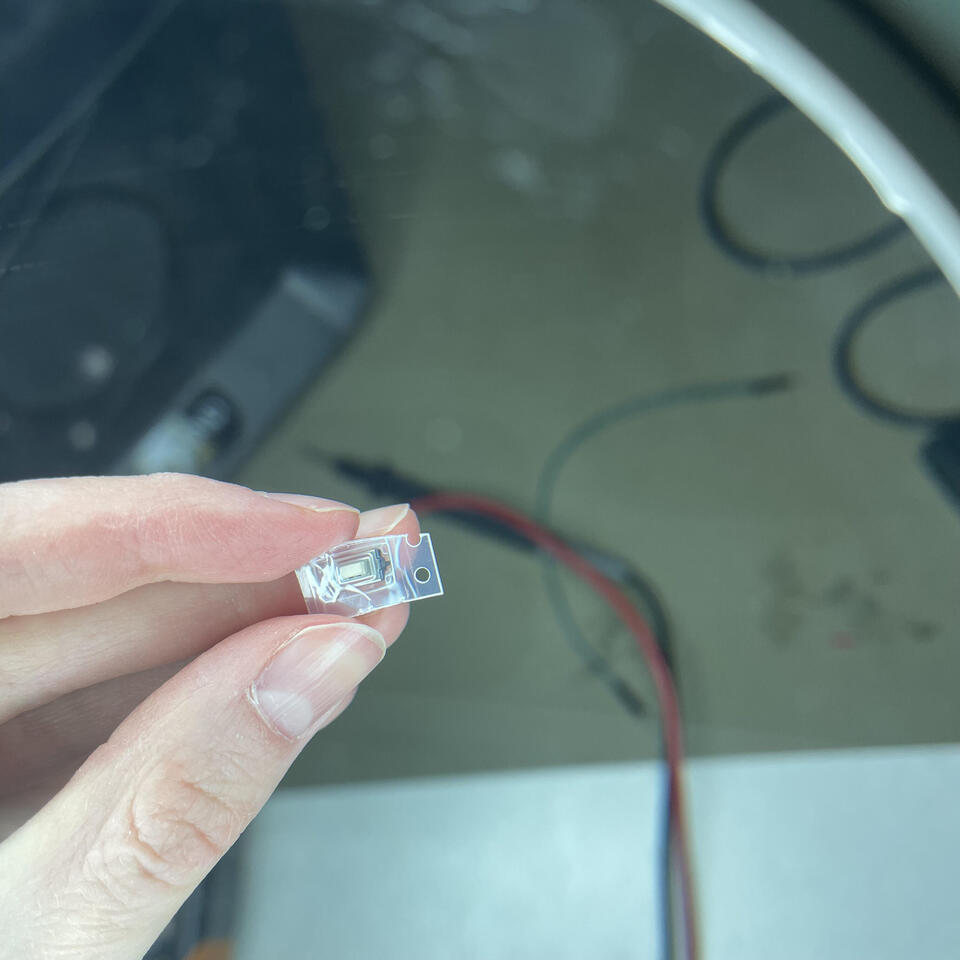
I think either the rivet was not attached properly, or I somehow scratched the trace, but the speaker was not connected to the board. I had to do a lil cheeky connection.
Files
Download Arduino code and KiCAD files used in this week - [Zip file]