Week 13: Networking and Communications
This week we were working with a new XIAO board that has a WiFi/Bluetooth dual-mode chip, and therefore is capable of creating and receiving a radio signals.
Group Assignment
The page describing the group assignment for this week (send a message between two projects) can be found here.
New board
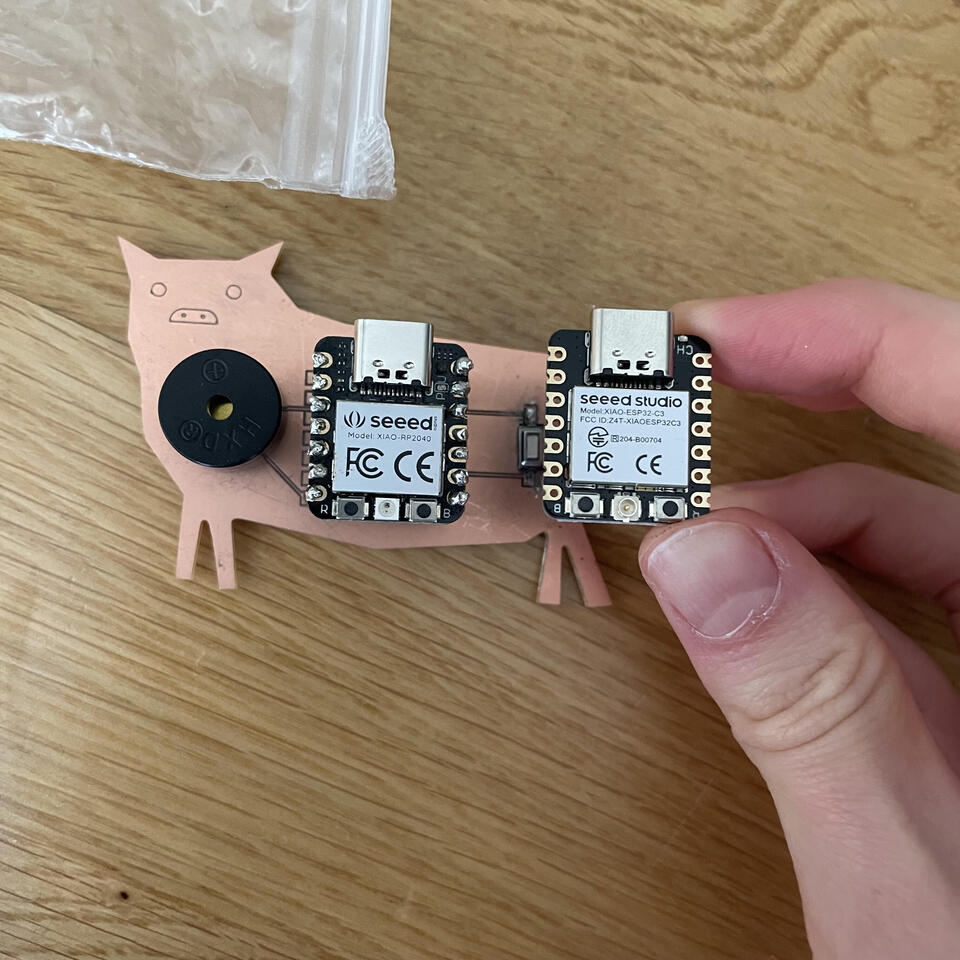
Lets see if this new board works with any of the previously made PCB boards, as the new XIAO had the same pin layout as the XIAO RO2040.
The source file for the board above are in the Input devices week.
Exploring Wi-Fi feature
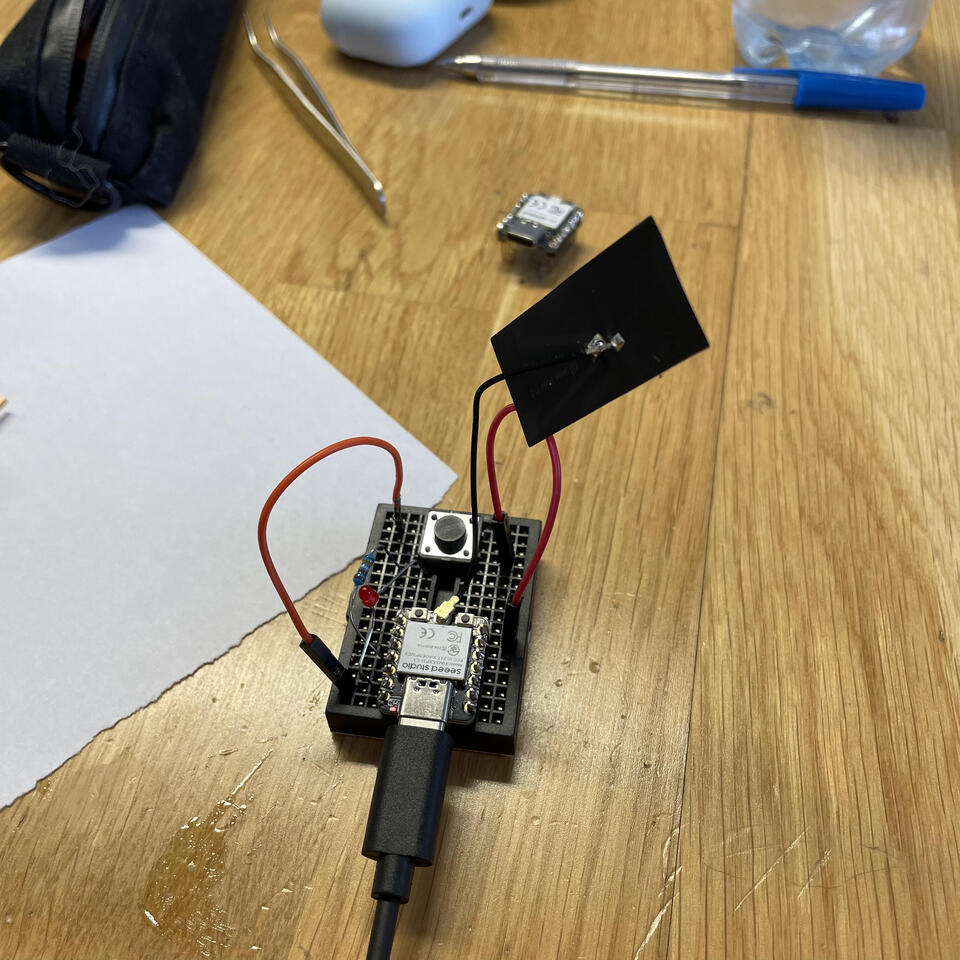
I explored the RESP API discussed in lecture, fist the more basic one. I encountered few problems with it, at the beginning the connection between XIAO and my computer was sometimes interrupted, and it couldn’t be recovered as is got stuck in some while loop where “if connected” was not true anymore. After I added antenna, the signal stability improved drastically, however it didn’t completely prevent it from happening.
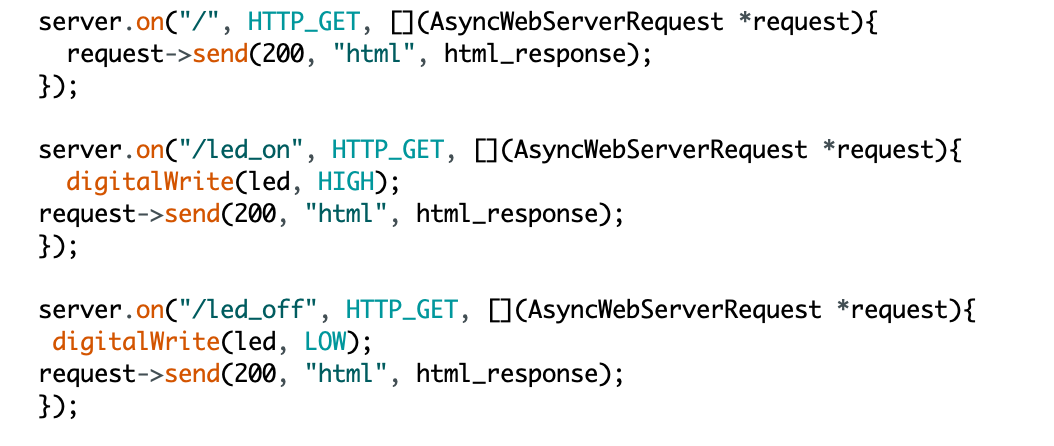
The second API (which was using libraries such as AsyncTCP, ESPAsyncTCP and ESPAsyncWebSrv) was much more reliable. I wanted to make the XIAO board to communicate with my phone, as I think it is cool to use a phone as sort of remote controller (it is much more handy than carrying a computer).
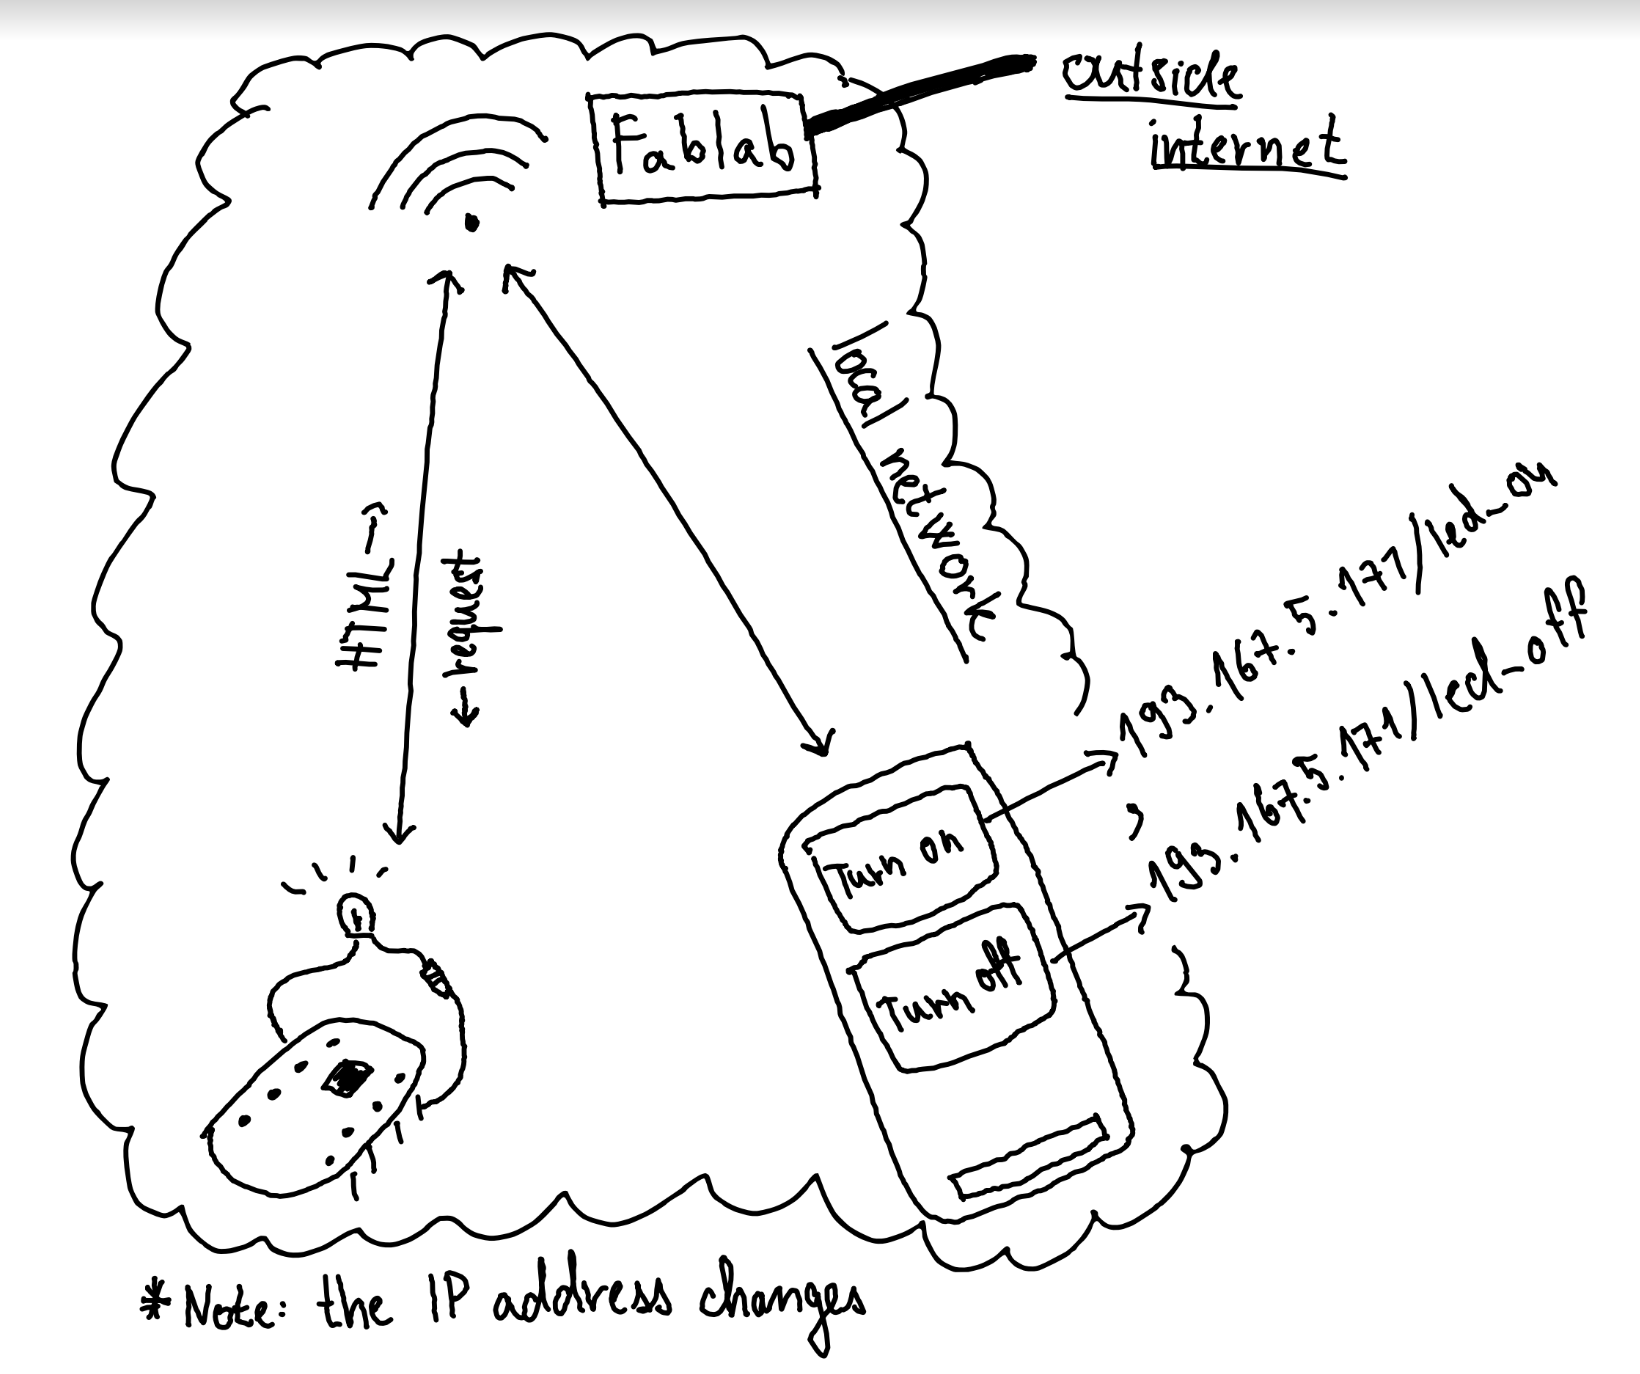
I didn’t want to use the computer as a server - I wanted the communication to be solely between the board and phone, mainly because in future I want the board to be standalone device –> even battery powered. Therefore, I made a simple HTLM site which was returned as a response instead of plain text. The buttons are redirects, e.g they respond with the request to IP/something/, but as a response they get to render the same HTML.
const char* html_response = R"(
    <!DOCTYPE html>
    <html>
    <head>
    <title>Example</title>
    </head>
    <body>
    <input type="submit\" value=\"Turn on\" style=\"height:500px;width:100%;font-size:170px;\" onclick=\"window.location='/led_on';\" />
    <div> </div>
    <input type=\"submit\" value=\"Turn off\" style=\"height:500px;width:100%;font-size:170px;\" onclick=\"window.location='/led_off';\" />
    </body>
    </html>
)"; 
Nice thing is that it works on any phone! However, I still need the computer to “discover” the board’s assigned IP address through the serial port, although an IP assigned to device by router does not change that often.
Files
Arduino code [.ino file]
The code was heavily based on the code provided to us during the lecture, the original repository can be found here.