Week 5: 3D Scanning and Printing
This week we worked with 3D printers. We focus on learning what a 3D printer can do and its limitations. On this page I will summarize what I know and my discoveries.
Group Assignment
The page describing the group assignment for this week (test the design rules for your 3D printer) can be found here.
Backgroung
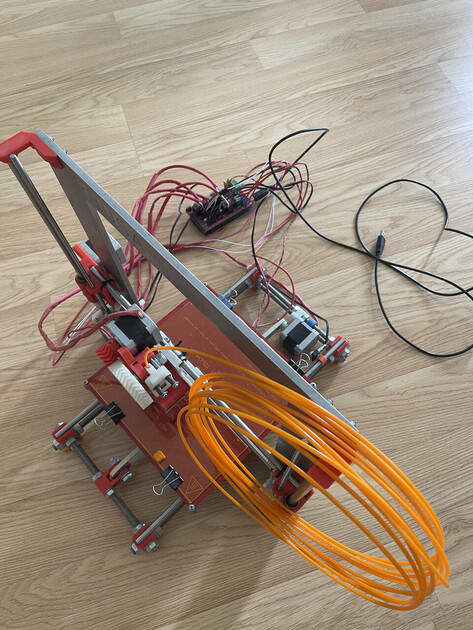
I was first introduced to 3D printing (and to a concept of a rep rap printers) in 2020, with an old Prusa printer.

|
|
When I got it, it was broken, so I tried to make it print properly again. It took a lot of time and effort - bit it was too much for a novice engineer. So I abandoned the project, but looking at it now, I believe it taught me how printers work (and don’t work).
My second printer was (and still is) a Ender 3v2 which I got while working on a Syringe Pump project (https://gitlab.com/sarisko/syringe-pump ).
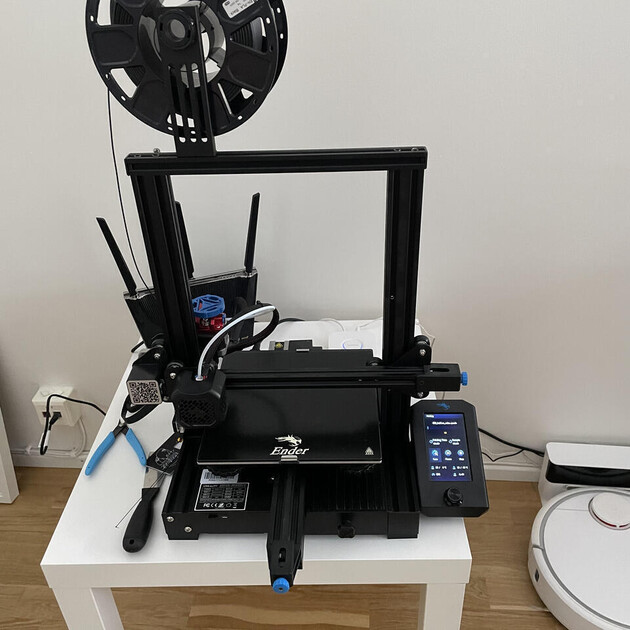
It is one of the cheaper printers, but can print incredibly when you take a good care of it. I had to disassemble it when I was moving to Finland, and it still works fine. It however has two problems and that is that one needs to be pretty skilled when calibrating it (if it’s not used for some time, it always needs recalibrating and cleaning) and the other problem is cheap extruder which should be changed -> mine broke and in the fall of 2022, and I haven’t noticed for a long time, so I was producing only very bad prints (Figure 4) and I didn’t know why.
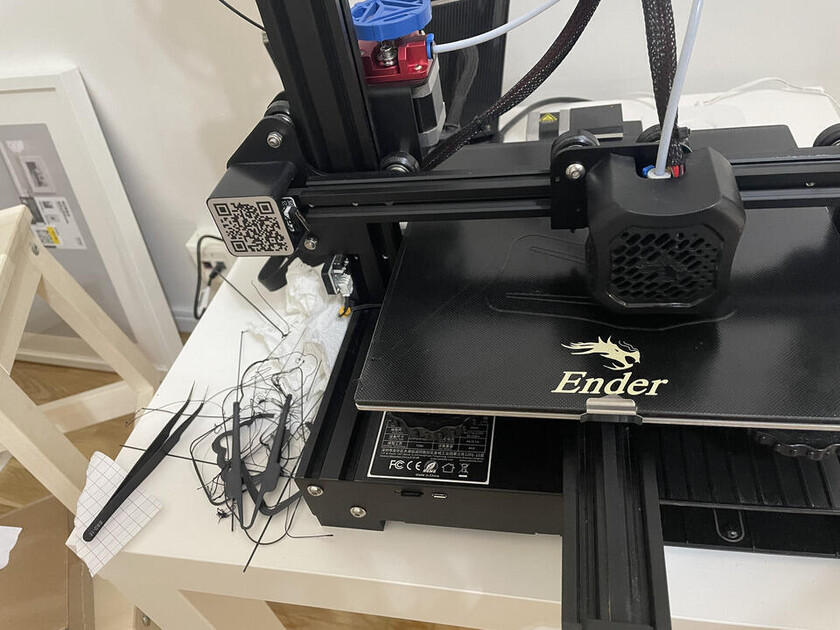
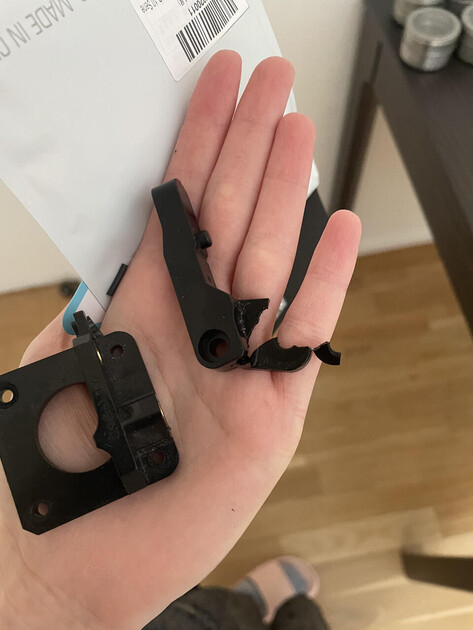
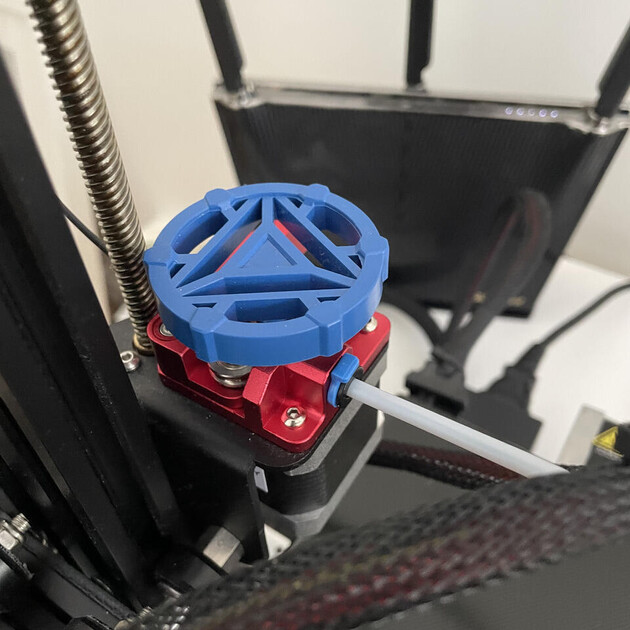
I tried many things such as changing the nozzle, or using an adhesive spray on the bed, but finally I noticed that it is a problem with extrusion, and later I found a crack in the plastic extruder, which later completely broke when I was trying to change it (Figure 5). I bought the new extruder from 3D Jake (https://www.3djake.com/3djake ).
|
|
Common problems
After printing for quite some time, I would say the common problems with printers (that I worked with) are:
- Bad (old) filament - when the filament is exposed to air for too long, it can absorb water, and then it breaks easily. This can be prevented if the filament is stored properly in a sealed bag
- Print not sticking to bed - most of the time this is caused by bad settings/calibration, e.g. the nozzle is too far from the bed during the first layer. Sometimes this can be caused by the old/broken bed that is too scratched. It can be sometimes solved just by moving the print to a different part of bed, or heating the bed to a higher temperature for a first few layers
- Extrusion - sometimes bad prints can be caused by the “extruding wheel” being blocked with filament, so there is not enough friction to push the extruder properly. Or the cheap Ender printer often have low quality extruders, and they can break easily.
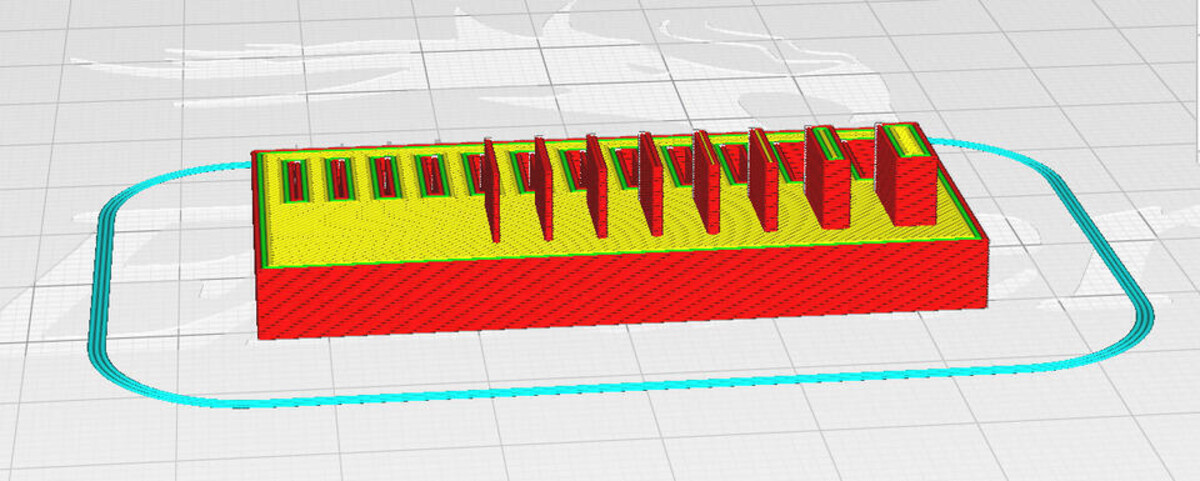
Design rule test
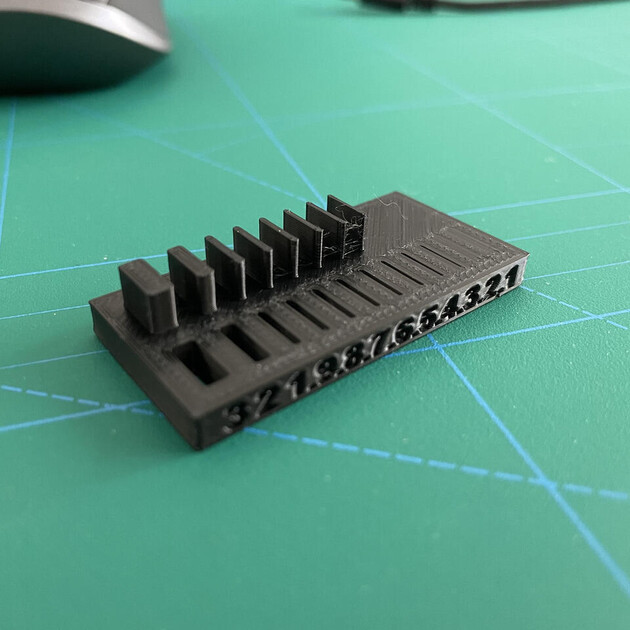
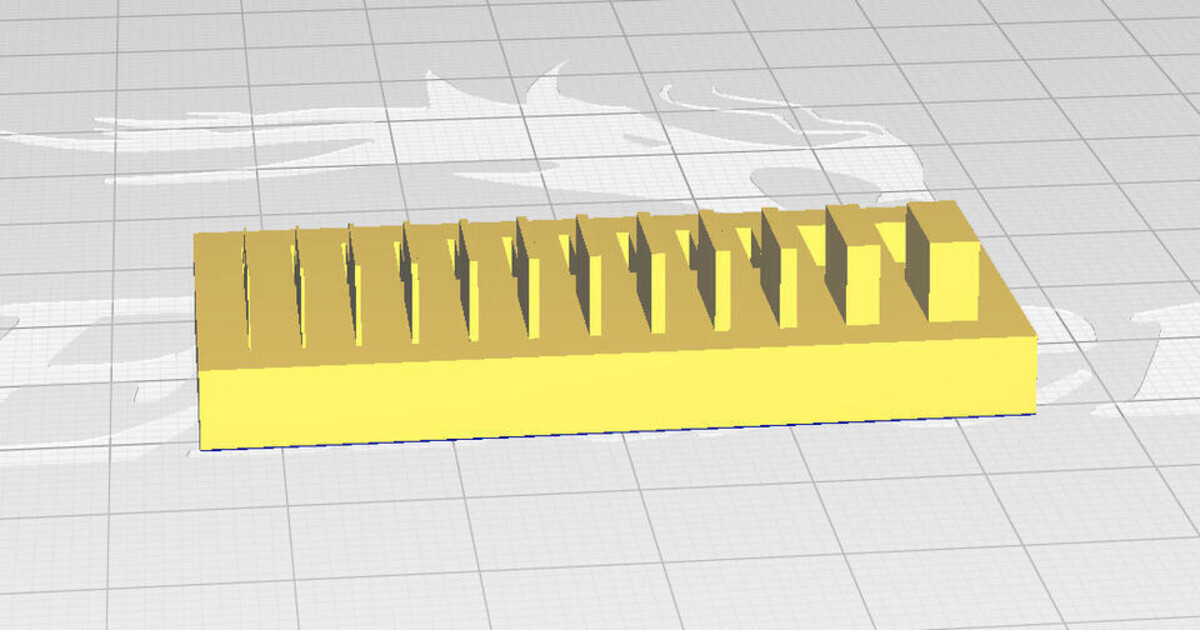
The second task was to try one of the models in the design test rules, and print it with FDM printer. I printed it with my Ender 3v2, the settings were:
- first two layers 50% speed, after that 100%
- first two layers bed heat 65C, after that 50C
- nozzle temperature 200C
The prints turned out really nice, I am quite proud of how well I calibrated the printer. It managed to print it without any major issues. The only thing you can notice were a very very thin “hairs” of filament between the bridge (stringing), but those can be easily removed.

|
|
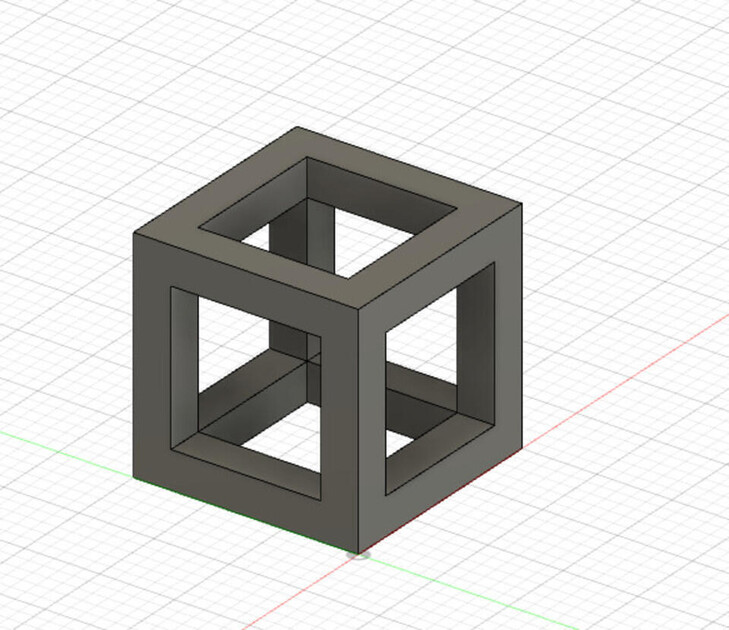
Unique object
Iteration 1
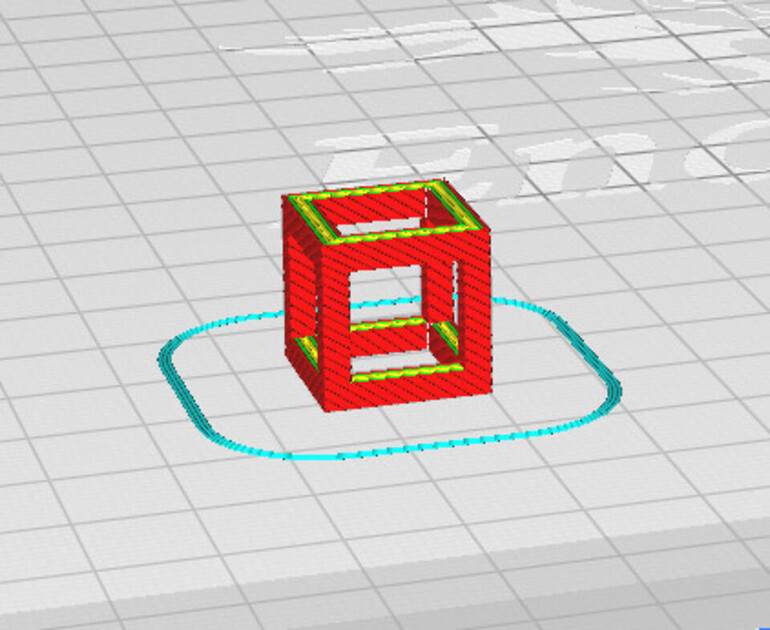
Our final task was to design an object that cannot be made using subtractive manufacturing, such as laser cutting or CNC machime. I designed a very simple hollow cute, and printed it.
|
|
Iteration 2
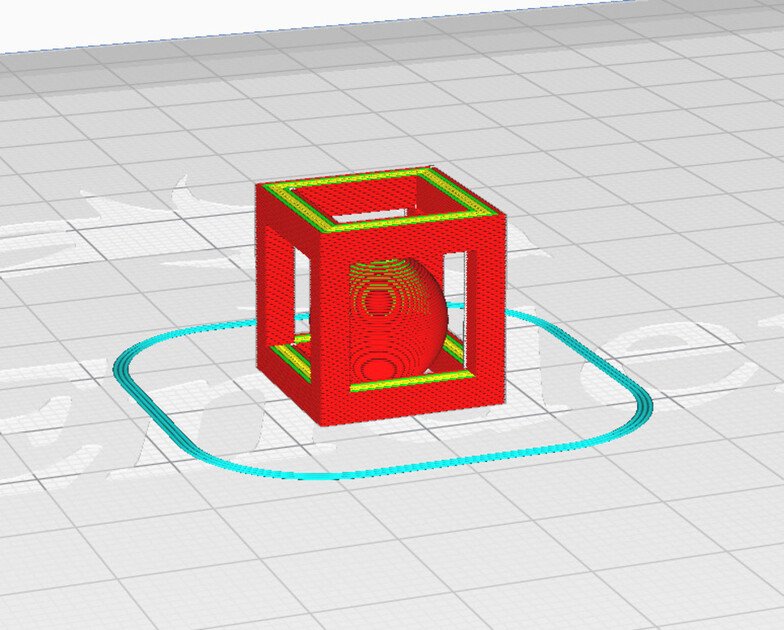
As per the feedback I received during the lecture, I modeled an extra sphere into the hollow cube, so it is “locked” inside, but free to move. I am quite rusty with Fusion 360, so it was a bit tricky, but with some help I managed to make it work.

|
|
Fun fact is that the sphere and the hollow cube were added separately to the slicer, since I modelled the sphere to be exactly in the middle of the hollow cube, so in the Fusion it is floating a bit. If I added them together, the sphere would be floating, so I would need to add supports. But then these supports would also support the top of the cube which I don’t want. However, when you add these two objects to the Cura separately, is makes the bottom part touch the bed, so in my case it moved the sphere down sop its nicely on the ground inside the cube.
|

|
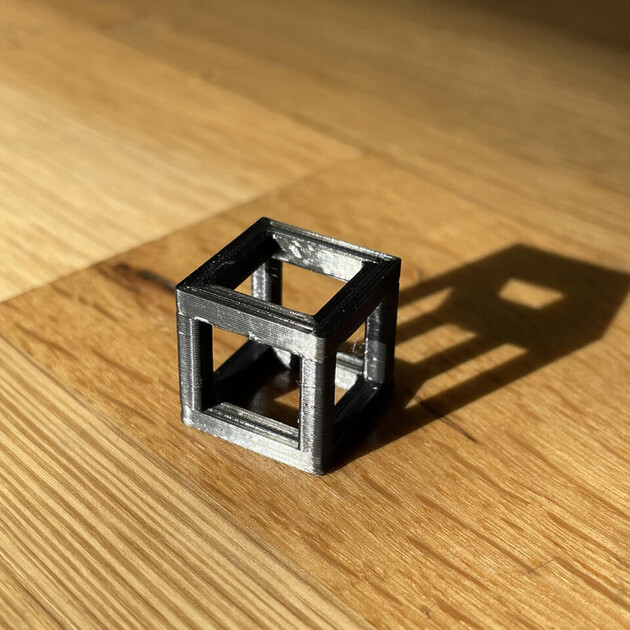
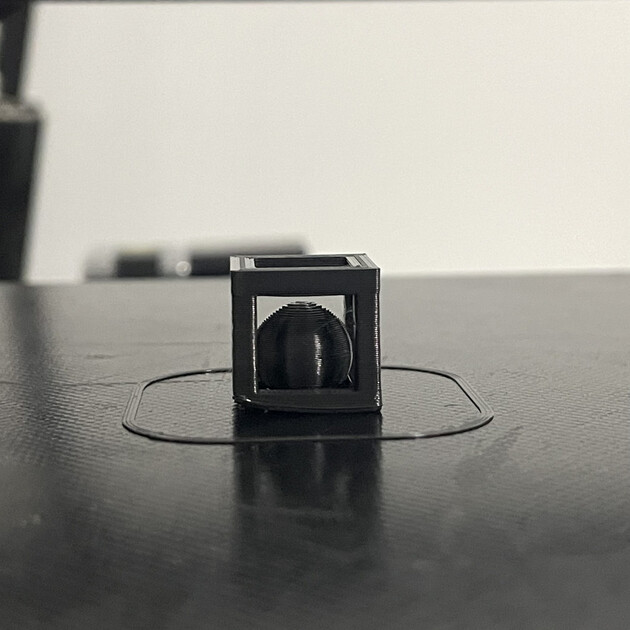
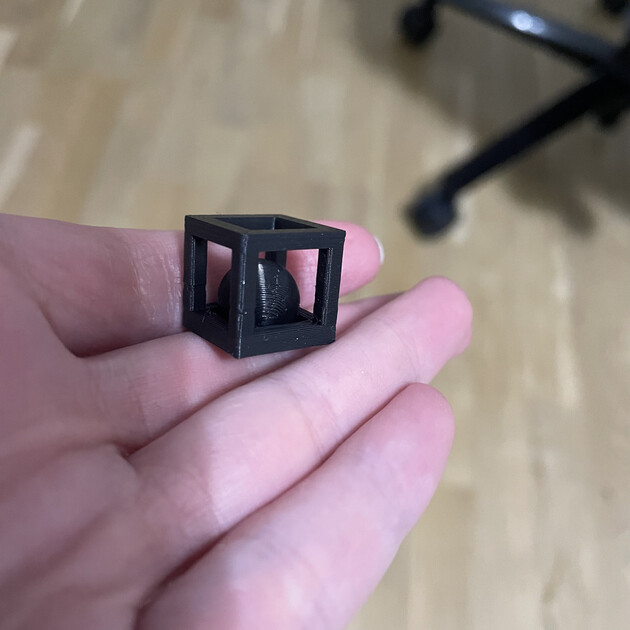
The first print looked a bit bad for no reason -> probably just the first one/two layers didn’t stick to the bed properly, so the cube and sphere were a bit degenerated. What I usually do in these situations is to just try again, but this time I also moved a print in the slicer so it is not in the middle of the bed. Since the middle is the most used place, the filament may not stick there that well, and I also had some accidents there in the past where the nozzle was too close to the bed and scratched the surface there. But after moving and restarting the printing, the final print came out nice.
3D Scanning
3D scanning was much more fun! I have never done it before, but always wanted to have a little figure of myself. This year we even got a new “toy” for the lab, that makes the whole process very simple -> Creality Ferret 3D Scanner. It’s very lightweight and easy to use.
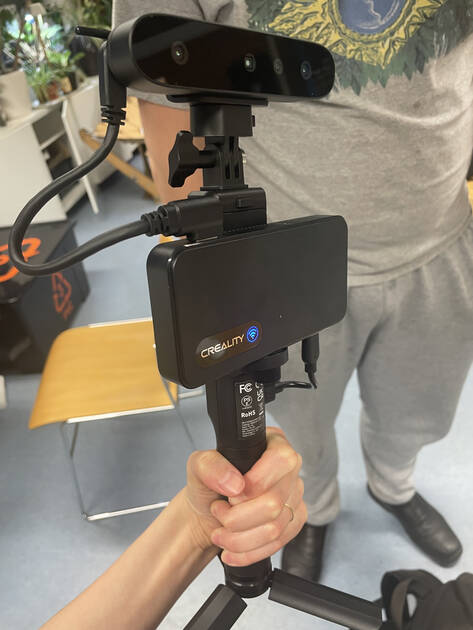
You can install an app for either your phone, or desktop computer. Then you can choose whether will your device be connected wirelessly or not. I chose to install the app on my phone, and then connect wirelessly (just connect to the “ferret” device Wi-Fi)

|

|
In the app you first need make sure you are connected to the scanner. After that you can choose from variety of settings like method of scanning (fact or hi-quality), object size and features.
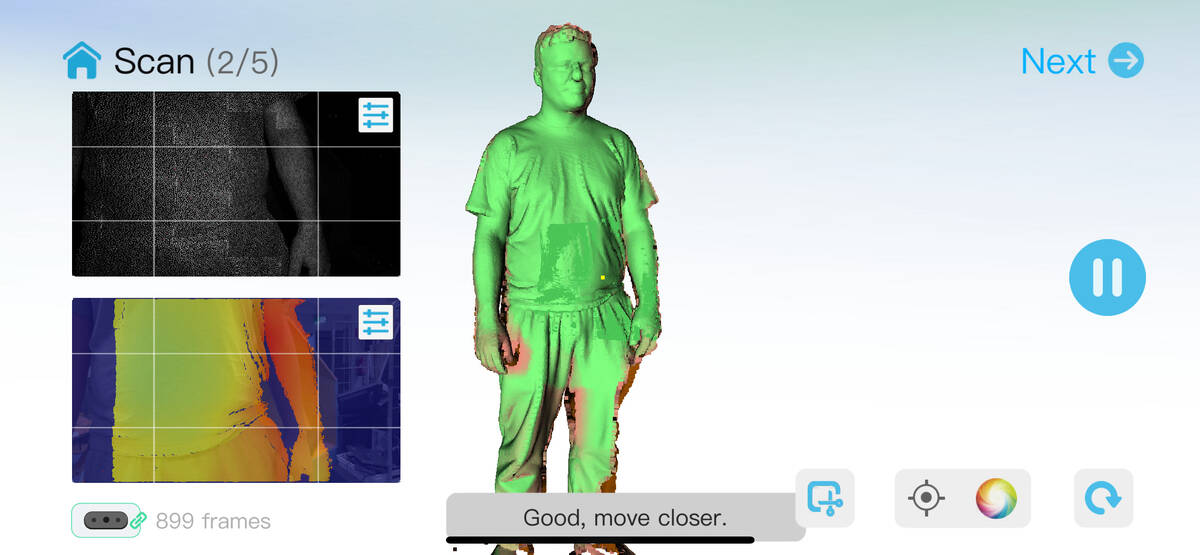
There is limit on a size of a scan (after that your device won’t be able to process it), which meant that we wanted to proceed quickly and precisely. On the first scan of Arthur he was for example missing the top of his head. On a first scan of myself I had my hair down and that was very hard to capture.
|
|
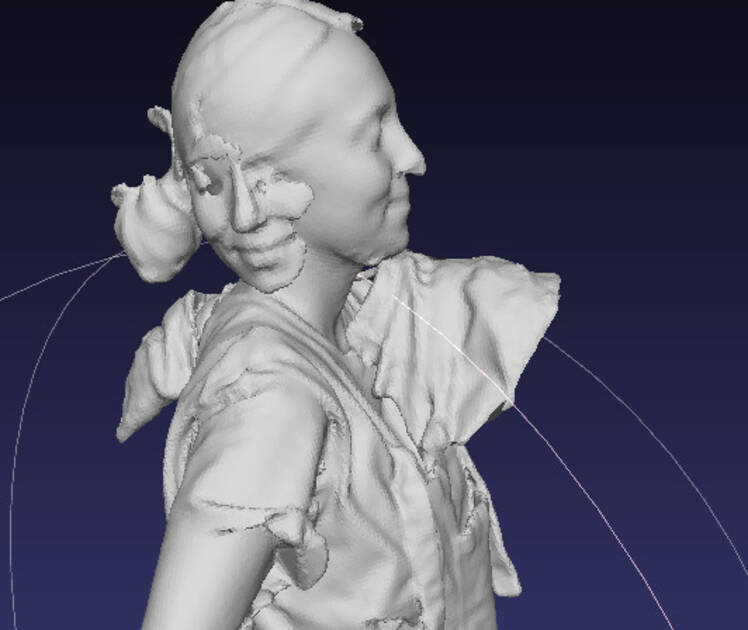
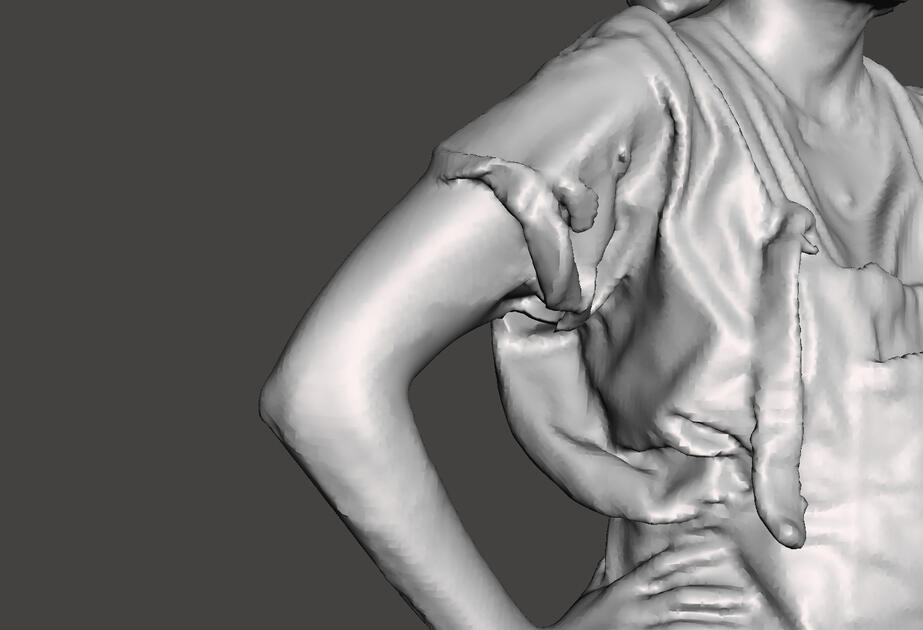
The scan of me was not perfect, but we got something decent on a second try! There were however many problems. I had “doubbleface” and a big object in front of my chest. I was then looking for a good program to modify and clean this 3D scan - tried quite a few before I manage to make something printable (that also resembled me).
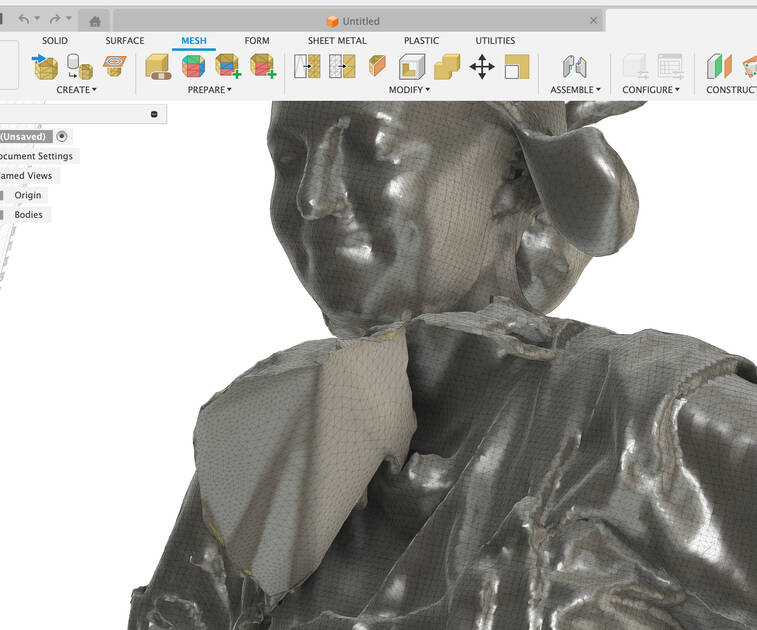
- Fusion 360 has a “mesh” feature, but it was not easy to remove an excess mesh, it felt more parametric and precise
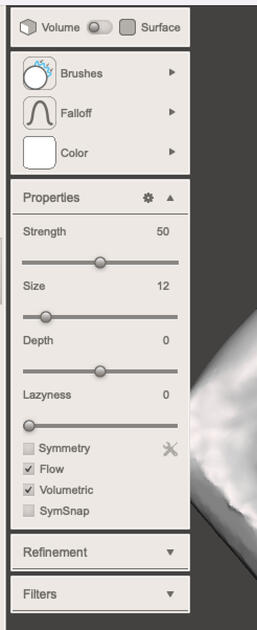
- SculptGL in an online tool (which is a plus), that can help you modify your mesh as if it was a real sculpture. There are different tools like brush, inflate, twist, pinch, flatten etc. However, for the love of god I could not figure out how to remove part of the “sculpture”
- 3DCoat seemed cool, but paid
- Blender could probably do it. I have a feeling you can do anything in Blender when you know the right key binds… but I don’t
- 3DSlash could do it, it is also online, but the free version has very very bad resolution
- MeshLab was very close to work as I imagined, but then it had quite inconvenient ways to remove the mesh, where you had to select what to remove (with a button), and then actually remove it (with a button). Didn’t manage to find the way to change key binds to make it work faster
- Meshmixer at first looked discontinues, and some if its features moved to Fusion 360, and there is no download option for Mac - Autodesk support stated that they found a security vulnerability in the Mac version (and then never fixed it). However, using internet archives, it was possible to download some old version, and then the software itself worked nicely. I followed this tutorial to prepare it for print.

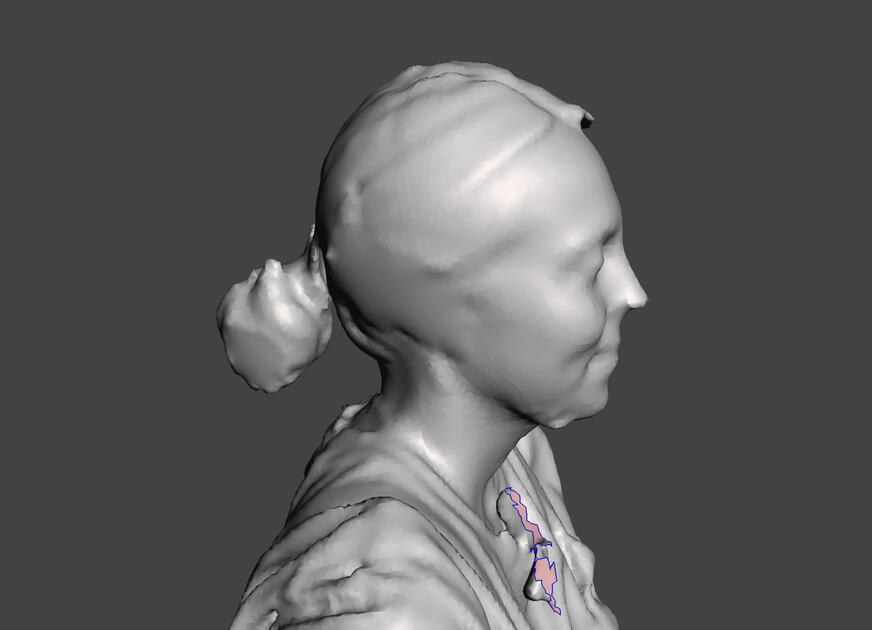
In the Meshmixer, I removed the excess mesh (select with “S”, then “X” to delete). Then, if there was a hole in the shell, I selected the area around, and filled it (with “F”)
|
|
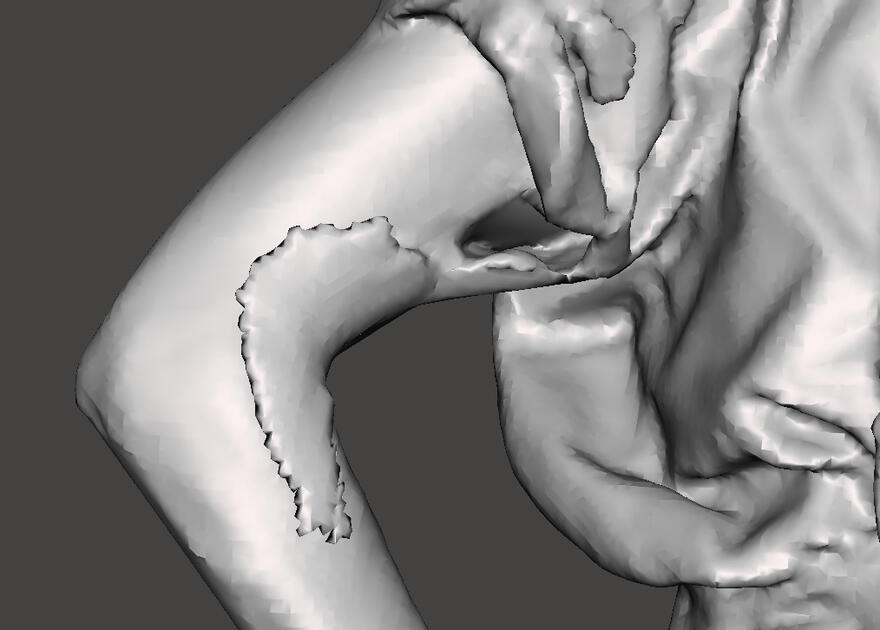
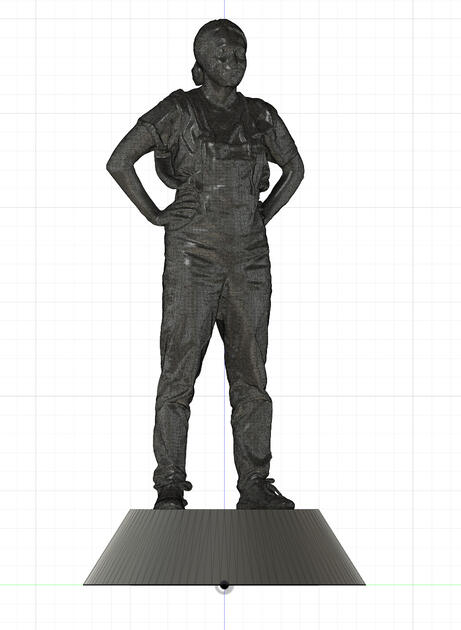
After I was happy with major changes, there was an option to fill the inside of the scan (Edit -> Make solid). The last modifications I made were done with a brush, and this smoothed the surface. There was a wide variety of brushes, and I could even modify myself more drastically (perhaps do a small nose job), but I kept is as real as possible.
You can see that now there is no “extra face” (no ear either though), and it overall looks much better.
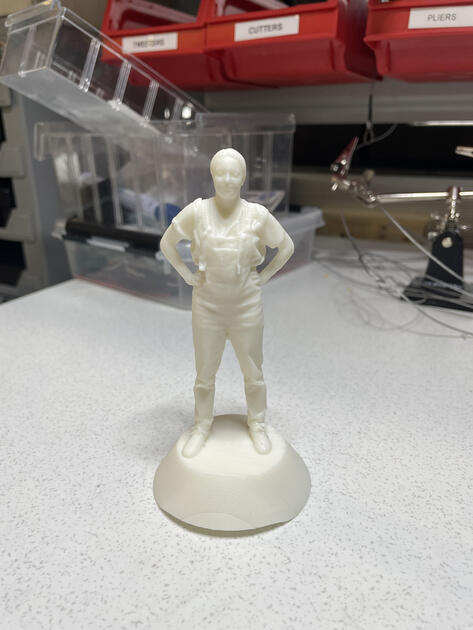
If I were to print this with FDM printer, I would do much more smoothing, cover small details, and remove the need for supports as much as possible. However, the plan it so print it with SLA printer, so I am curious to see how can it deal with these details.
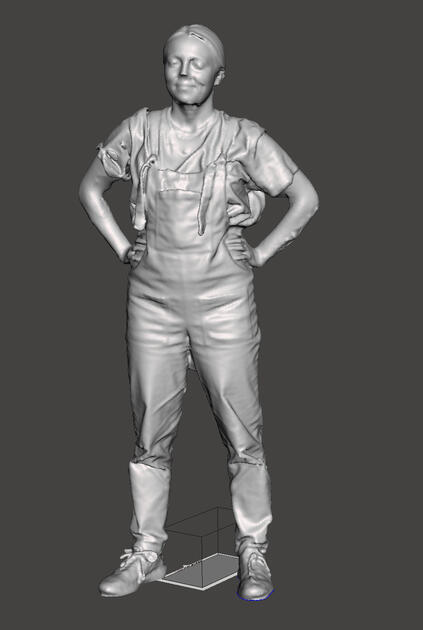
As I want to have this Oscar like figure, I added a small pedestal in Fusion 360. Maybe later I will write something on in (something like “Fab Academy Graduate :’) “).
SLA printers
This was the first time I worked with SLA printers. We have Formlabs Form 2 and 3 printers at the lab.
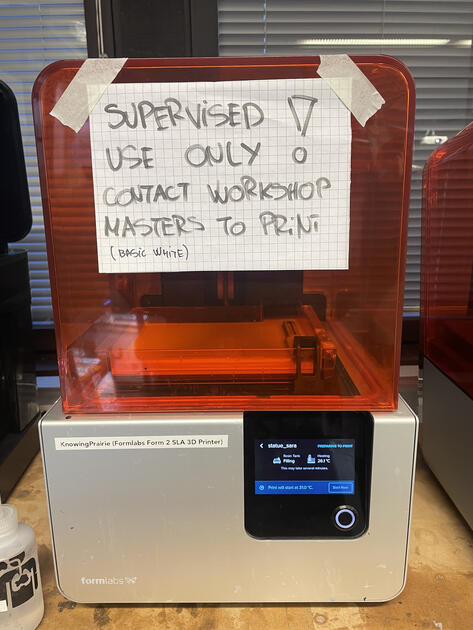
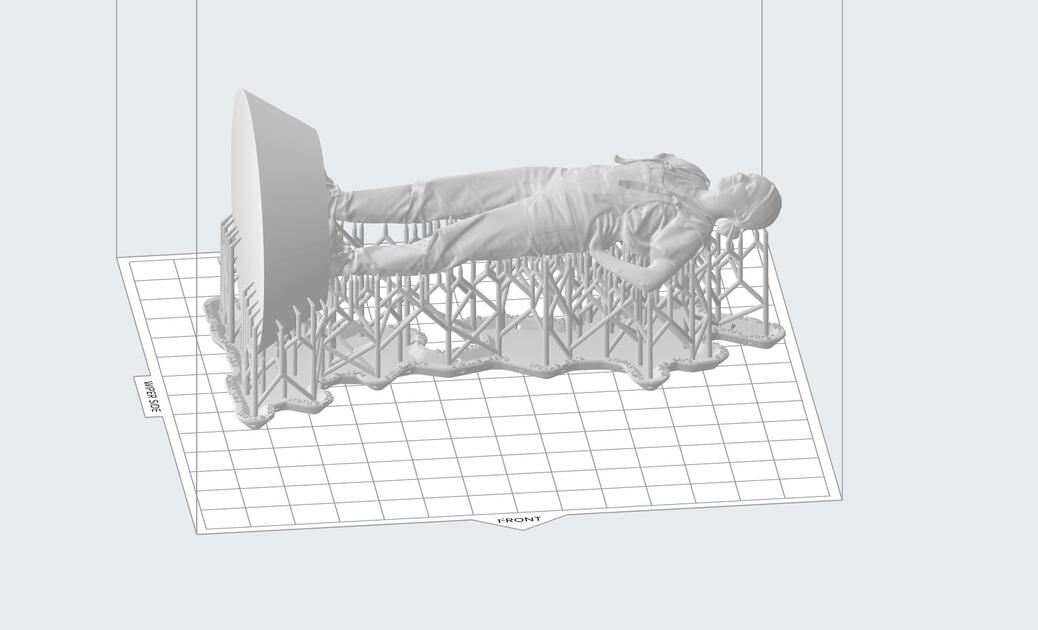
The workflow is a bit different with the SLA printers. There is still a slicer (called Preform, I downloaded it with brew). Our printers were conveniently connected to the local Wi-Fi, so I could immediately see them in the network, and also see all of their setting including what resin they are loaded with. The Preform software also has a one click magic slicing, where it would find an ideal position for your print and generate supports.
I did use the one click magic slicing, and it was quite nice. You can of course then change the points where the supports touch the print, reduce or increase the amount of such points and change their diameter.
After that I sent it to the printer. Before we can start printing, we however need to check if the machine we want to use is empty (no leftover print forgotten there), and the bad is clean.
WARNING: Always use nitrile gloves (and ideally also protective glasses) when working with resin 3D printers! Even during the cleaning and curing phase, as there might be some remaining resin in the small details of your print.
Here is the Aalto Fablab guide to SLA Printing.
|
|
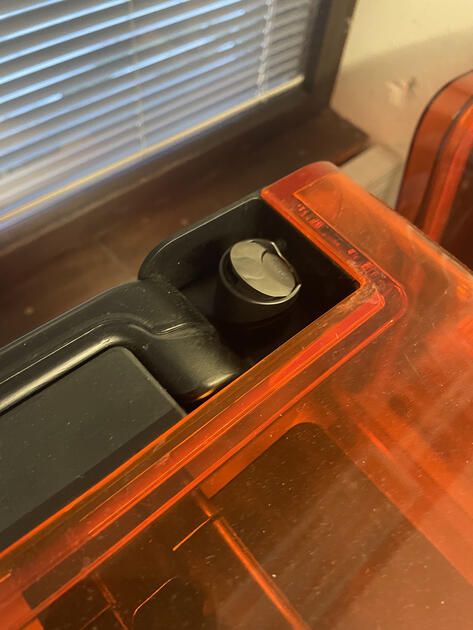
We vent should be closed by default, but we have to open it for printing. The printer will be warming up few minutes, but then it’s going to start the job.
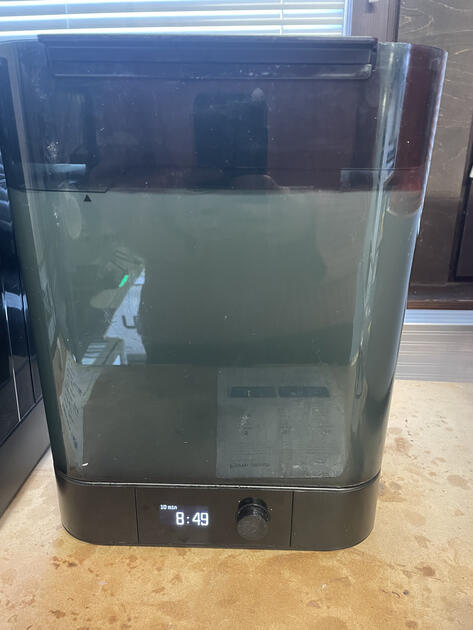
The printing took around 6 hours (it was left there overnight). After that, we need to clean the print (10 min as per instructions) to get rid of the excessive resin.

|
|
I accidentally cleaned the print twice (my instructor cleaned it before me and I didn’t know), but it didn’t affect it too much, I would even say it was good cause now it’s sticky at some spots, so it must’ve been quite sticky before. After cleaning wait 20 min for the build platform and print to dry.

|

|
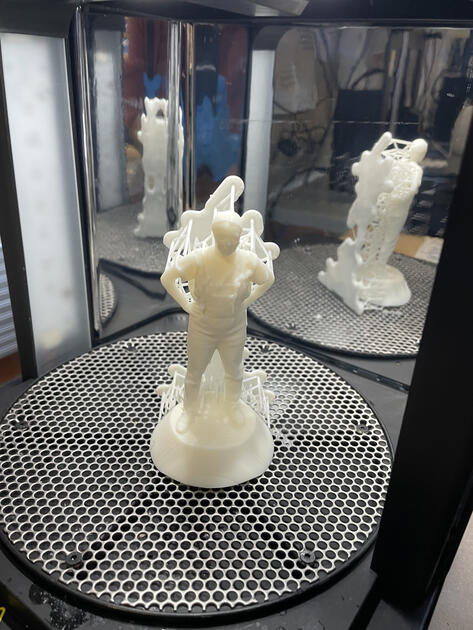
Then I cured the print for 30 minutes at 60C. I think I was actually supposed to remove the supports first and then cure the print, but it’s also ok to cure - then remove supports - cure again (though excessive curing could make my print yellow-ish as the resin is white).
After that it was time to remove supports. We actually have this cool ultrasonic blade in lab, it made it much easier (and more fun).

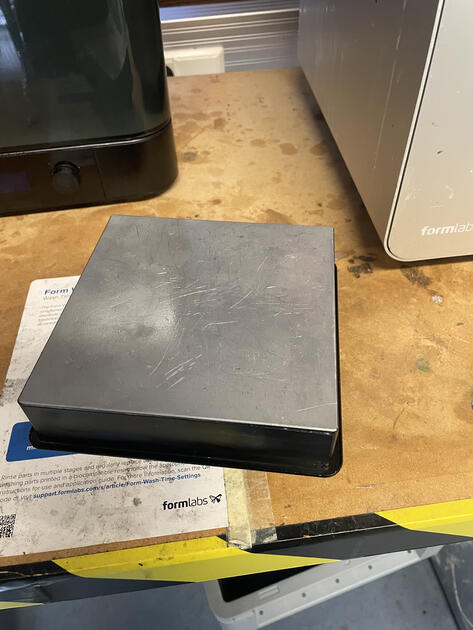
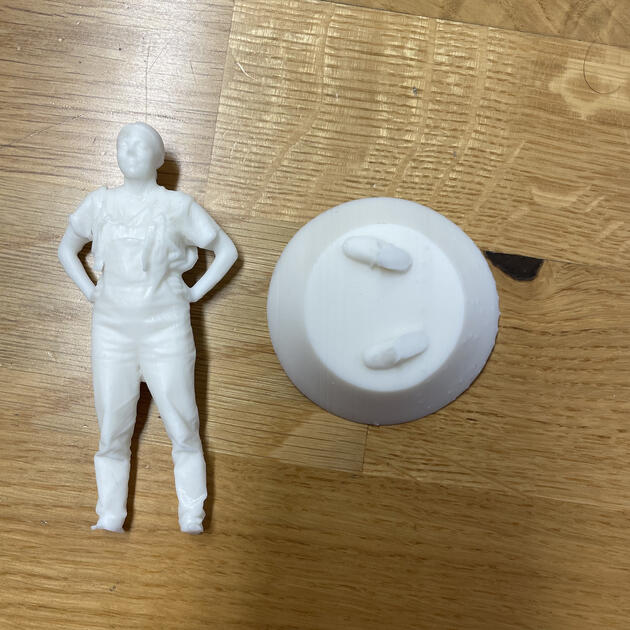
The statue was actually weirdly detached from the pedestal, and also the bottom of the pedestal is not flat - this was some sort of printer mistake, as it was definitely not like this in the design.
|

|
But fear not, I just used some epoxy glue to get it together, and now I can my own mini figure.