This website is a diary, portfolio and documentation that describes my journey through the 2024 and 2025 edition of Fab Academy, a program where students learn rapid prototyping by planning and executing a new project each week.
You can find all different projects listed on the rights (organized by weeks) or in the menu section under “Documentation”.
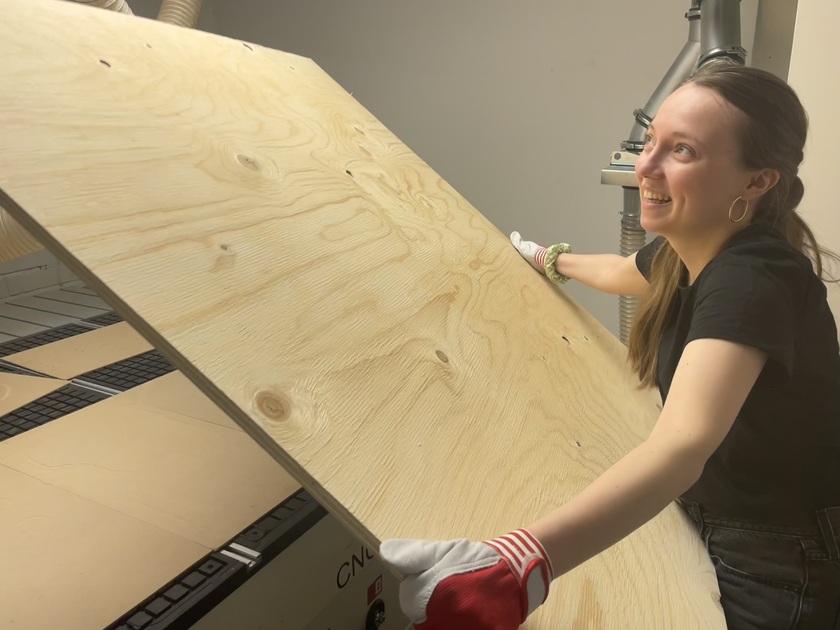
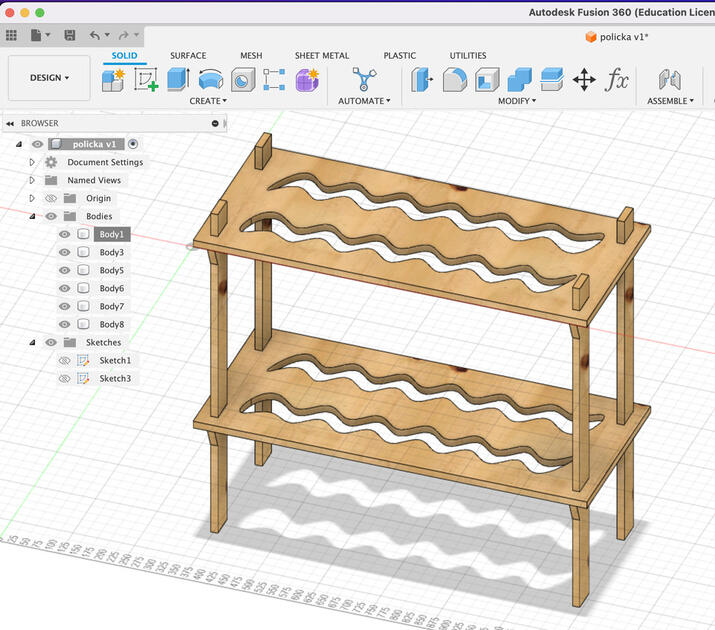
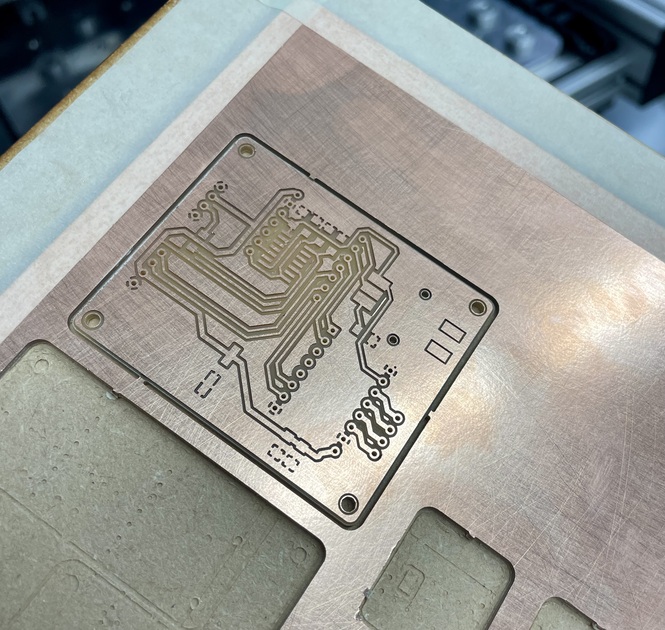
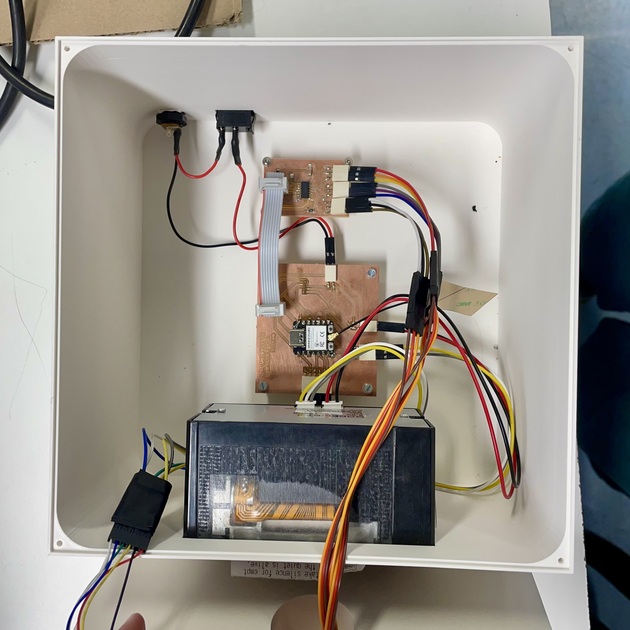
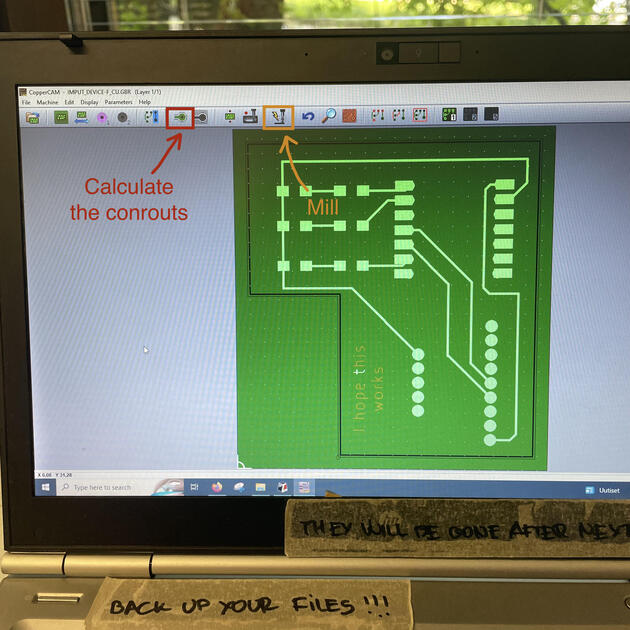
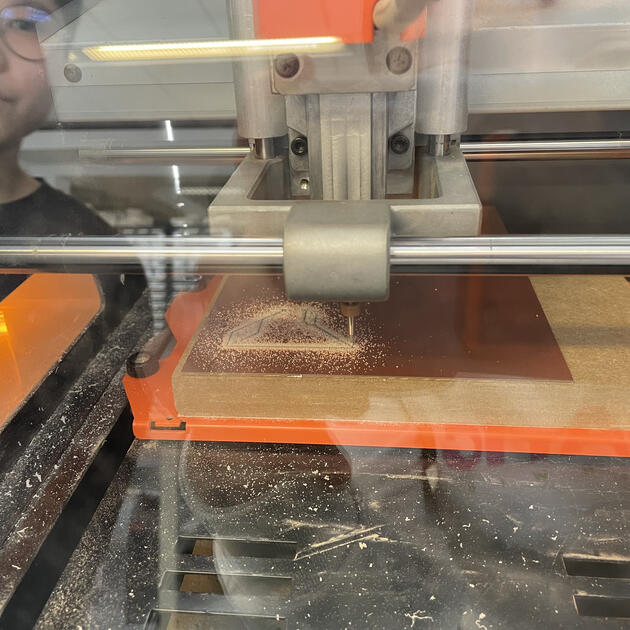
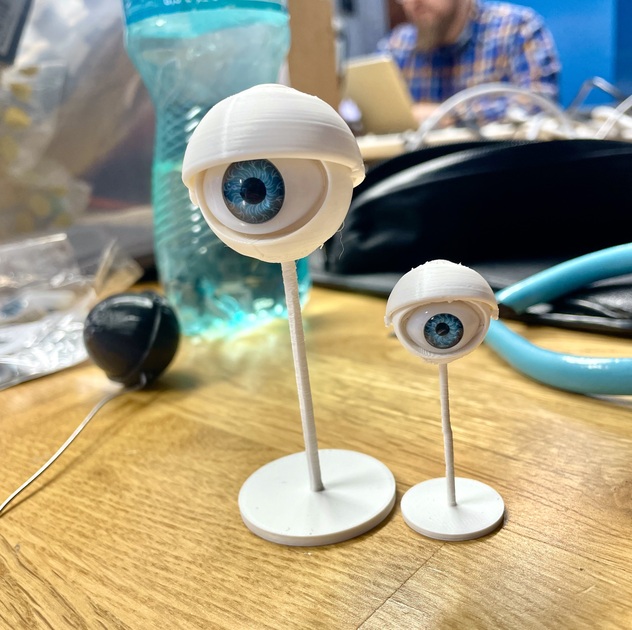
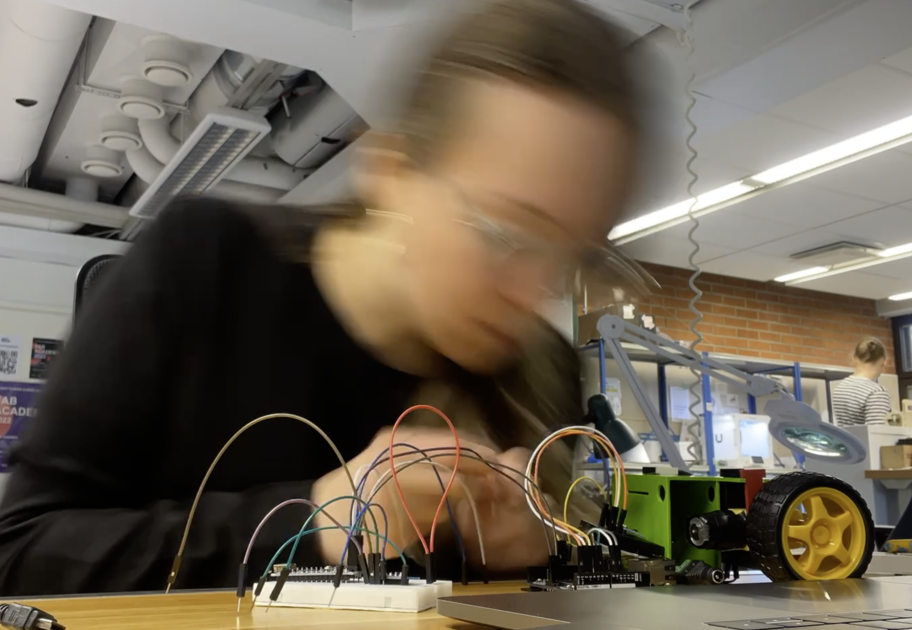
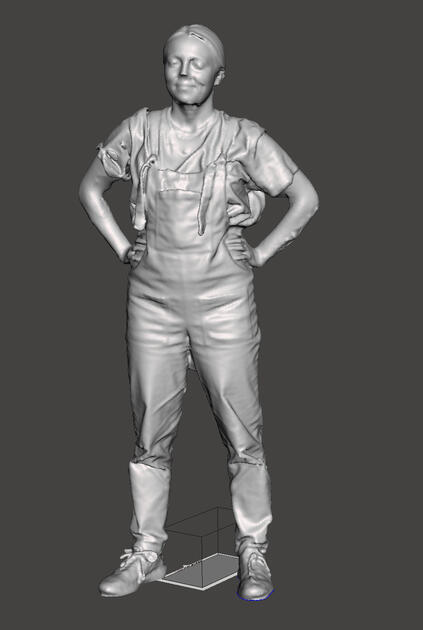
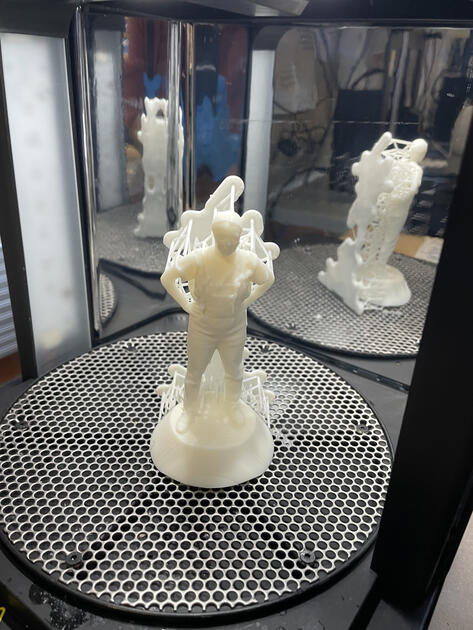
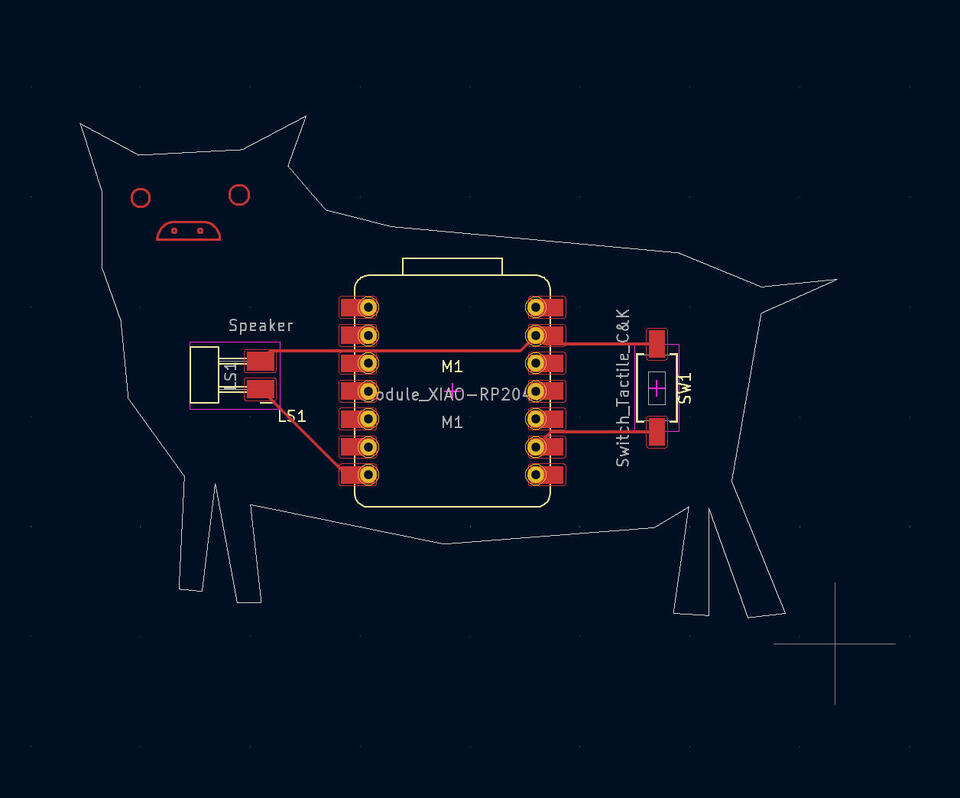
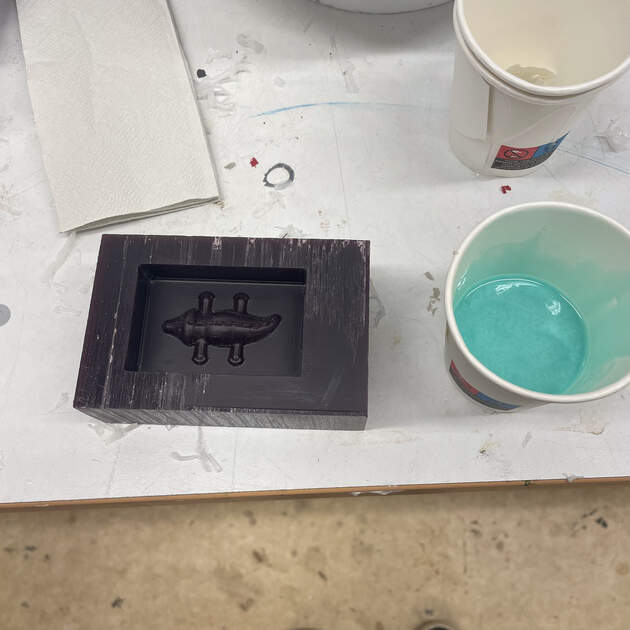
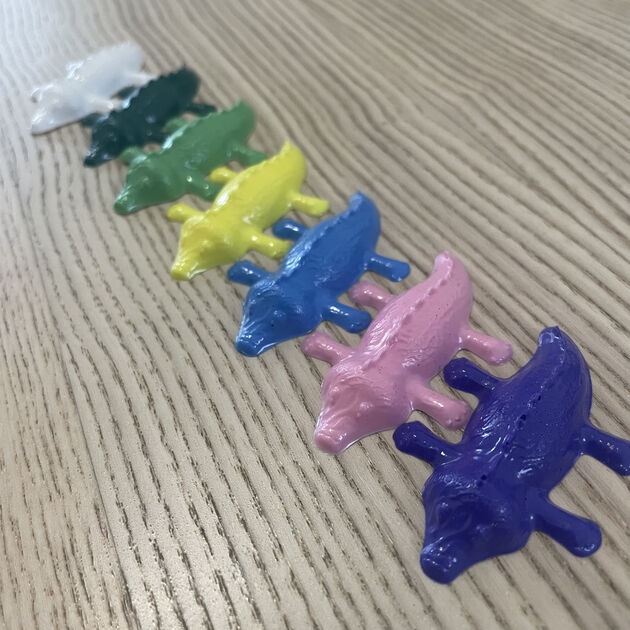
Gallery
|
|
|
|

|

|
|
|
Remote paintbrush with interface made in Week 14
|
|
|
|

|
|
|
|
Resources
Some useful links include: