Week 15: Wildcard week
I chose embroidery for my Wildcard week, not only because it is cool, but also because I can use it for my final project.
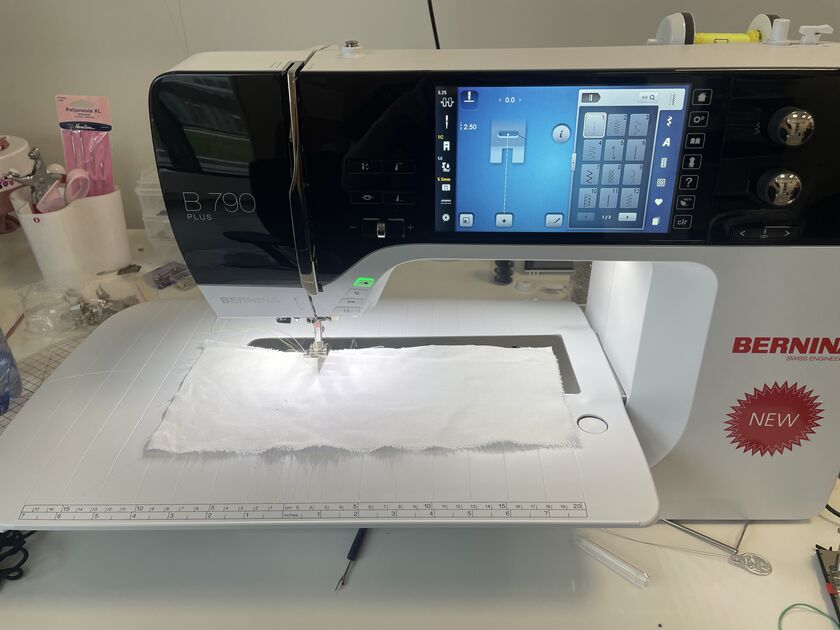
I will be working with Bernina 790 Plus.
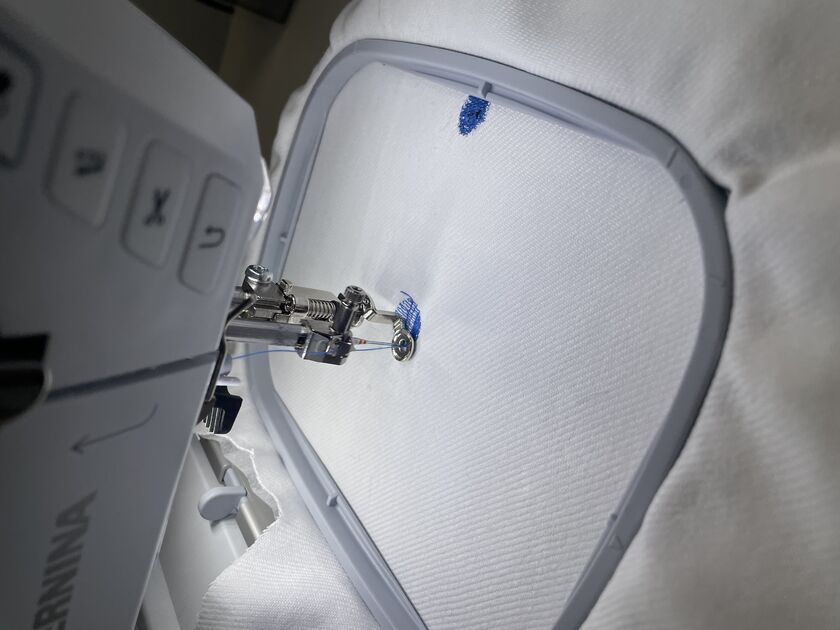
This is how the machine looks like when I use it for sewing:
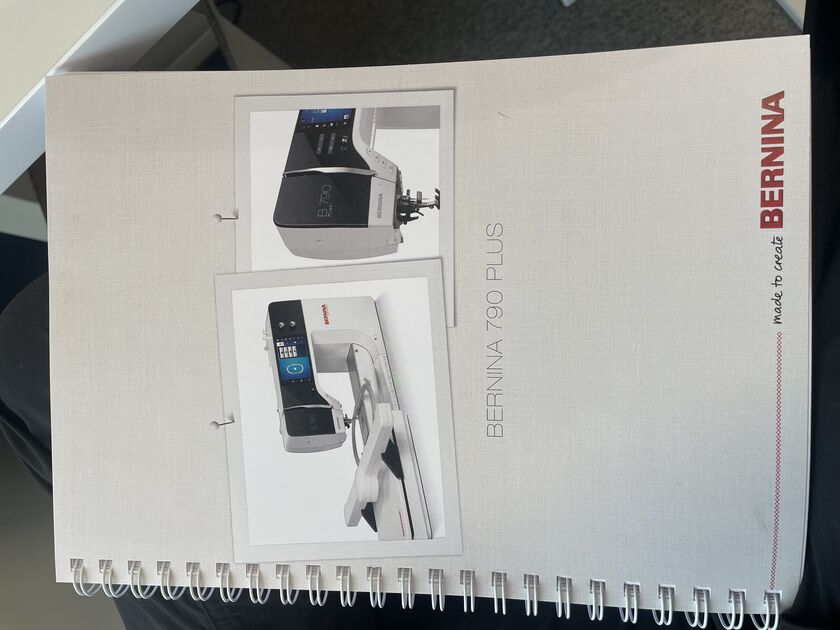
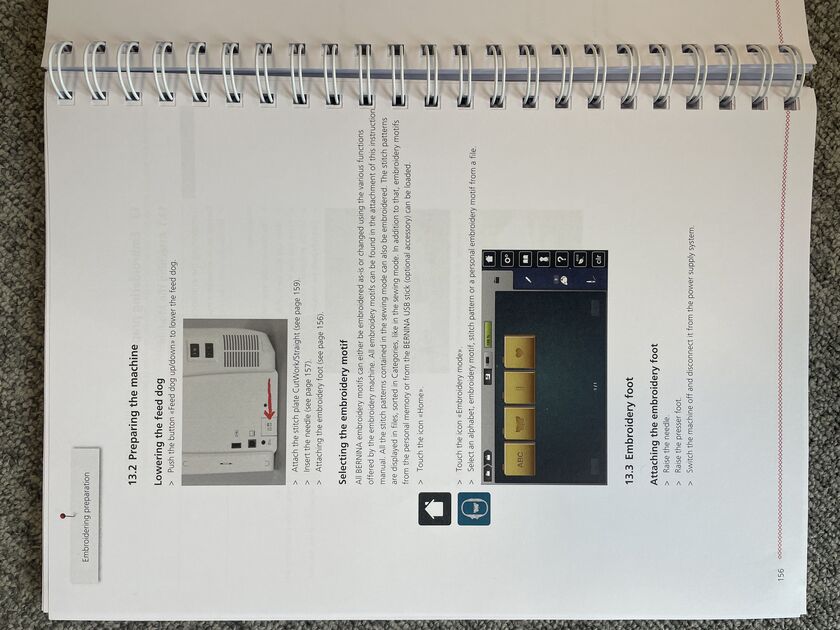
We have this lengthy and very informative manual with it, so I started by reading the section of how to change it to the embroidery mode.
|
|
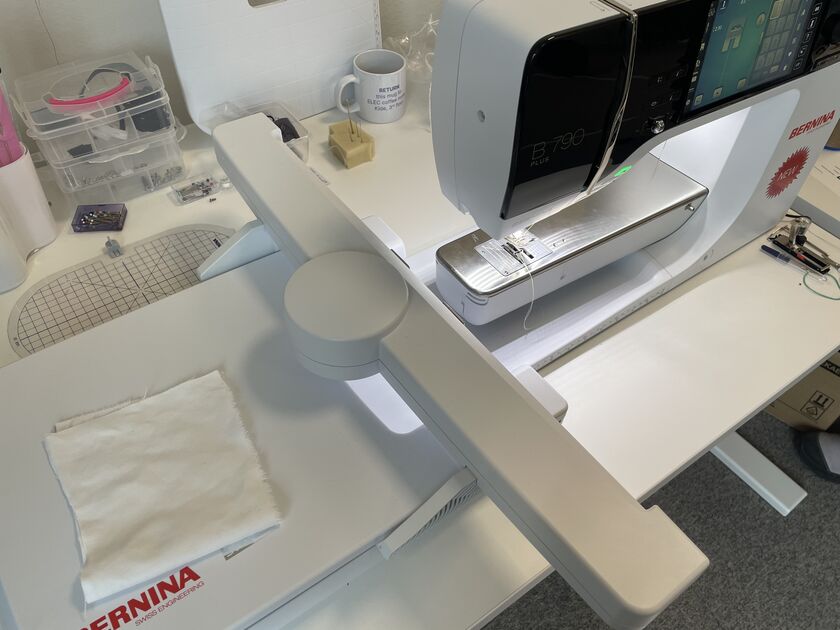
I lowered the feed dog, changed the foot and needle to the recommended one for embroidery, attached the embroidery arm and an embroidery hoop of an appropriate size. You should select the smallest hoop possible that still fits your design for best quality. The machine is smart enough to register what hoop, foot and needle you are using (or prompts you that it does not recognize it), but you should check it in settings once again just in case.
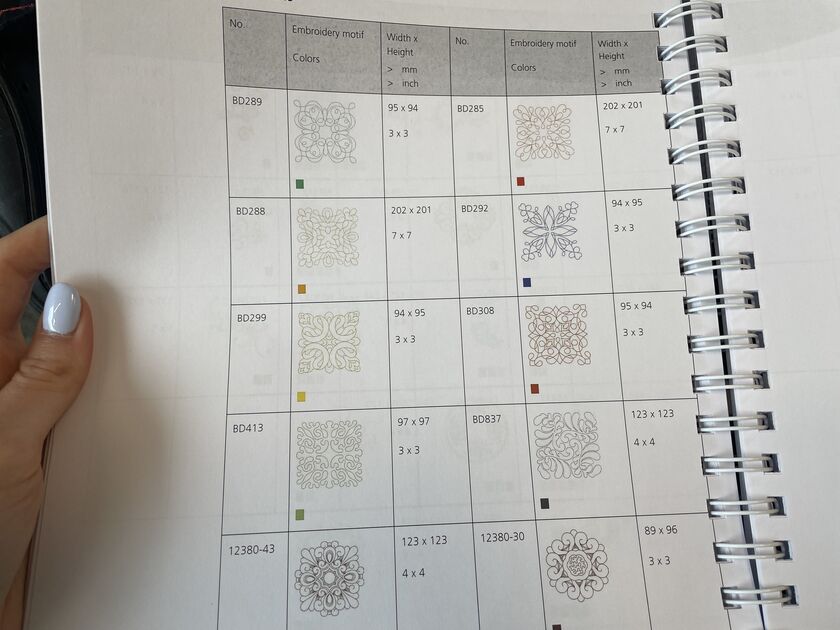
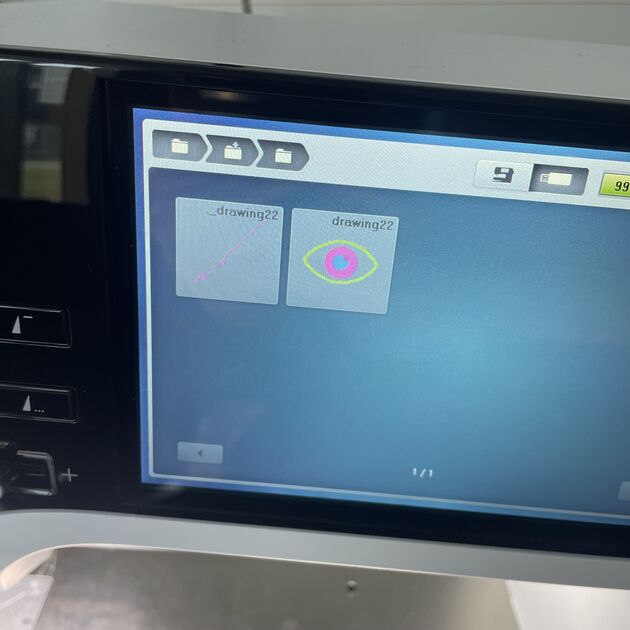
I wanted to see how the embroidery works, so I first picked one of the pre-made designs from the catalog, and found it in the files on the machine.
The machine urged me to check if everything is set up well (upper thread, and lower thread full). I then pressed start (the 2 dot button that was blinking green).

Video of the embroidery, the machine moves rather fast and all by itself:
This design tool almost 10 min to embroider. It is a simple single color design, but I think it turned out beautifully.

While the machine was making the design, the upper thread snapped. The machine recognized this and stopped. I then reattached the thread, and there was a really nice used interface where I would indicate what was the last stitch that was still visible on the fabric, so the machine would co back to that stitch and continue from that point. I think that was really cool, when you look at the picture above you can’t really tell where the thread broke cause the machine recovery was so good.
Ink/Stitch
It is now time to make my own design. I will be using the Ink/Stitch open source embroidery software based in Inkscape, mostly because the official Bernina one does not work with my operating system.
I watched this video to get myself started. They recommended to work in layers, so one layer for the reference image, then another one for the “filling”, and last one for the satin stitches. Ink/Stitch then stitches the work based on the layers, so the bottom most layer first.
They also recommended setting up the canvas size to the hoop size, to help with visualization.

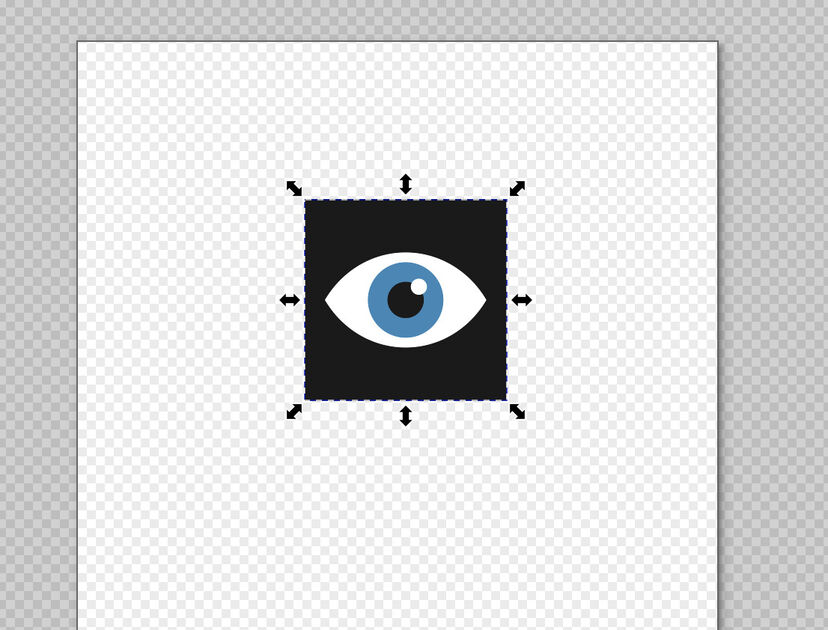
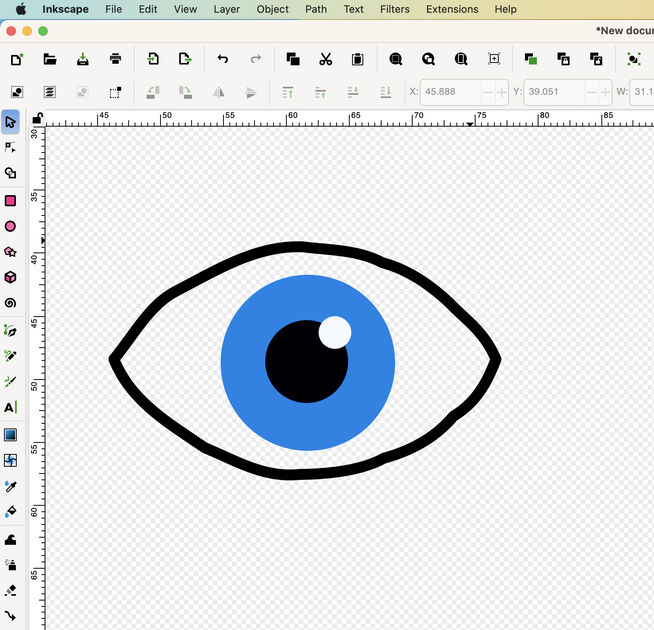
For my final project, I am making an oracle. In addition to some bead eyes, I would like to have embroidered eyes as well (more eyes, better project?). I found some simple image online, credits to the author.
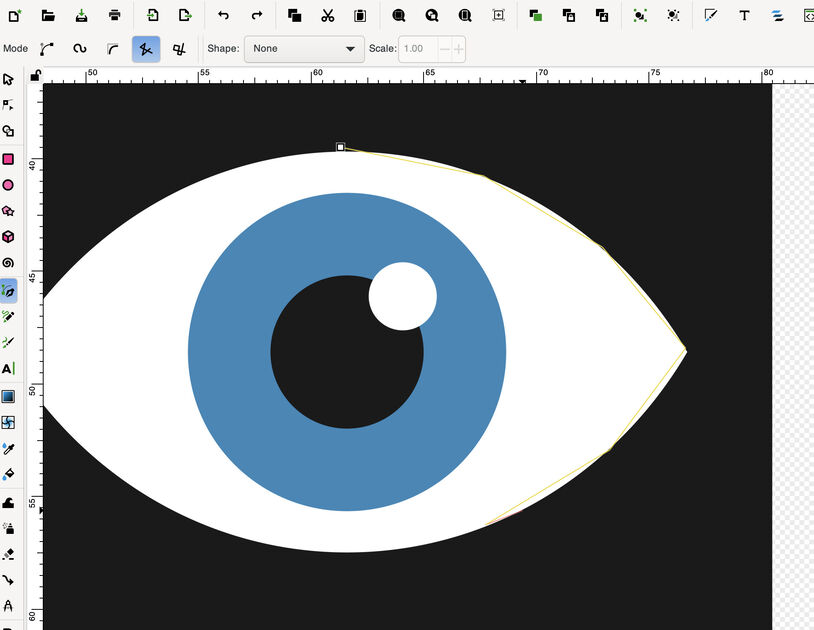
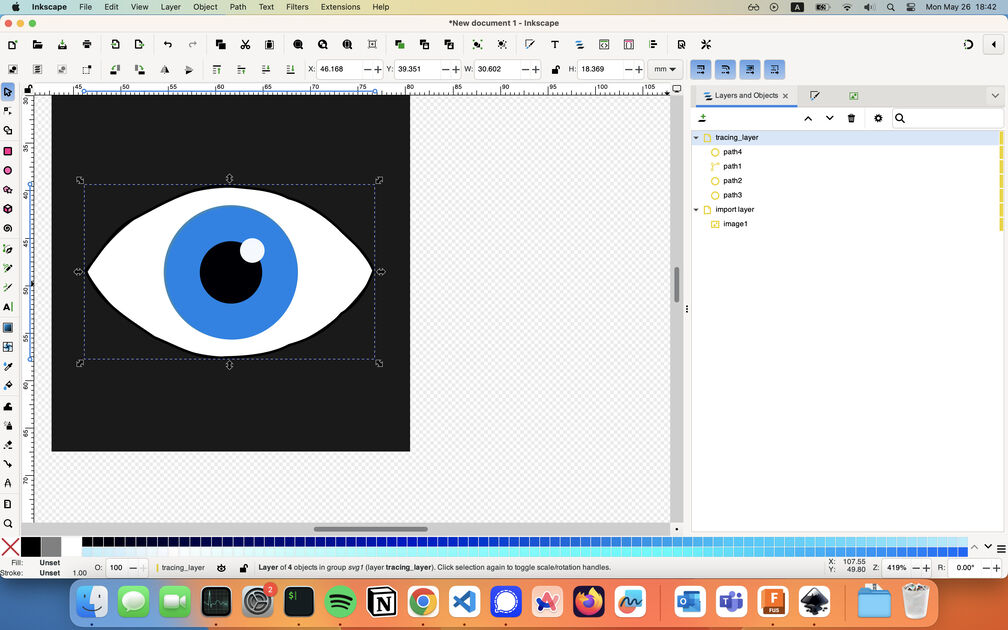
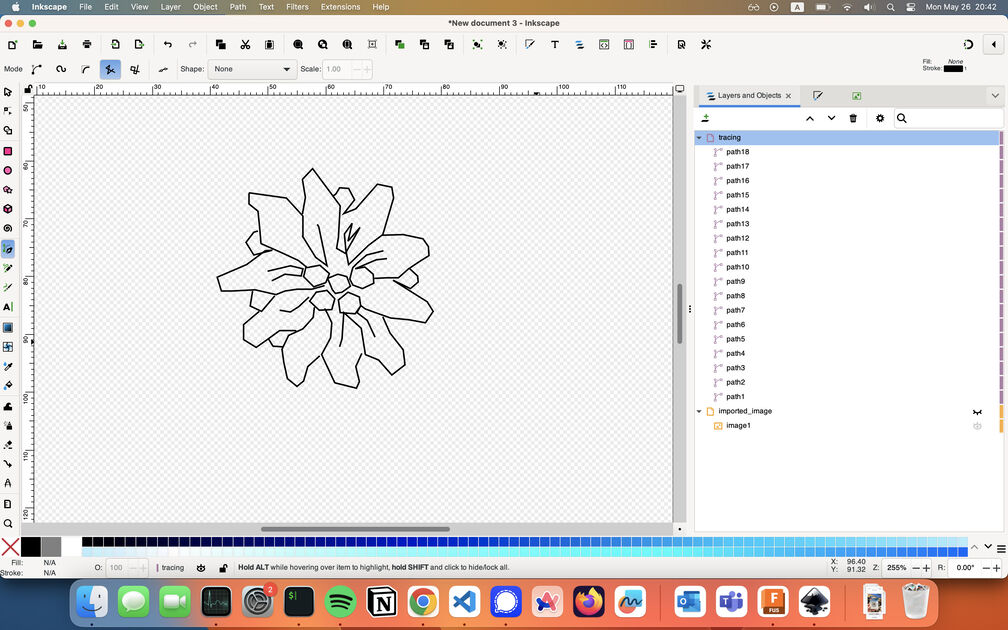
I then started tracing the outline of the image using the Inkscape pen tool (B). I then used the node tool (N) to shape the edgy straight lines into nice curves. For the “infill” I used the circle function. Image on the right is all my layers and paths.
|
|
I am done with the tracing of the image! I have created my own version of the eye, in vector format.
The version of Ink/Stitch has some very nice features, for example the Stitch Plan Preview feature that shows you the realistic depiction of your embroidery based on your current settings.
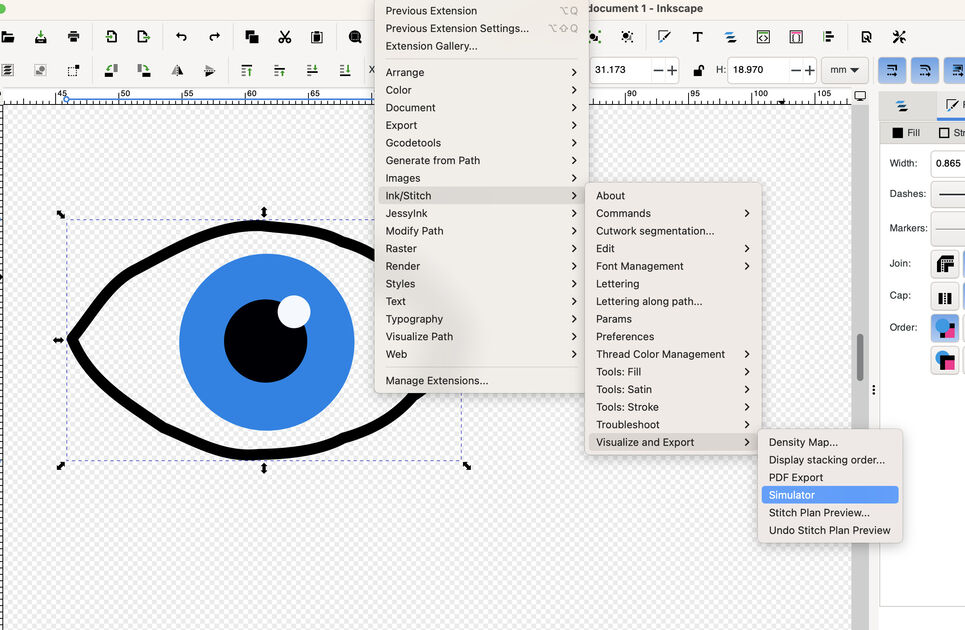
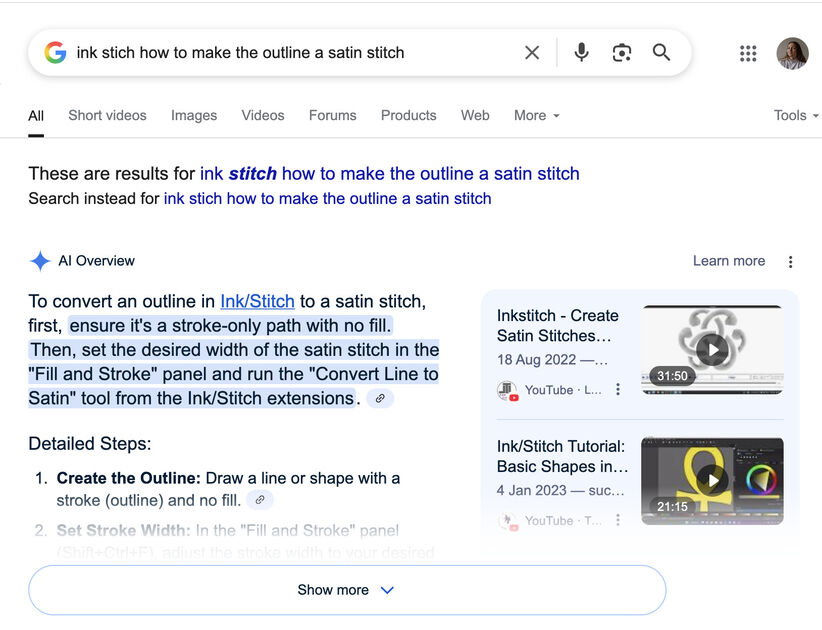
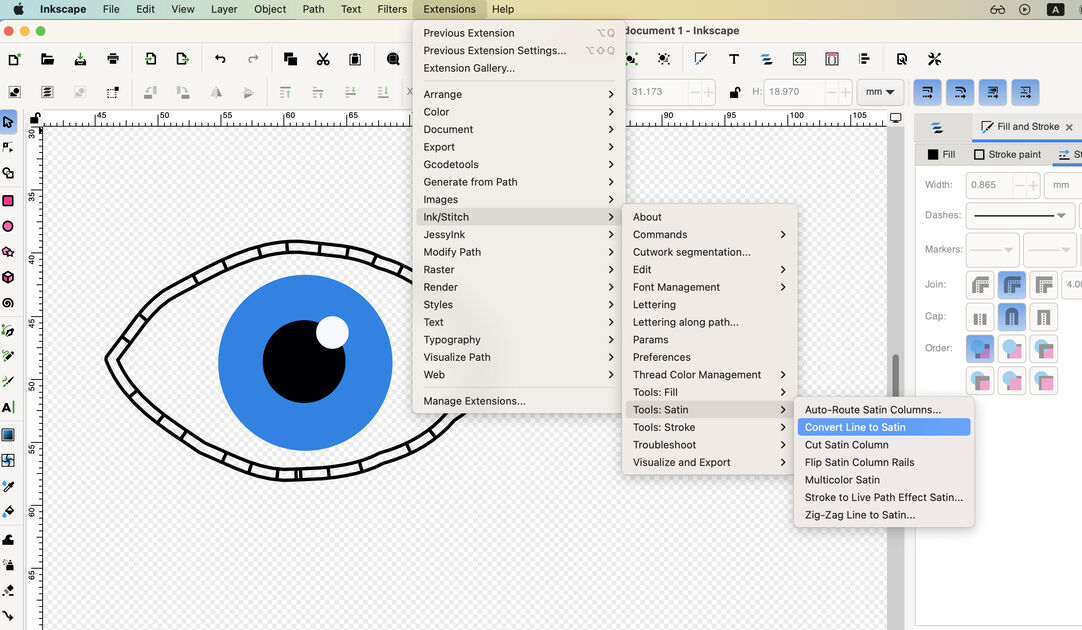
In the video I watched, they mentioned an outline stitch - a satin stitch they called it. I wanted to also have one on my design!
|
|
After that I exported my design as an .exp file, as that is the file format supported by the Bernina machine we have. Some sources on the internet mentioned that you should use the original Bernina USB, or at least one that is smaller than 2GB.
Because I am using MacBook it creates in the USB these cute “dot files”, either delete them or just ignore them. The right file will have the outline of your design.
As I wanted to start, there was a problem that the start button was blinking red. And I think it was because I didn’t set up the hoop size properly. So I had to click on the right bottom on the screen, there was a picture of needle with three dots, and then I could set the hoop. Now it’s working fine, and the start button (double dot) is blinking green.
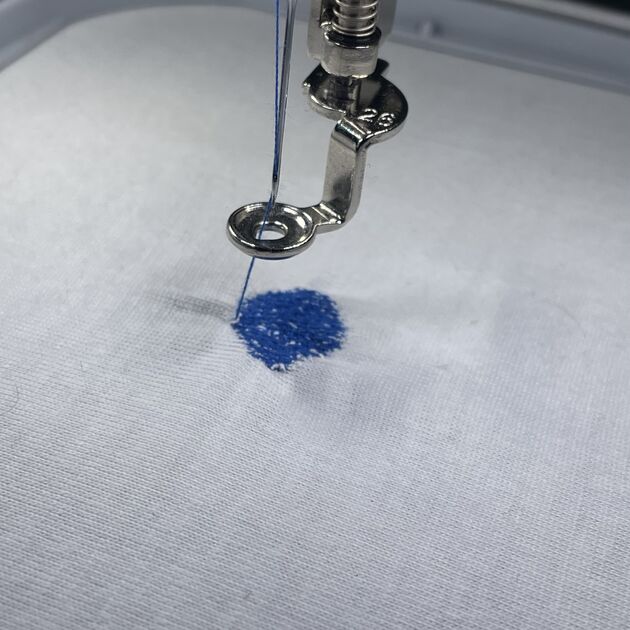
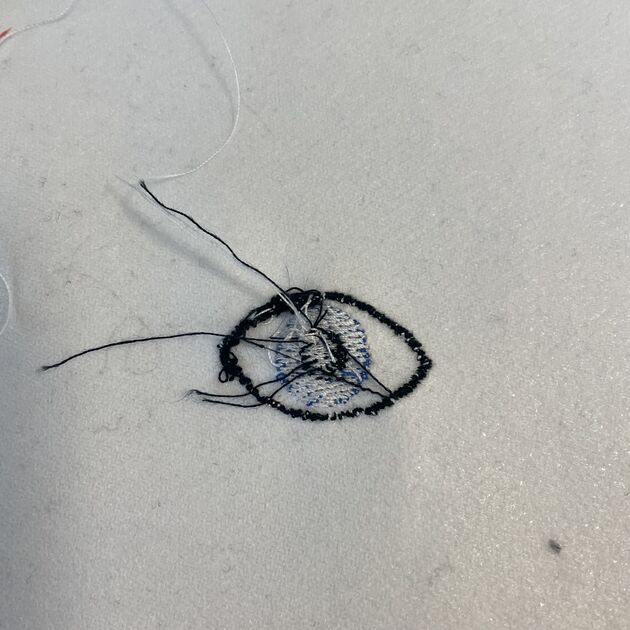
I started bold - with thin stretchy knitted fabric without any stabilizer. Retrospectively not a great choice, I am surprised that the fabric did not get sucked into the machine. When I was inserting the fabric into the hoop, I tried to stretch it a lot, but the fabric was still moving during embroidery process, which created these waves at the edge.
|
|
I tried again, this time with thicker woven fabric, still without any supports. I would say it turned out better, but it was still clearly visible that the fabric was not moving as well with the machine movement, e.g. the thread tension was pulling it a bit in all directions.
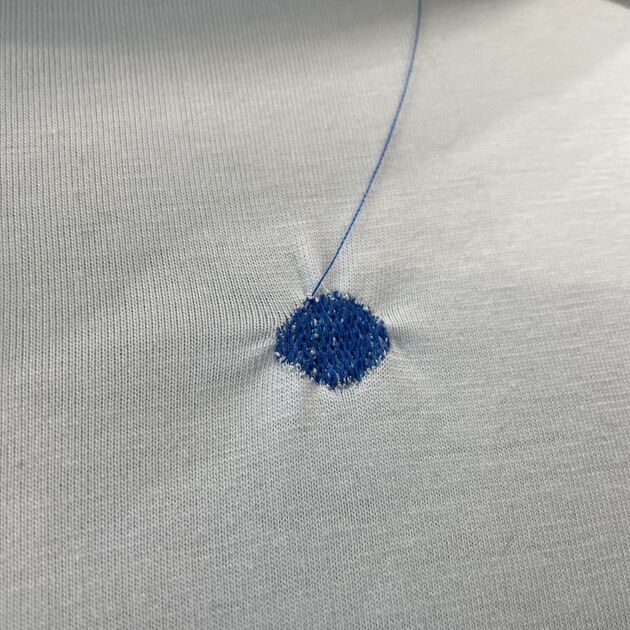
I finally did what I should have done from the beginning - used support fabric. There were not many choices in the lab, I therefore used an interfacing fabric that had a glue on one side for attaching.
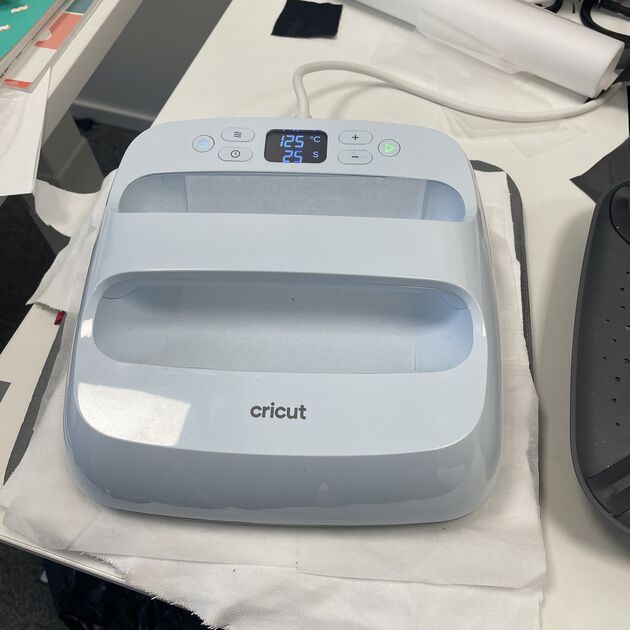
Normally I would use a basic iron to attach the interfacing fabric, but the only iron in sigh was Circuit EasyPress laminating machine. Fancy!
The fabric was now much more rigid (which would perhaps not be as comfortable to wear as a T-shirt for example) so maybe I would only use the support fabric on small portion directly underneath the embodied pattern.
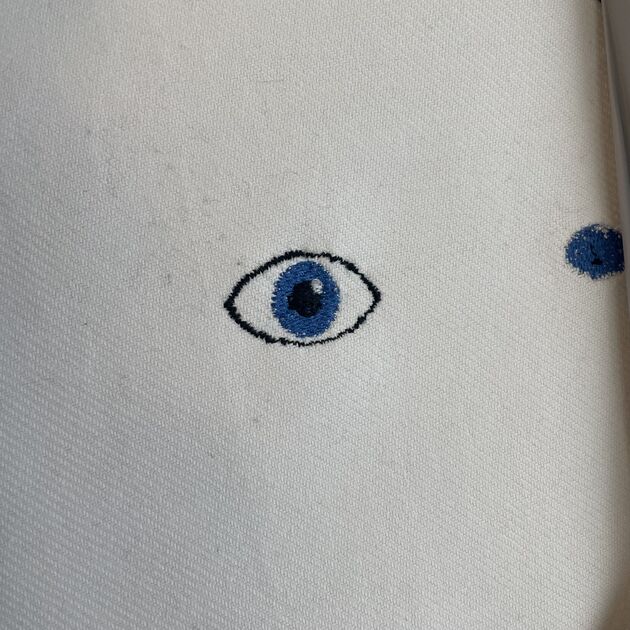
After that it was clearly visible that the pattern was a much sharper and nicer circle.
My design is multicolor - using black, blue and white threads. The machine only uses one thread at the time, so I have to manually change them after each color. The machine knows that I am using different threads (in one of the pictures above showing the Bernina interface you can notice the different color higlighted), but it does not know (and does not care) which threads, and what are their colors - that’s totally up to me when I am loading the threads.
There is the top yarn and bottom yarn - The color of the top one is showing, so the color of the bottom one does not matter that much, but I like to be using some neutral color (like the color of the base fabroc), or the same color as the top thread just in case.
The final eye, from above and bellow (with string still attached). I will use many of these in my final project. Overall it took around 10 min to make one (counting in the threat changes).
|
|
More complex picture
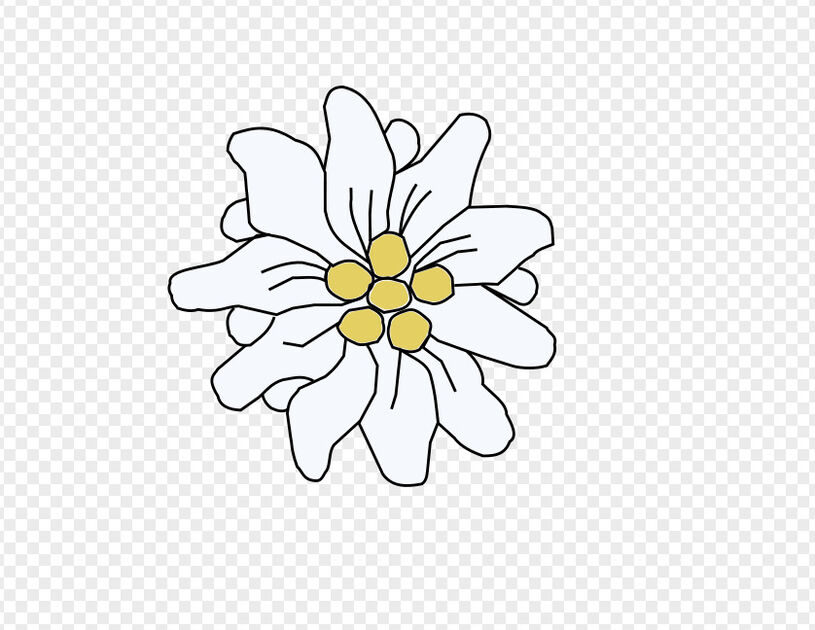
One think that prompted me a bit into embroidery was this beautiful embroidered motif of Edelweiss I saw in a store for 5€. It was a bit too much for me, and I wished I could make my own - which now I can! <3
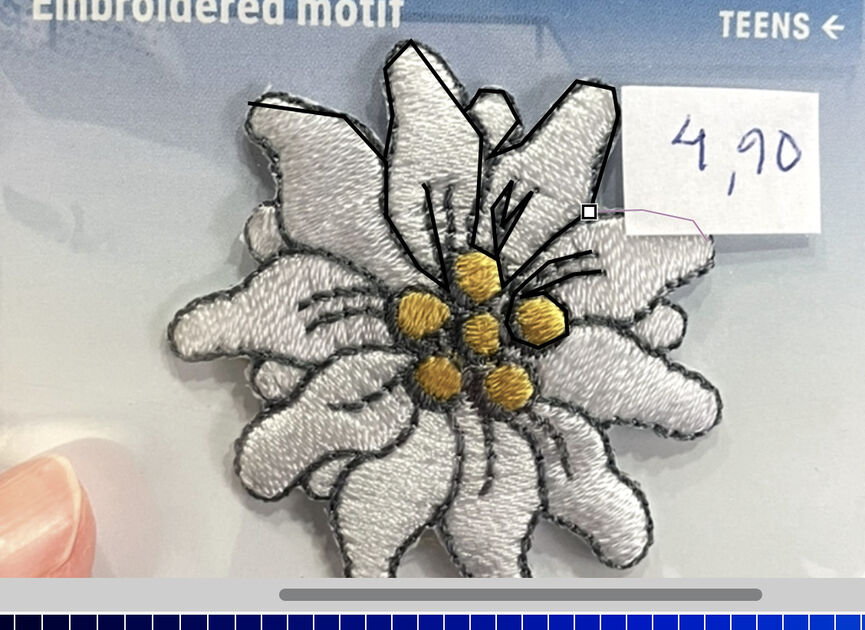
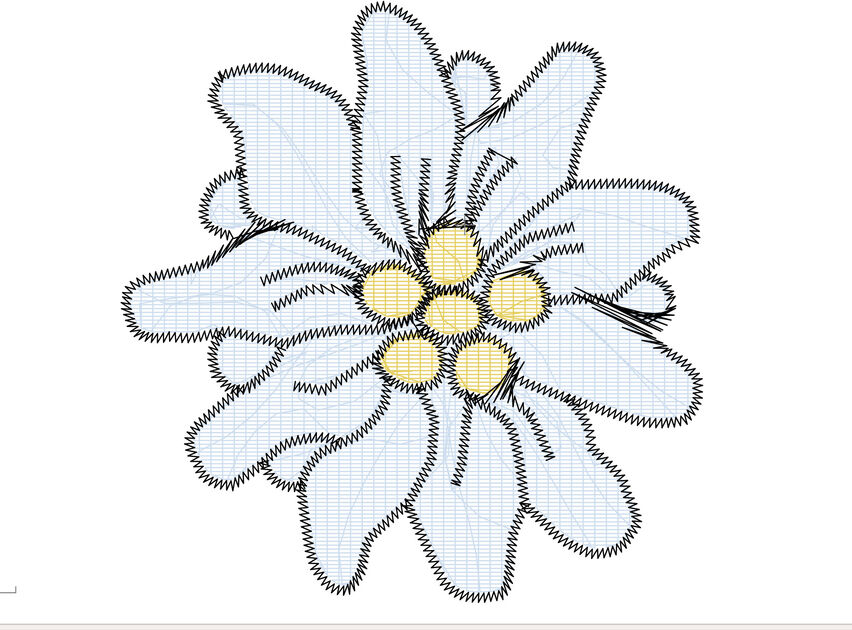
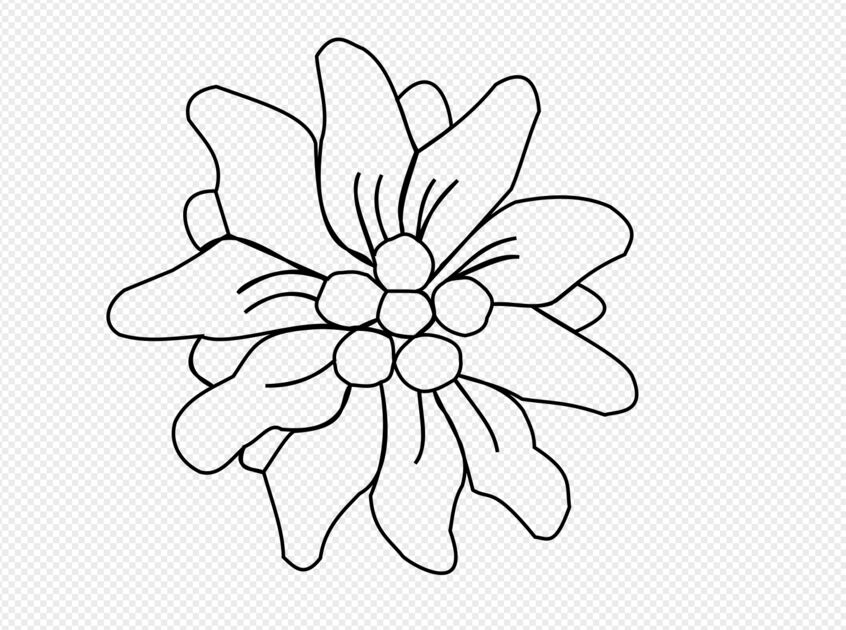
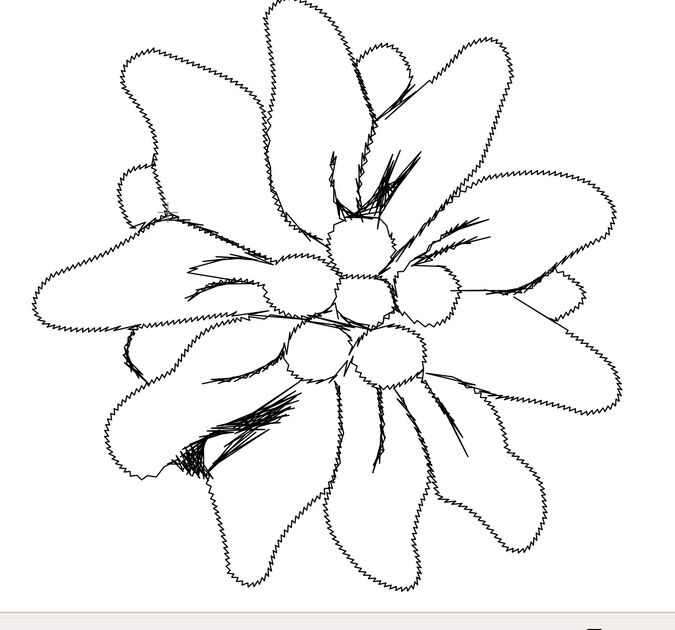
I started tracing the image as I would before, first rough outline, then more defined curves. I would then color the inside the petals with infill.
The outline was by far the most difficult part as the satin stitch did not want to work the way I imagined. I did not like some stitches as I found them to be too wide. When I check the realistic depiction of the motif, I noticed that even though I grouped the outline lines, the machine would still embroider them one by one in order that I drew them, leaving many “jump” stitches in between. Yikes!
|
|
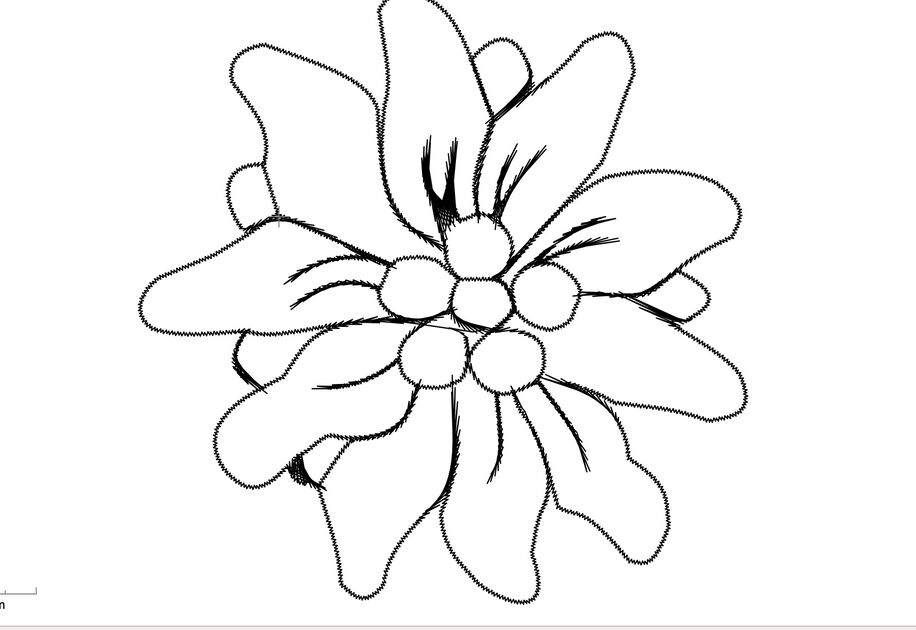
So I started again from beginning, this time drawing the outline as one line. It resulted in some ugly and weird stitches. I played with Params a lot, changing the outline stitch type to zigzag, S and E stitch, changing the maximum and minimum stitch size and so on.
At the end what helped the most was making the whole motif a bit bigger, e.g. going from 4.5 cm in diameter to around 6.5 cm in diameter. I think this is because now the machine actually has space to do the turns properly.
|
|
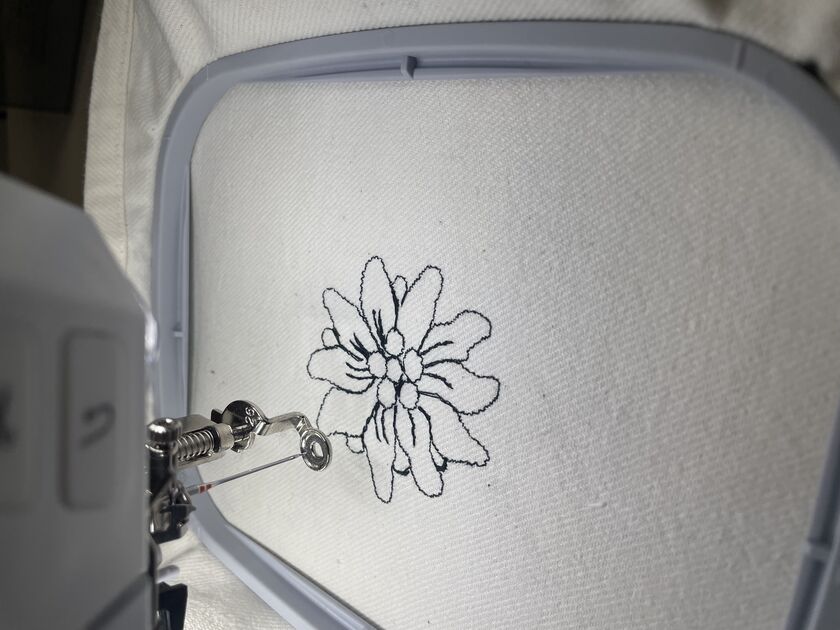
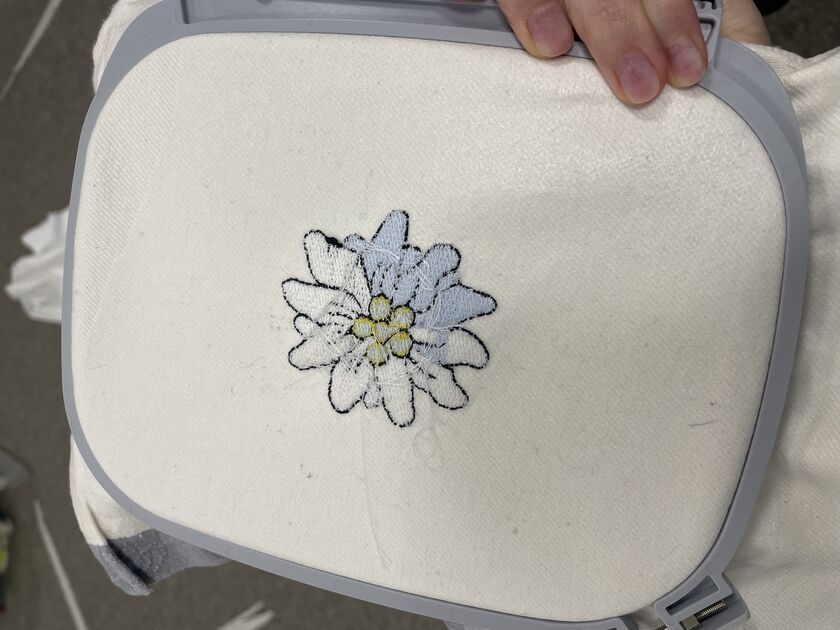
Believe or not, the picture bellow is the best I got after hours with Ink/Stitch. It is done in one go, no repositioning. I was rather afraid that it is going to be too bulky, so I made an unusual choice or leaving the outline as first layer, e.g. it would embroider first. I hoped that it would make the outline more subtle (and I think it worked!).
One of my favorite feature of Bernina (and why I think it is worth the price) is that it has an amazing failure recovery system. I can detect when you run of either upper and lower thread, of a snapped thread. I would say it can detect if something goes wrong, stops and alerts the user. After the user reattaches the thread (or otherwise solves the problem), on the screen you can select the last correctly executed stitch, and the machine will return to that one. How cool is that!! It makes it quite difficult to mess up the embroidery after a successful start, which saves both time and resources.
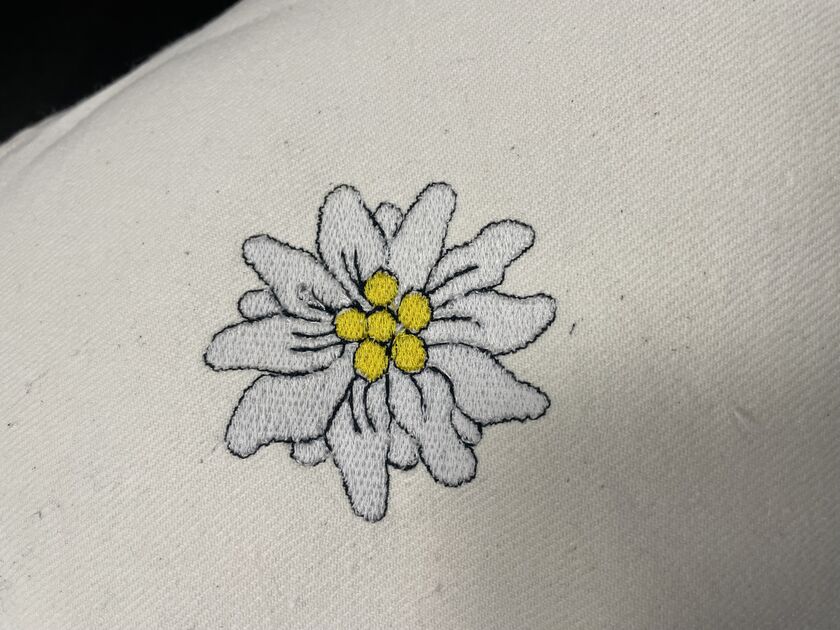
This is the final flower! At some point I run out of the white bottom thread (so I substituted it with light blue), but you can’t see the difference from the right side. The embroidery time was 20 minutes, but together with thread exchanging and all the snapped thread it was more like 30 minutes in total.
I think it turned out great :)
|
|
Files
Here are the design files, both as an Inkscape .svg and Bernina .exp.
- Files - [here]