Week 5: 3D Scanning and 3D printing
Group Assignments: https://fabacademy.org/2023/labs/rwanda/Group_Assignment/3D_Scanning_and_Printing.html or just click Here
Individual assignment:
- design and 3D print an object (small, few cm3, limited by printer time)
that could not be made subtractively
- 3D scan an object (and optionally print it)
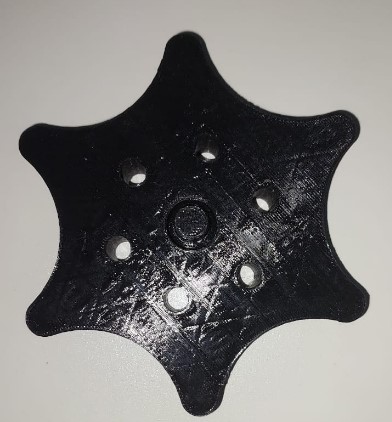
Our local instructor advised us to design something with parts that move yet still connected.
with the idea of a yo yo, i made something that has a central part which will move, rotated.
On the top plane, I started by sketching a circle, a 3point curve around the cicle,made it a circular partern (6).
Then i joined two curves with another curve and made 6 circular partern of that curve.
I made another (to be cut) circle and multiplied it by 6.
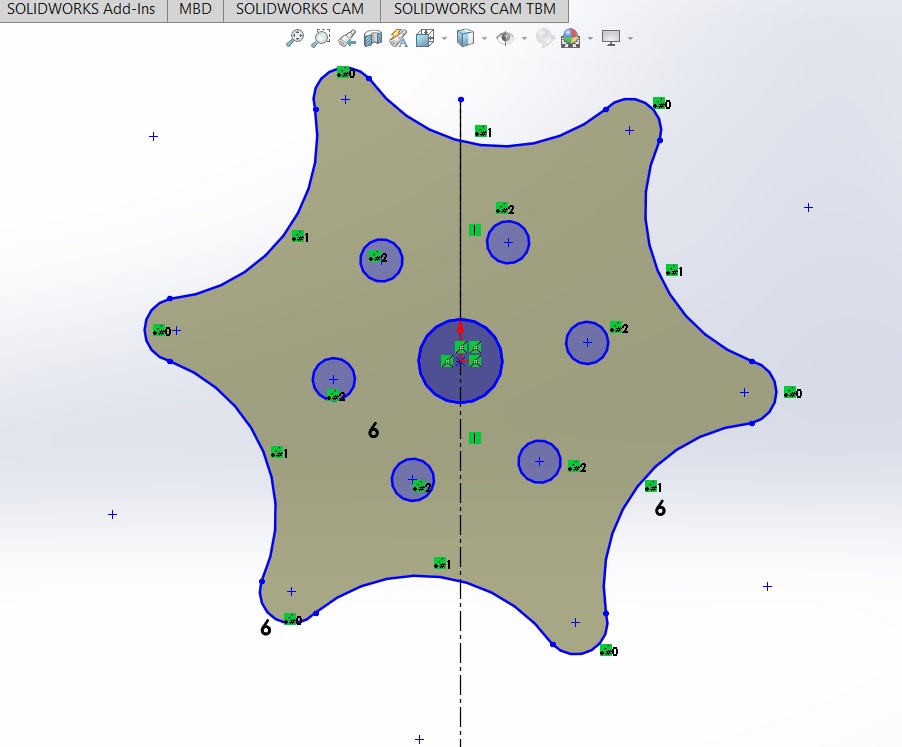 Then i extruded bross.
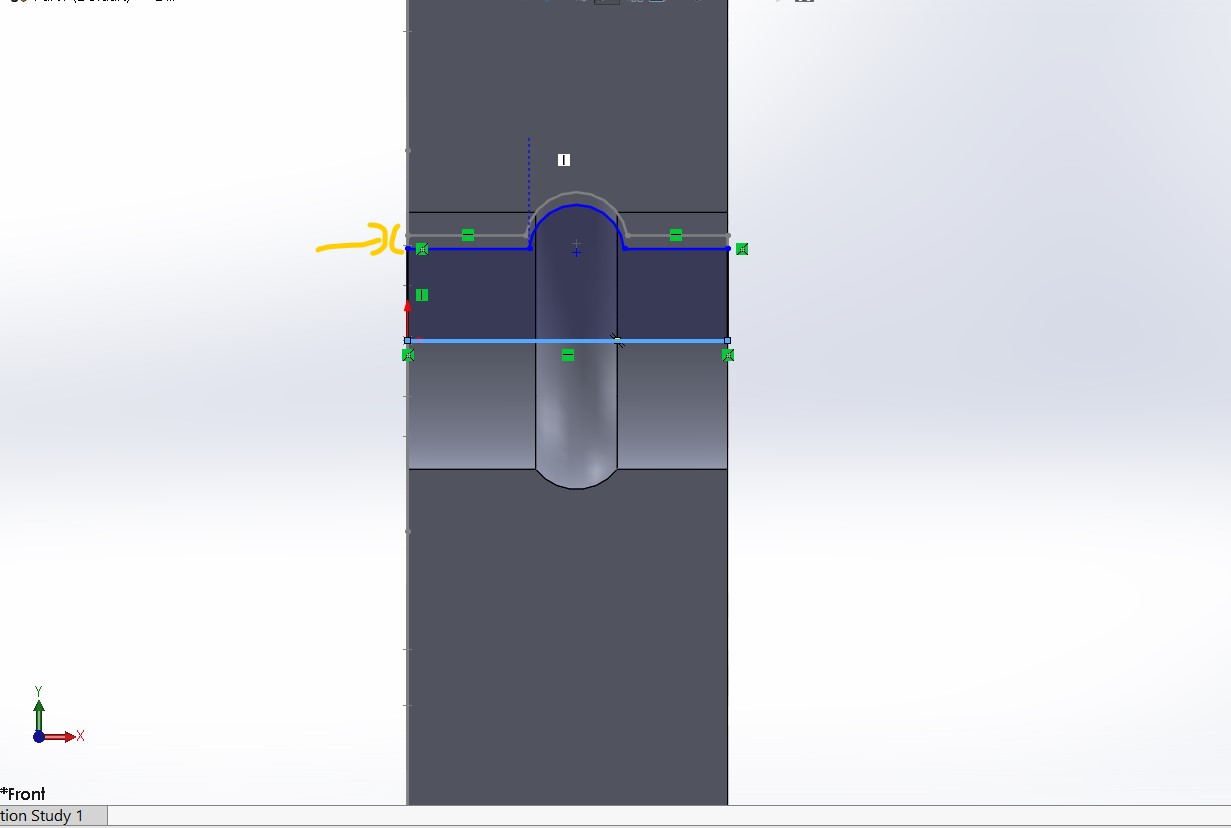
On the front plane, drew a center line, and sketched the contour that, when revolve-cut, will extract the trail of the inside peace.
Then i extruded bross.
On the front plane, drew a center line, and sketched the contour that, when revolve-cut, will extract the trail of the inside peace.
 Then i drew a similar shape with a little bit of clearance.
Then revolve extruded the inside.
Then i drew a similar shape with a little bit of clearance.
Then revolve extruded the inside.
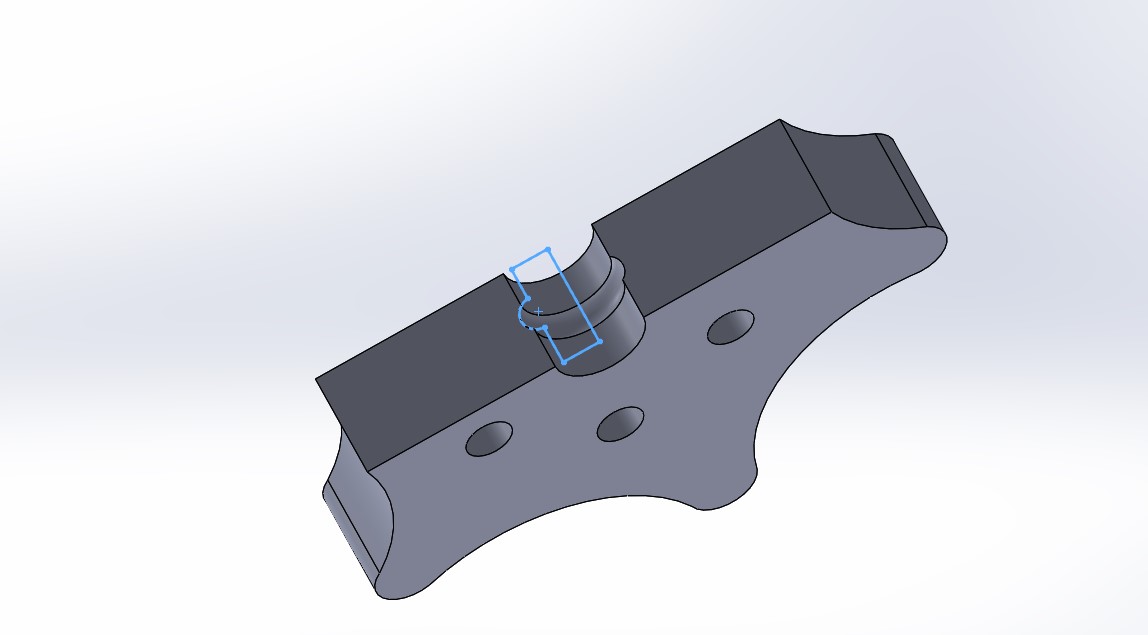
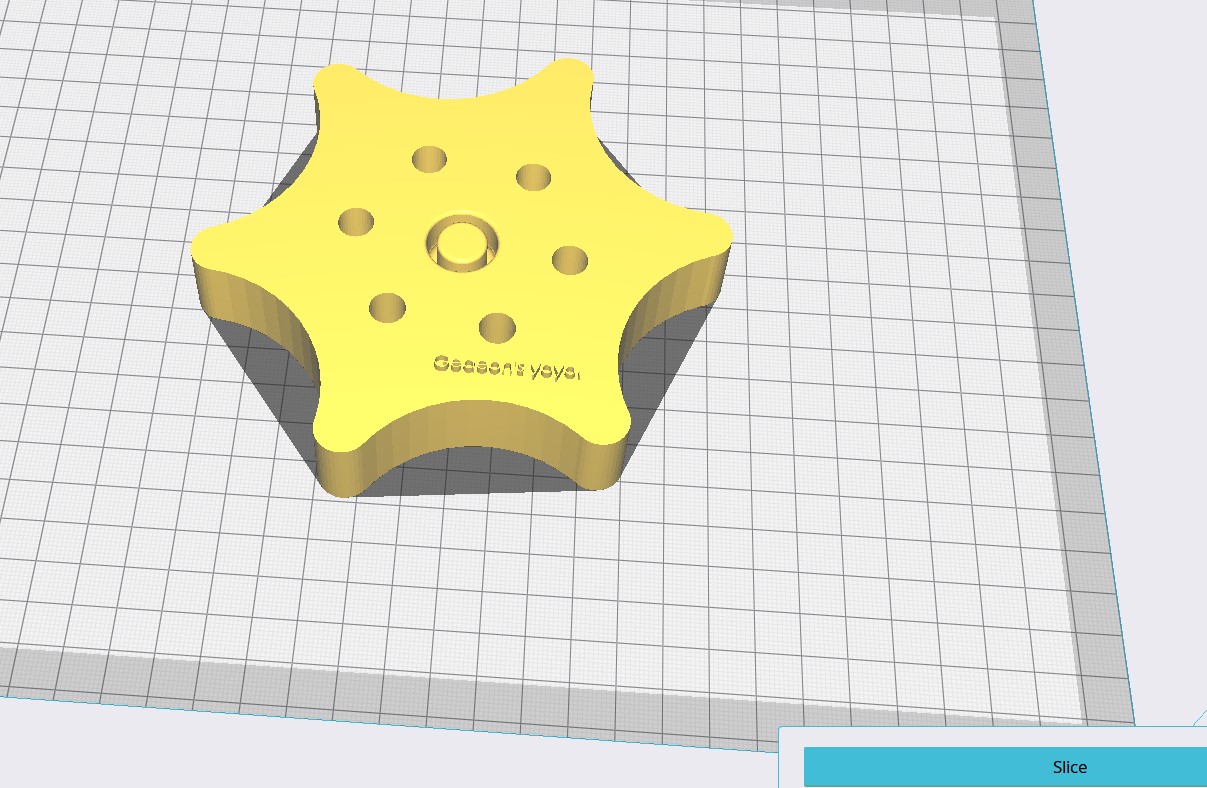
 The final piece looked like this:
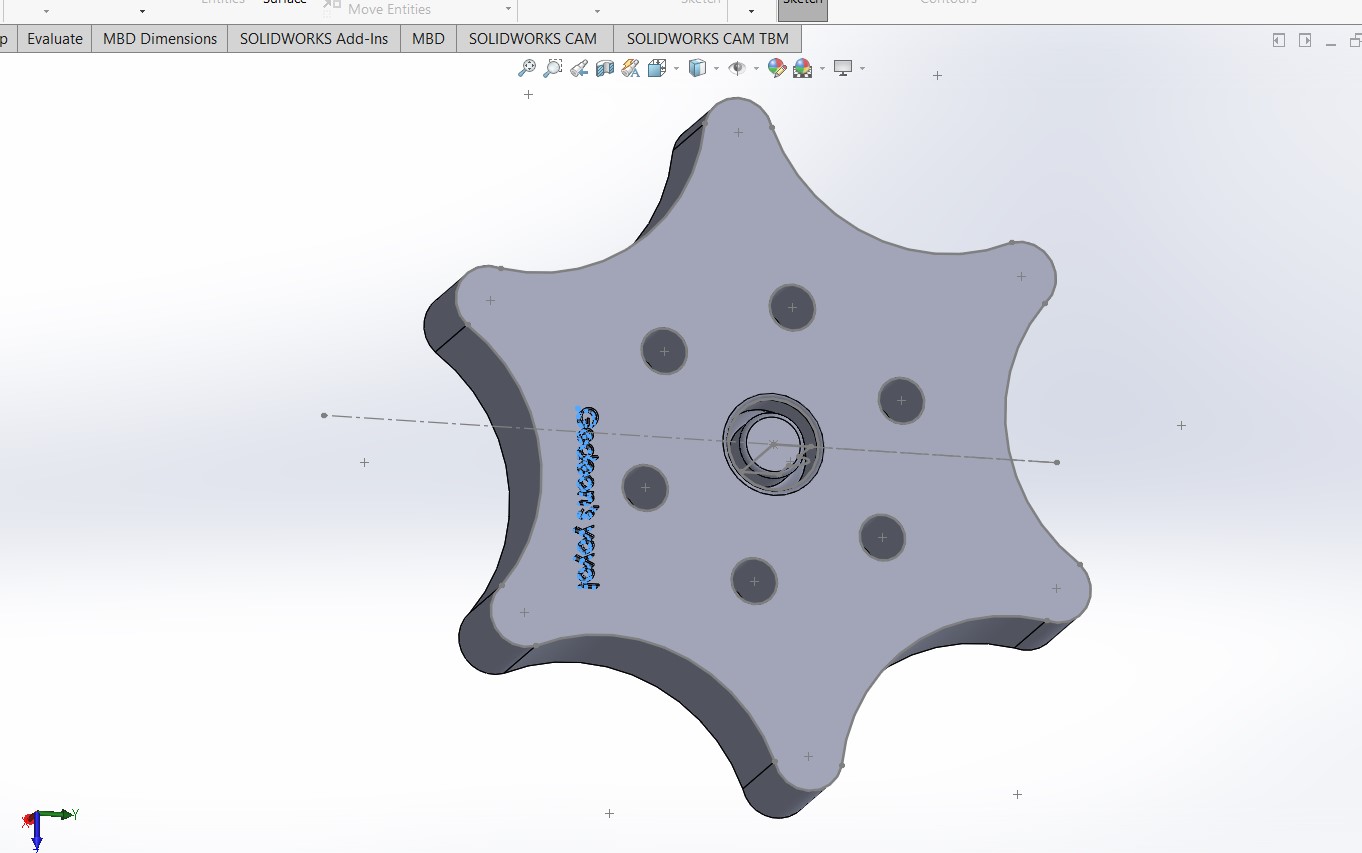
I tried to add text on top of the piece as well.
The final piece looked like this:
I tried to add text on top of the piece as well.
 After exporting the stl format from solidworks, i opened the piece in creality slicer.
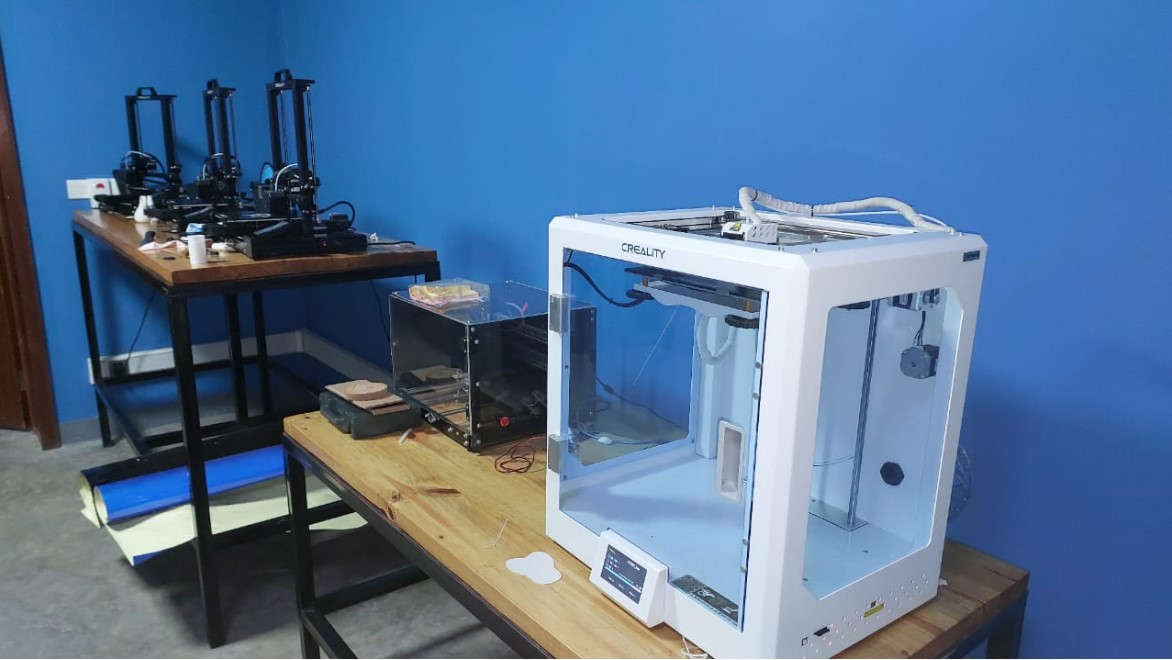
 I did open in creality slicer, because the machines in our lab is creality. Cura may have other parameters that are similar,
However i preferred using the same model, to avoid inconsistances.
I did open in creality slicer, because the machines in our lab is creality. Cura may have other parameters that are similar,
However i preferred using the same model, to avoid inconsistances.
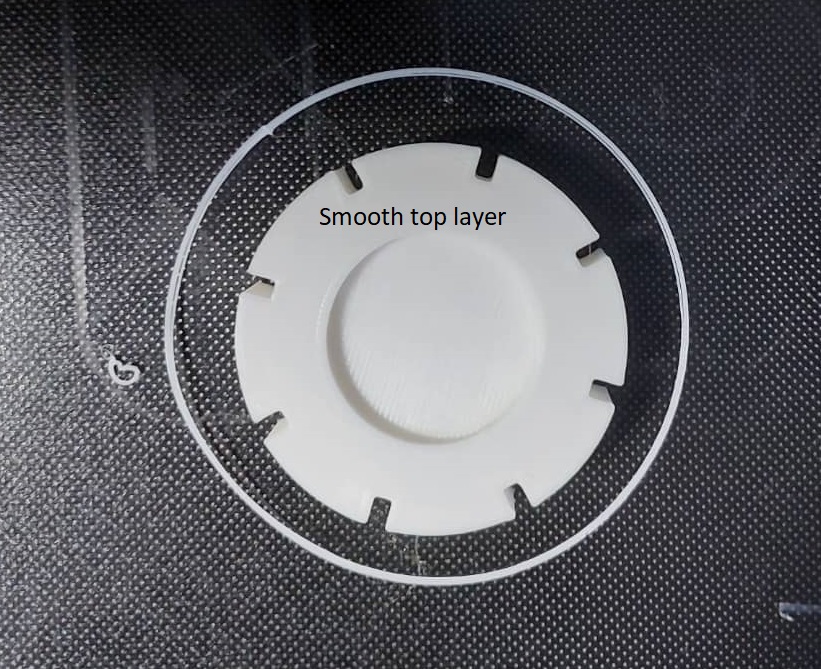
 I eddited some quality, infill percentages, bottom and top layer traces, to reduce the printing time.
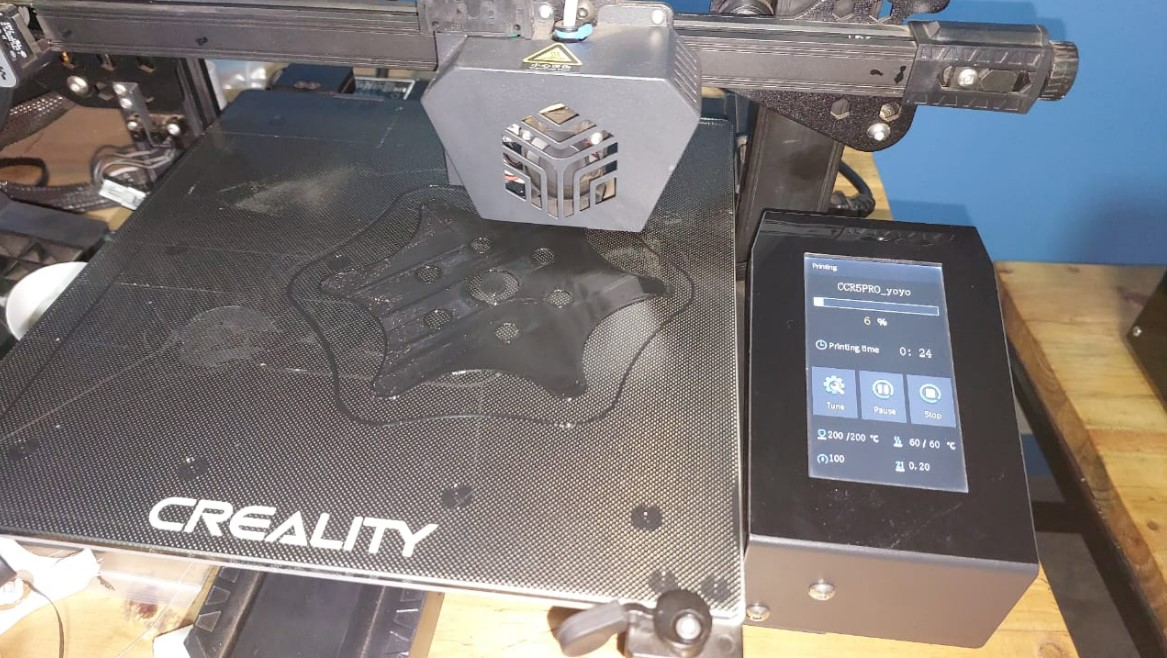
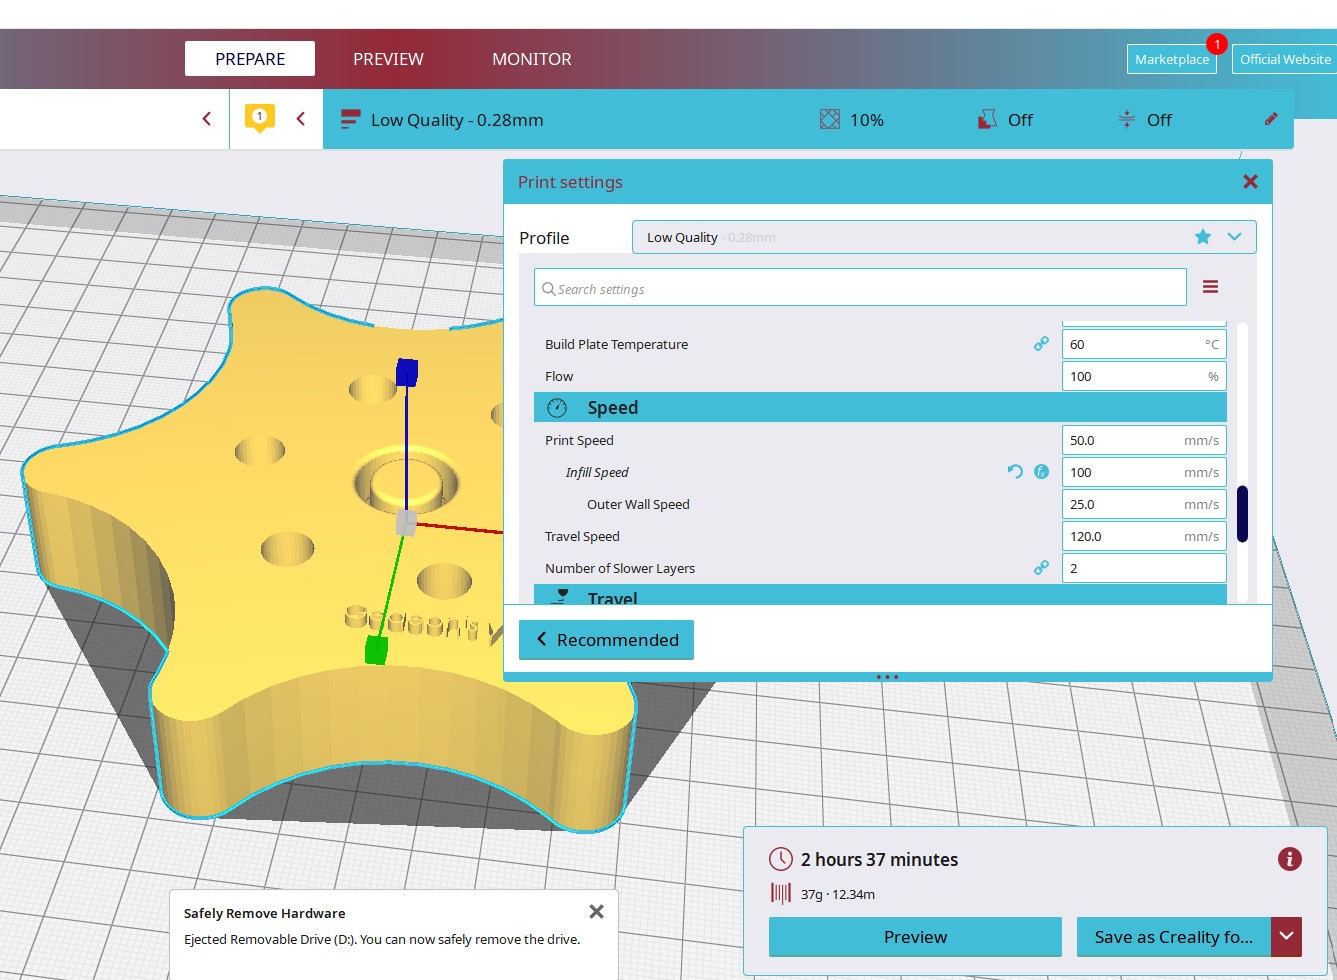 It took more than 2 hours but the print went well.
 The final peice came out but the letters i had put on the top did not get printed well.
Probably because they were too small.
The final peice came out but the letters i had put on the top did not get printed well.
Probably because they were too small.
 The final piece looks like this:
 The video on how it is used is embedded
.jpeg)

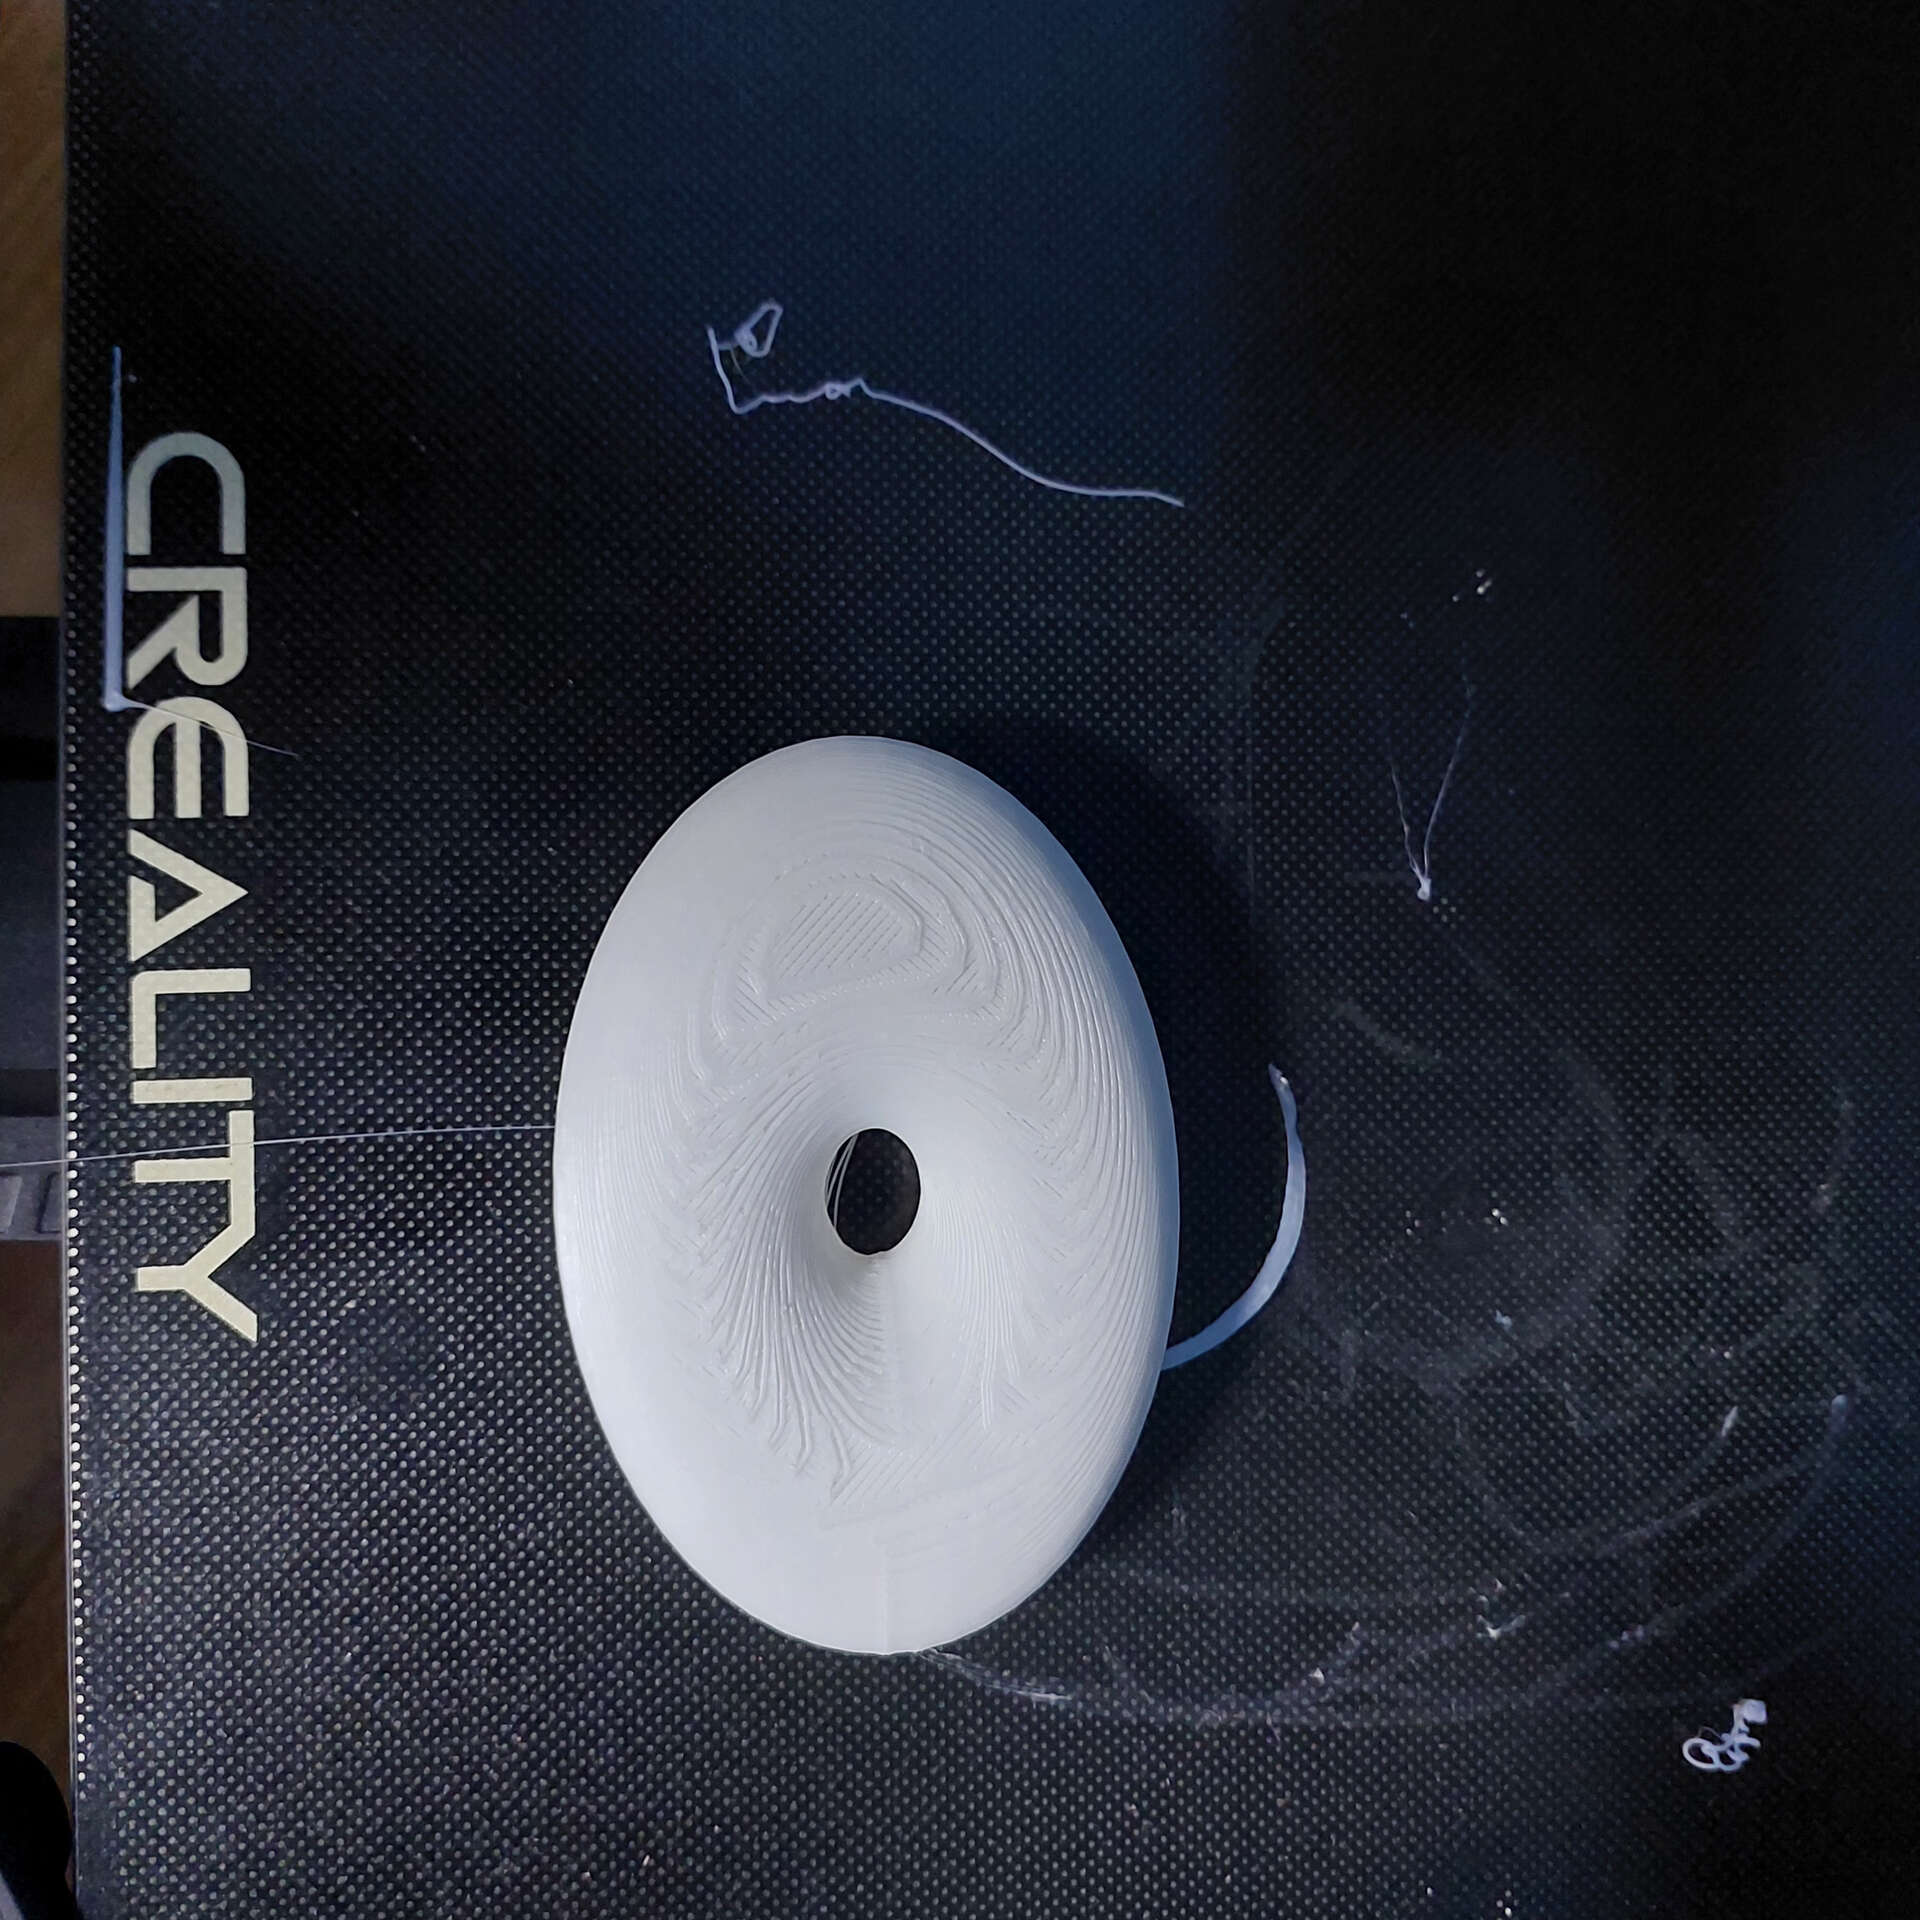
A dognut shape that is not well layed on the bed of the printer comes out with a good top but a bad bottom!
Another rotating jointADVANTAGES OF 3D PRINING
- LOW COST PROTOTYPING
- EASY TESTING OF Mechanical/ PHYSICAL STRUCTURES
- INHOUSE/ PERSONNAL FABRICATION MADE EASY
- CUSTOM PARTS ARE EASILY MADE
LIMITATIONS OF 3D PRINTING
- SMALL SIZES
- LONG TIME OF PRINTING
- SOME PARTS REQUIRE SUPPORT TO COME OUT NICELY
- COMPLEX MODELS ARE SOMETIMES HARD TO PRINT

A flat surface supported by the perimeter, looks good on the top but the bottom may have issues.
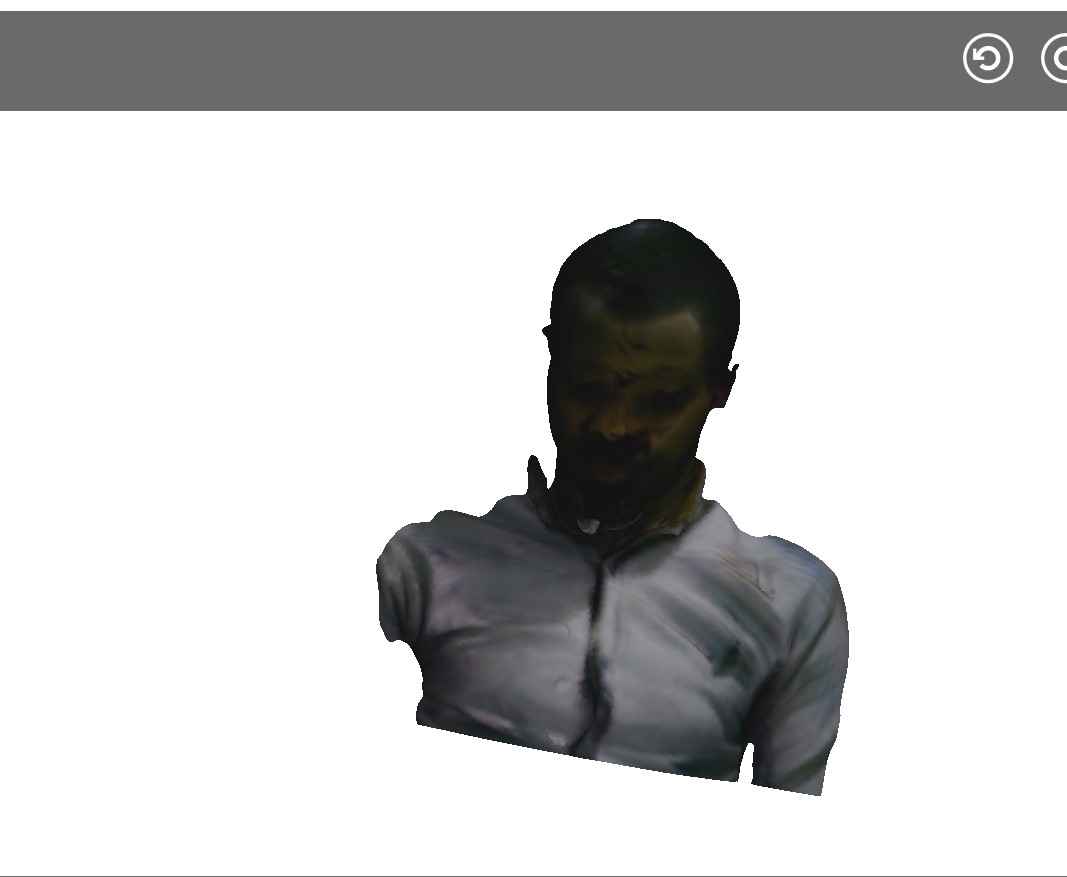
3D scanning:
In my lab i have a leTMC-520 scanner
i am figuring out how to use the device, there is potential in what does.
I admit the cura sense 3d scanner is much better I had to go to the local fablab and use it for this assignment, since i have used it before.
The front came out like:
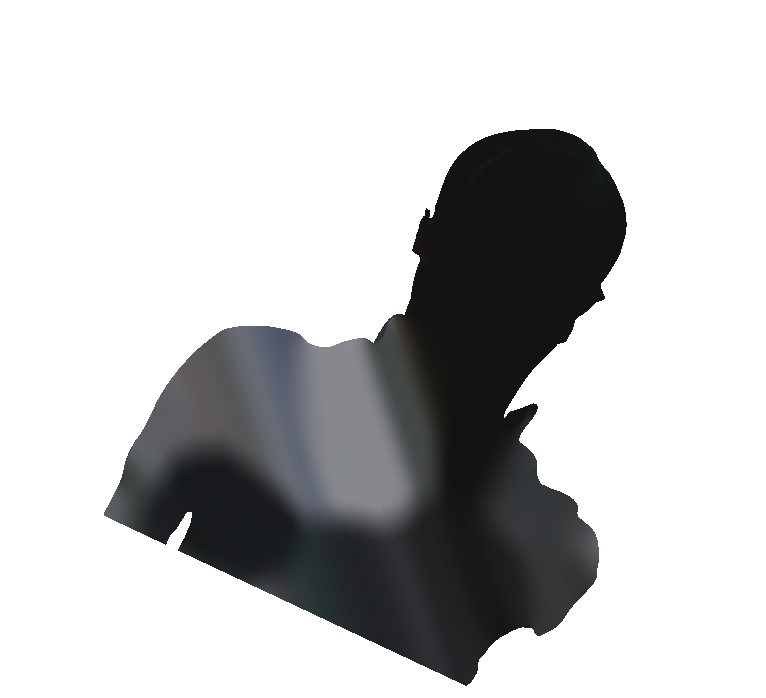
 The back came out flat!
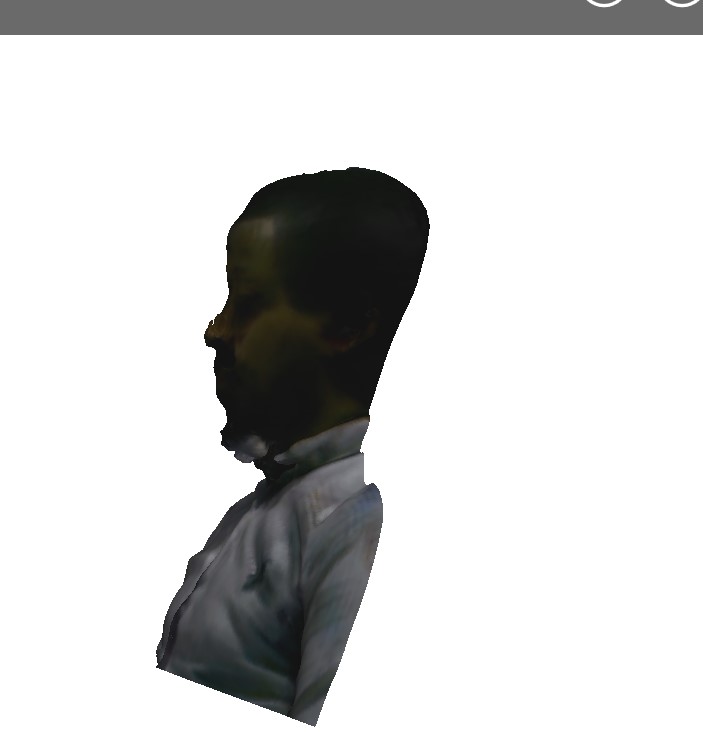
 the side was like:
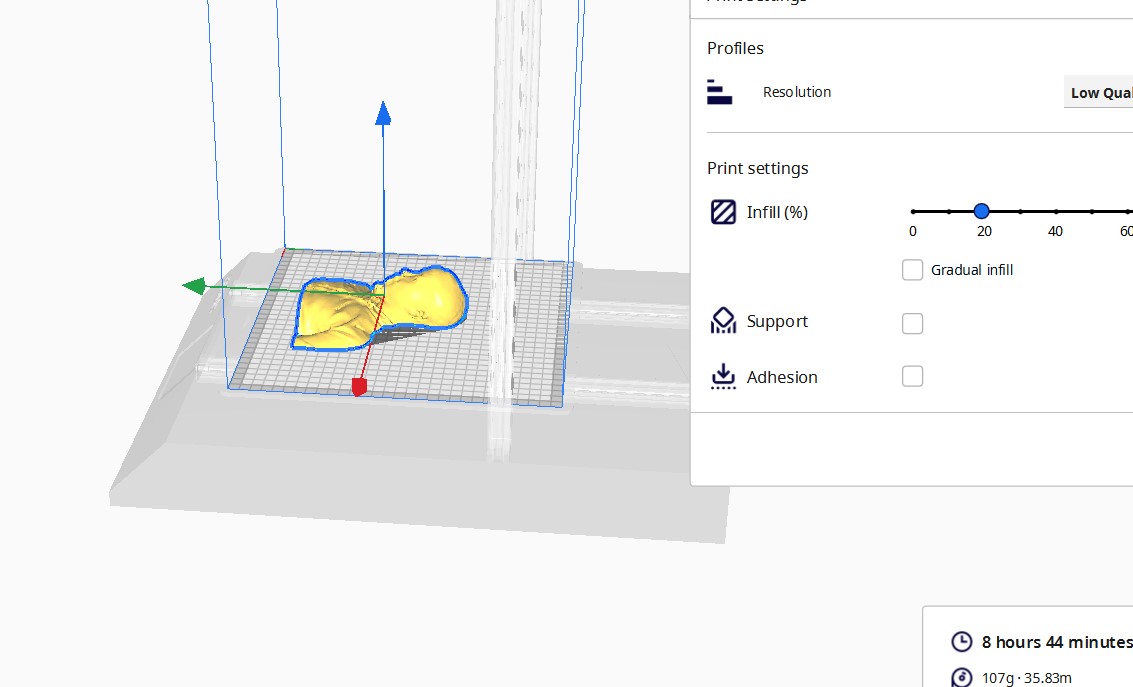
 Then I opened the scan into the slicer
 The deigns i used in this assignment can be found here:
 STL of the yoyo
Solidworks part for the yoyo
The scanned stl of my face