Week 4: Embedded Programming
Task: Embedded Programming
-
Group assignment:
- Compare the performance and development workflows for other architectures
- Document your work to the group work page and reflect on your individual page what you learned
-
Individual assignment:
- Browse through the datasheet for your microcontroller
- Program a microcontroller development board to interact and communicate
Individual assignment:
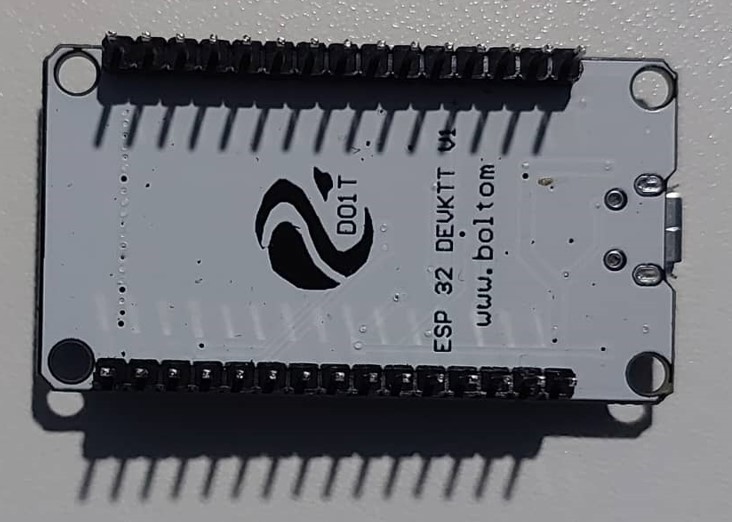
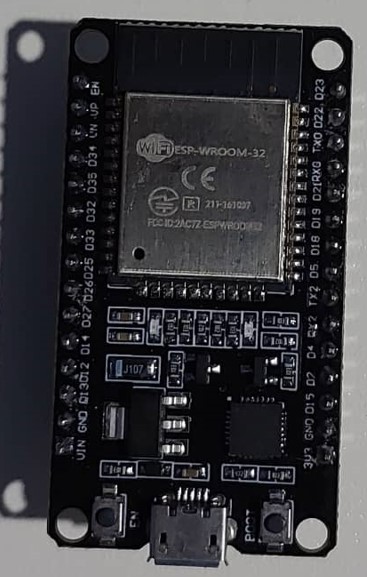
- ESP 32 Datasheet exploration Here is the link to the full datasheet i read
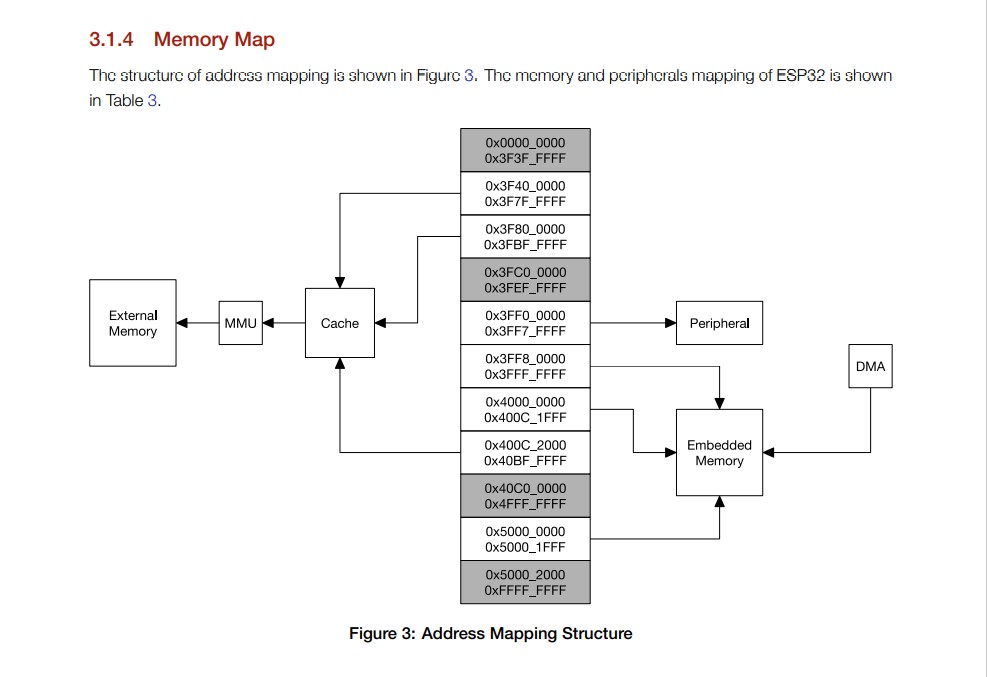
In the context of the ESP32 microcontroller, DMA stands for Direct Memory Access. DMA is a feature that allows the transfer of data between peripherals and memory without the need for CPU intervention.
The ESP32 datasheet specifies that the ESP32 microcontroller has two DMA controllers, which can be used to transfer data between peripherals and memory, or between different peripherals.
The DMA controllers operate independently of the CPU, allowing for efficient data transfers and freeing up CPU resources for other tasks.
Using DMA can significantly improve the performance of data transfer operations, especially for high-speed data transfers or continuous data streams.
It can also help to reduce power consumption by reducing the need for CPU intervention.
Overall, DMA is a powerful feature that can be used to improve the performance and efficiency of data transfer operations on the ESP32 microcontroller.
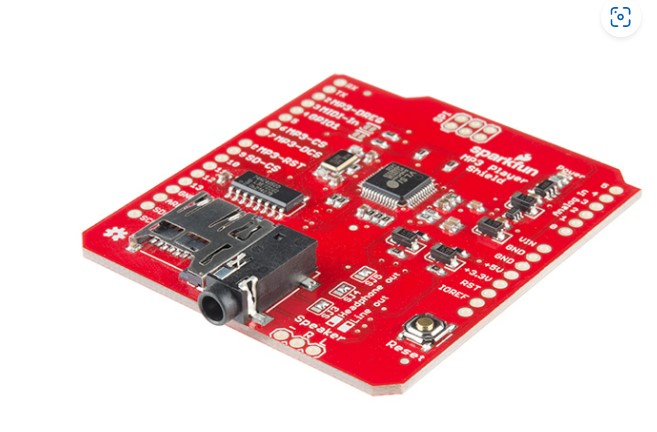
- I wanted also to check out the sparkfun MP3 player shell this is because my final year project has a part where i will deal with audio processing.
- it's datasheet can be found on here:sparkfun VS1053B
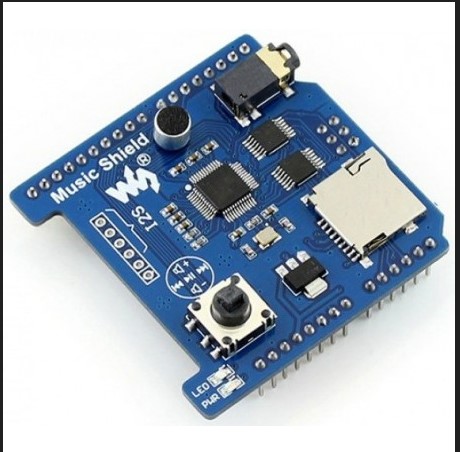
- Interestingly, i also found out that there is an arduino mp3 recorder and player with the capacity of SD card. its details can be found on the following link: Music Shield
- The above mentioned explorations added to my existing knowledge (as someone with a Masters of electronics and communication) and informed me following points for each controller/dev borad:
- Pin diagram
- Internal architecture
- Memory map
- Interface capacity
- ...and many more
- Programming an SP32 on arduino development board to interact
- Installing the arduino IDE
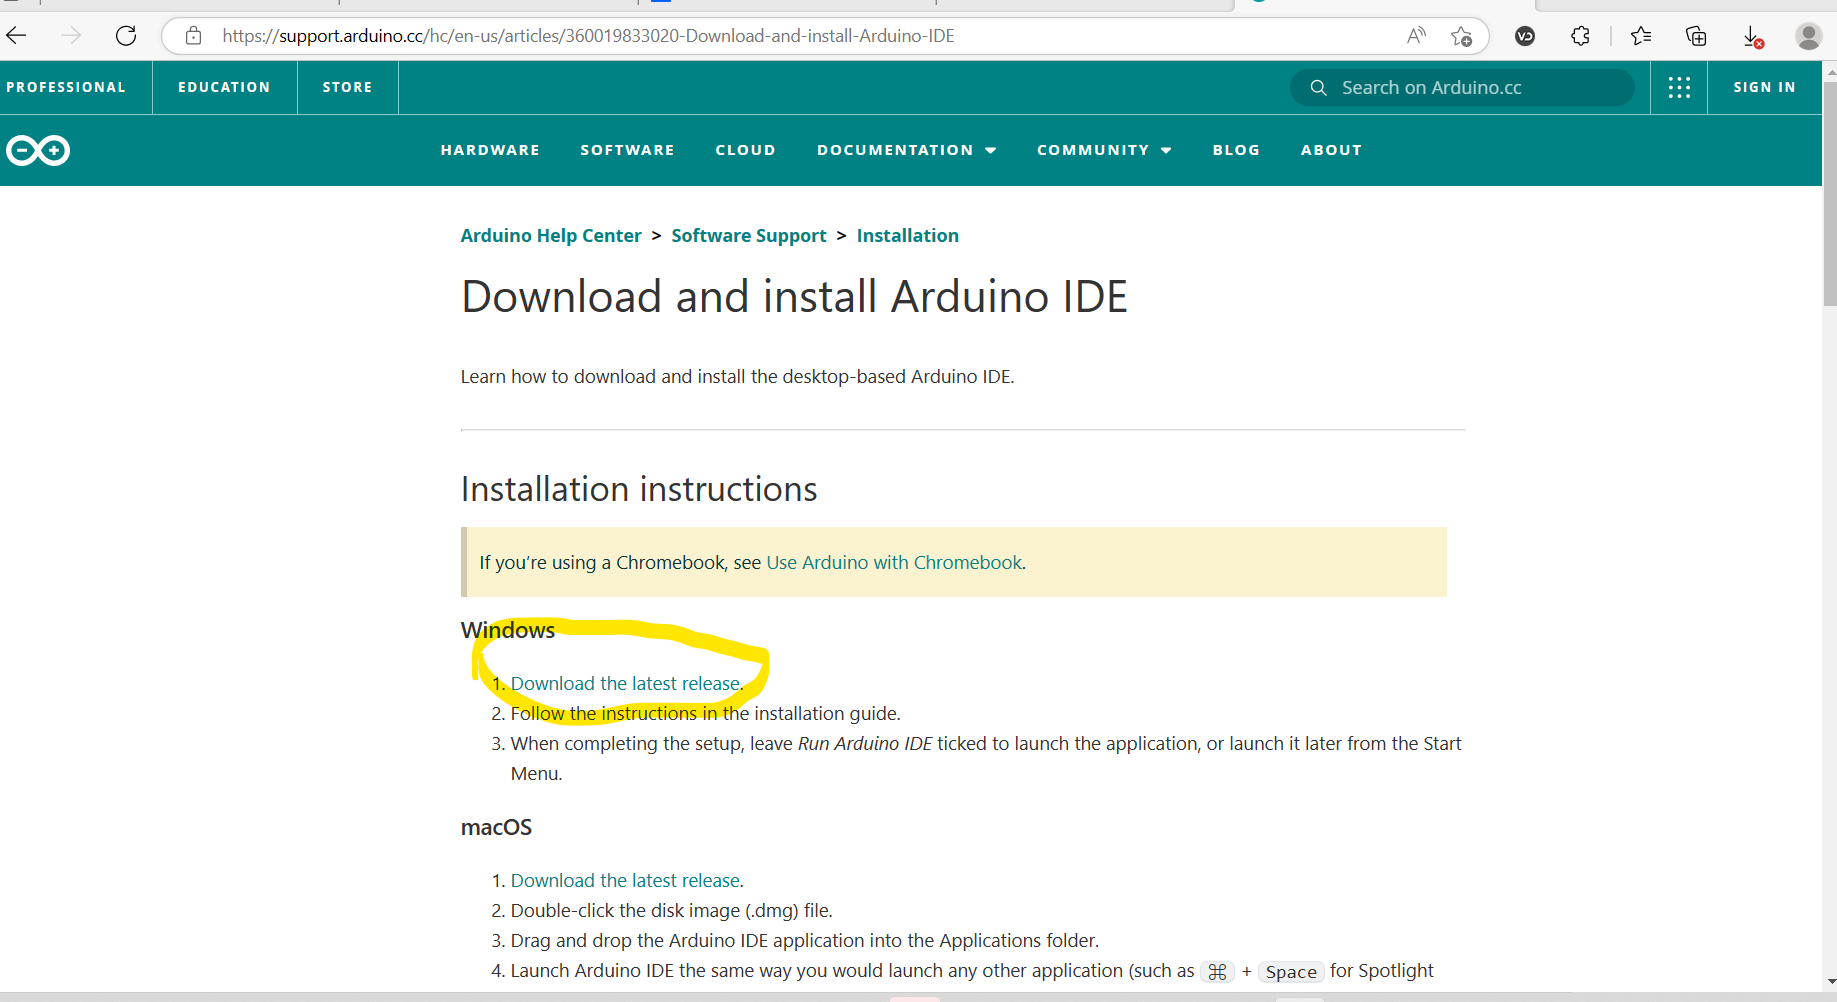
- I went to the Official website of ArduinoUnder software, and i downloaded the version corresponding to my computer parametters
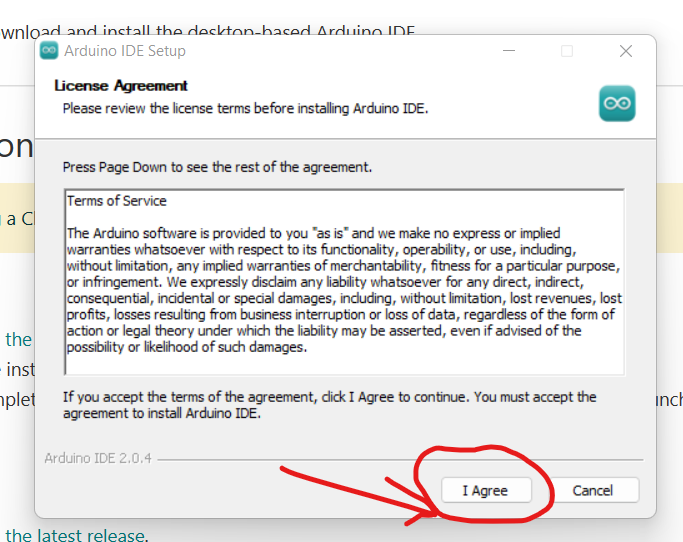
- After installation to my computer, i allowed the .dll files to install themselves as well.
- Then i went to >Files>Preferences>Additional boards manager URLs, and i copied in the json file that i got from this Website
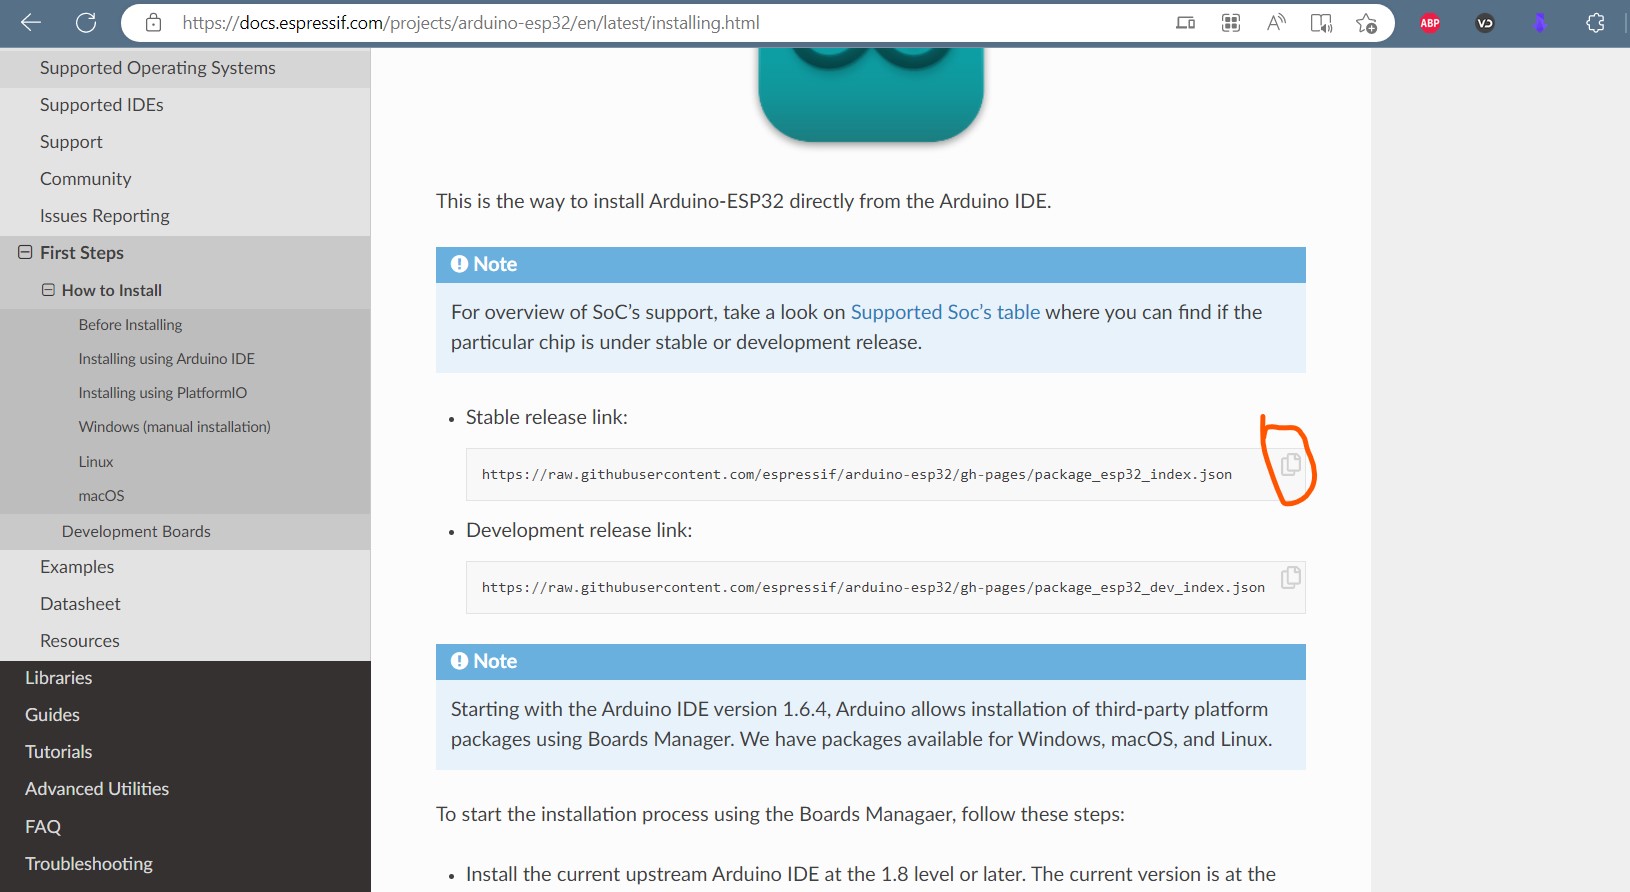
then I copied the link into the URLs section of the IDE's Preferences. - Next i went to the IDE environement >Tools>Board>Boards Manager> type in the search bar "SP32". The installation package for sp32 appeared and i clicked on install.
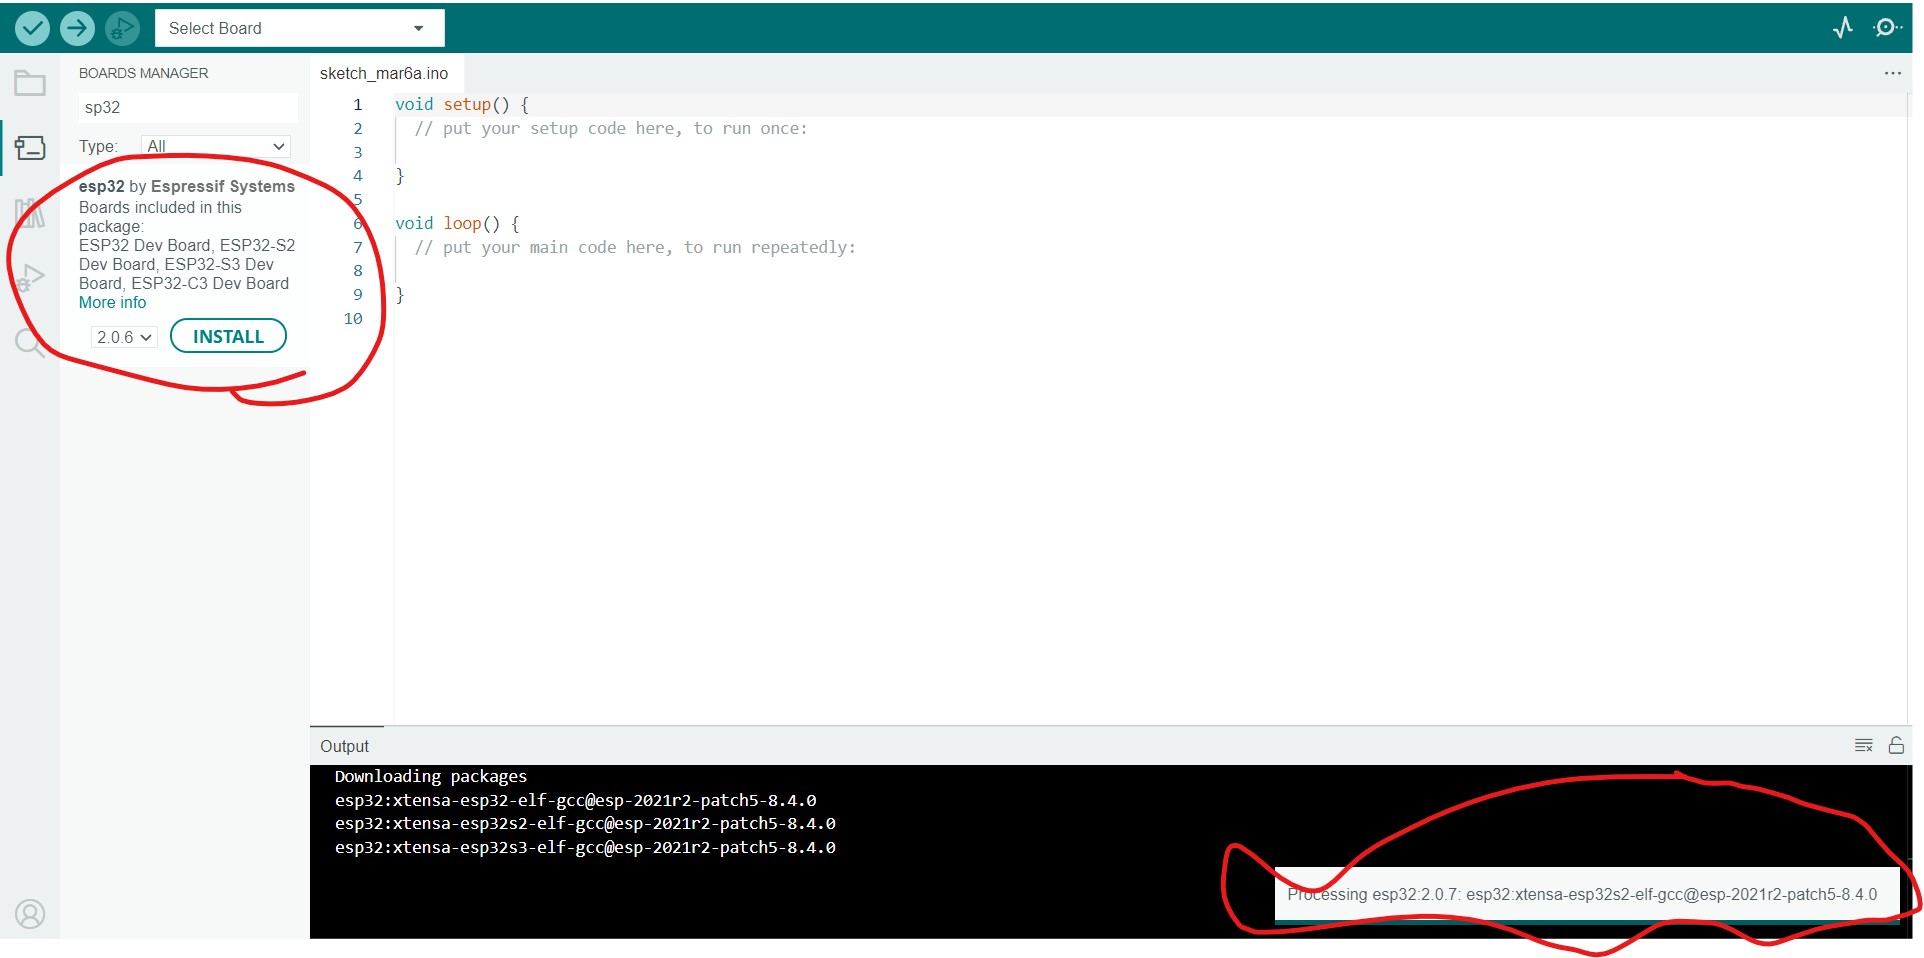
- I connected the SP32 board on the computer so to know which COM Port the board is on. I could also choose the name of the board from the tools>Boards>SP32 list.
- Following the guidance given by the tutorial fund Here, I was able to make conncetion and copy the program that blinks an LED
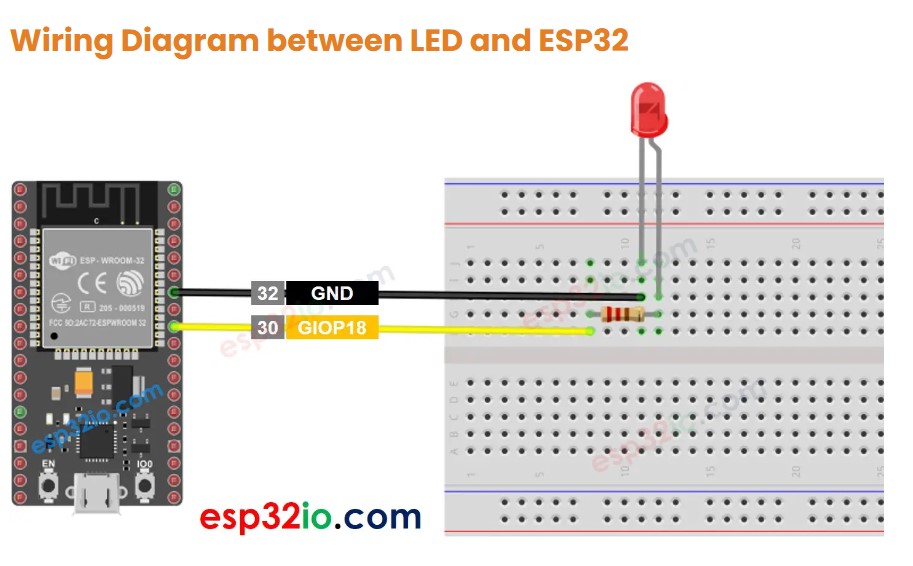
- On the Arduion IDE I wrote a program like:
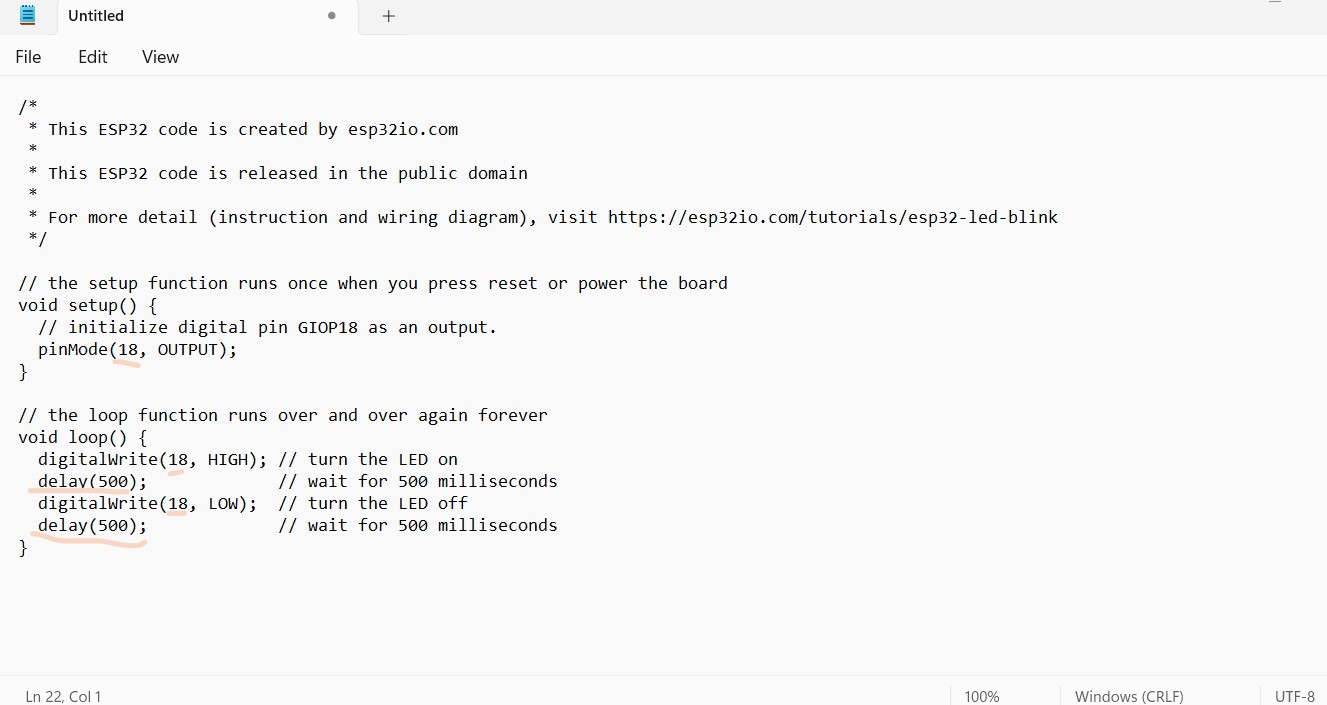
- I played around with delays and saw differences; I also tried to light many LEDs using the same pin, they blinked in synchronicity.
- Each time I changed the code, i had to verify and Upload to the SP32.
- The video here shows how this looks: on youtube
- An SP32 is connected to another Dev board which has LEDs, so I connected the PinOut to one of the LEDs lines and used another wire for ground. Though there is a loose connection, it worked.
- I went to the Official website of ArduinoUnder software, and i downloaded the version corresponding to my computer parametters
- Steps i followed to interact with the ESP32 MCU
- Conclusion: Embedded Programming is not that hard when you are using the development boards and high level languages. We used to write code in Mnemonics, and everything had a memory address. Arduino should be recommended to people who want to start and go quickly.

