individual assignment:
write an application that interfaces a user with an input or output device that you made
group assignment:
compare as many tool options as possible
INDIVIDUAL ASSIGNMENT
For this task, i used the microcontroller board i designed with both audio input and output.
I will use create an interface that will show me samples or levels of inputs and outputs at the same time.
To display our Interface we used Node-Red
a. What is Node Red?
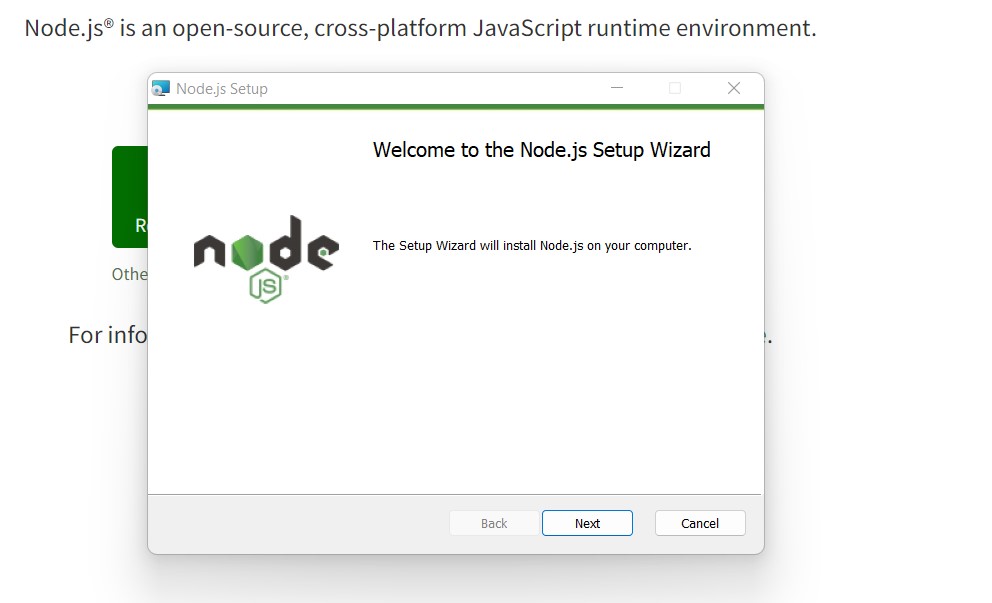
Node-RED is an open-source visual programming tool used for wiring together hardware devices, APIs, and online services in new and interesting ways. It was originally developed by IBM's Emerging Technology Services team and is now a part of the JS Foundation. Node-RED is built on top of Node.js, a popular server-side JavaScript platform, and uses a browser-based flow editor to allow users to drag and drop nodes to create flows.
b.How to install Node-Red on localhost
Node-RED is an open-source programming tool that allows you to create flows for the Internet of Things (IoT) and is typically installed on a computer or server. However, you can also run Node-RED on an ESP32 microcontroller using the ESP-IDF framework. Here are the steps to install Node-RED on a localhost by using ESP32:
Download Node.js on This Link and install
Follow the steps and install
I first thought it would be a straight forward journey but here are some challenges i met
The laptop i am documenting on is a work-issued one, so i could not install since i am not the admin.
Second, on my other laptop, my powershell execution policy was restricted. I had run the commands manytimes with an error.
Until i run to the Poe AI and it guided me on how to remove the restrictions
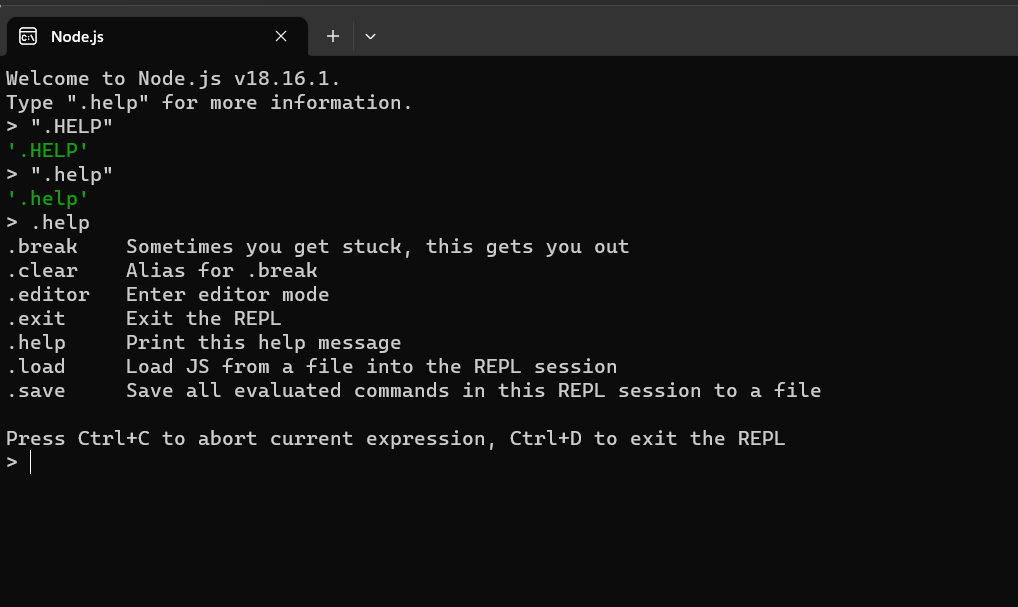
Here is what it looks like when you just got node js
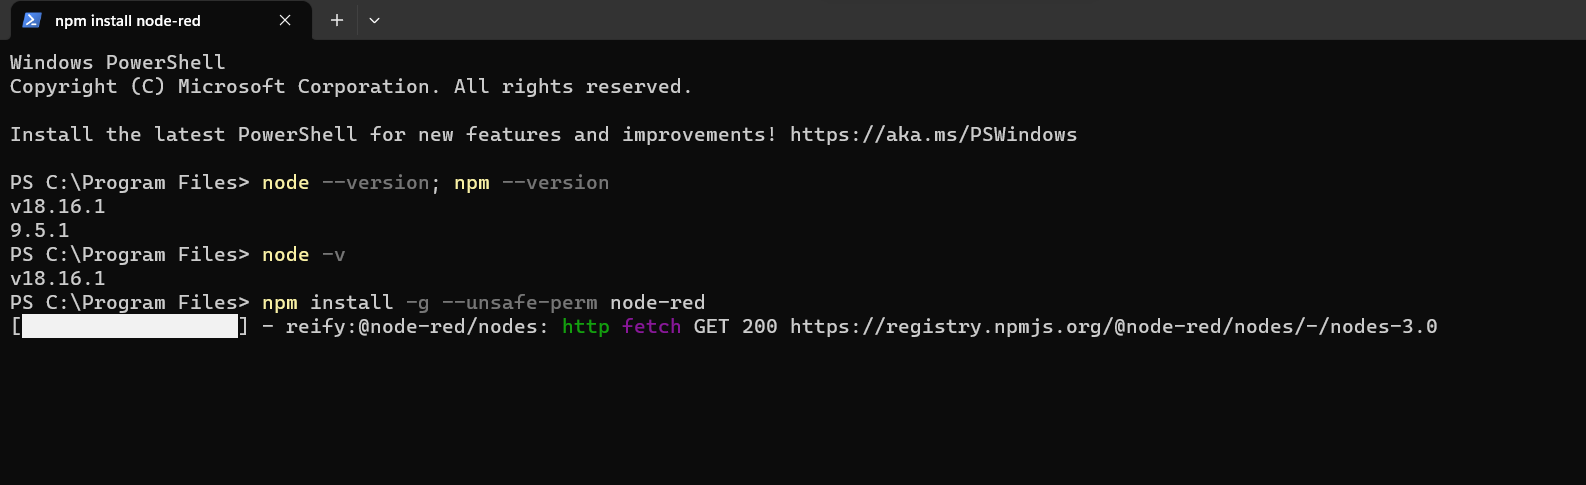
then you use the commands to install the program
As you keep following the guide from nodered.org
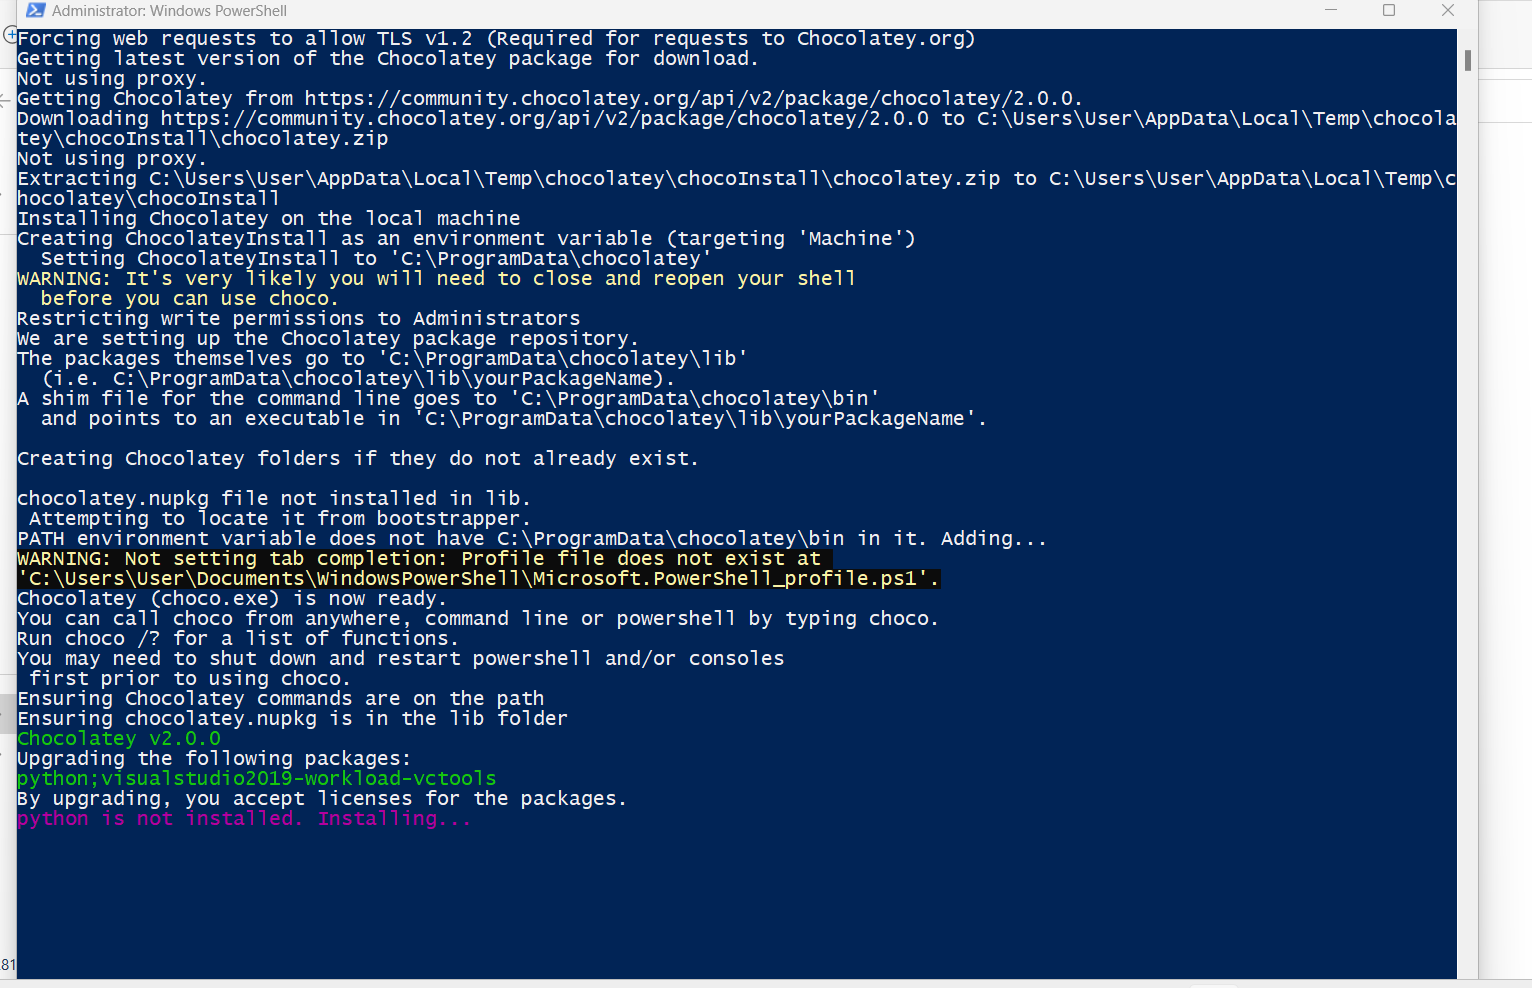
Chocolatey and other tools also had to be downloaded
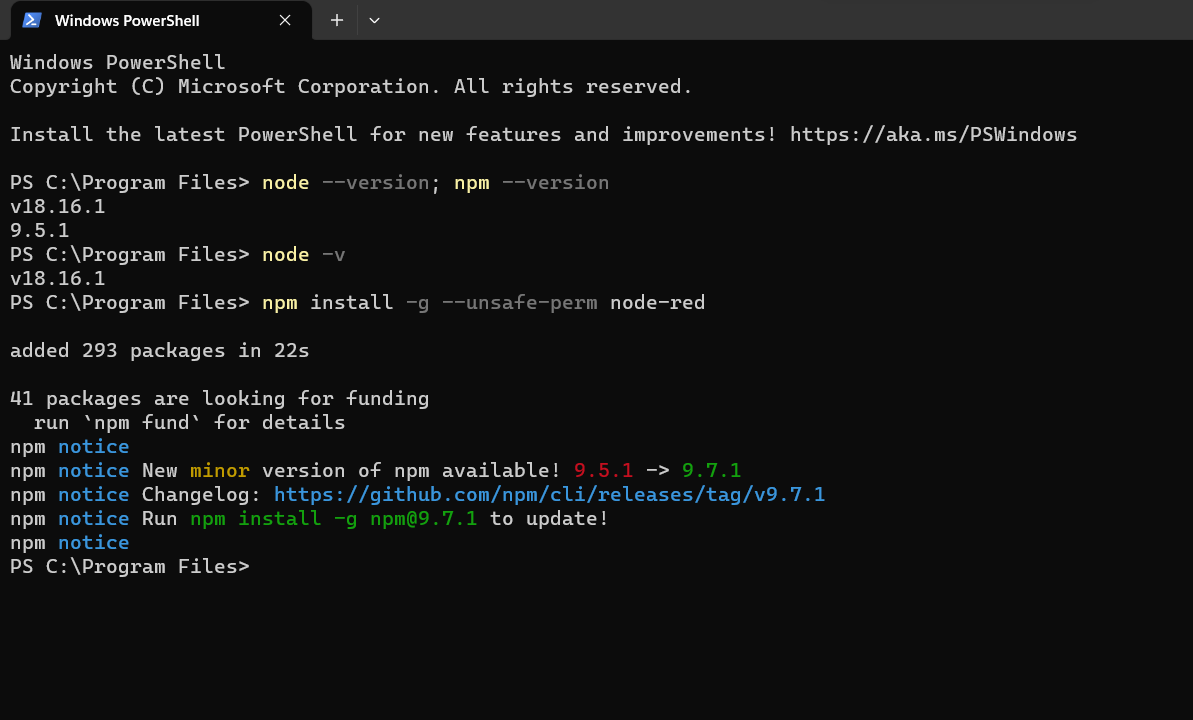
Then you get the node-red installed
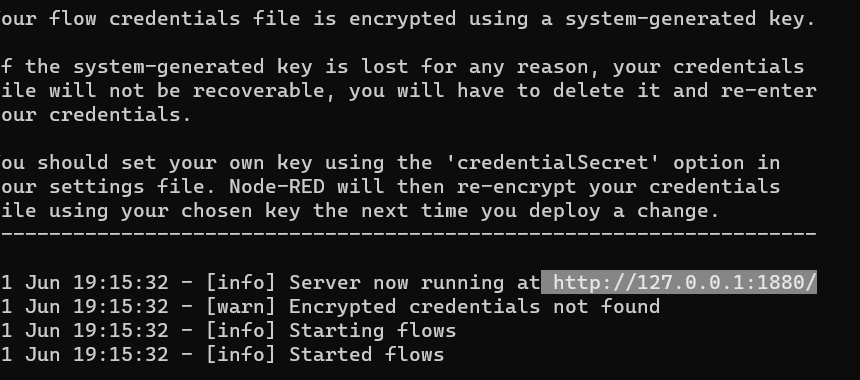
Now we have the new IP address to run in a browser
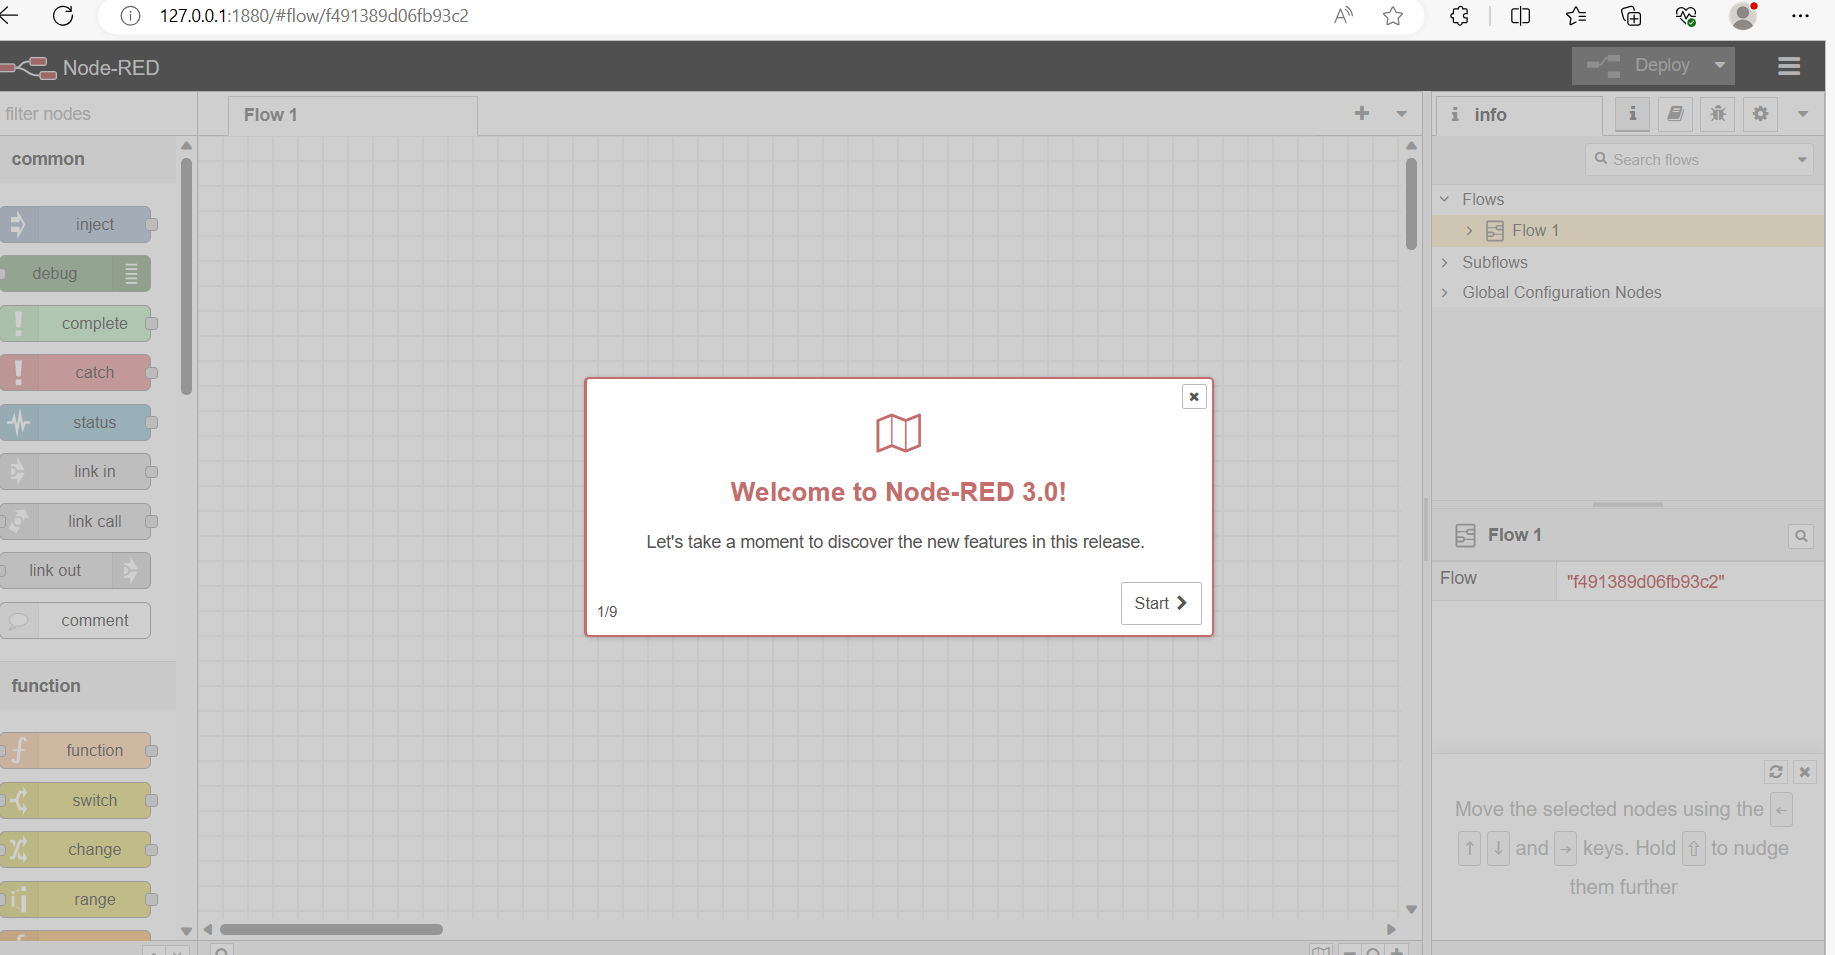
Welcome to node-red
Started by adding in (downloading) relevant palettes
Serial added
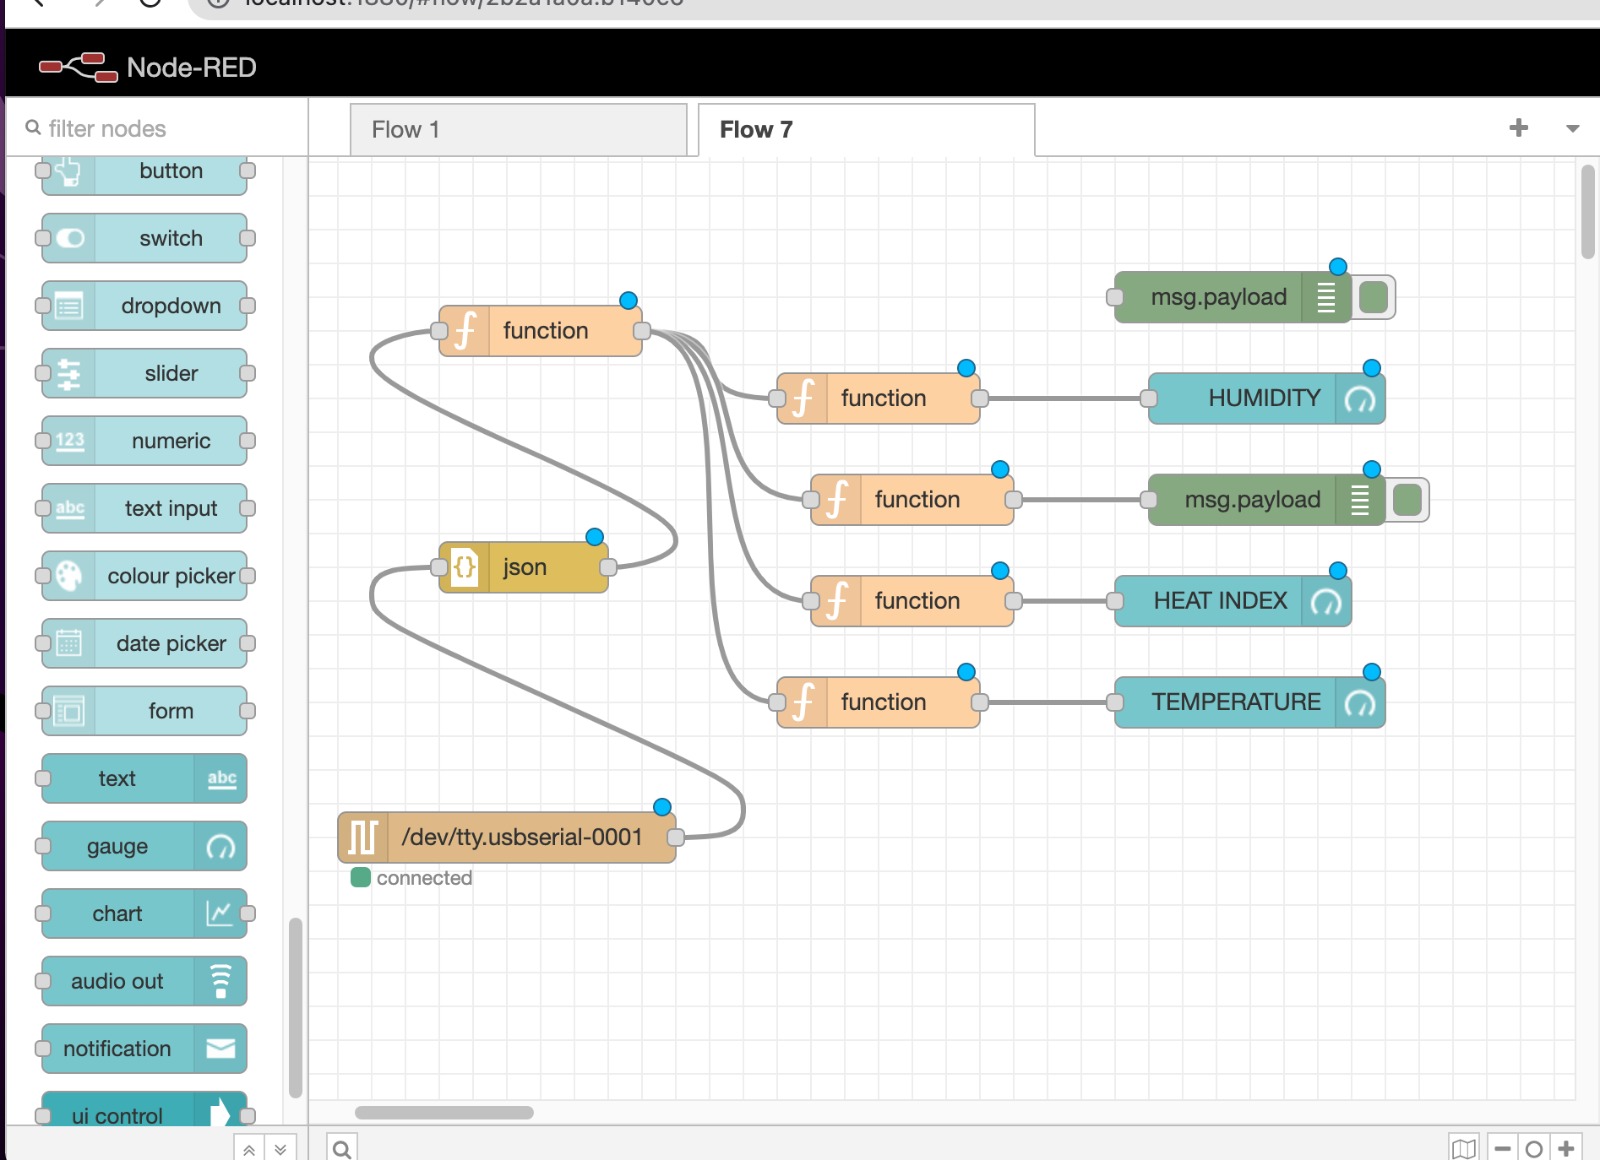
I built the flow that reads the analog value of a potential meter and the corresponing light intensity from the light Sensor
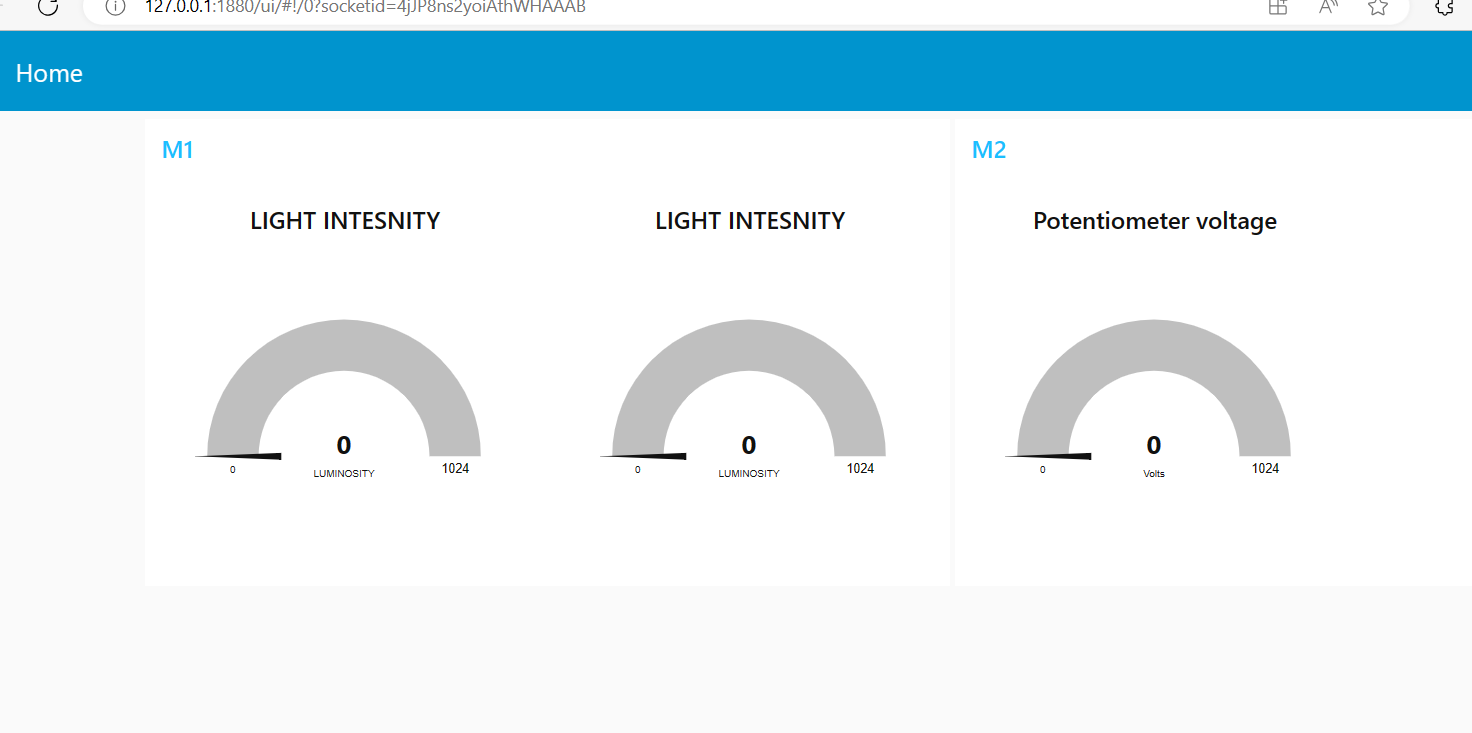
the dashboard looks initially like this:
Then i loaded in this arduino program:
int newval = 0;
void setup() {
// Initialize Serial port
Serial.begin(9600);
}
void loop() {
newval = newval+4;
if(newval == 500){
newval=0;
}
int fixed =40;
int sensorValue = analogRead(35);
int sensorValue1 = analogRead(34);
// Convert the analog reading (which goes from 0 - 1023) to a voltage (0 - 5V):
// float voltage = sensorValue * (5.0 / 1023.0);
Serial.print("{\"SENSOR1\":");
Serial.print(sensorValue);
Serial.print(",\"SESNOR2\":");
Serial.print(fixed);
Serial.print(",\"SESNOR3\":");
Serial.print(sensorValue1);
Serial.println("}");
delay(2000);
}
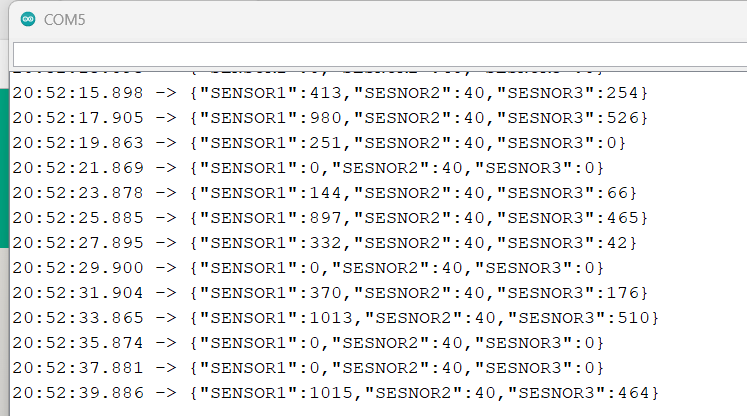
then the com-port gives us these readings:
then the dashboard becomes
the video of the interface app working
The interface and appication programming has been demonstrated.
 I first thought it would be a straight forward journey but here are some challenges i met
The laptop i am documenting on is a work-issued one, so i could not install since i am not the admin.
Second, on my other laptop, my powershell execution policy was restricted. I had run the commands manytimes with an error.
Until i run to the Poe AI and it guided me on how to remove the restrictions
Here is what it looks like when you just got node js
I first thought it would be a straight forward journey but here are some challenges i met
The laptop i am documenting on is a work-issued one, so i could not install since i am not the admin.
Second, on my other laptop, my powershell execution policy was restricted. I had run the commands manytimes with an error.
Until i run to the Poe AI and it guided me on how to remove the restrictions
Here is what it looks like when you just got node js
 then you use the commands to install the program
 As you keep following the guide from nodered.org
 Chocolatey and other tools also had to be downloaded
 Then you get the node-red installed
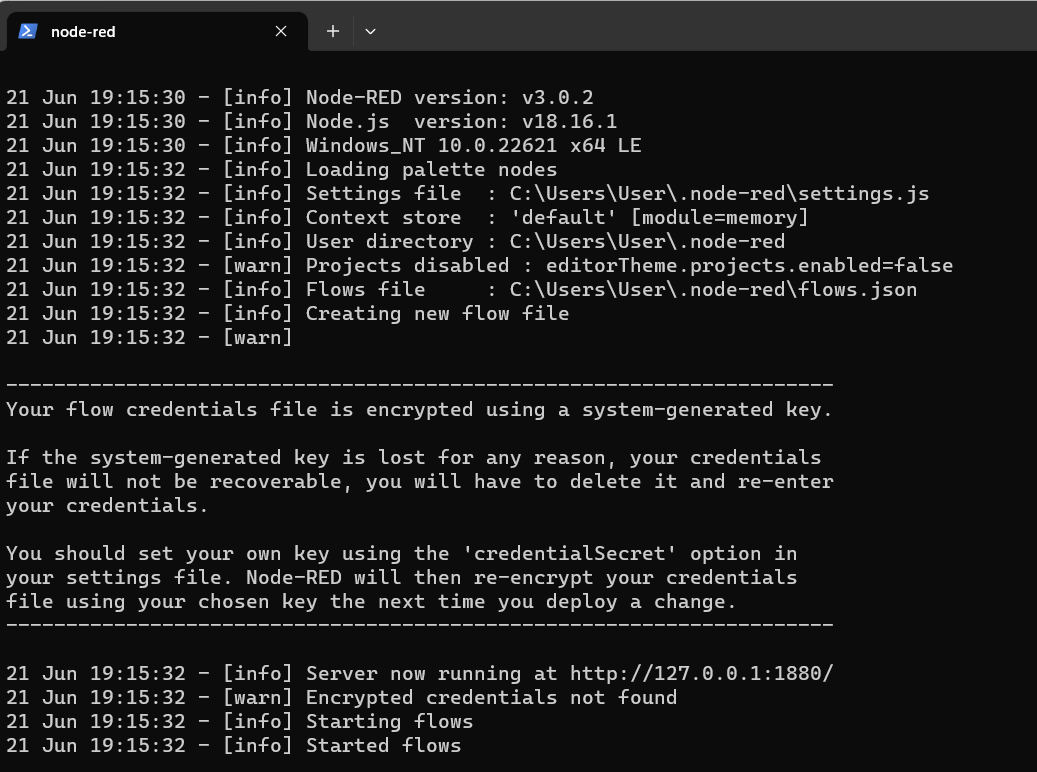 Now we have the new IP address to run in a browser
 Welcome to node-red
 Started by adding in (downloading) relevant palettes
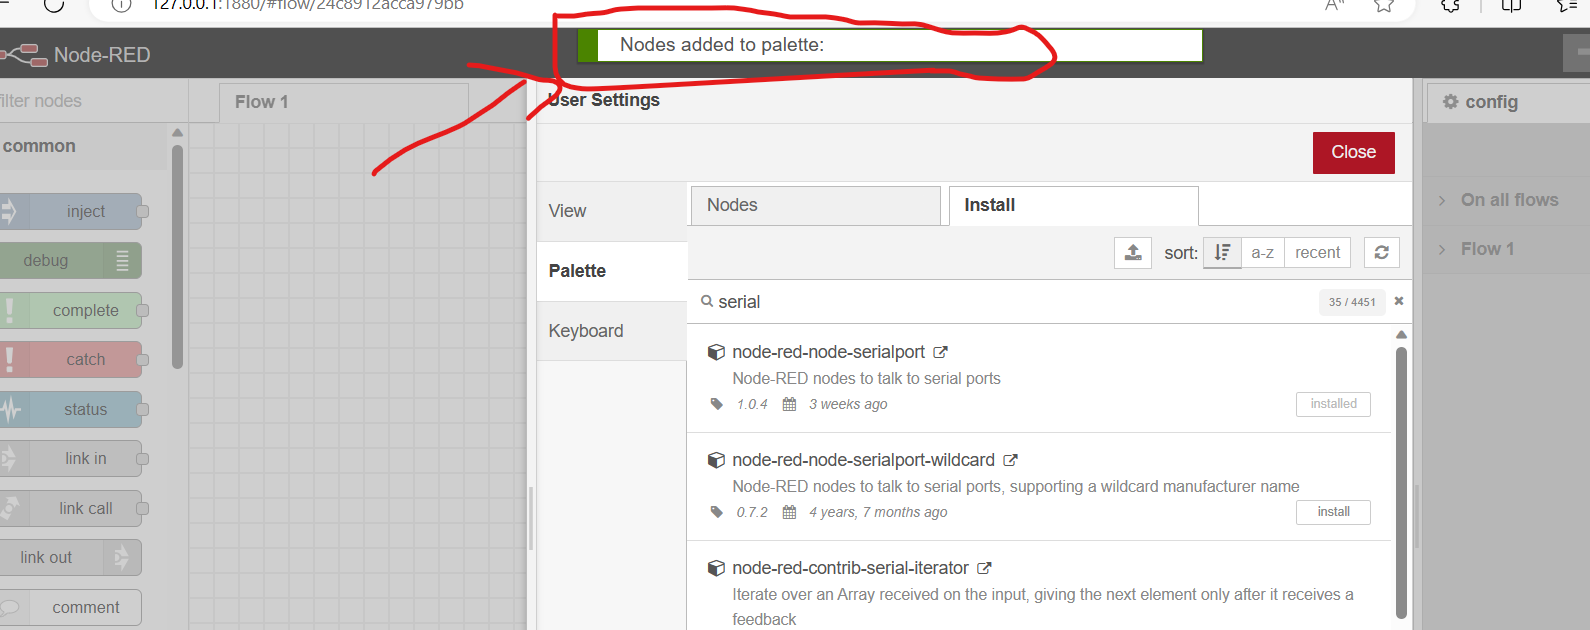 Serial added
I built the flow that reads the analog value of a potential meter and the corresponing light intensity from the light Sensor
Serial added
I built the flow that reads the analog value of a potential meter and the corresponing light intensity from the light Sensor
 the dashboard looks initially like this:
 Then i loaded in this arduino program:
int newval = 0;
void setup() {
// Initialize Serial port
Serial.begin(9600);
}
void loop() {
newval = newval+4;
if(newval == 500){
newval=0;
}
int fixed =40;
int sensorValue = analogRead(35);
int sensorValue1 = analogRead(34);
// Convert the analog reading (which goes from 0 - 1023) to a voltage (0 - 5V):
// float voltage = sensorValue * (5.0 / 1023.0);
Serial.print("{\"SENSOR1\":");
Serial.print(sensorValue);
Serial.print(",\"SESNOR2\":");
Serial.print(fixed);
Serial.print(",\"SESNOR3\":");
Serial.print(sensorValue1);
Serial.println("}");
delay(2000);
}
then the com-port gives us these readings:
Then i loaded in this arduino program:
int newval = 0;
void setup() {
// Initialize Serial port
Serial.begin(9600);
}
void loop() {
newval = newval+4;
if(newval == 500){
newval=0;
}
int fixed =40;
int sensorValue = analogRead(35);
int sensorValue1 = analogRead(34);
// Convert the analog reading (which goes from 0 - 1023) to a voltage (0 - 5V):
// float voltage = sensorValue * (5.0 / 1023.0);
Serial.print("{\"SENSOR1\":");
Serial.print(sensorValue);
Serial.print(",\"SESNOR2\":");
Serial.print(fixed);
Serial.print(",\"SESNOR3\":");
Serial.print(sensorValue1);
Serial.println("}");
delay(2000);
}
then the com-port gives us these readings:
 then the dashboard becomes
 the video of the interface app working
The interface and appication programming has been demonstrated.
the video of the interface app working
The interface and appication programming has been demonstrated.
