Week 2: 2D and 3D computer aided design
- 2D Design Raster: with Gimp and pixlr
- image that i will use is this one:
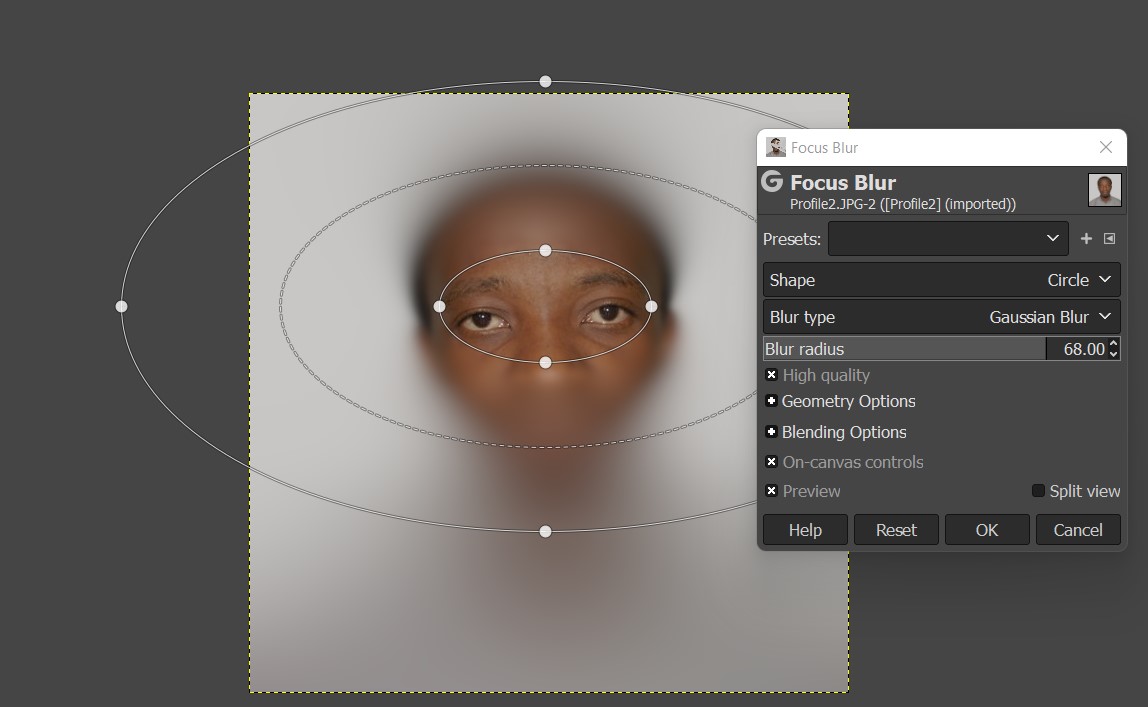
- I import the image in gimp now and try to blur it
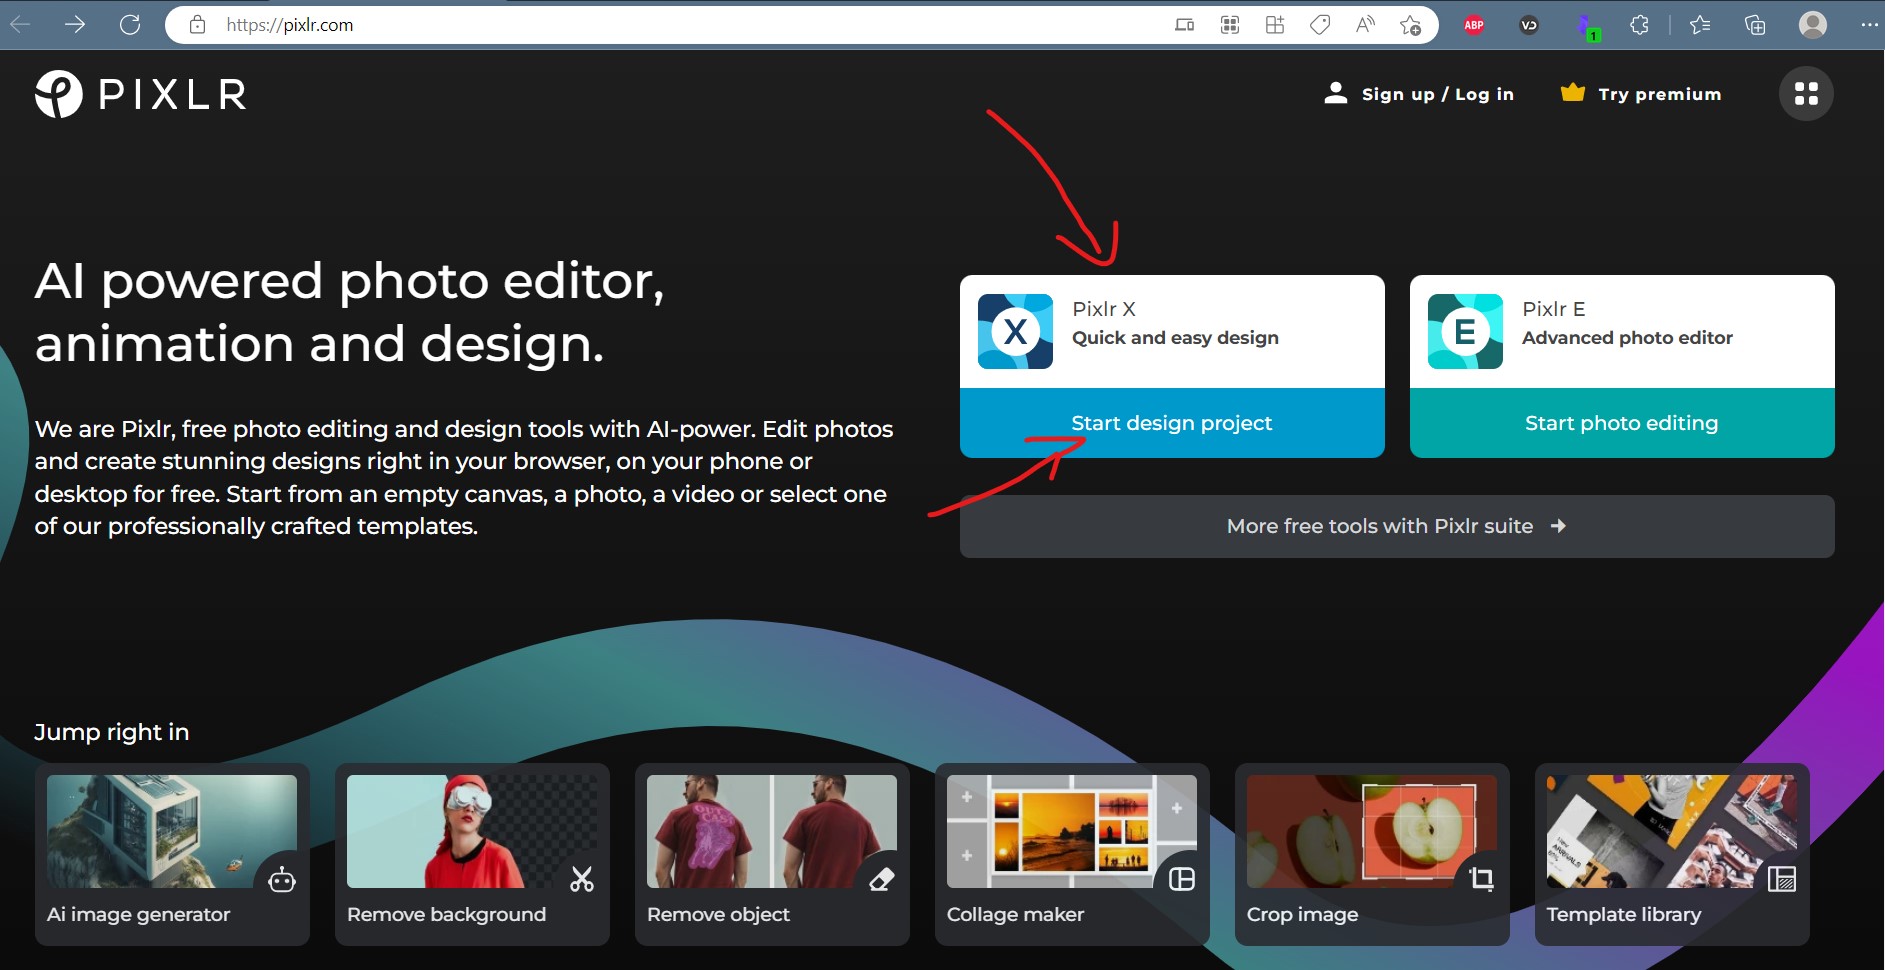
- Now let's try and do the same in pixlr!
- go to https://pixlr.com/ and clicl on "start design project" under pixlr x (fyi, i am using an online version. free of cost, limited edition)
- open image by getting it from your local disk into the editor
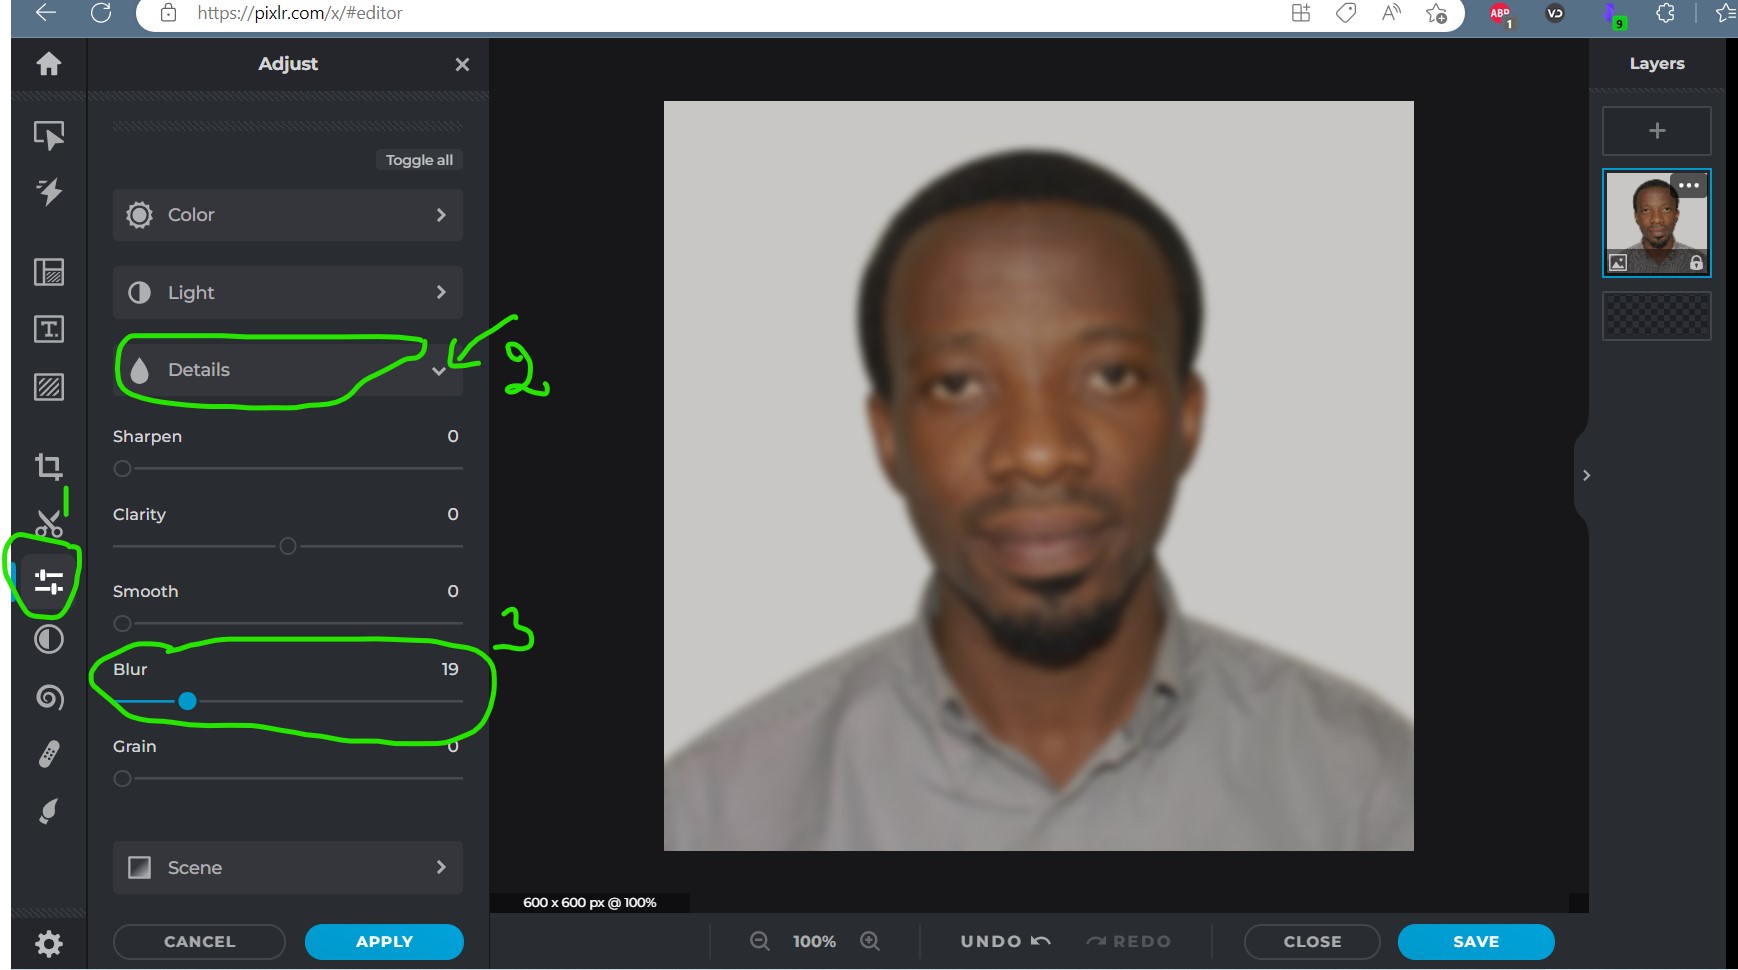
- go to "adjust& filter tool, select "details", and then increase or decrease 'blur' value
- save your work as you like
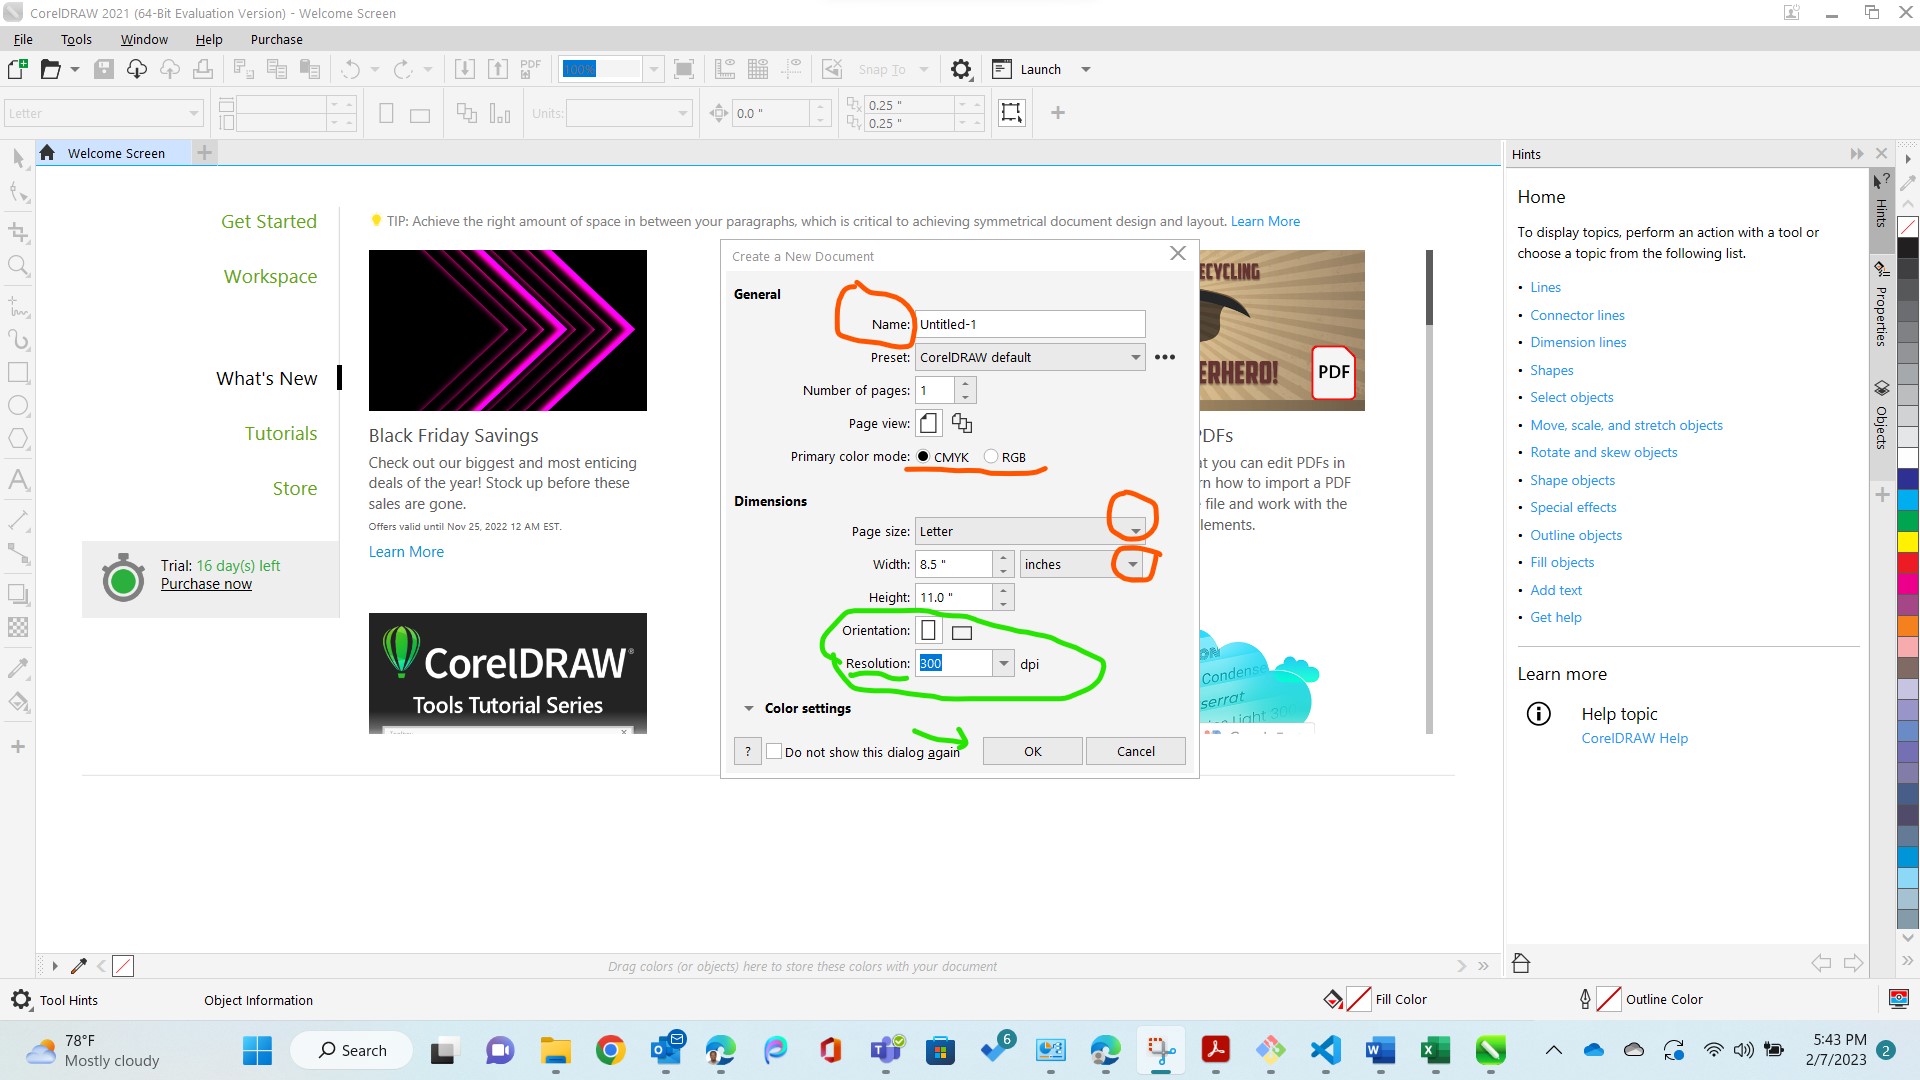
- One: Given that CorelDraw is a licensed software, buy a copy or use a trial version like me, then open it.
- Two: Edit the name of the new document, the metric system, the worspace size, dpi (resolution), depending on what needs to be done
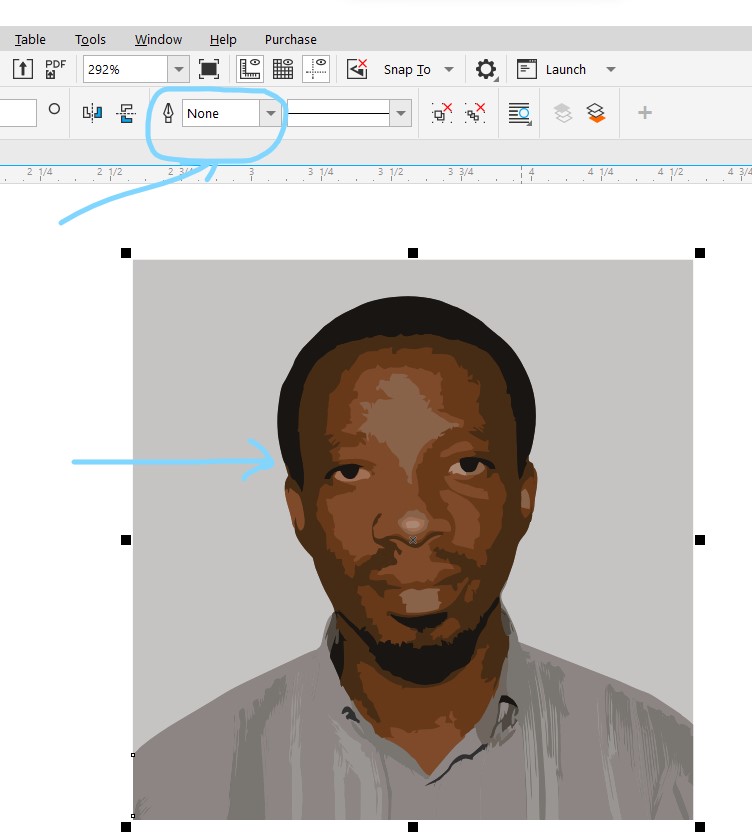
- Three: import an image (bitmap) that you want to convert into vectorand click on "trace bitmap": quick trace
- This is when the outline width is at "none"
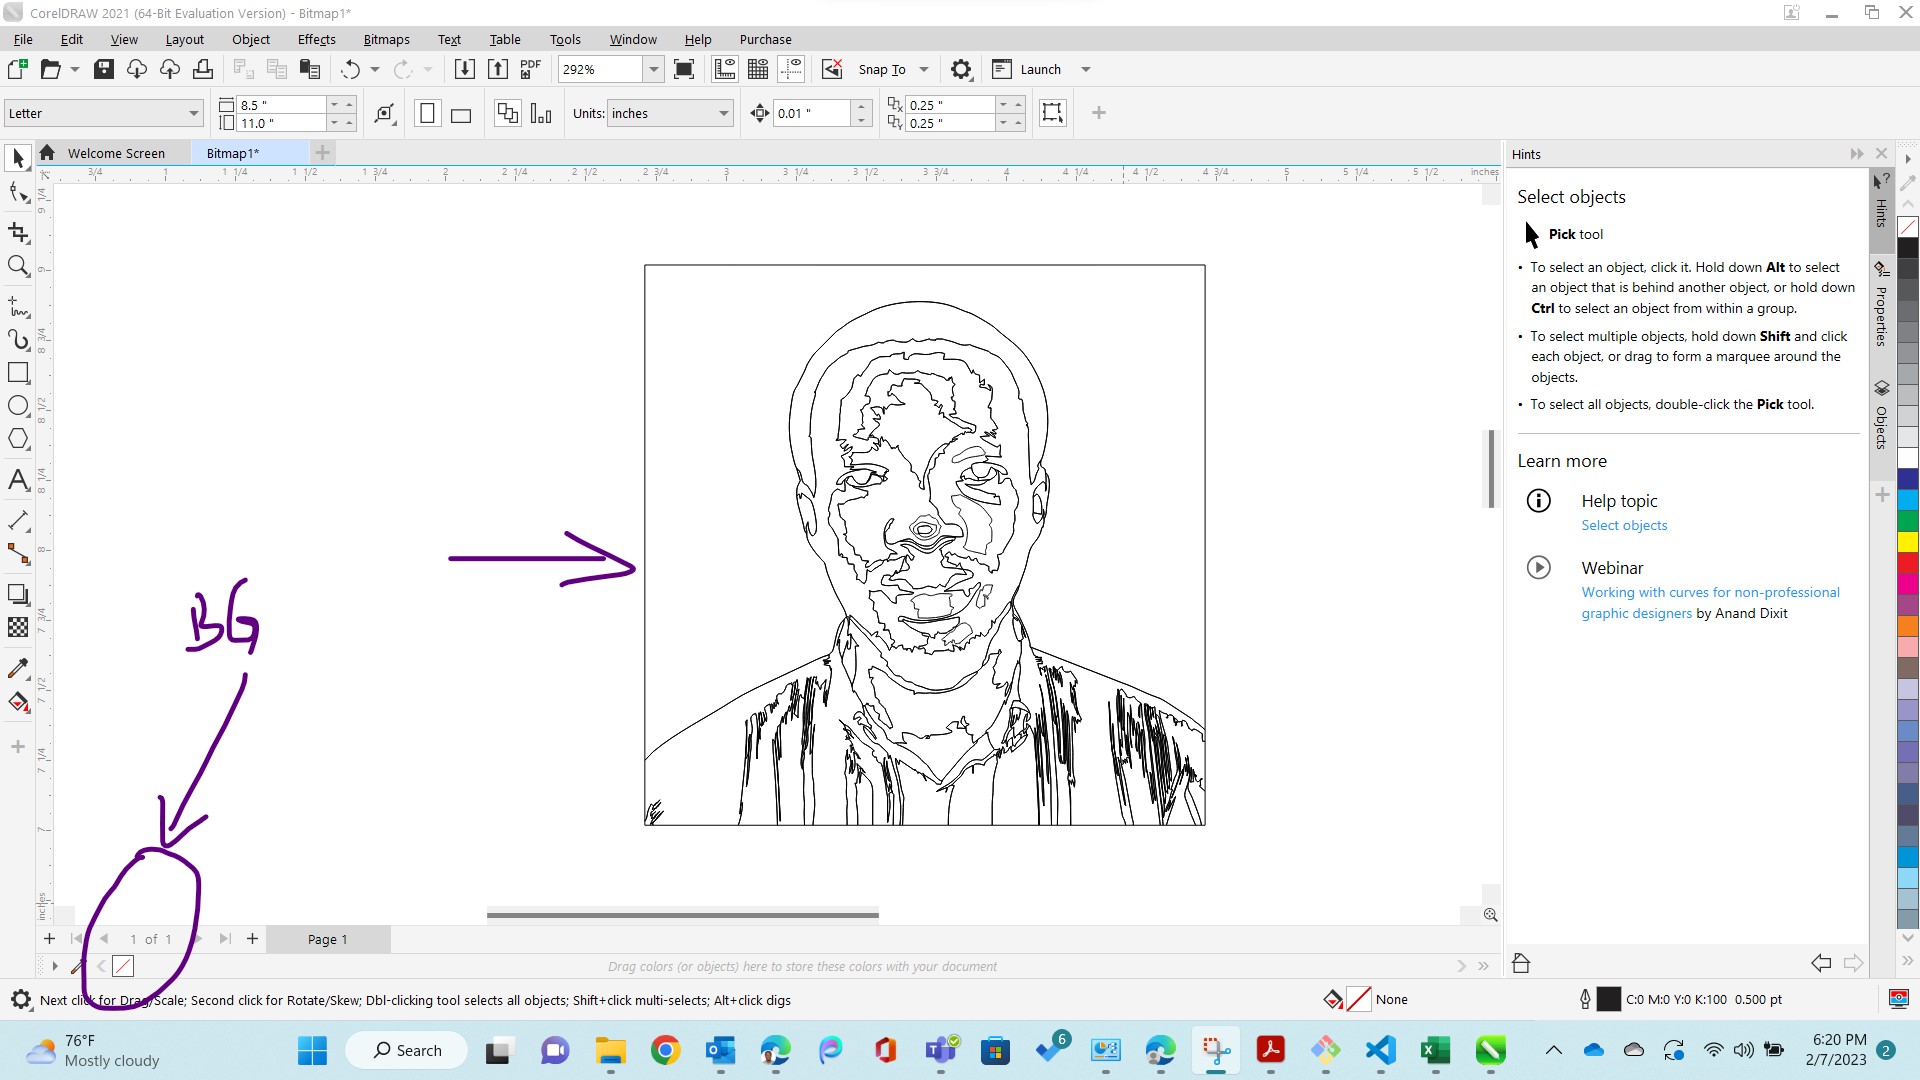
- But if we change it to hairline forexample, this is how the image becomes:
- It is obvious that pixels have been replaced by vectors or lines
- Four: when you remove the background it becomes obvious that the image has been transformed into vector.
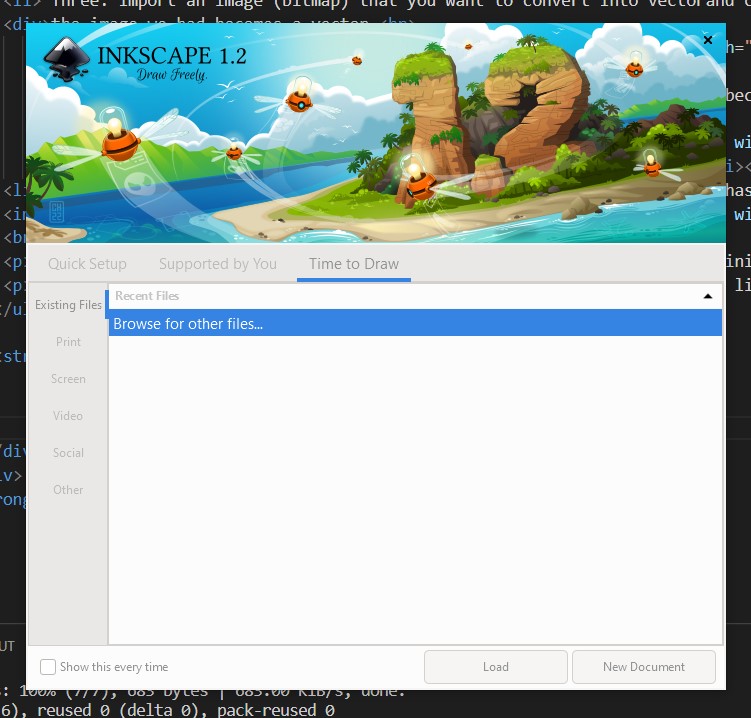
- Step one:open Inkscapeand edit the worksheet size, dpi/resolution, whether the page will be in mm or inches and click okay
- Step two:Import the image I'd work with, and on the menu bar, go to path, and choose "trace bitmap" option
- Step three:Adjust the threshold value according to the result you see in the preview until you see what you like. You may select from Detection modes:
- brightness cutoff
- Edge detection
- Color quantization or auto trace
- Step Four: Save the image you want to use.
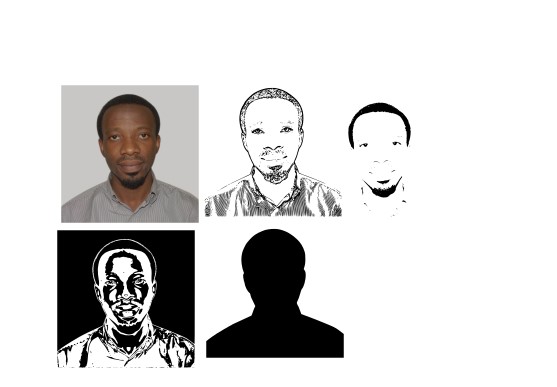
For the sake of exploration, i choose to use my profile image to see how different changes appear in the 2 software

steps:
- Open gimp and drag and drop your image in
- Select the image, go to menu bar, then filters, then blur, under that, select: gaussian blur
- change the radius size and see how the image blurs differently
- You may tick the "split view" to see original and blured image at the sametime
Conclusion:
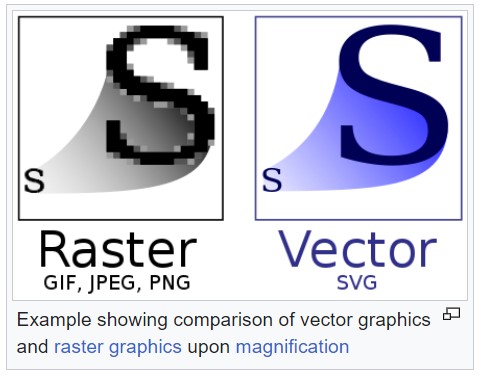
Vector graphics is a form of computer graphics in which visual images are created directly from geometric shapes defined on a Cartesian plane, such as points, lines, curves and polygons. The associated mechanisms may include vector display and printing hardware, vector data models and file formats, as well as the software based on these data models (especially graphic design software, computer-aided design, and geographic information systems). Vector graphics is an alternative to raster or bitmap graphics, with each having advantages and disadvantages in specific situations. While vector hardware has largely disappeared in favor of raster-based monitors and printers, vector data and software continues to be widely used, especially when a high degree of geometric precision is required, and when complex information can be decomposed into simple geometric primitives. Thus, it is the preferred model for domains such as engineering, architecture, surveying, 3D rendering, and typography, but is entirely inappropriate for applications such as photography and remote sensing, where raster is more effective and efficient. Some application domains, such as geographic information systems (GIS) and graphic design, use both vector and raster graphics at times, depending on purpose.
Source: Wikkipedia (https://en.wikipedia.org/wiki/Vector_graphics)
Let us try to bitmap-trace an image using CorelDraw!!

We can now edit those lines however we want. like triming them and remaining with the outside contour, incase we want to use a laser cutter to cutout the picture for example
I think it is worth mentioning: the fact that CorelDraw can be directly linked to a printer or a cutter to initiate further processing
intro to Inkscape:
Inkscape is a Free and open source vector graphics editor for GNU/Linux, Windows and macOS. It offers a rich set of features and is widely used for both artistic and technical illustrations such as cartoons, clip art, logos, typography, diagramming and flowcharting. It uses vector graphics to allow for sharp printouts and renderings at unlimited resolution and is not bound to a fixed number of pixels like raster graphics. Inkscape uses the standardized SVG file format as its main format, which is supported by many other applications including web browsers.
It can import and export various file formats, including SVG, AI, EPS, PDF, PS and PNG. It has a comprehensive feature set, a simple interface, multi-lingual support and is designed to be extensible; users can customize Inkscape's functionality with add-ons.
From https://inkscape.org/about/
How did i use inkscape?
- After downloading and installing the inkscape files on my laptop, following are steps i took to do the bitmap trace an image
Conclusion:
In Vector design both Corel and inkscapecan perform similary
CorelDraw requires a licence, costs money but inkscape is free/ open source
More professionals will tend to use corel over inkscape, based on what i have seen so far
SO if the goal is to bit-trace an image, either software works.
Introduction to Solidworks
The SOLIDWORKS® CAD software is a mechanical design automation application that lets designers quickly sketch out ideas, experiment with features and dimensions, and produce models and detailed drawings. (From:https://my.solidworks.com/solidworks/guide/SOLIDWORKS_Introduction_EN.pdf)
What am i going to do?
I am going to try and make a part that i think can be the back of a guitar acoustic box, because i intend to do an accordingguitar for a final project
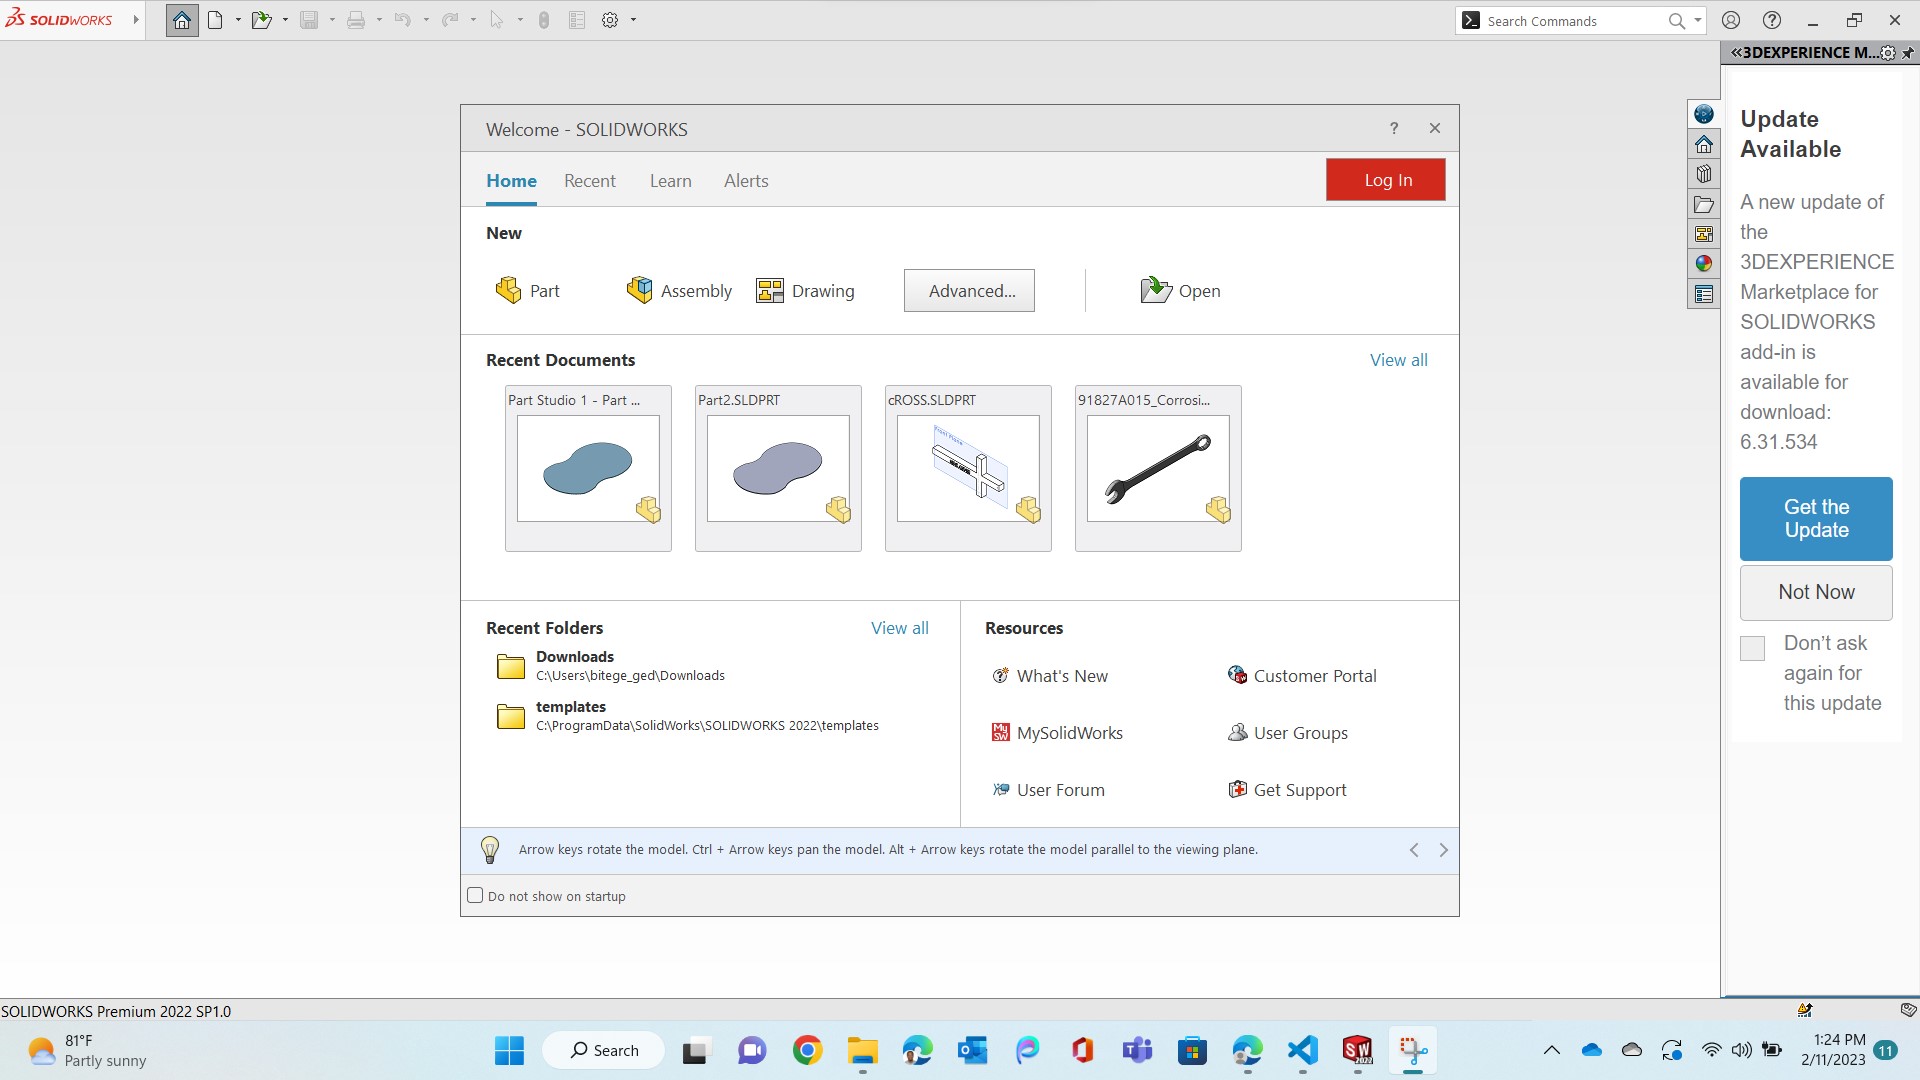
- Step one:Open solidworks
- Step two:Start a part, select the sketch plane
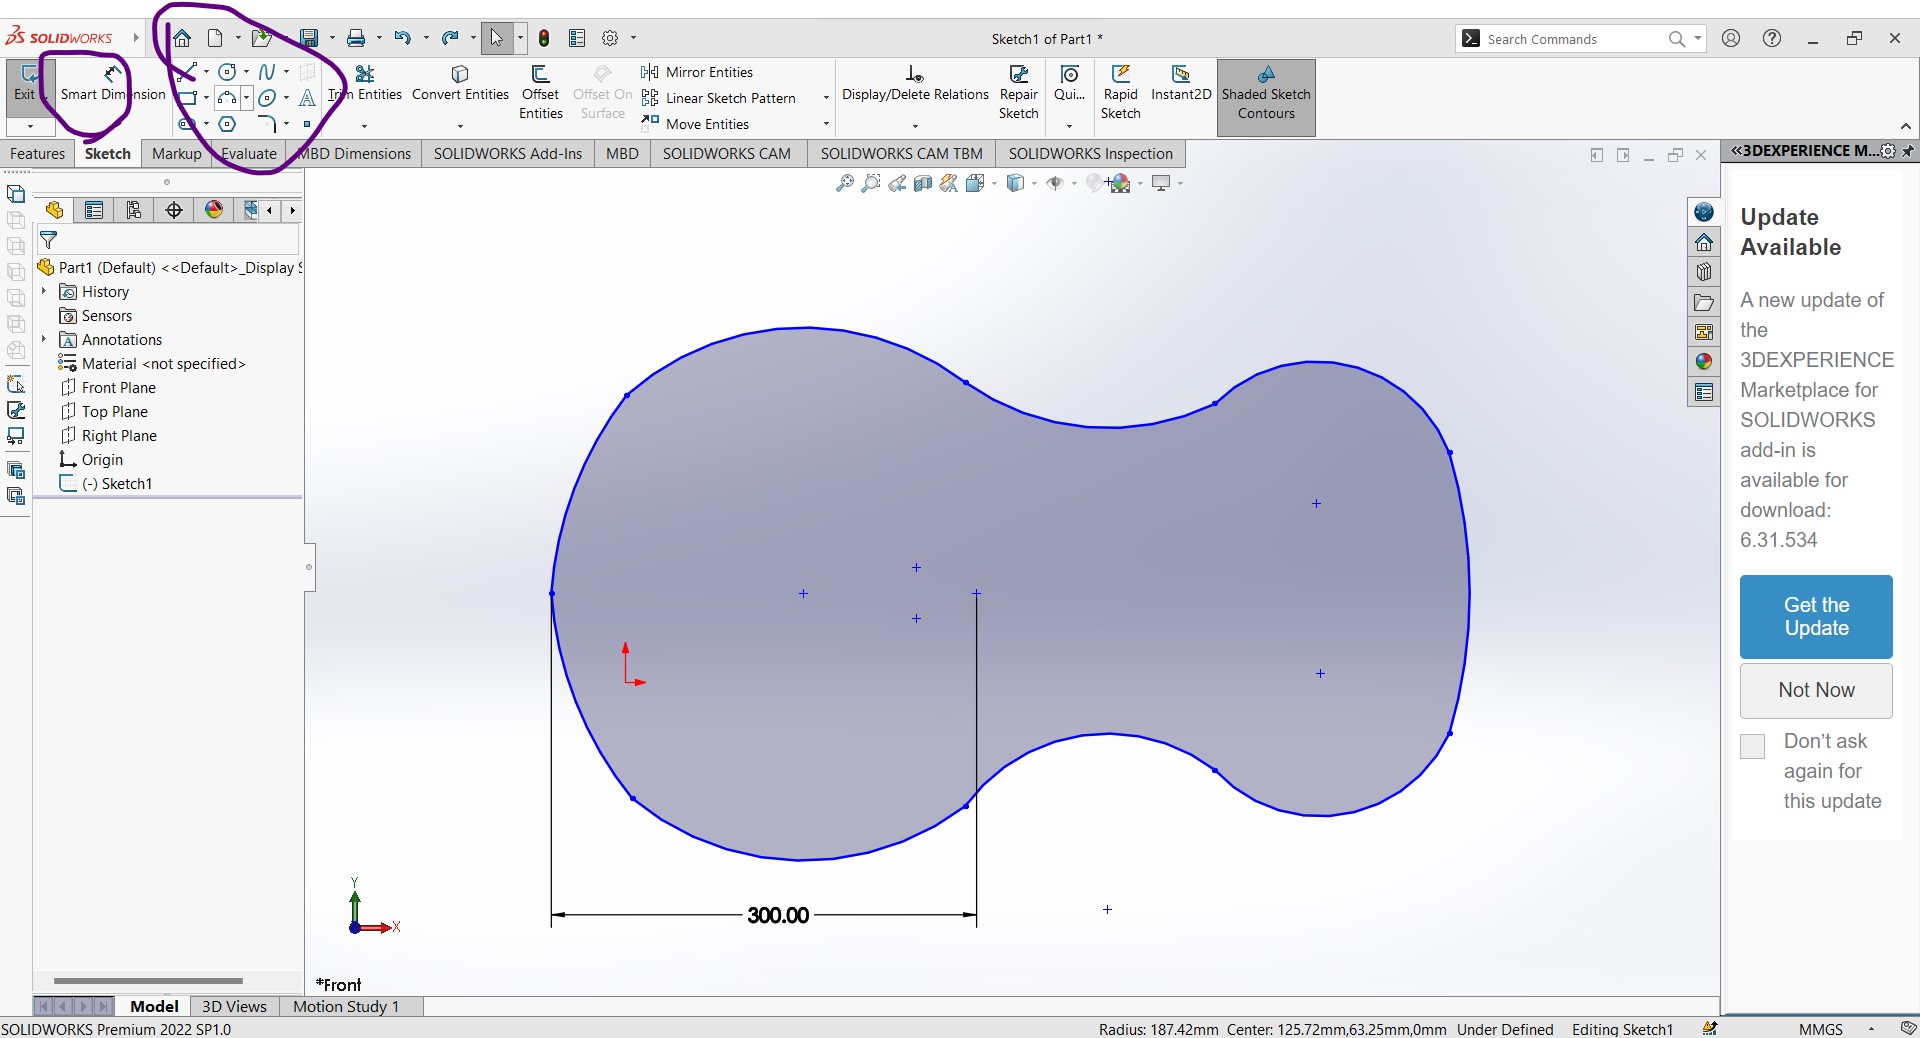
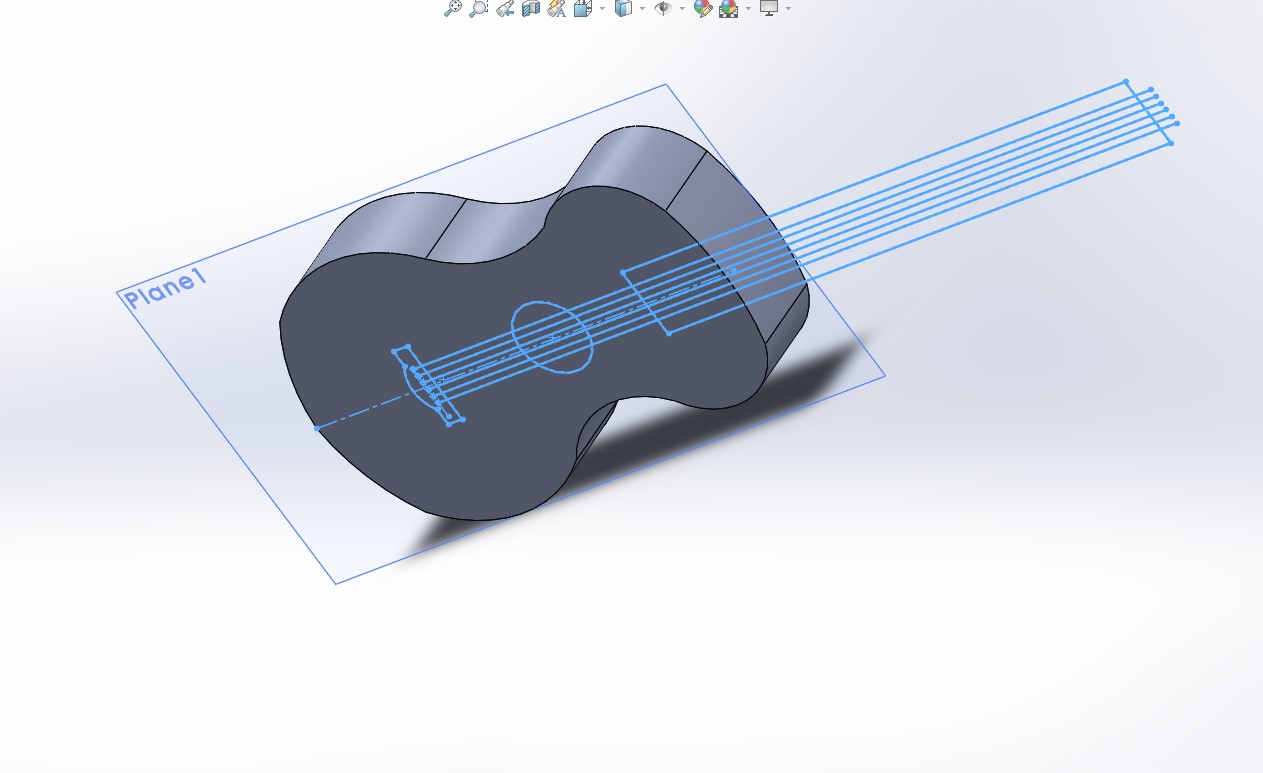
Step three: sketch the back and the front- Step four:Extrude the sketch to look like a real guitar
- Step five:Design other parts of the guitar. To me the work is going slow because i am still learning the ins and outs of solidworks
- Depending on the purpose of the design, you save the model as an stl, dxf, obj and so on

.....
Using Onshape in comparision to Solidworks
Cloud Native CAD Onshape is the ONLY cloud-native CAD solution on the market. Offering unparalleled stability, reliability, and speed, Onshape eliminates data crashes and lost data common to file-based CAD. Delivering predictable, crash-free performance and exceptional customer support. Users can submit a support ticket from the user interface, letting staff diagnose and solve the challenge quickly. Real-time support ensures problems are quickly and easily resolved, with 99% of blocking issues resolved within 24 hours
From: https://www.onshape.com/en/why-onshape
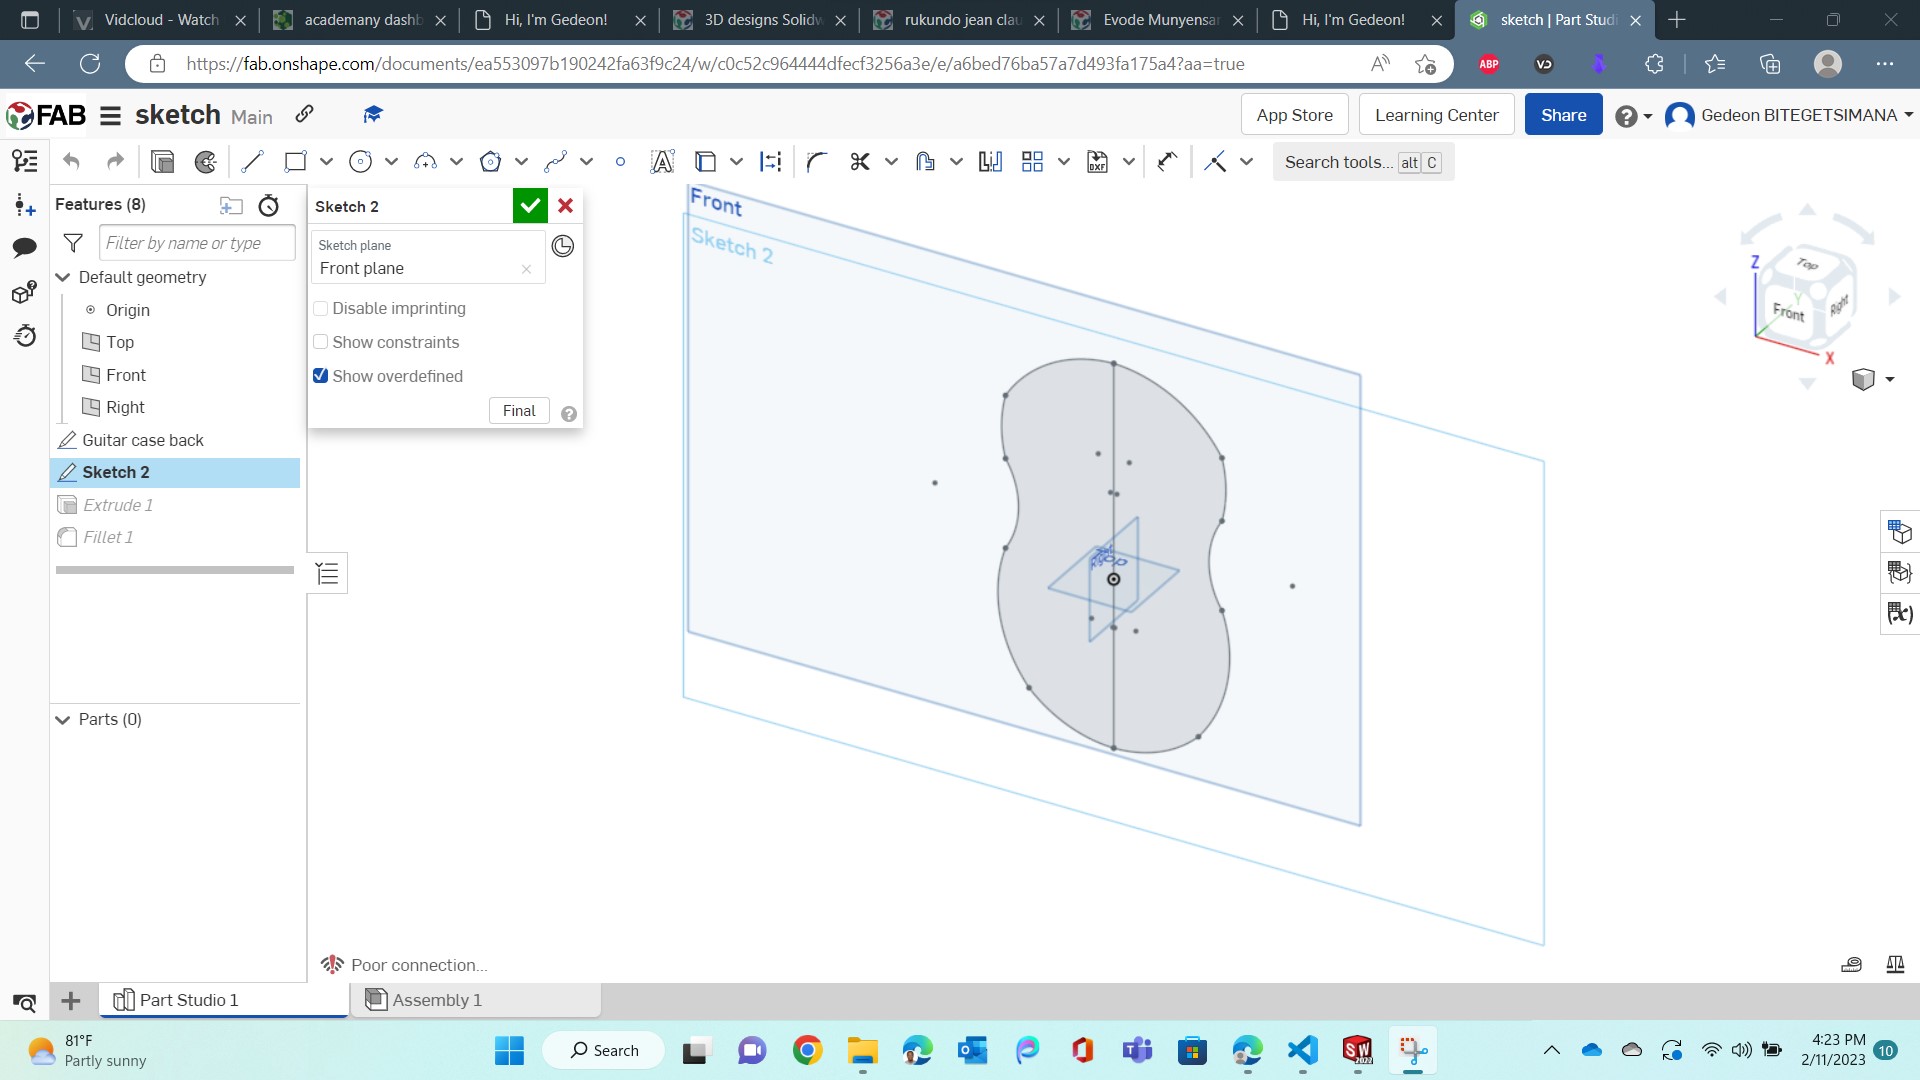
Drawing a guitar cover with Onshape
- Step one: We got the loign fron fabacademy, so i logged in. and opened a new sketch.
- Step Two: I sketched the back using the curves and mirroring them on a center line
- Step three: I extruded to 15mm.
- Step five: I added a fillet on the edges

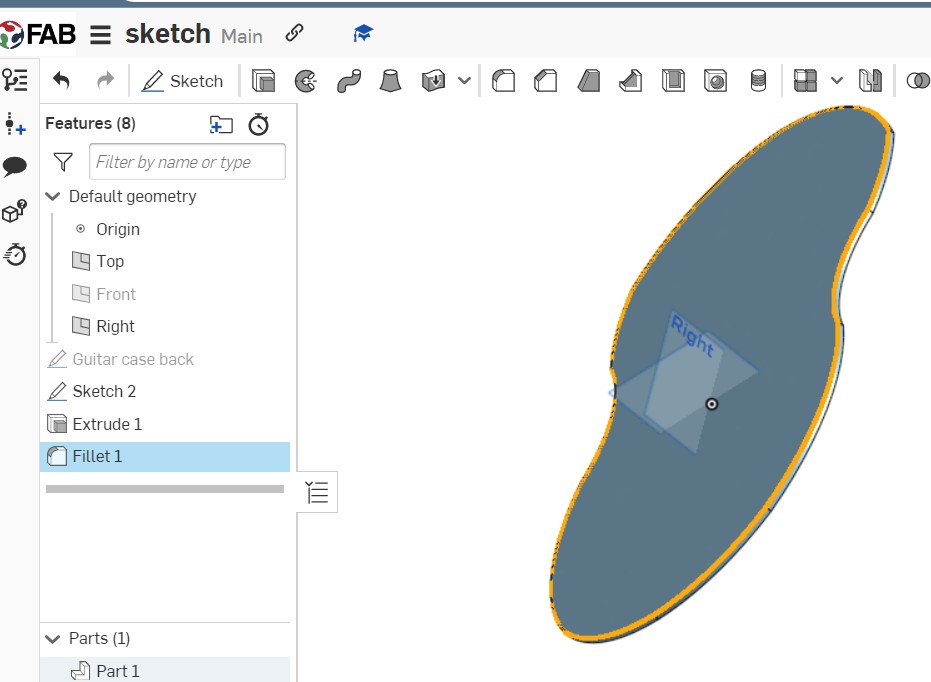
Observation:
I see that onshape is good for cloud design, and other collaborative purposes. however Solidworks does a much more professional job.Issues i had during this Assignments
- I had to crack Solidwork
- I couldn't install software on my laptop because it is Company owned. I had to go see the IT admin for any installation.
- I regret not being able to use FreeCAD thursfar.