3D Printing and Scanning
3D printing is one of the most accessible making processes out there. Although Lasercutting is my preferred method, ever since I got myself a Prusa, the sheer accessibility and ability to play with 3D modelling and printing is unparalleled.
Printer Details

Prusa MK3i+ (assembled from Kit)
Material : White PLA 9 (ESun)
Nozzle Temp : 215 C
Bed Temp : 60 C
Layer Height : 0.2 mm
Infill : 15%
Characterization
I downloaded a selection of stls from the FabAcademy page and printed them out on the Prusa.


The 5 primary properties I tested were
-
Bridging
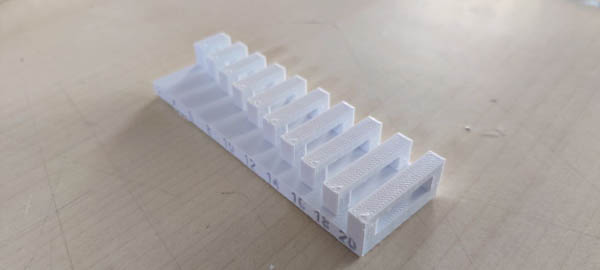
Upto 20 mm ling bridges are printing perfectly fine.
-
Unsupported angle
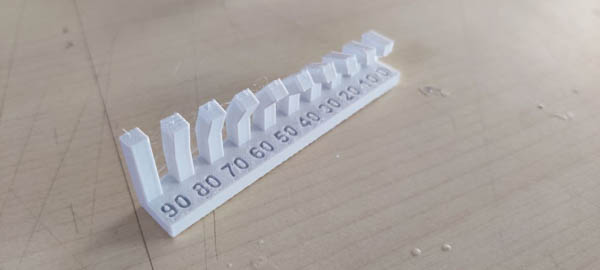
Unsupported angles all the way down to 10 degrees look fine, while thumbrules say not too go beyond 45 degrees. I am very pleased to find this out, I will now print a lot more unsupported structures.
-
Unsupported Cantilever
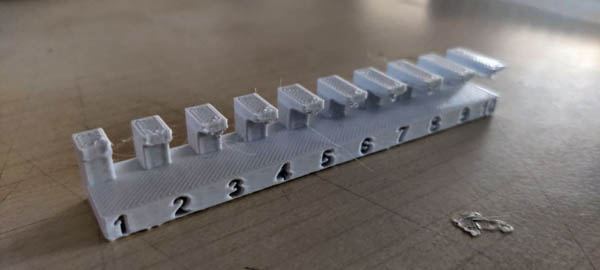
Unsupported cantilevers don't do that well, showing hanging strings from 2 mm onwards.
-
Printing widths
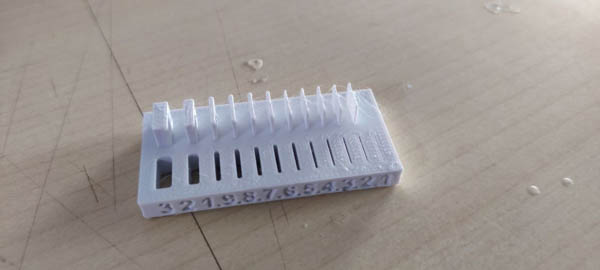
All negatives upto 0.1 mm print fine. Positives of 0.1 mm are lost but 0.2 mm and upwards are fine.
-
Clearances for in-place printing

A clearance of 0.1 mm fuses with the shaft. A clearance of 0.2 mm moves, but with friction, and had to initially be forced a little Above 0.2 mm is a fairly loose fit and easy movement, but also results in an increasing amount of sideways jiggle.
Weekly Assignment
I am making multiple models for this assignment.
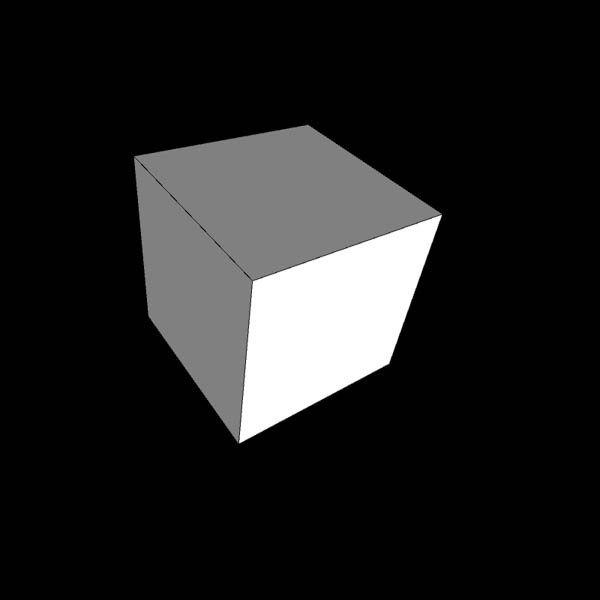
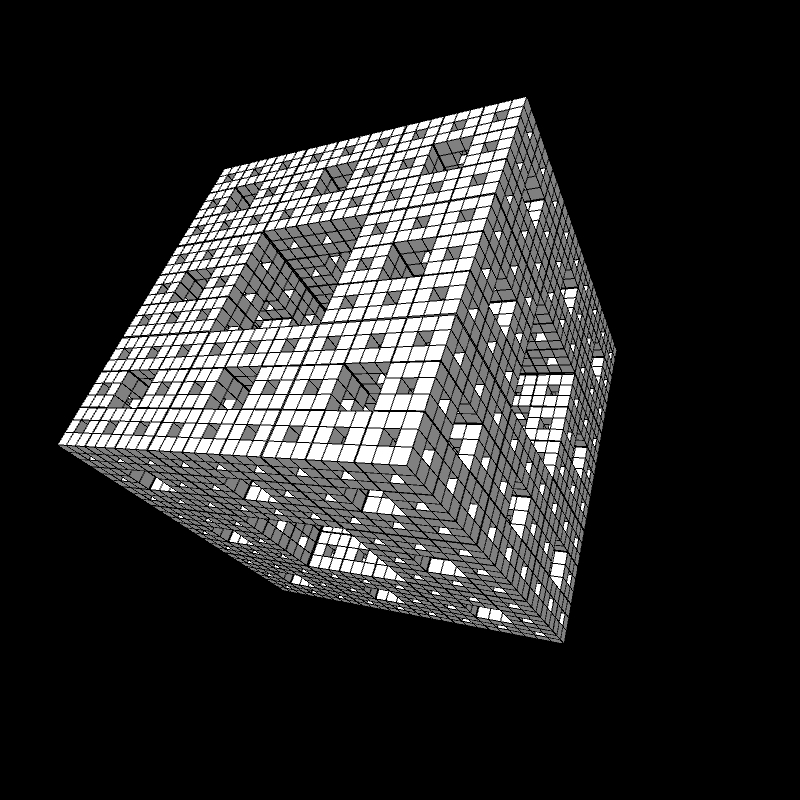
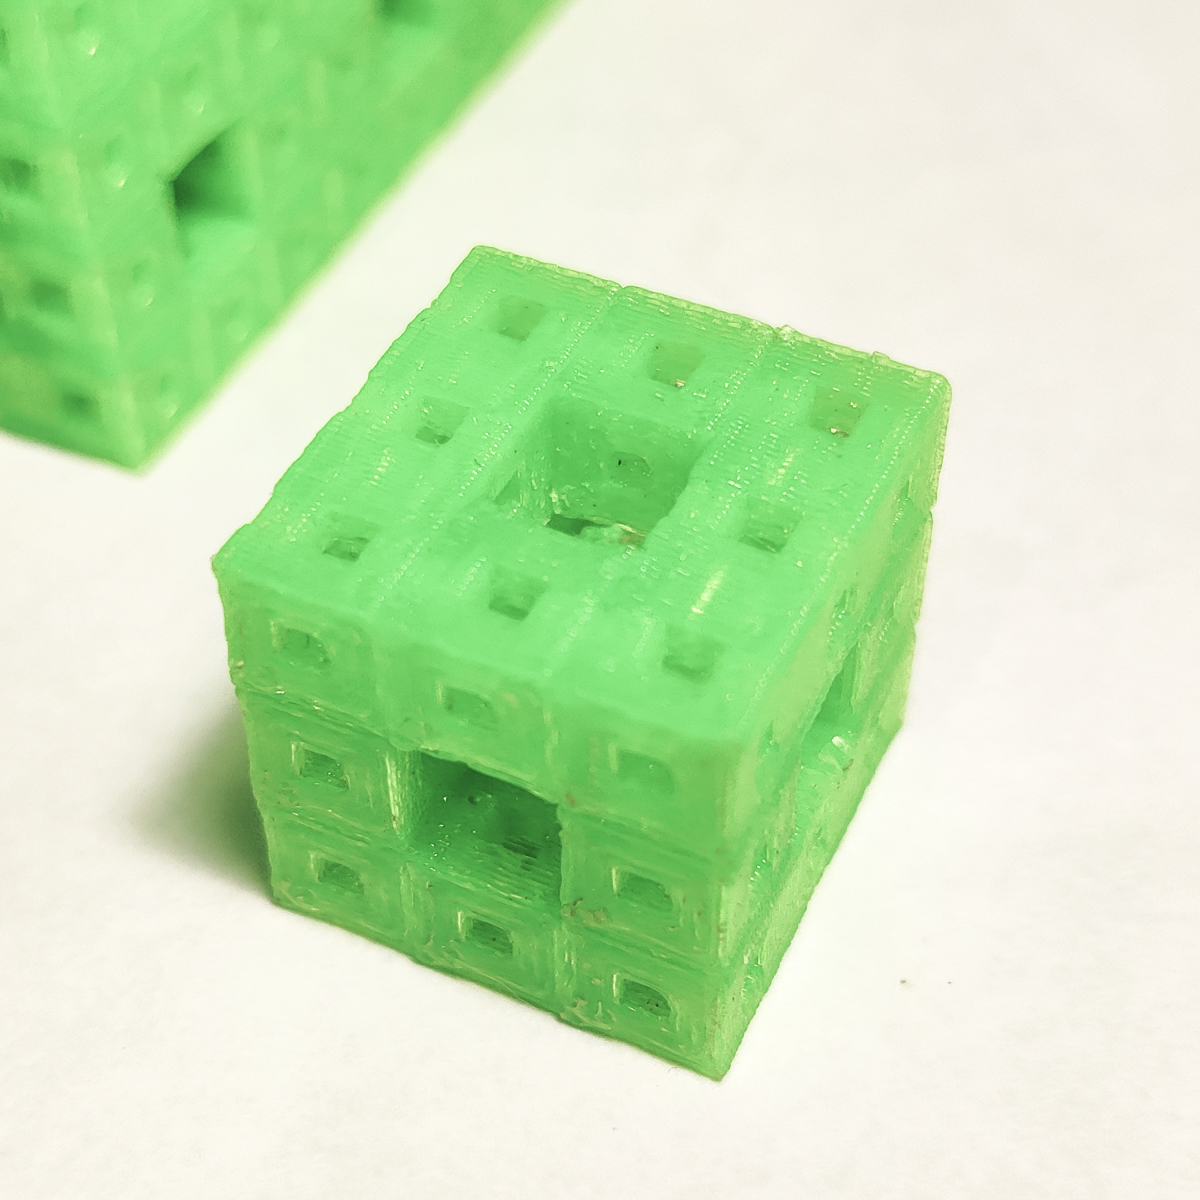
Menger Sponge
I love Math Art and Complex Geometry. It is one of the reasons I got into Coding as well.
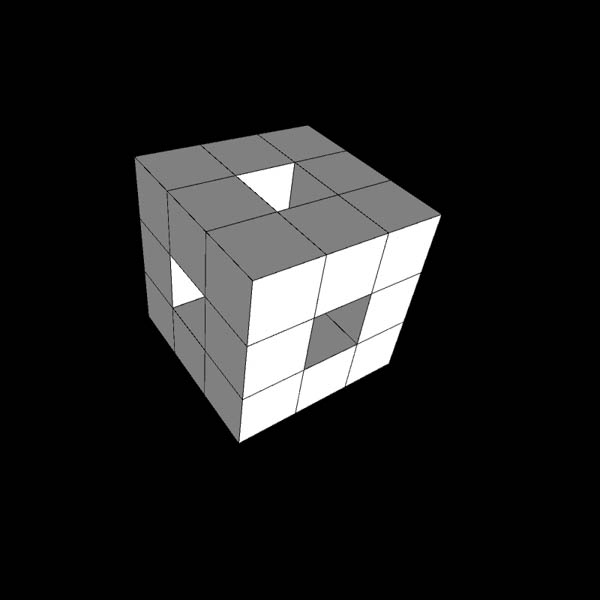
The first is a fractal Menger Sponge, that I have coded in Processing.
Menger Sponge Processing Code files
Menger Sponge OBJ exports
The code can be run from the Processing PDE. Every mouseclick generates and exports another order of the fractal. I used this approach because at the deeper order of generating, my computer would invariably hang or throw errors, so I decided that it was best to control how deep to go stage by stage, as well as export whatever had been generated before risking another plunge.
I used a library by Nervous System to export the OBJ files of the 3D entities generated by the code. Obj exports of the first 4 levels can be found in the second zip file.
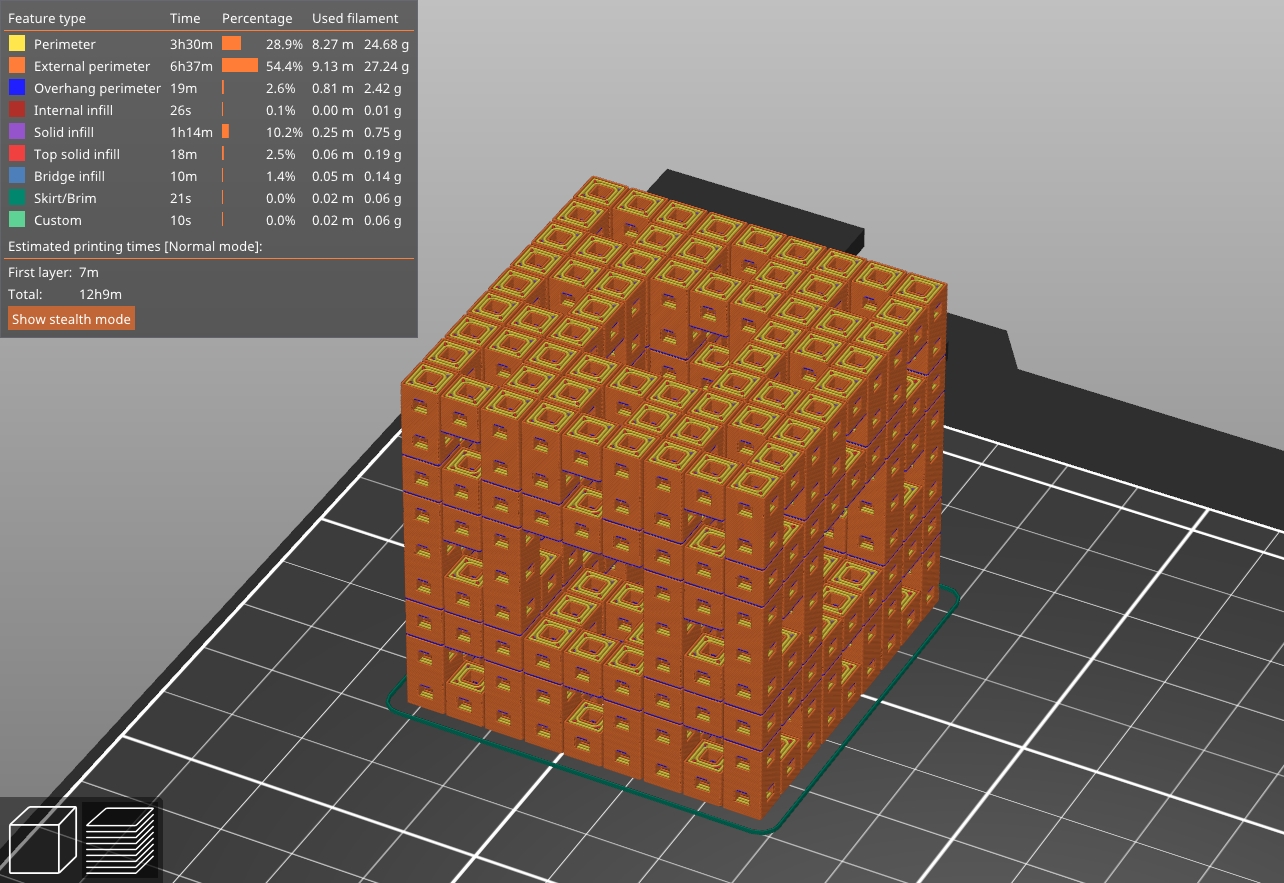
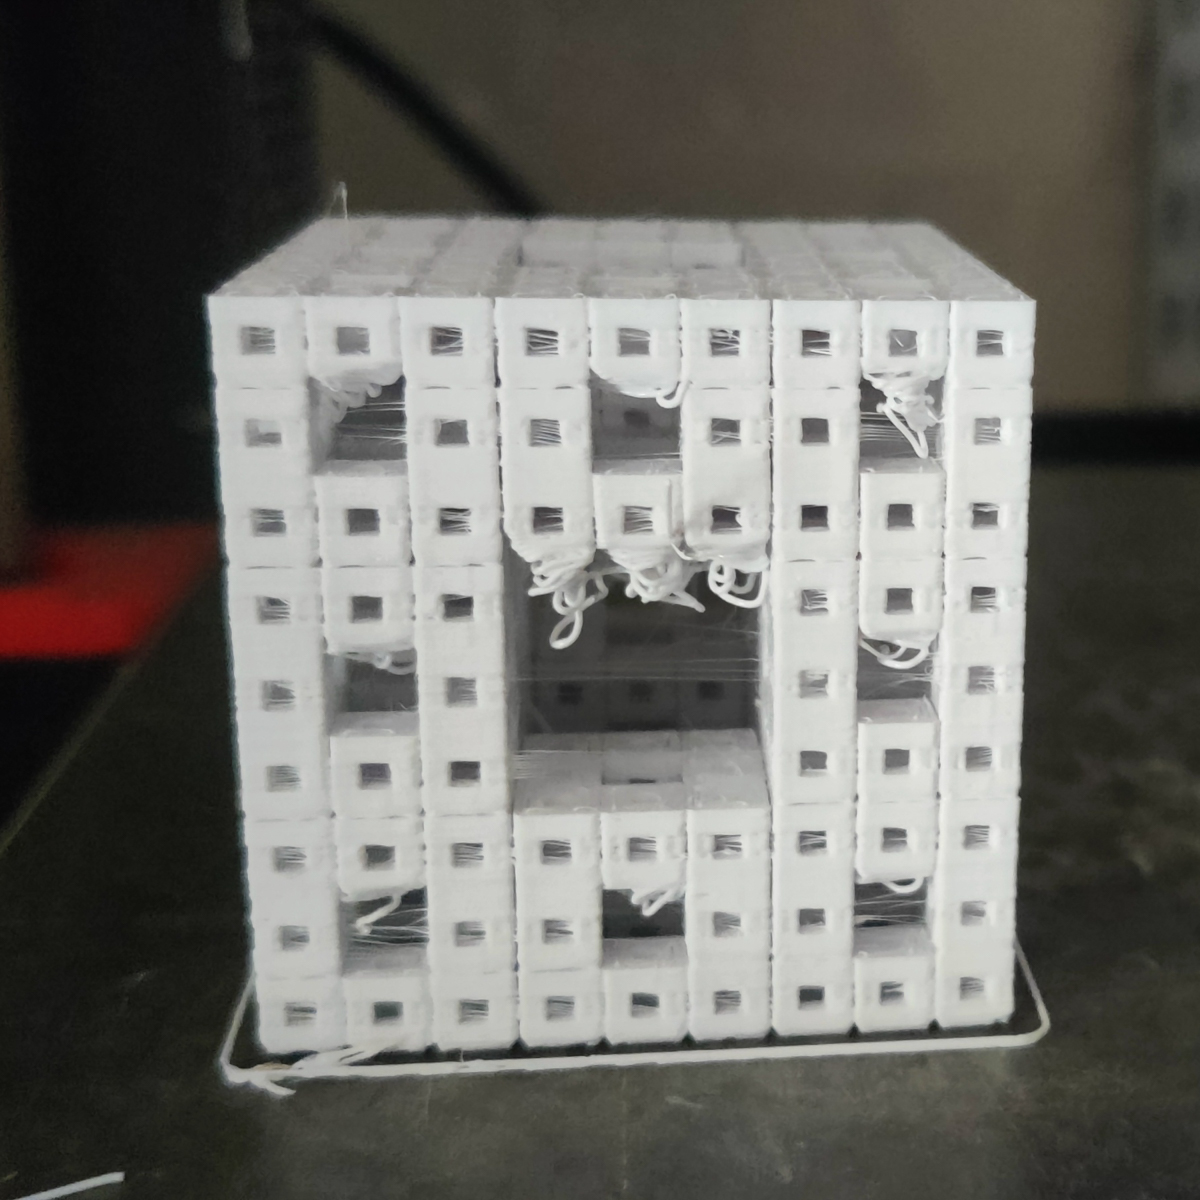
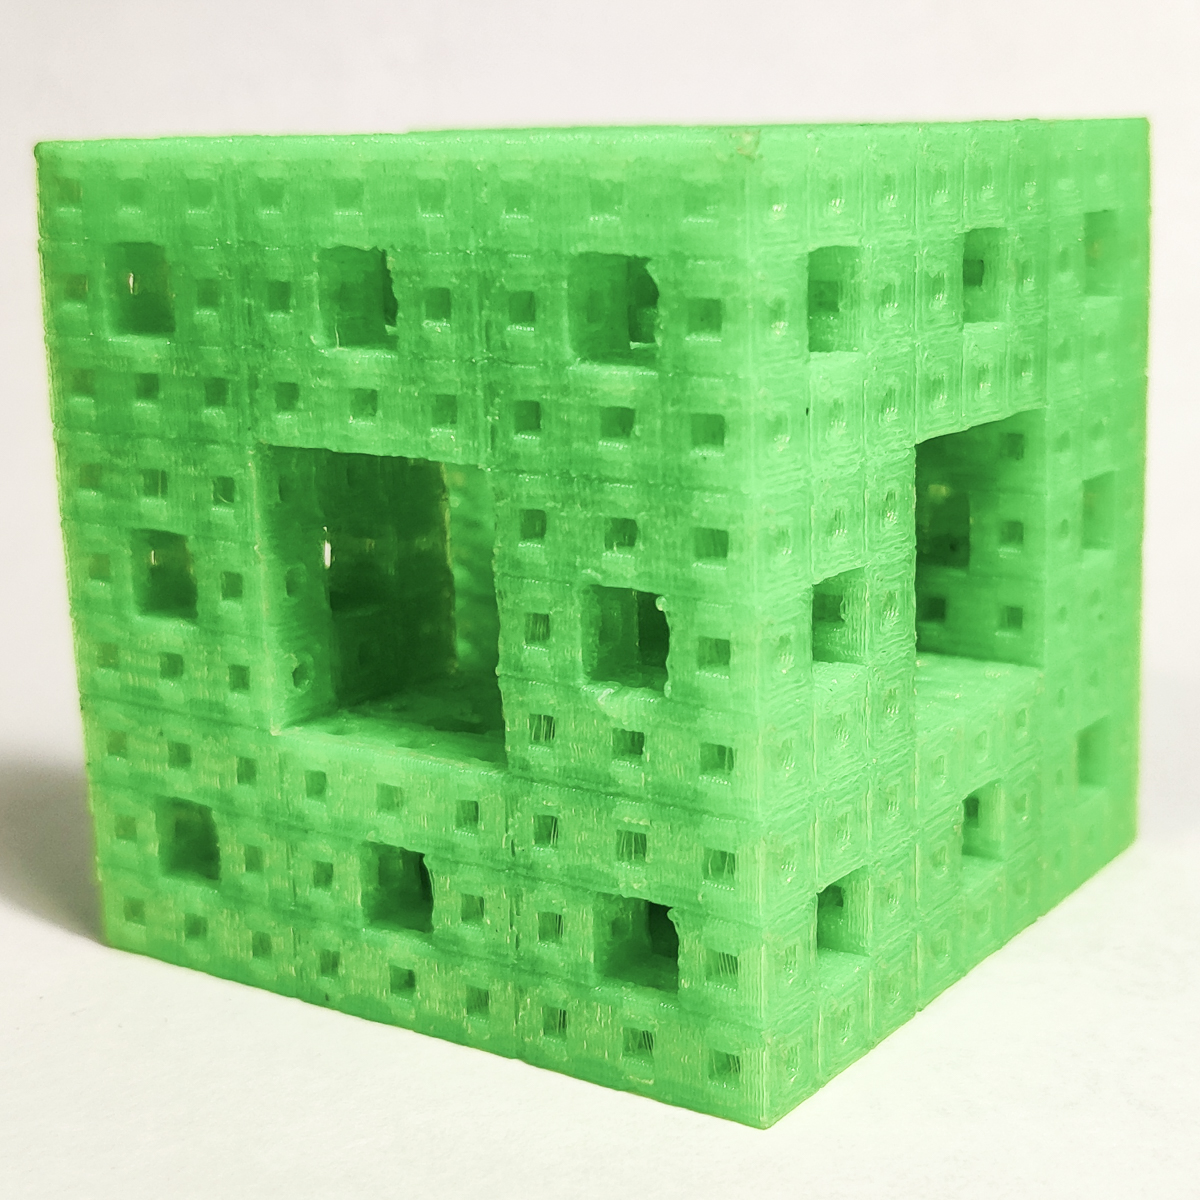
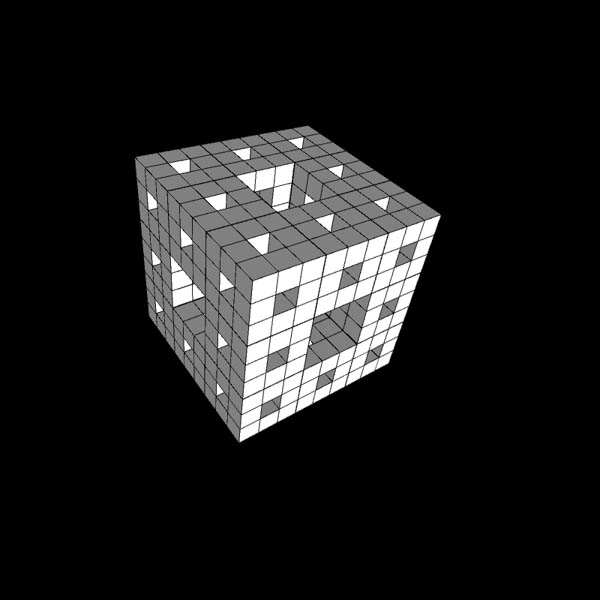
I had assumed that, given the excellent bridging shown in the calibration pieces, the cube would print fine without supports. However, since each "box" exists as a separate entity, the model is not considered contiguous, and edge breaks happen everywhere. Ergo, no bridging benefits. I will have to figure this at some point.
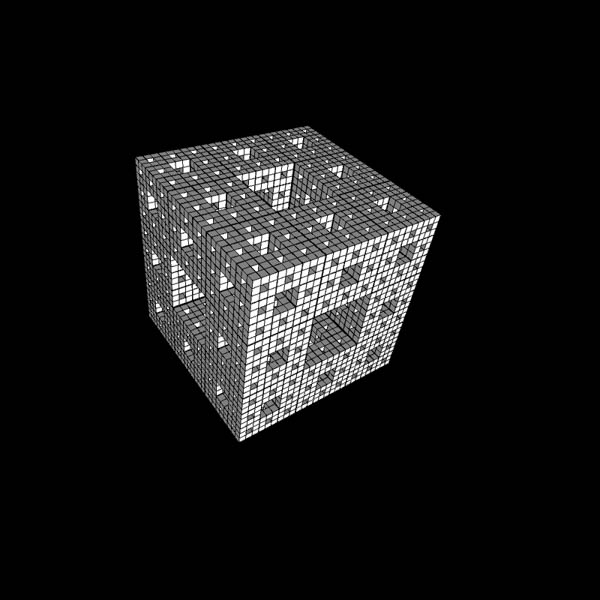
A simple hack I tried was to just enlarge every box by a percentage point so that they would overlap and maybe that would work, but the floating point errors and deviation accumulate very fast so that the 3rd or 4th order generations don't have square gaps inbetween but rectangular. I haven't figured why, but this one is definitely on the to-figure list.
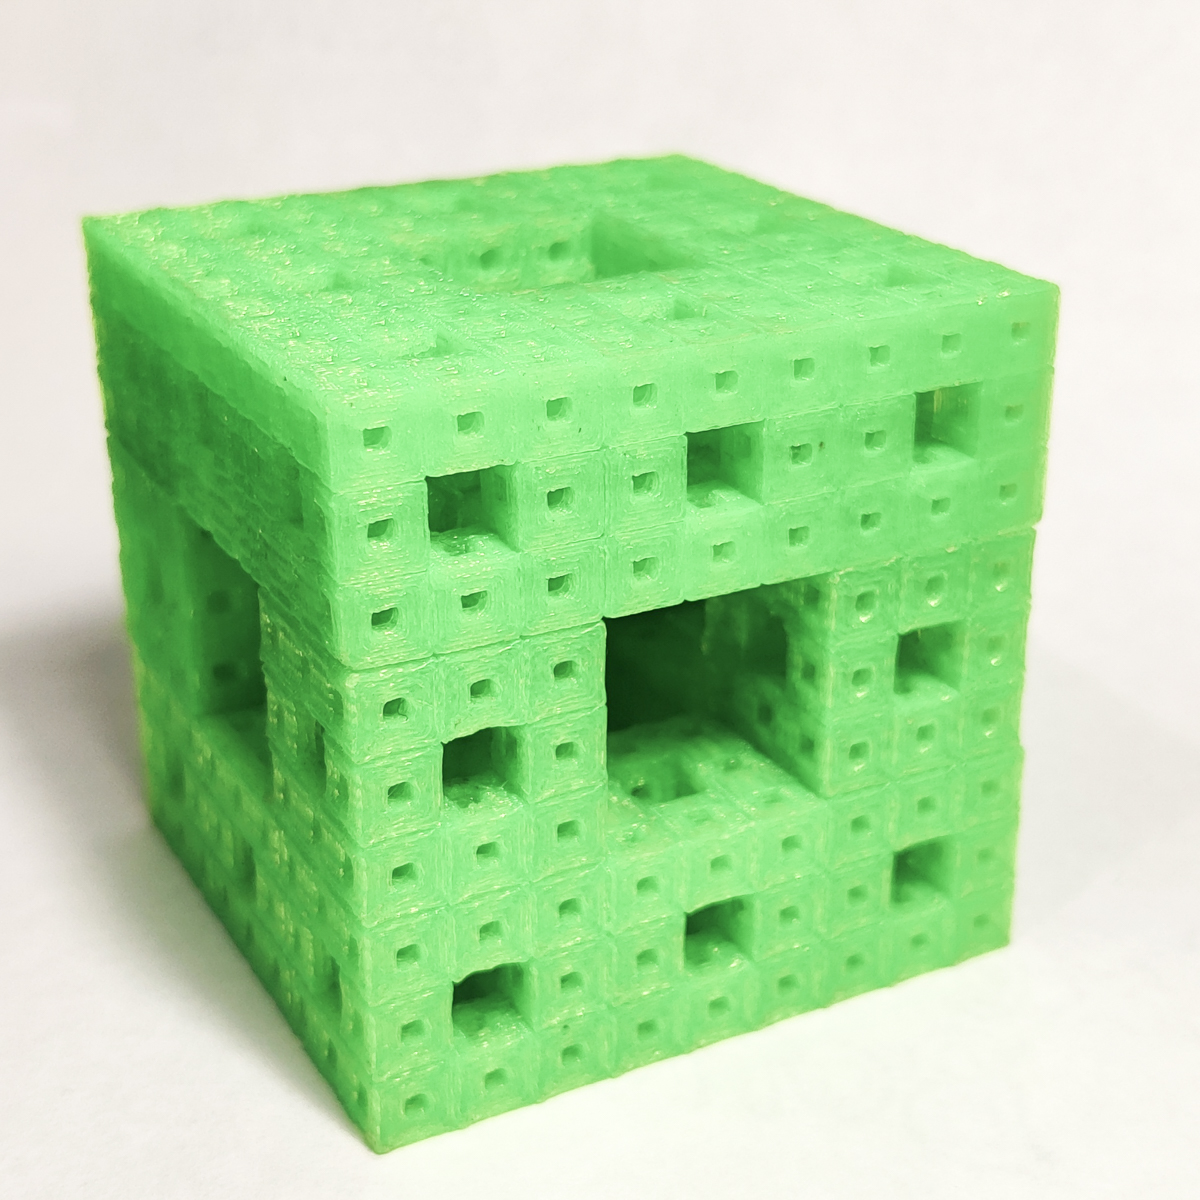
With supports, it prints just fine. However, by definition, removing fractal supports is a most frustrating and tedious task that I would prefer to avoid.
This was a 9 hour print, without supports, and the supported version was 12ish hours. Only a good idea if you either have a printer of your own, or are certain that you occupying the printer for 12+ hours, possibly multiple times, is ok.
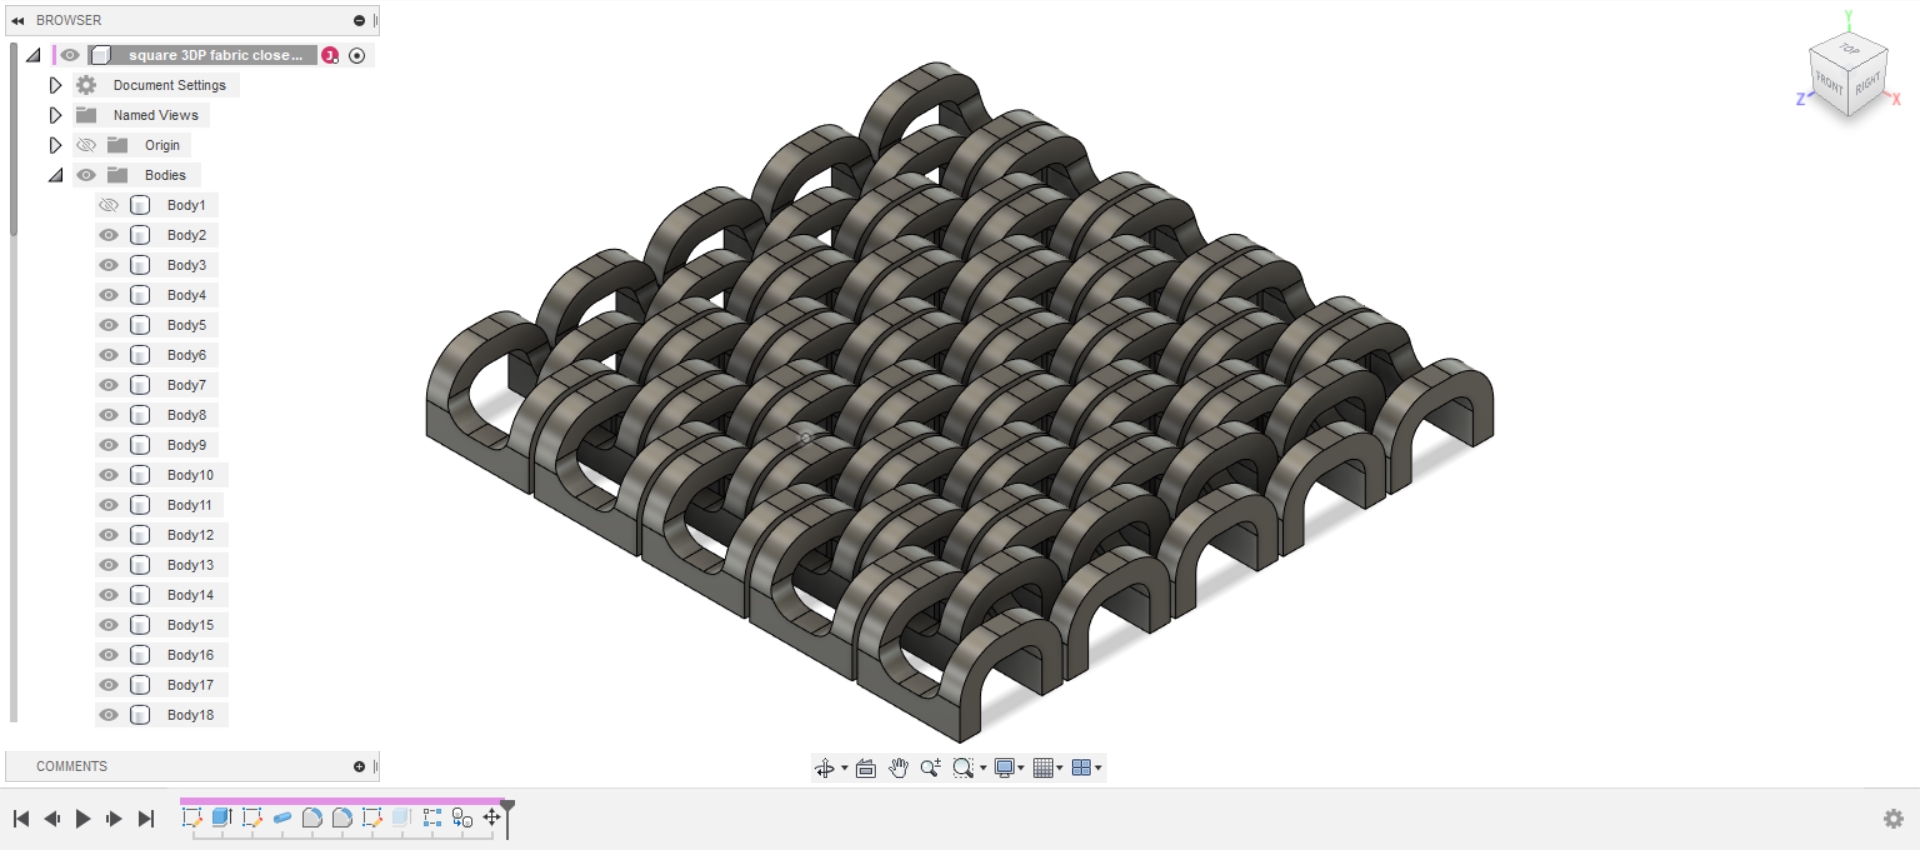
ChainMail
A non-subtractive application is 3D printed chain-mail, which also I modelled during the 3D modelling week. I edited the model to produce multiple versions - one that was fully linked but otherwise unbounded, another where I fused the links along a pair of opposite edges, and one where all the links along the edge were fused. This gave interesting ranges of motion. Another version was also modelled and printed where the links were slightly smaller and closer together on the whole, resulting in a stiffer "fabric".
This set of prints was a stellar example of the bridging capabilities of the Prusa that failed in the previous model, since I managed to print these unsupported. This would have been ridiculously tedious to work with if it was on supports.
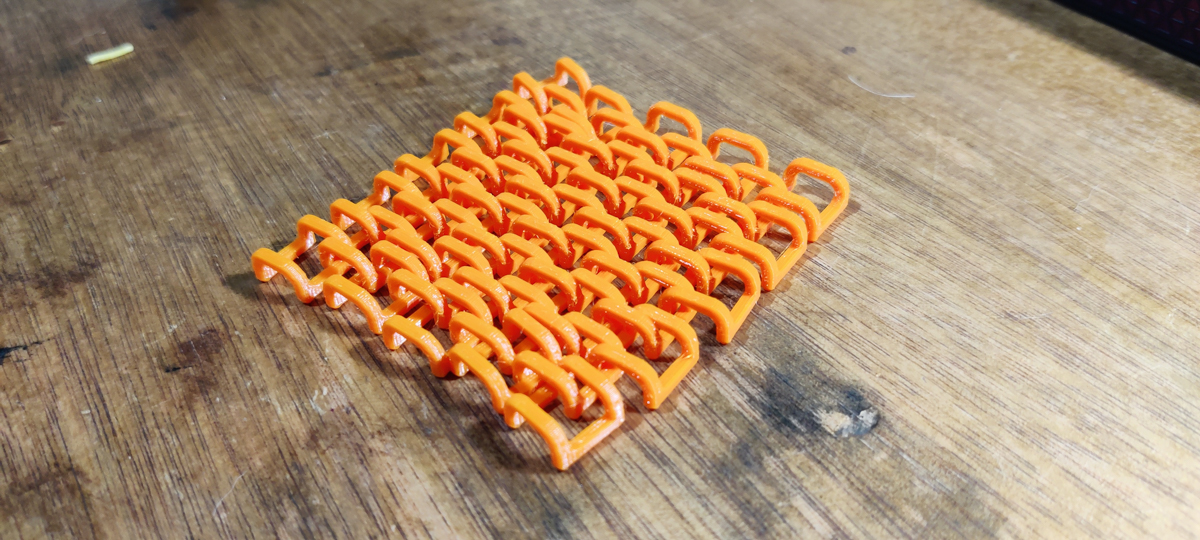 Chainmail basic print
 Left : left and right edges are fused; Right : Entire perimeter is fused

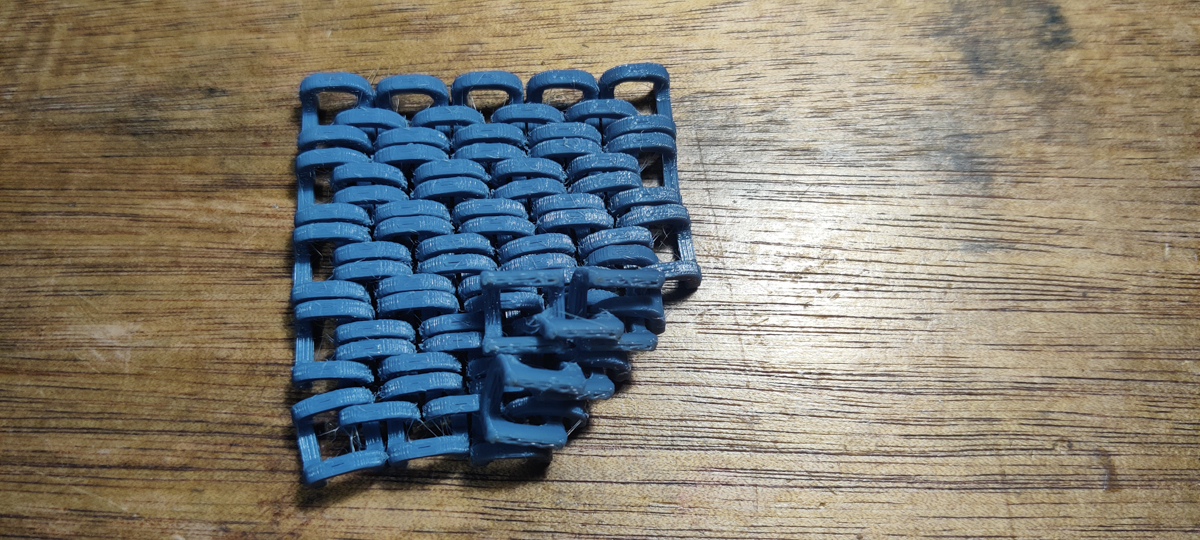
Basic version, crumpled up, and Close-fit version with greater stiffness
Sphericon
The Sphericon is something I modelled during the 3D modelling week. I printed 2 versions, with support in this case, because of the centre cavity, although I suspect it would have worked with bridging as well. My thumbrule for fitting parts is to give a 0.1 mm clearance all around, or a 0.2 mm difference total. This was also borne out to be a fair assumption by the calibration pieces. However, I forgot to add the clearance to the centre peg that joins and aligns the two halves, so I reprinted them again. Thankfully that was just a 15 minute print for a pair of them.
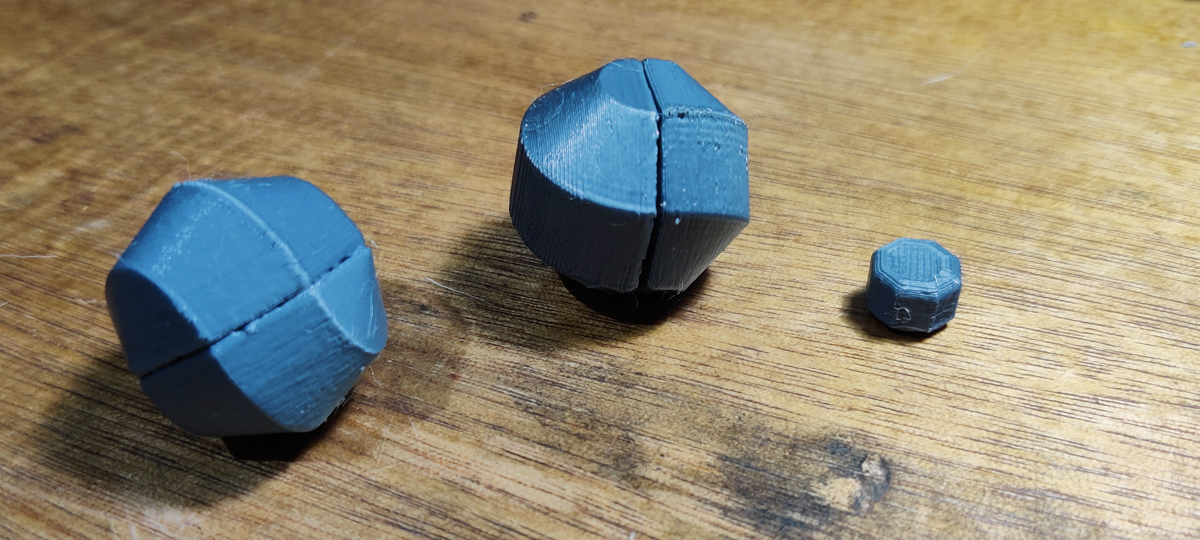 Assembled Sphericons, and an extra centre peg
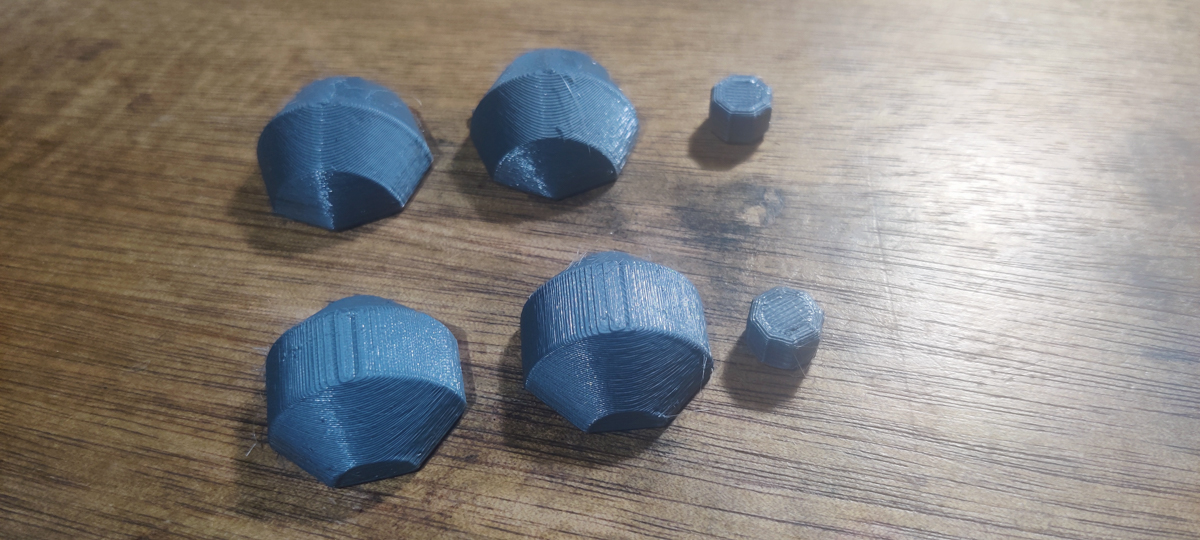
 The individual pieces, and support removal
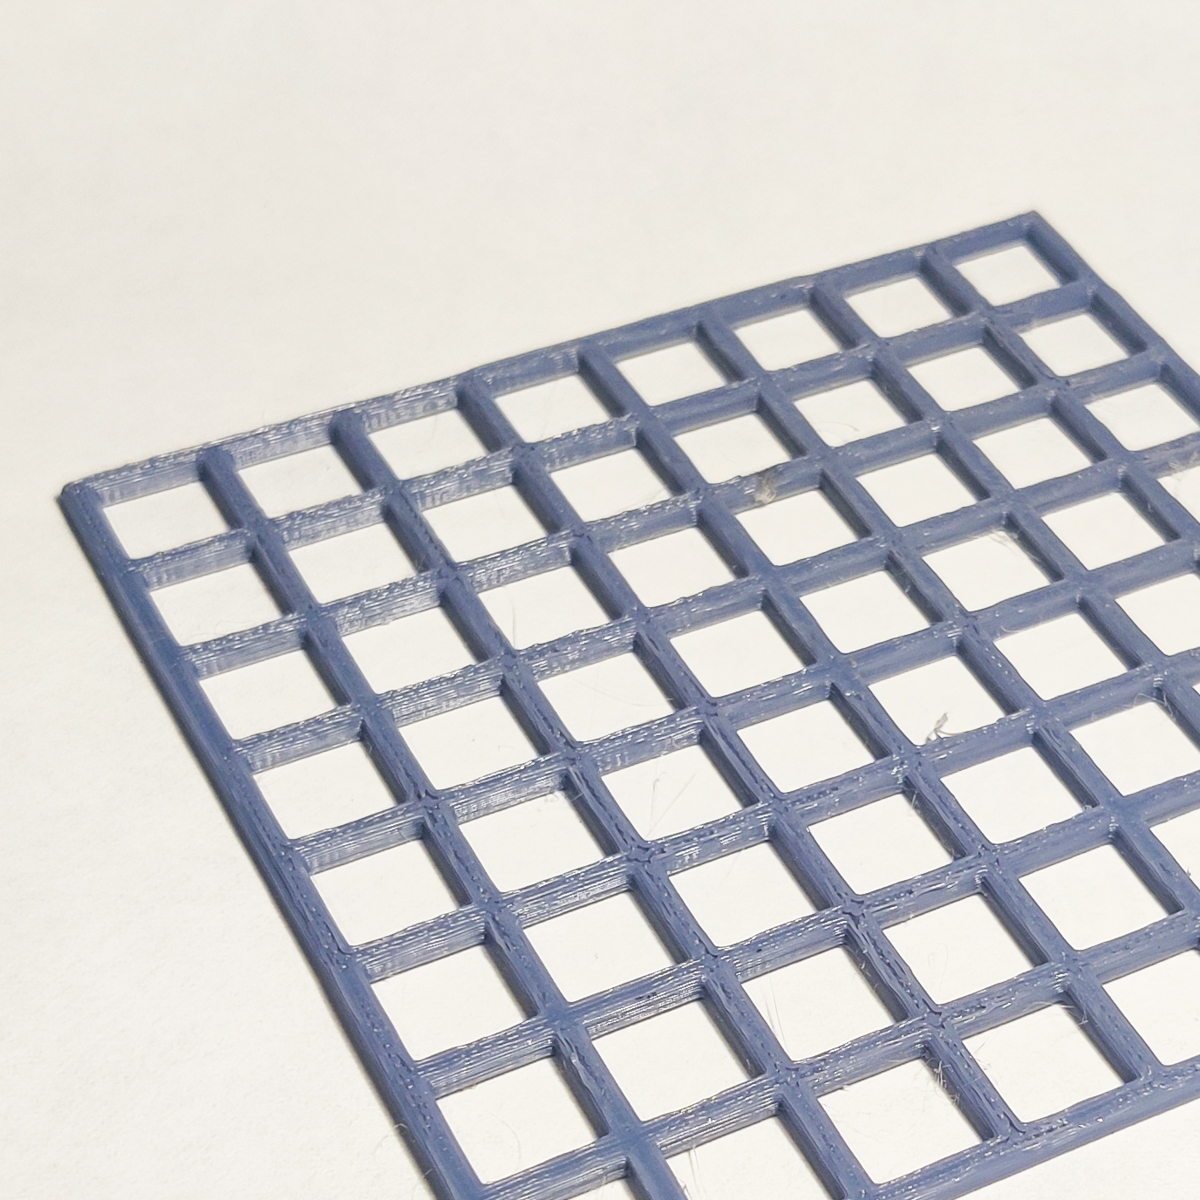
MeshPrint
The mesh print is another experiment, where I have printed out a basic square grid, and I want to soften it and mould it using hot water or steam.
I saw this during my quarantine from COVID-19, when I needed something to direct steam from the steamer I was using for inhalation. The PLA shield I printed, when exposed to the steam, held it's structure but was floppy enough to shape and mold.
Interpenetrating Surface
Another concept is a modular interpenetrating surface that I am modelling in Fusion initially to understand it better, but I hope to move this to grasshopper for better control of the parameters.

I have not really concluded this one, but it was interesting enough to not cancel out.
Additive vs Subtractive
While traditionally the ChainMail
3D Scanning
3D scanning is a fantastic workflow to complete the cycle, going from digital to physical using digital fabrication techniques and physical to digital using 3D scanning and photogrammetry.
We have access to the EinScan One handheld scanner.

The manual is accessible on the website, once you fill in your data (!) For ease of access to myself as well as any others (and since it's <2mb), I'm attaching a copy here
We practiced scanning on two objects, a terracotta bottle and a terracotta replica of the bust of the Priest-King from Harappa of the Indus valley Civilisation. Later, I wanted to scan a fabric draped over a chair,
a. to see if it could be done, and b. to capture the graceful curves of a flowing fabric, which would not be possible with 3D modelling.
Afterall, a chair can be modelled, but graceful drapes cannot. Also, to push the technology as well as my learning, I would like to try doing things that are not usually done and may not even work.
The bottle has a smooth featureless surface so it needs to have markers attached for better scanning. The bust has enough texture to not need this. The fabric was also sufficiently textured to work on it's own.


The software is fairly simple to run through. We were using the handheld scanner and chose the workflow accordingly.


We selected the appropriate options for textured vs non-textured, alignment modes, lighting, resolution, etc.

As for the scanning process itself, you basically steadily wave the scanner at the object, and it projects it's speckled pattern on the surface and reads it back. It fills up the data on-screen and you can "fill in" areas that you may have missed by going over them.


Once you have a complete 360x180 of the object, the software tells you that enough data has come in and you can stop. Then it moves to the post-processing phase. You can also select output resolution as well as if you want a watertight model or not. If you want a solid model, opt for this; if you just want a surface model with no volume, opt for non-watertight.


Finally, you can save/export the file from a choice of formats. We chose to save as STL.
 stl file opened in Windows 10 3D viewer
Post process : Either within the scanning software itself, or later, the file still needs a bit of cleaning up. The Chair with Fabric was post processed to be watertight and did not require any cleanup. The Harrappa Priest-King was a surface export and needed some manual clean up.


- The orientation of the body may be off if the scanner settings weren't set correctly
- Unnecessary background/base points need to be deleted
- If the scan is a surface, it will need to be closed before it is a solid body fit for 3D printing
The images above show Meshmixer, but Blender or any other app works equally well.
Finally, I printed this STL out on my 3D Printer to complete the circle from physical to digital to physical again.


 Look at those drapes :D
Useful Links :
Files :
Menger Sponge Processing Code files
Menger Sponge OBJ exports
Bearded Priest-King (76 MB)
Chair with fabric (119 MB)