Computer Controlled cutting
Vinyl Cutter
The Vinyl Cutter is a new machine for me. Until now, I had seen it only in certain areas of the city where a lot of license plates are made, since vinyl lettering is one of the primary methods for that.
It is another fascinating machine, that is primarily being used for stickers and decals. I would eventually like to try other materials on it as well, and explore different workflows and outcomes like origami, which I naturally lean towards, as well as copper foil circuit paths, whose examples Neil showed in class.
Initial Ideas
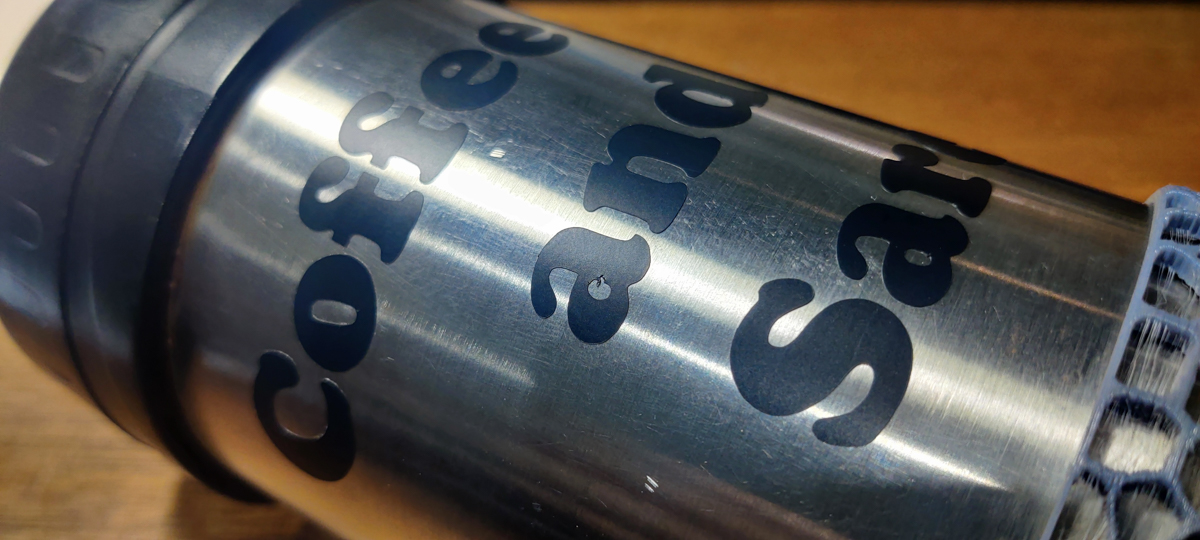
Initially, I decided to try out a sticker for coffee mug. I had a mug that declared "Coffee and Sarcasm" whose handle broke at some point and so I wasn't using it anymore. I decided to recreate it with a plain mug and the vinyl.
 I quickly measured the mug, framed a rectangle the size of the surface area, barring margins, and composed a simple "Coffee and Sarcasm" typographic that would fit in. I chose a large round font to prevent sharp corners, tearing, or other potential mishaps.
The graphic was then fed into Vinyl Cutter software, GraphTec Pro, and the machine was setup with a sheet of vinyl.
The actual cut was very fast and over almost before I knew it.
It seemed successful enough, so I decided to try a much more complex pattern.
I have been playing with Celtic and Islamic patterns at various points.
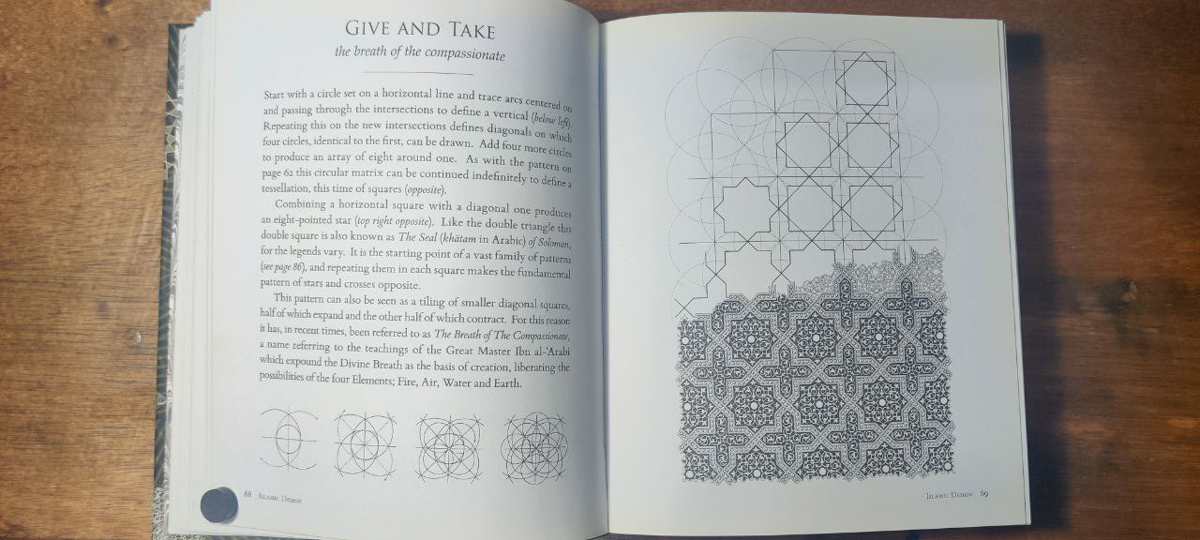
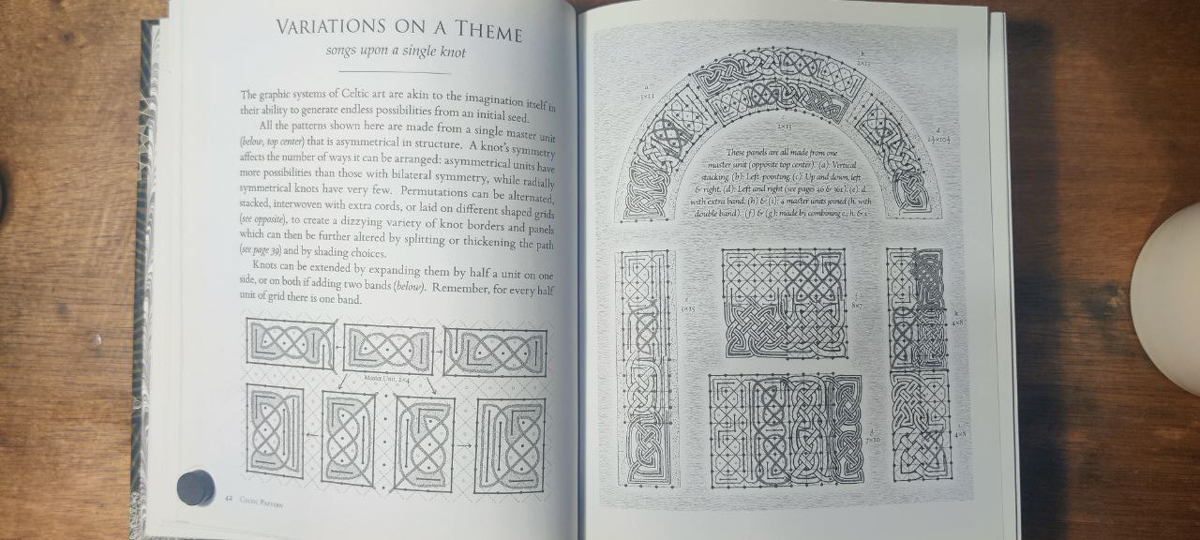
I had some vector graphics that I had created. I opened a couple of them and chose what I wanted to try next. I had a Celtic knot shape filling my initial, the letter J, as well as an Islamic pattern based on a common 4-point pattern known as the Seal of Solomon. I copied out my original vector files, extracted the sections I needed, and simplified them to be single line cuts. Then I sent those to the Vinyl Cutter as well.

Process : Coffee Flask Decal
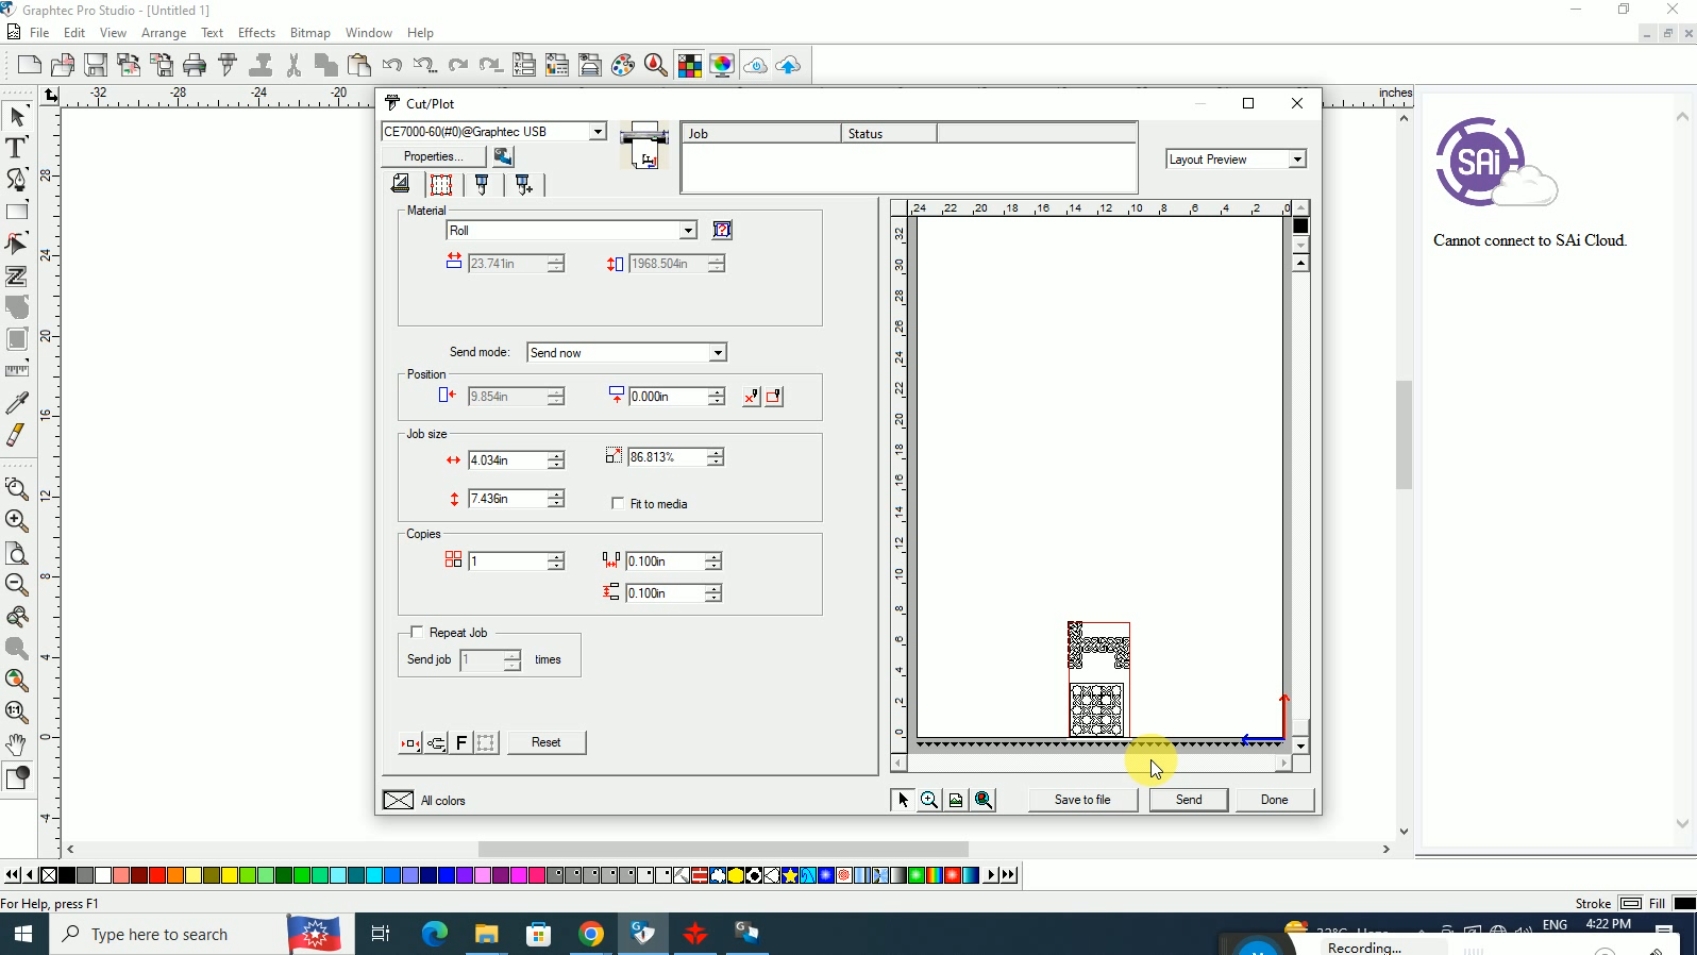
The DXF files are loaded into GraphTec Pro, and positioned on the bed with the relevant settings.
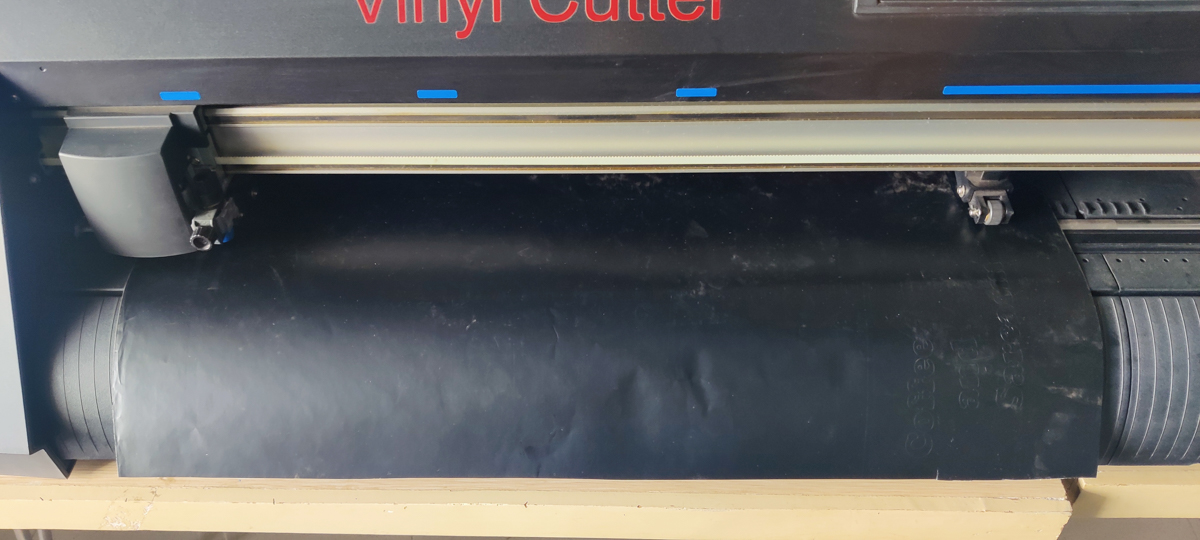
To set the machine up, you feed a sheet of vinyl into it, then use the lever at the back to bring down the rollers that press the sheet down and keep it in place.
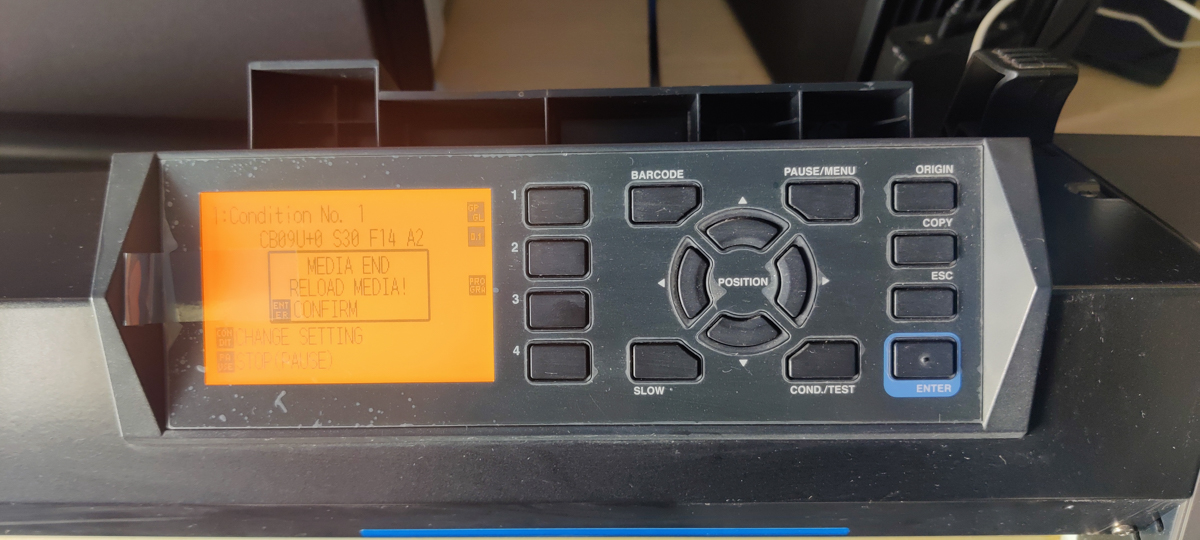
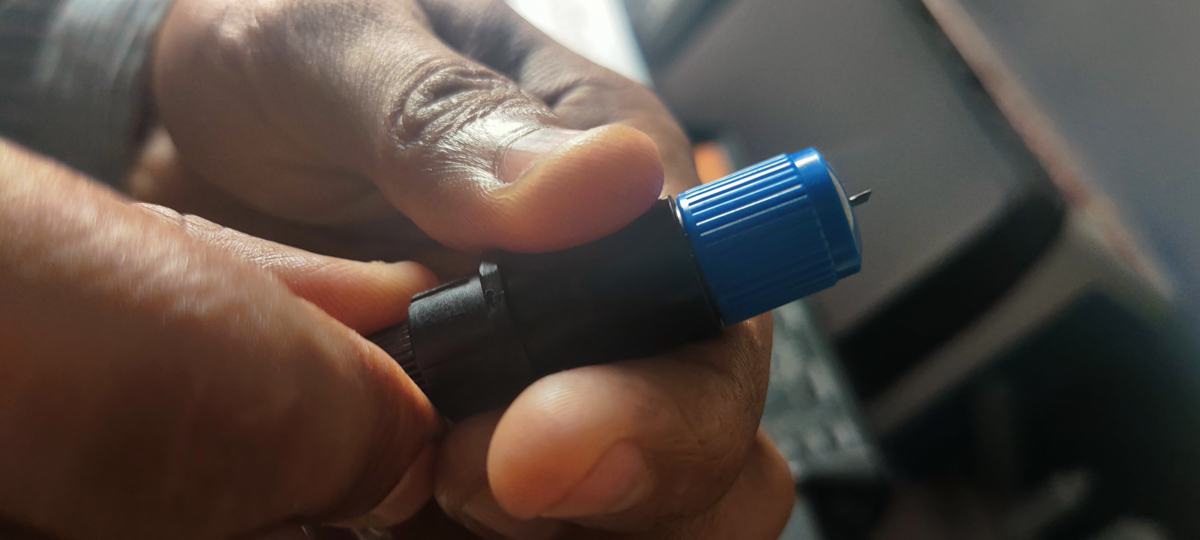
Initially, the blade depth was fine, but we tried a deeper cut for the Celtic pattern since it hadn't cut through entirely.
Once you set it up, it quickly scrolls the vinyl forwards and backwards while the blade moves from side to side as well as rotates to make the cuts.
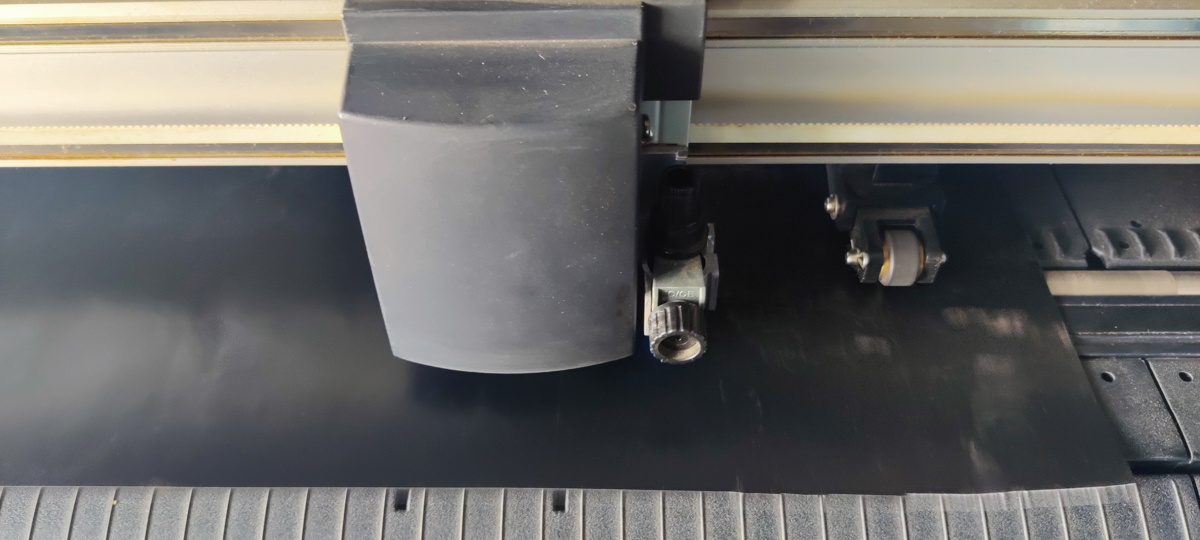
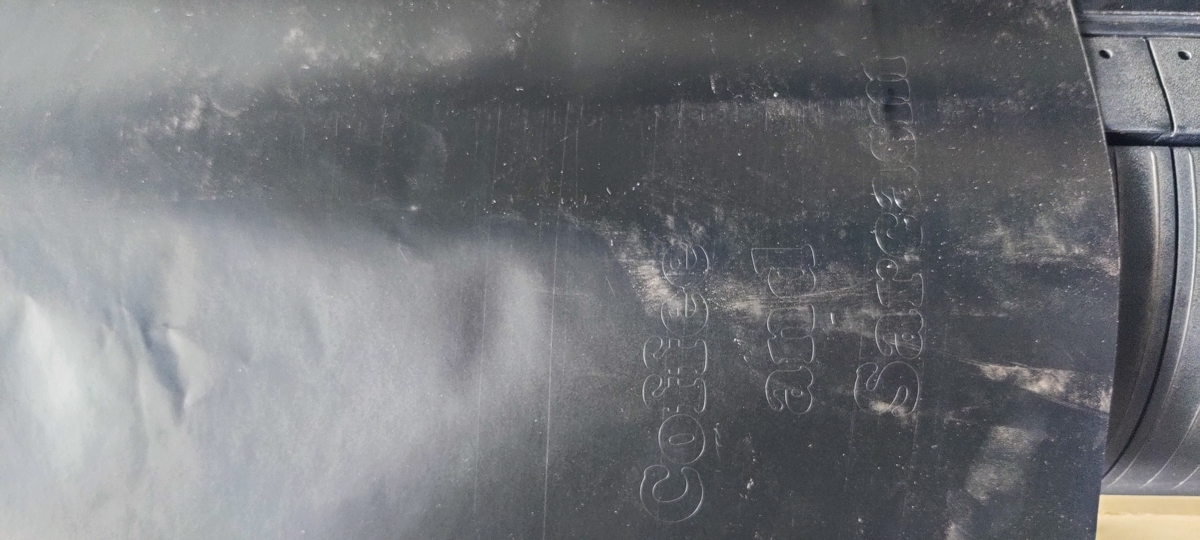
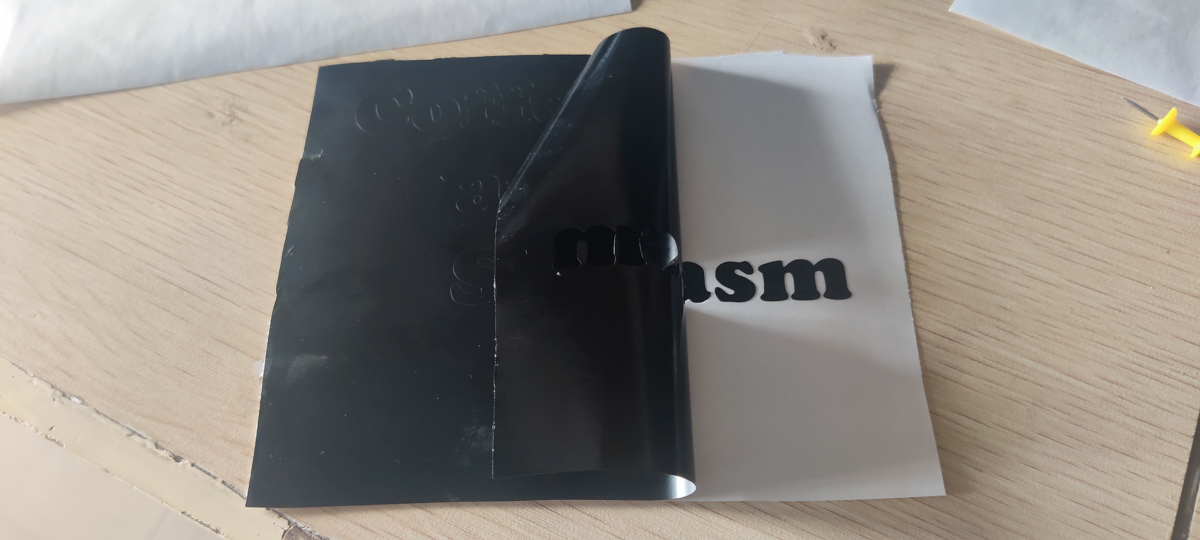
Once the Vinyl is cut, you can extract that part of the sheet with a scissor and sit down to start peeling off the background patches that aren't necessary. Paying careful attention to not peeling off the required bits, as well as the bits that aren't connected to the background but need to be picked up individually, like the insides of letters.
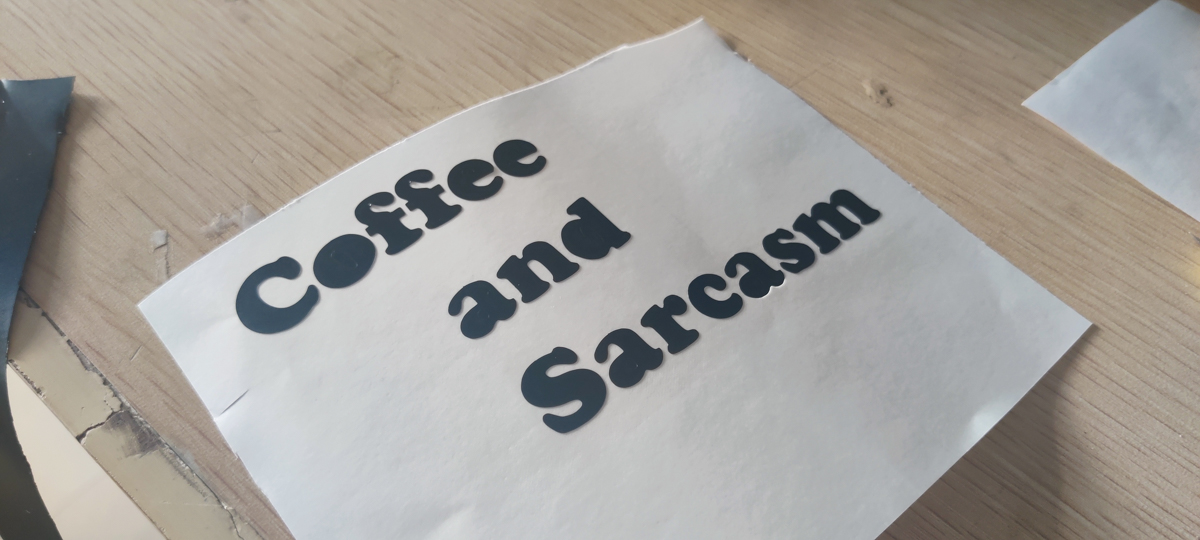
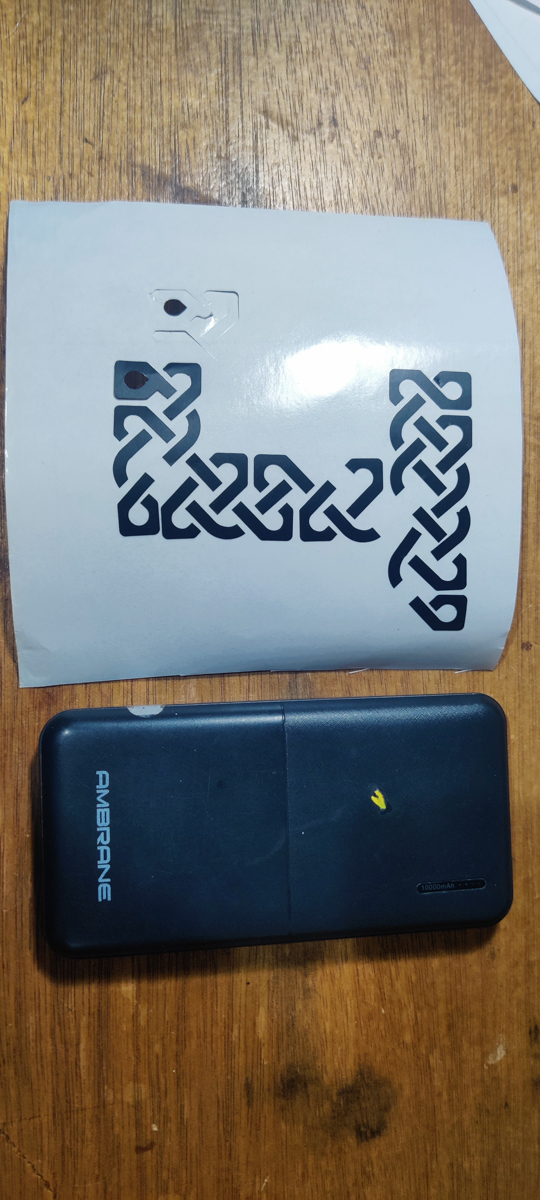
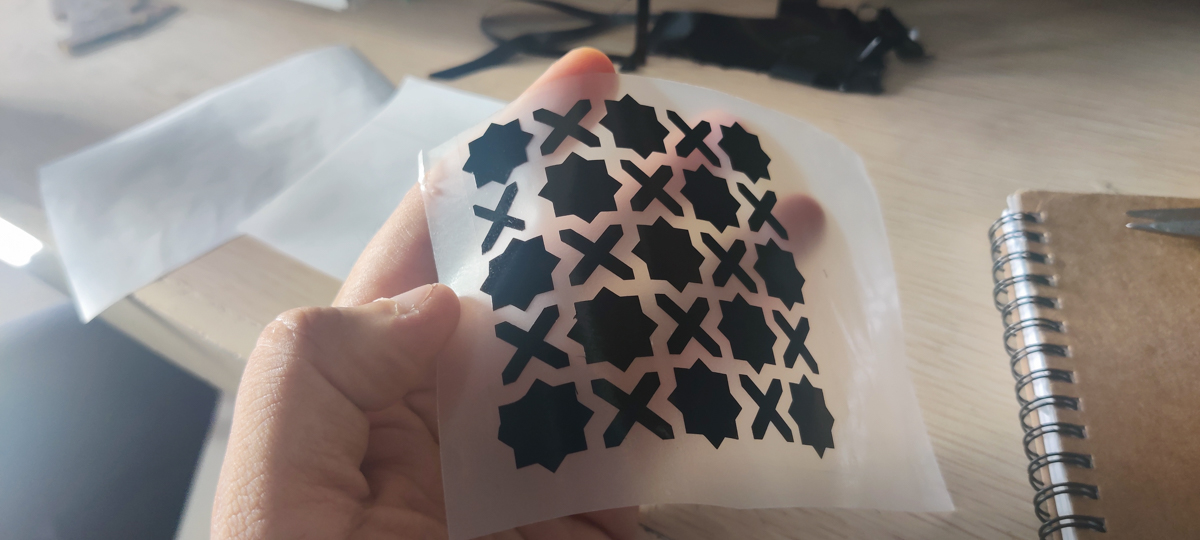
Then, an equivalent sized piece of transfer tape is taken and applied to the cleaned up vinyl and the pieces are "picked up" using that.
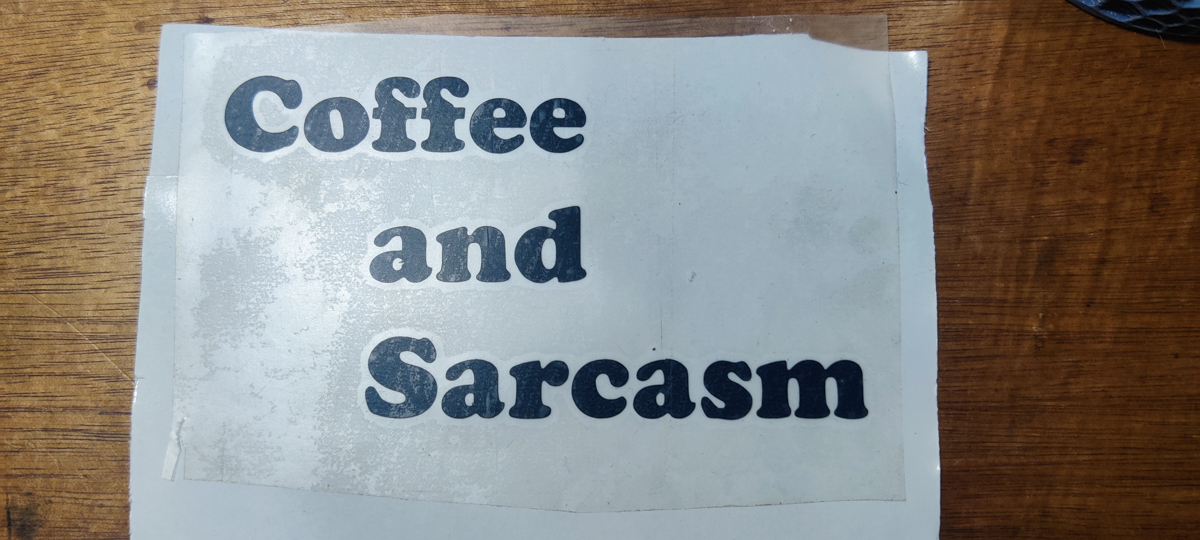
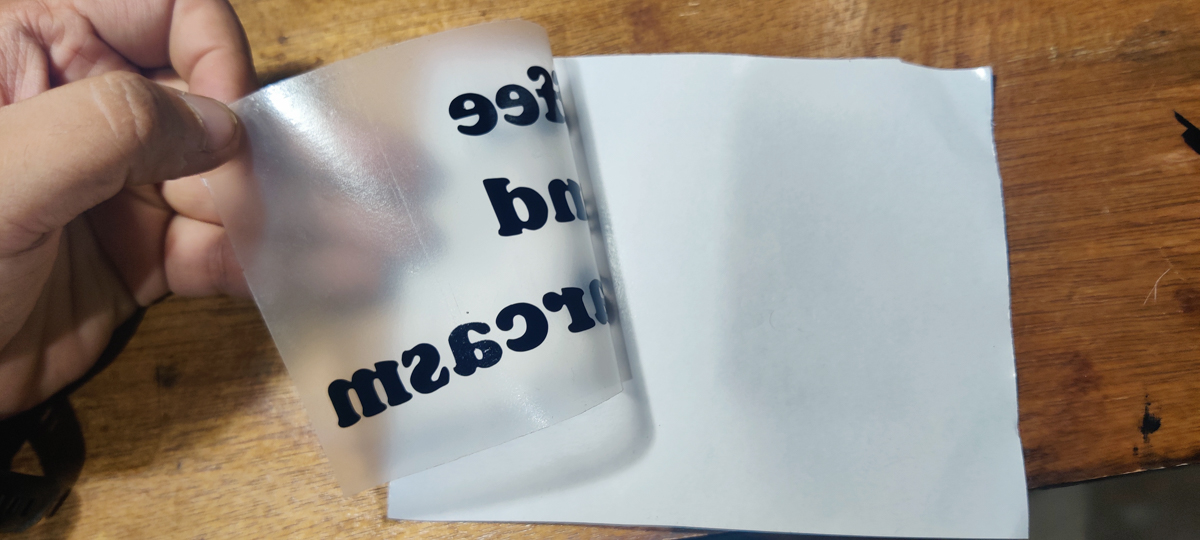
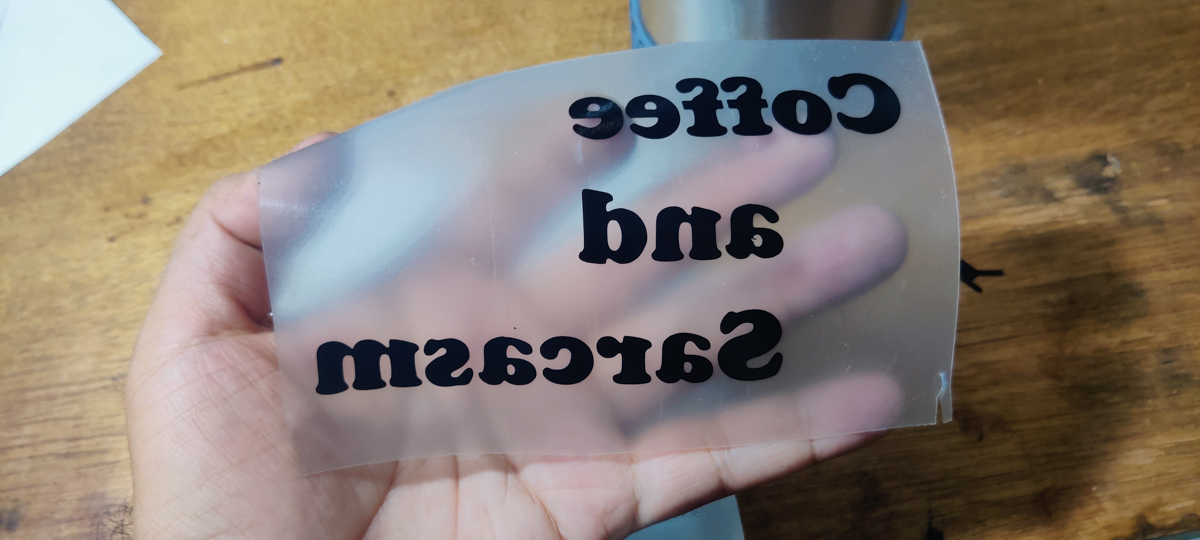
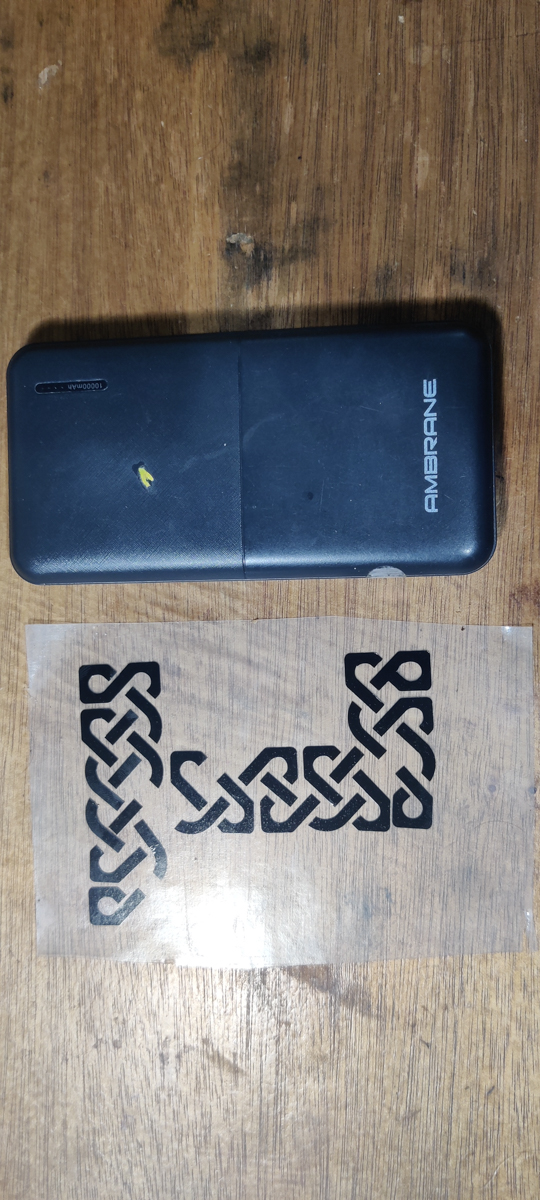
Instead of a mug I decided to decal my coffee flask. The transfer tape was aligned to the base and then starting from one end, was pressed onto the surface. It was rubbed in carefully to make sure all the individual bits and areas have good adhesion to the surface.
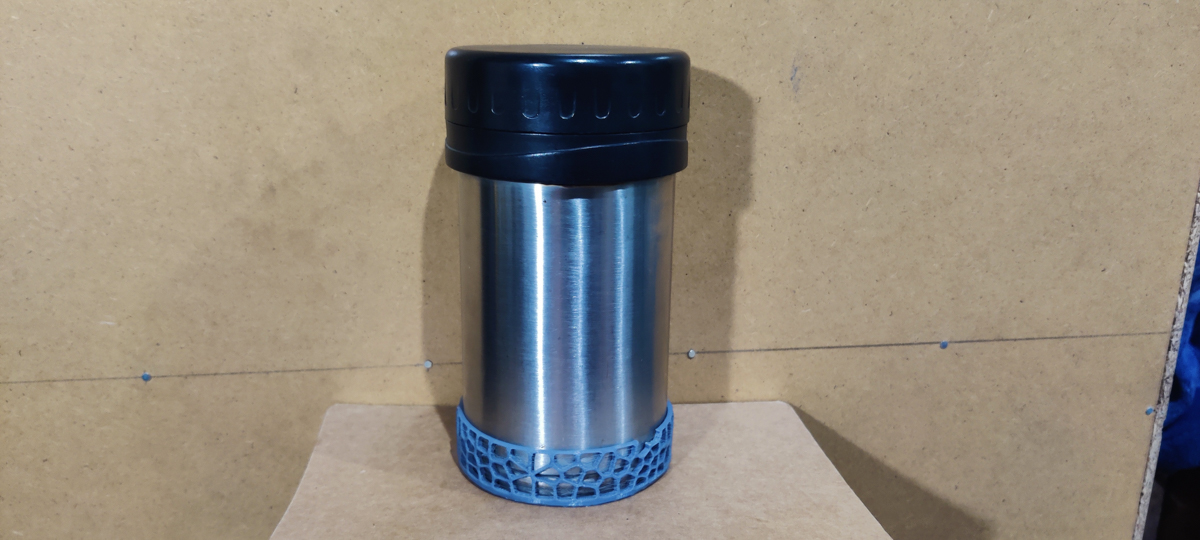
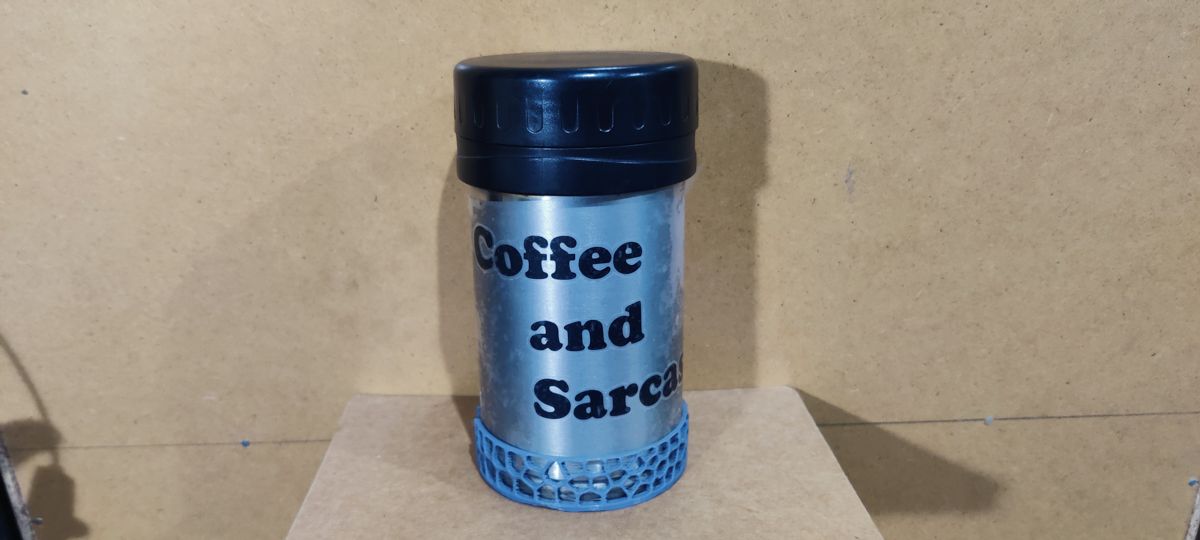
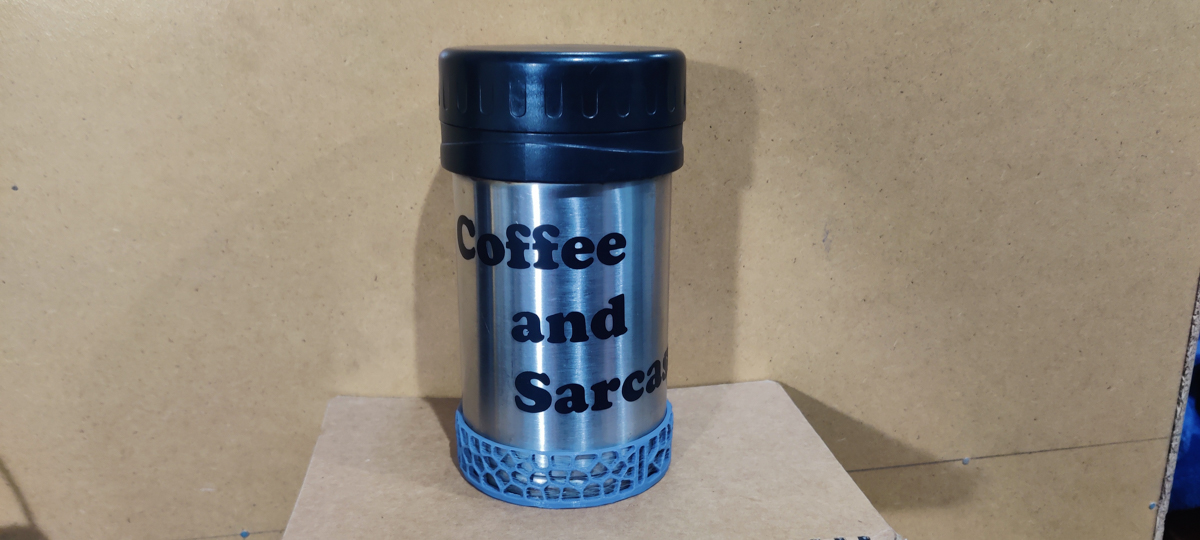
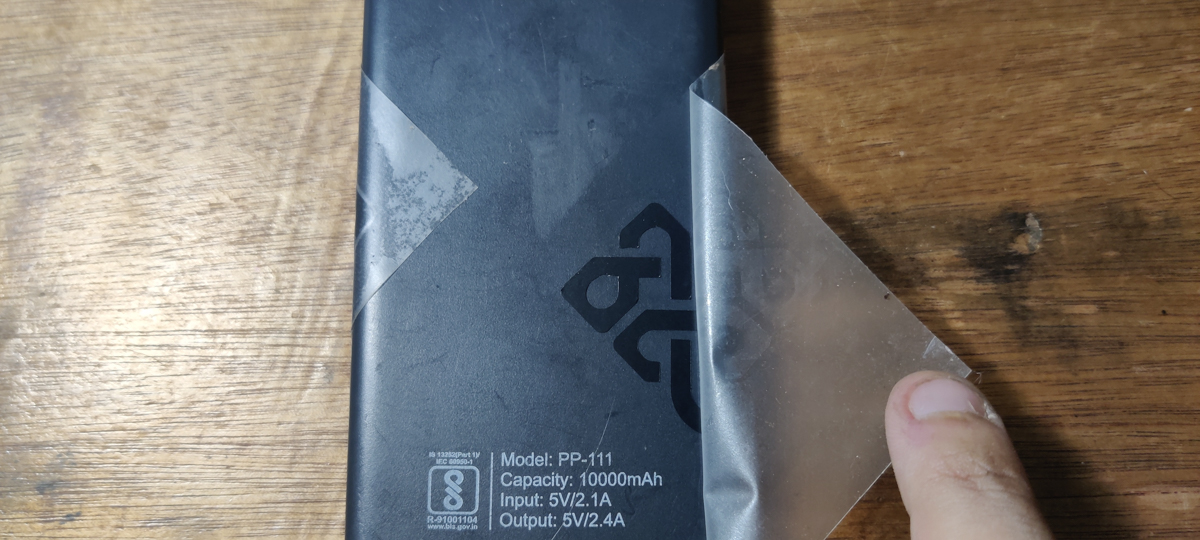
Once that is done, the transfer tape is carefully peeled off, leaving the vinyl pieces behind.
Process : Celtic J
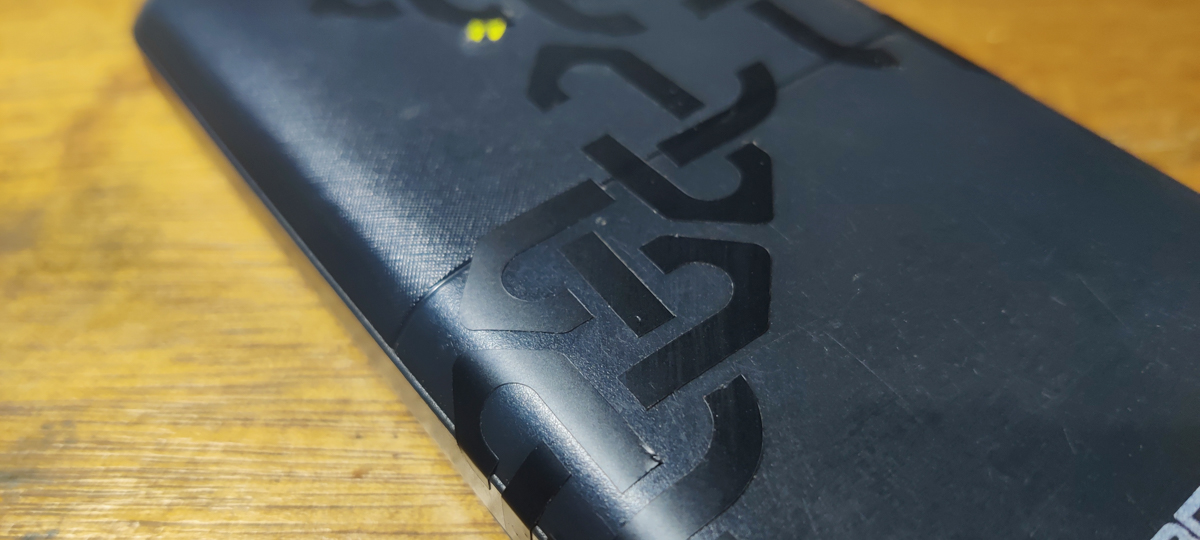
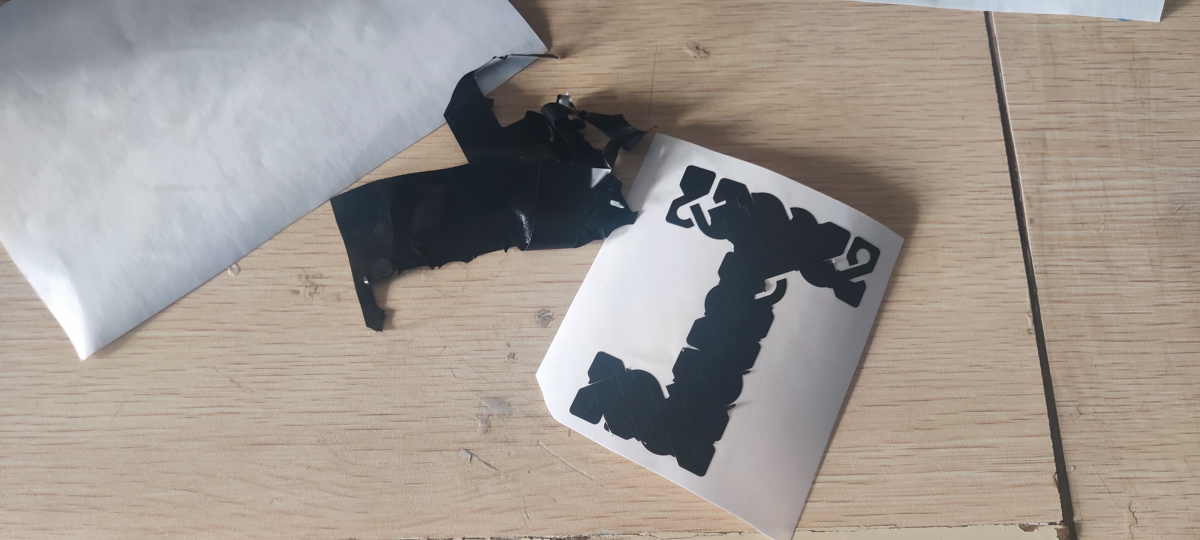
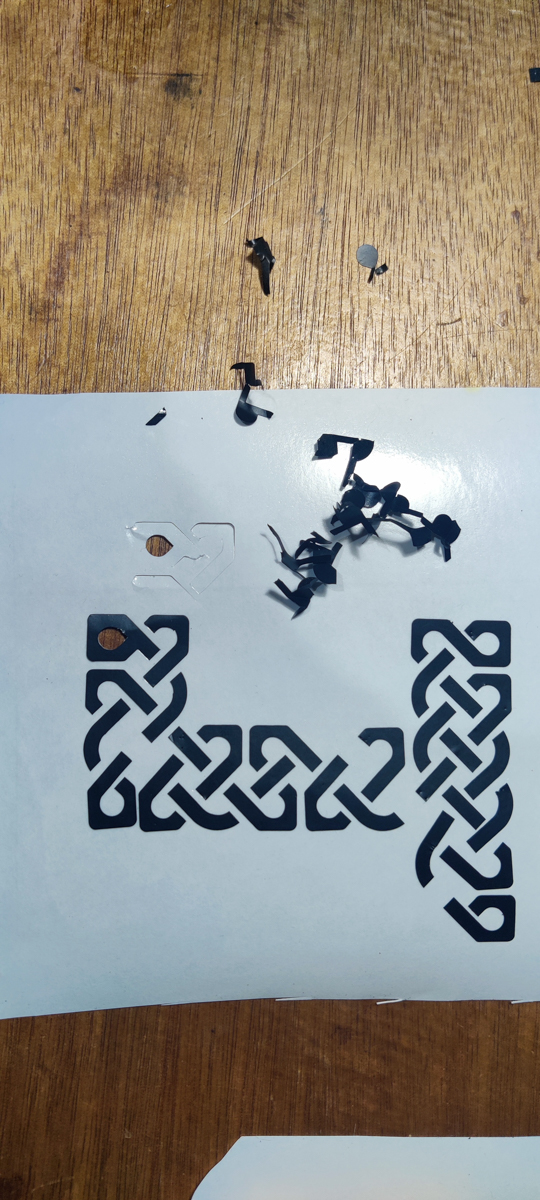
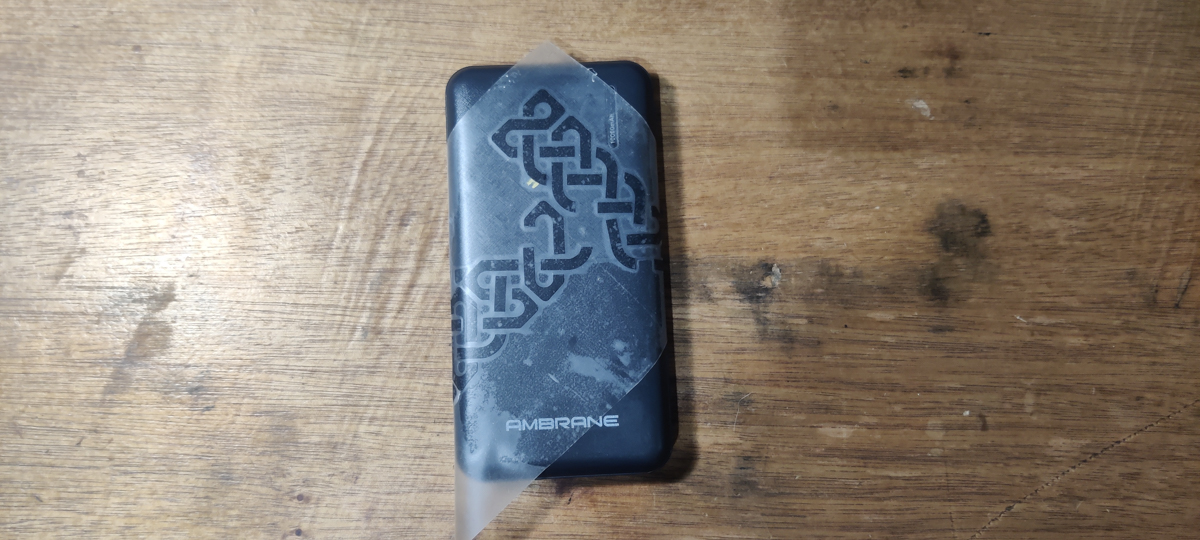
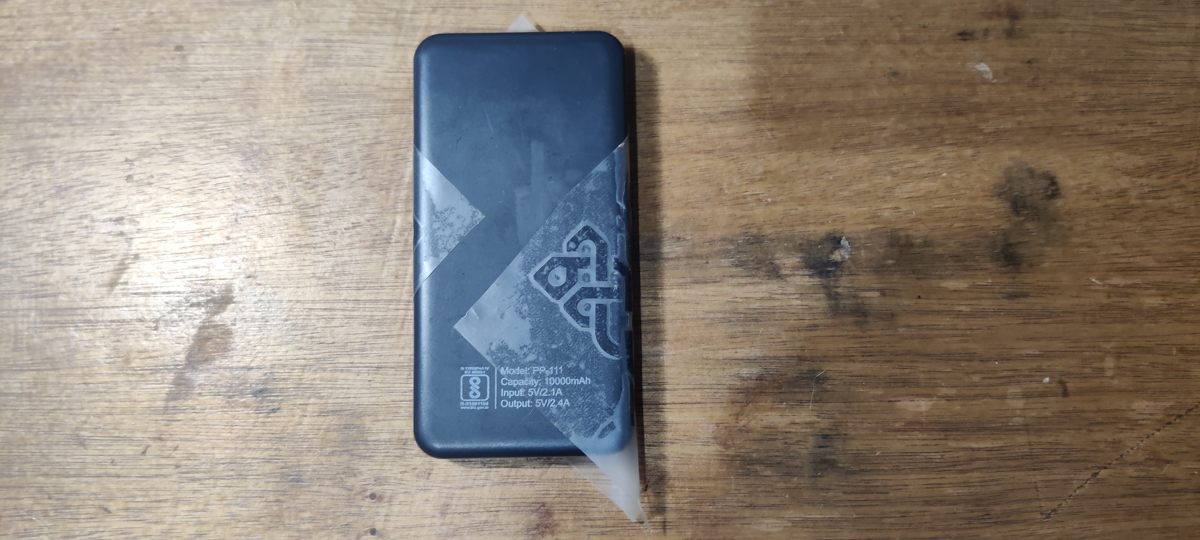
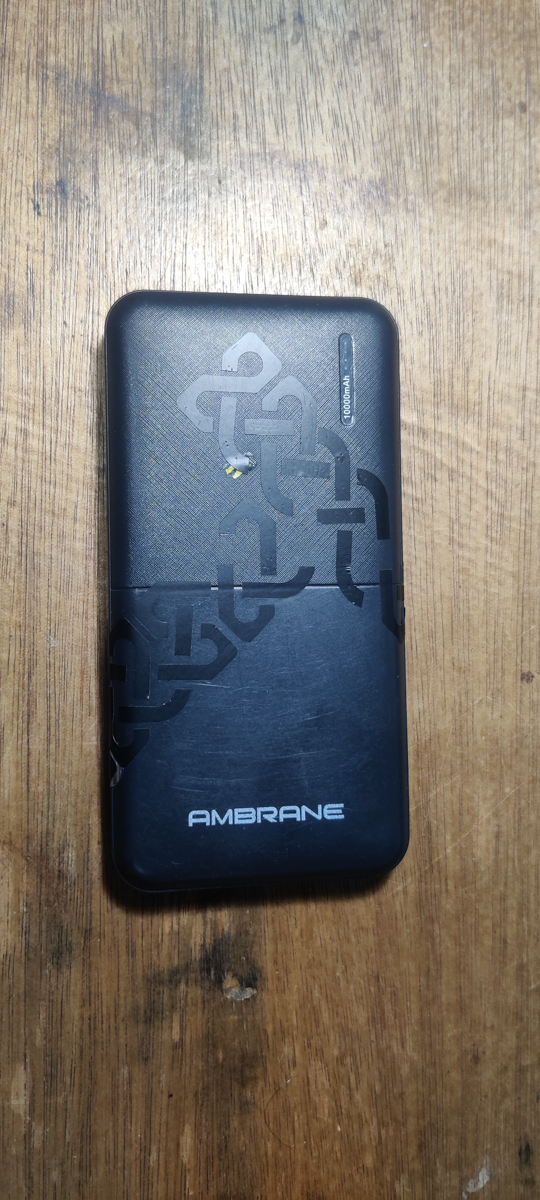
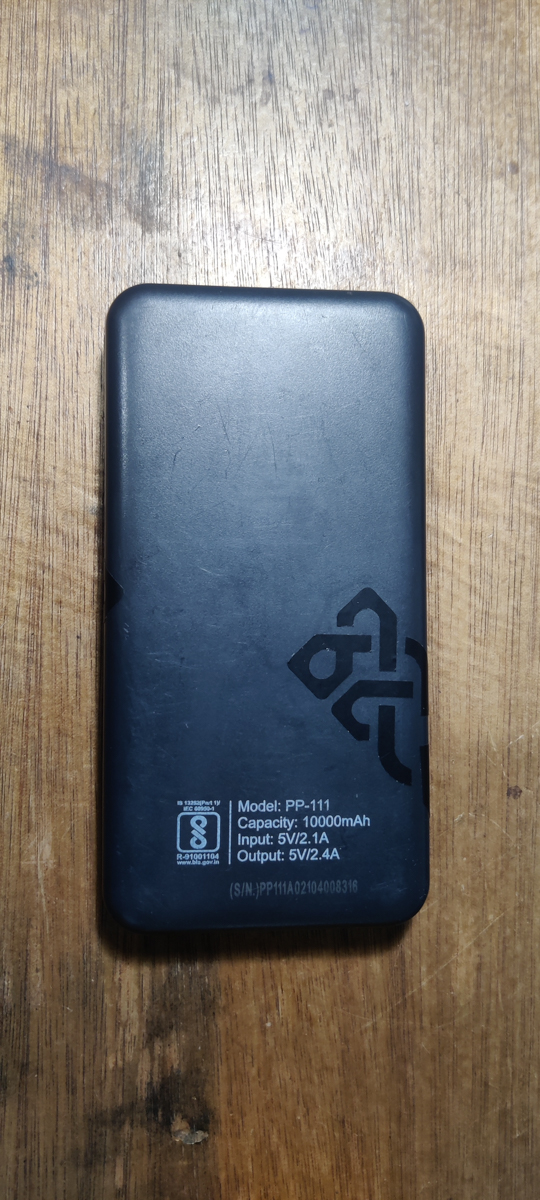
The same process was followed with the Celtic pattern. The major difference was the intricacy of the pattern and the corresponding tediousness of pickiing out the unwanted pieces. What I finally ended up doing was simply pulling/tearing at the thinnest sections to remove the large background, and then pull out the small internal pieces later.
I decided to apply this to my battery pack. Although I wanted to avoid black-on-black, the differing colours and tones made it a nice, subtle and stylish look.
Process : Seal of Solomon Pattern
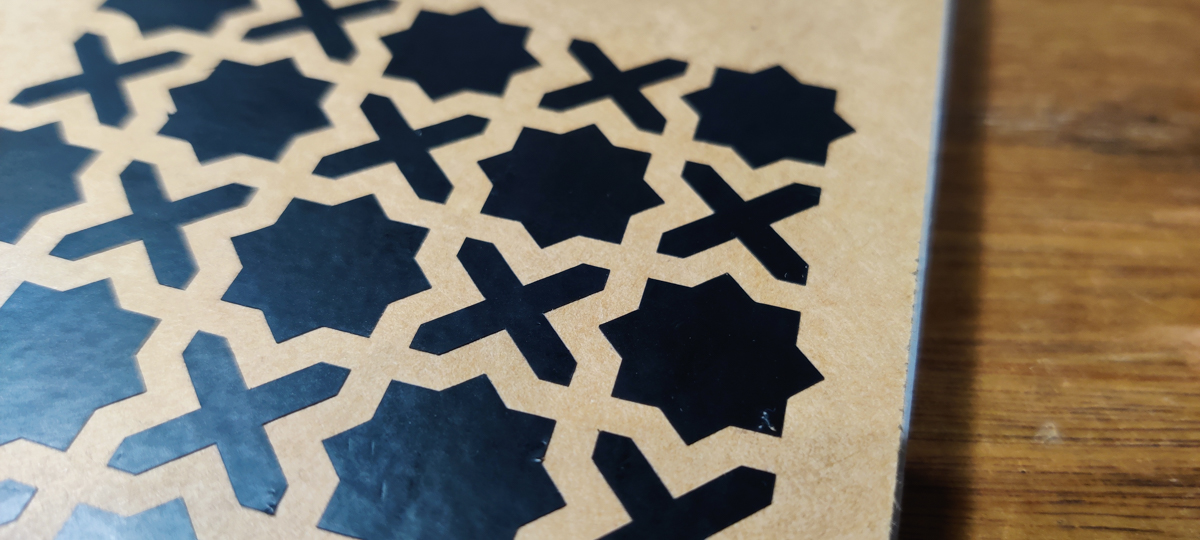
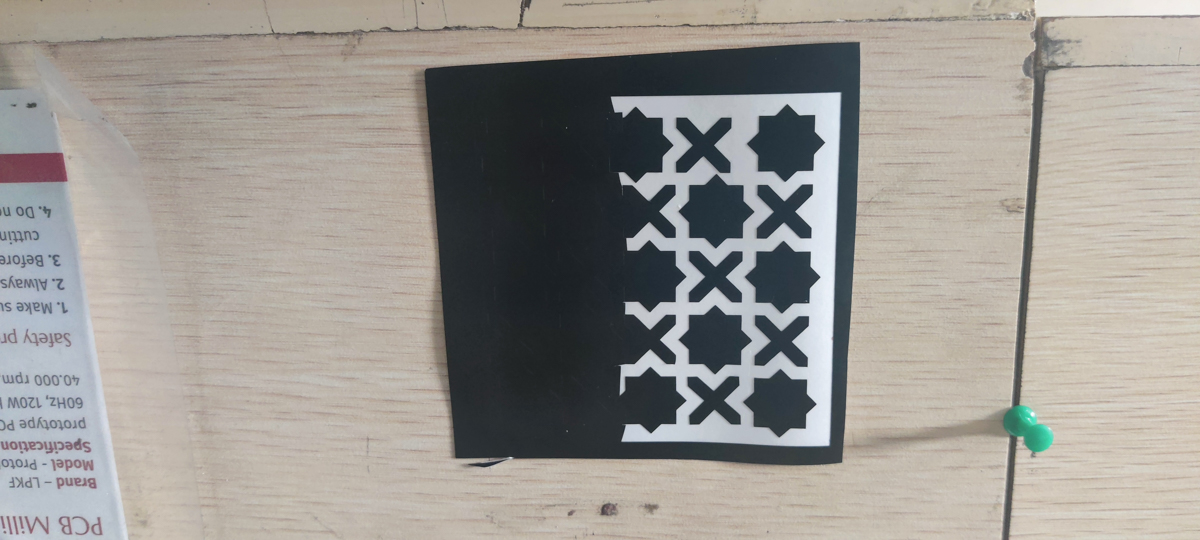
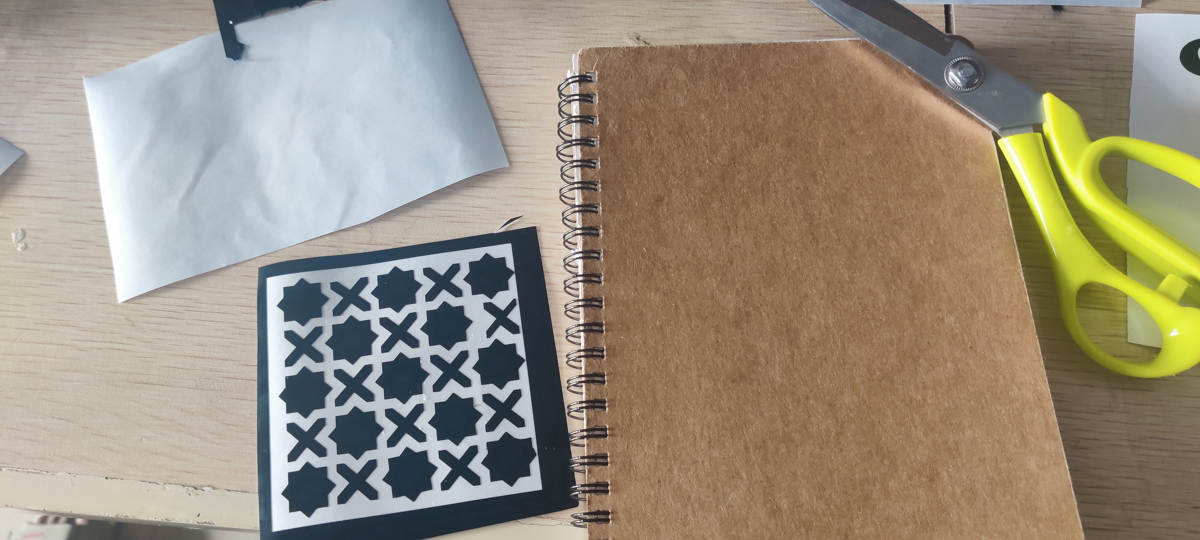
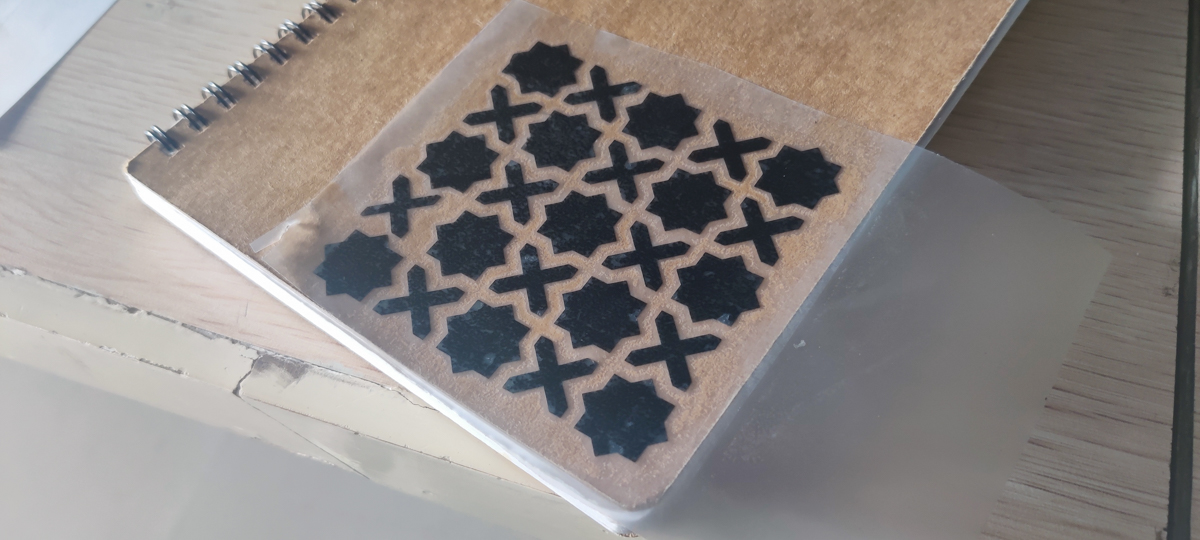
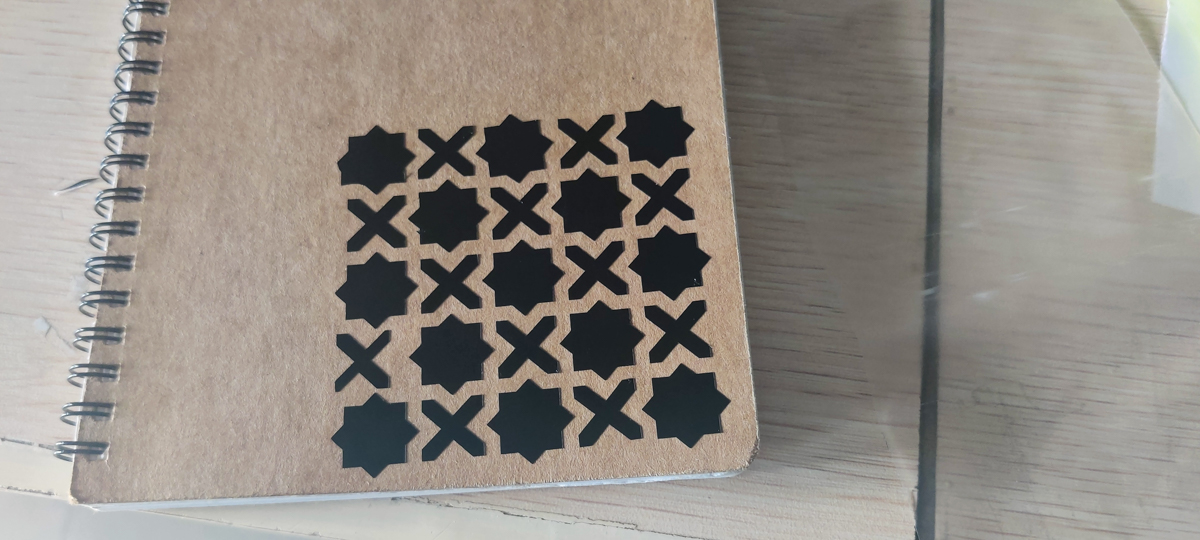
Along similar lines, the Seal of Solomon pattern was also picked out. Since I had created an outer square, the background came off fairly easily in this case. I decided to try apply this to my notebook - more so since I had created the original pattern for a previous notebook as well. Since the notebook had a cardpaper cover, removing the transfer tape had to be an even more careful operation, since the vinyl pieces would come off the paper and back to the transfer tape.
Learnings, Tips and Tricks
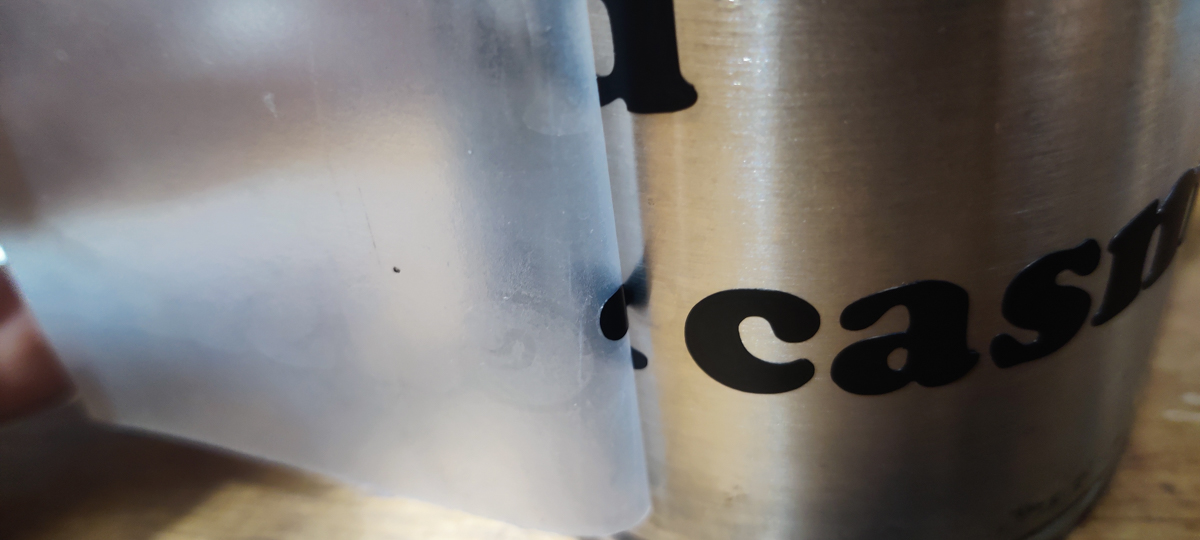 To avoid a piece coming back up with transfer tape, be careful with tapering points, and change the direction of pull if needed. This is true for removing background as well.
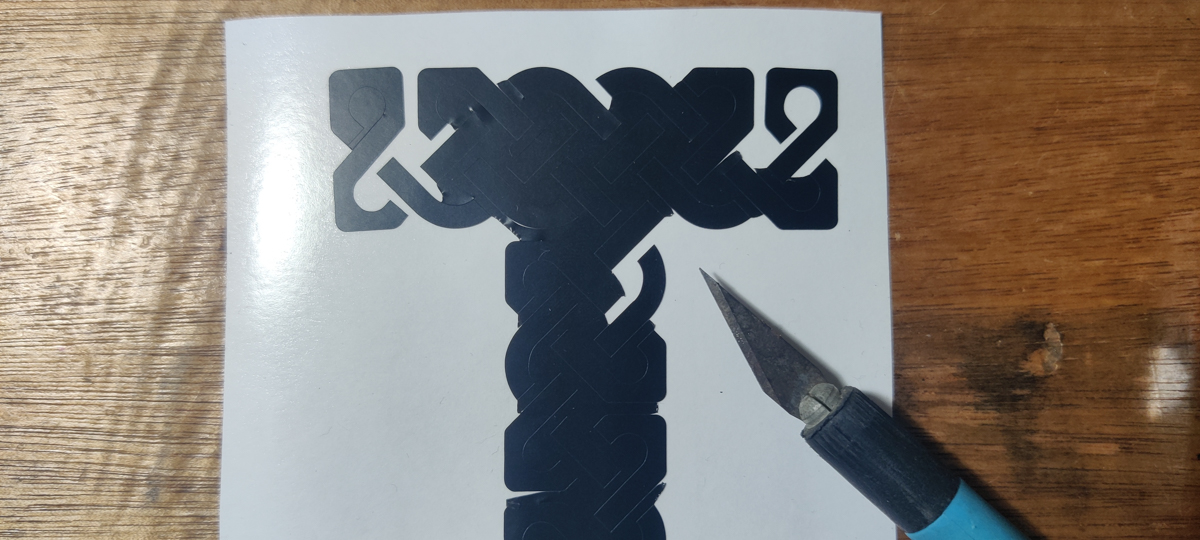 A good long and narrow tip-of-the-blade is extremely useful to separate backing from vinyl, vinyl from tape, cut delinquent bits off, etc.
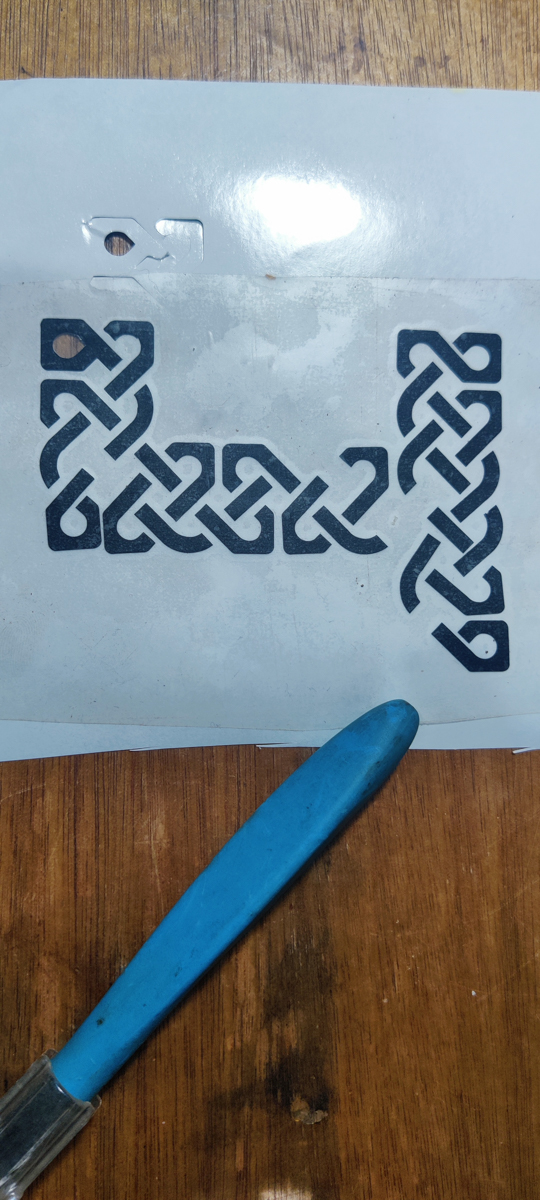 My blade had a rubberized handle, but any good firm object with a little softness/squeeze is a good thing to rub down the pieces so that the adhere well. Again this is true for both, vinyl to transfer tape, as well as transfer tape to final surface.
Hero Shots
