Applications
This is, for me atleast, really cutting-edge new skillset territory, and I had never imagined I would be doing something like this by the end of the FabAcademy course. It's also scary territory because while I am comfortable with the kind of coding logic that works for generative art, I still fear communication protocols and objects and the like, and combined with the same set of things on the hardware side, 6 months ago I would have just said a big "Nope, Not me" for doing this sort of thing.
Anyway, kicking and screaming, and with all the inspiration Neil showcases, this is what I got upto.
MCU to Application
Using data and inputs from peripherals to the MCU and sending these to the front-end for a graphical display
Nano to Processing
I followed the following builds online, taking bits and patches from several sources and combining it with my own knowhow of Processing and the Arduino | Nano | other MCUs.
Step 1
A basic LDR to an Arduino Nano
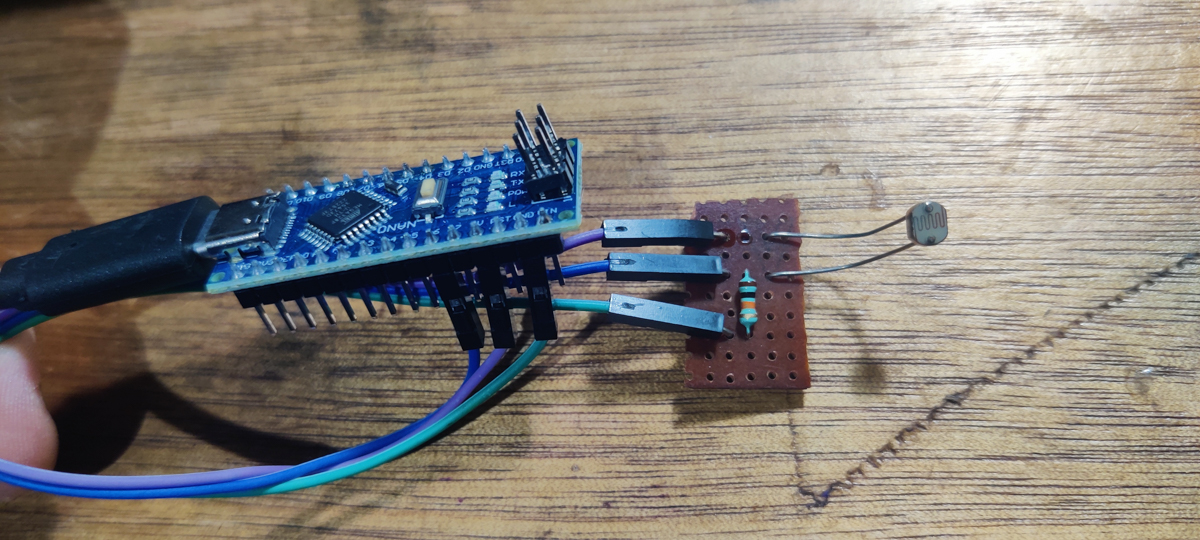
I chose the Nano for the current exercise because the RP2040s are still wired to the previous exercise that I am working on, and I had a few Nanos lyinng around. I wasn't planning on a very complex sensor so the LDR is my go-to fun sensor that you can work with very easily and interact with by pointing it towards light sources, or pointing light sources towards it.
I soldered up a 3 terminal perfboard for the LDR as well as a pullup resistor, with some jumper cables to keep the LDR movable. I plugged these directly onto the Nano header pins for a quick and easy connection.
The input side of things was trivial and the Serial Monitor showed the results soon enough.
Later I modified the print output to be easily delimited by character, ending every print with a ".".
Step 2
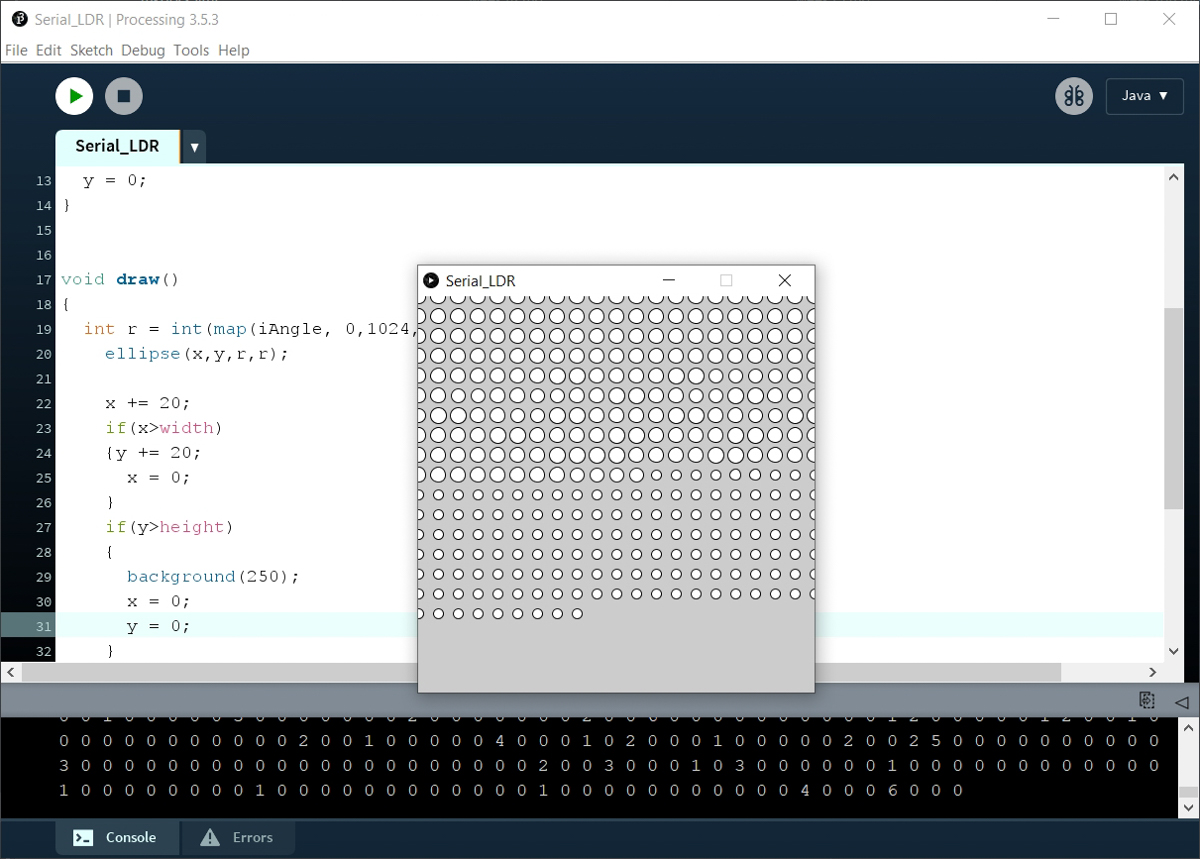
On the processing side, I added libraries and code to listen to the serial. I conformed the port using the device manager. Initially I used the Serial input to simply print out the values. Once I confirmed that this was working, I wrote some more code to use this incoming data to draw some shapes on the screen.
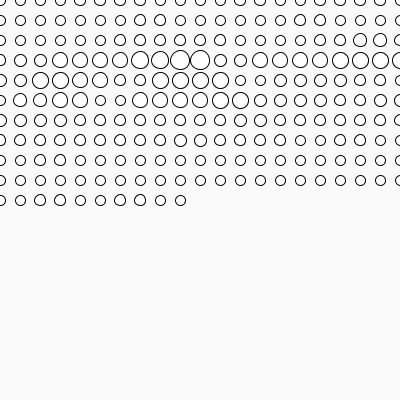

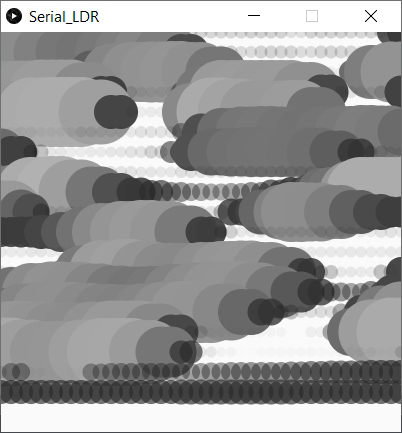
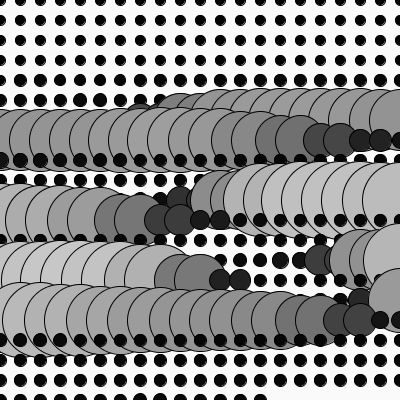
I soon realised that having only 1 data variable, the brightness, was quite limiting.
I'm hoping to use atleast the temperature/humidity sensor or the gyroscope with this principle soon.
XIAO to Processing
Once I was confident with the Nano above and had figured the essential structure to follow for the communication, I went ahead with doing a similar thing using the XIAO RP2040 on my devboard with an LDR.
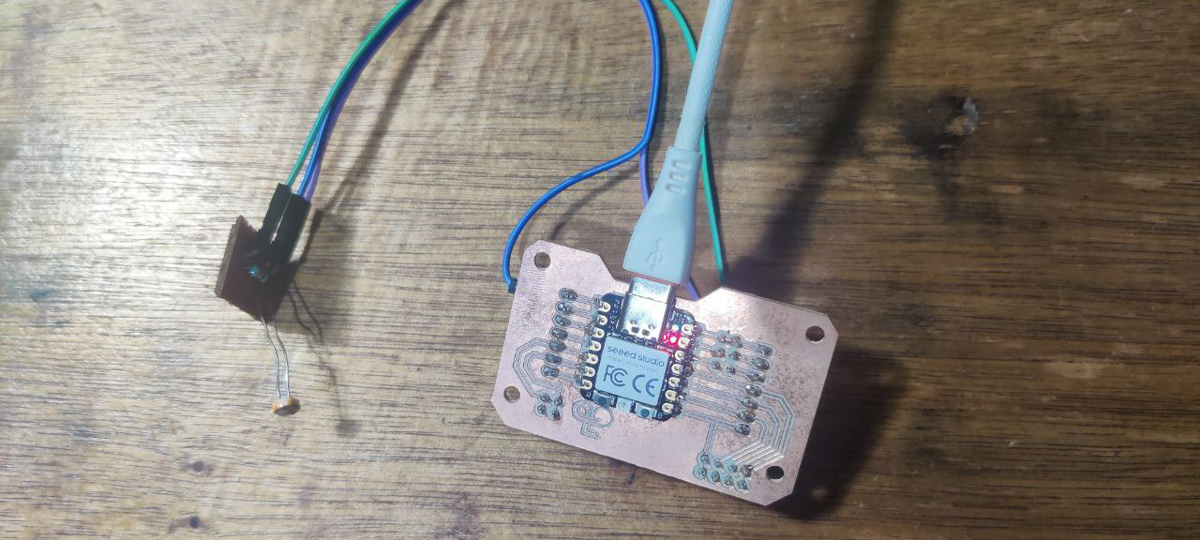
The code required minor changes for the pin numbers but was otherwise largely the same.
This is the result of me moving my cellphone flashlight towards and away from the LDR. The fill colour and diameter of the ellipses is mapped to the brightness levels read by the LDR.
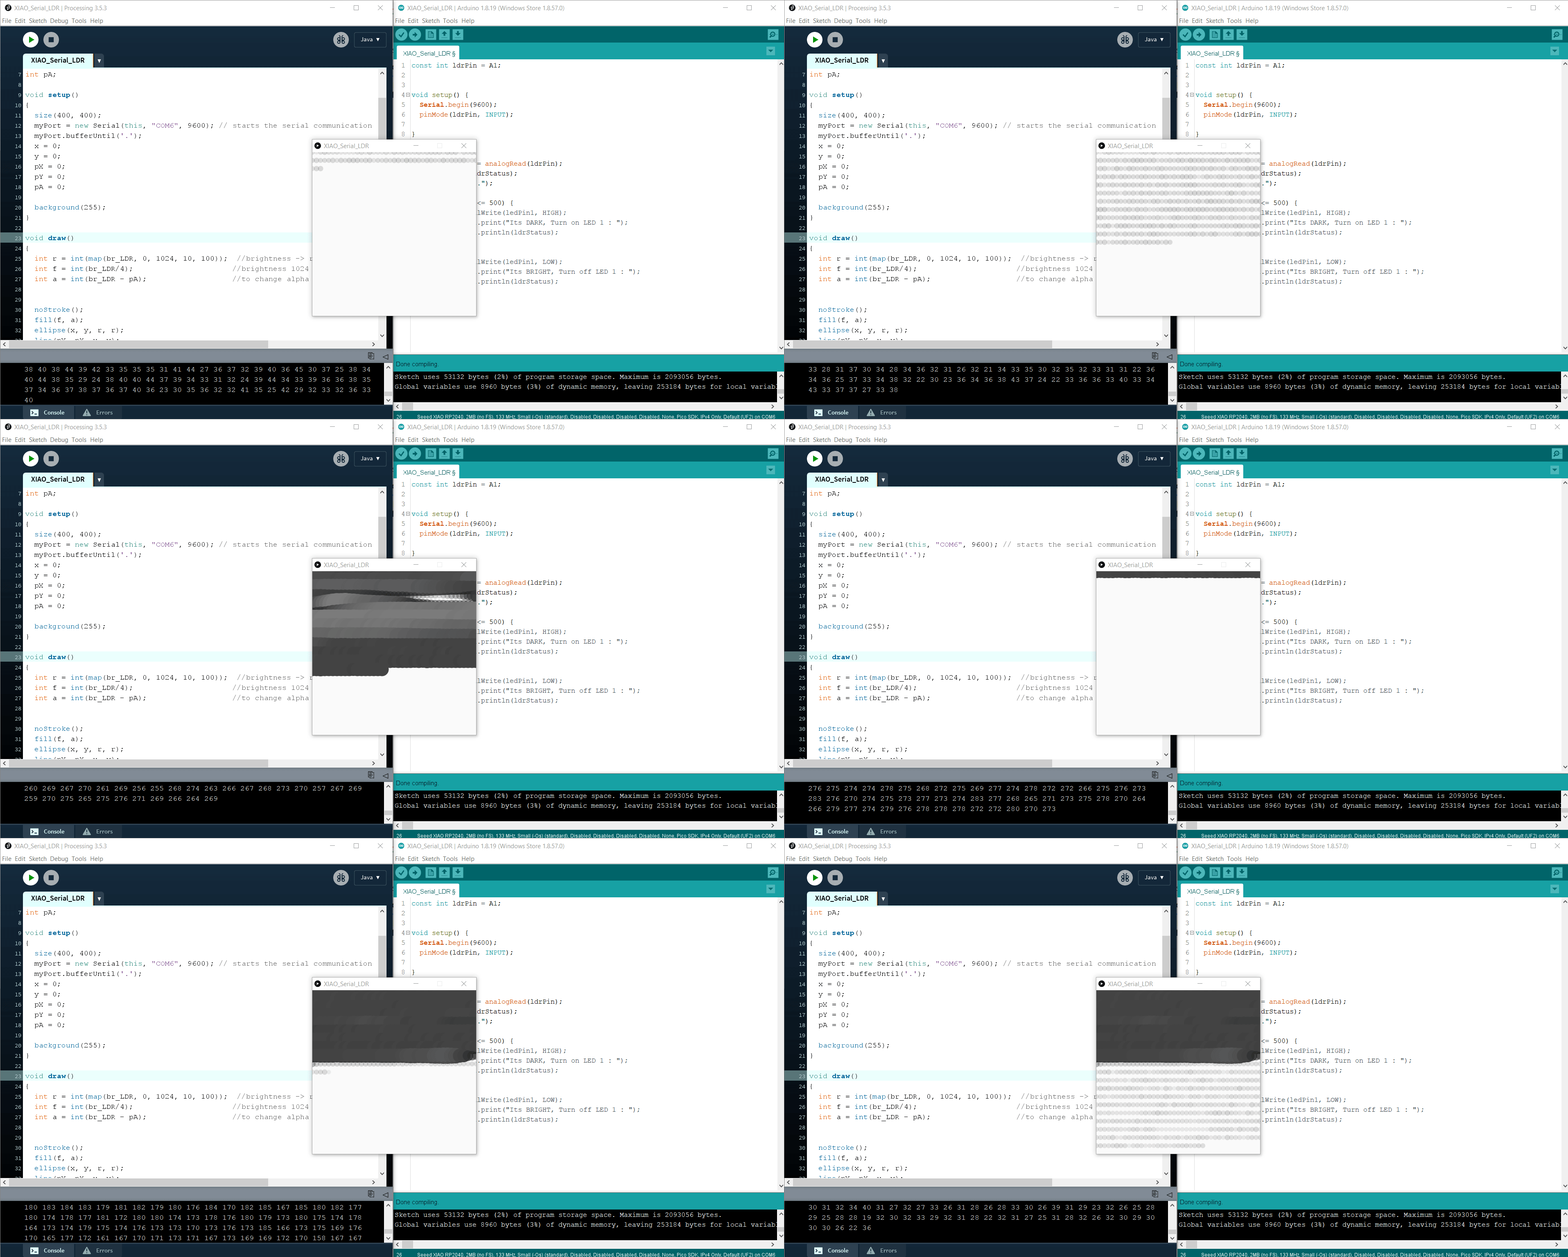
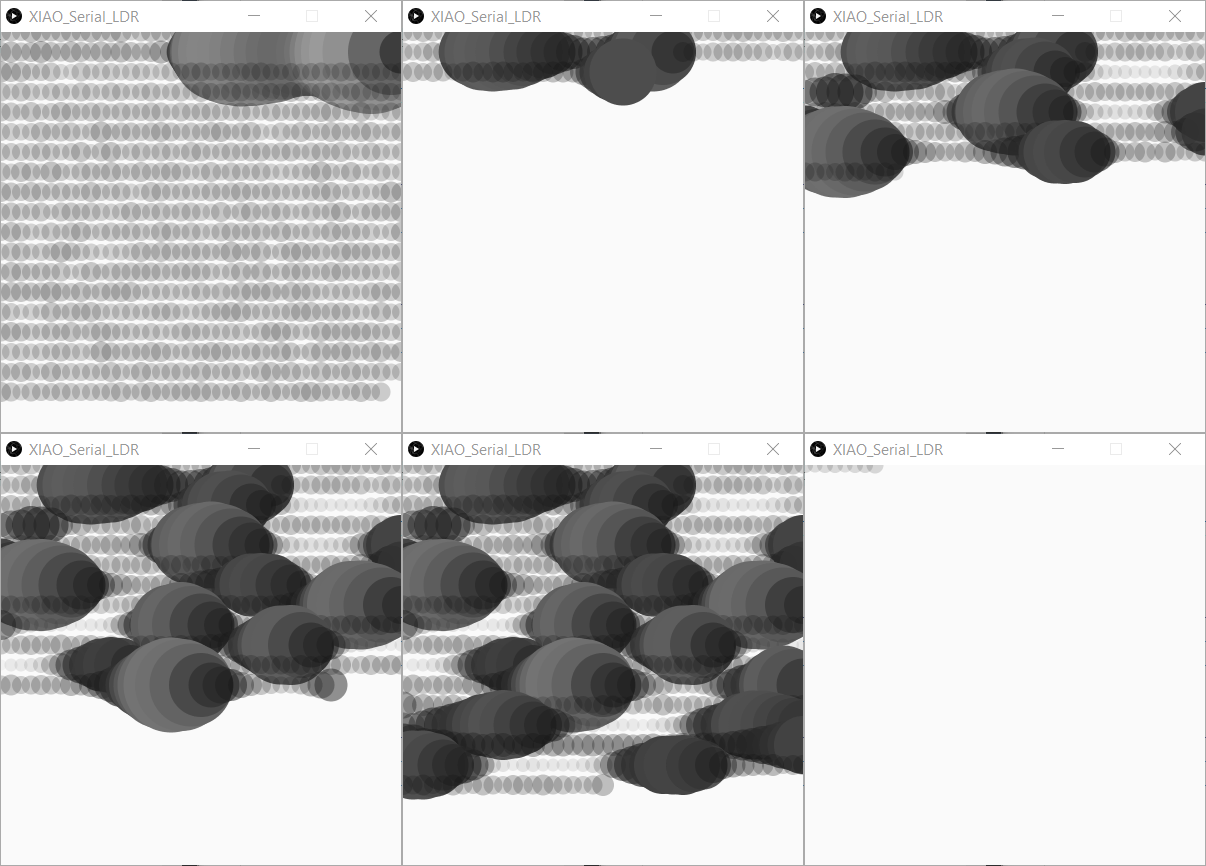
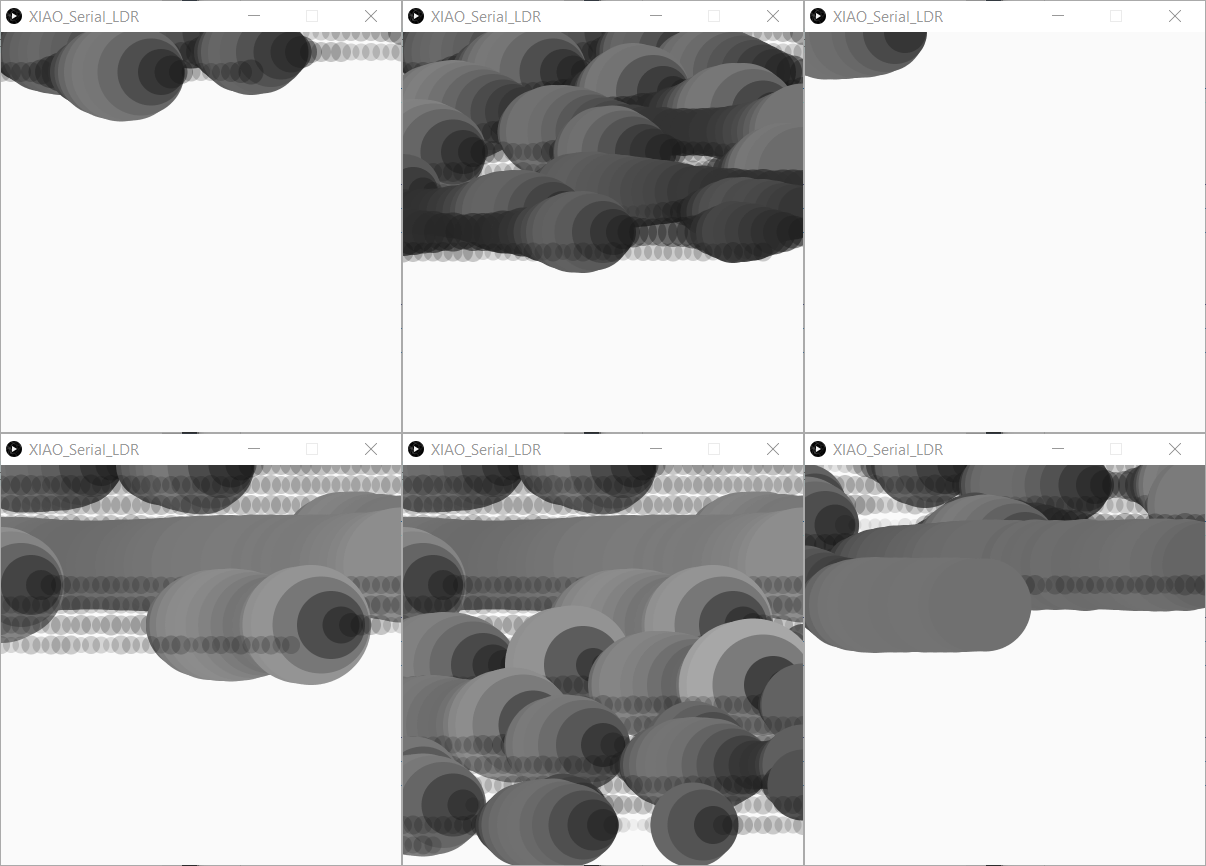
My caveat about needing more variables remains, but I wanted to move onto active controls from the Application side, as required for the exercise as well.
Application to MCU
Using a UI to control the outputs of the MCU
Processing to XIAO RP2040 - On-Off
With a little poking around ChatGPT for examples and resources, I cobbled together a basic initial sketch for Processing to send a signal over the Serial to the XIAO. Clicking within the region would result in the XIAO's LED to turn ON, clicking outside turned it OFF.
Once this worked, I knew I needed to send more data and create something a little more interactive and involved.
Processing to XIAO RP2040 - Colour Sync
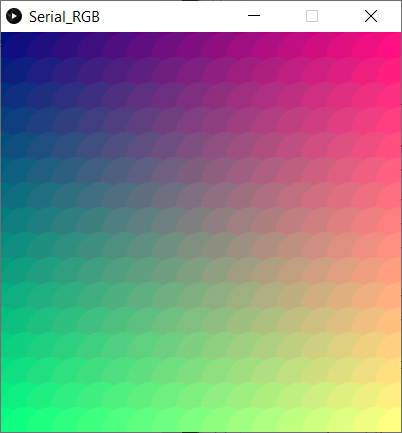
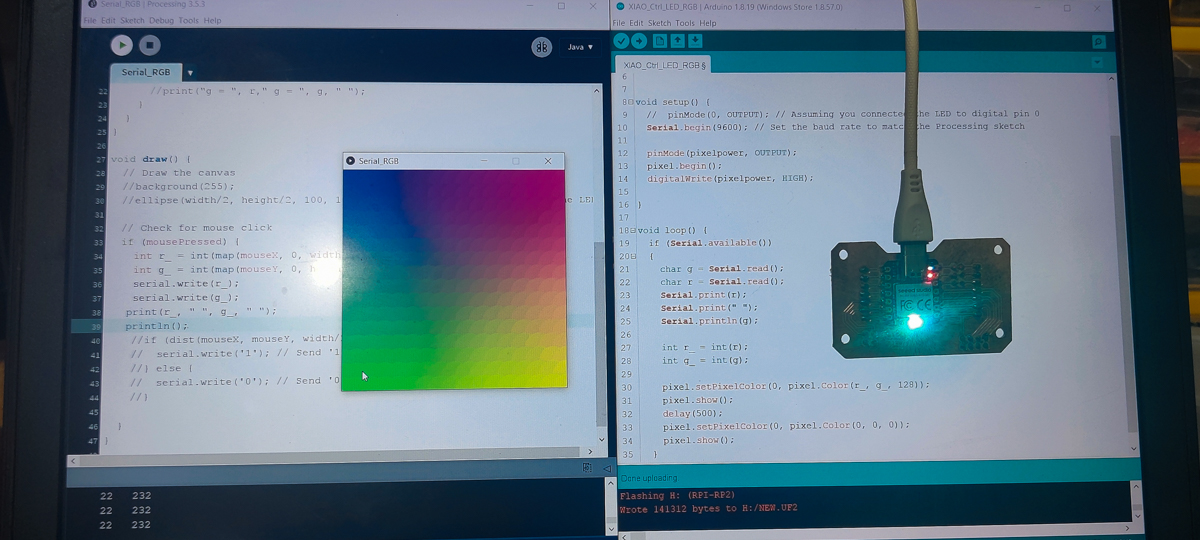
In Processing, I created a canvas with coloured ellipses where the R component varied with canvas width and the G component varied with height. Every location on the canvas had a corresponding R,G value, and a fixed B value was used to fill the canvas with coloured ellipses. The mouse position was mapped to the canvas as well, to "pick up" the corresponding R and G values based on mouseX, mouseY. These R and G values were transmitted over Serial to the XIAO.
On the XIAO side, I used the read function twice to capture both the R and the G as they came in. These values were used to set the pixel colour of the onboard RGB Led of the XIAO, along with a fixed B value.
Files
Reading the LDR - Nano to Processing
Serial_LDR.pde
Serial_LDR.ino
Reading the LDR - XIAO to Processing
XIAO_Serial_LDR.pde
XIAO_Serial_LDR.ino
Controlling On-Off - Processing-XIAO
Serial_OnOff.pde
XIAO_Ctrl_LED.ino
Colour Sync - Processing-XIAO
Serial_RGB.pde
XIAO_Ctrl_LED_RGB.ino