15. Wild Card Week - Digital Embroidery
This week I worked on digital embroidery. I divide the steps I followed for digital embroidery this week into four abstract categories:
- Getting the design as an image (png, jpg, jpeg etc.)
- Auto-digitizing the design image.
- Setting the sweing cloth ready on which embroidery will be engraved.
- Setting the digital embroidery machine ready to begin embroidery, and giving commands.
This categorization is subjective. One can have more categories if one decides to consider categorization based on more fine-grained details.
Getting design as an image
I decided to make an embroidery of my workplace’s logo.
![]() Figure 1. UBICOMOP Logo1
Figure 1. UBICOMOP Logo1
Auto-digitizing the design image.
I used BERNINA Embroidery Software DesignPlus to auto-digitize the logo image (bitmap image, filetype: jpg), which is embroidered by the machine. Essentially what auto-digitization does is to convert the design image (a bitmap image) into a digital file including stitches that let the machine understand the needle’s path.
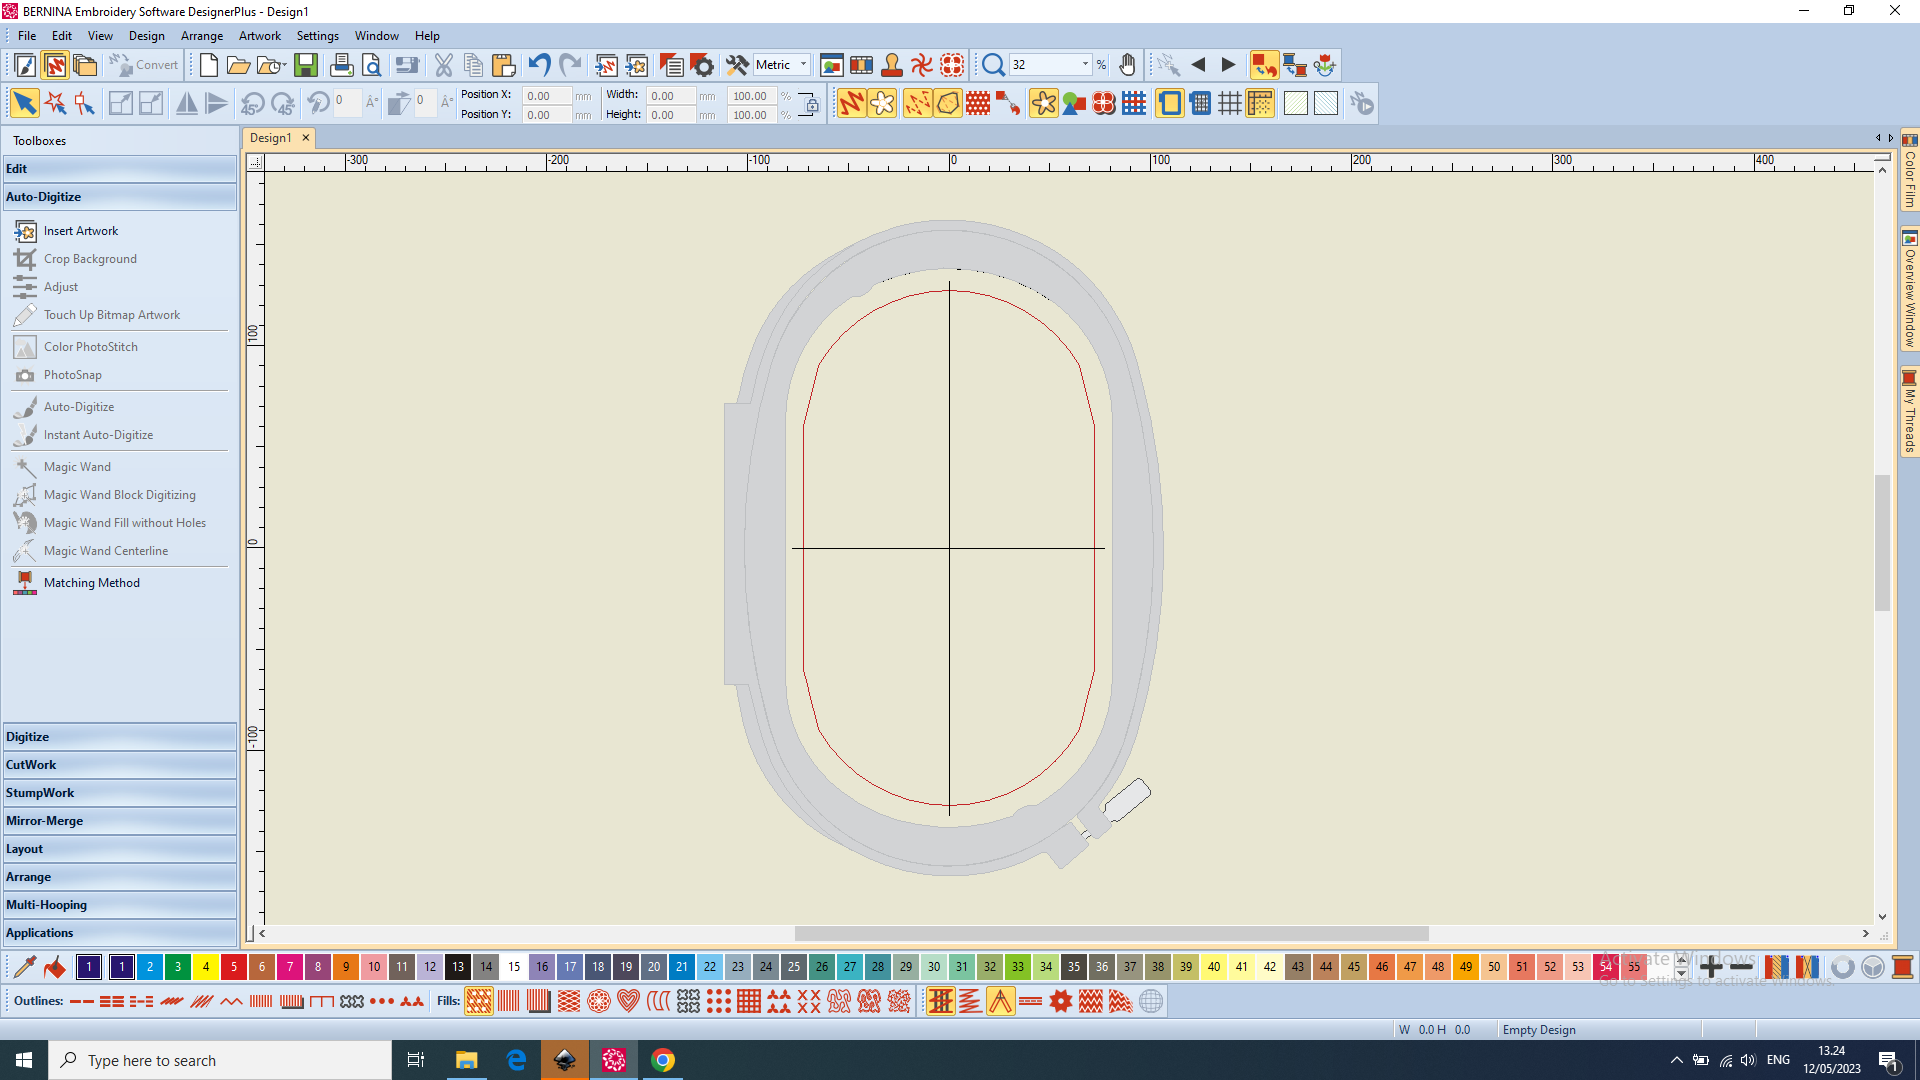 Figure 2. The interface of BERNINA Embroidery Software DesignPlus
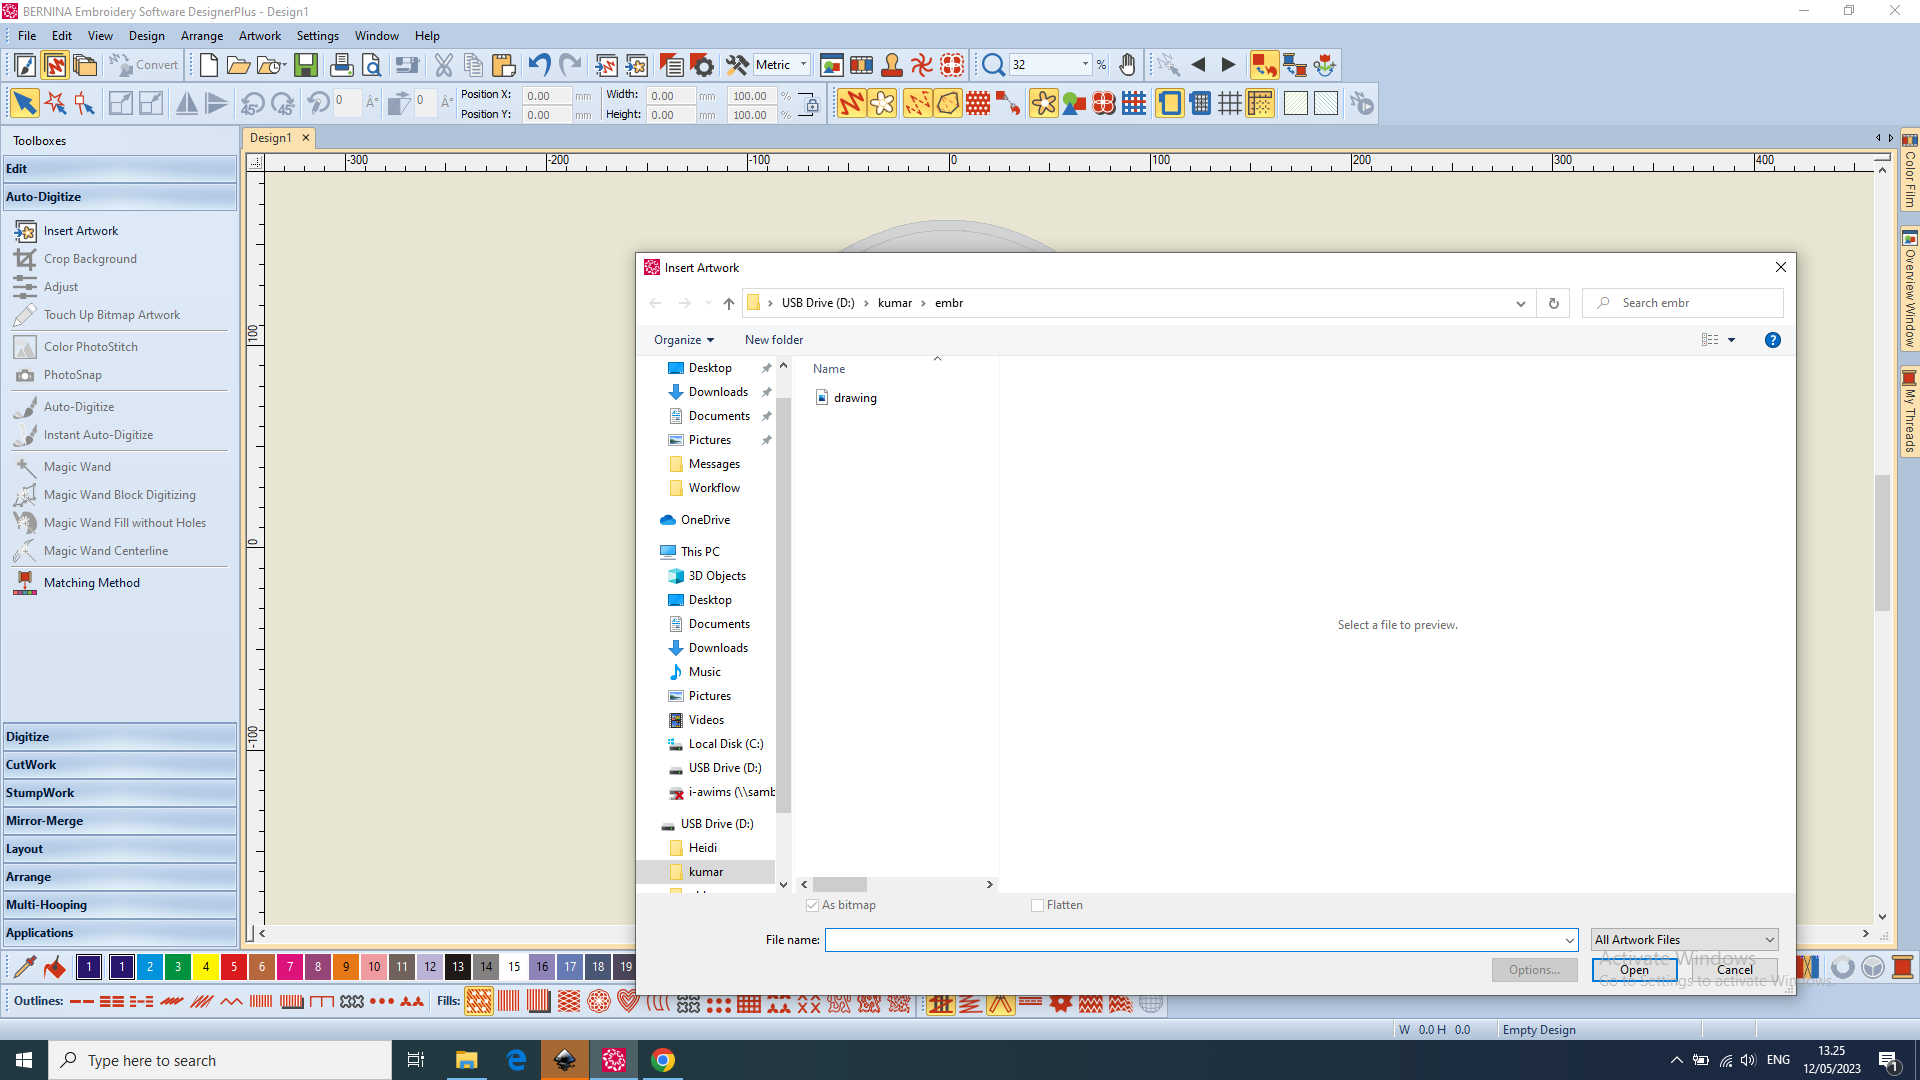 Figure 3. Importing design image into Embroidery Software
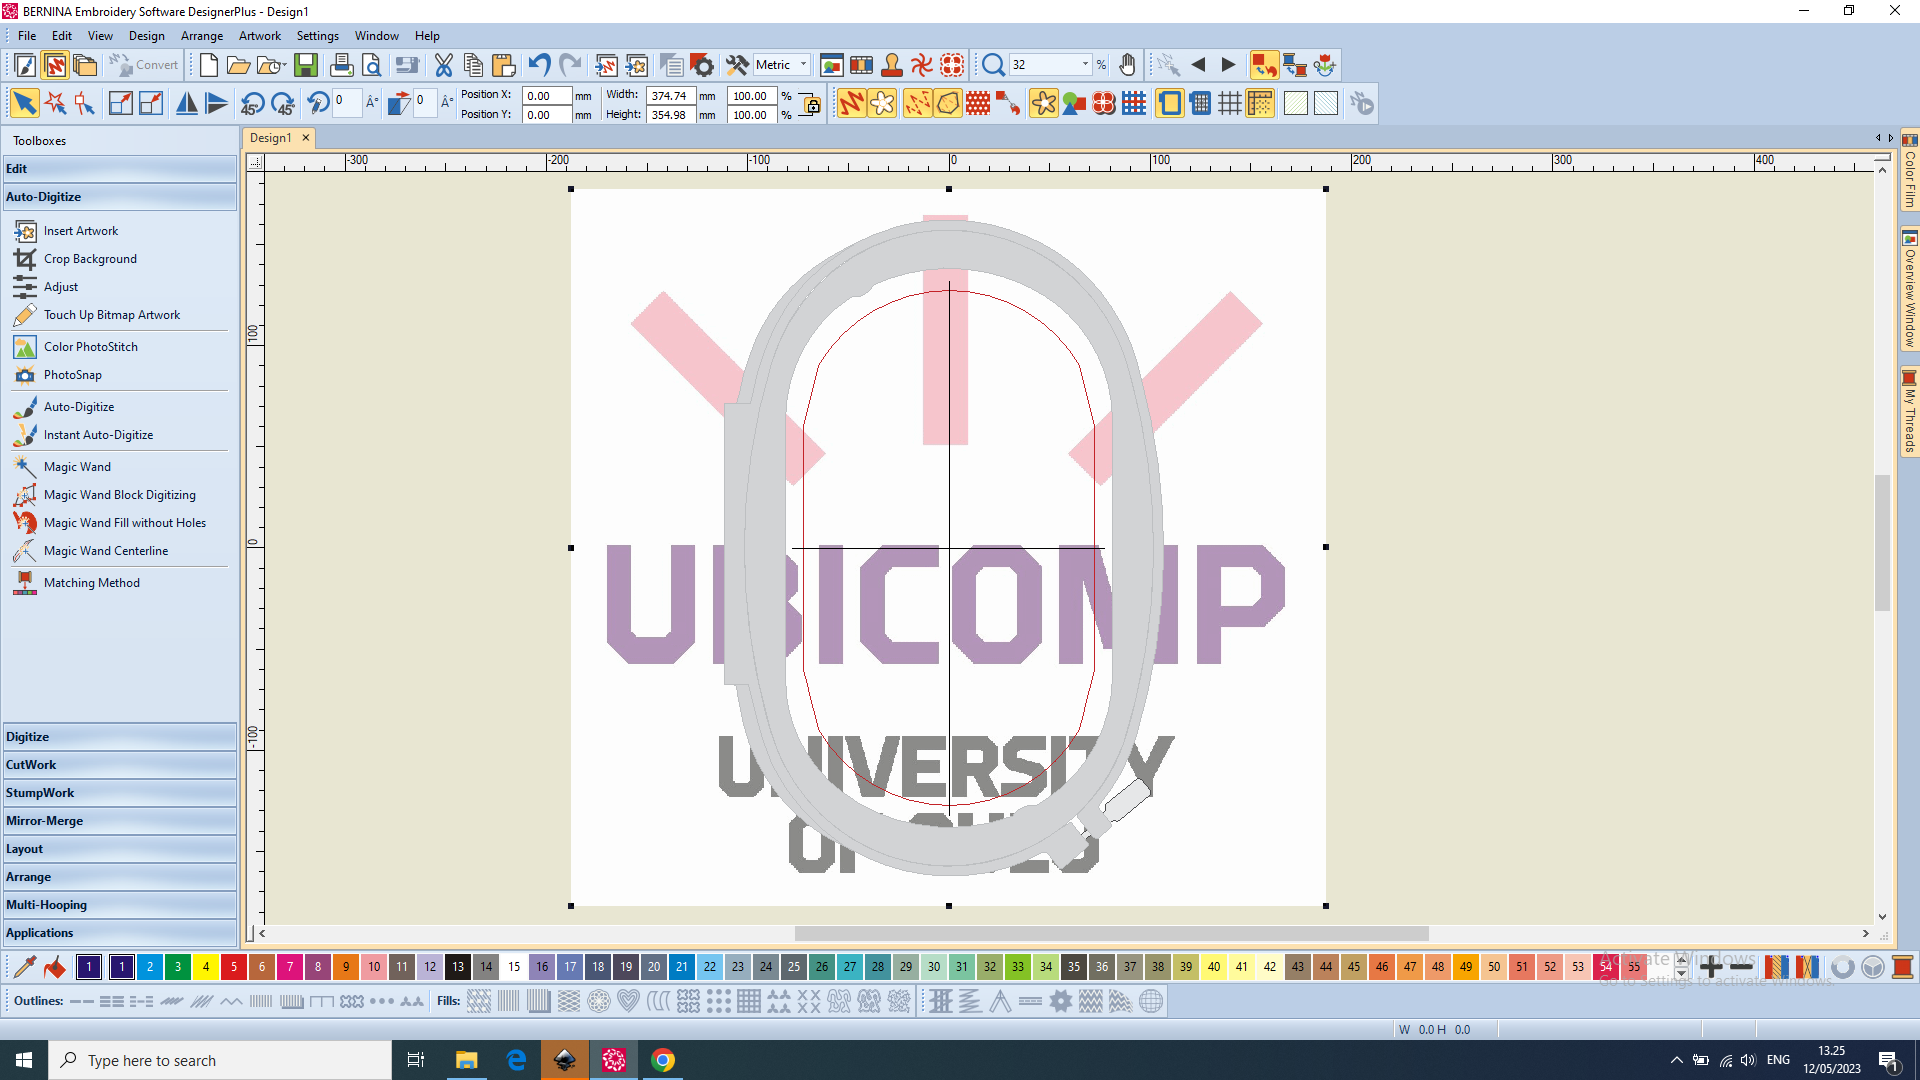 Figure 4. Design image imported to Embroidery Software
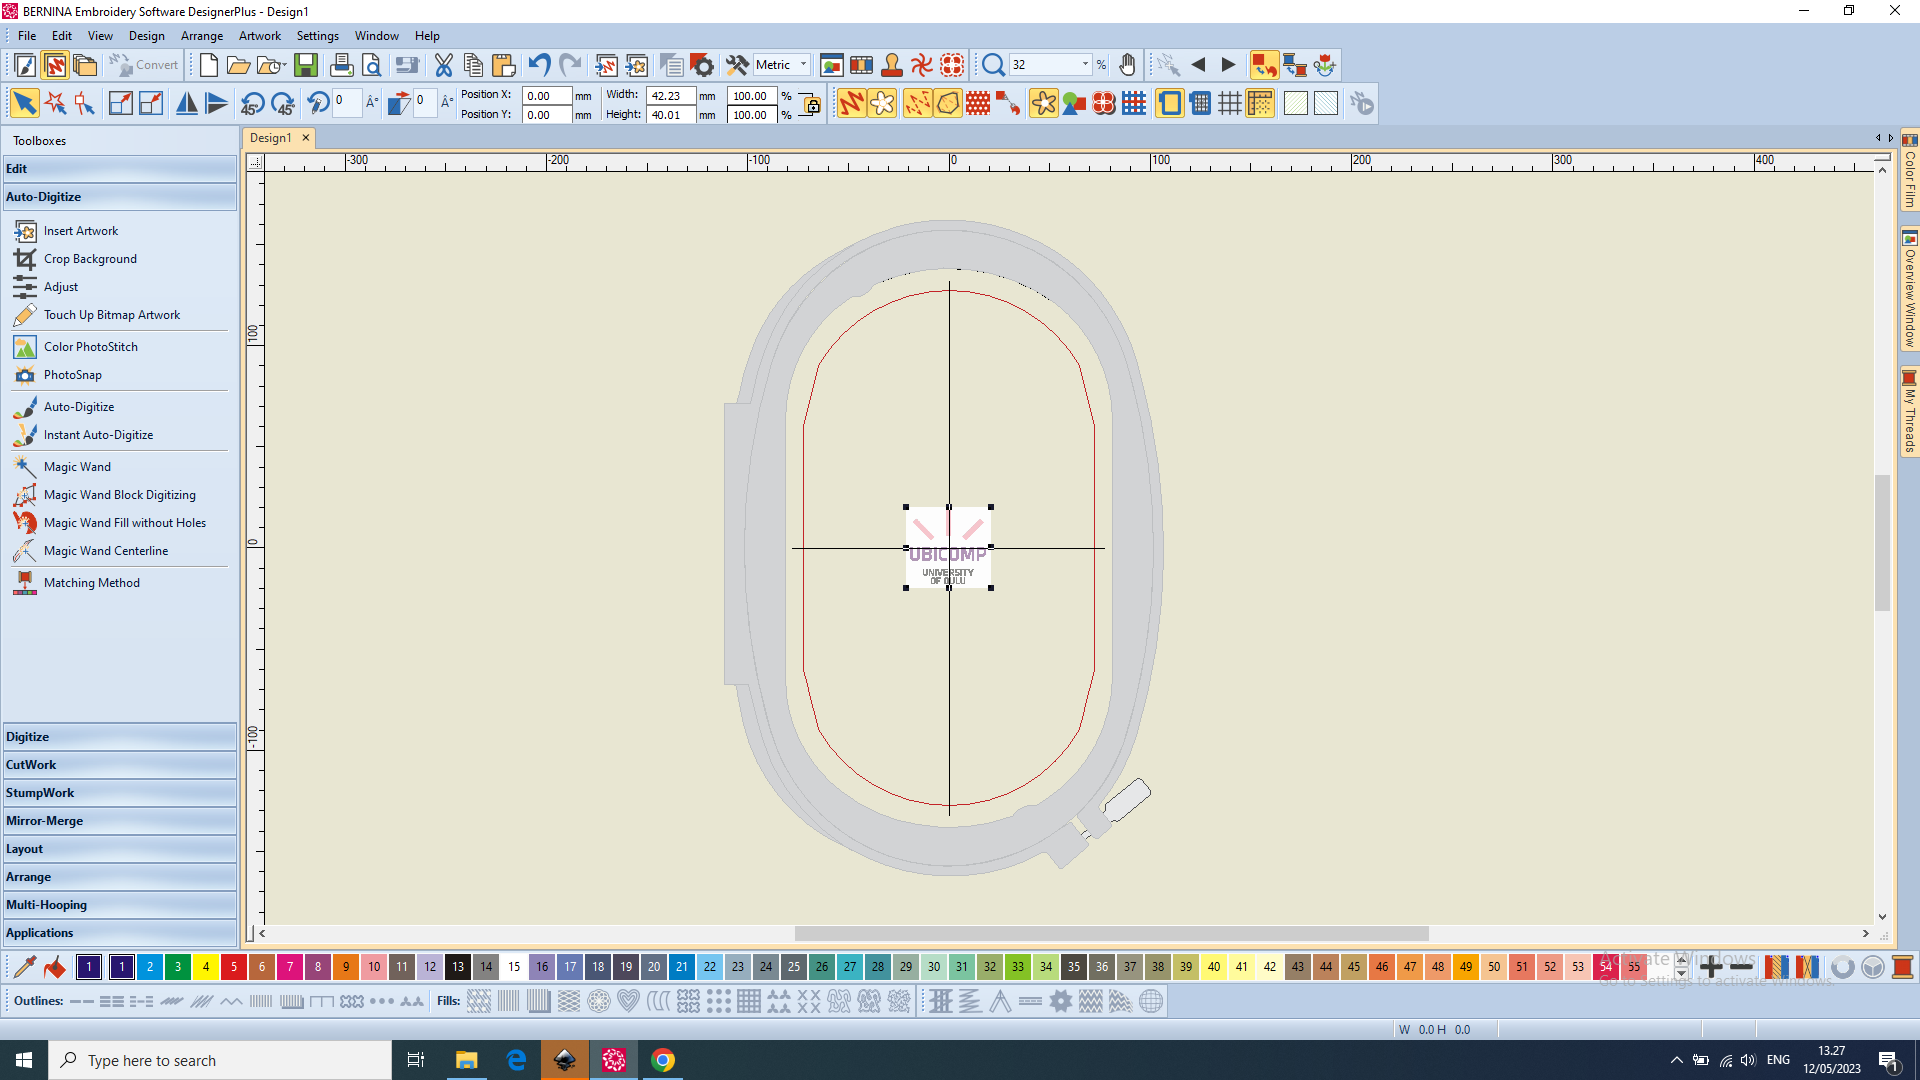 Figure 5. Setting dimensions and locking the design image
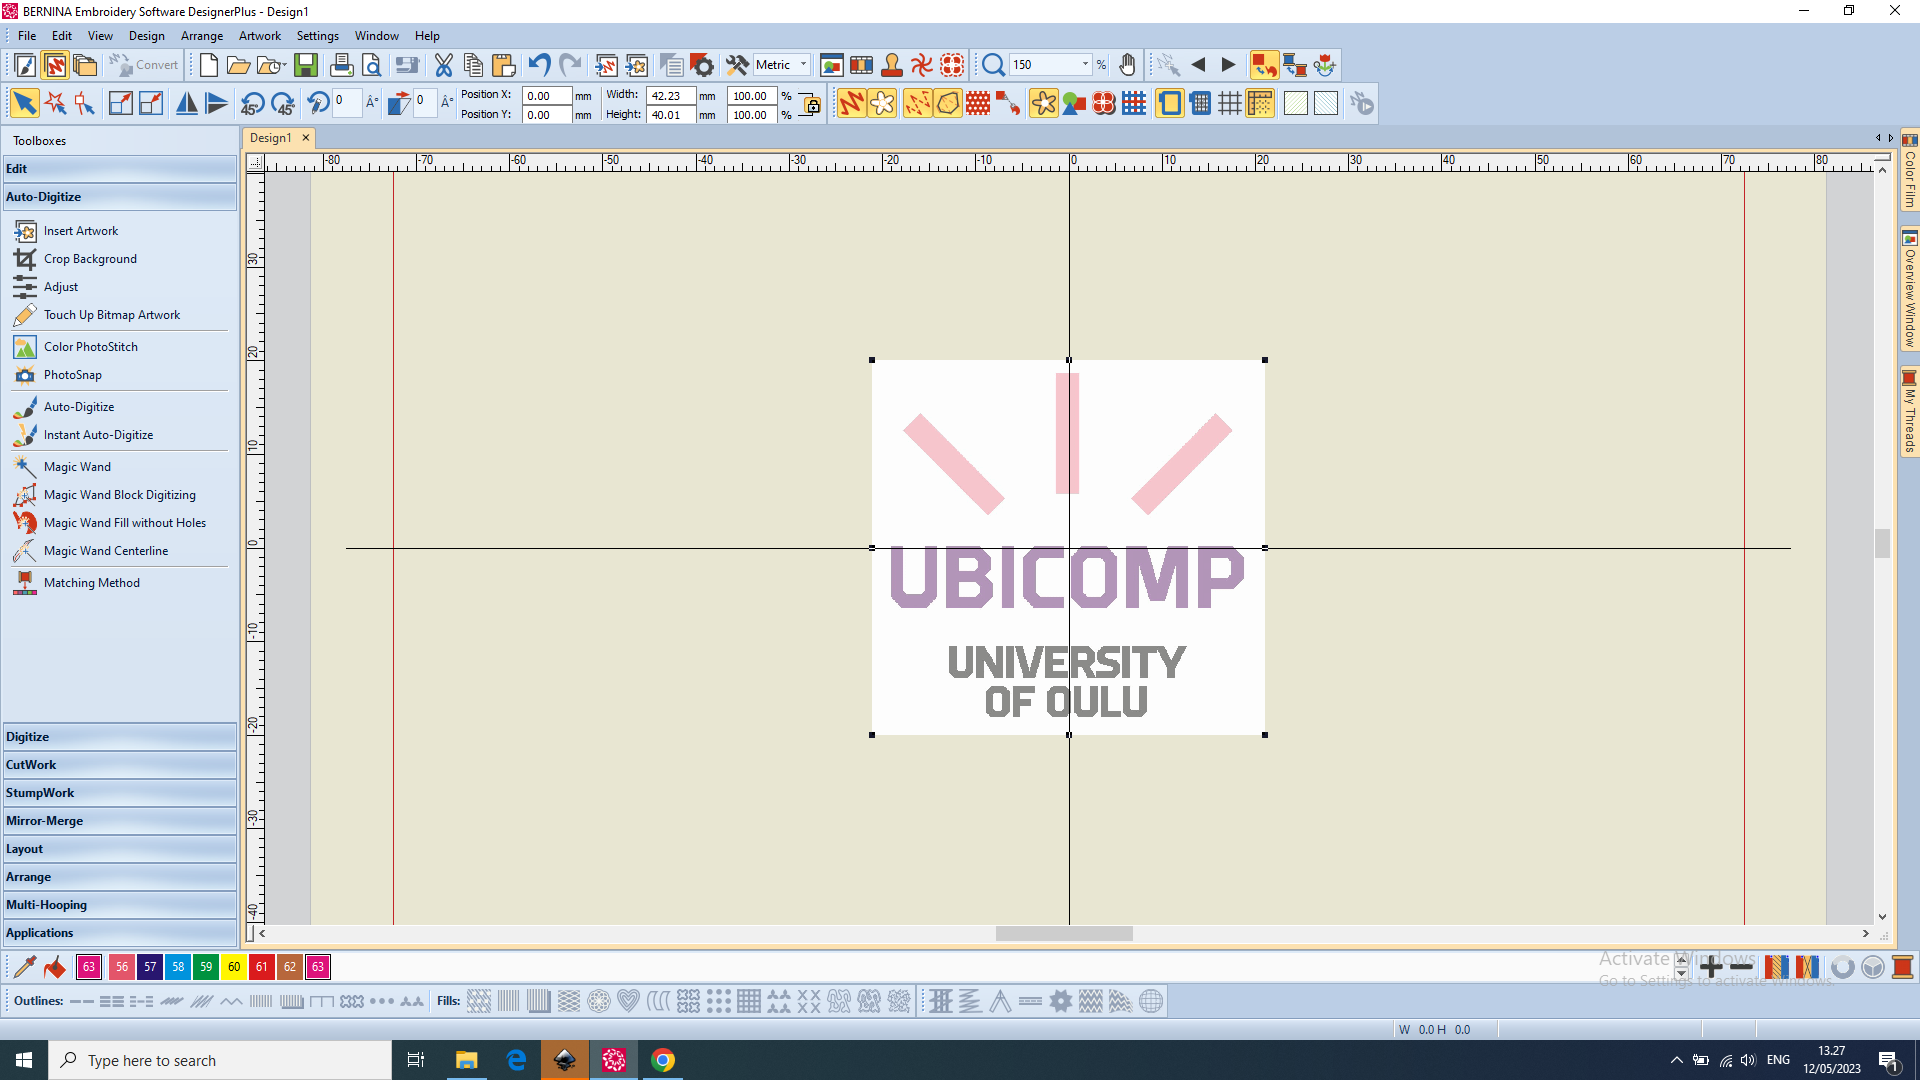 Figure 6. Design Image Locked
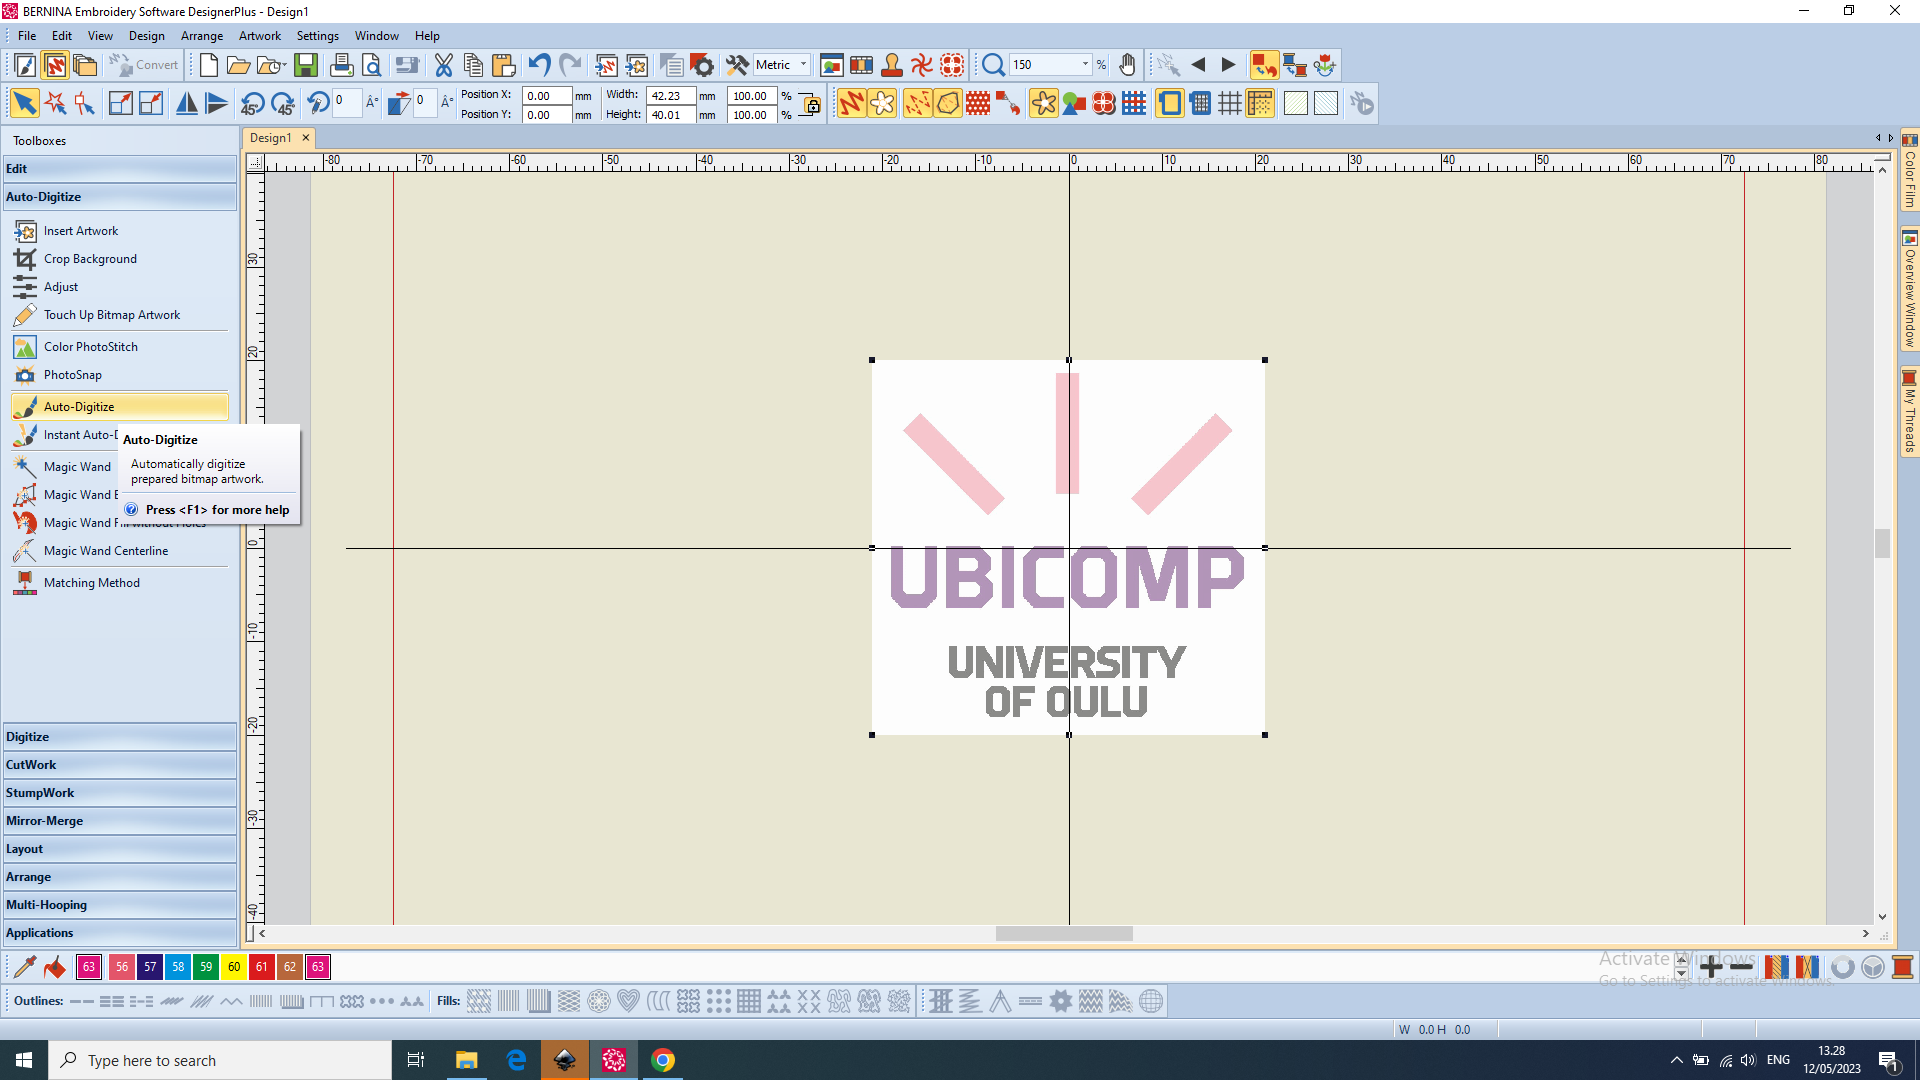 Figure 7. Auto-digitizing the design image, i.e. extracting the bmp file
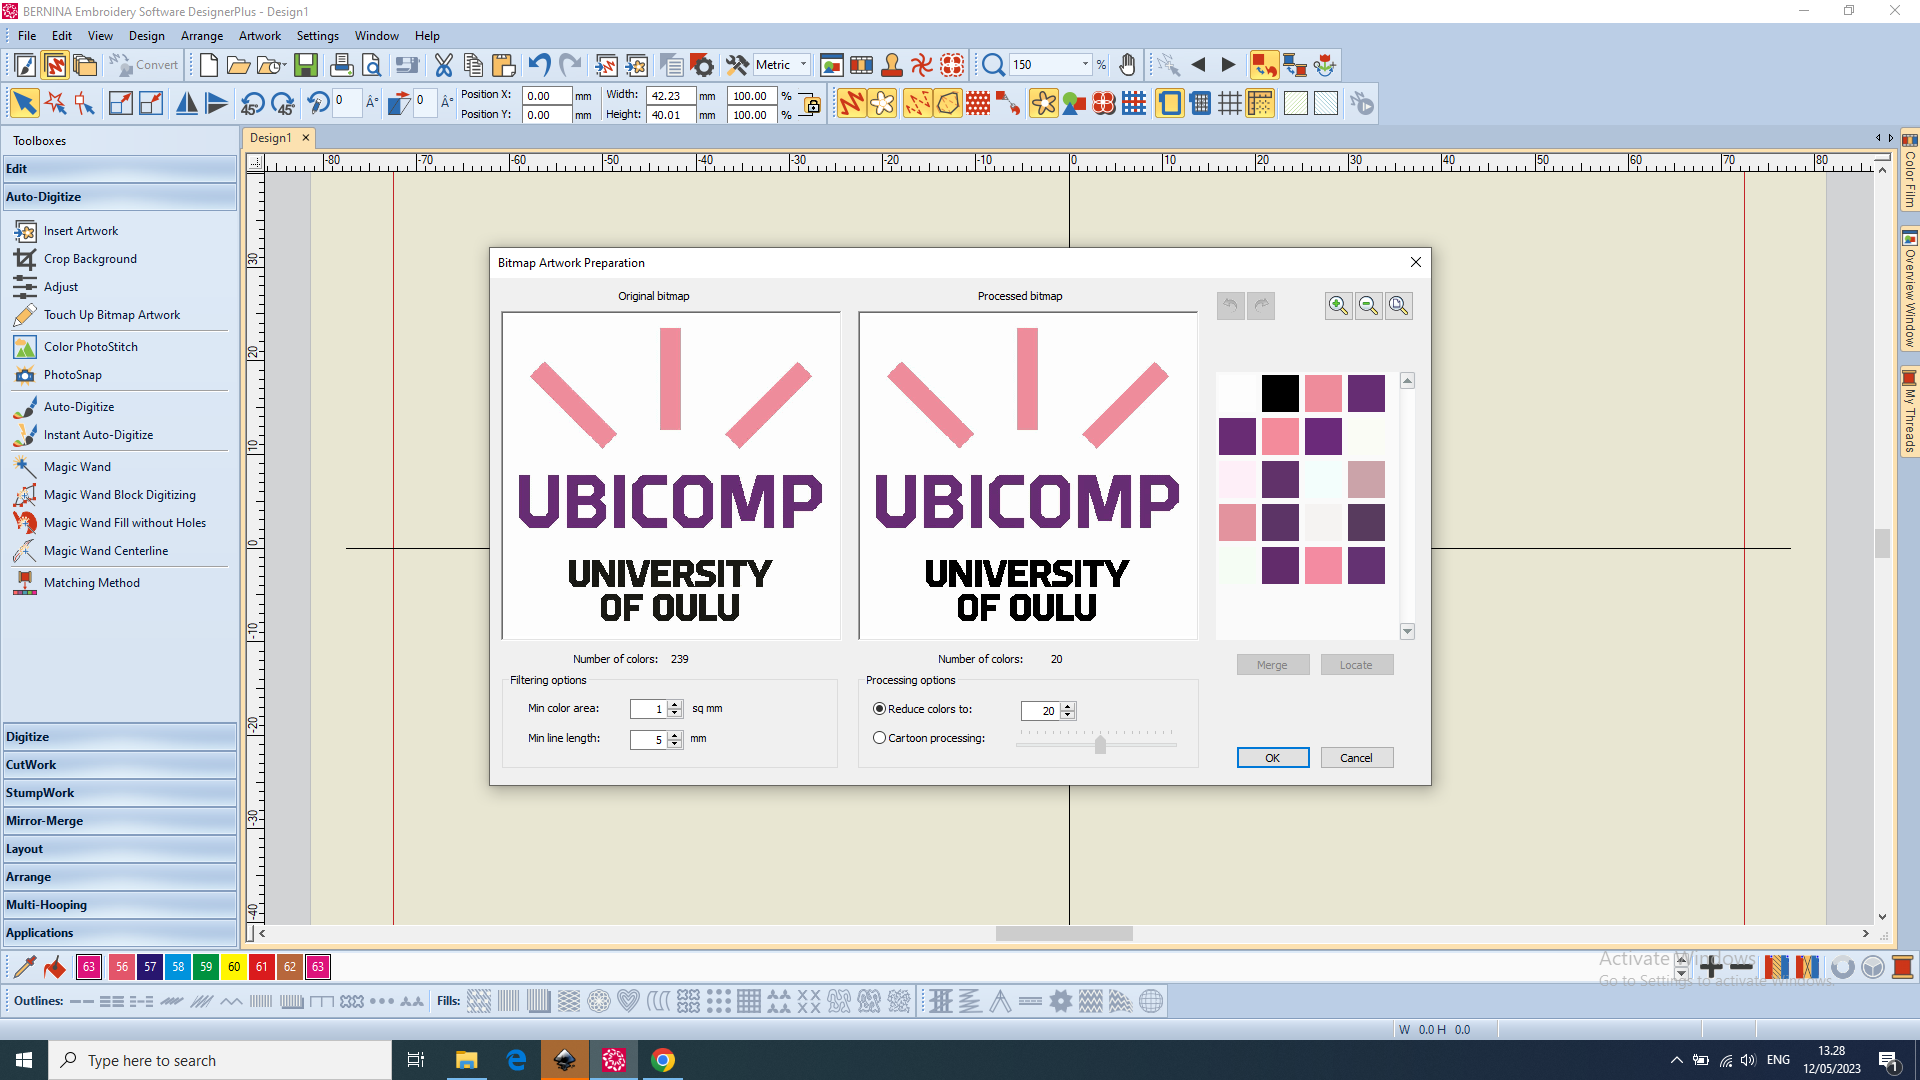 Figure 8. The interface of Auto-digitizing mode with the design file
Next, we need to determine the number of distinct colours in the design image and set this number in the “Reduce colors to” option during auto-digitizing. In the given design image, there is a total of 4 distinct colours including the background “white” colour.
 Figure 9. Setting 4 in “Reduce colors to” option, and click OK
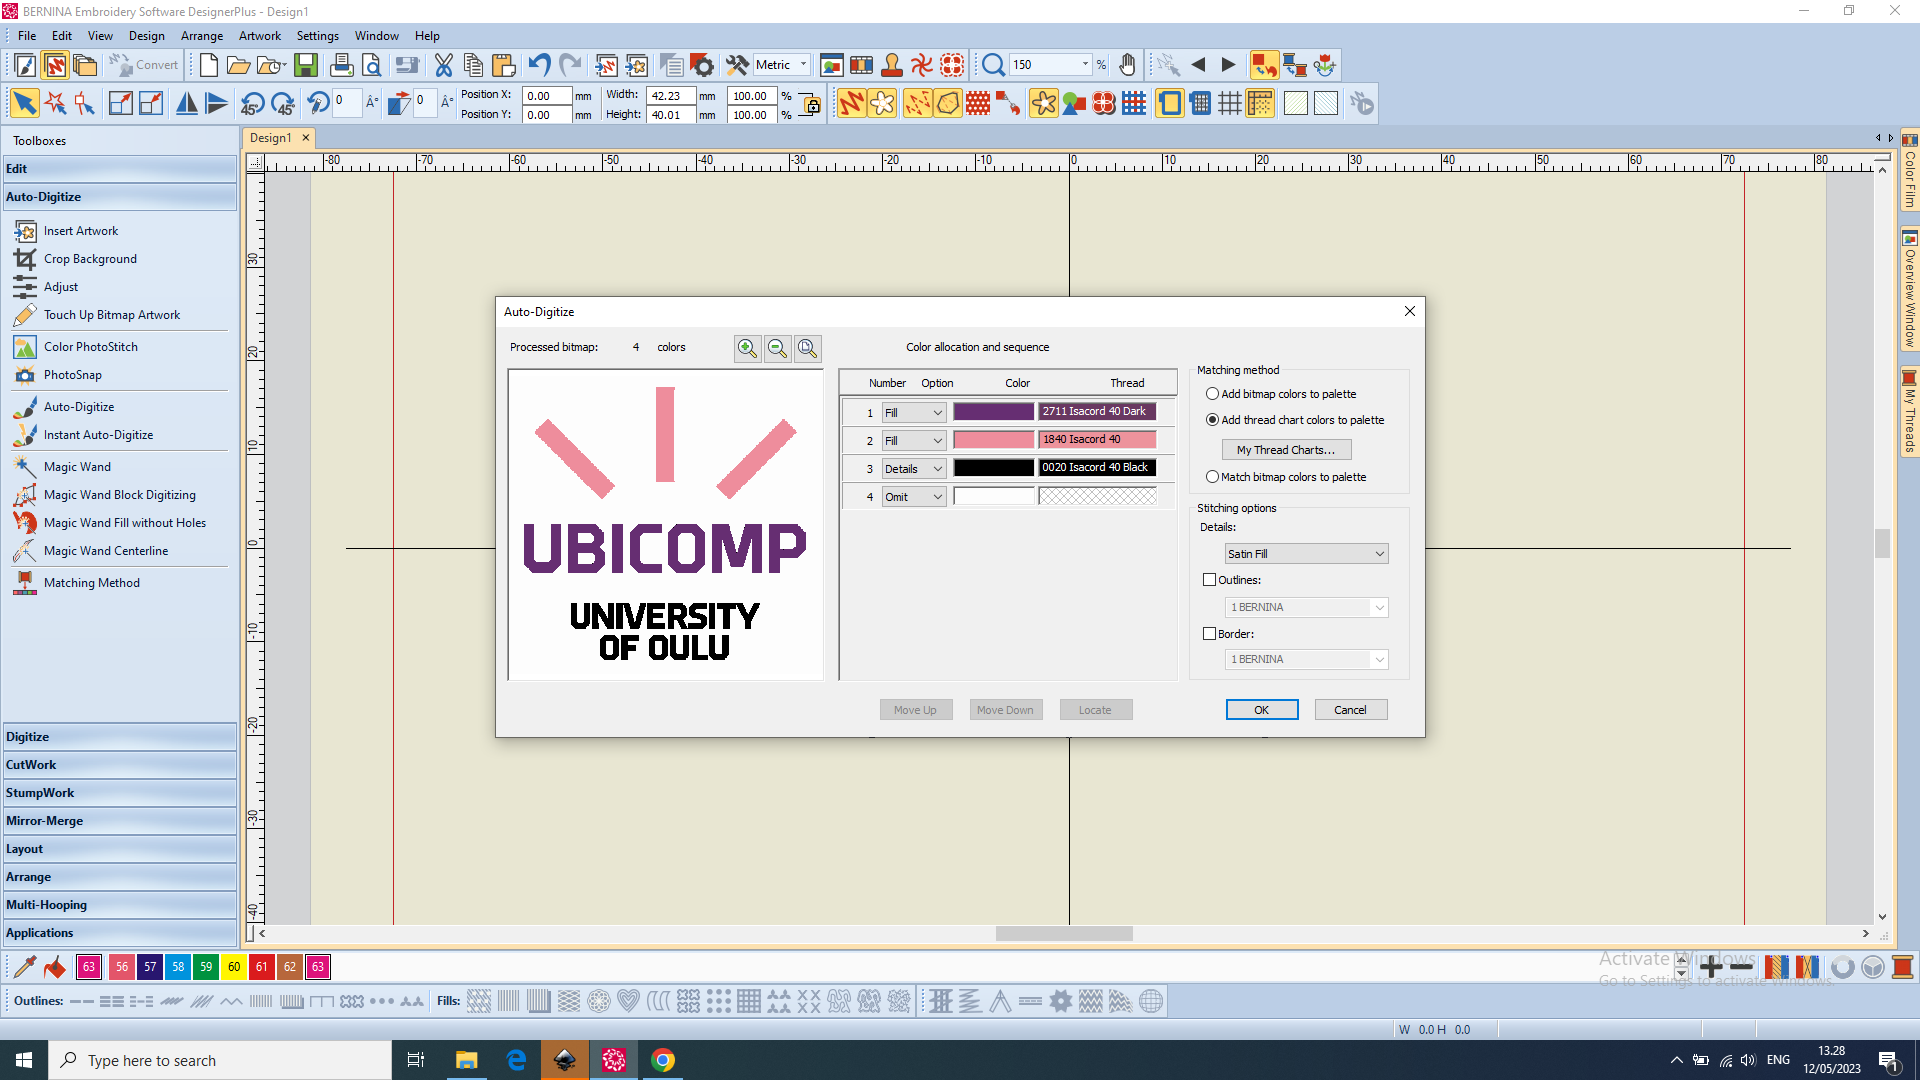 Figure 10. Auto-Digitizer with four colours setting. Click OK.
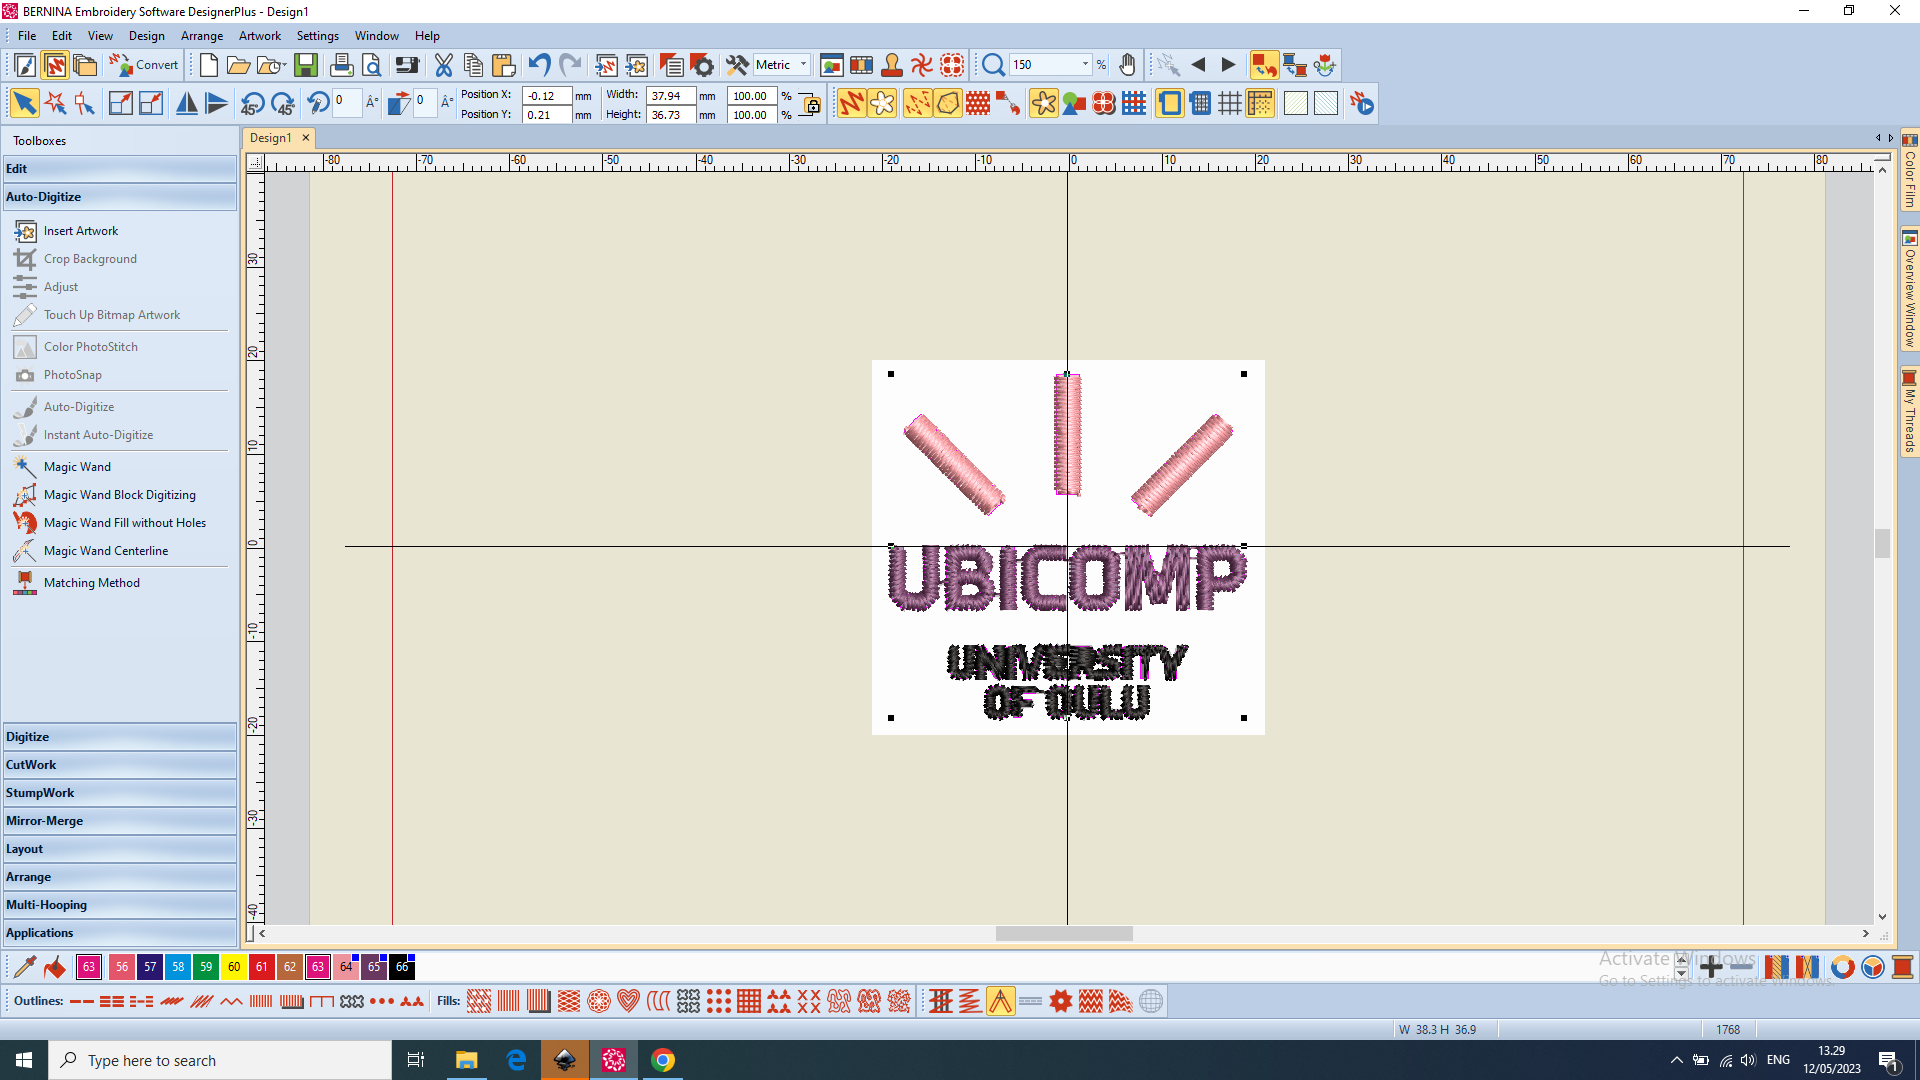 Figure 11. The original design image has been now digitized for the embroidery step.
 Figure 12. Saving the embroidery digitized files into an external USB drive by clicking on “Write to Card/Machine” tab.
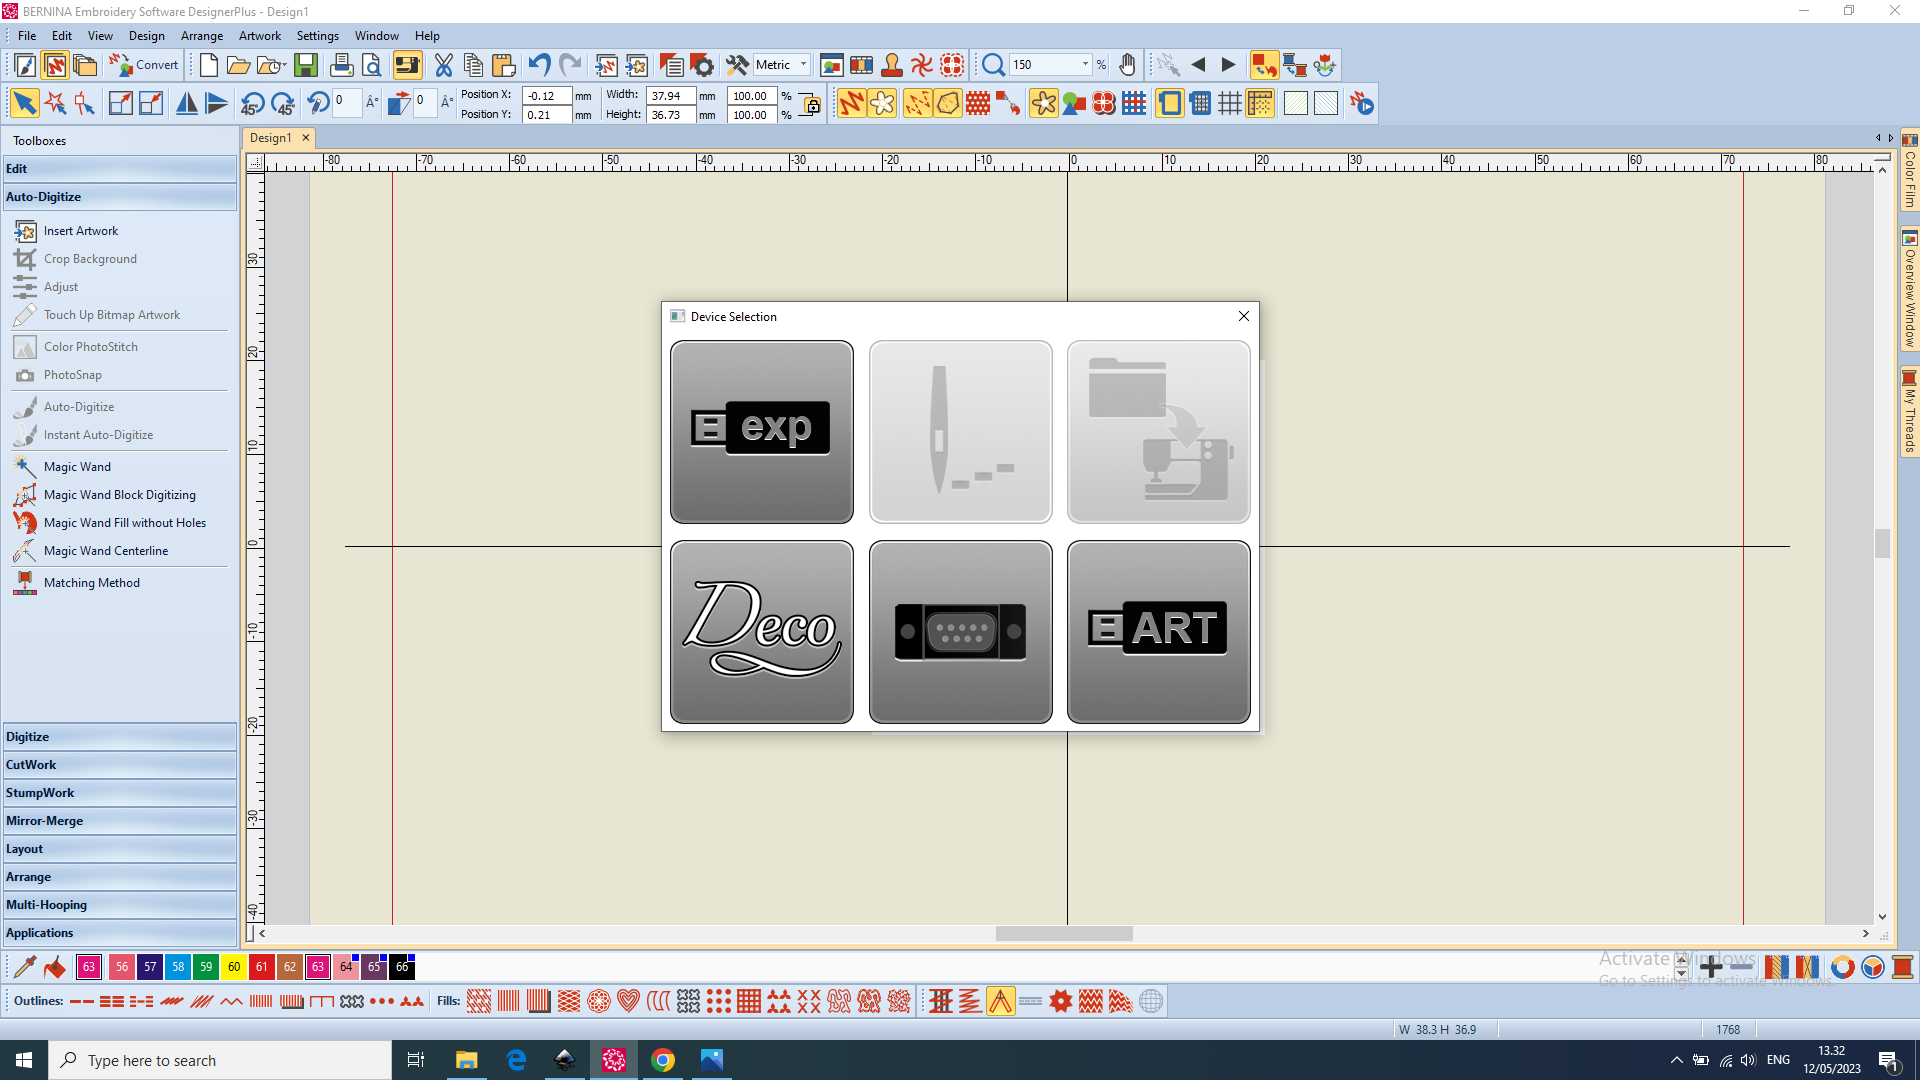 Figure 13. Select the first left top option to save embroidery step files to the USB Drive
 Figure 14. Embroidery step files exported to external USB drive
Setting sewing cloth ready on which embroidery will be engraved
The next step is to prepare a sewing cloth on which the embroidery will be engraved. This can be done before the auto-digitization step explained in the previous section. However, it is recommended to do it after the auto-digitization step to ensure that we cut only needed sewing cloth from the clothing stock based on the width and length set during the auto-digitization step (Figure 5).
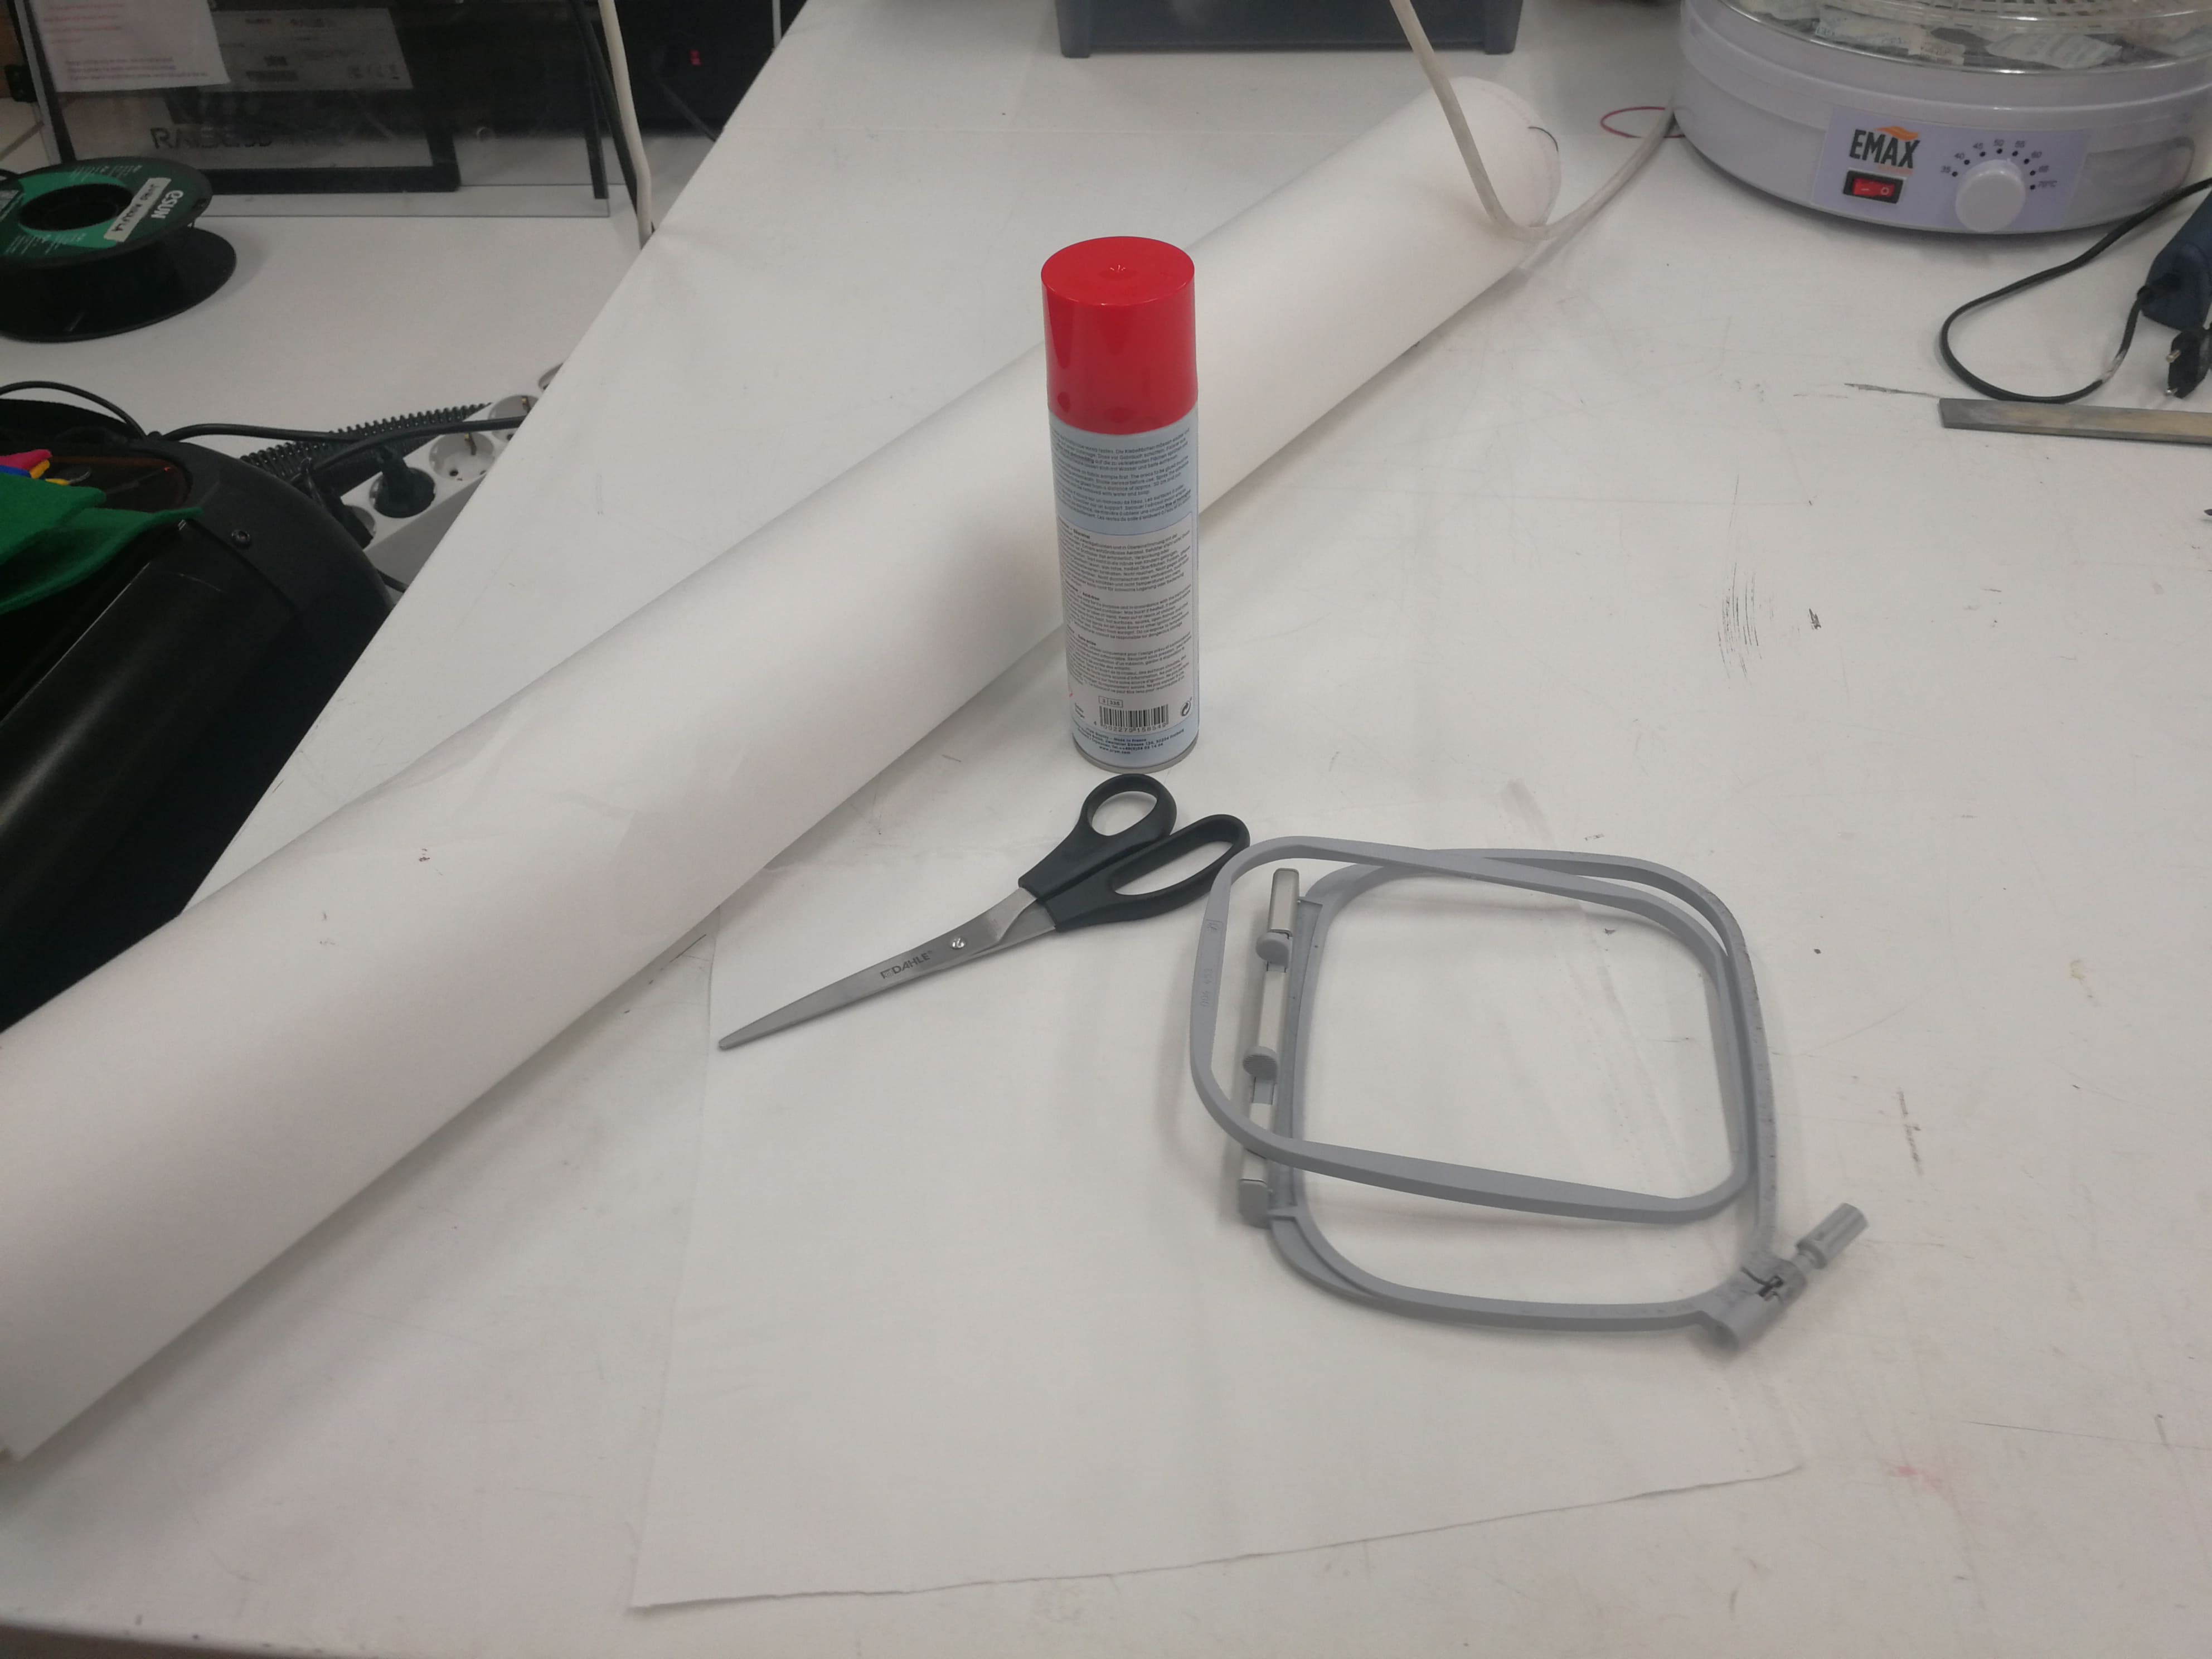 Figure 15. Required materials: Thin paper sheet, Clothing stock, adhesive spray, scissors, and a Hook.
 Figure 16. Taking estimation of the length and width of the paper sheet to be used by putting sewing cloth on paper stock.
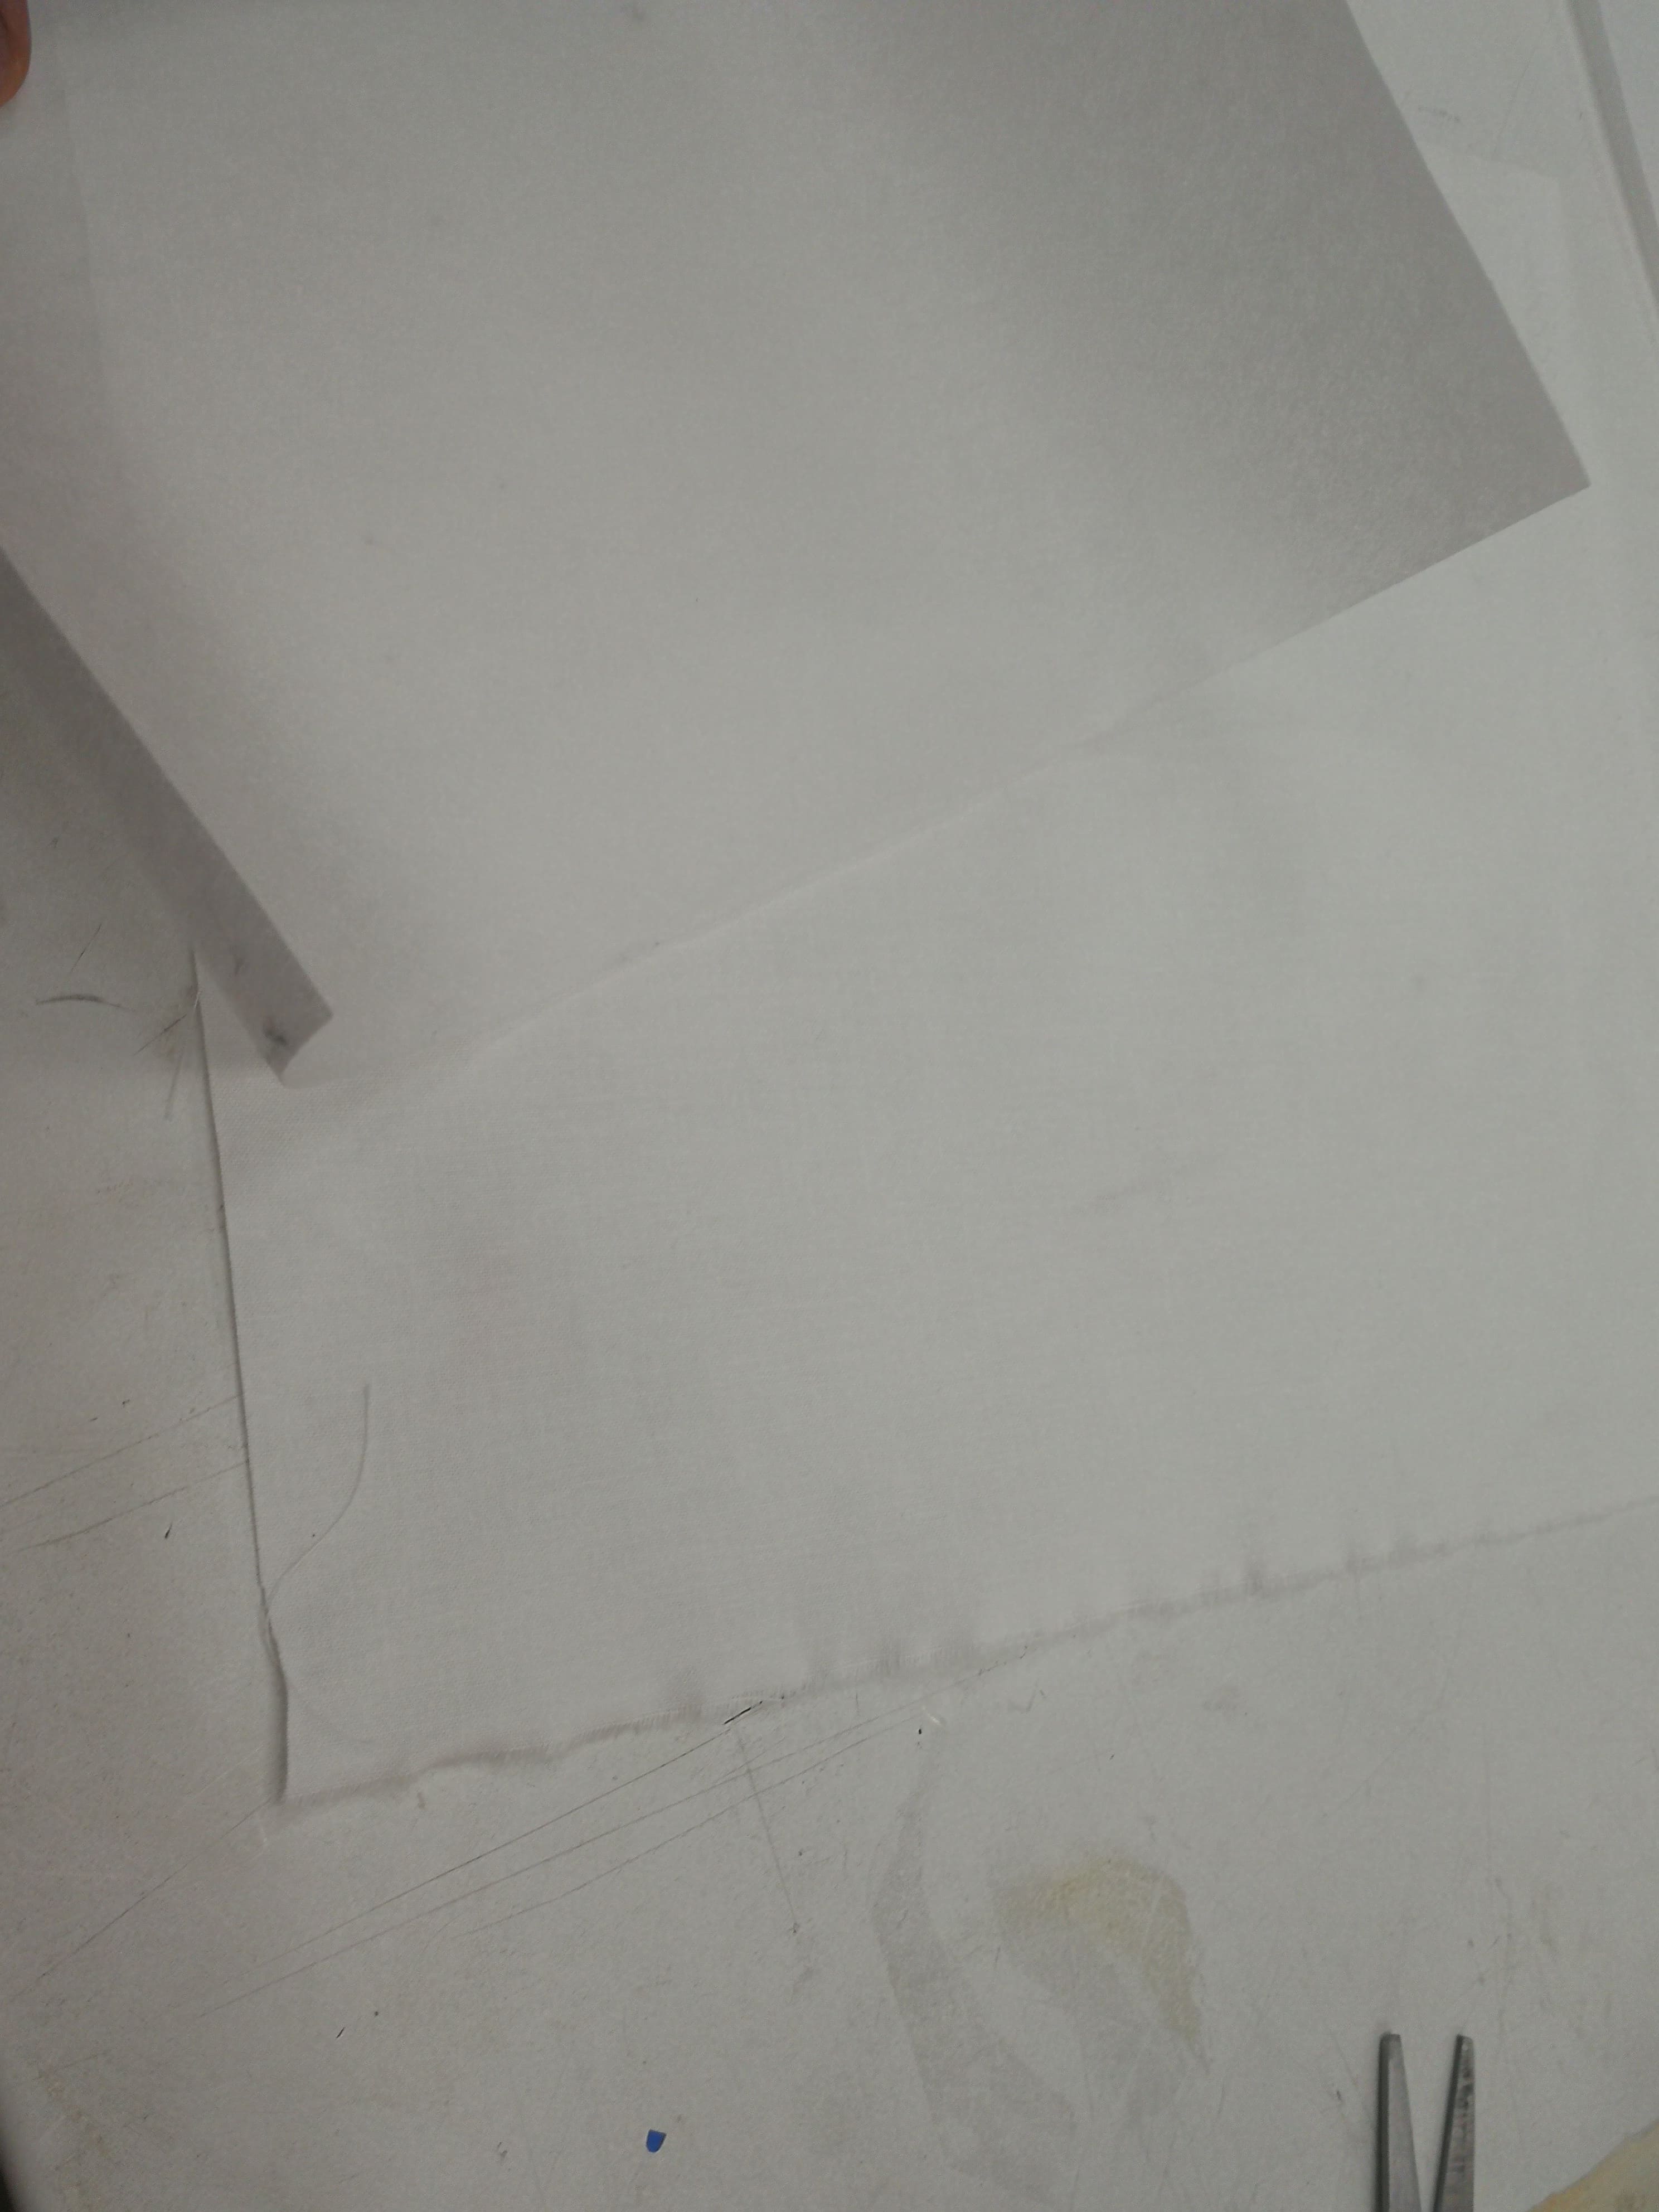 Figure 17. Applying adhesive spray at the corner of the paper to which the sewing cloth will be attached
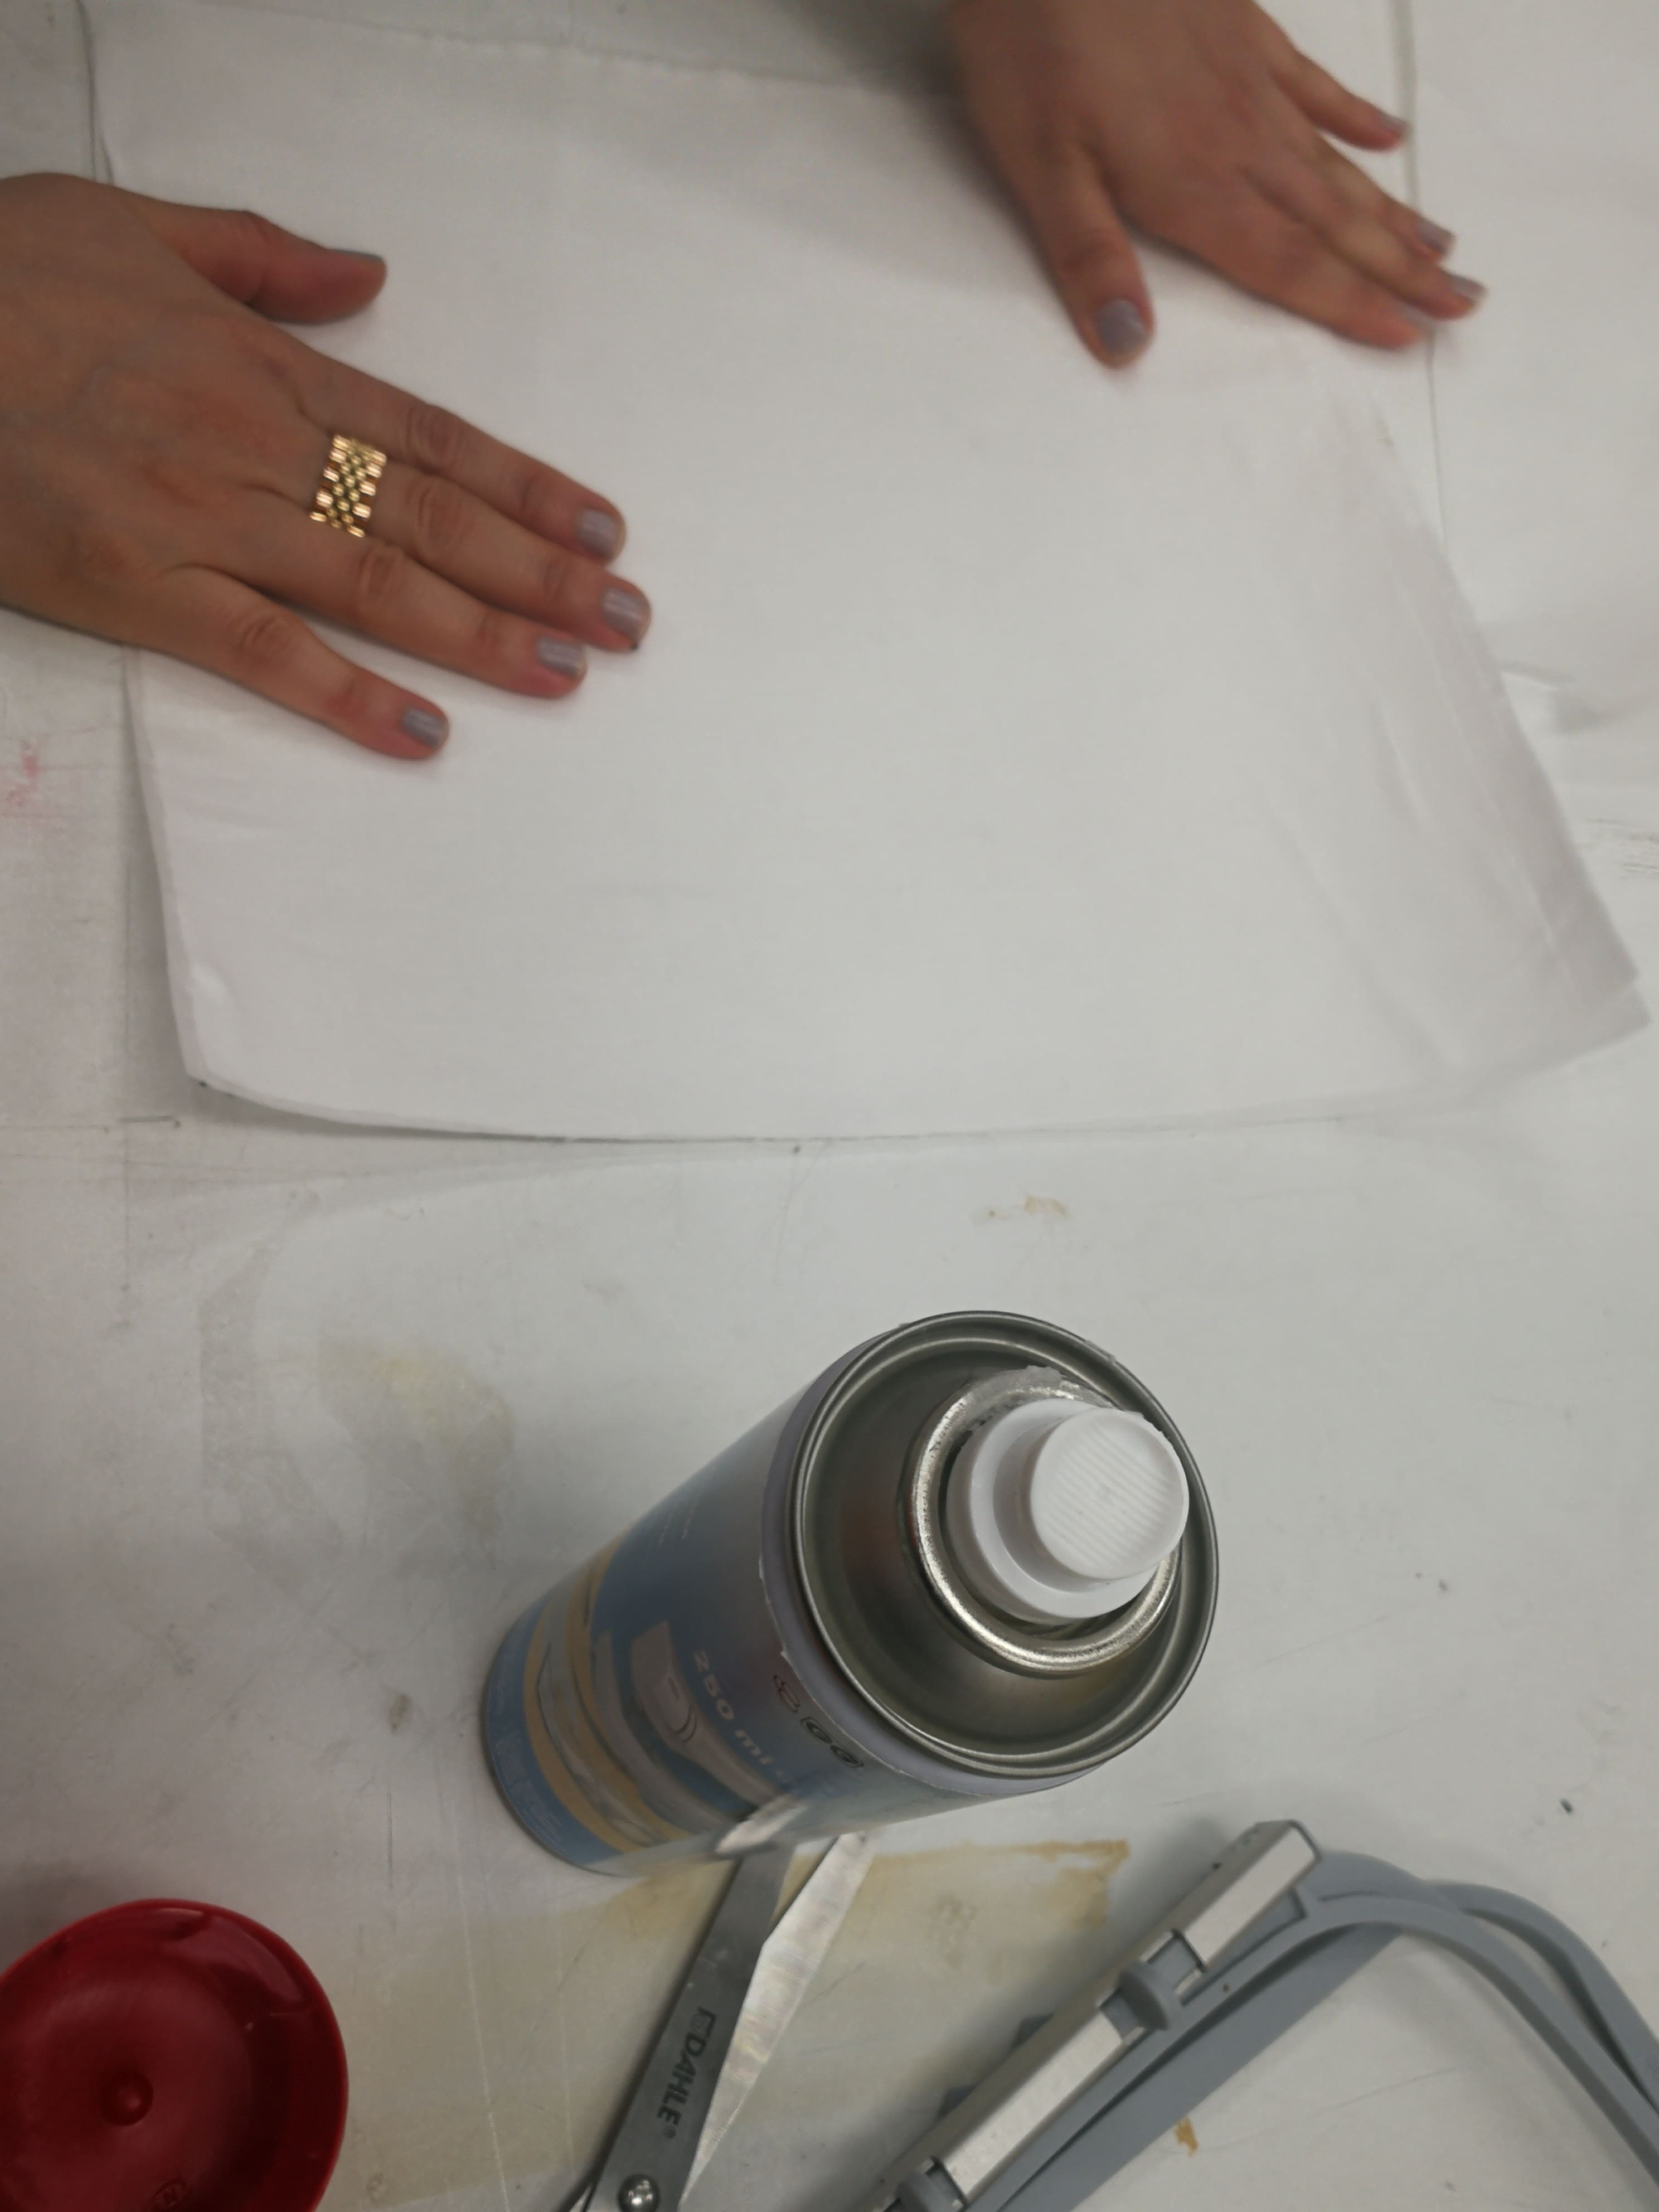 *Figure 18. Straightening the sewing cloth with tension so that it is completely flat and attaching it to a paper sheet via adhesive spray. *
The next step is to put paper attached to the sewing cloth to a hook which will be ultimately put in the embroidery machine for engraving. Figures 19-22 show these steps.
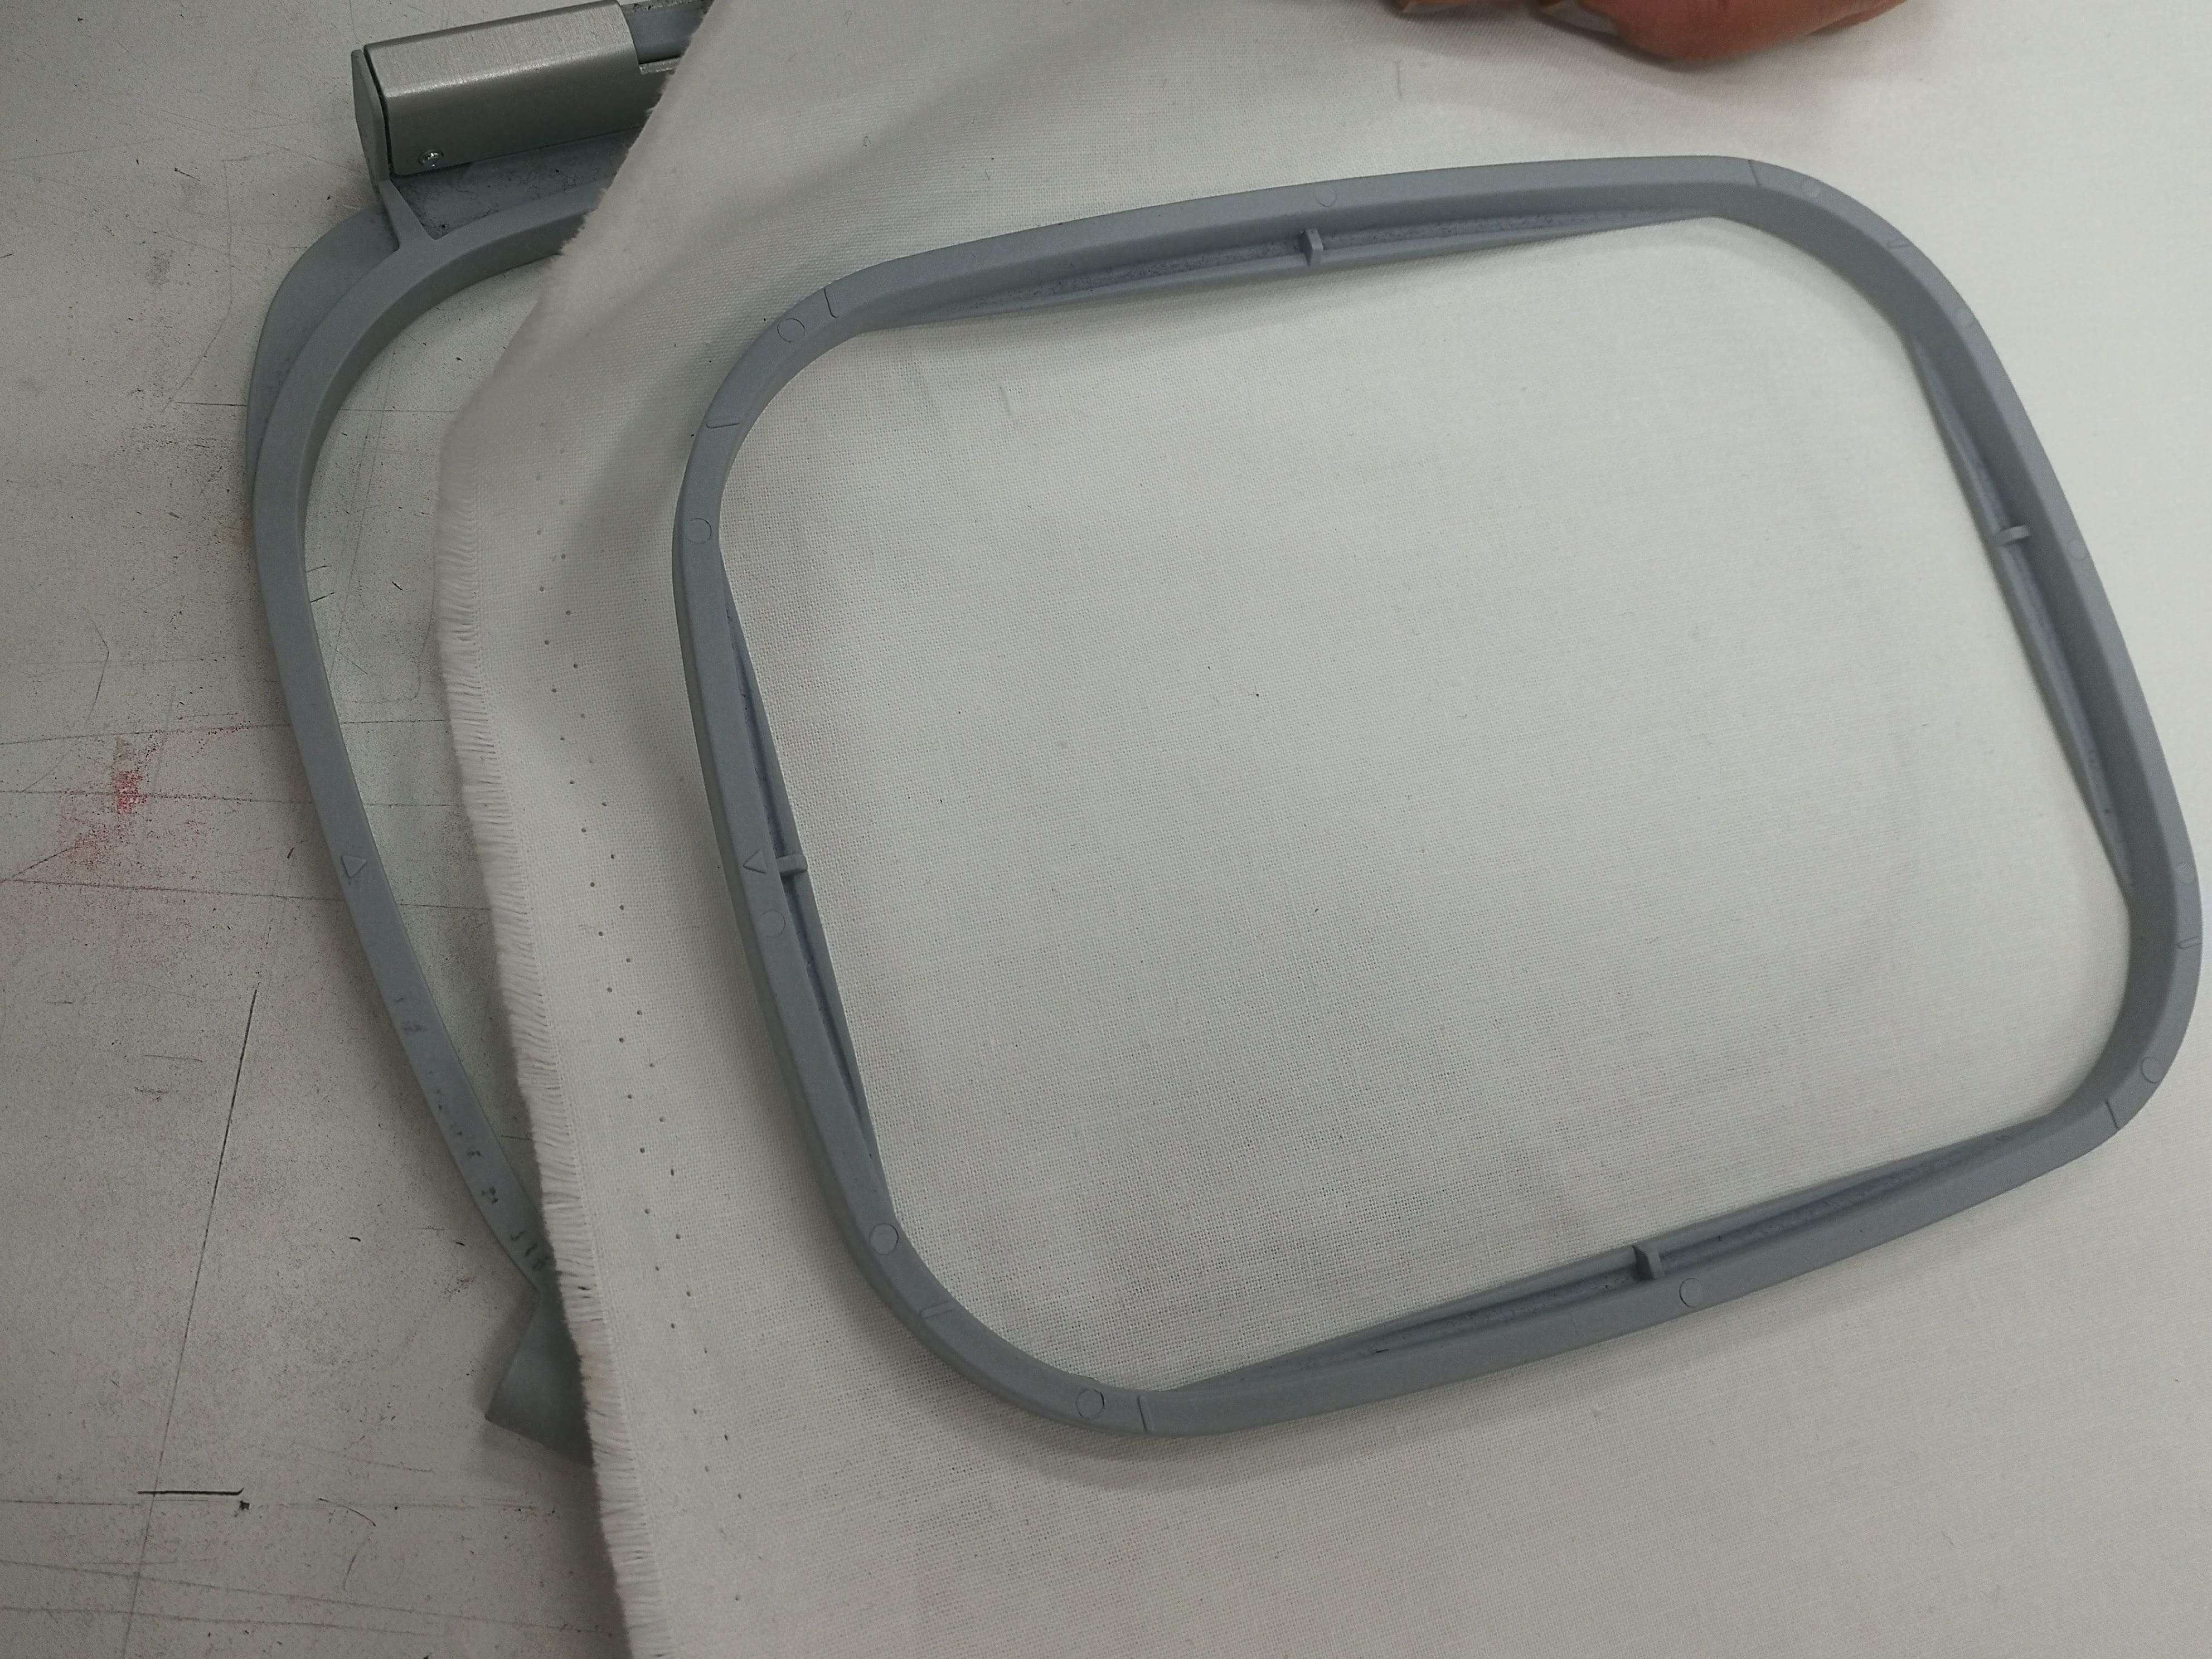 Figure 19. Attaching paper attached sewing cloth to the hook 1.
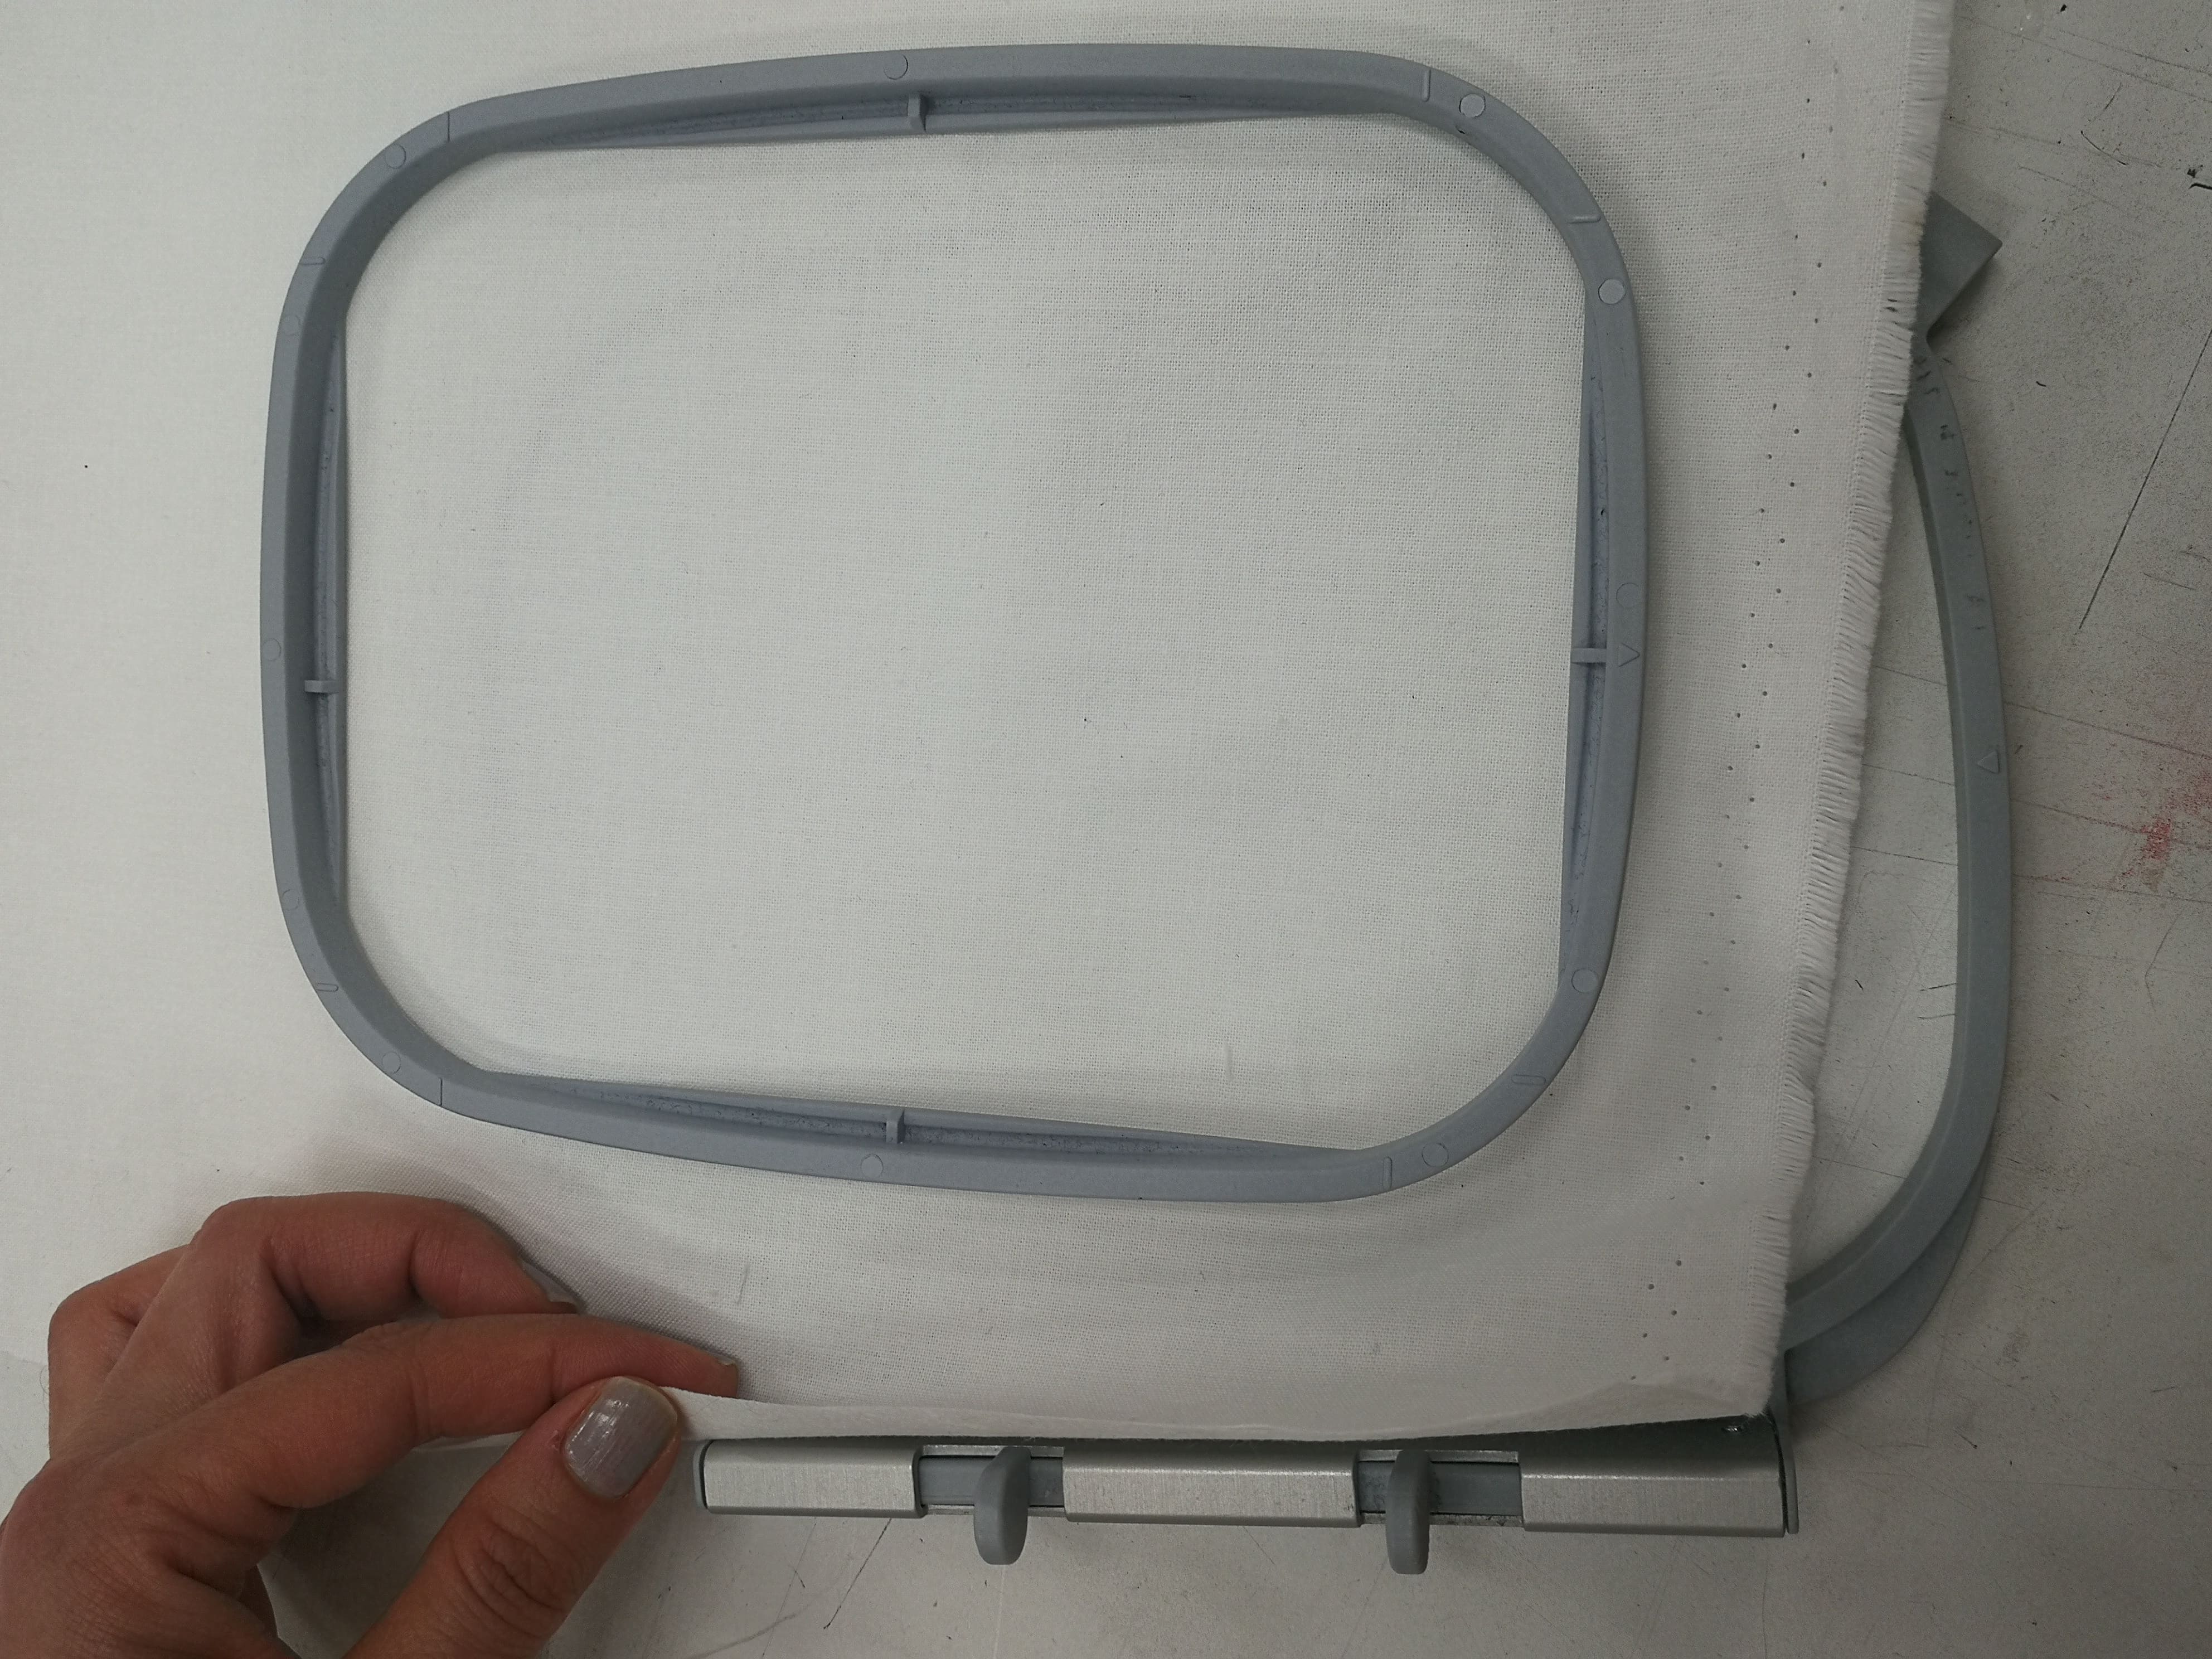 Figure 20. Attaching paper attached sewing cloth to the hook 2.
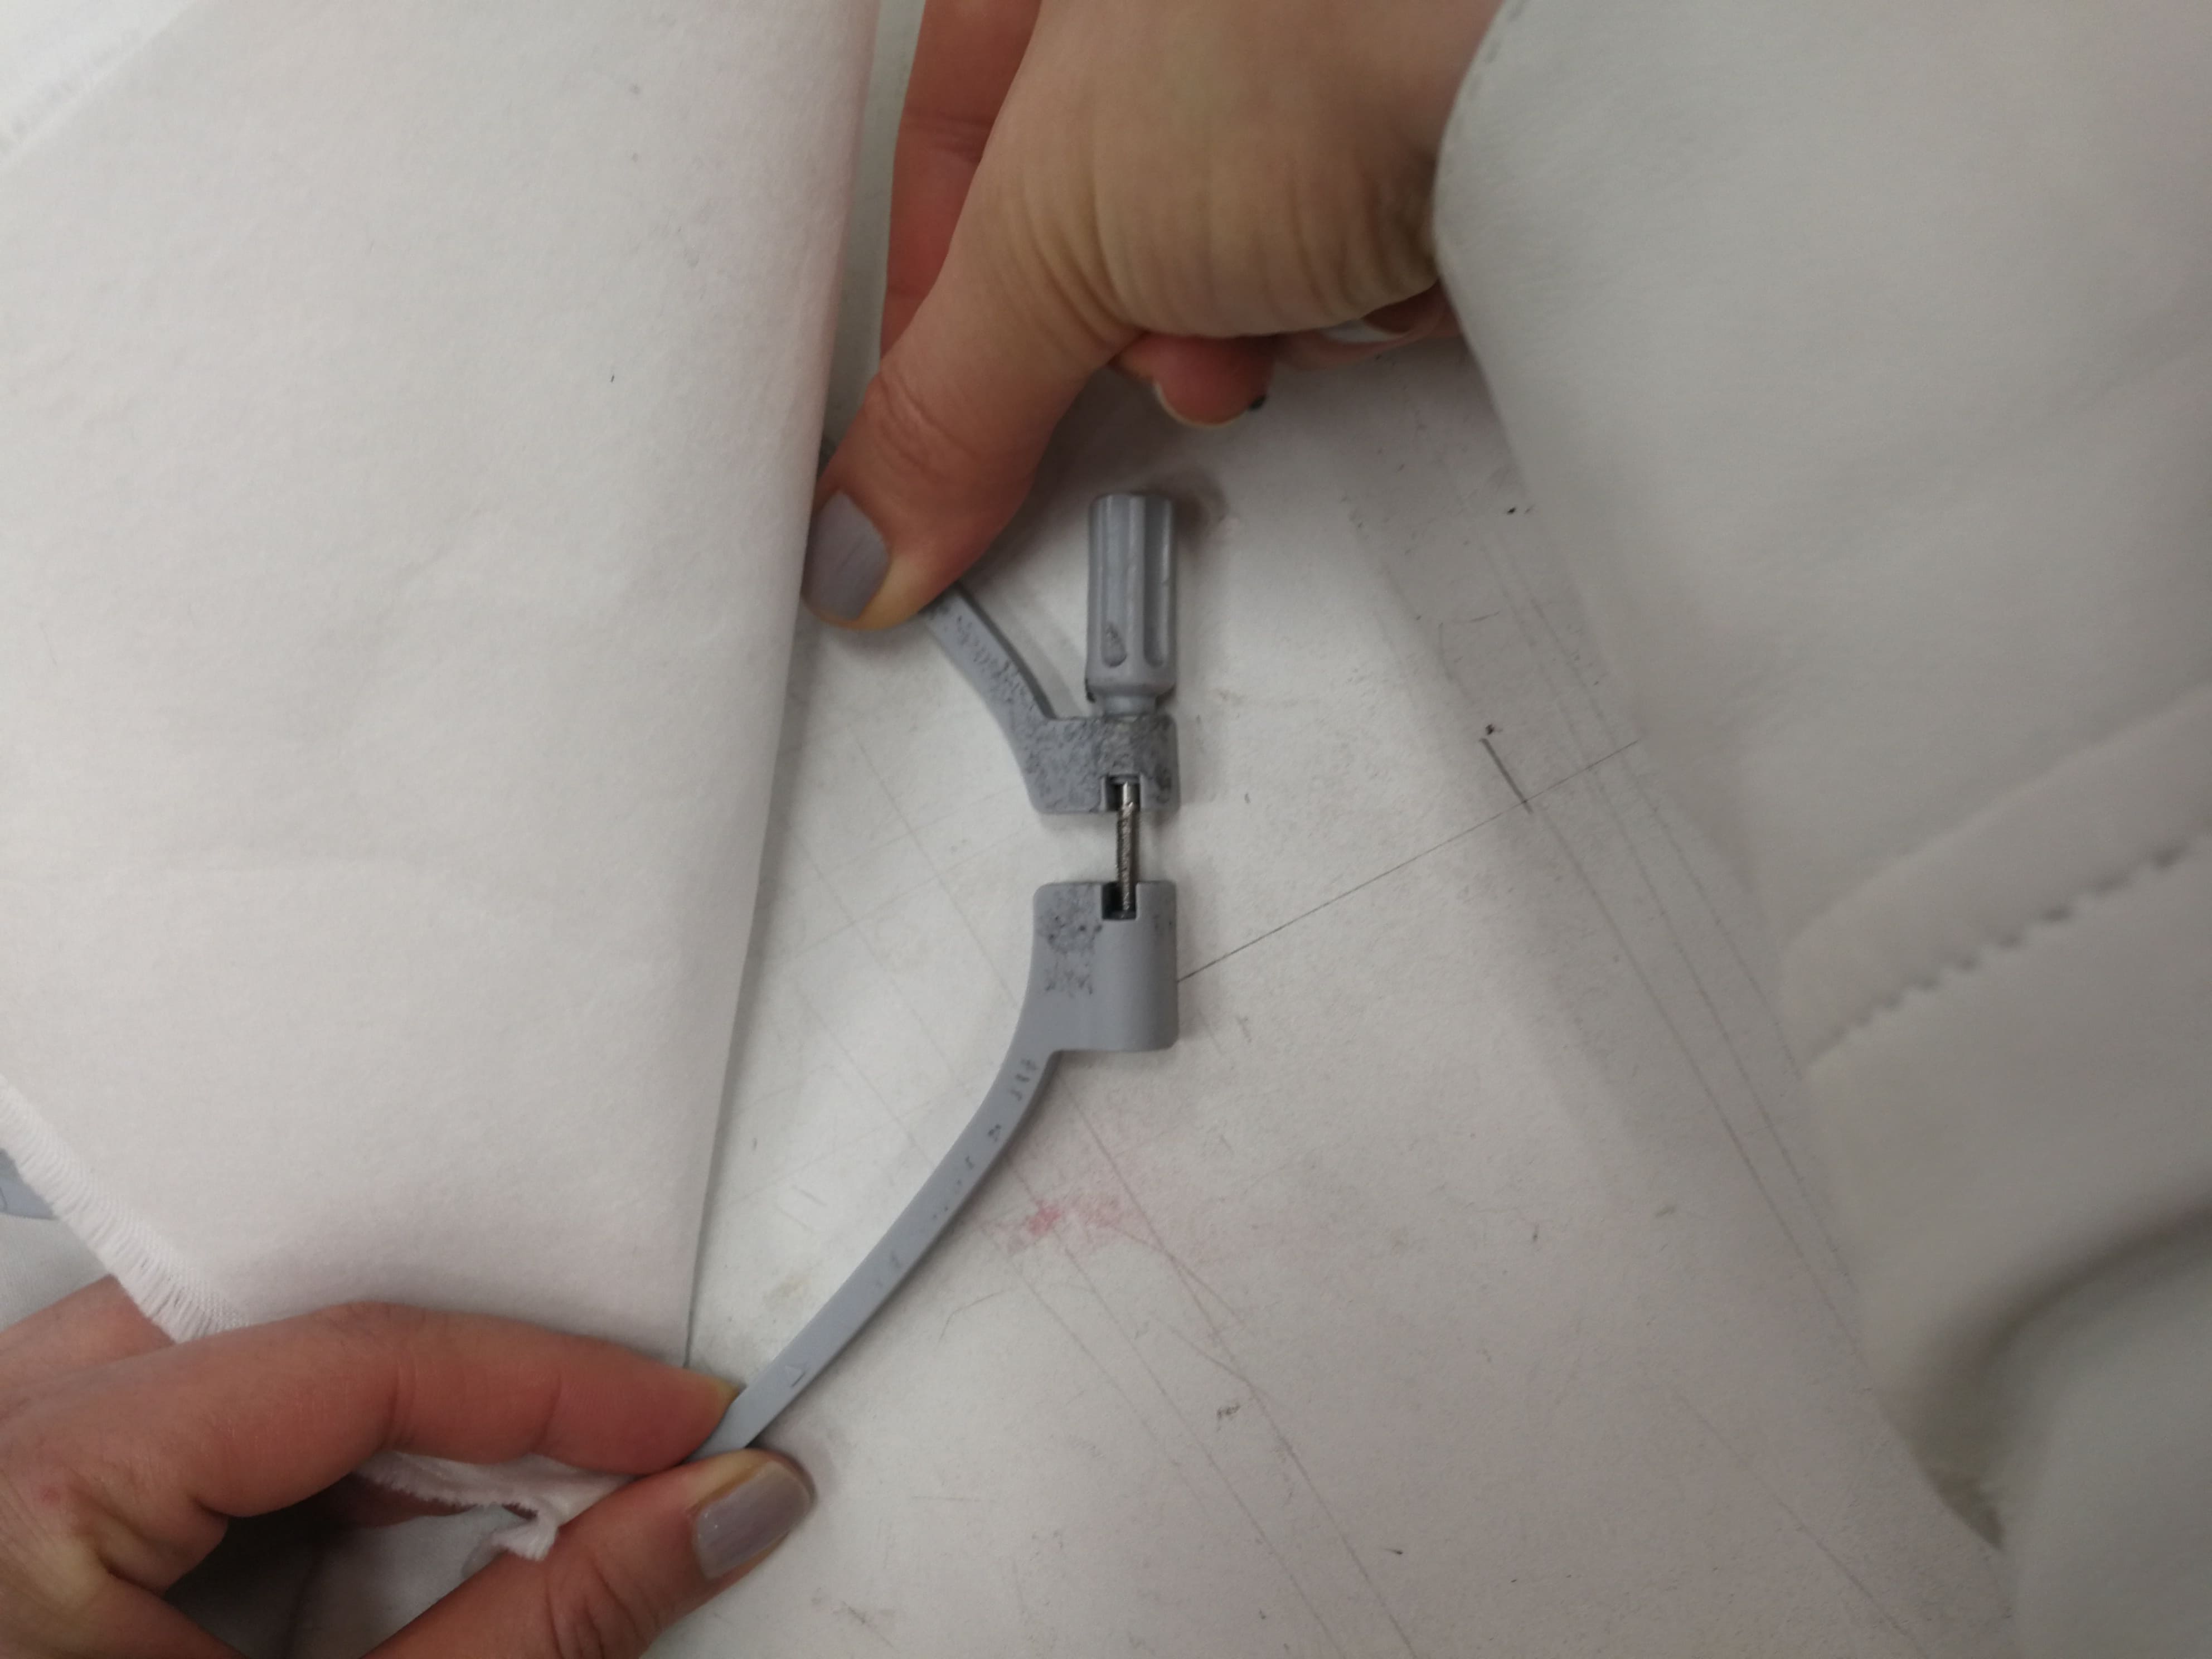 Figure 21. Attaching paper attached sewing cloth to the hook 3.
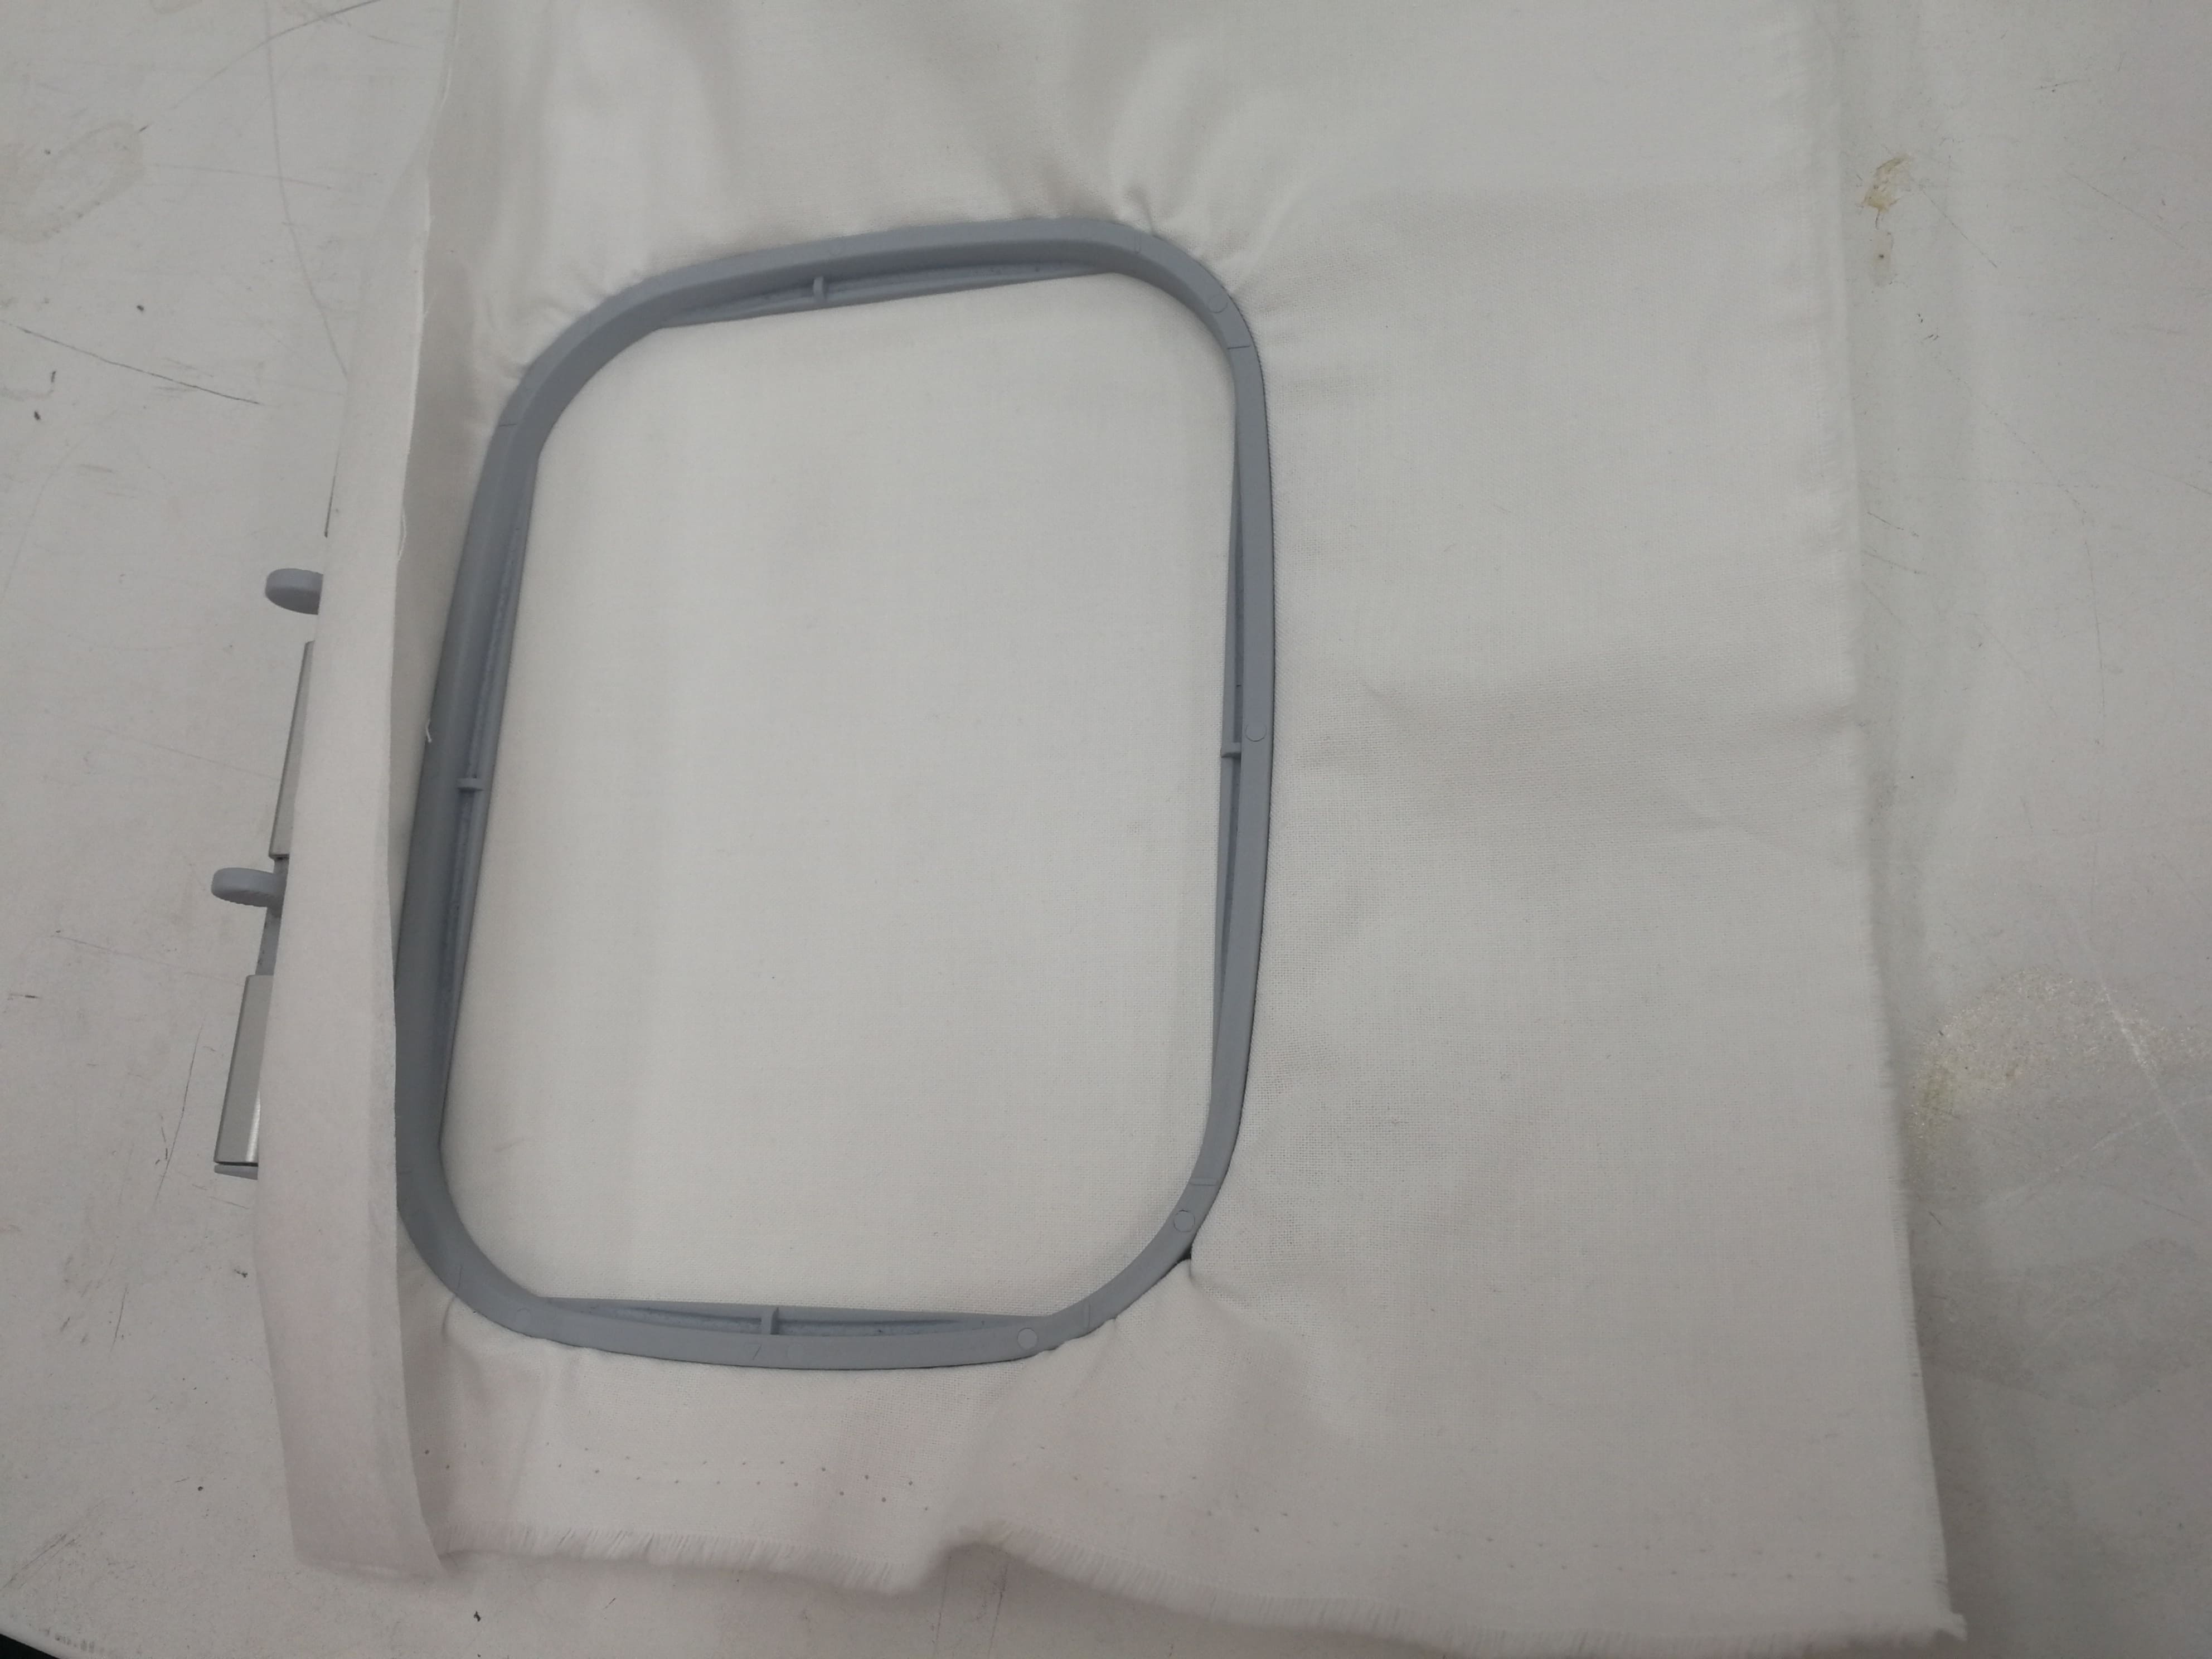 Figure 22. Attaching paper attached sewing cloth to the hook 4.
Setting digital embroidery machine ready to begin embroidery 1
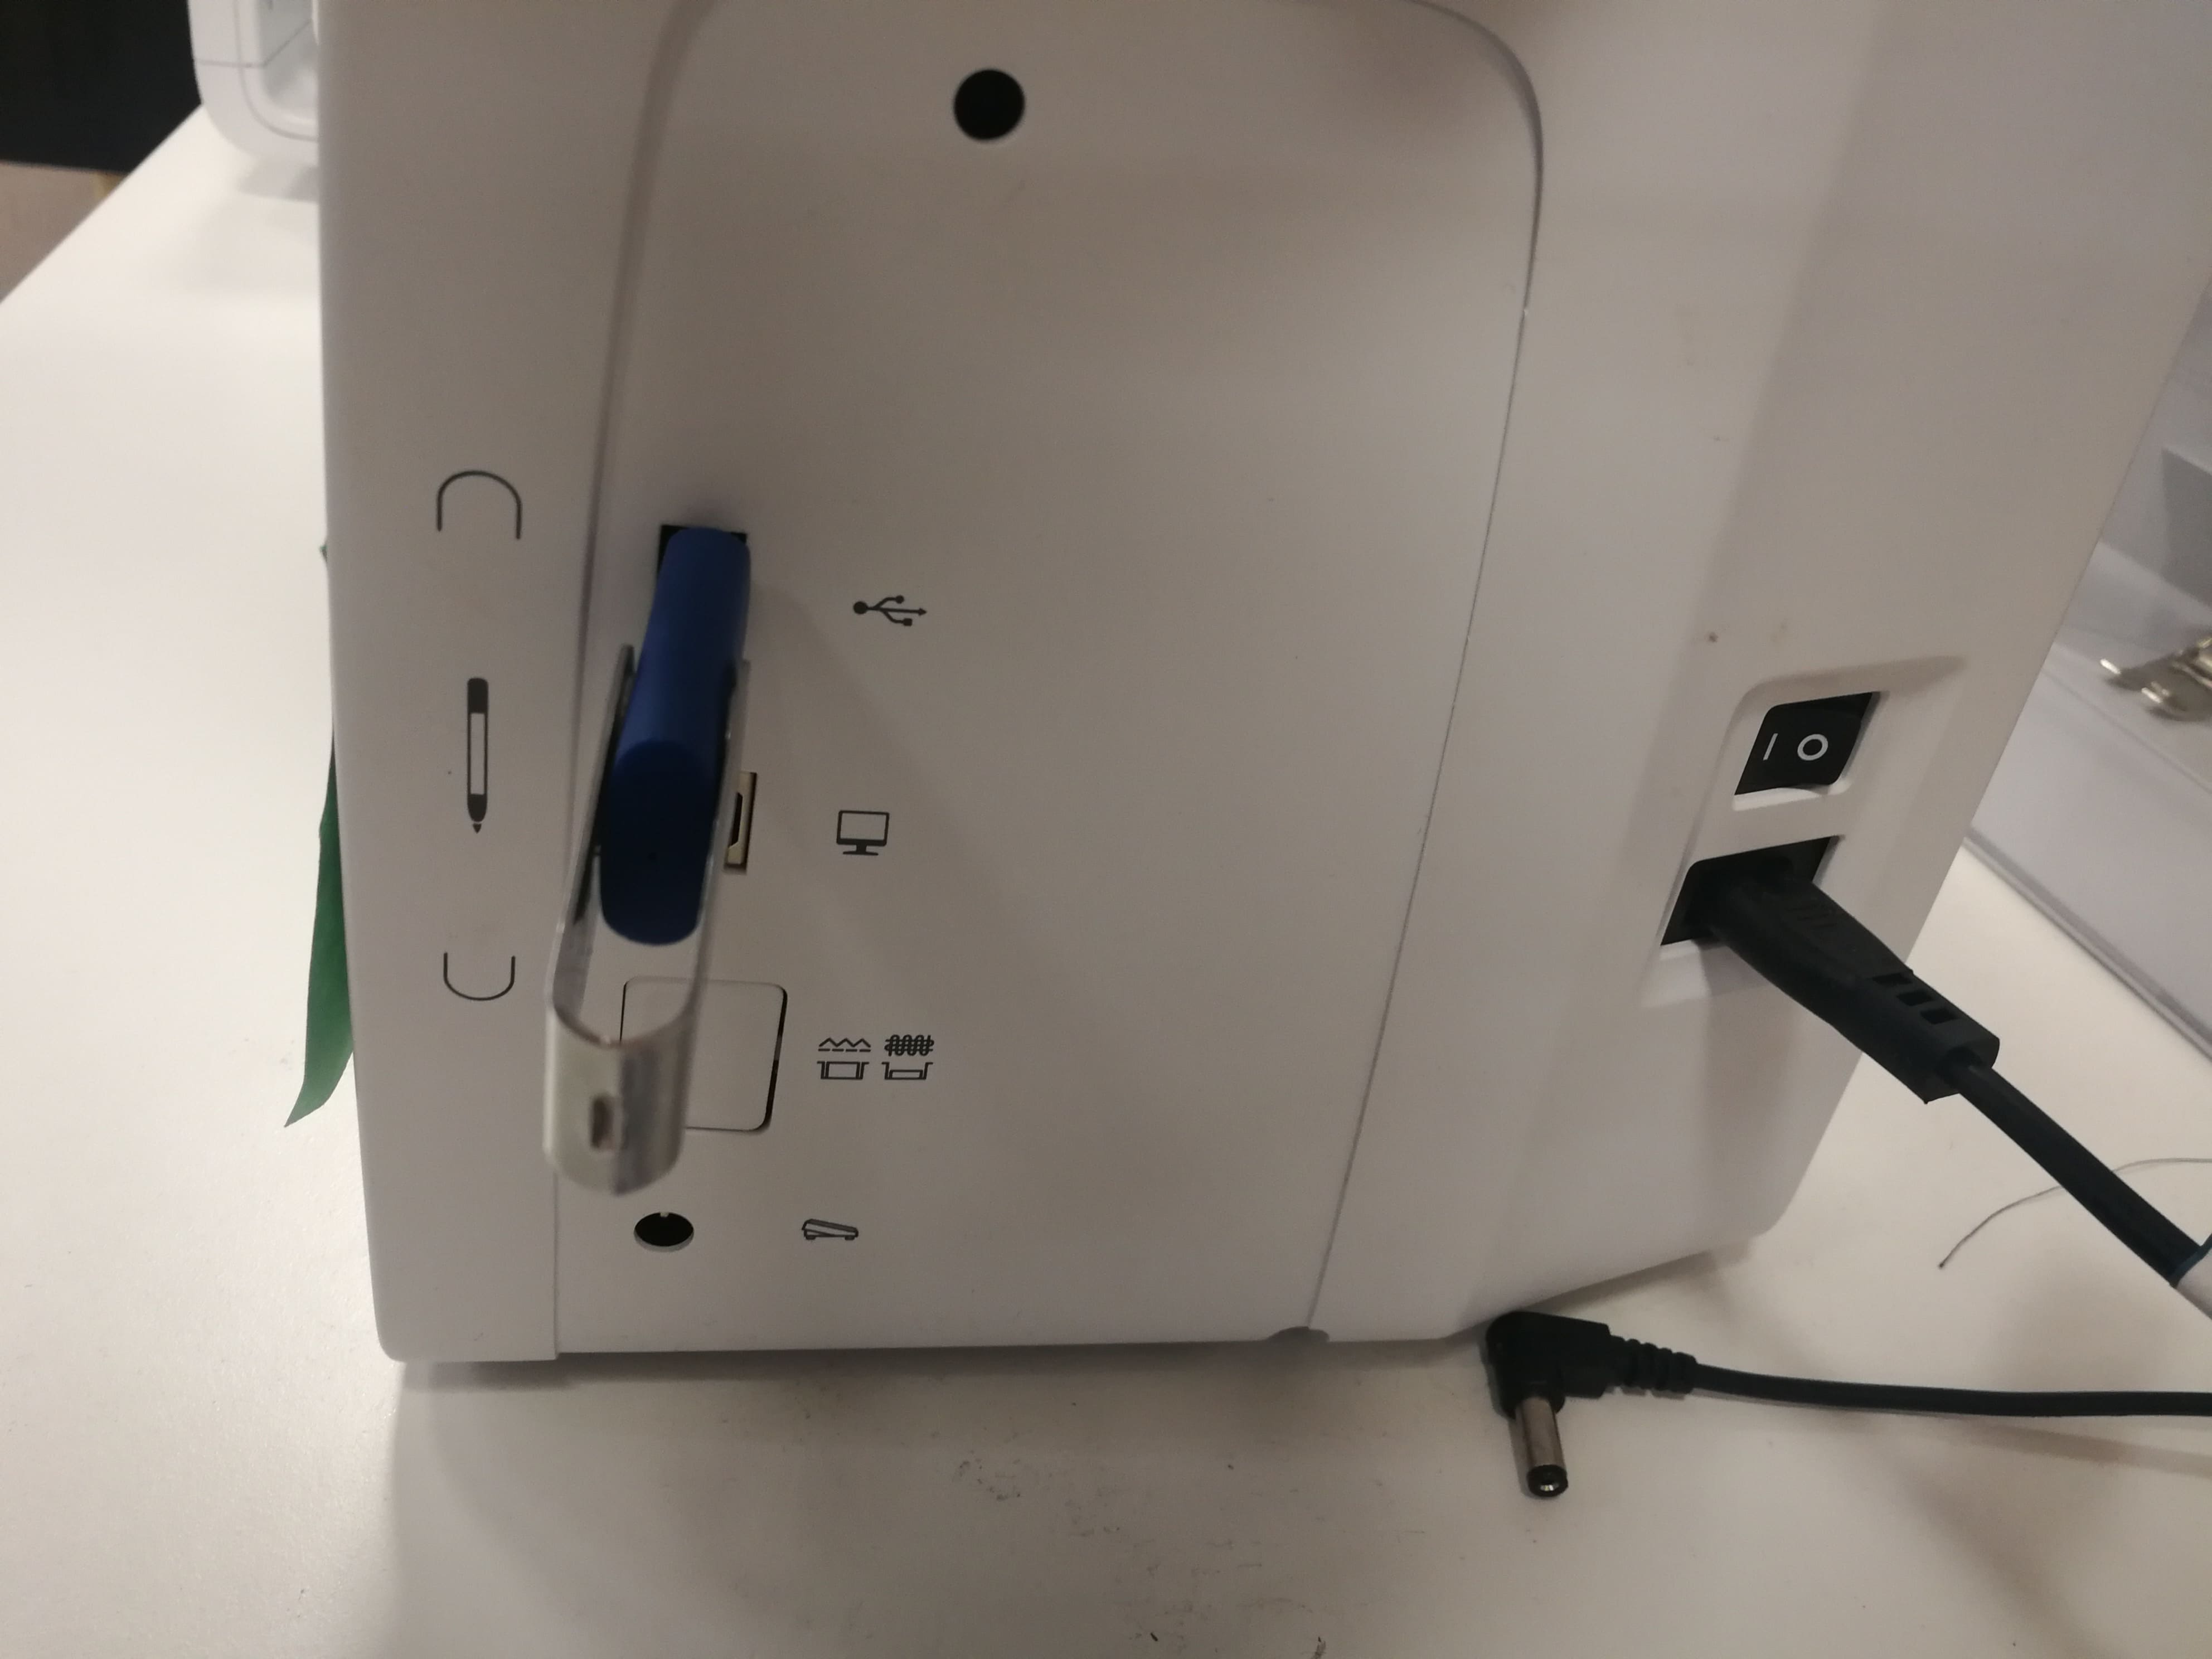 Figure 23. Attaching USB Drive which contains embroidery step files to the embroidery machine via USB port.
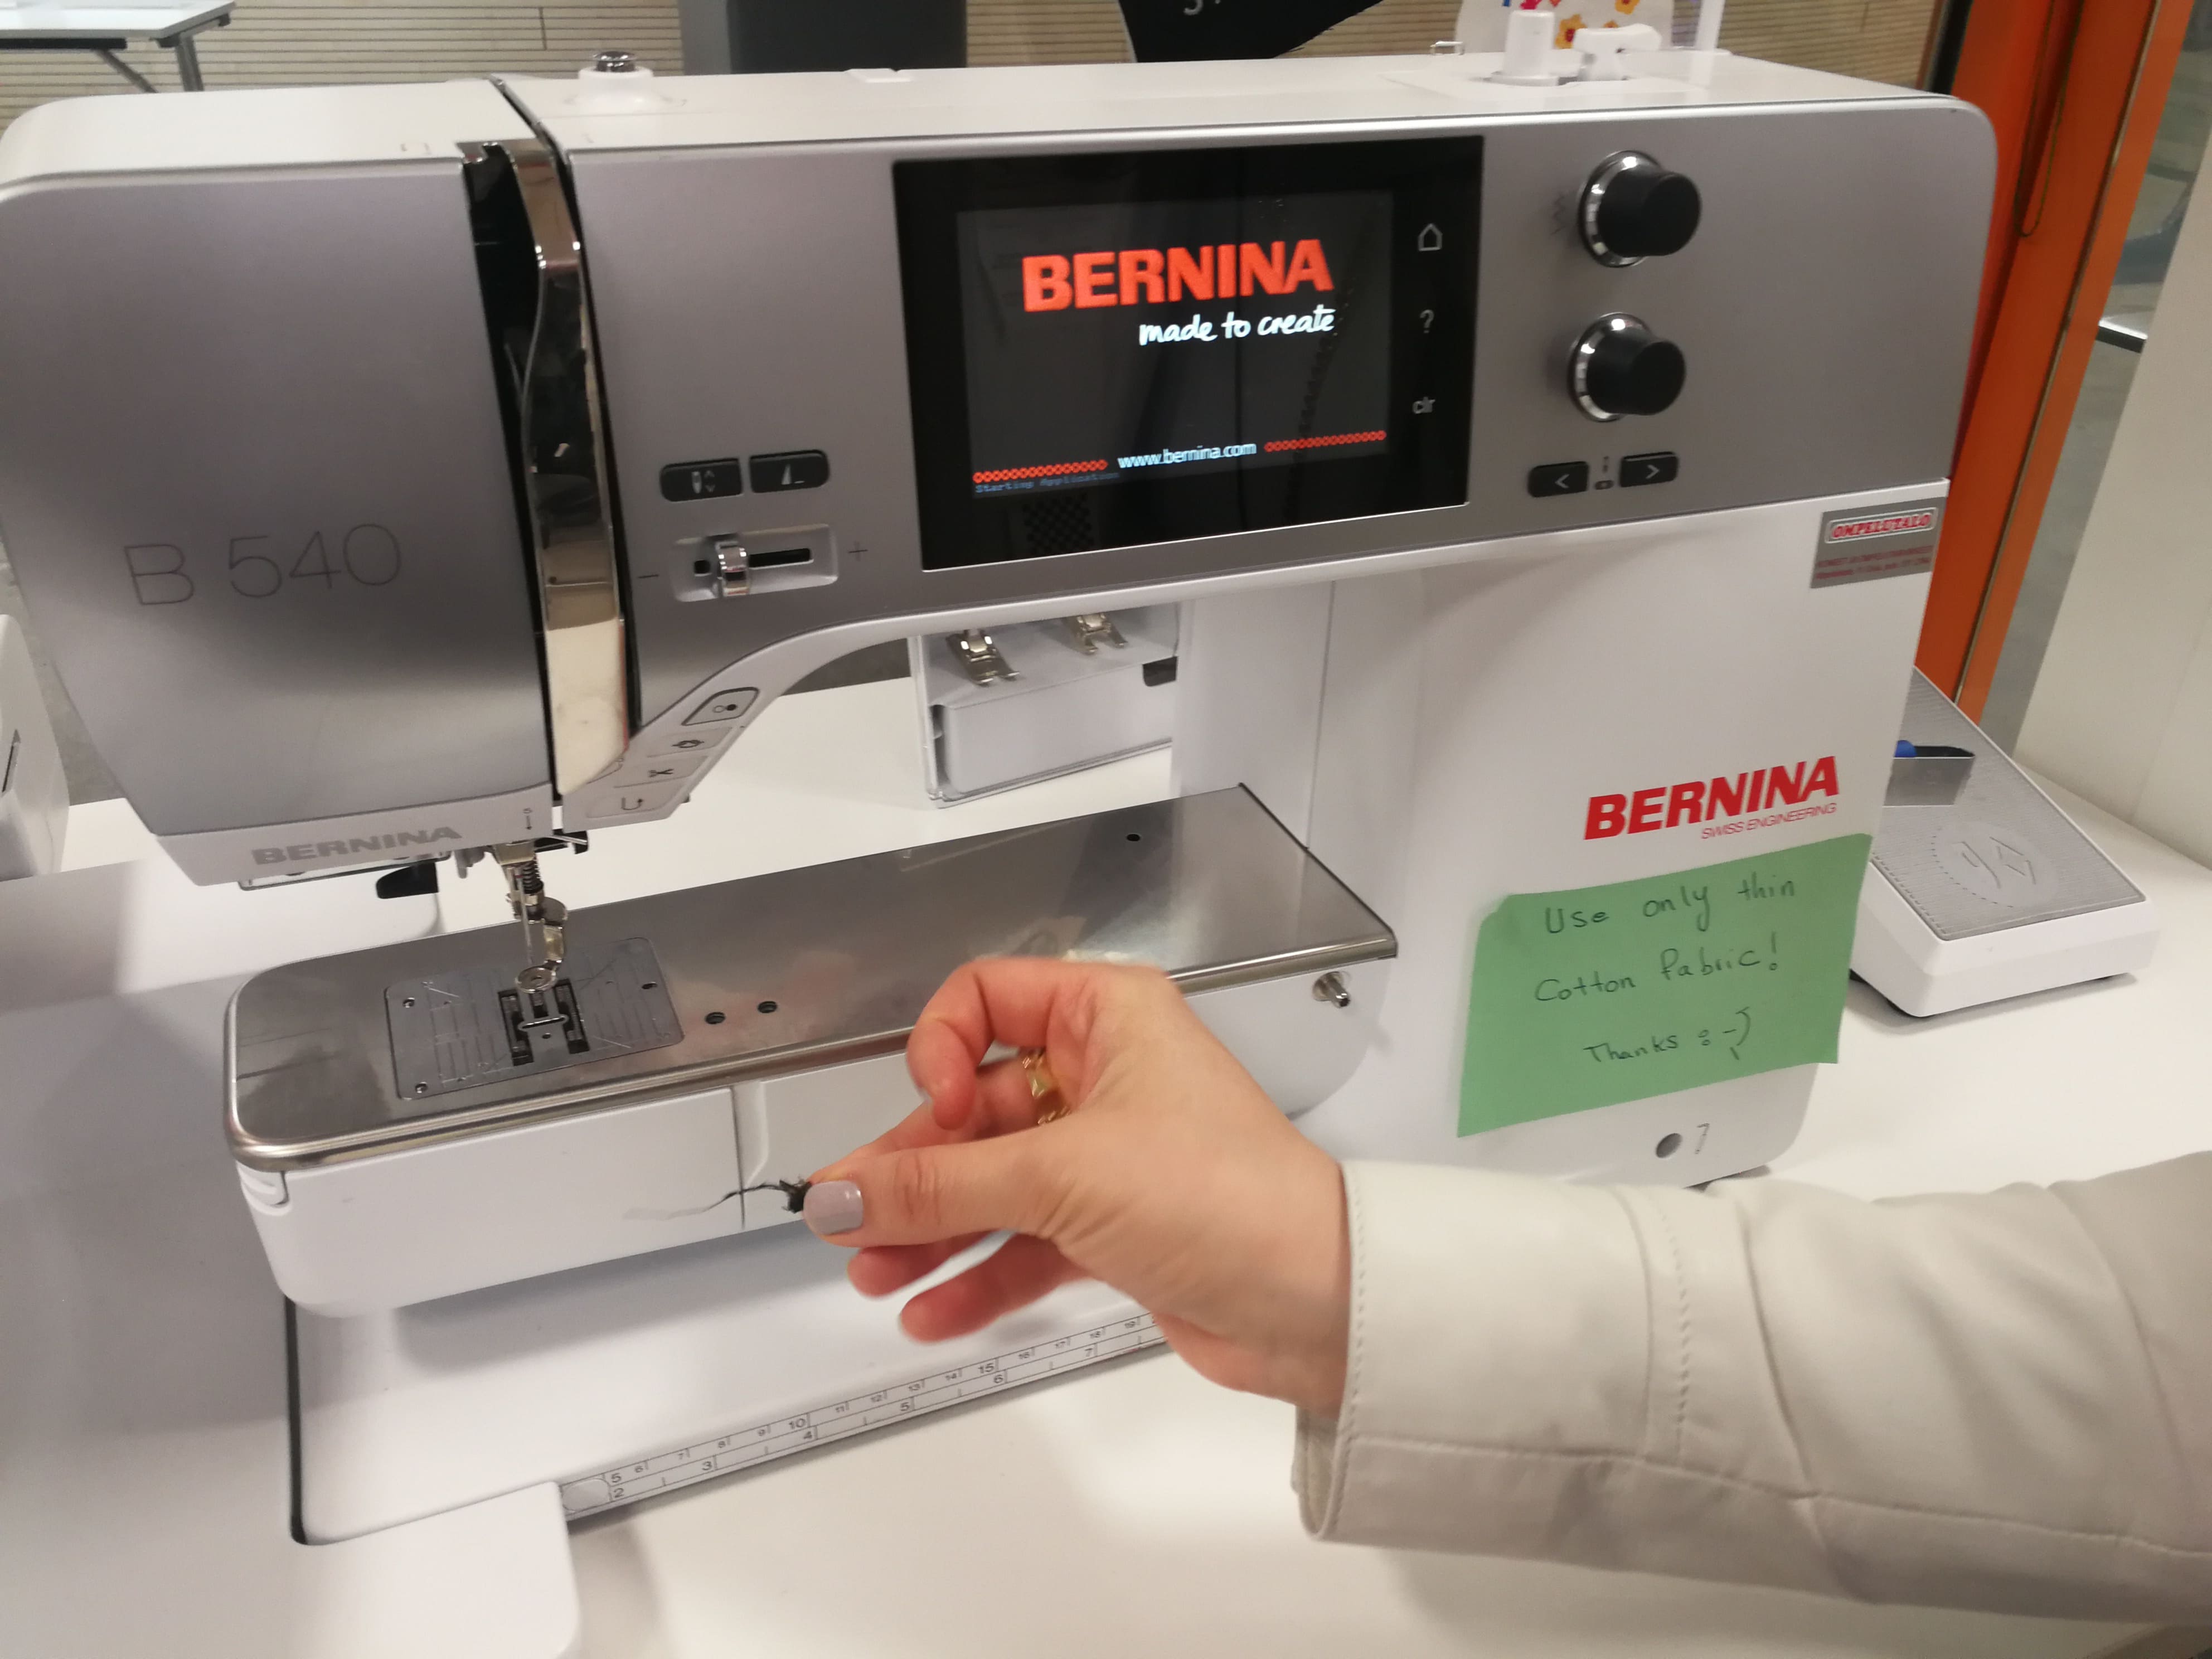 Figure 24. Cleaning embroidery machine for any threads stuck from previous embroideries.
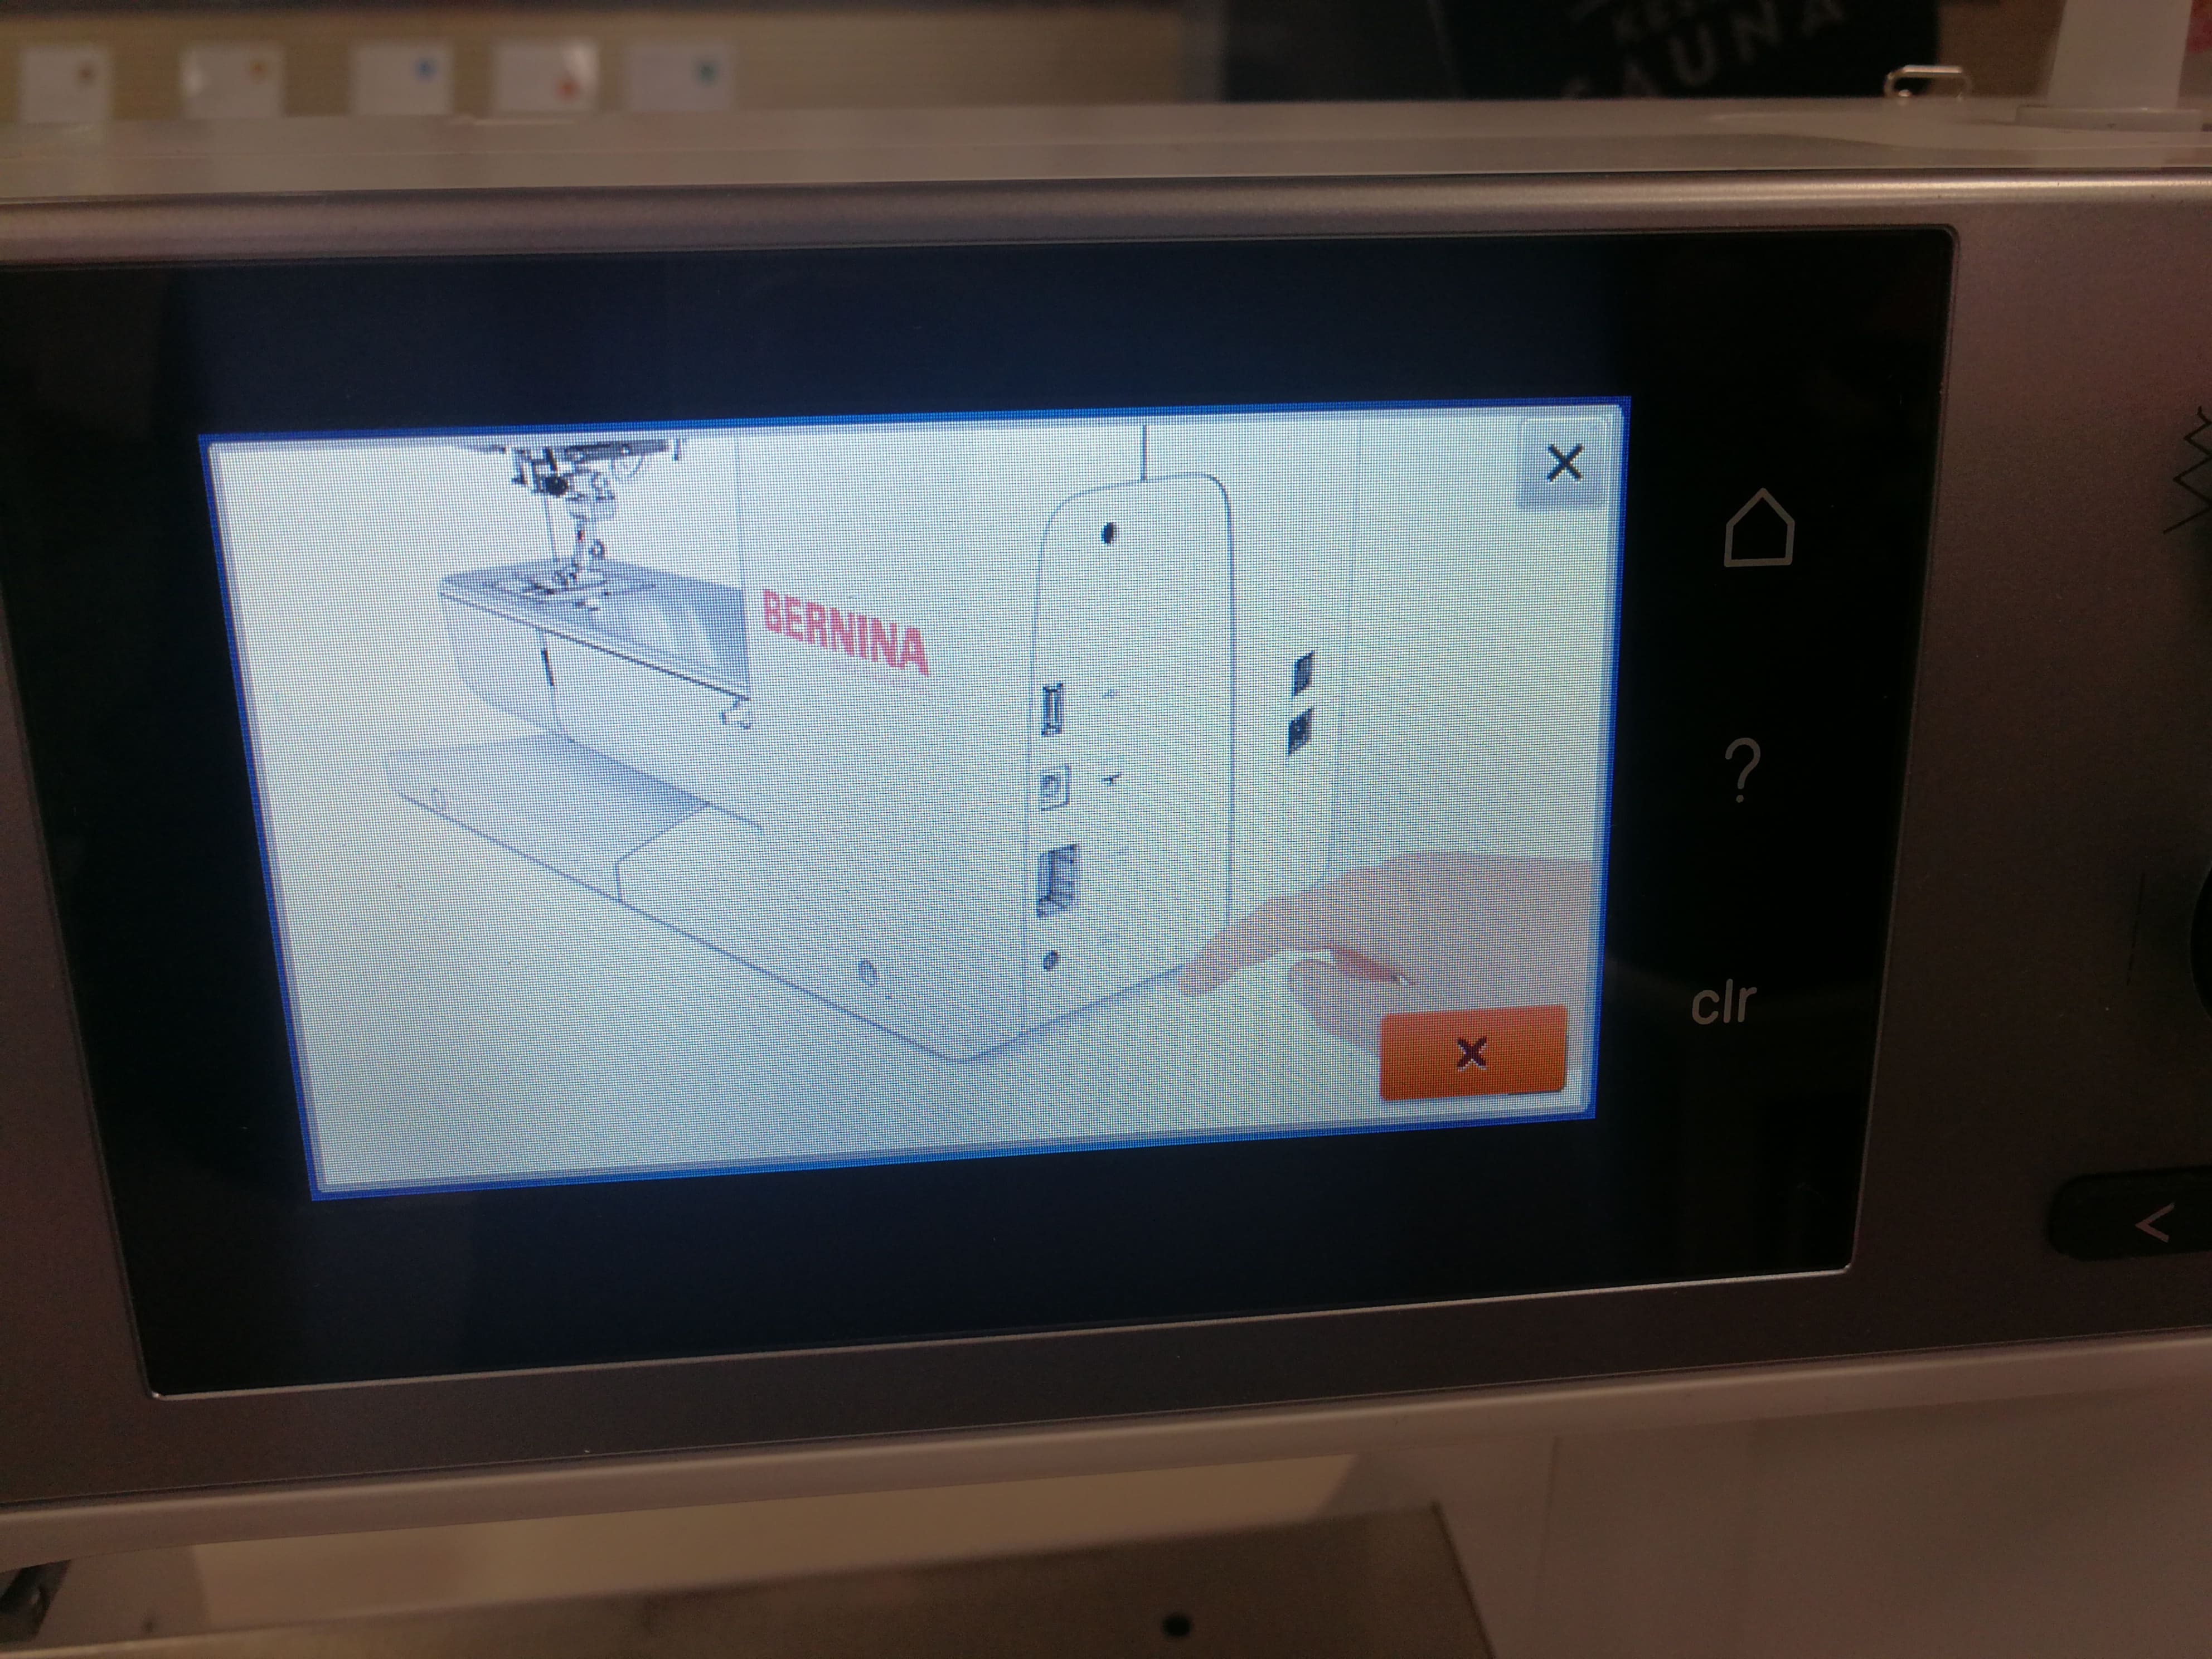 Figure 25. The control panel of embroidery machine 1: shows instructions for putting a USB Drive at the designated port.
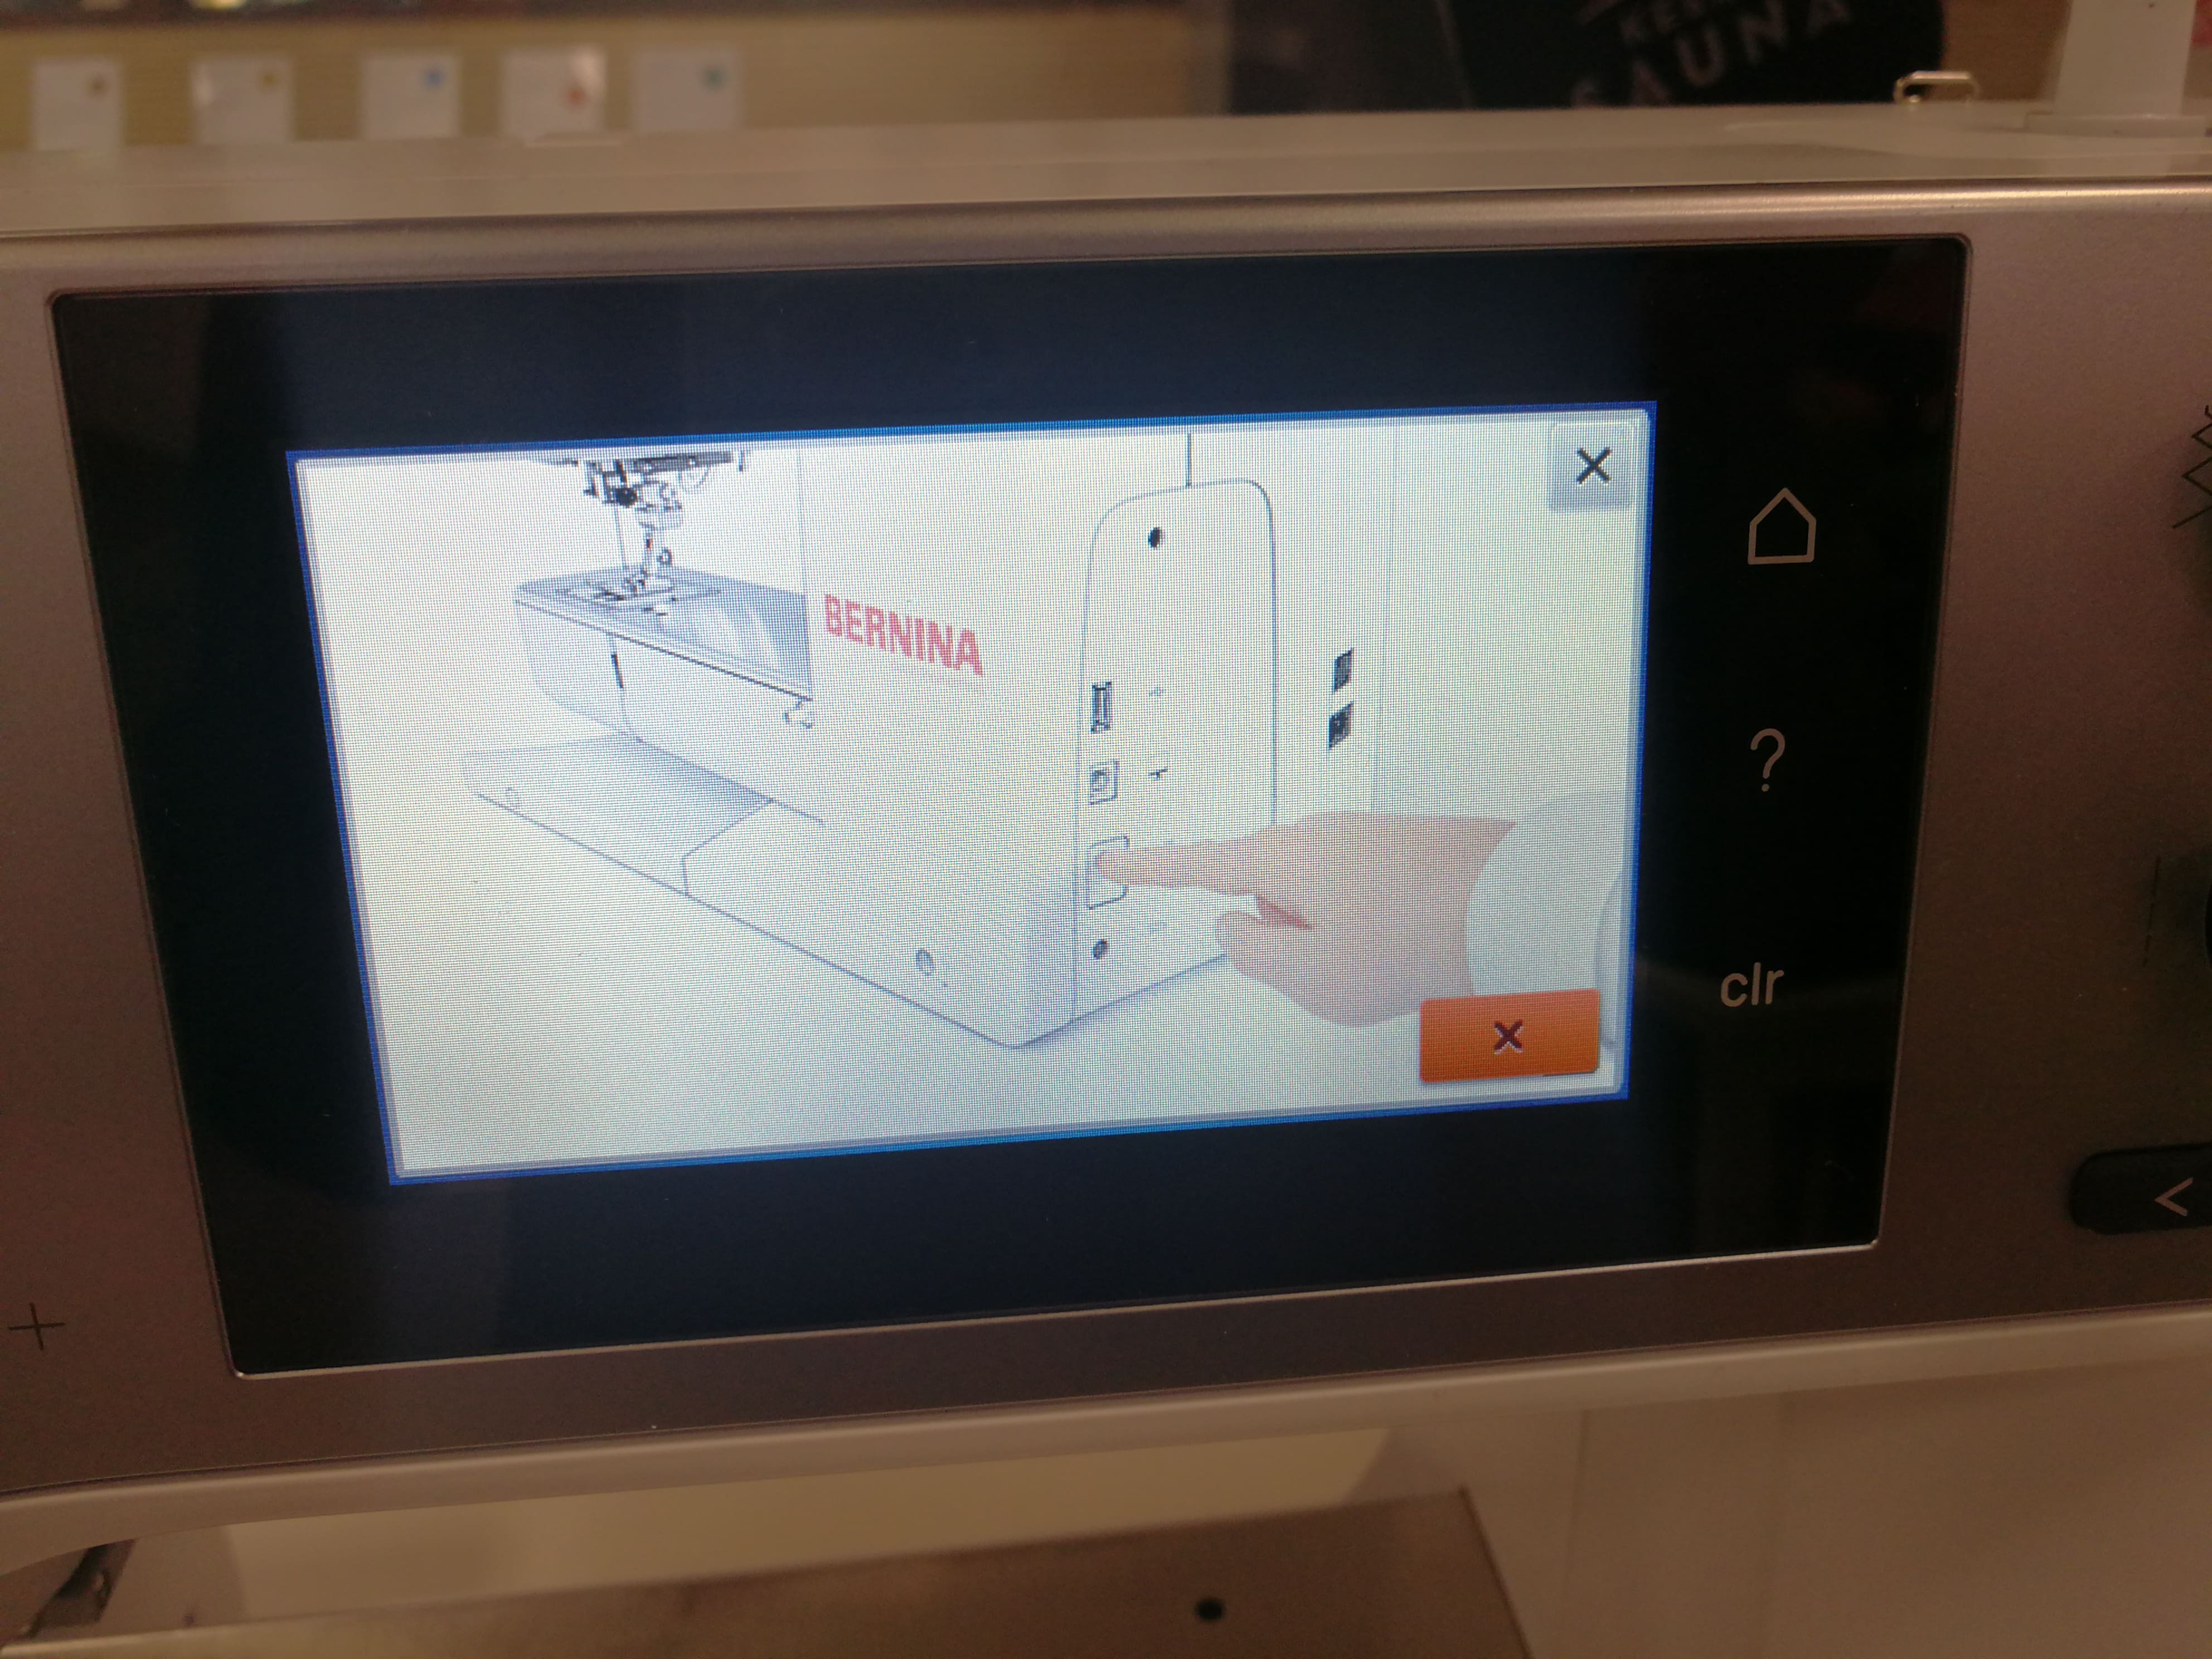 Figure 26. The control panel of embroidery machine 2: shows instructions for putting a USB Drive at the designated port.
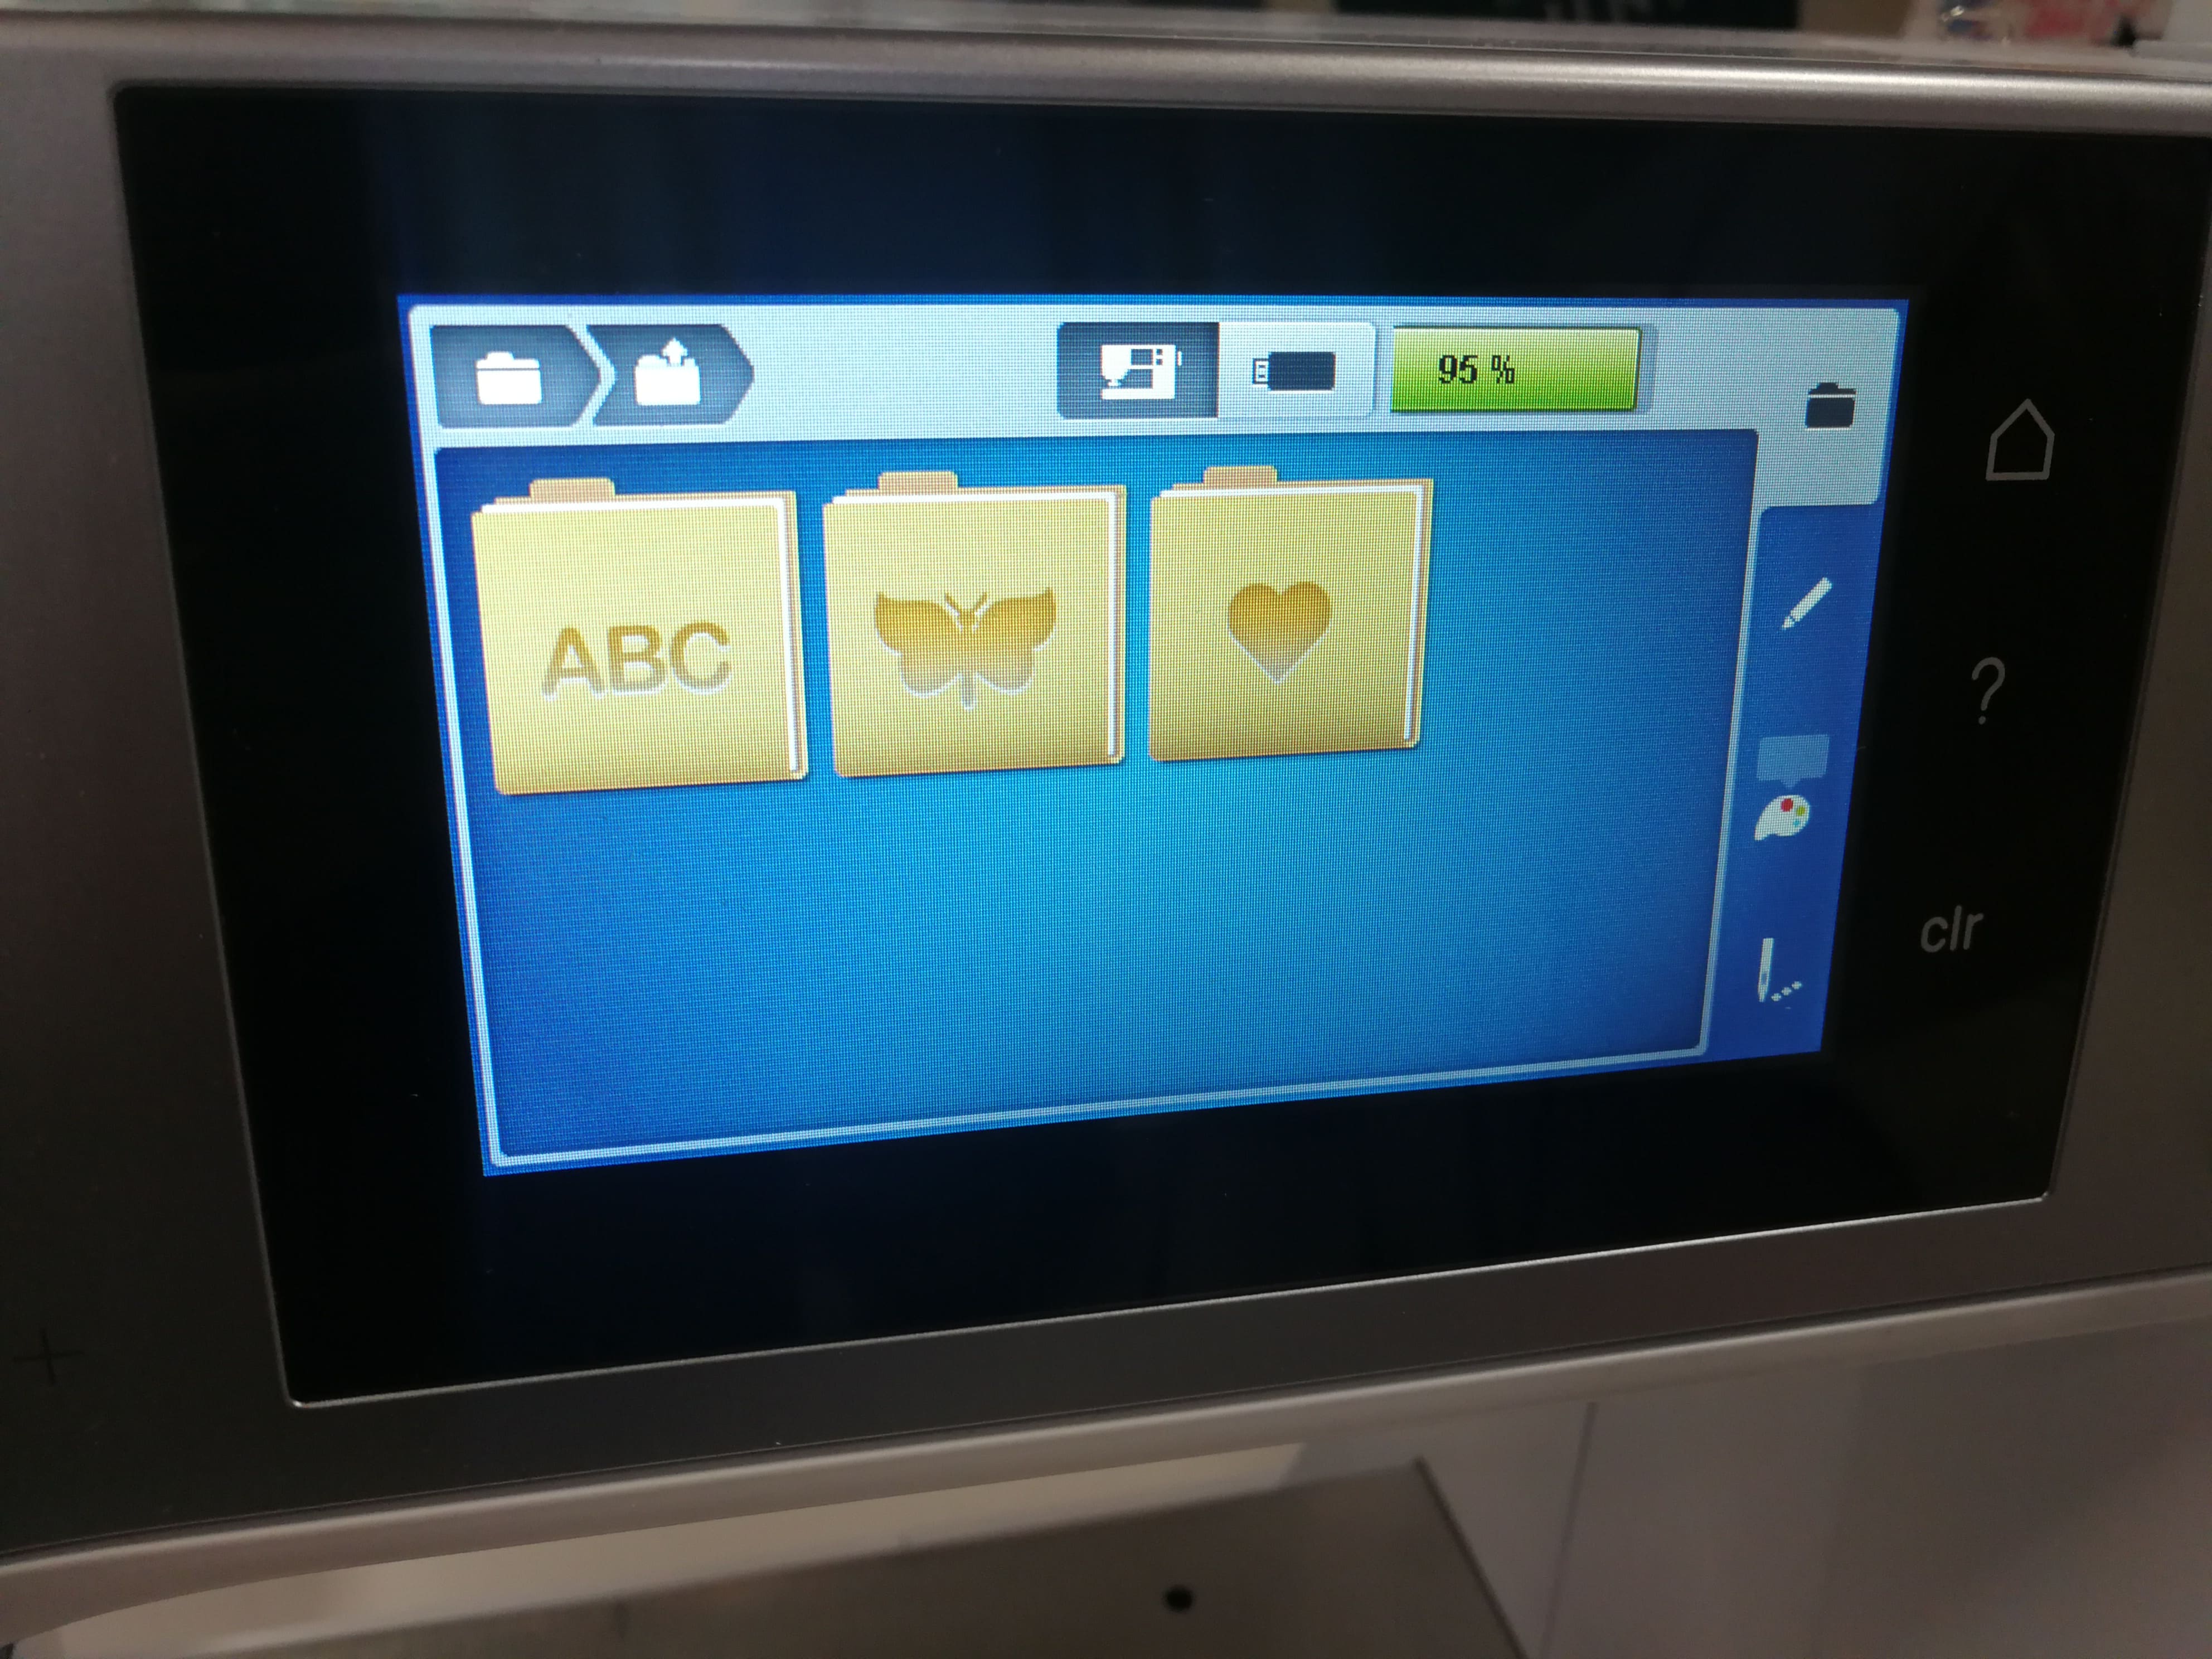 Figure 27. The control panel of the embroidery machine: showing folders from previous iterations.
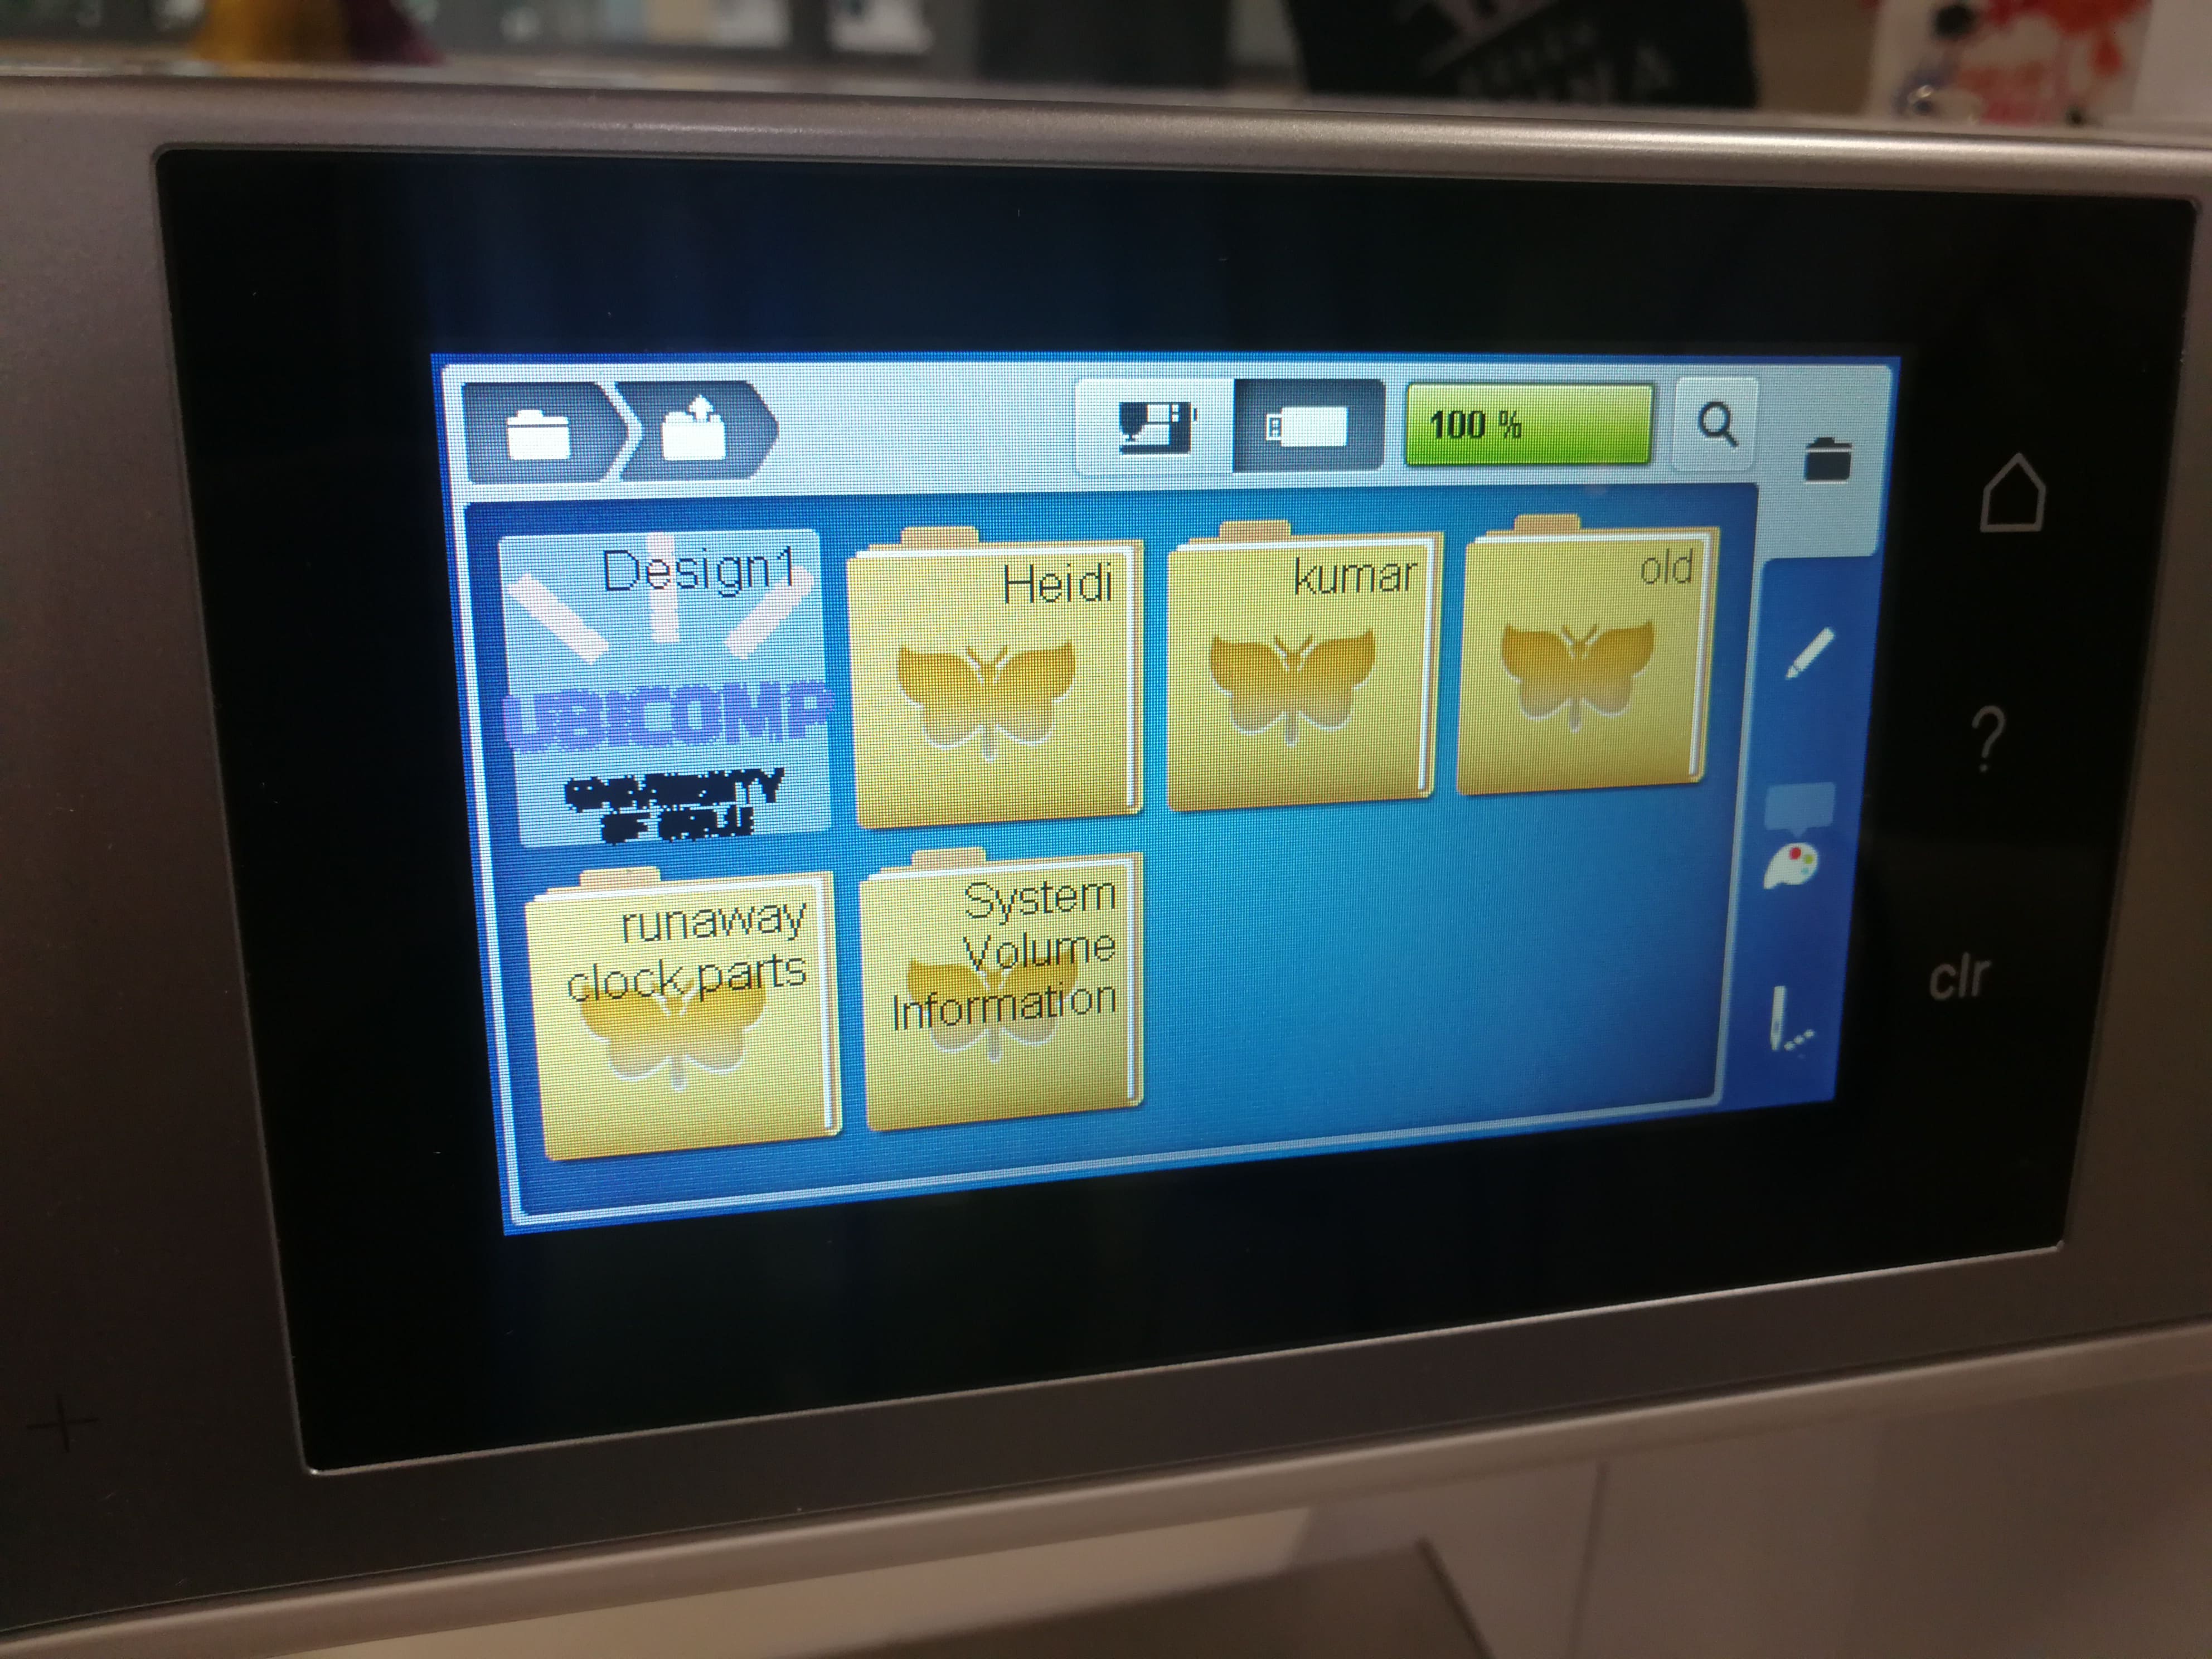 Figure 28. The control panel of the embroidery machine: shows folders and files from the inserted USB drive. The design file is in the root directory itself. Select the right design file.
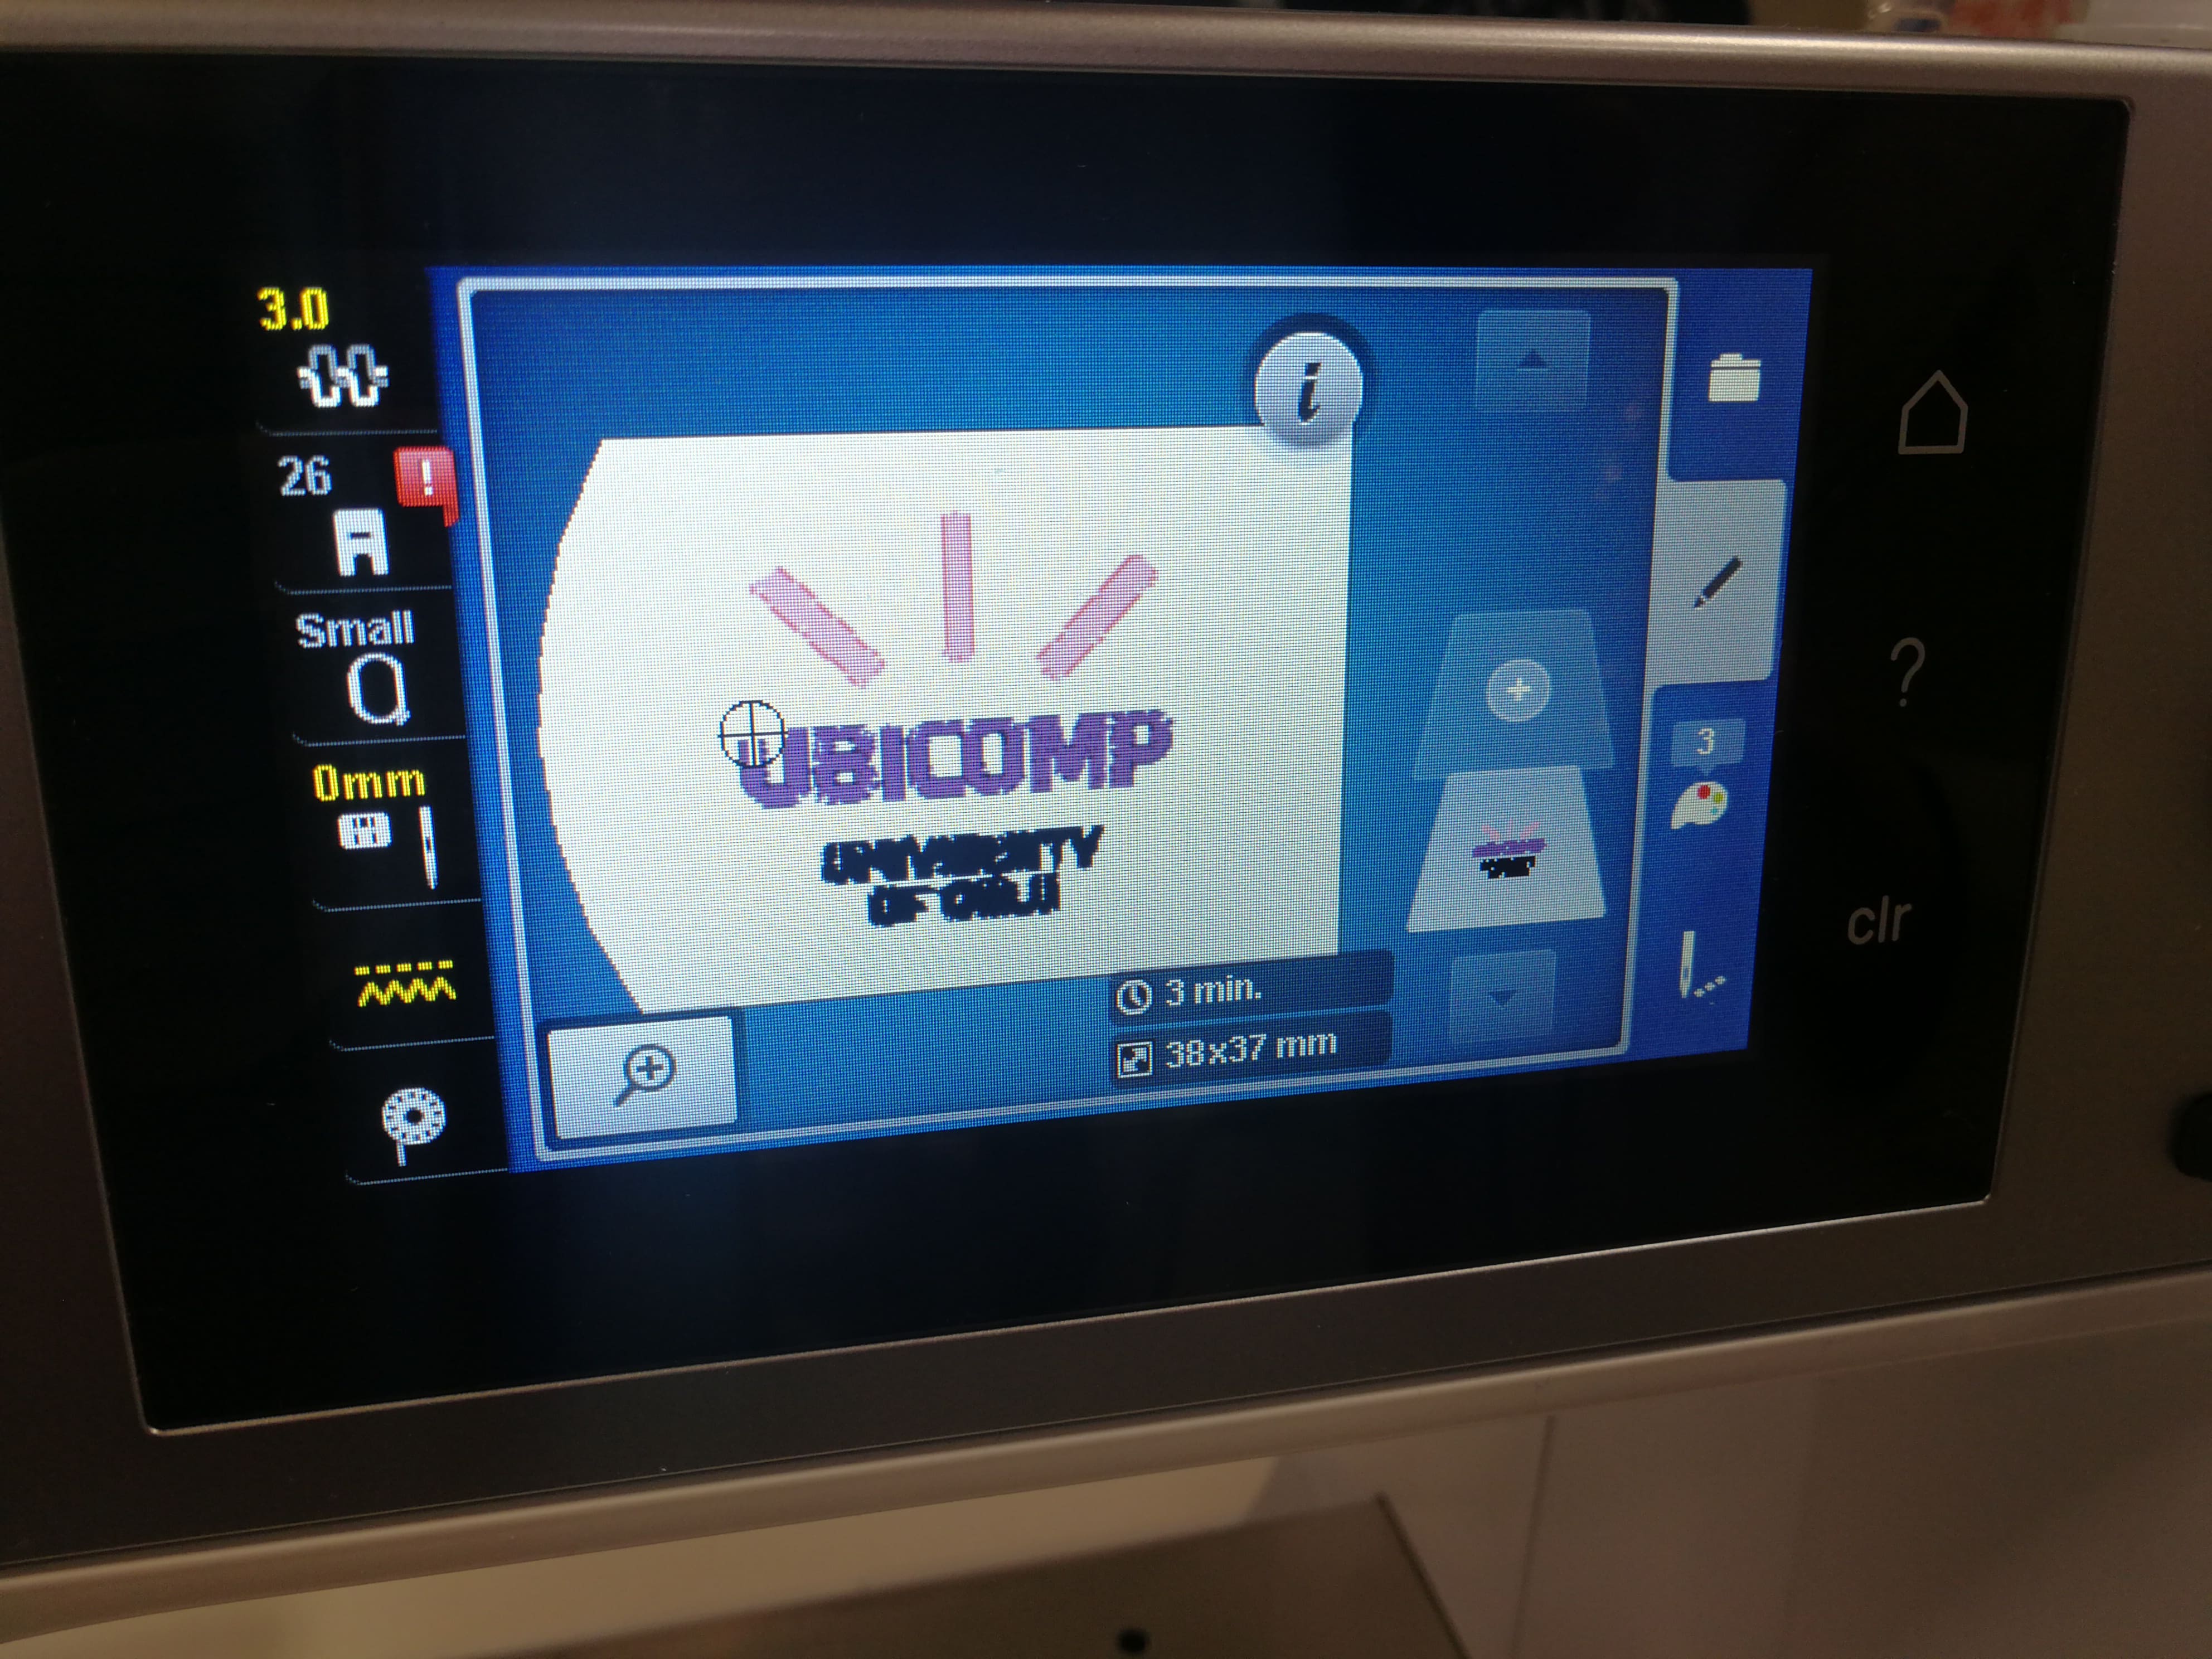 Figure 29. The control panel of the embroidery machine after selecting the design file: Showing estimated time
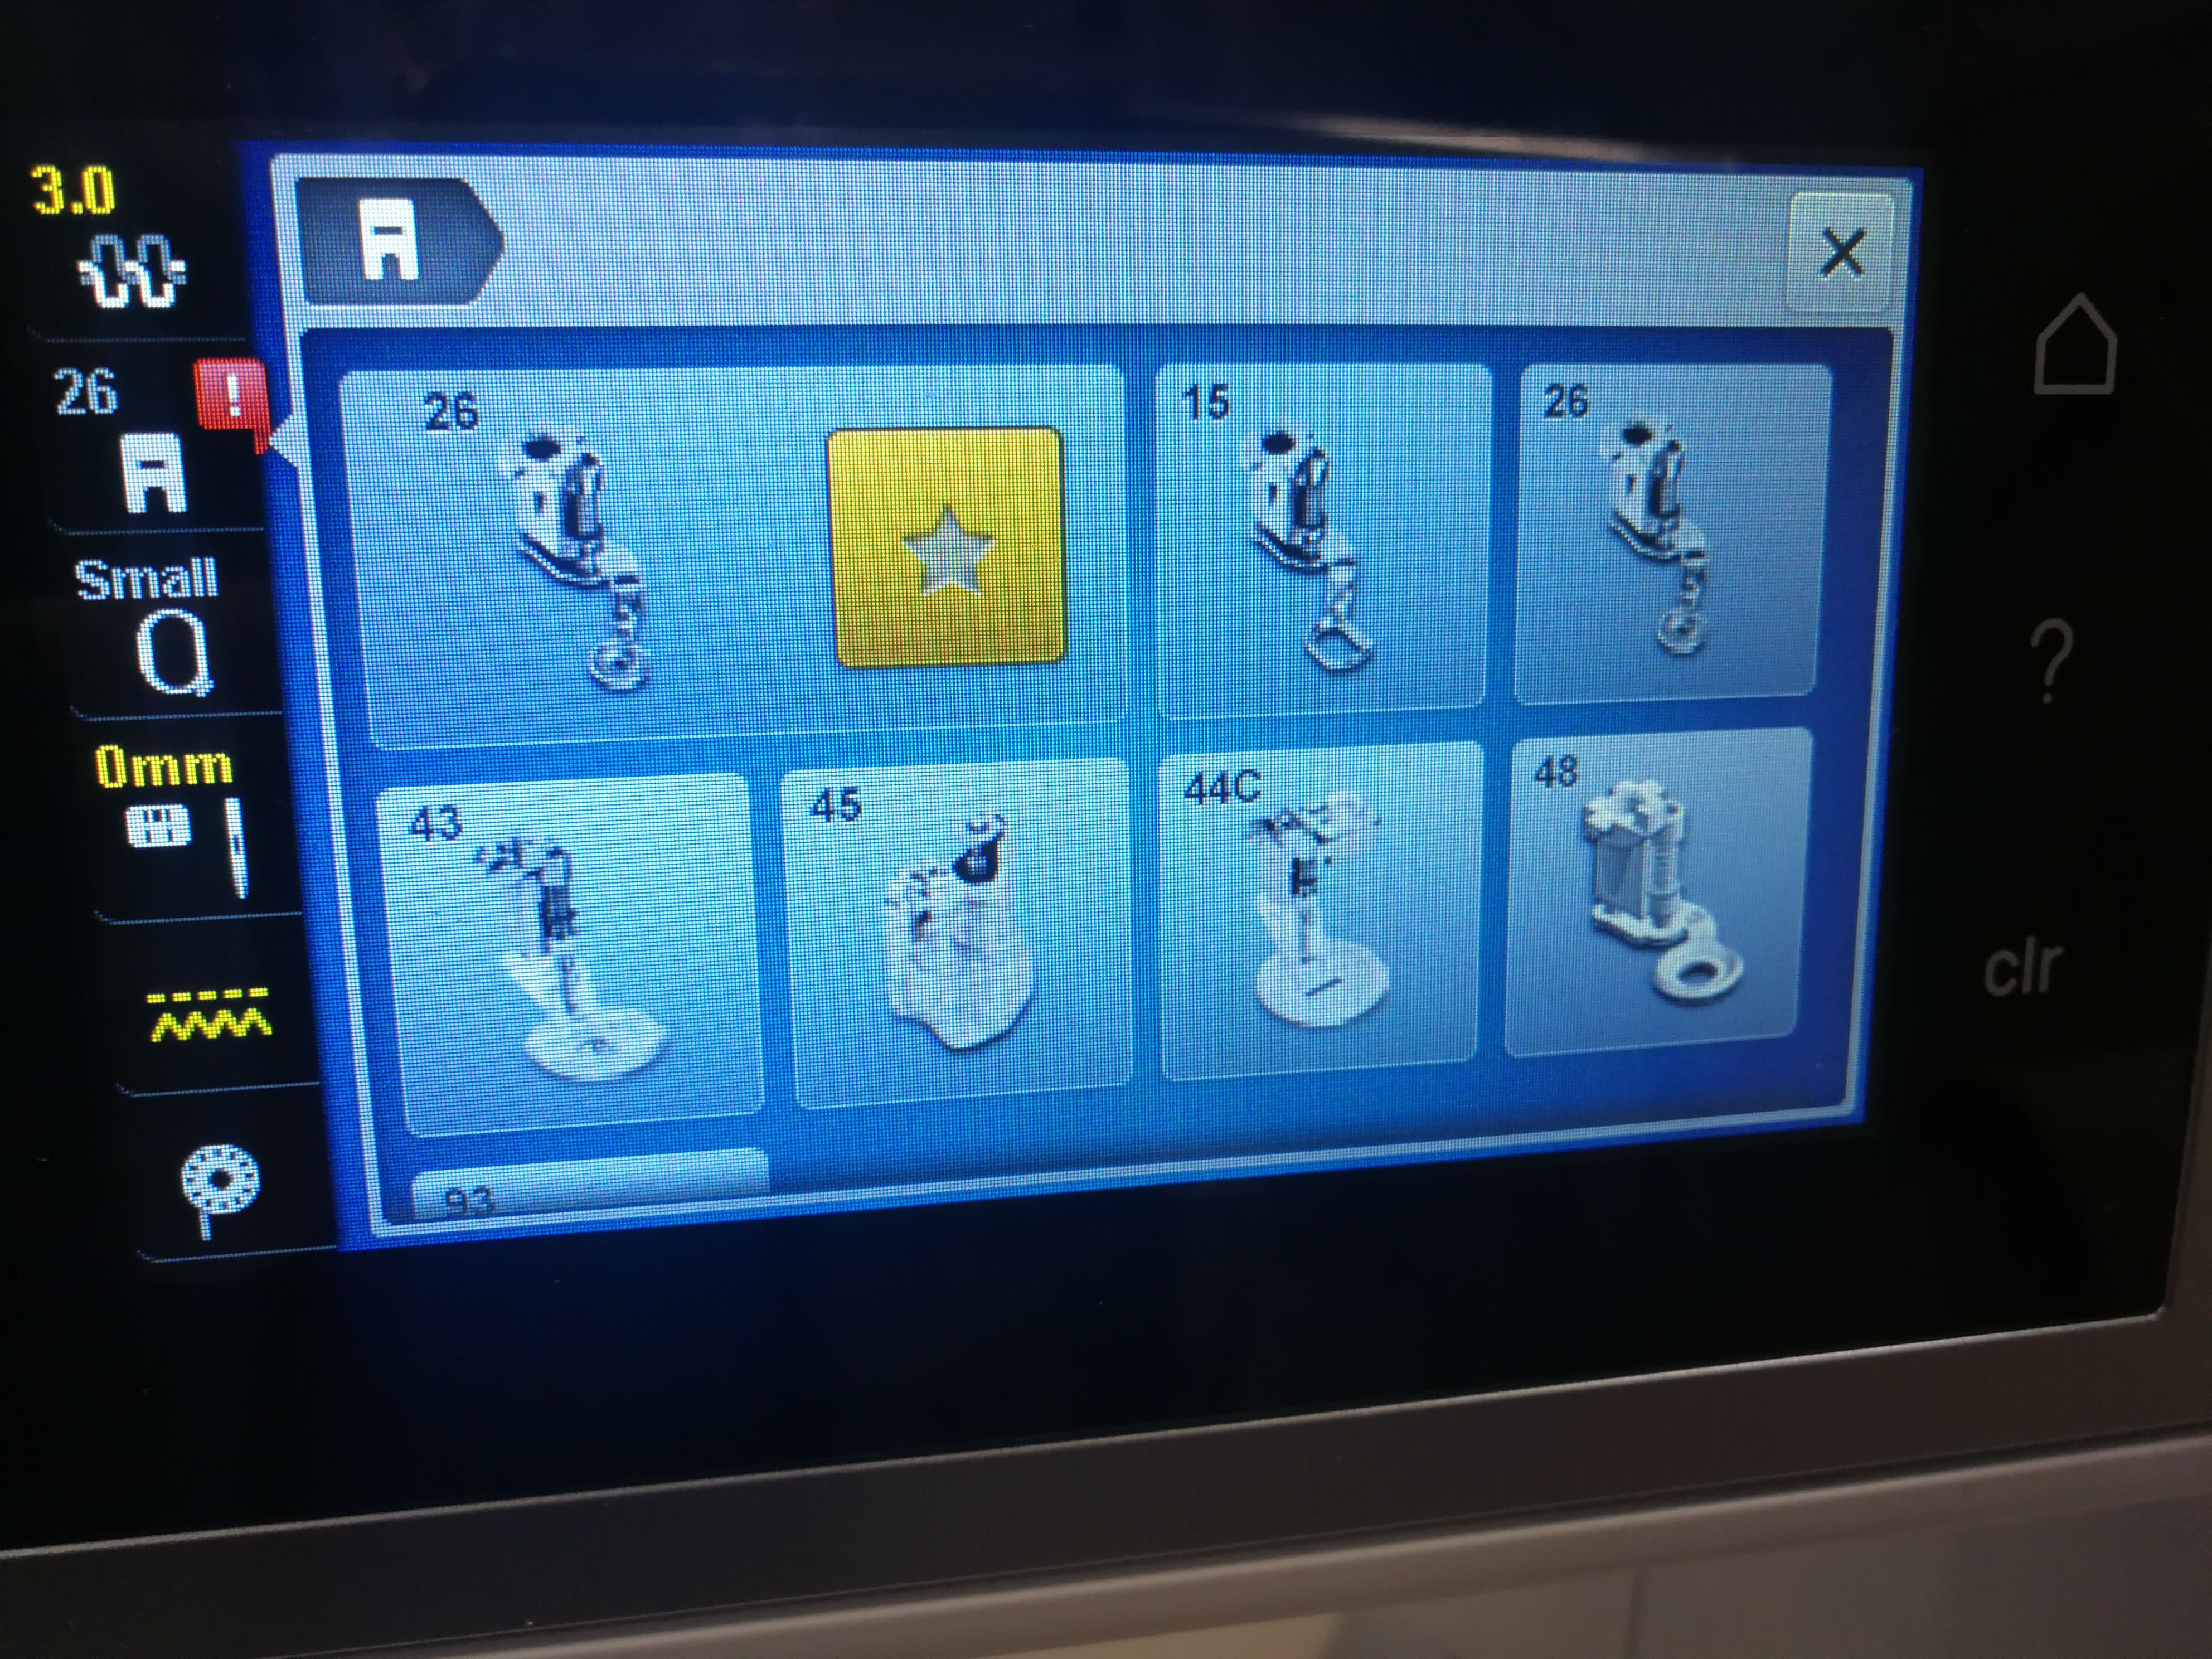 Figure 30. The control panel of the embroidery machine: Showing steps to insert the thread into the machine.
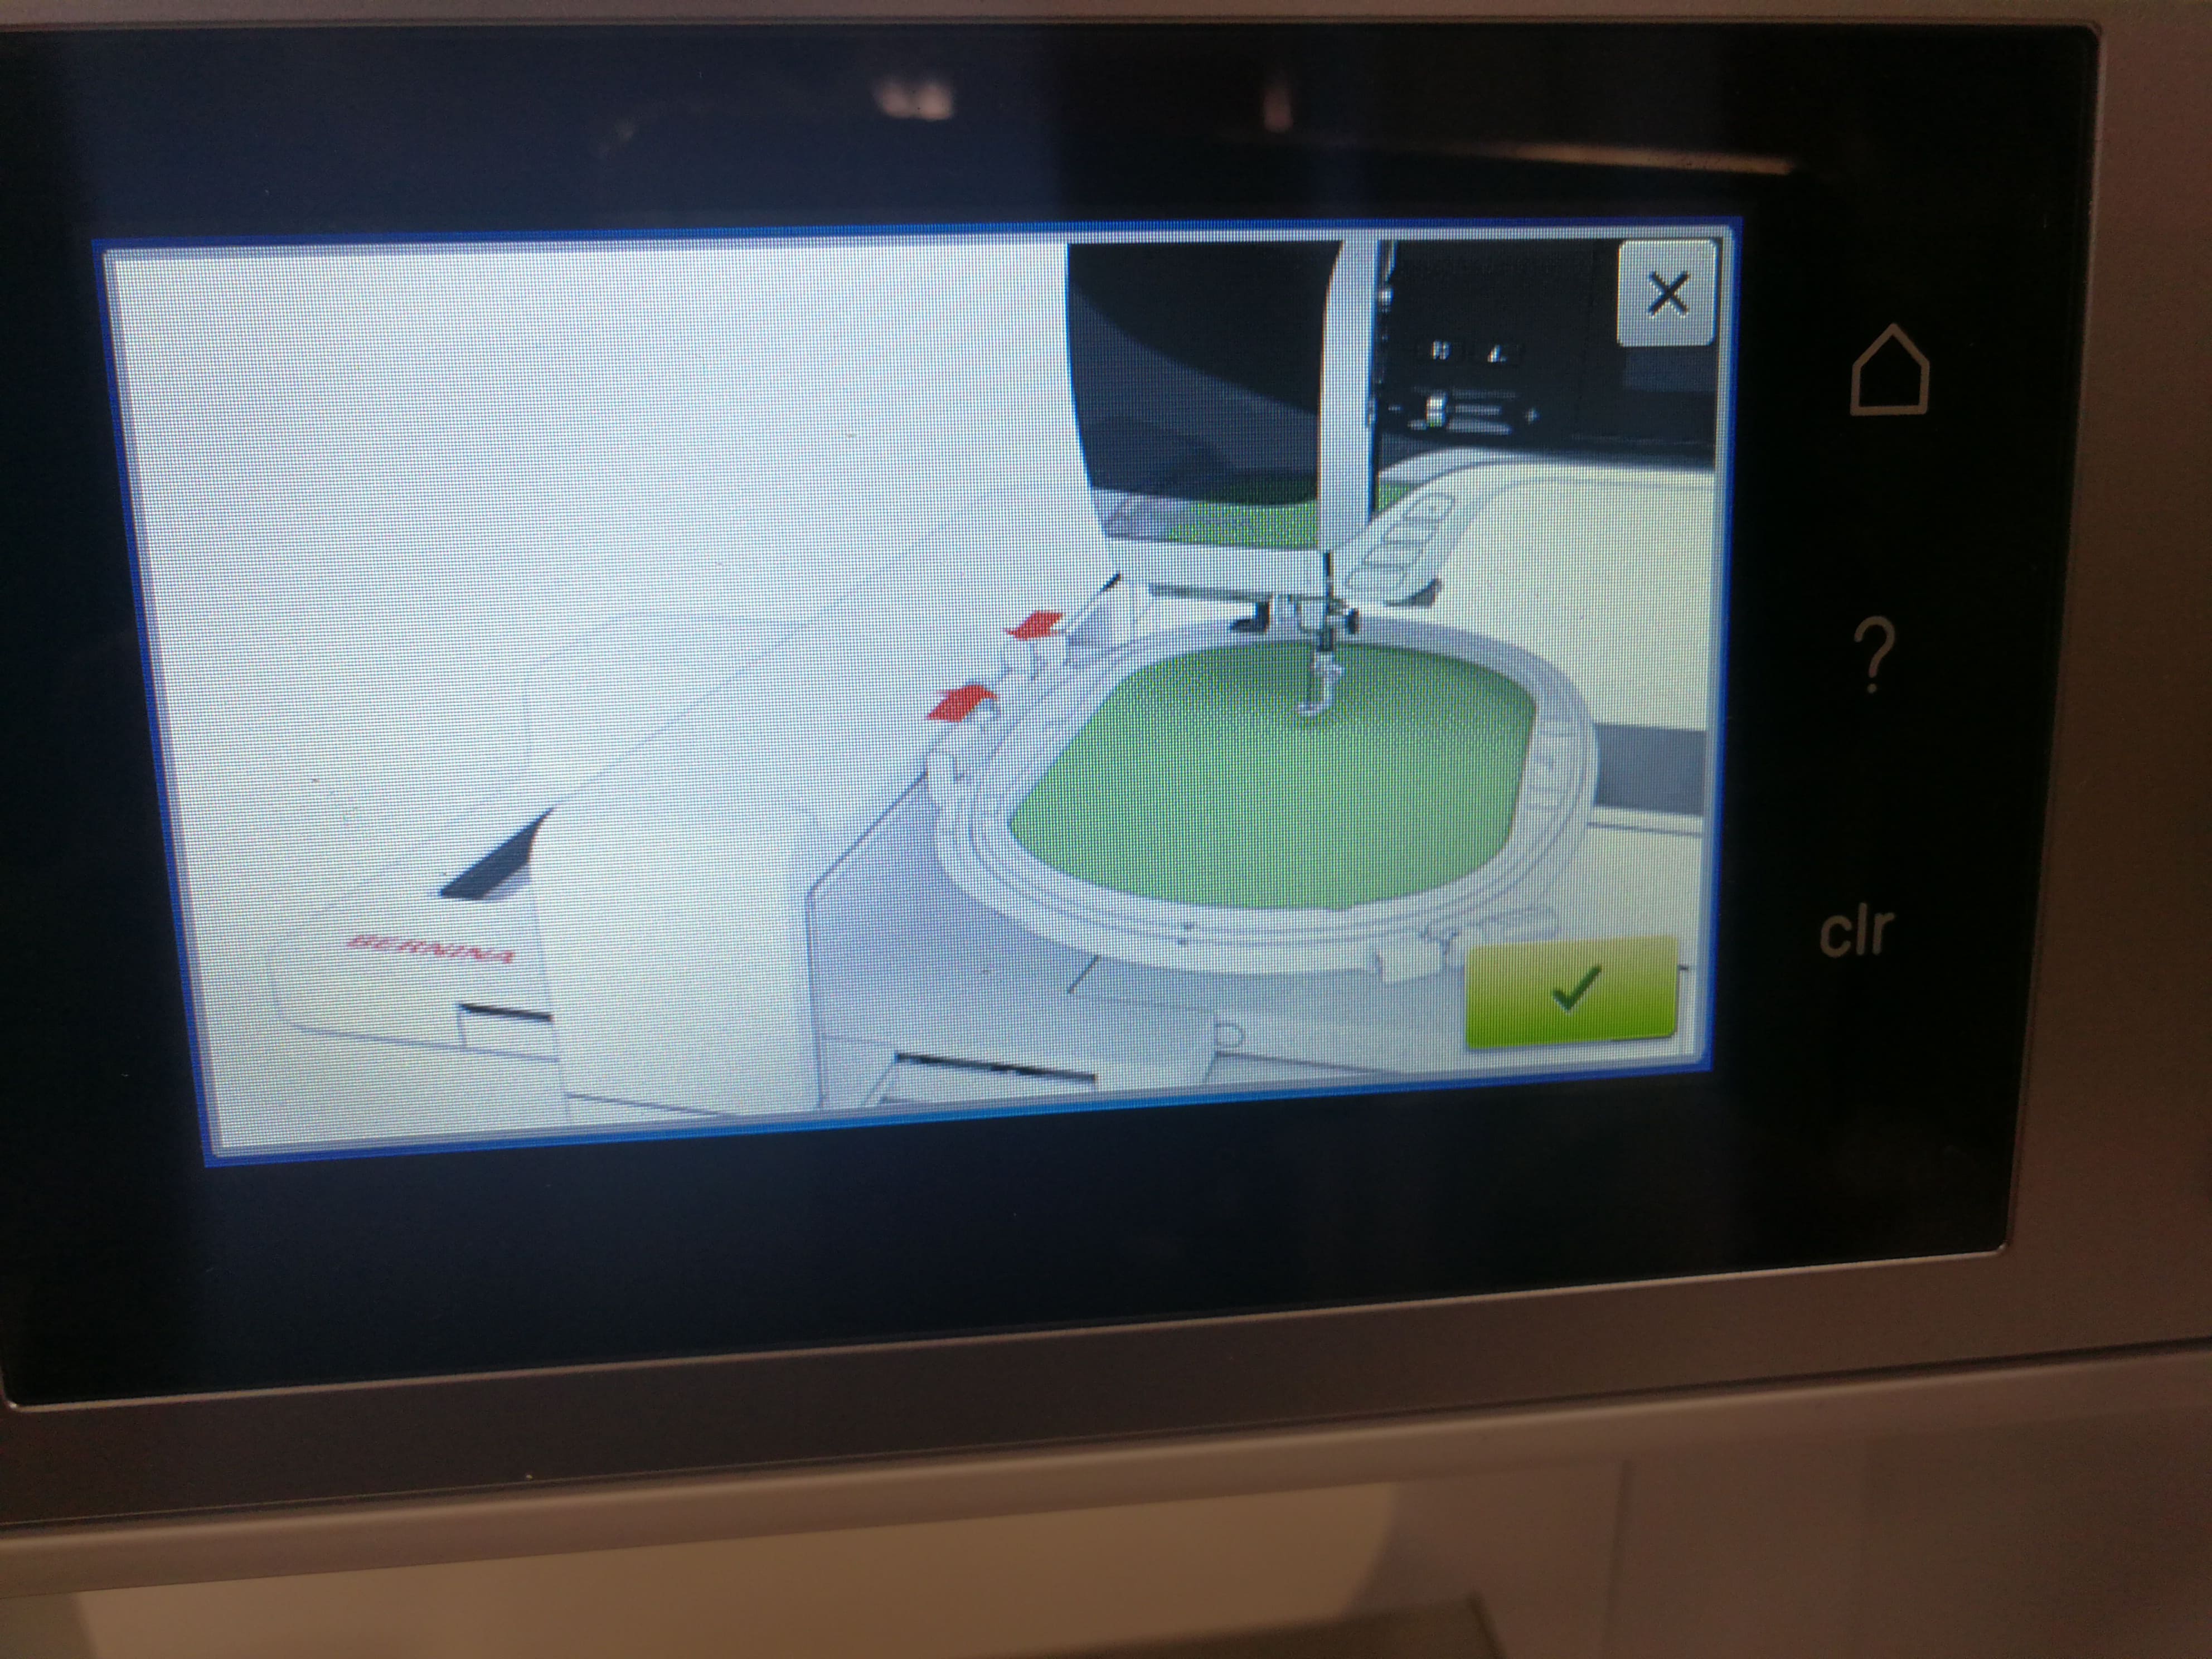 Figure 31. The control panel of the embroidery machine: showing steps to set the hook with sewing cloth to the embroidery machine 1.
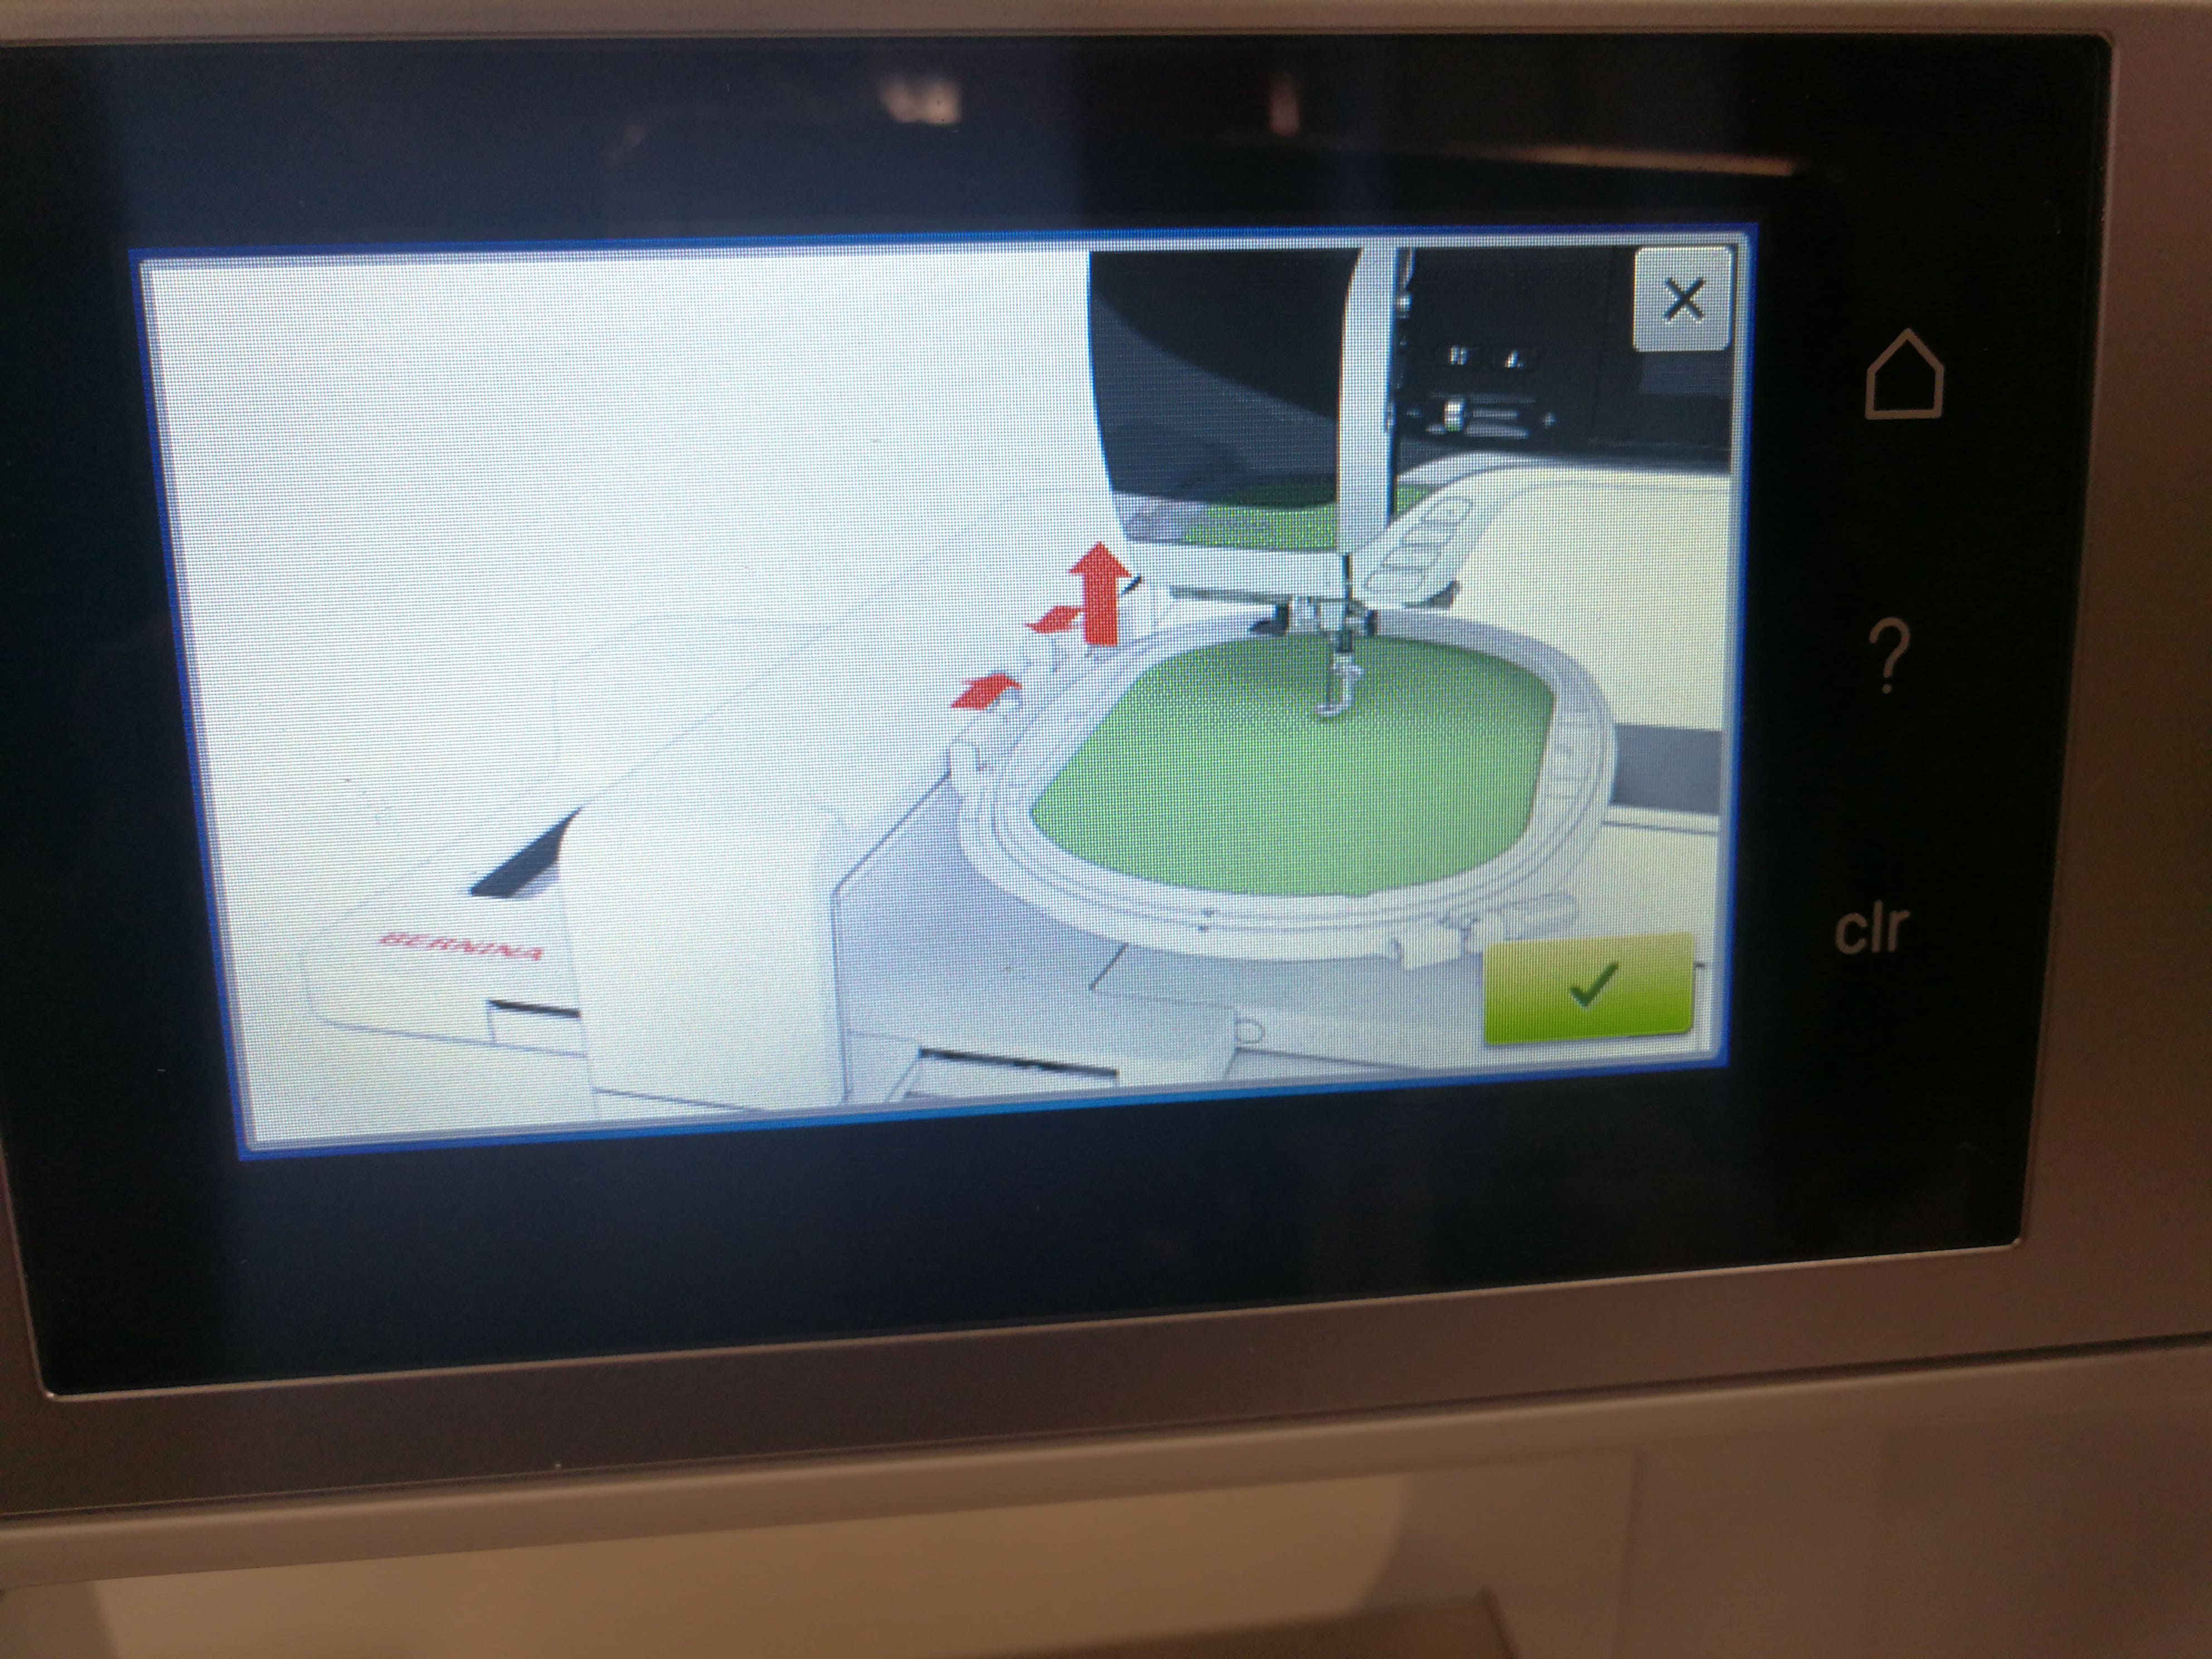 Figure 32. The control panel of the embroidery machine: showing steps to set the hook with sewing cloth to the embroidery machine 2.
Figures 33-34 show steps to set the hook to the embroidery machine.
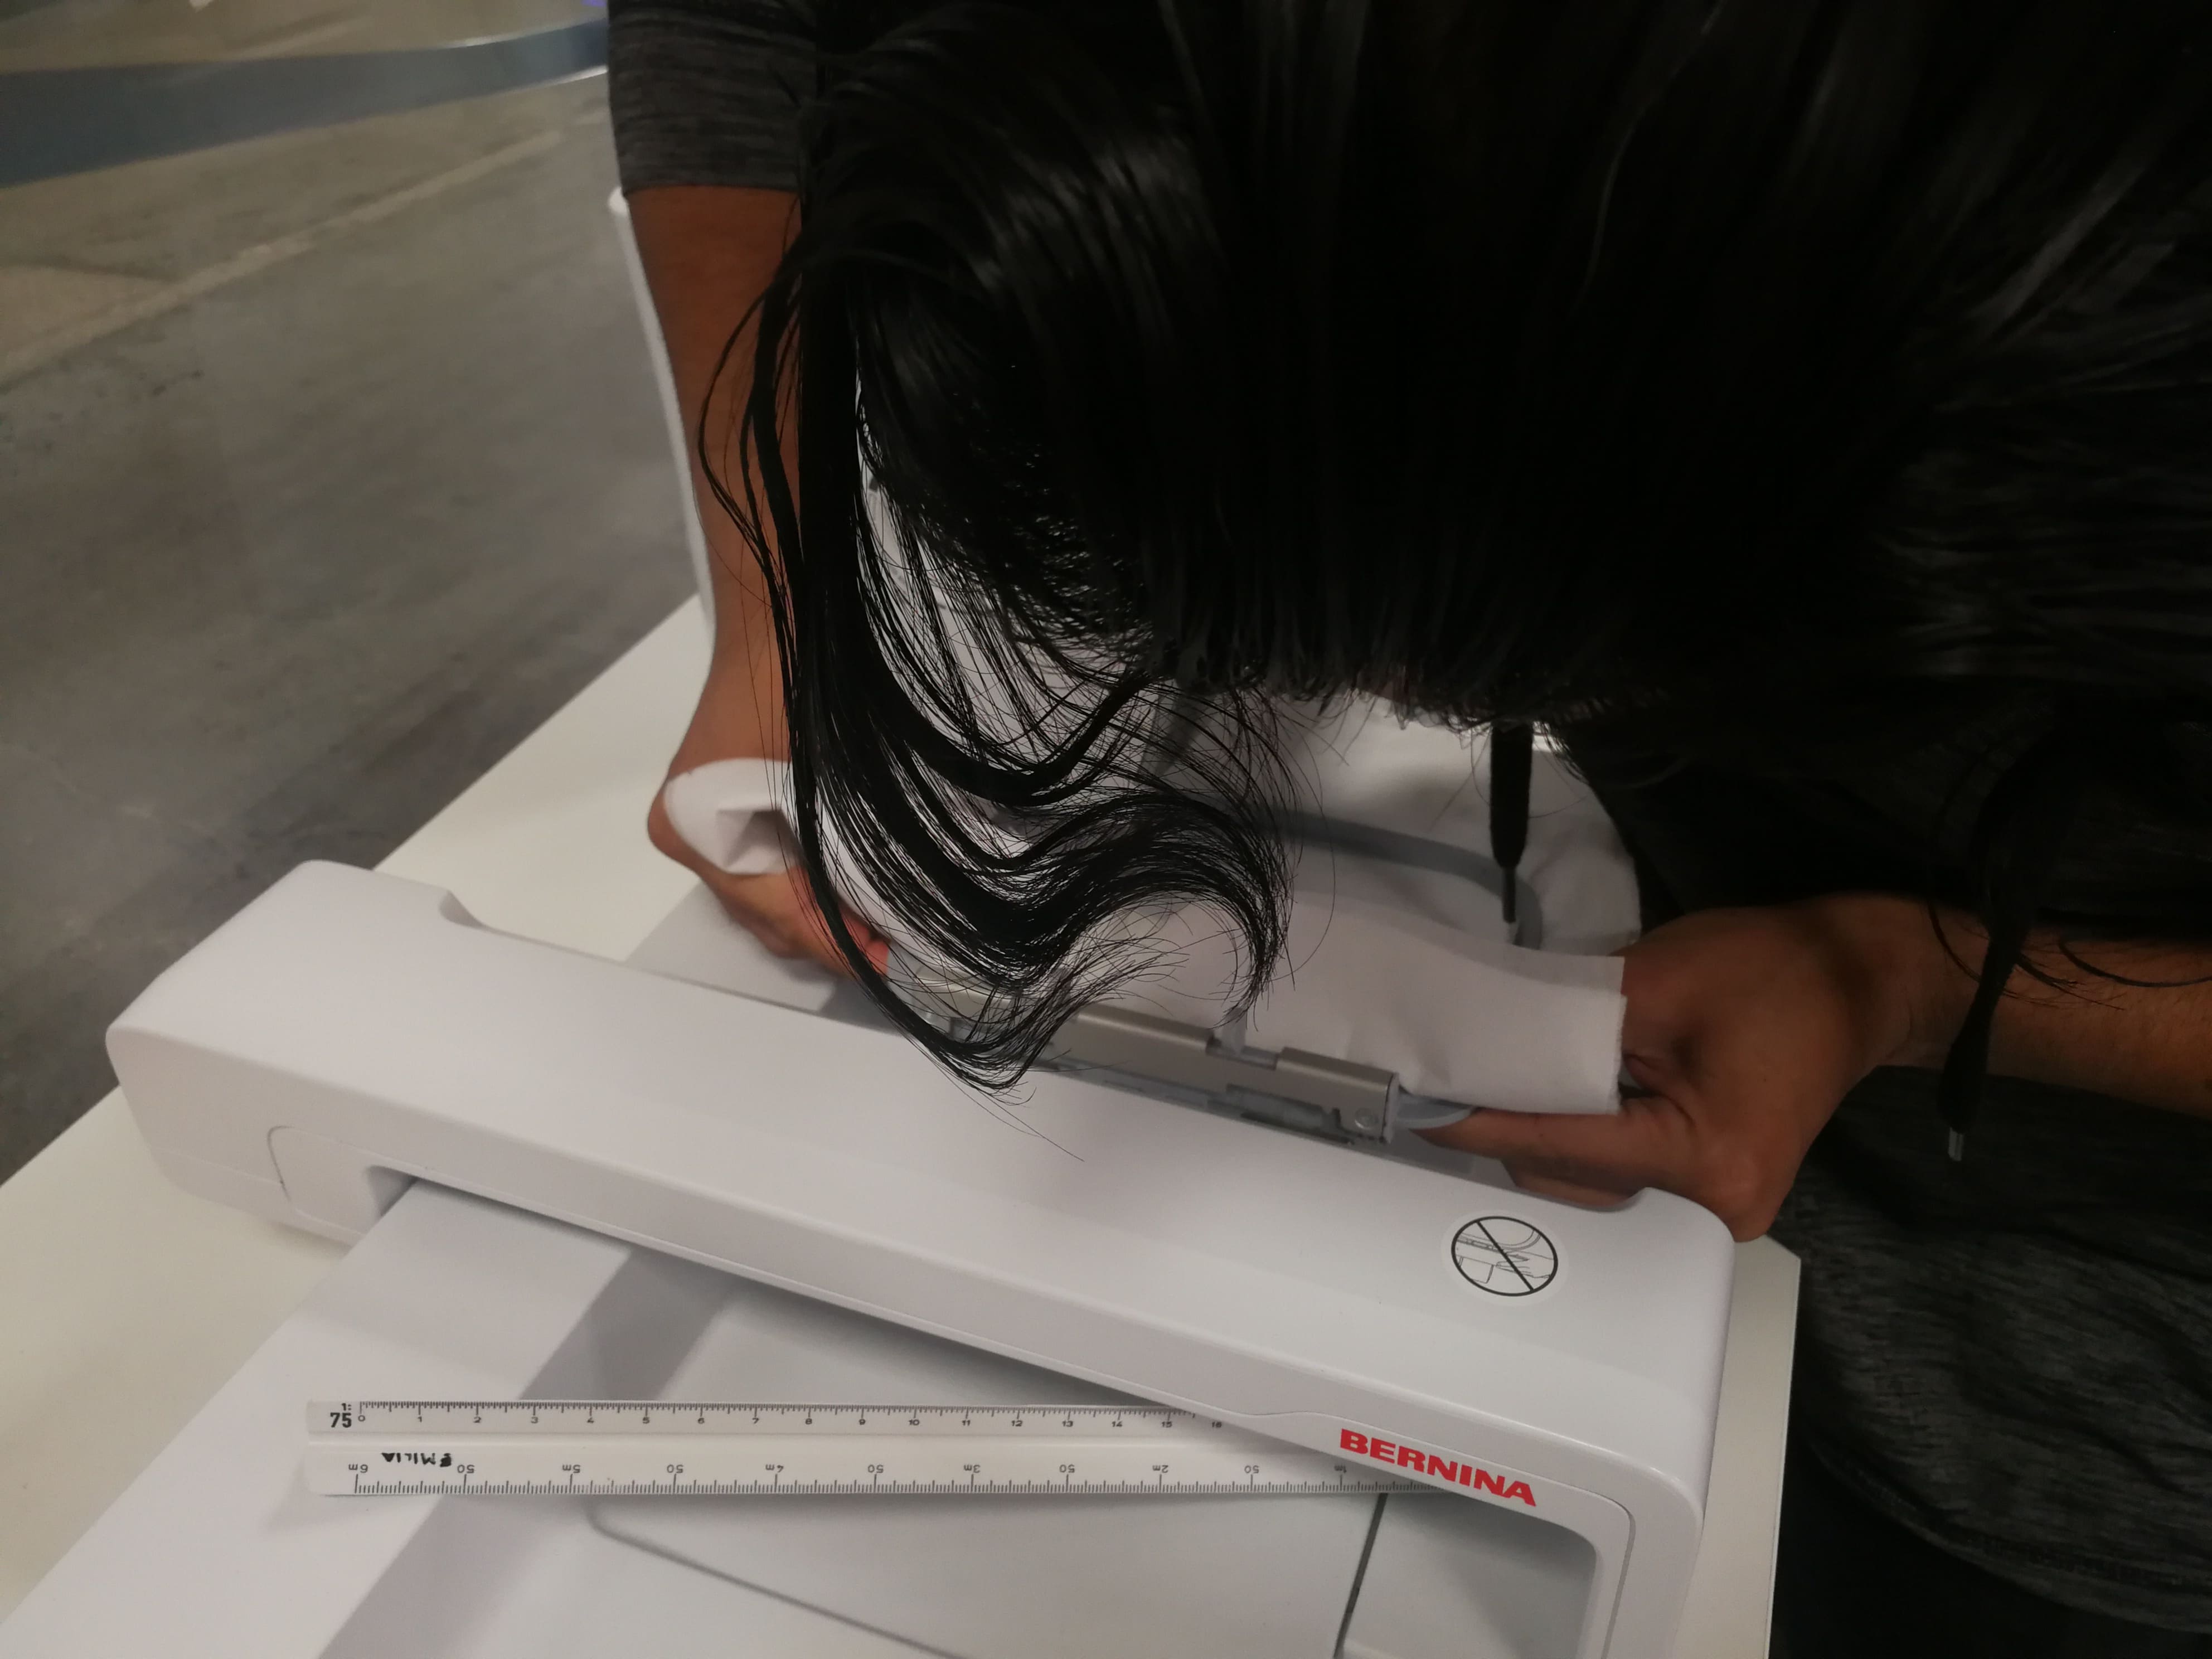 Figure 33. Setting the hook with embroidery cloth to the machine 1
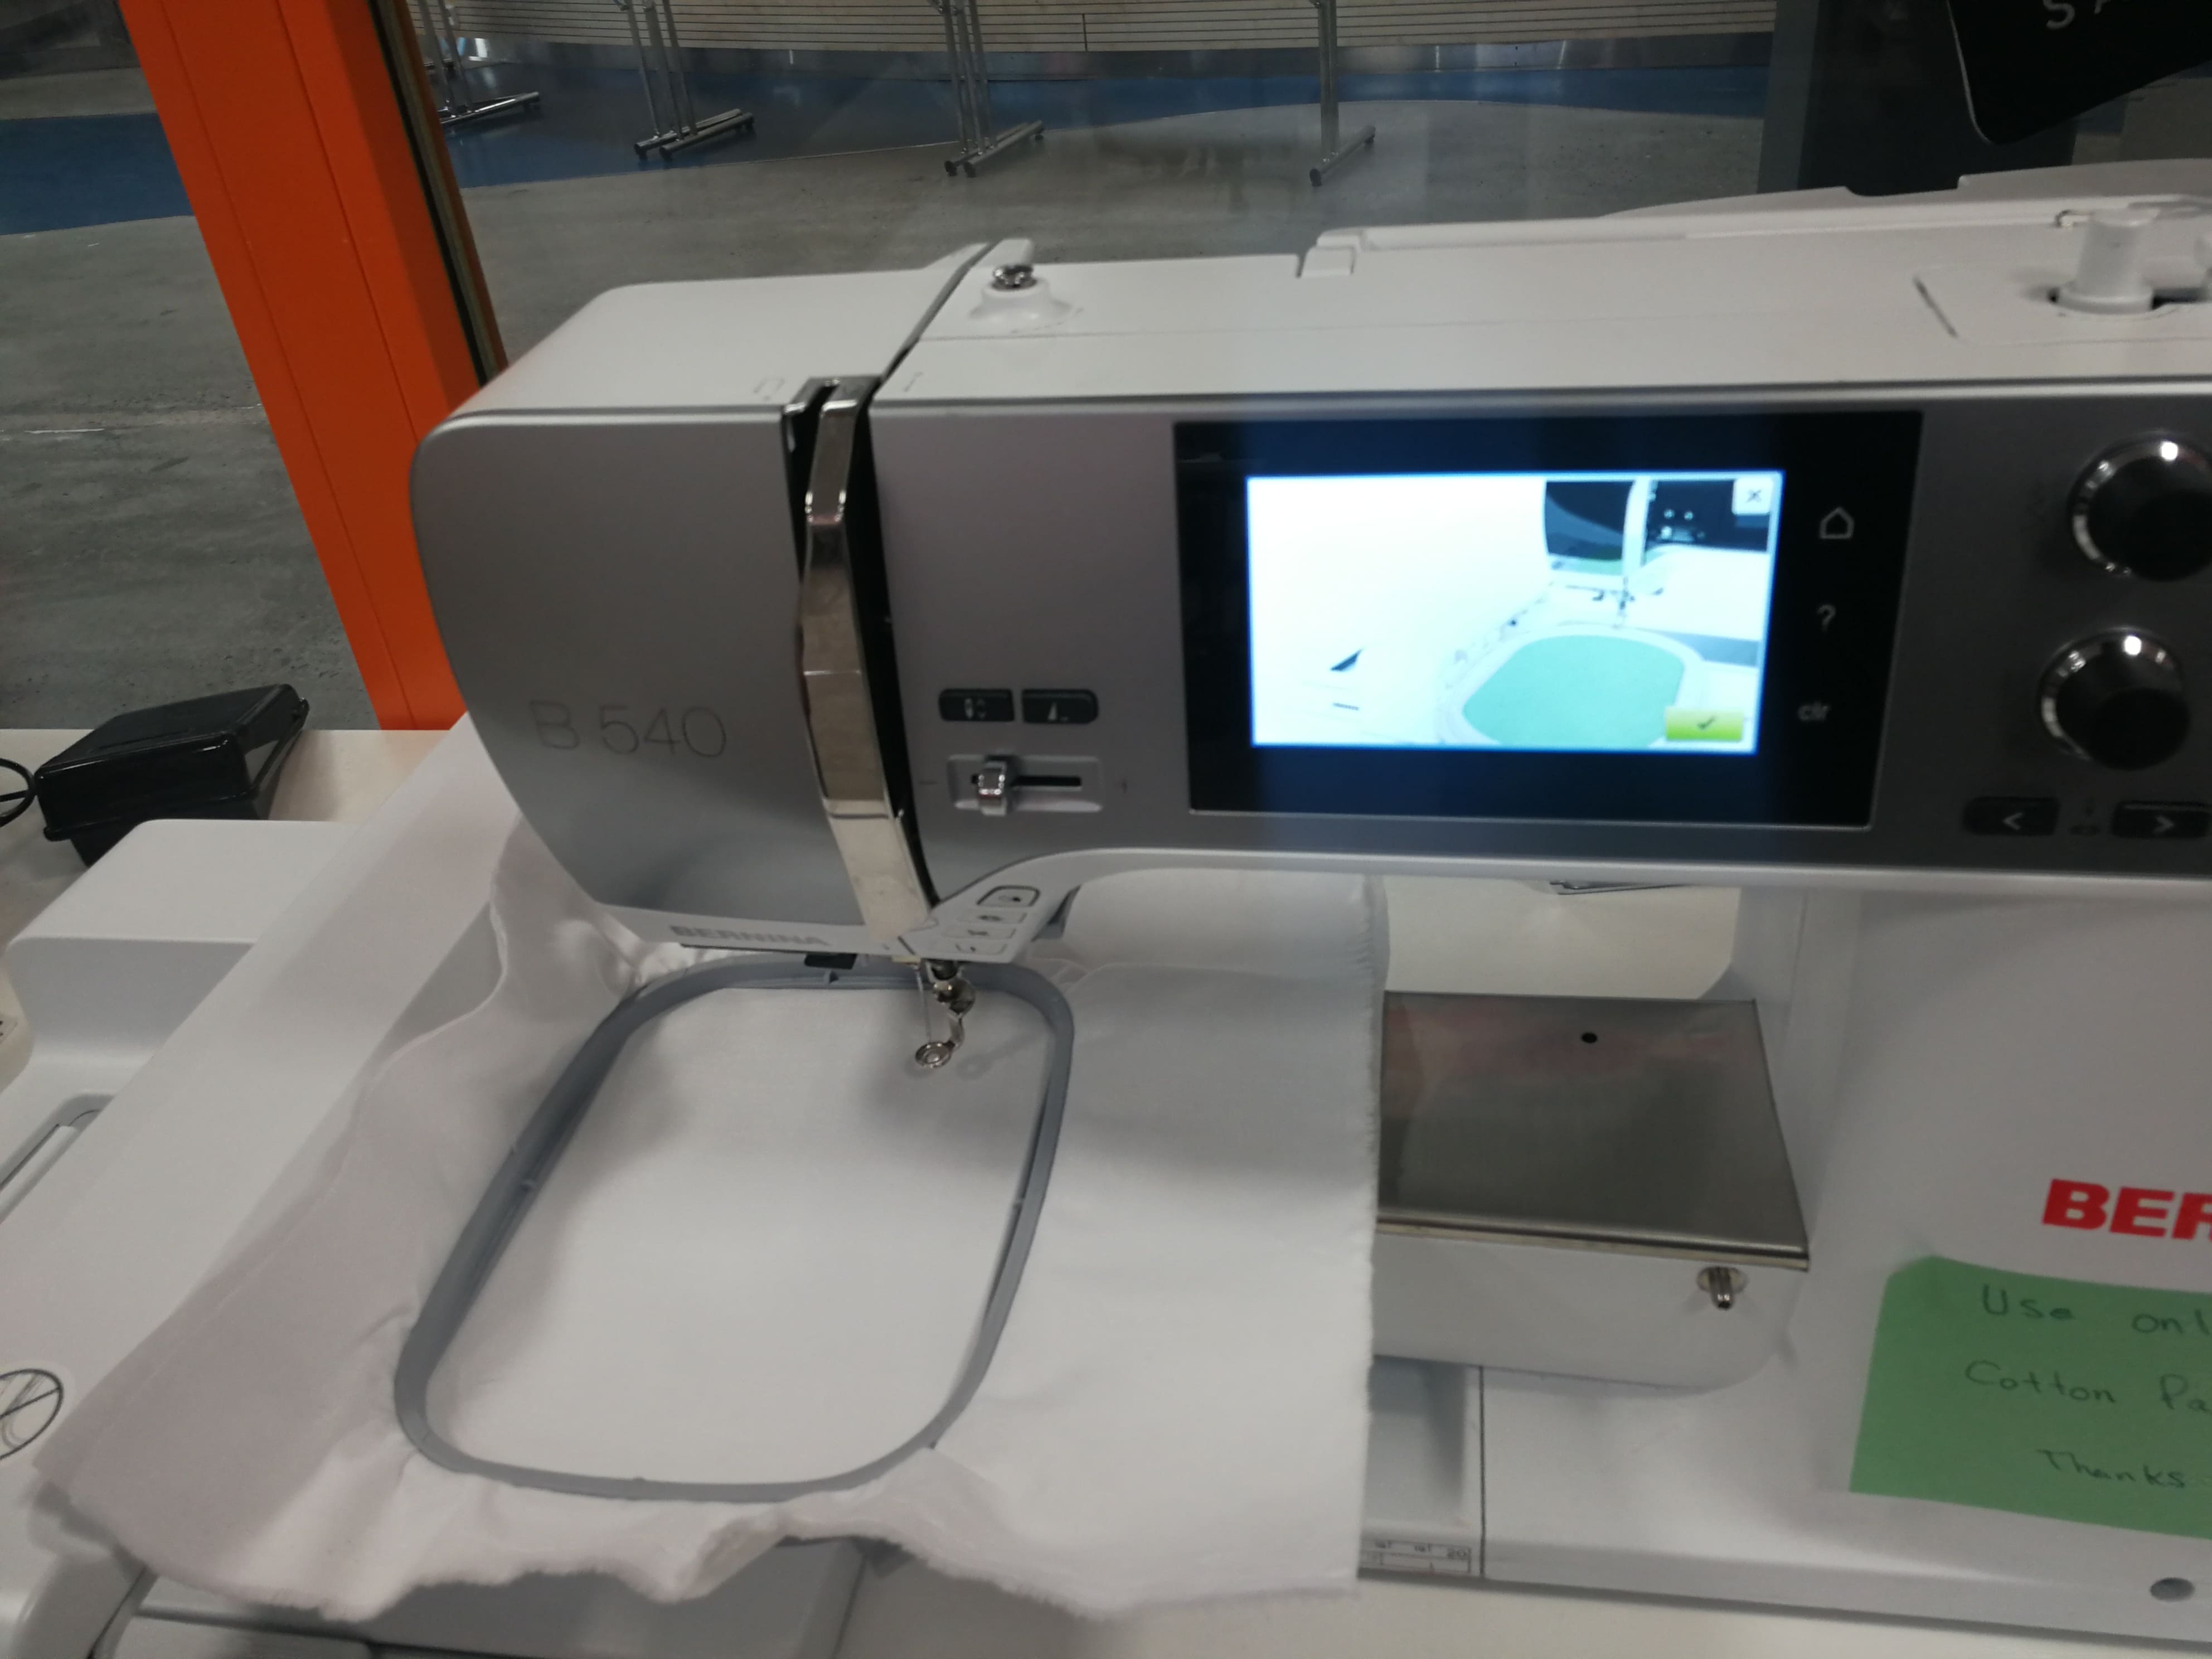 Figure 34. Setting the hook with embroidery cloth to the machine 2
Figures 35-38 show steps to decide the origin from where the embroidery will begin.
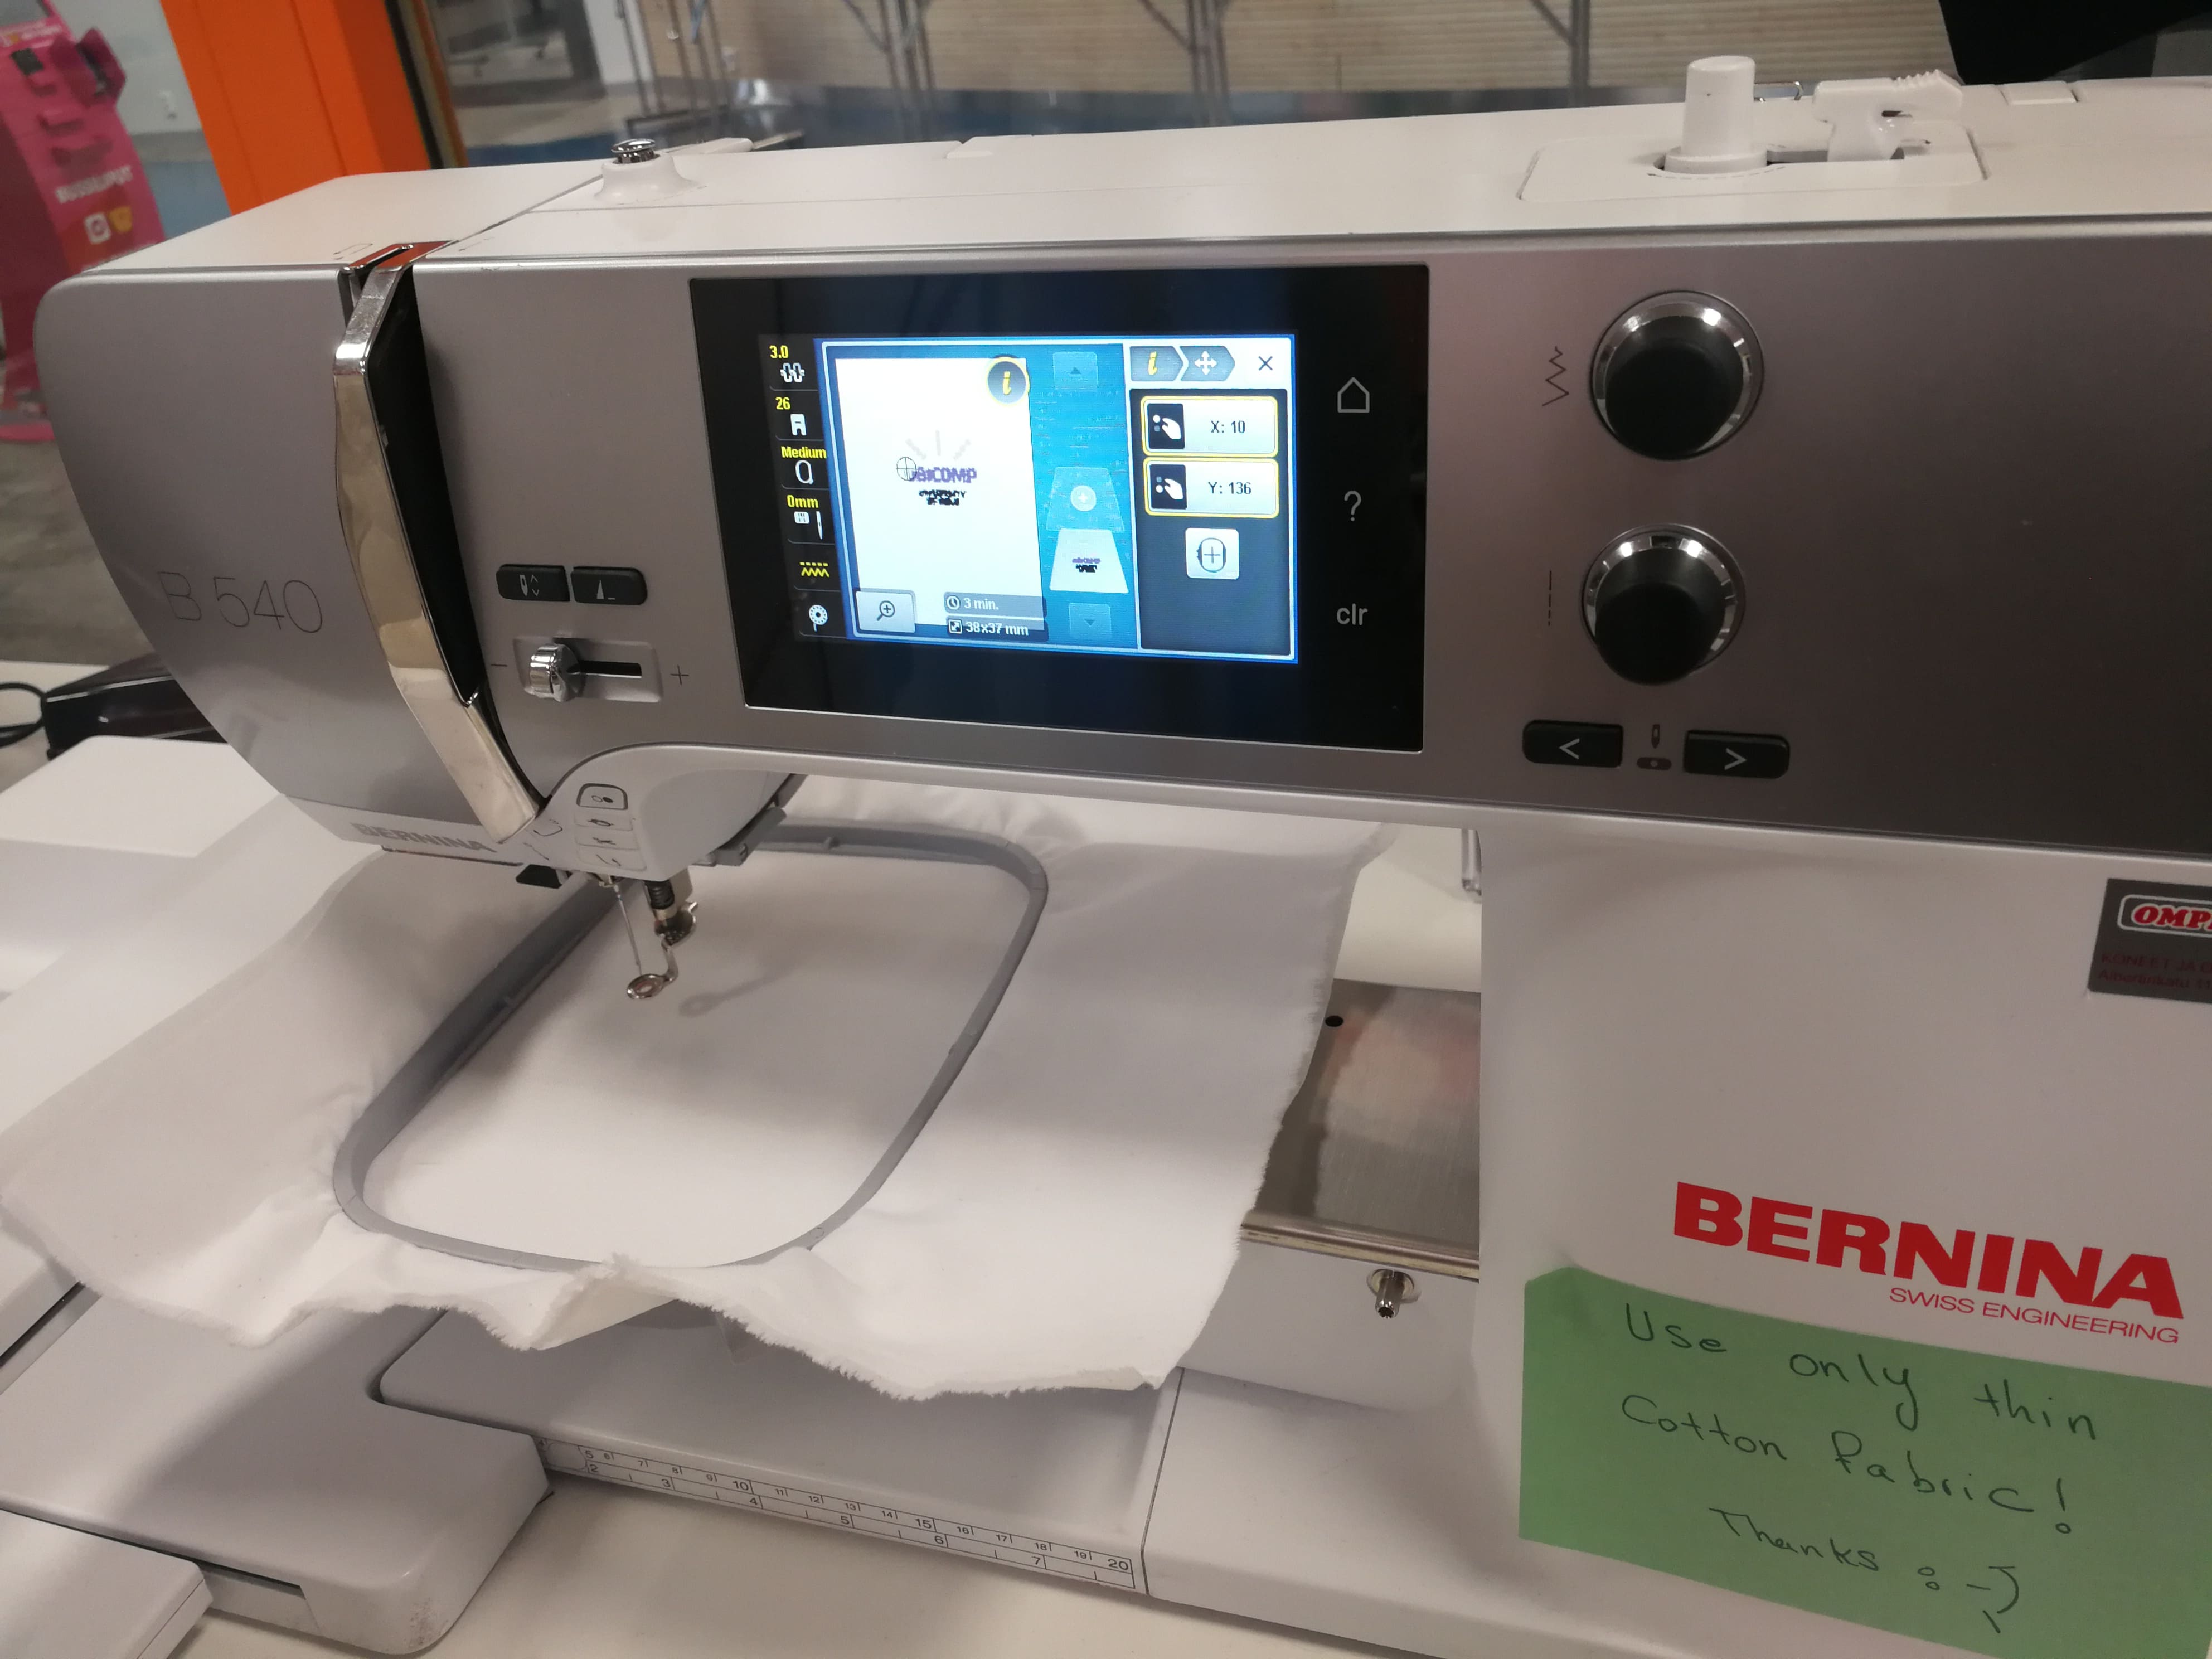 Figure 35.
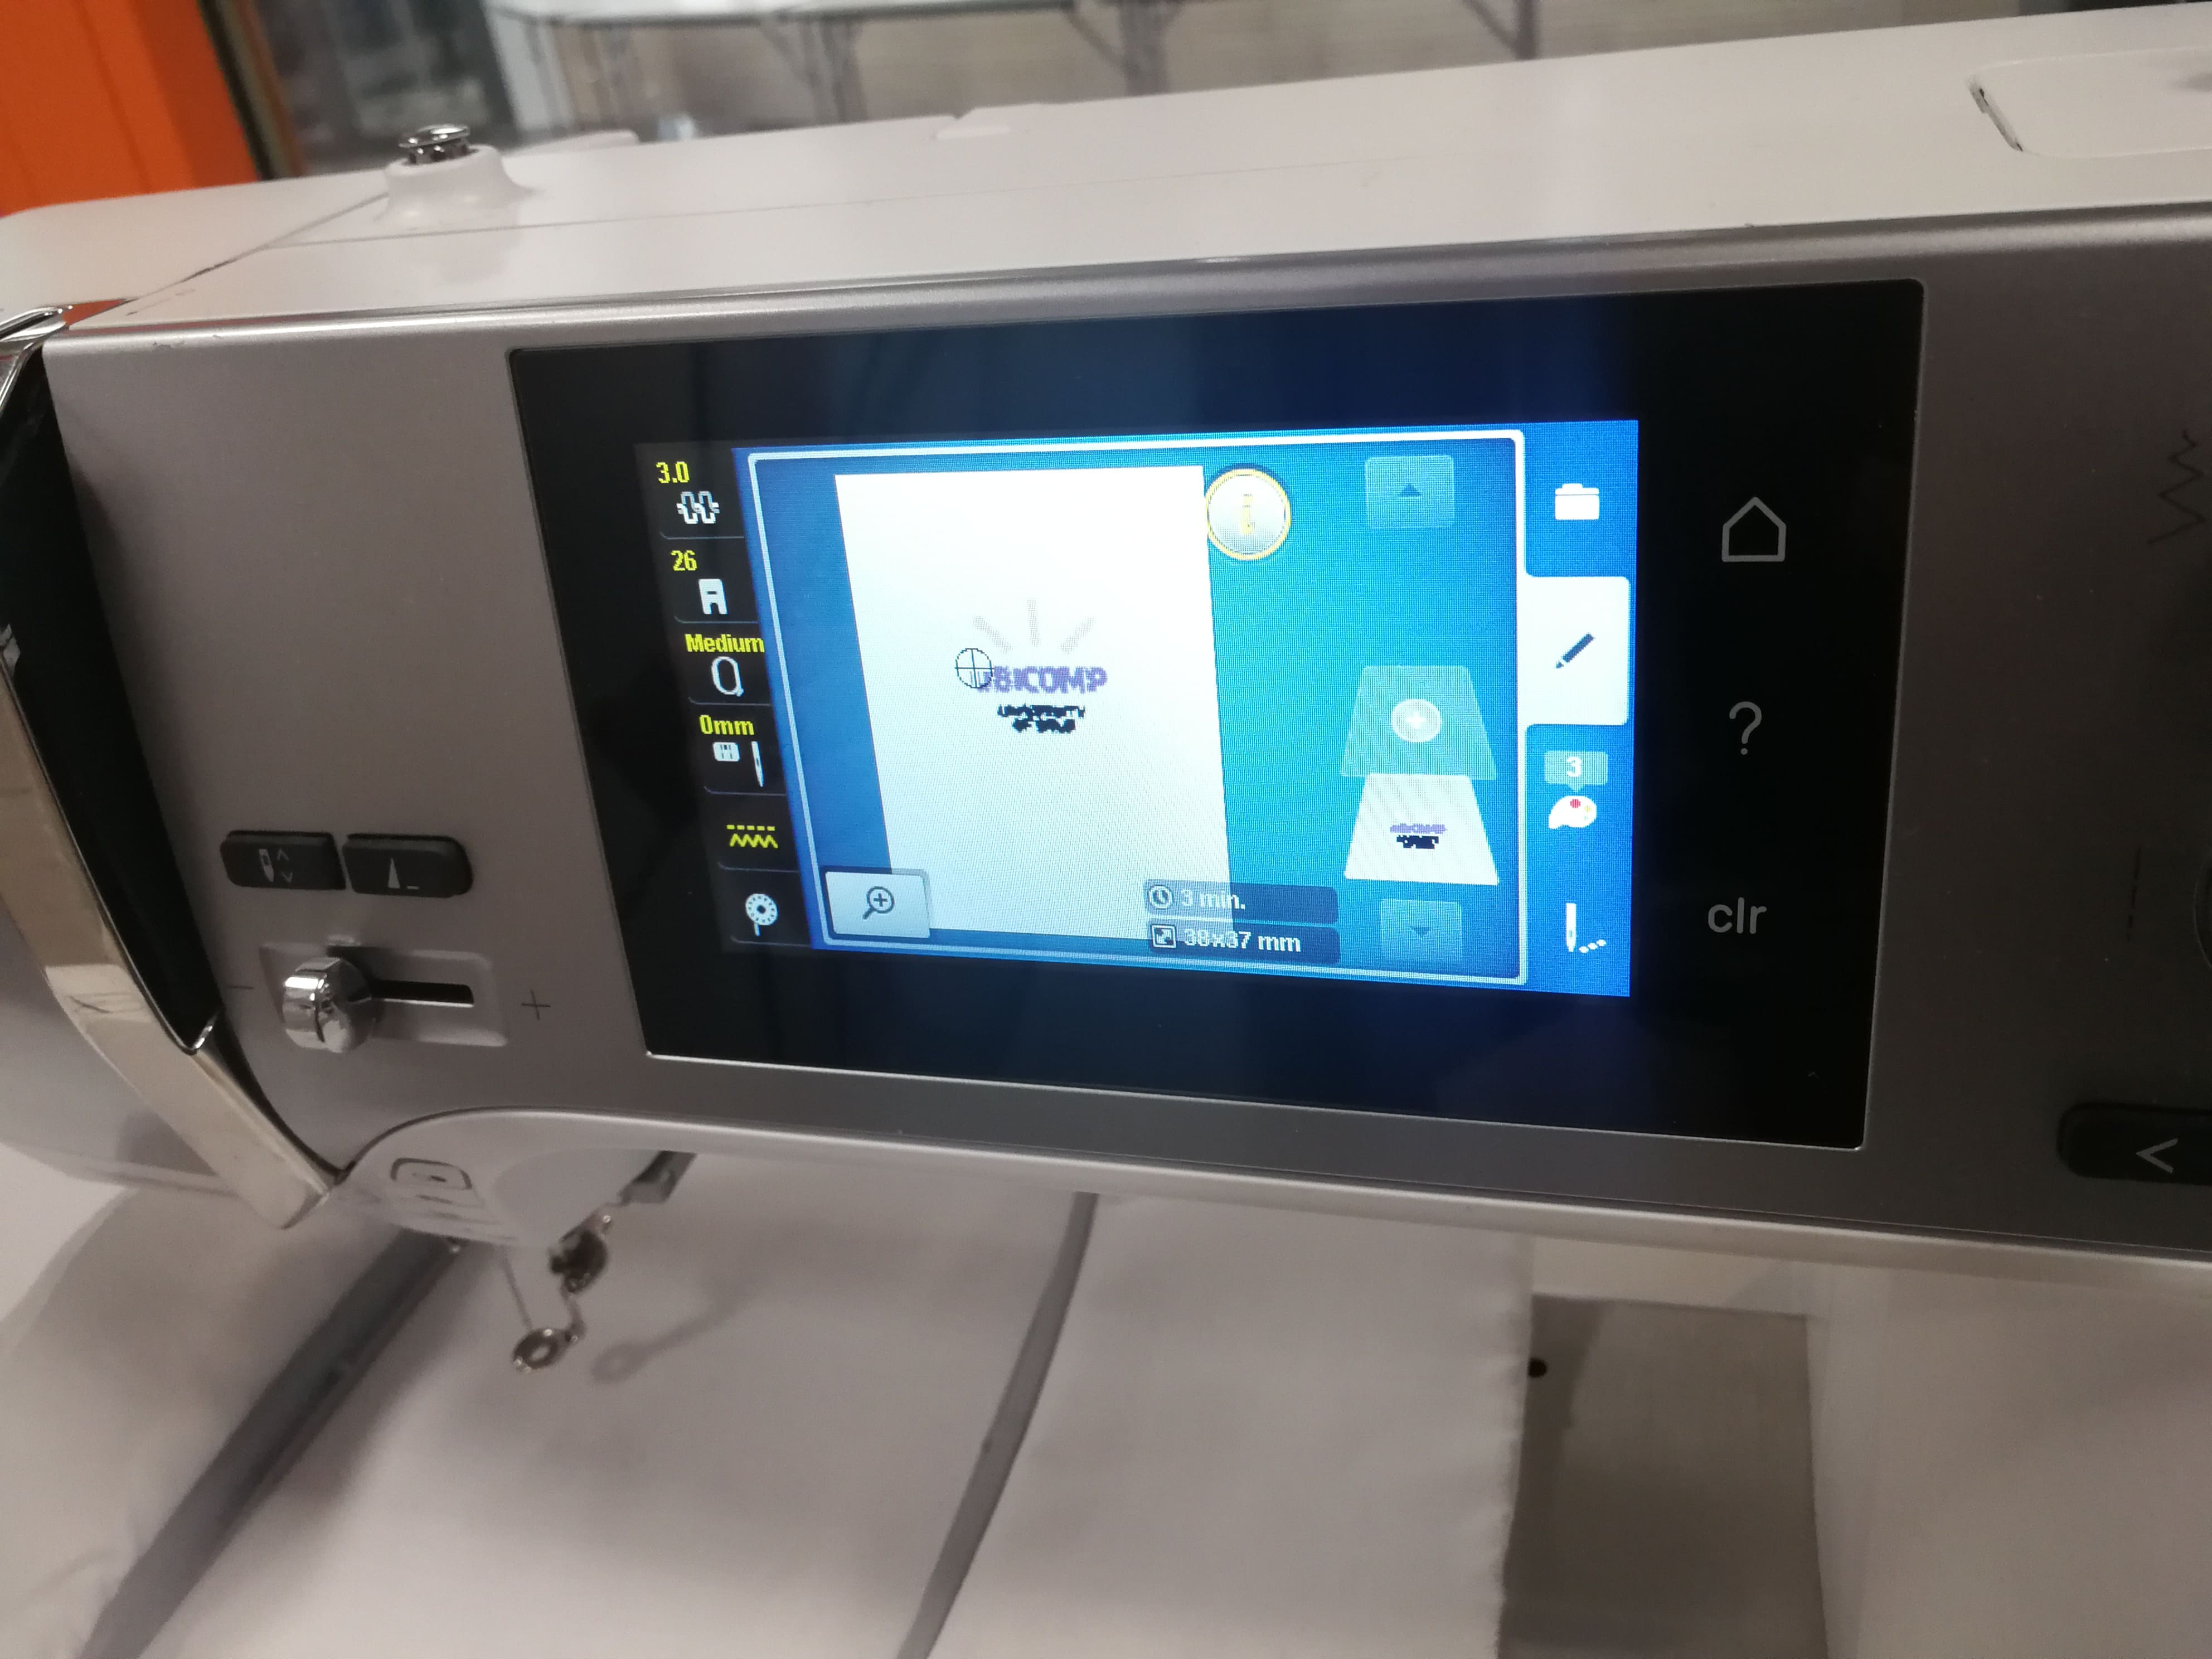 Figure 36.
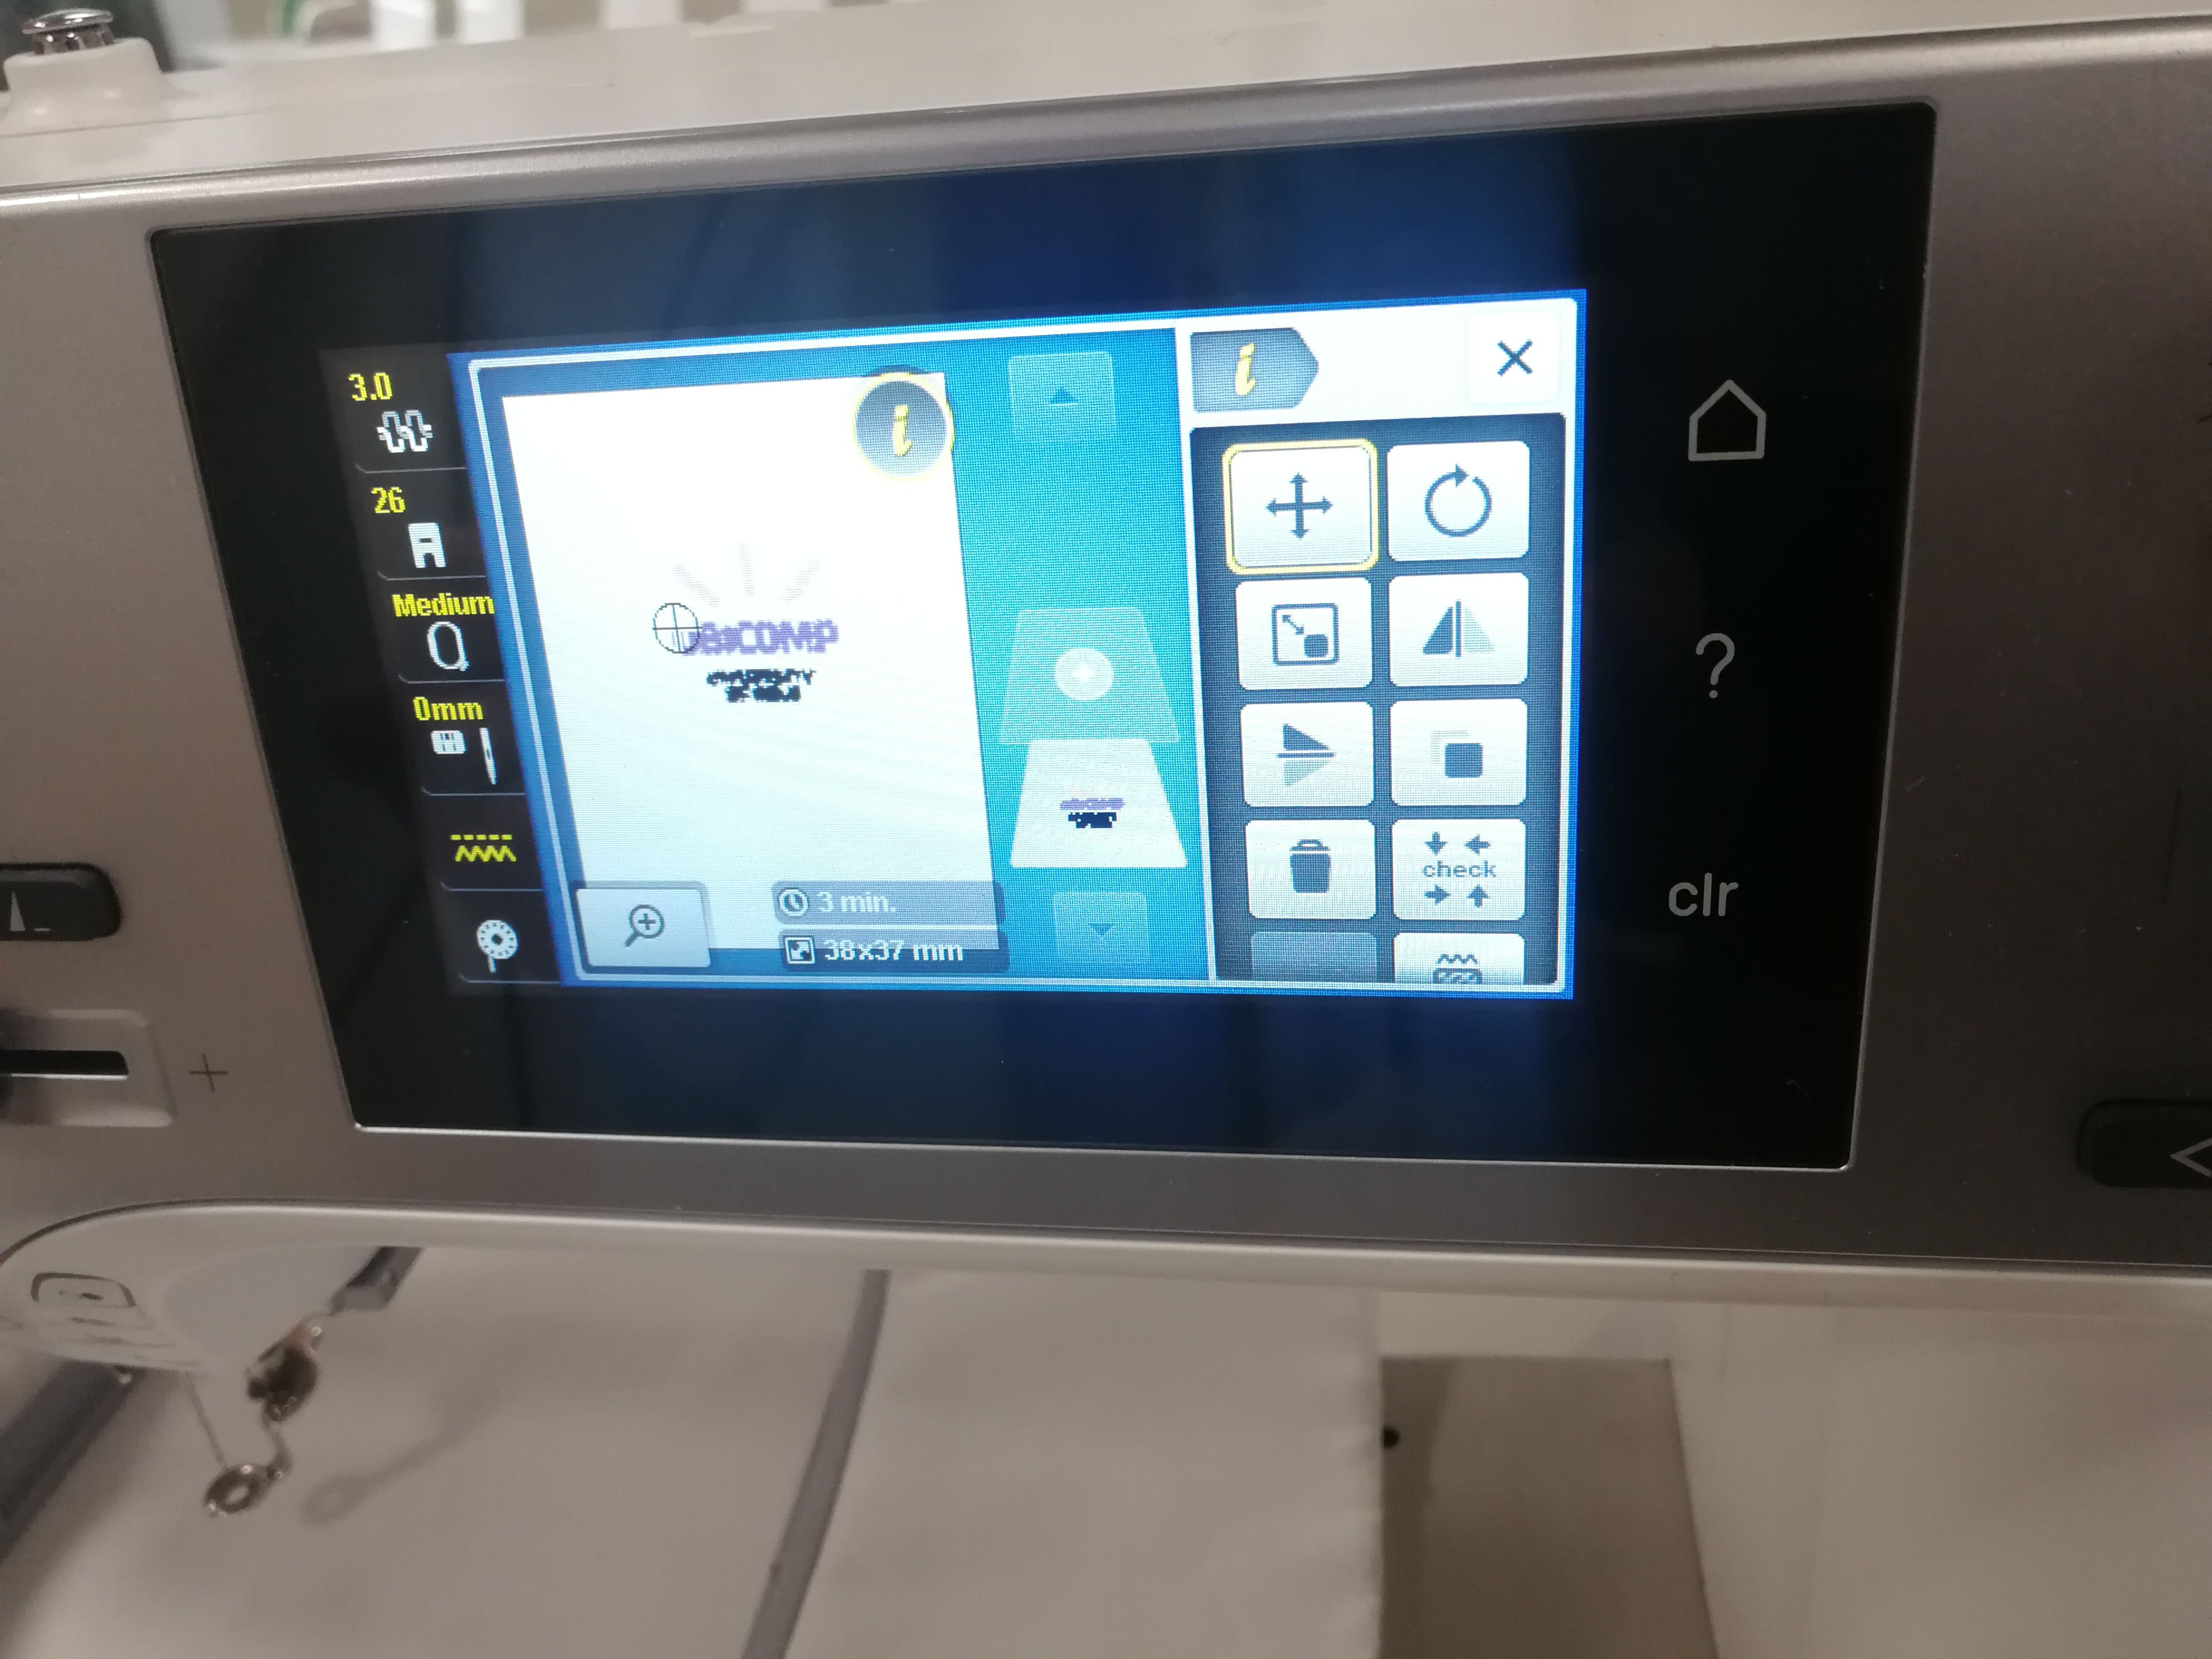 Figure 37.
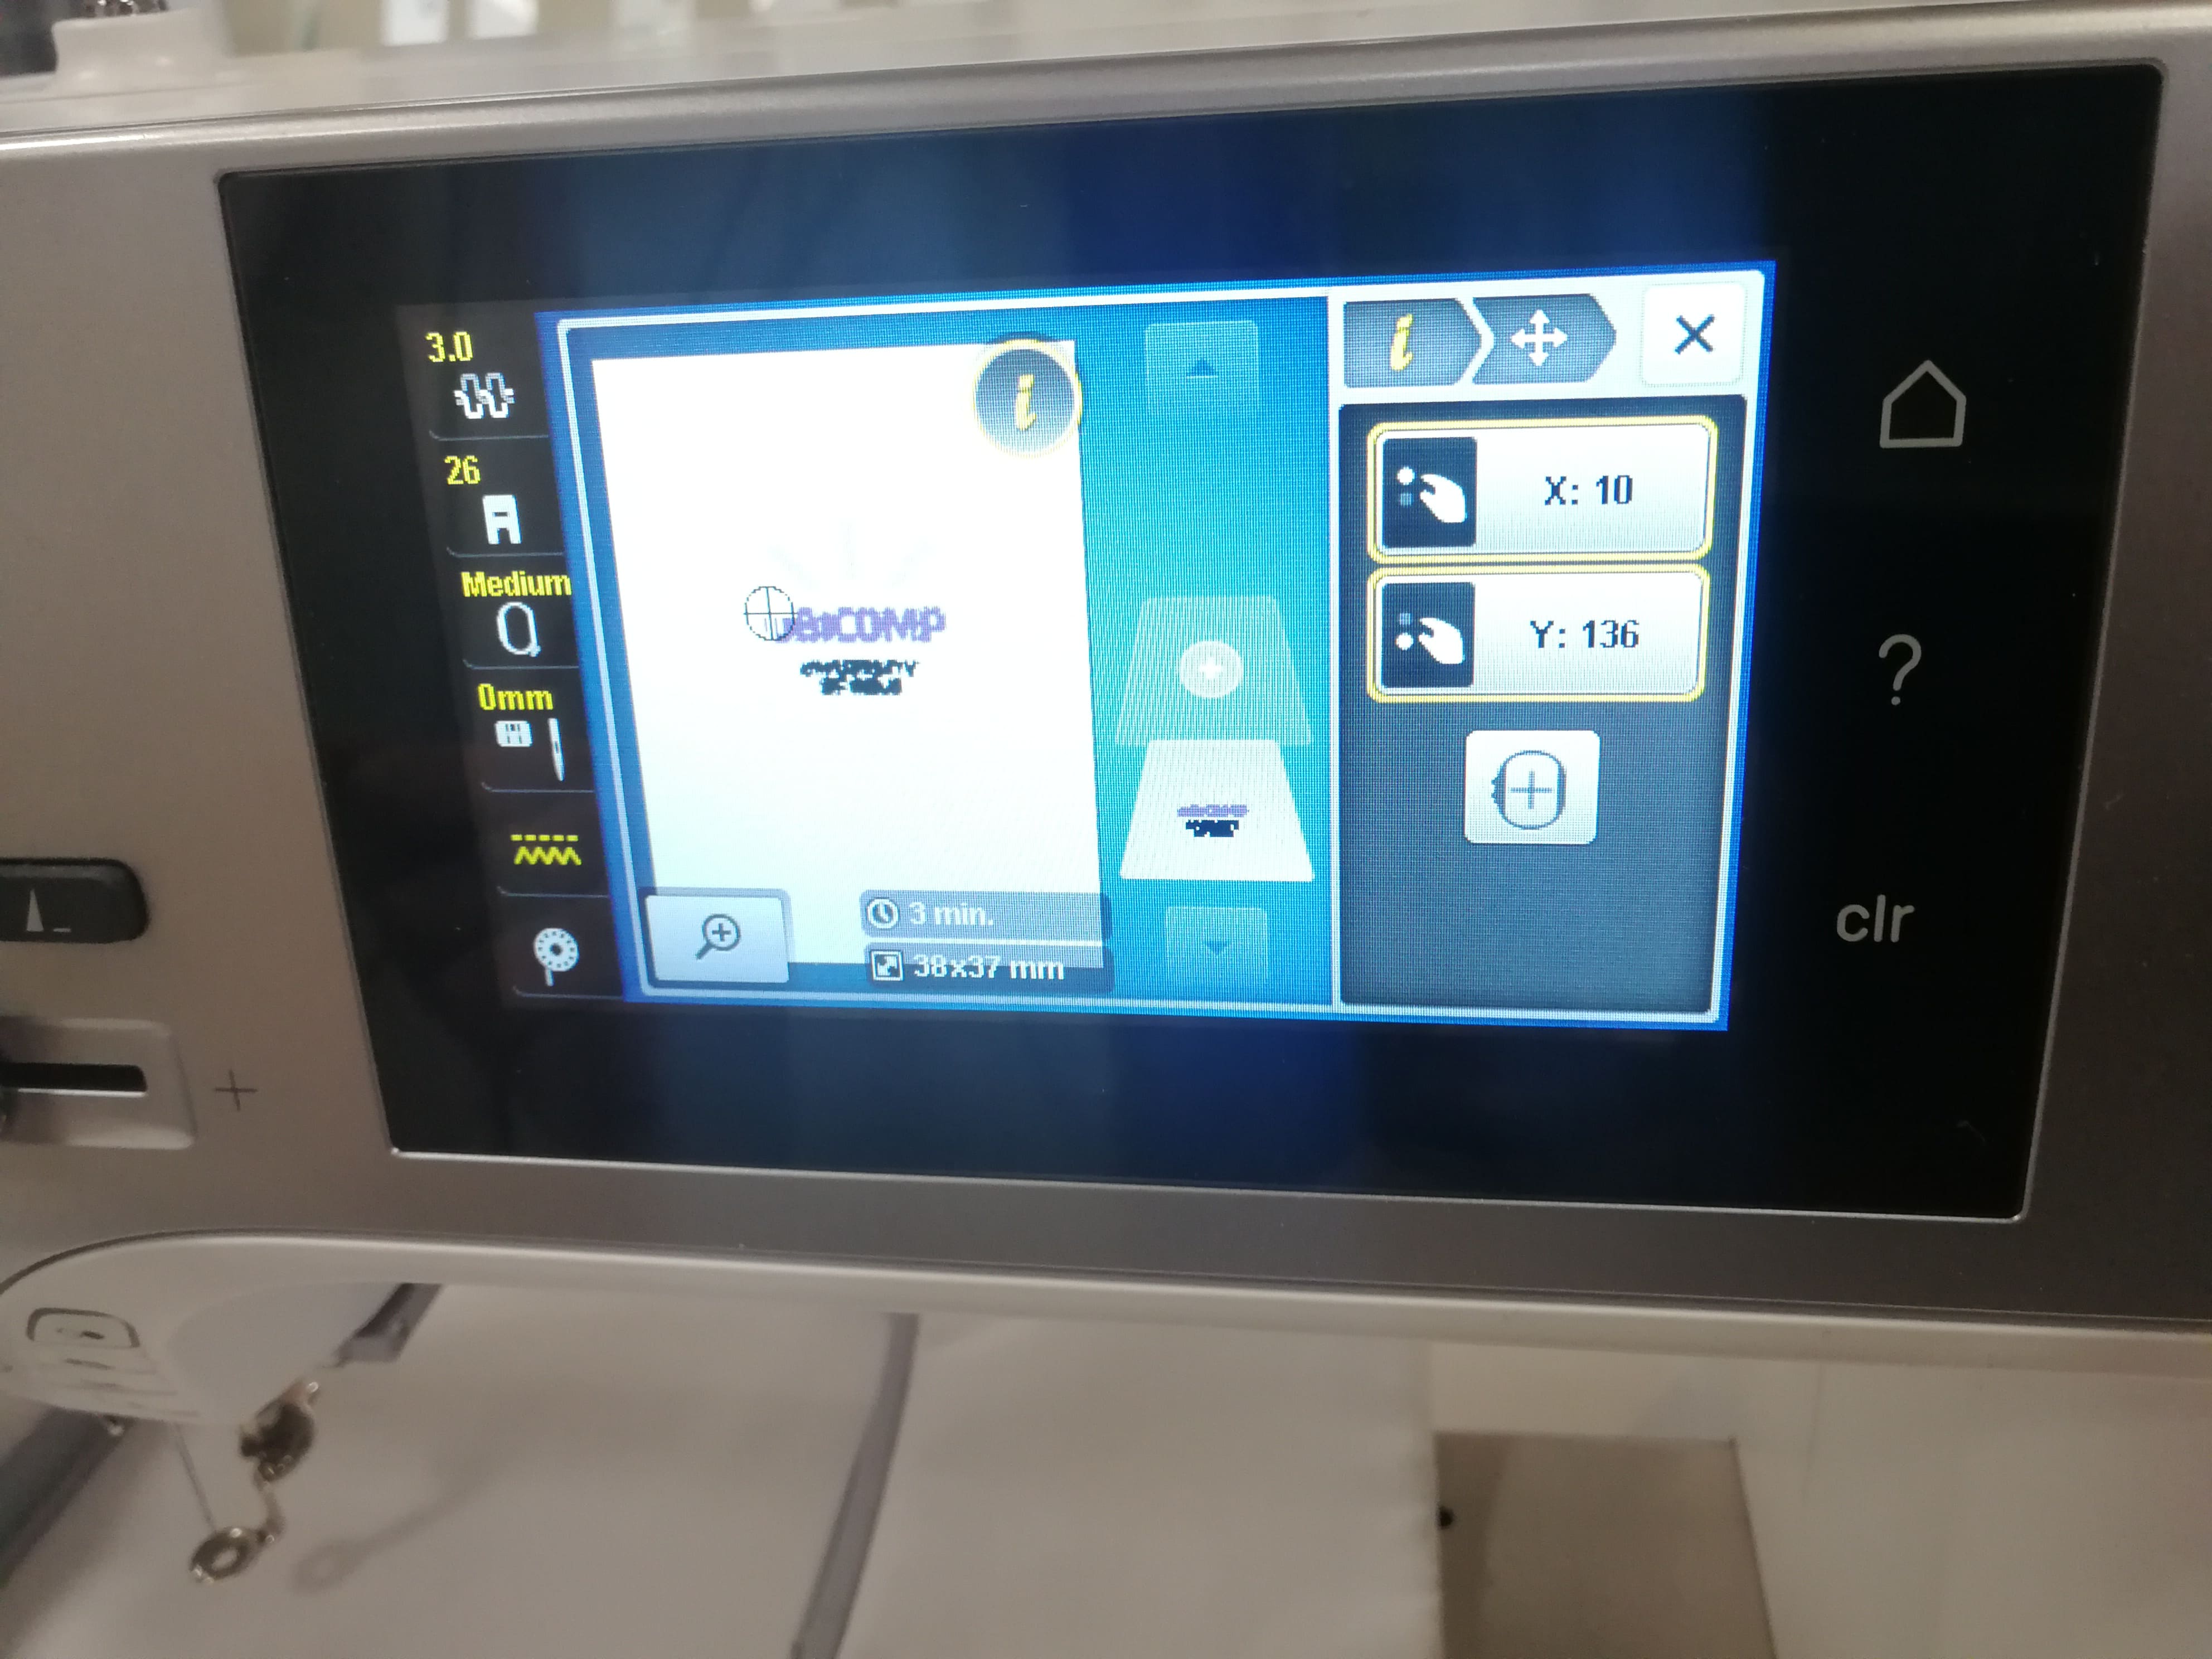 Figure 38.
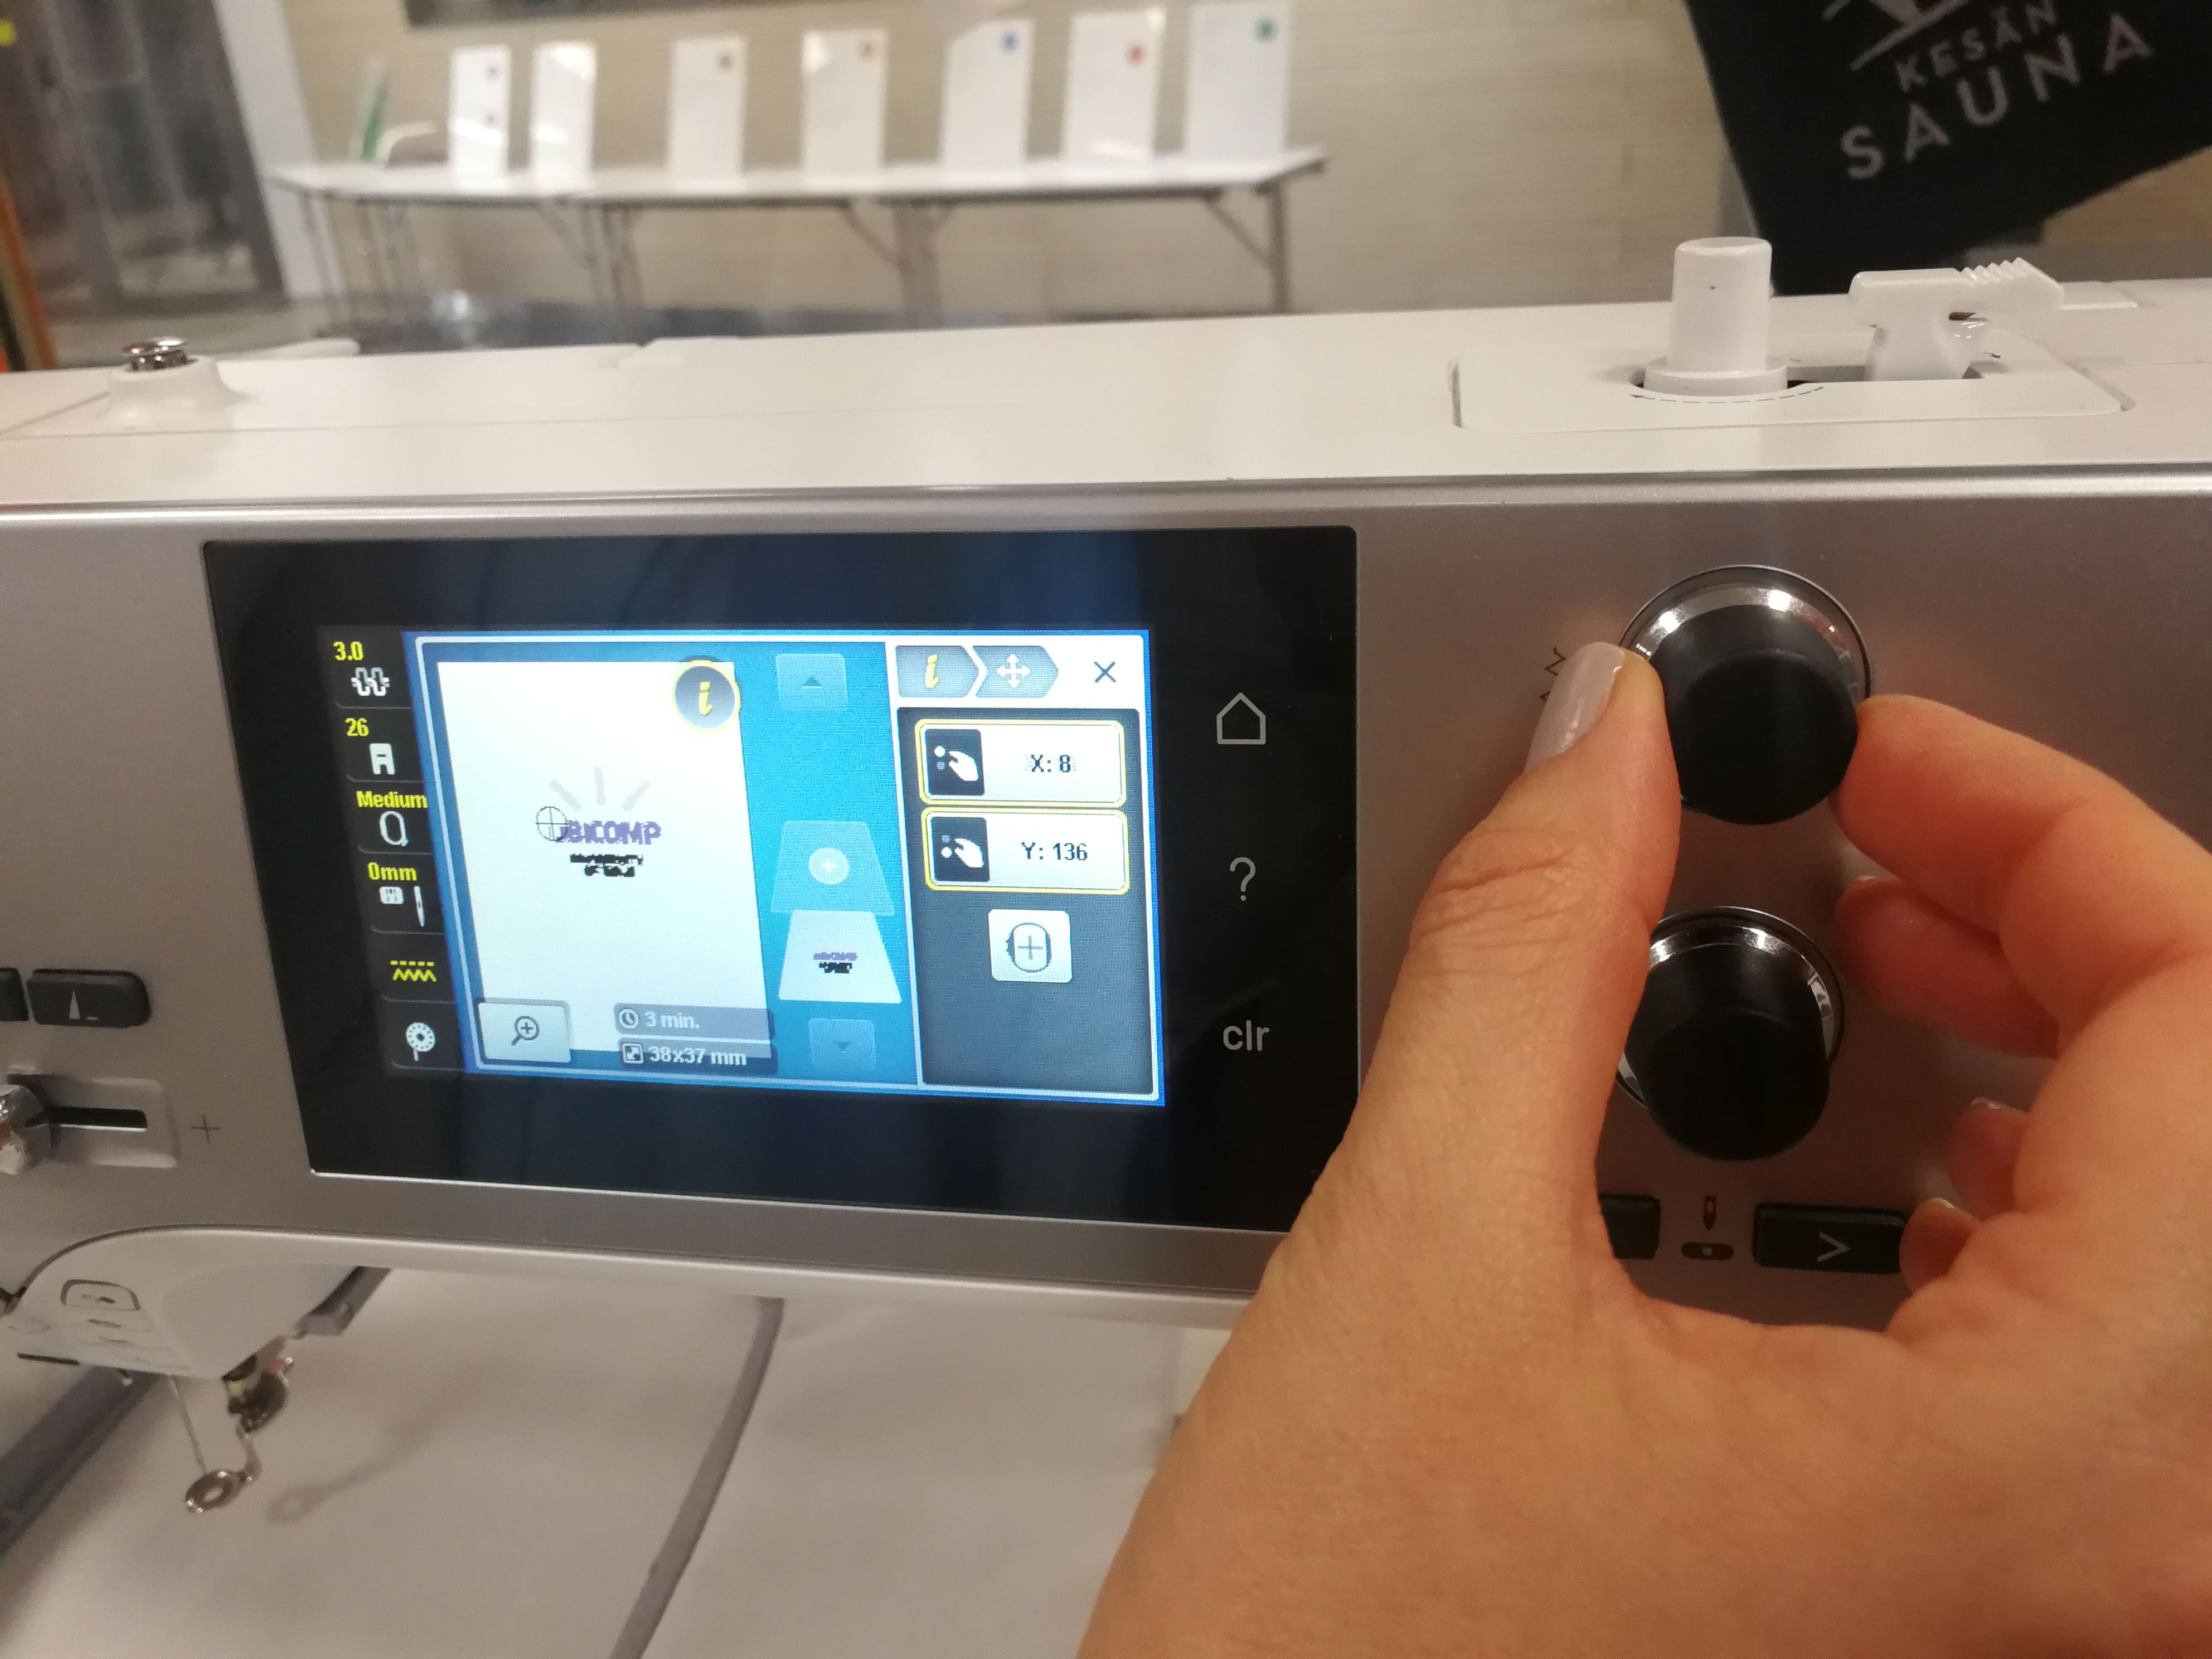 Figure 39.
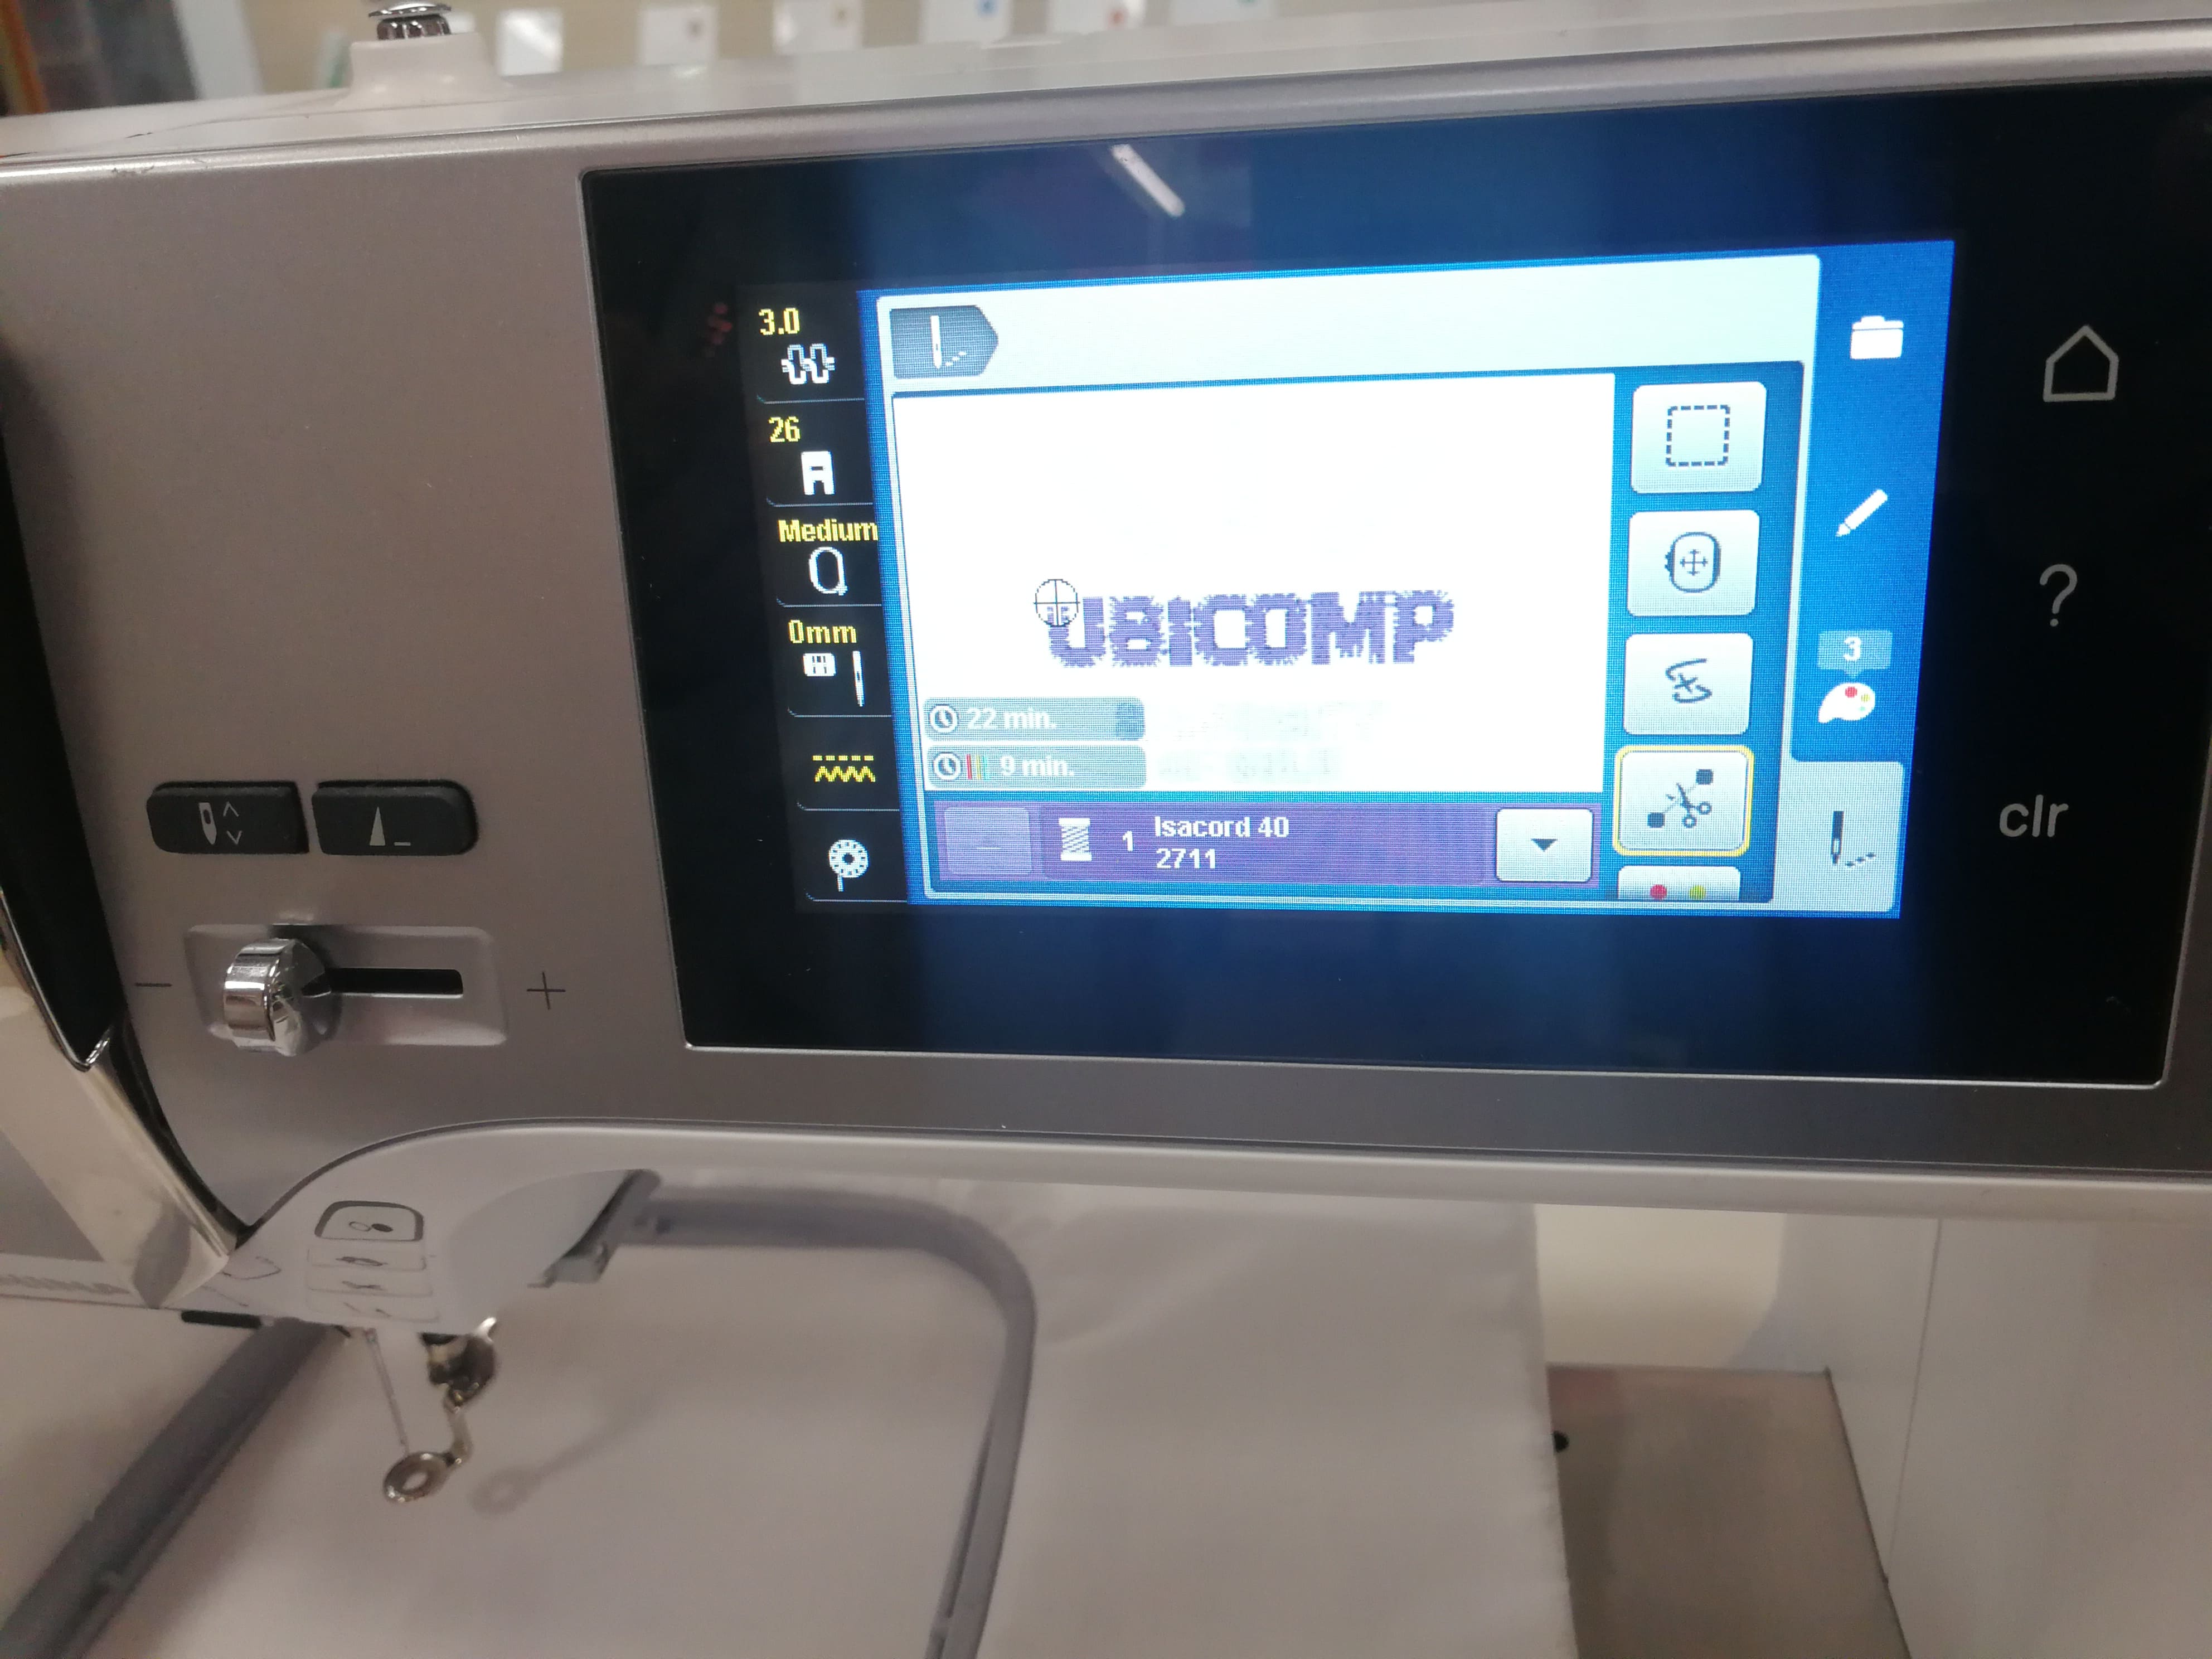 Figure 40. Origin set where the embroidery will begin.
Figures 41-46 show steps to set thread in the machine (as per instructions given in Figure 30 from the machine’s control panel).
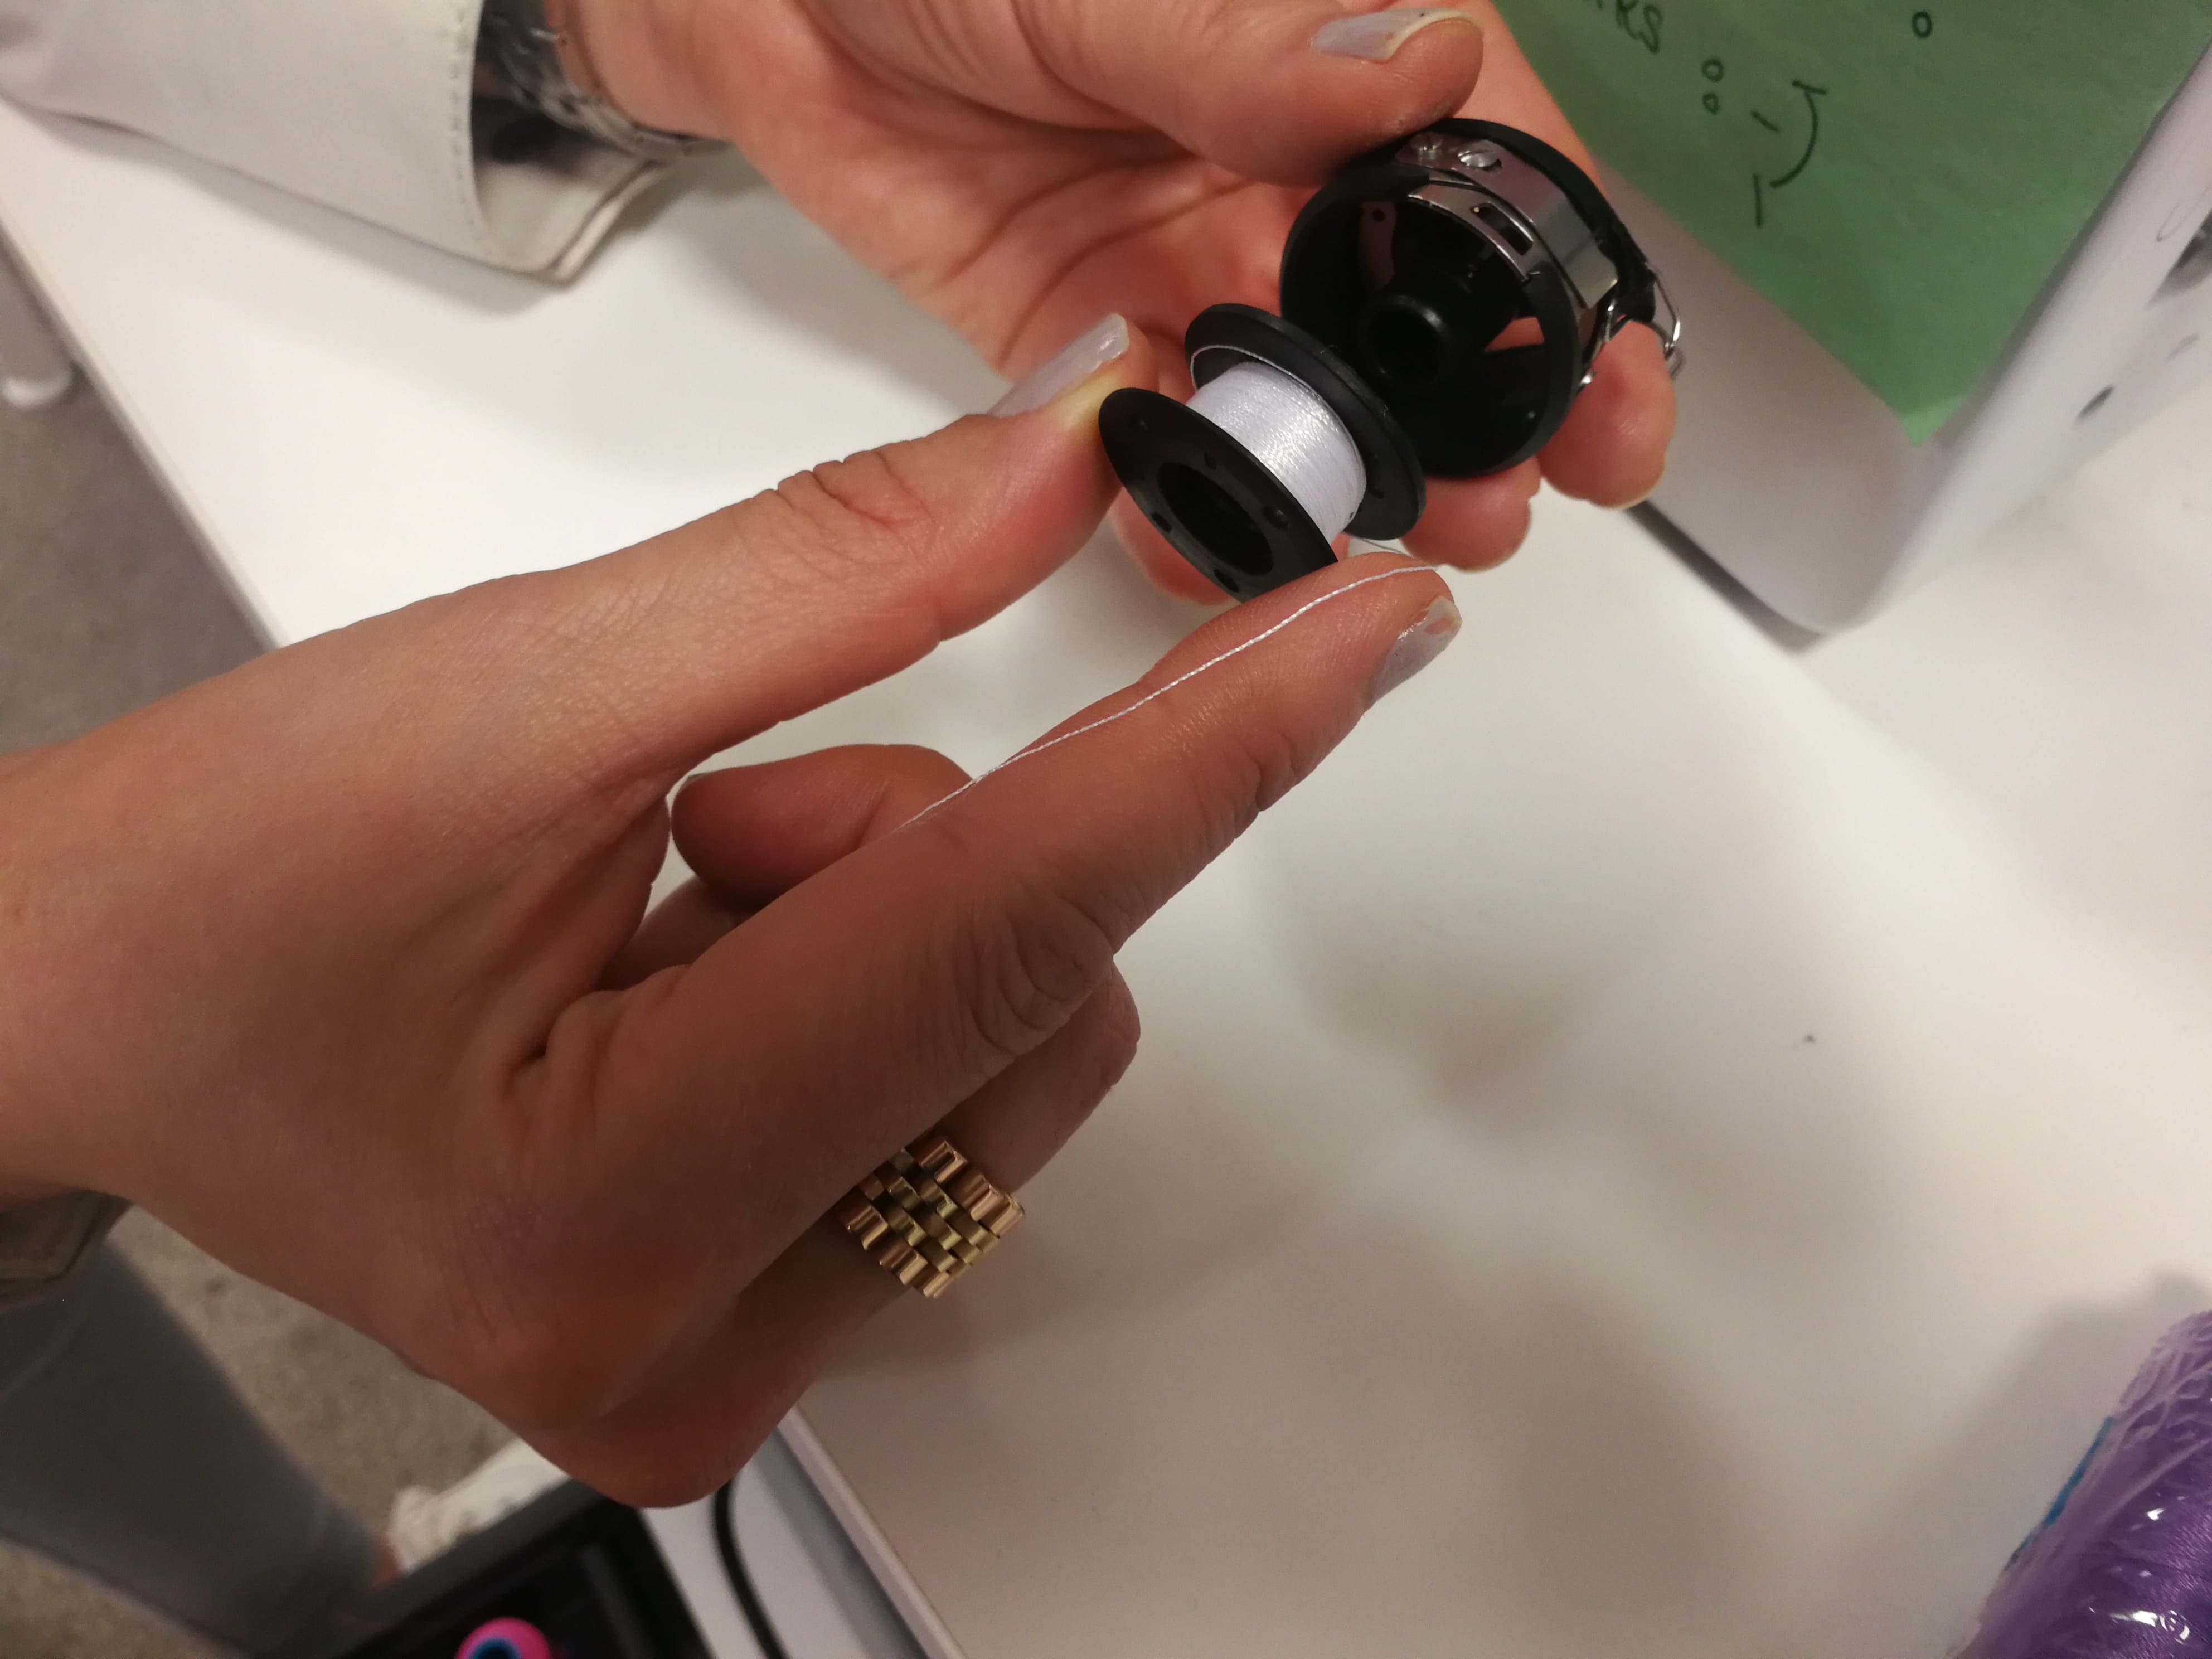 Figure 41.
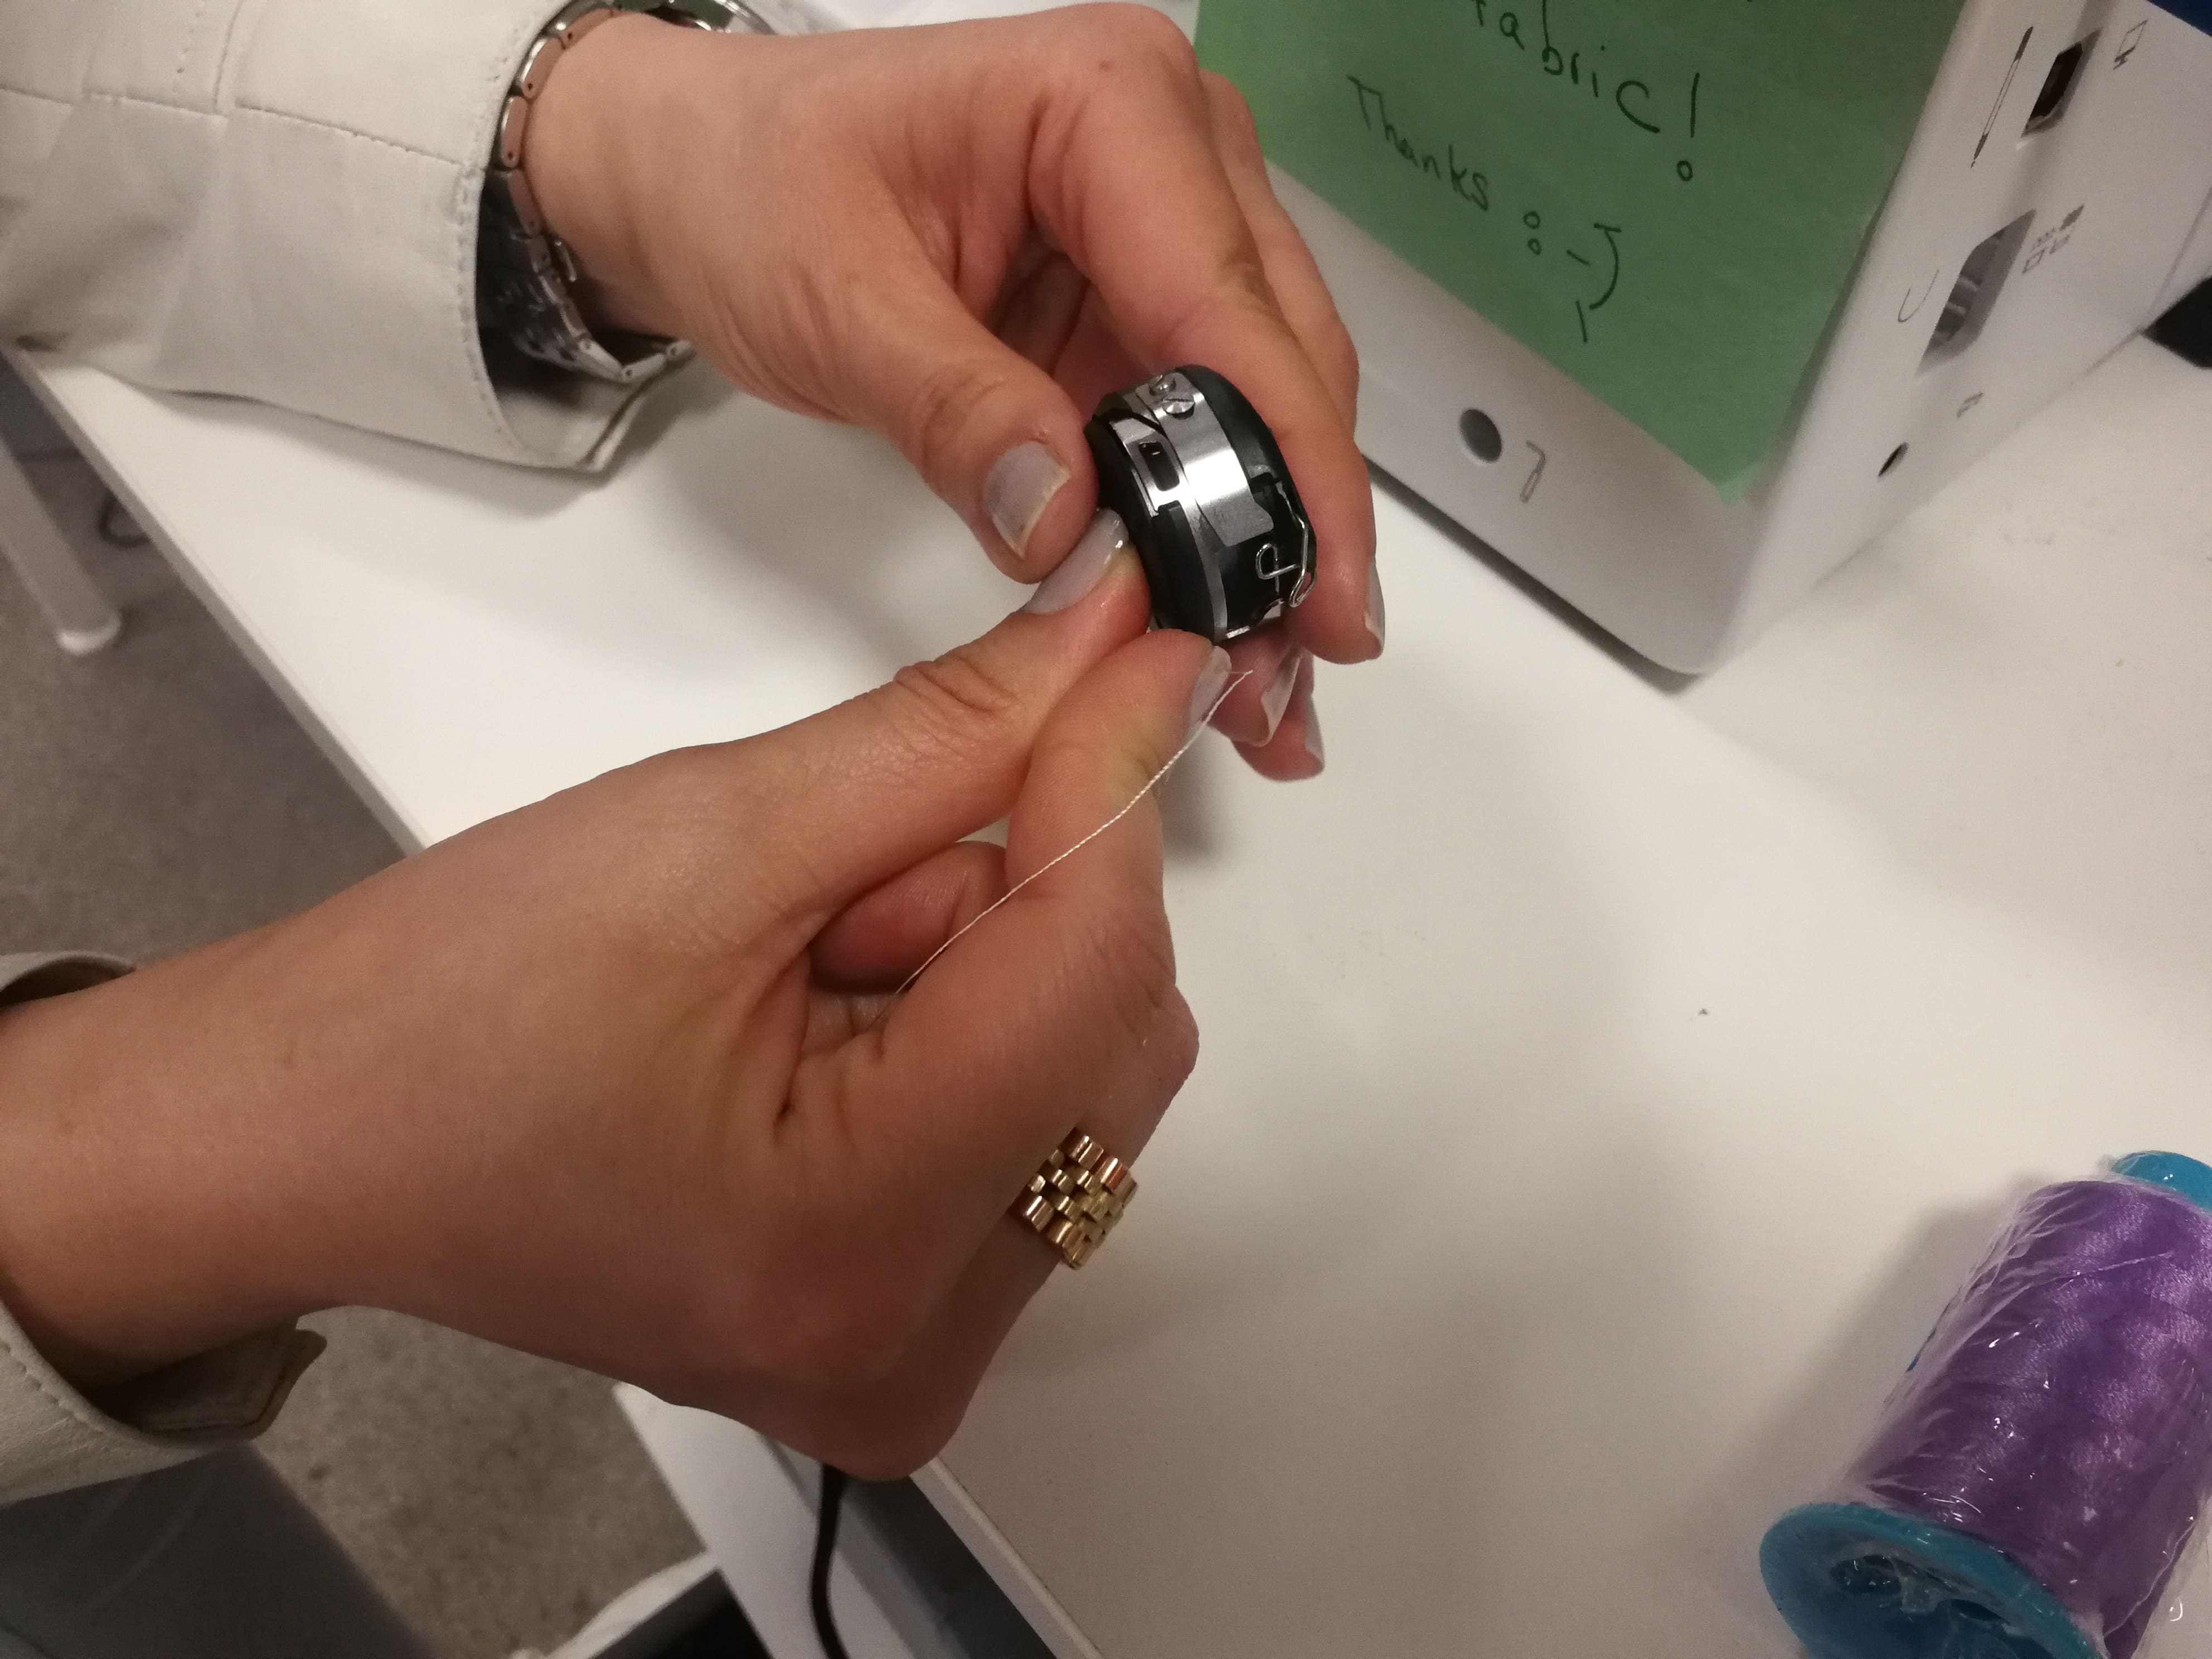 Figure 42.
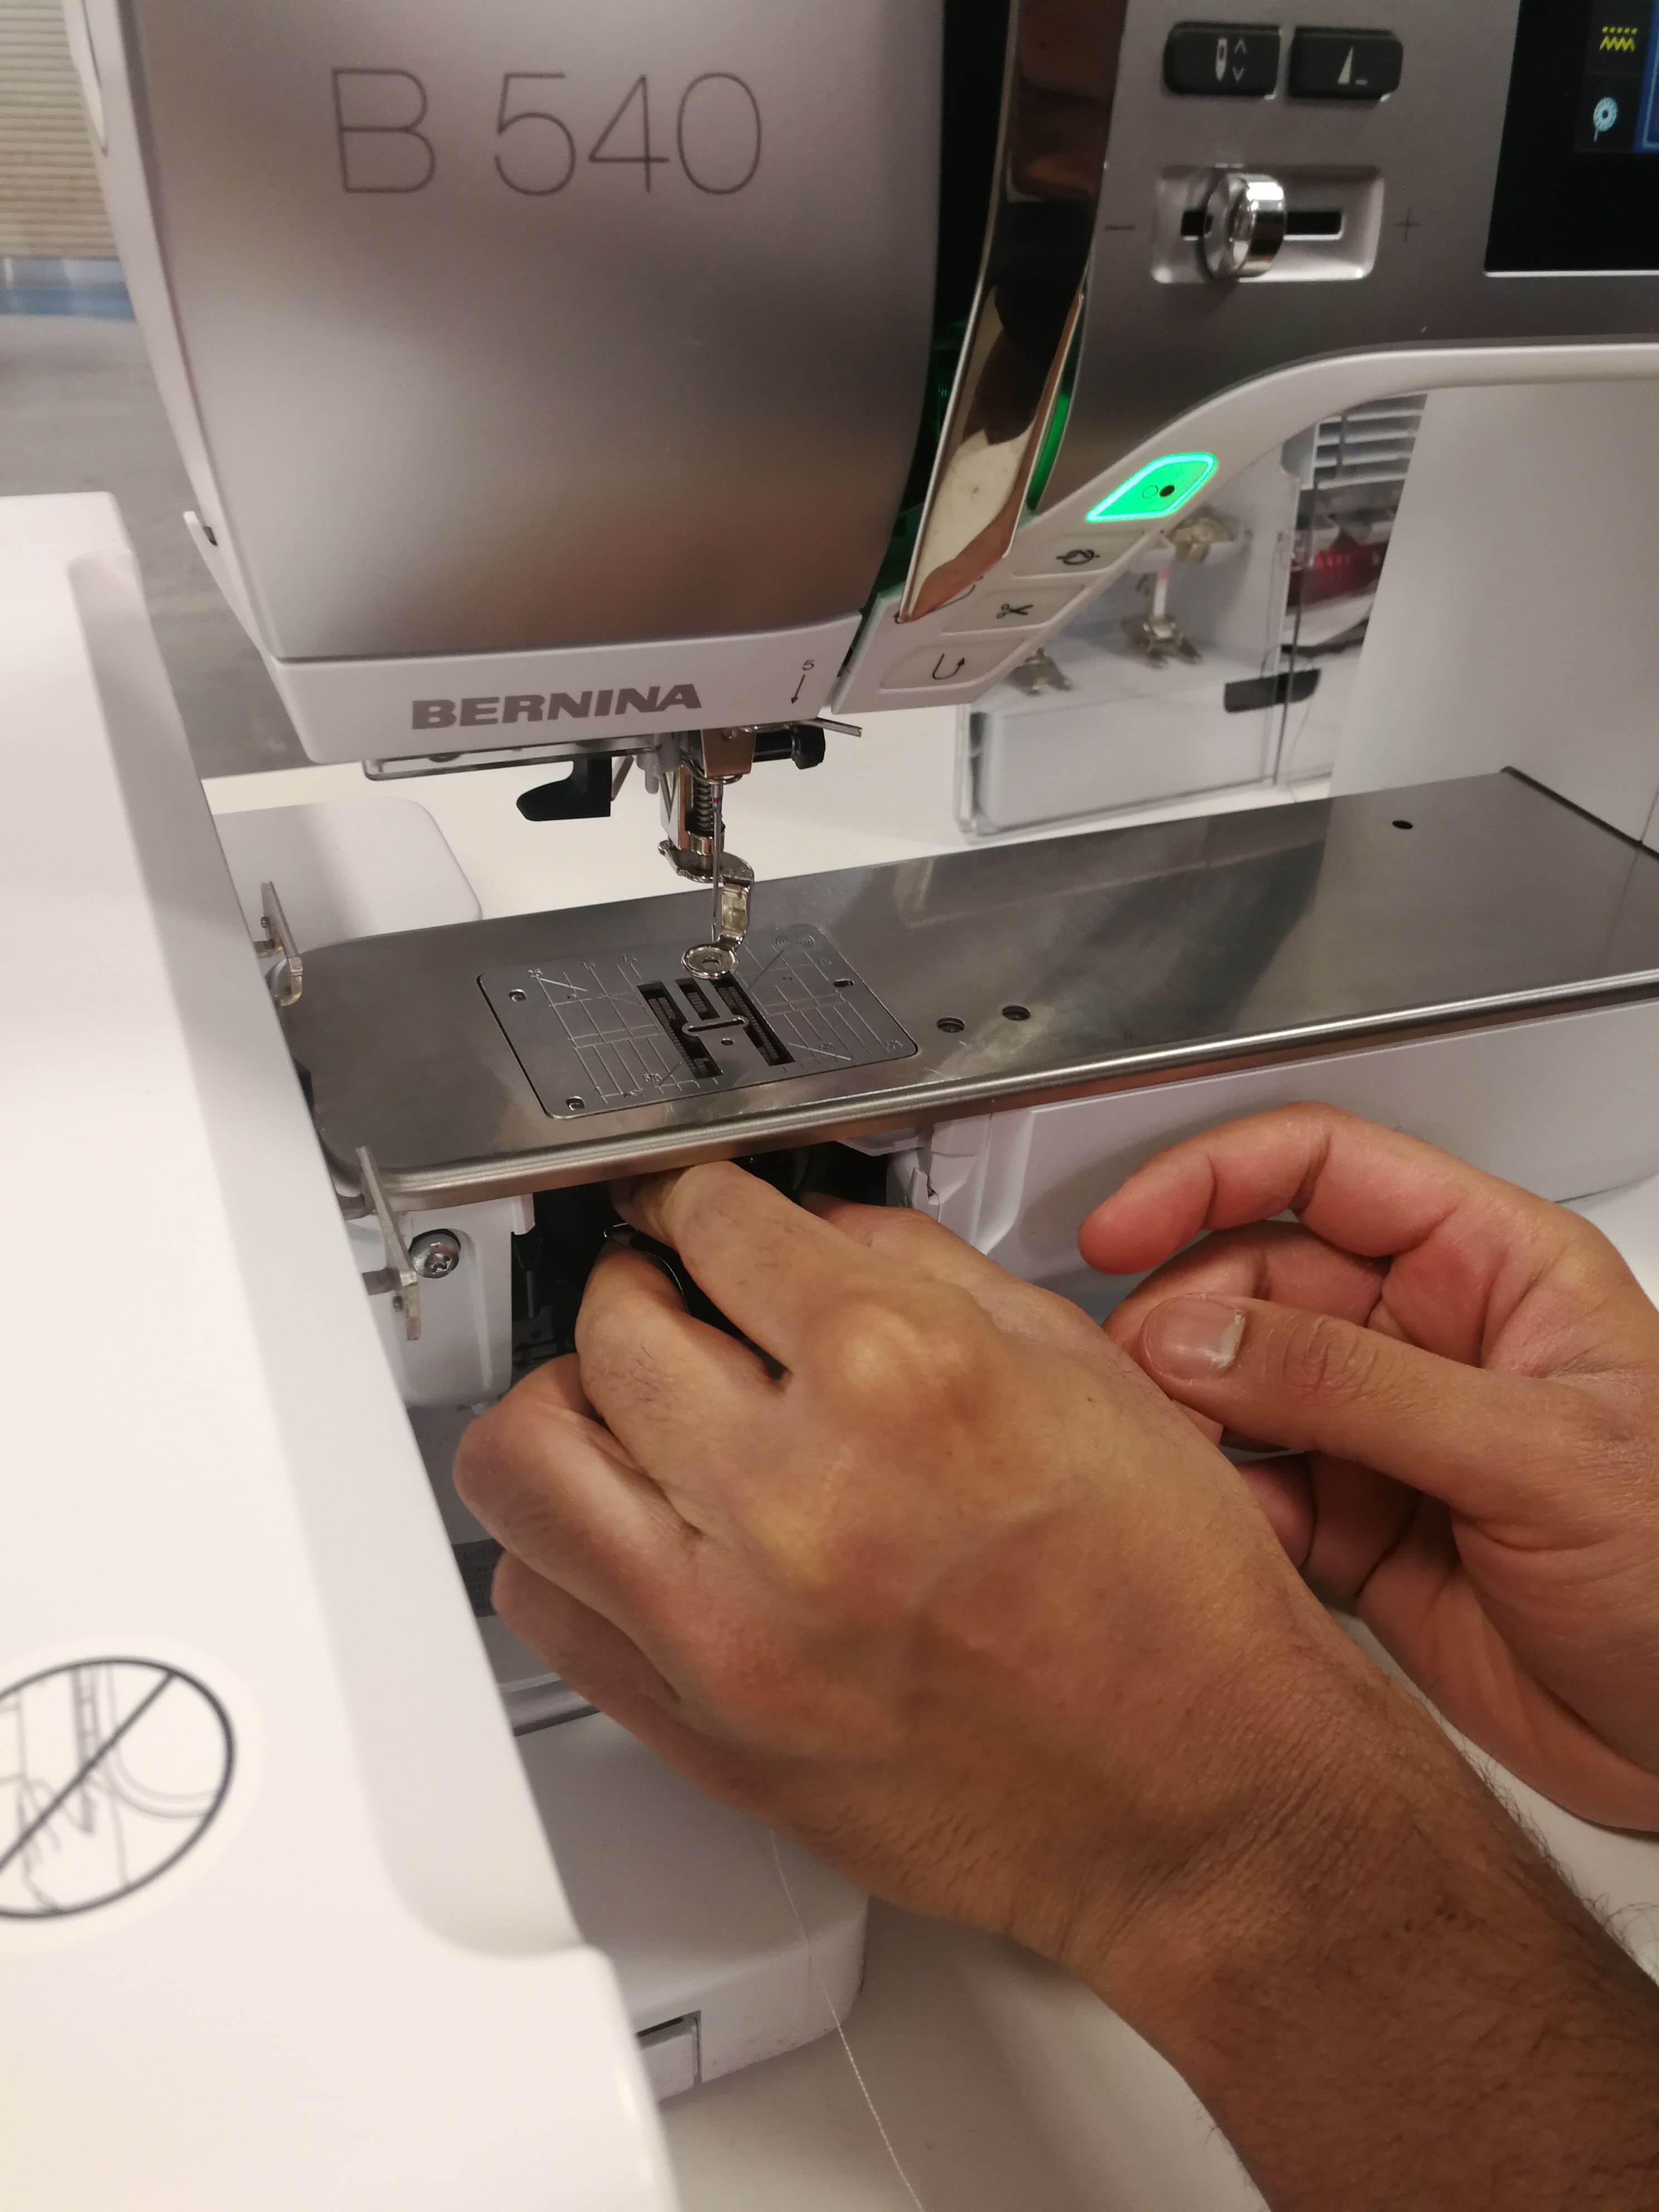 Figure 43.
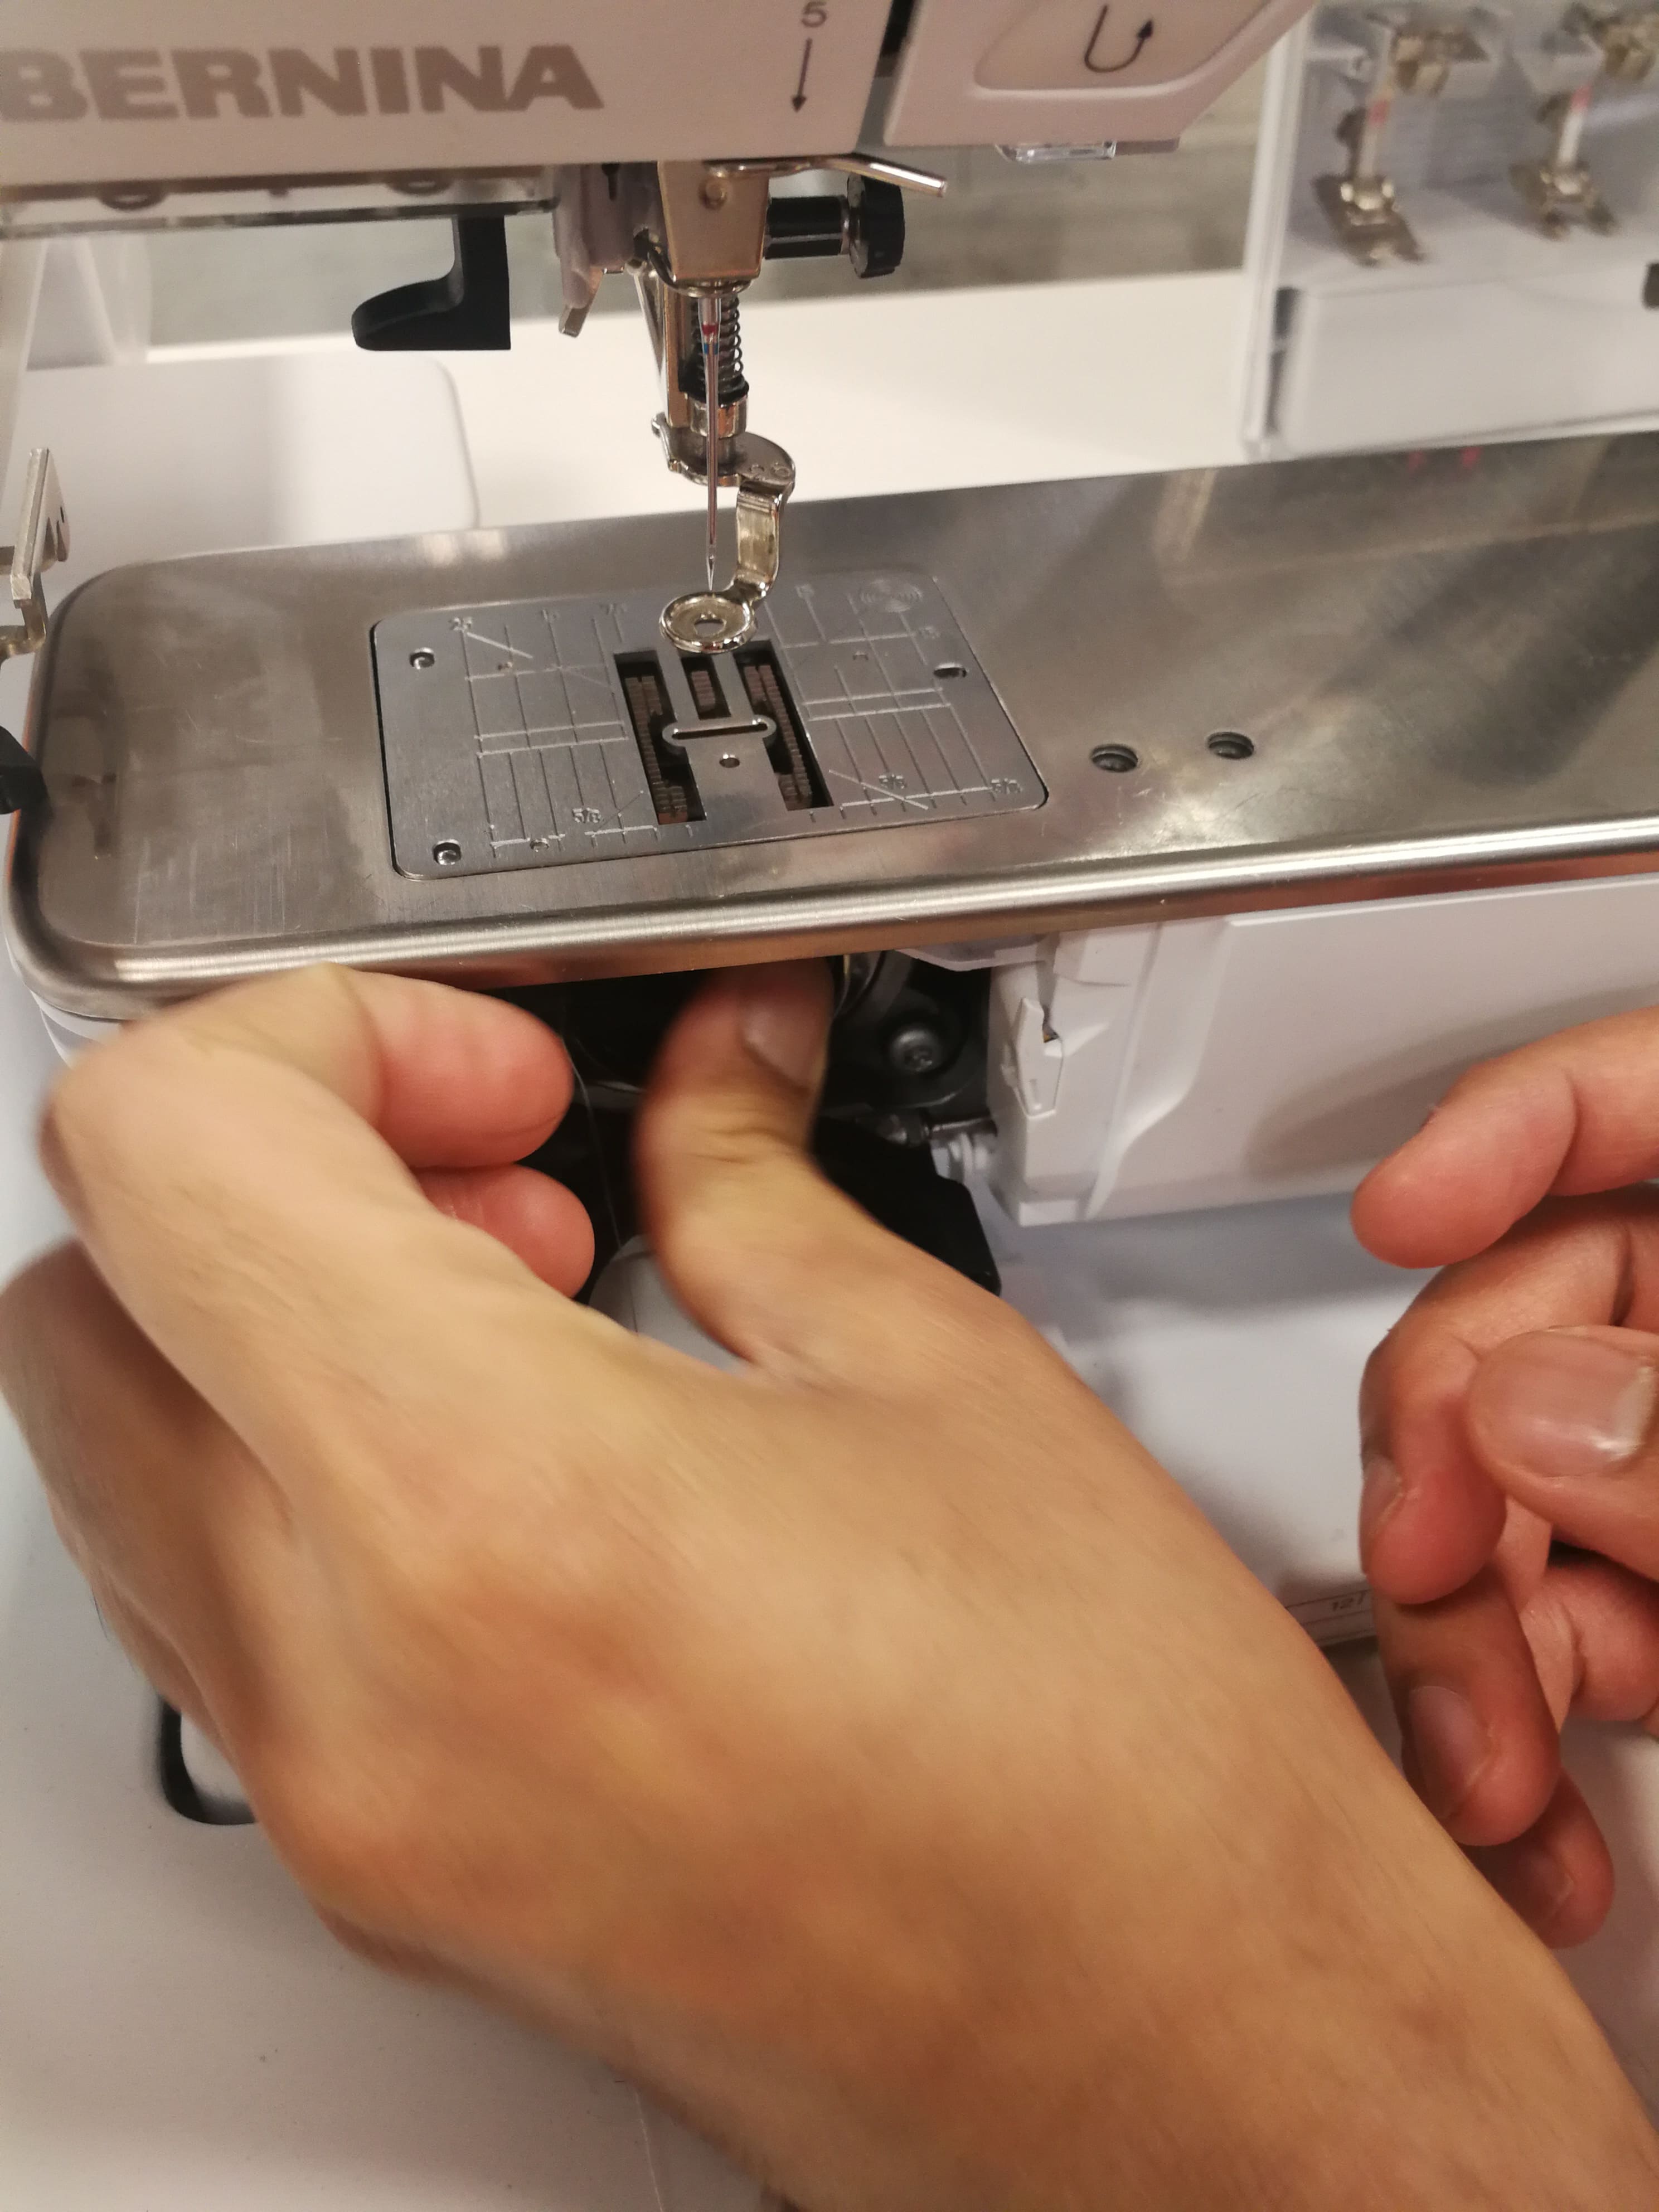 Figure 44.
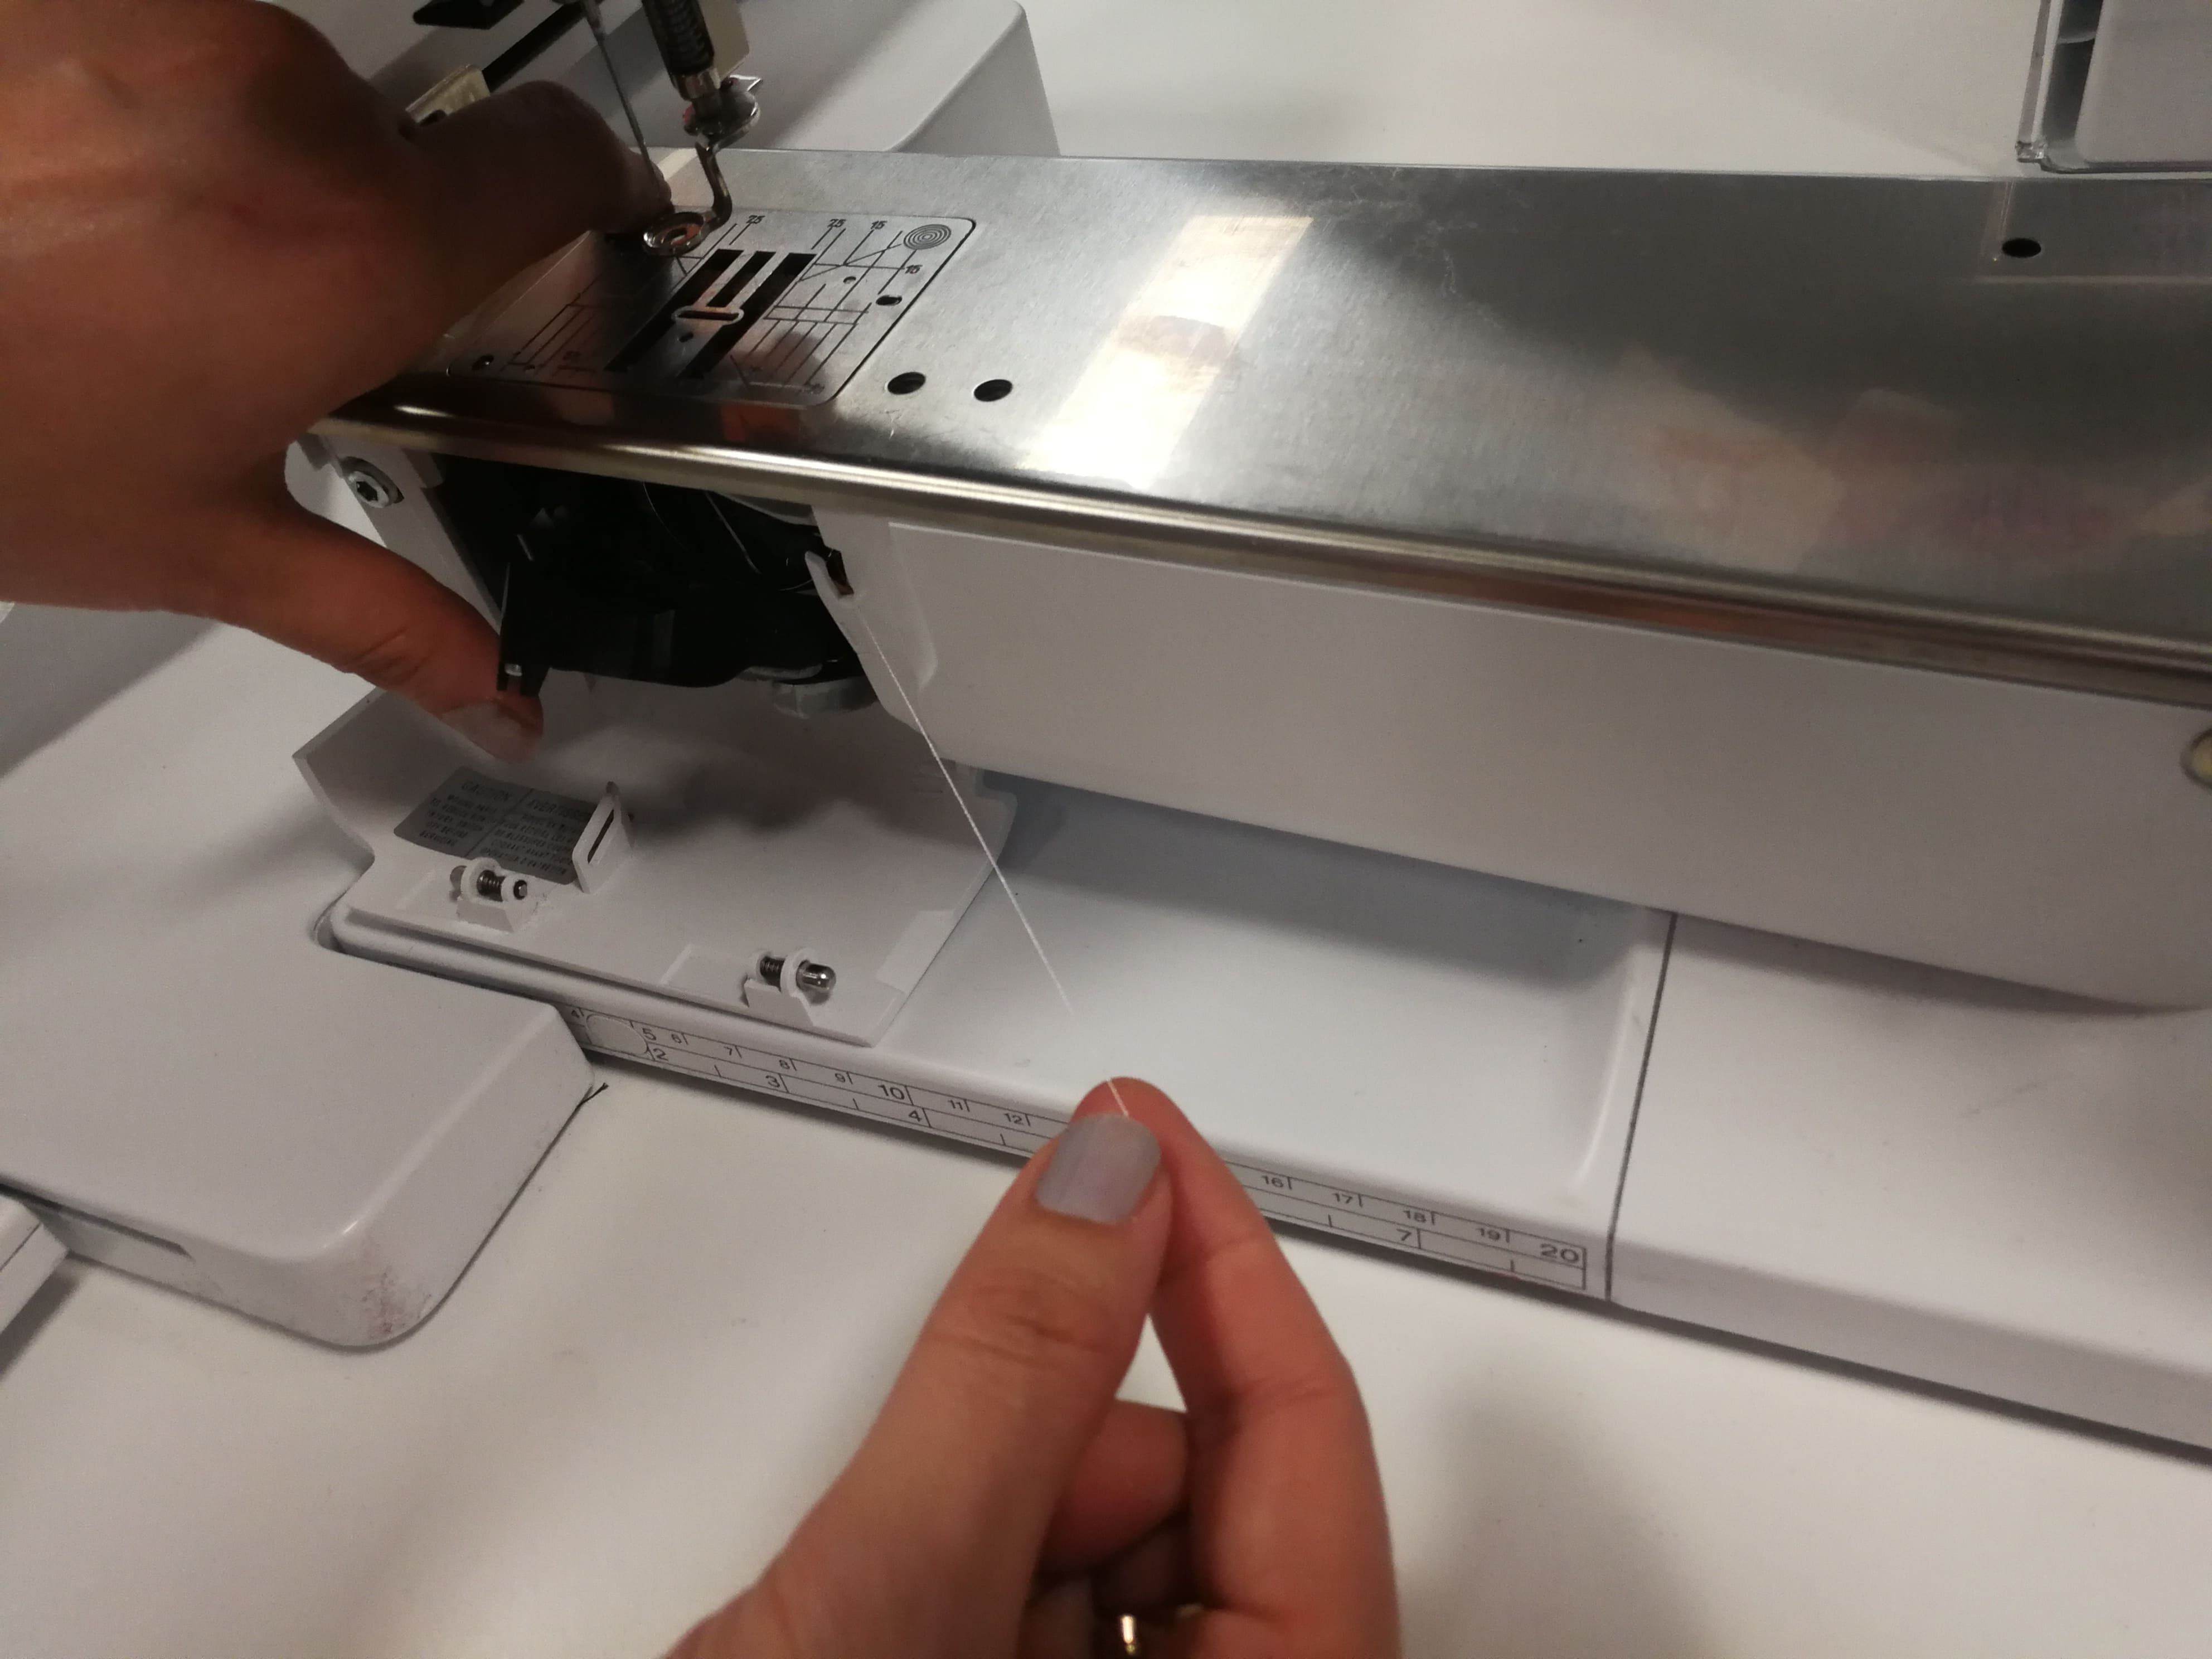 Figure 45.
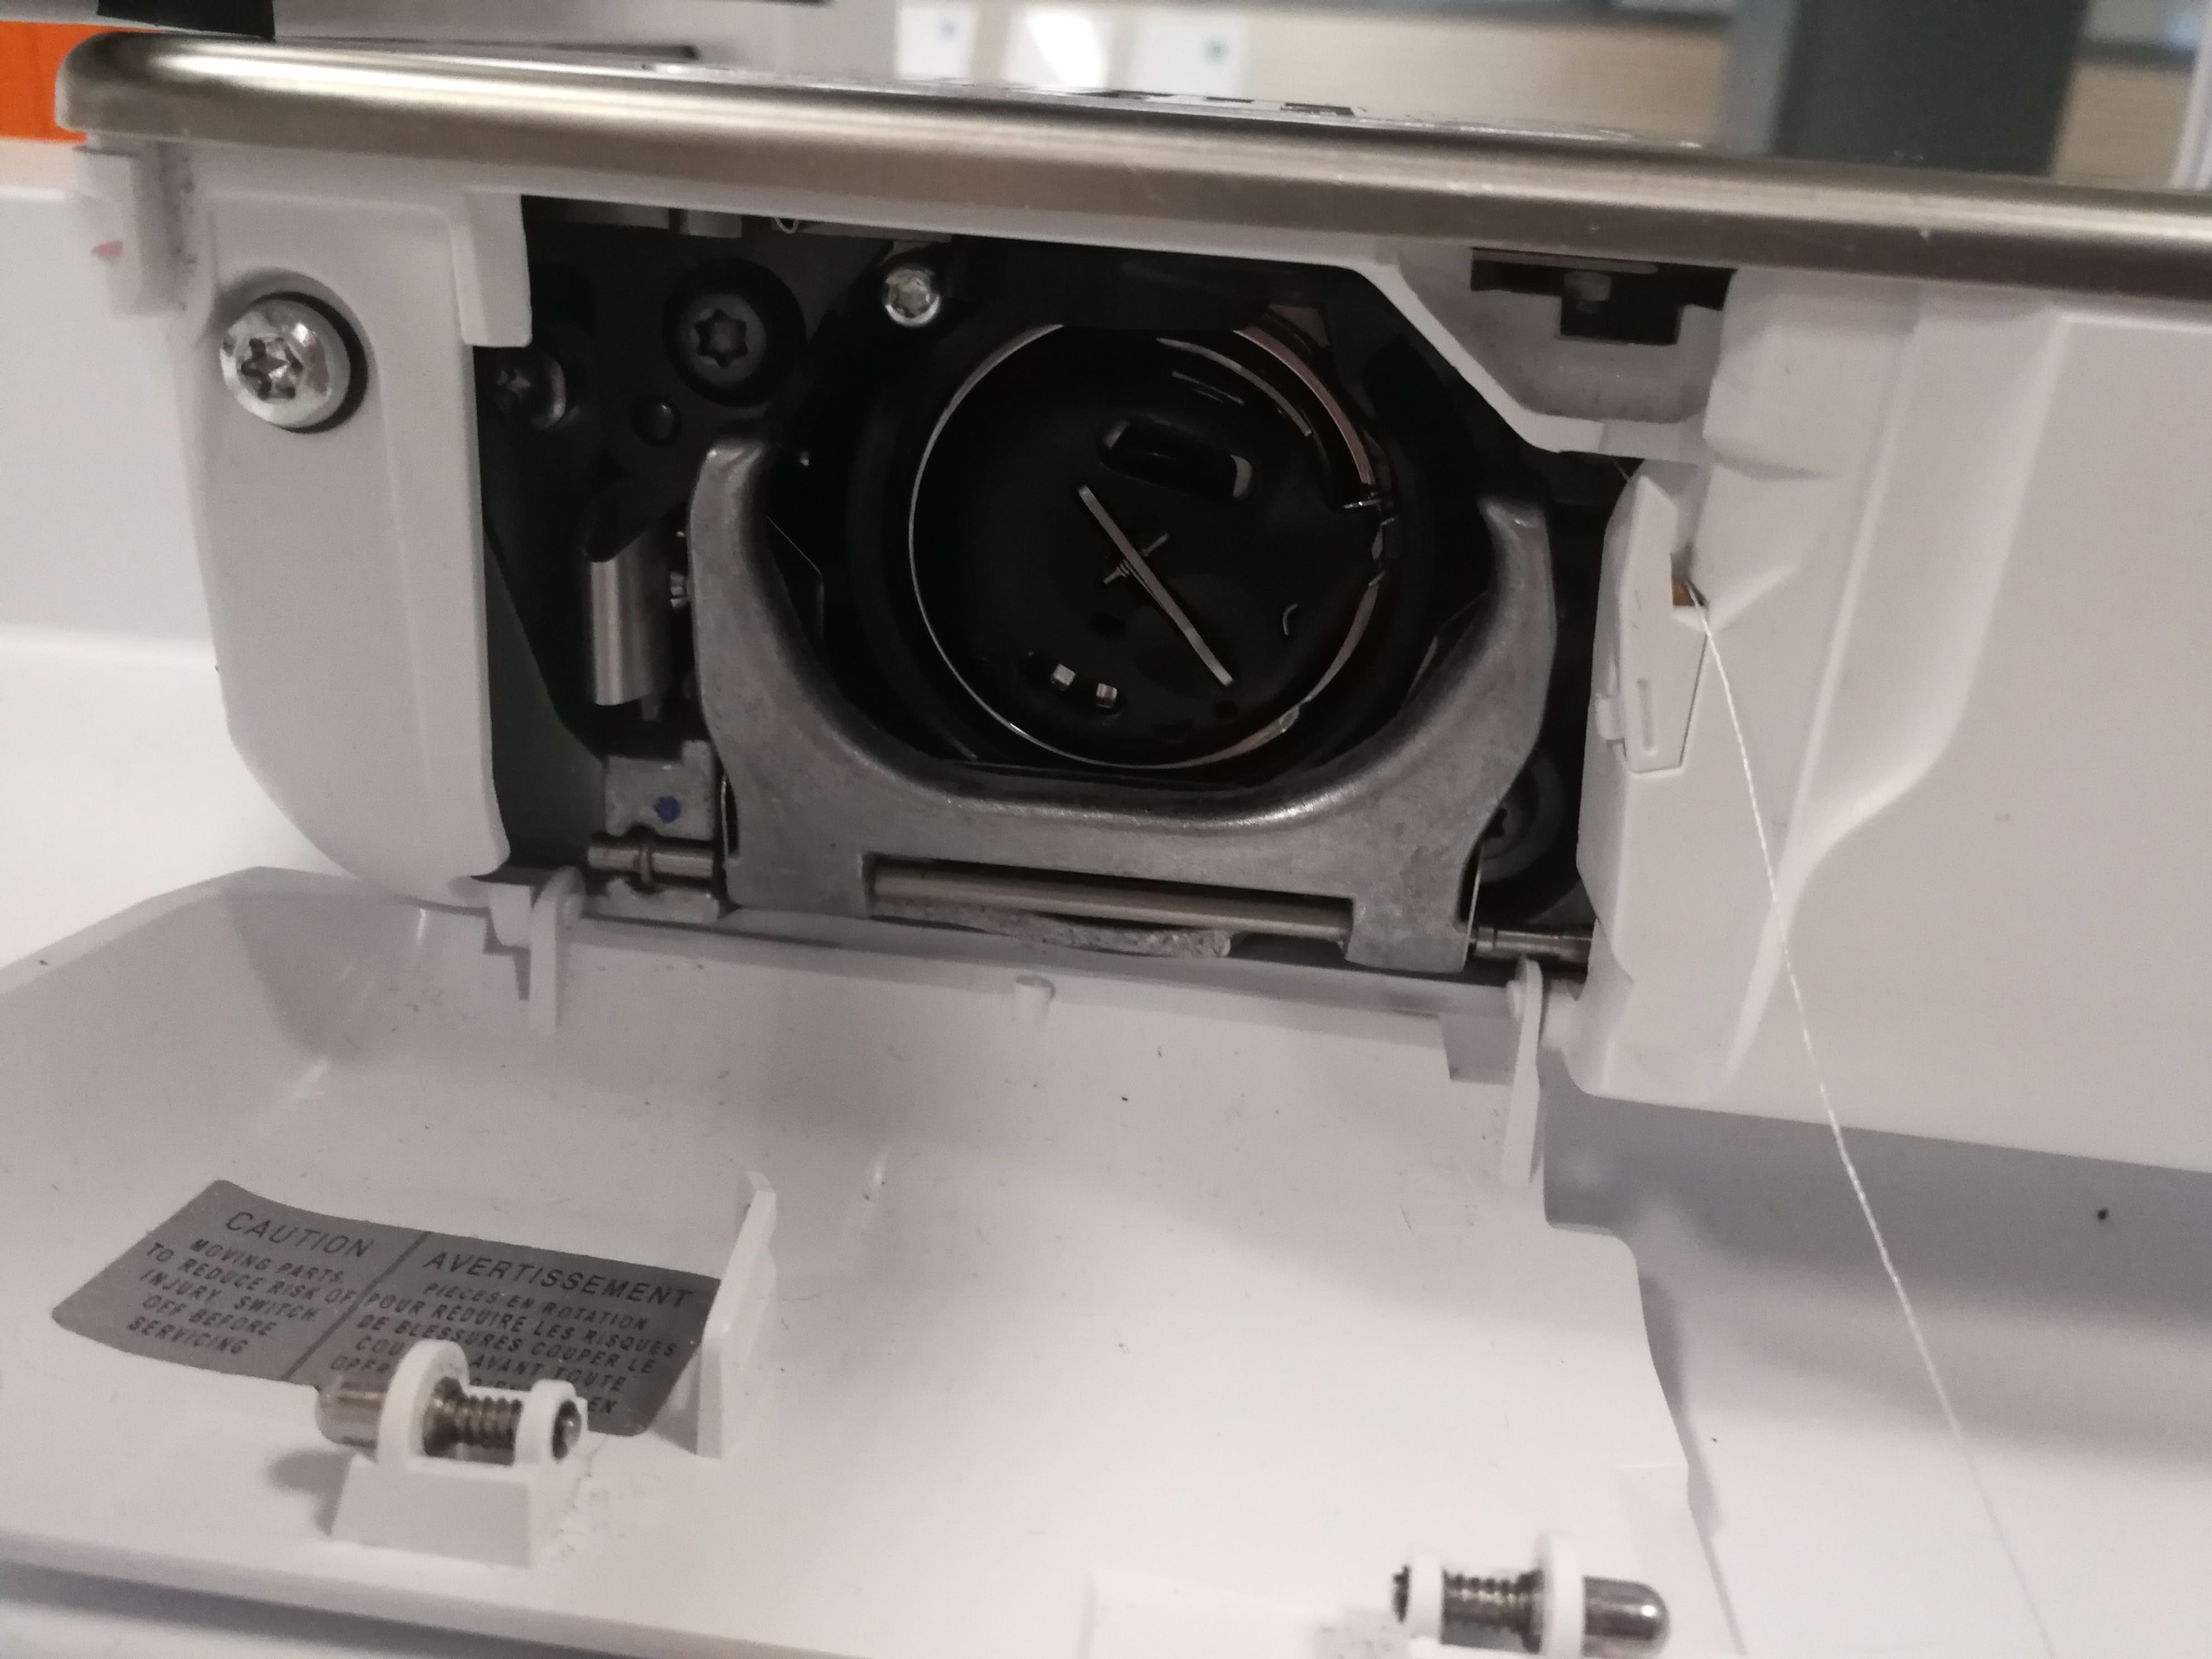 Figure 46.
Following instructions in Figures 41-46, a violet-coloured thread is set, since one of the elements in the design is of this colour.
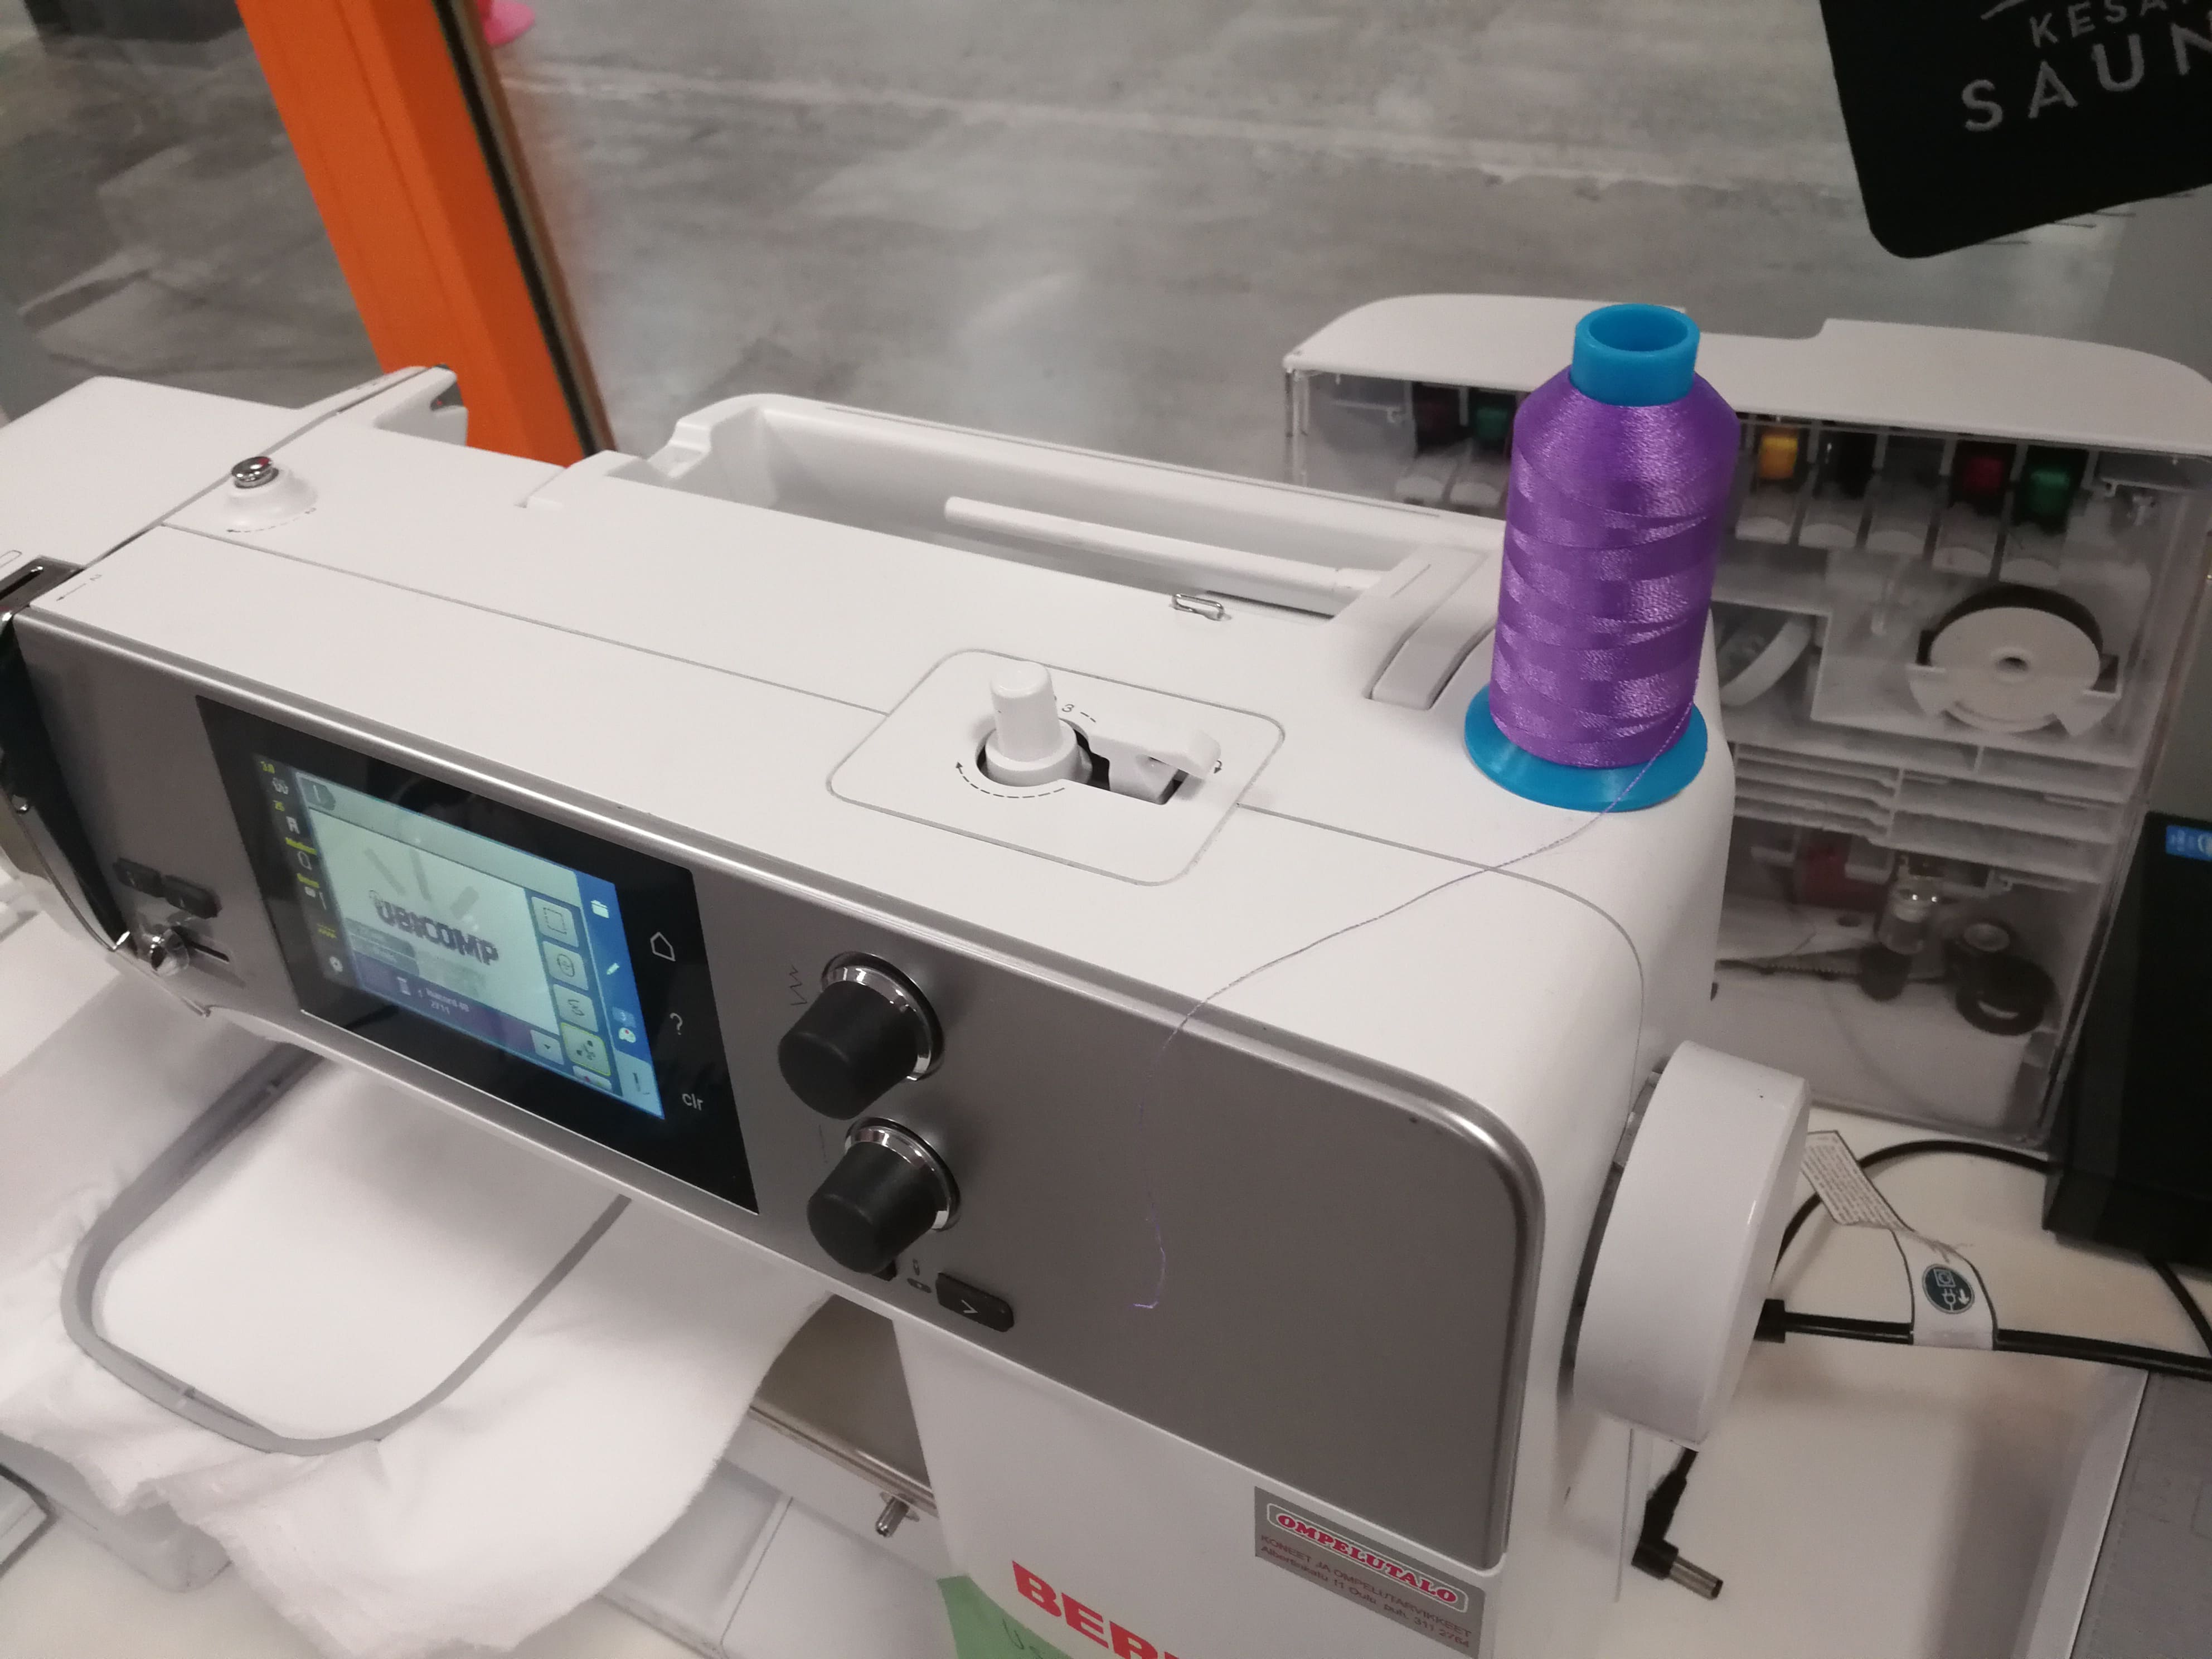 Figure 47.
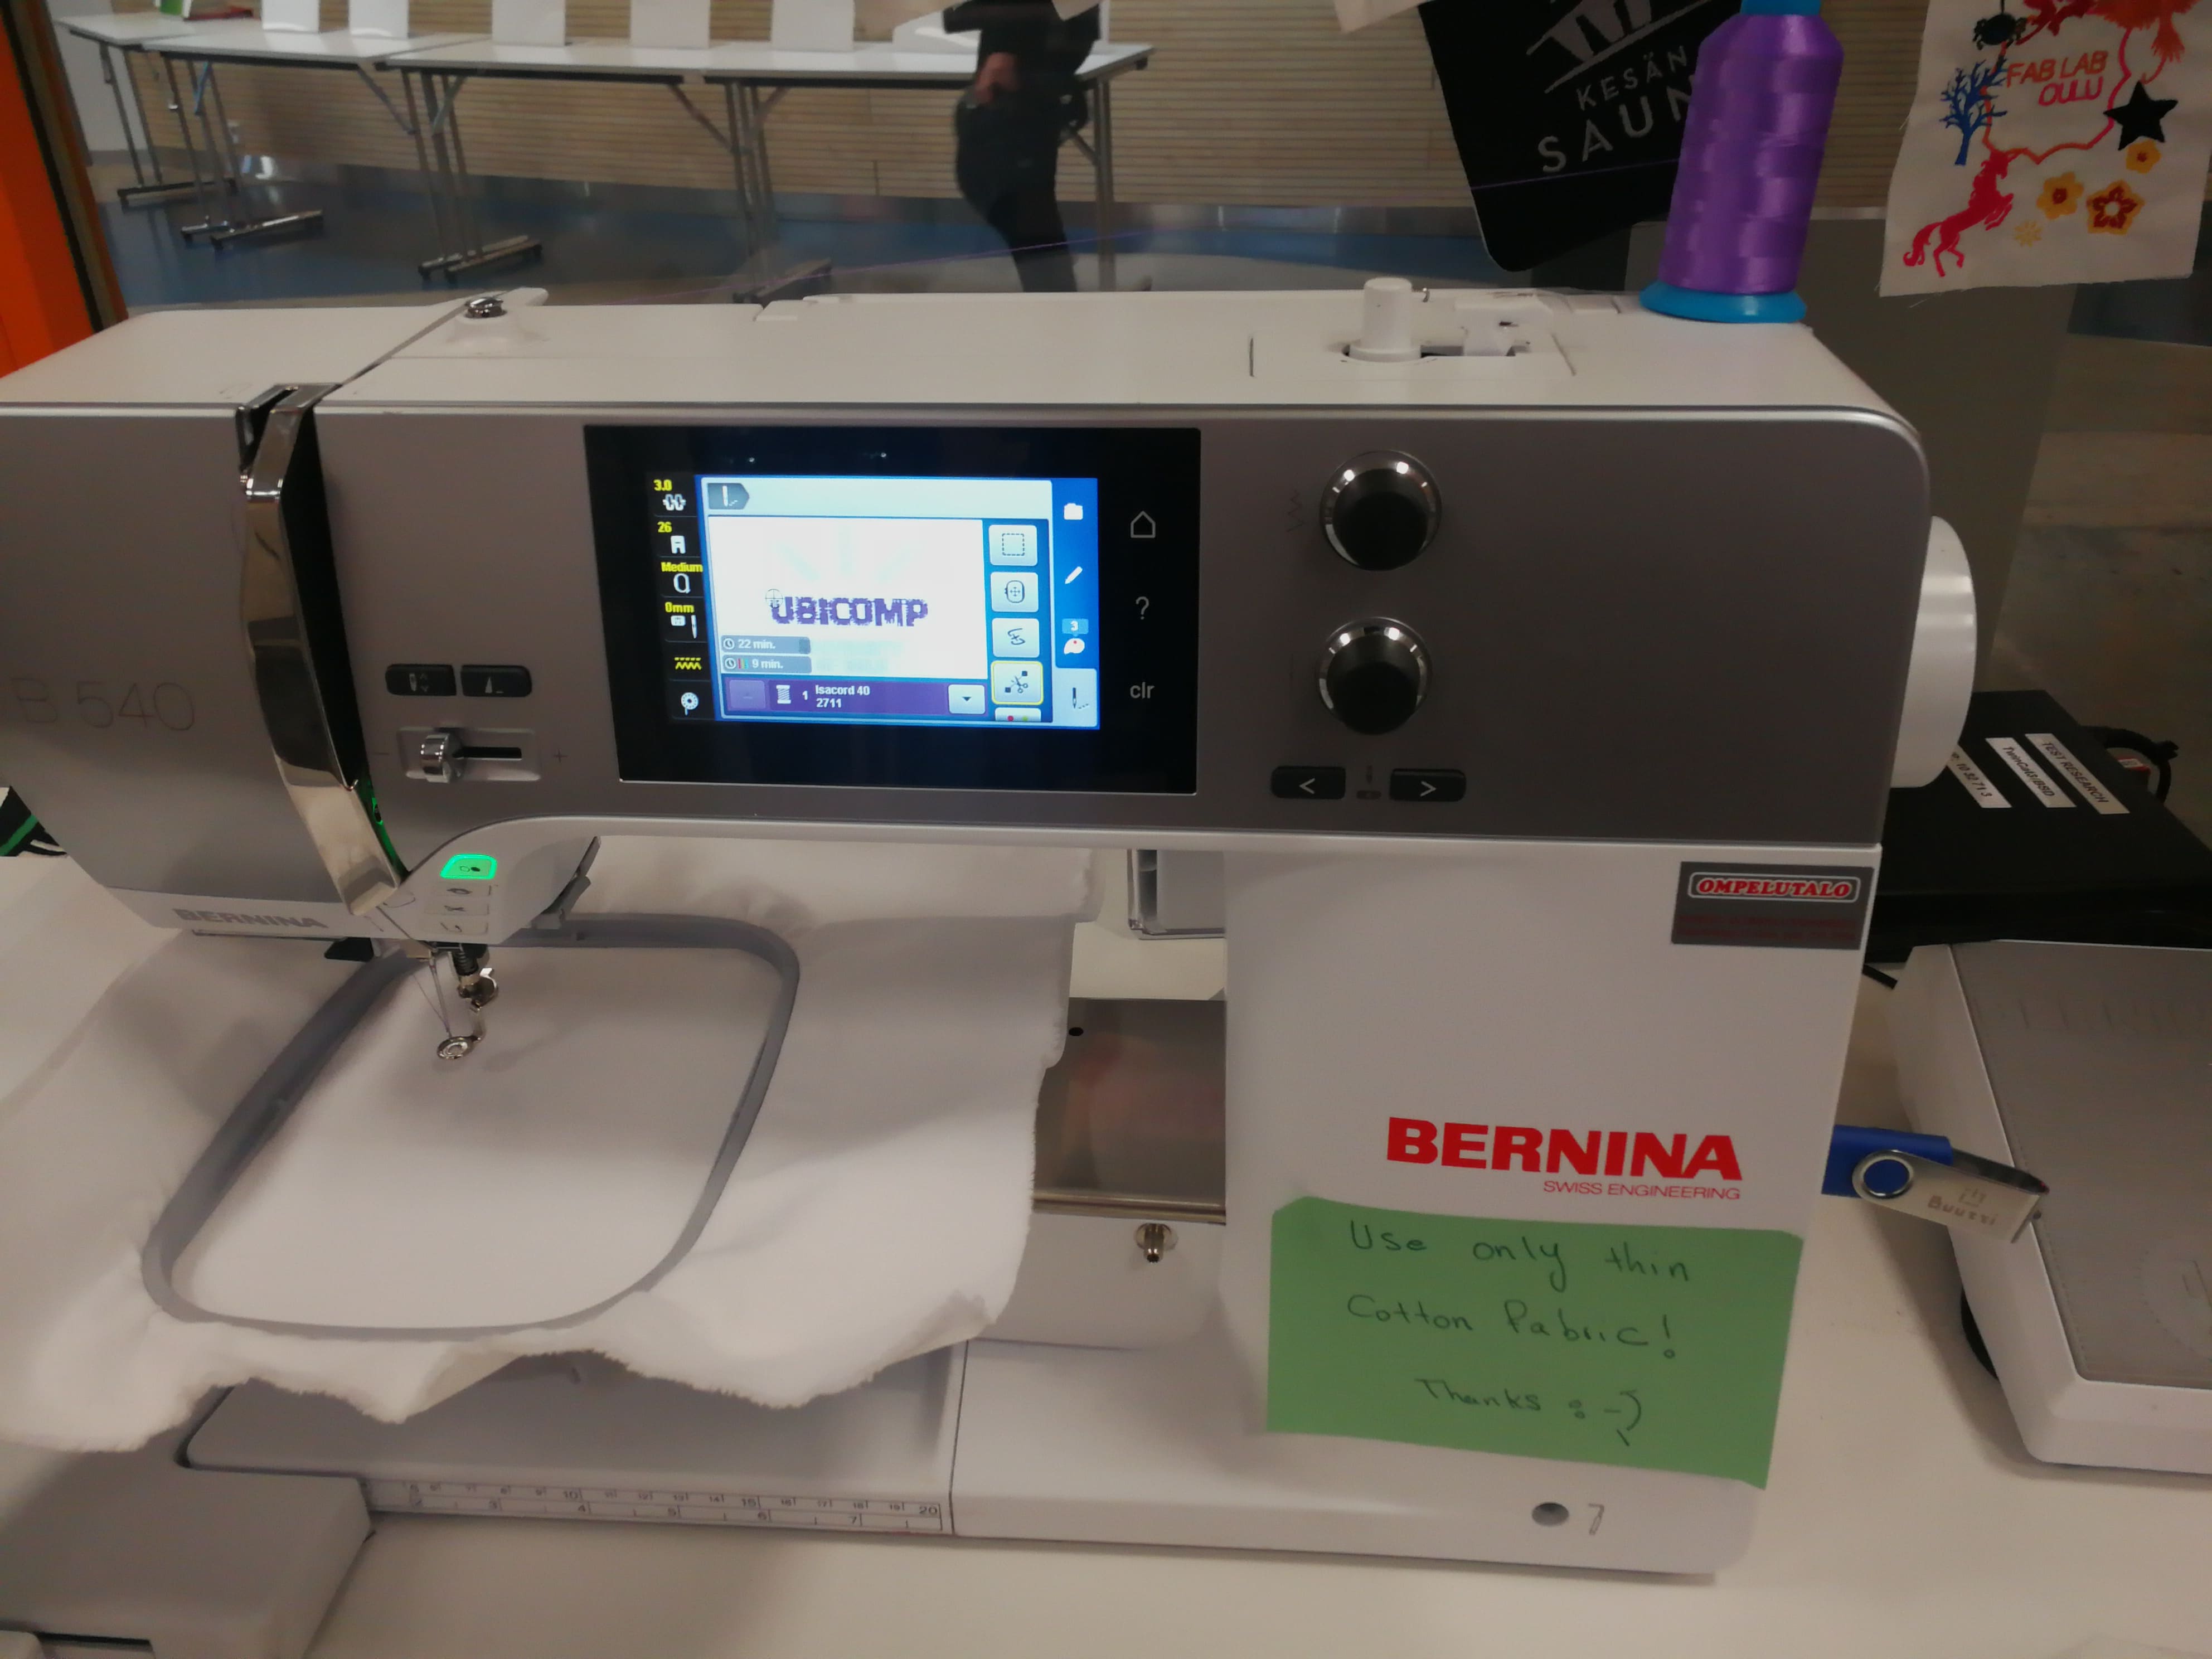 Figure 48.
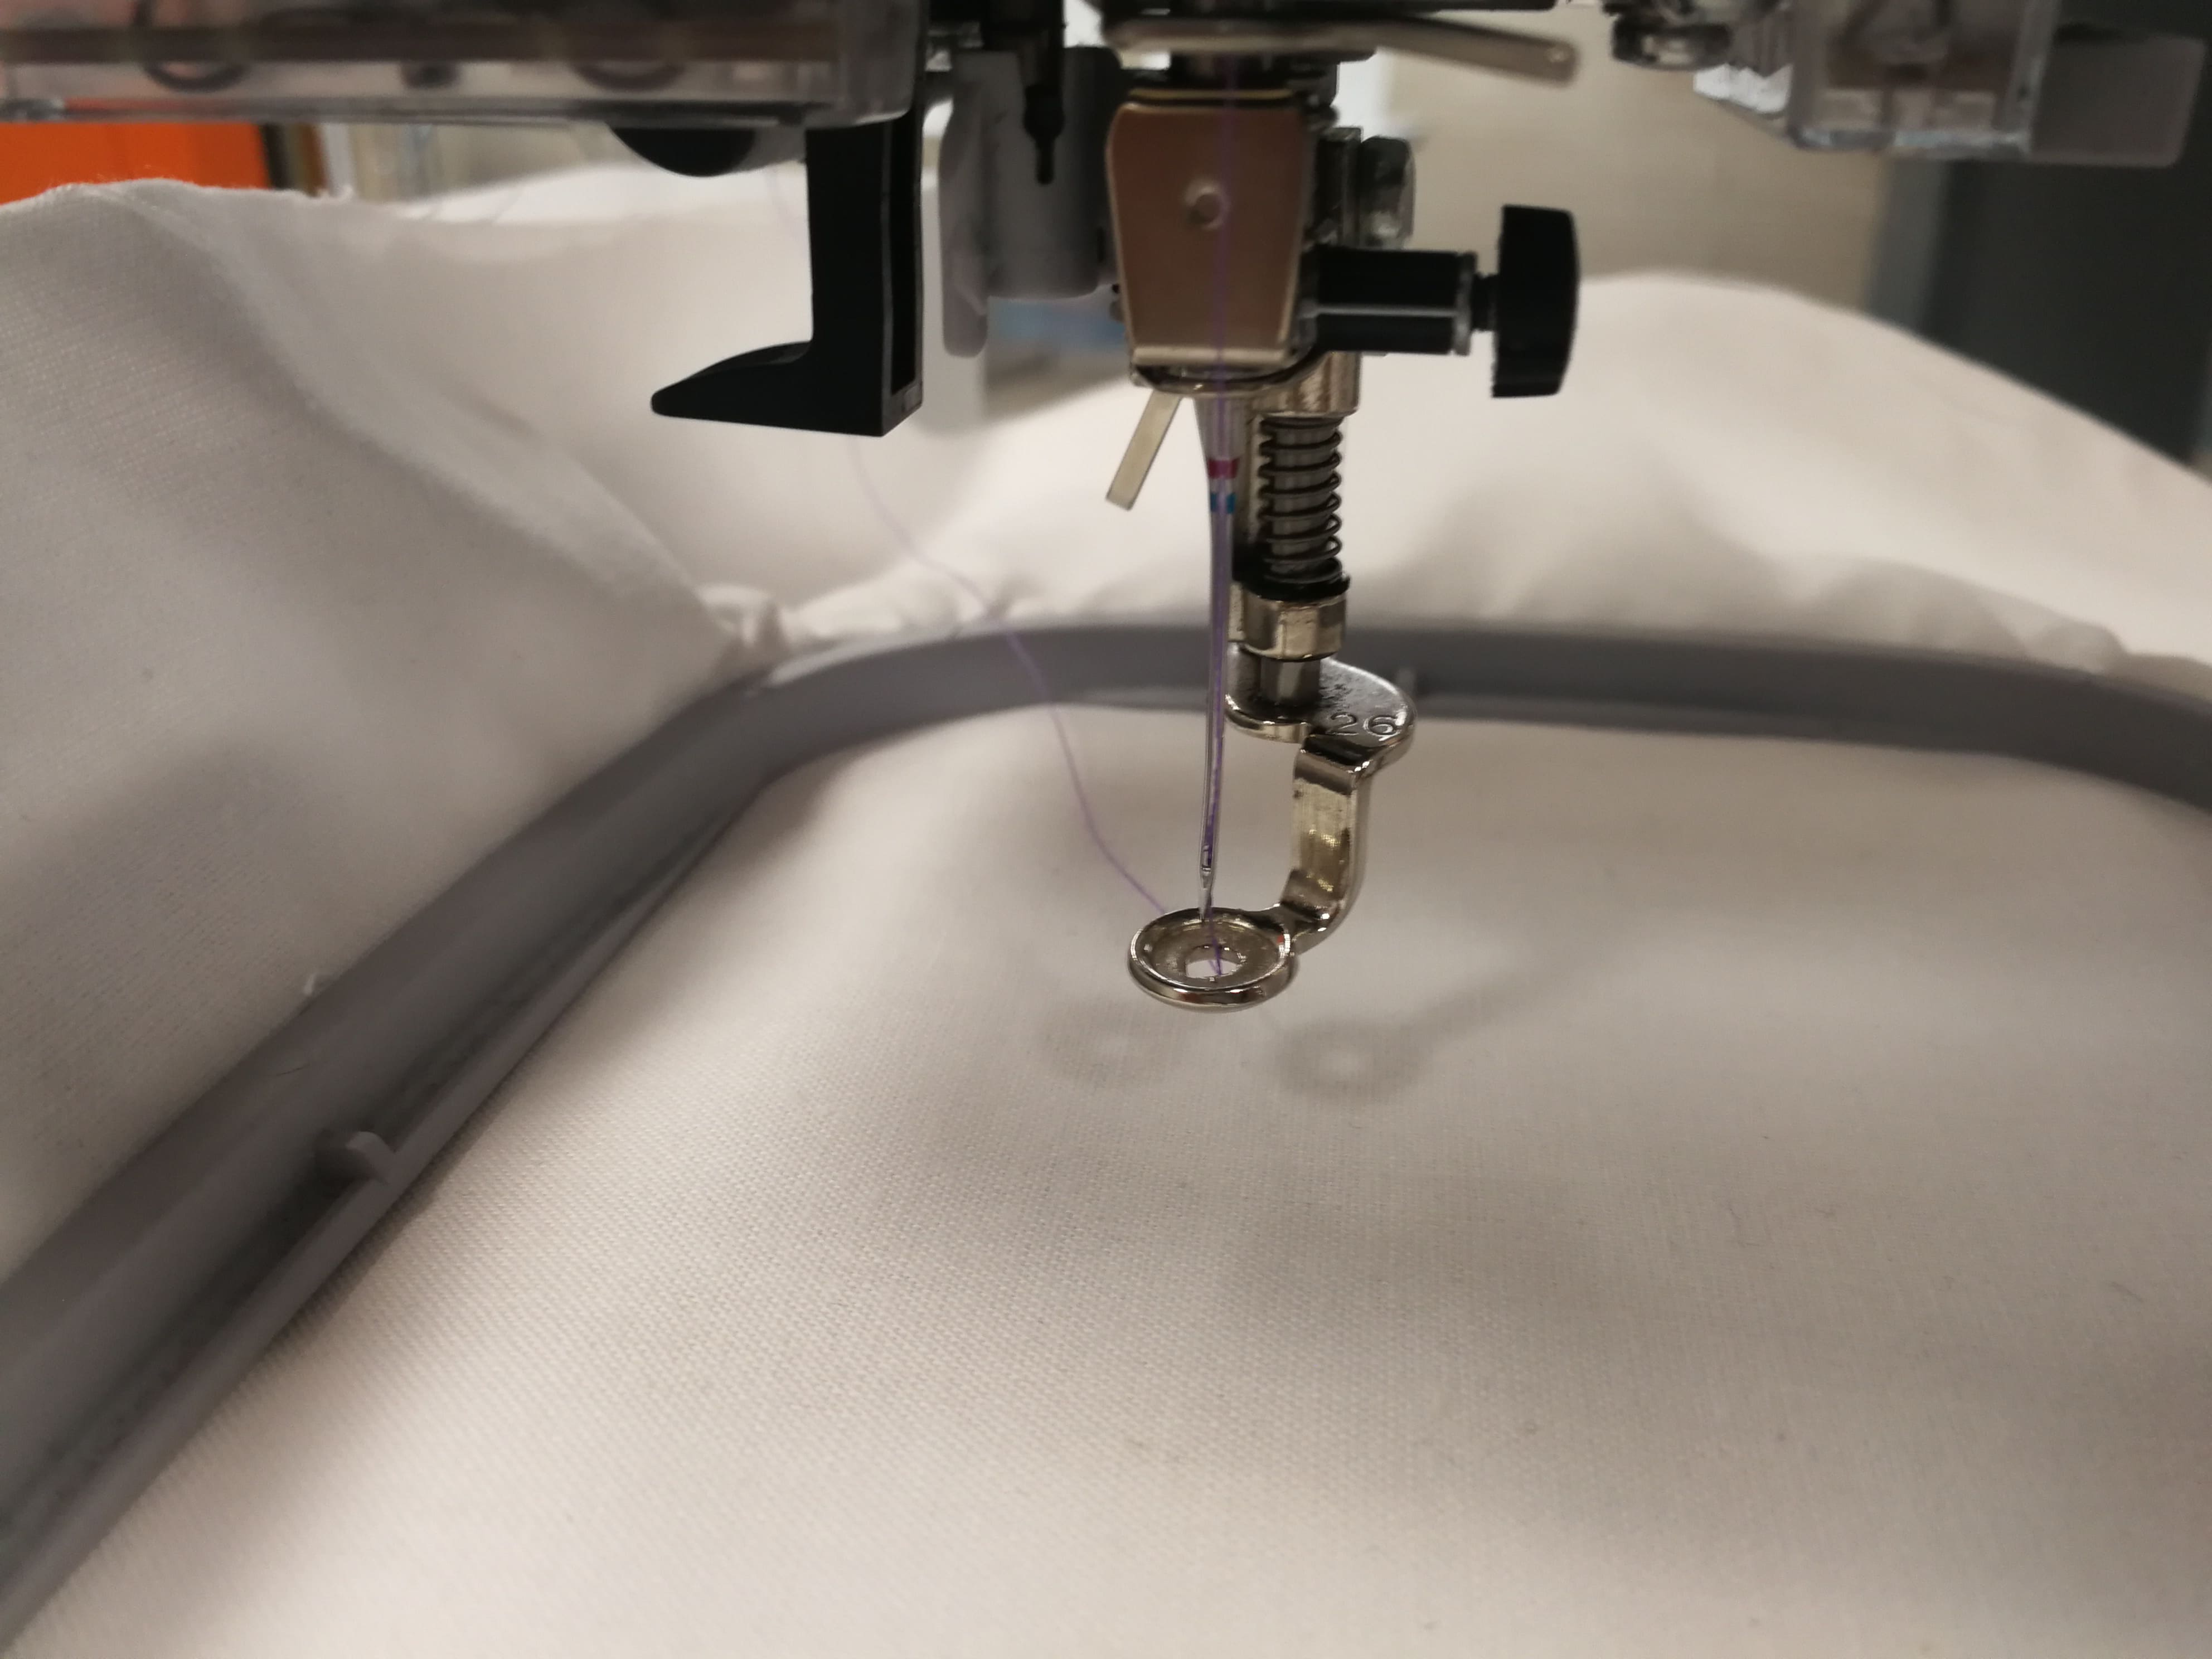 Figure 49.
After this, embroidery begins for a brief moment. During this time, the thread needs to be held externally firmly to ensure that only thread from the stock is being engraved. Once initial brief engraving is done, the extra thread should be cut as shown in Figure 50.
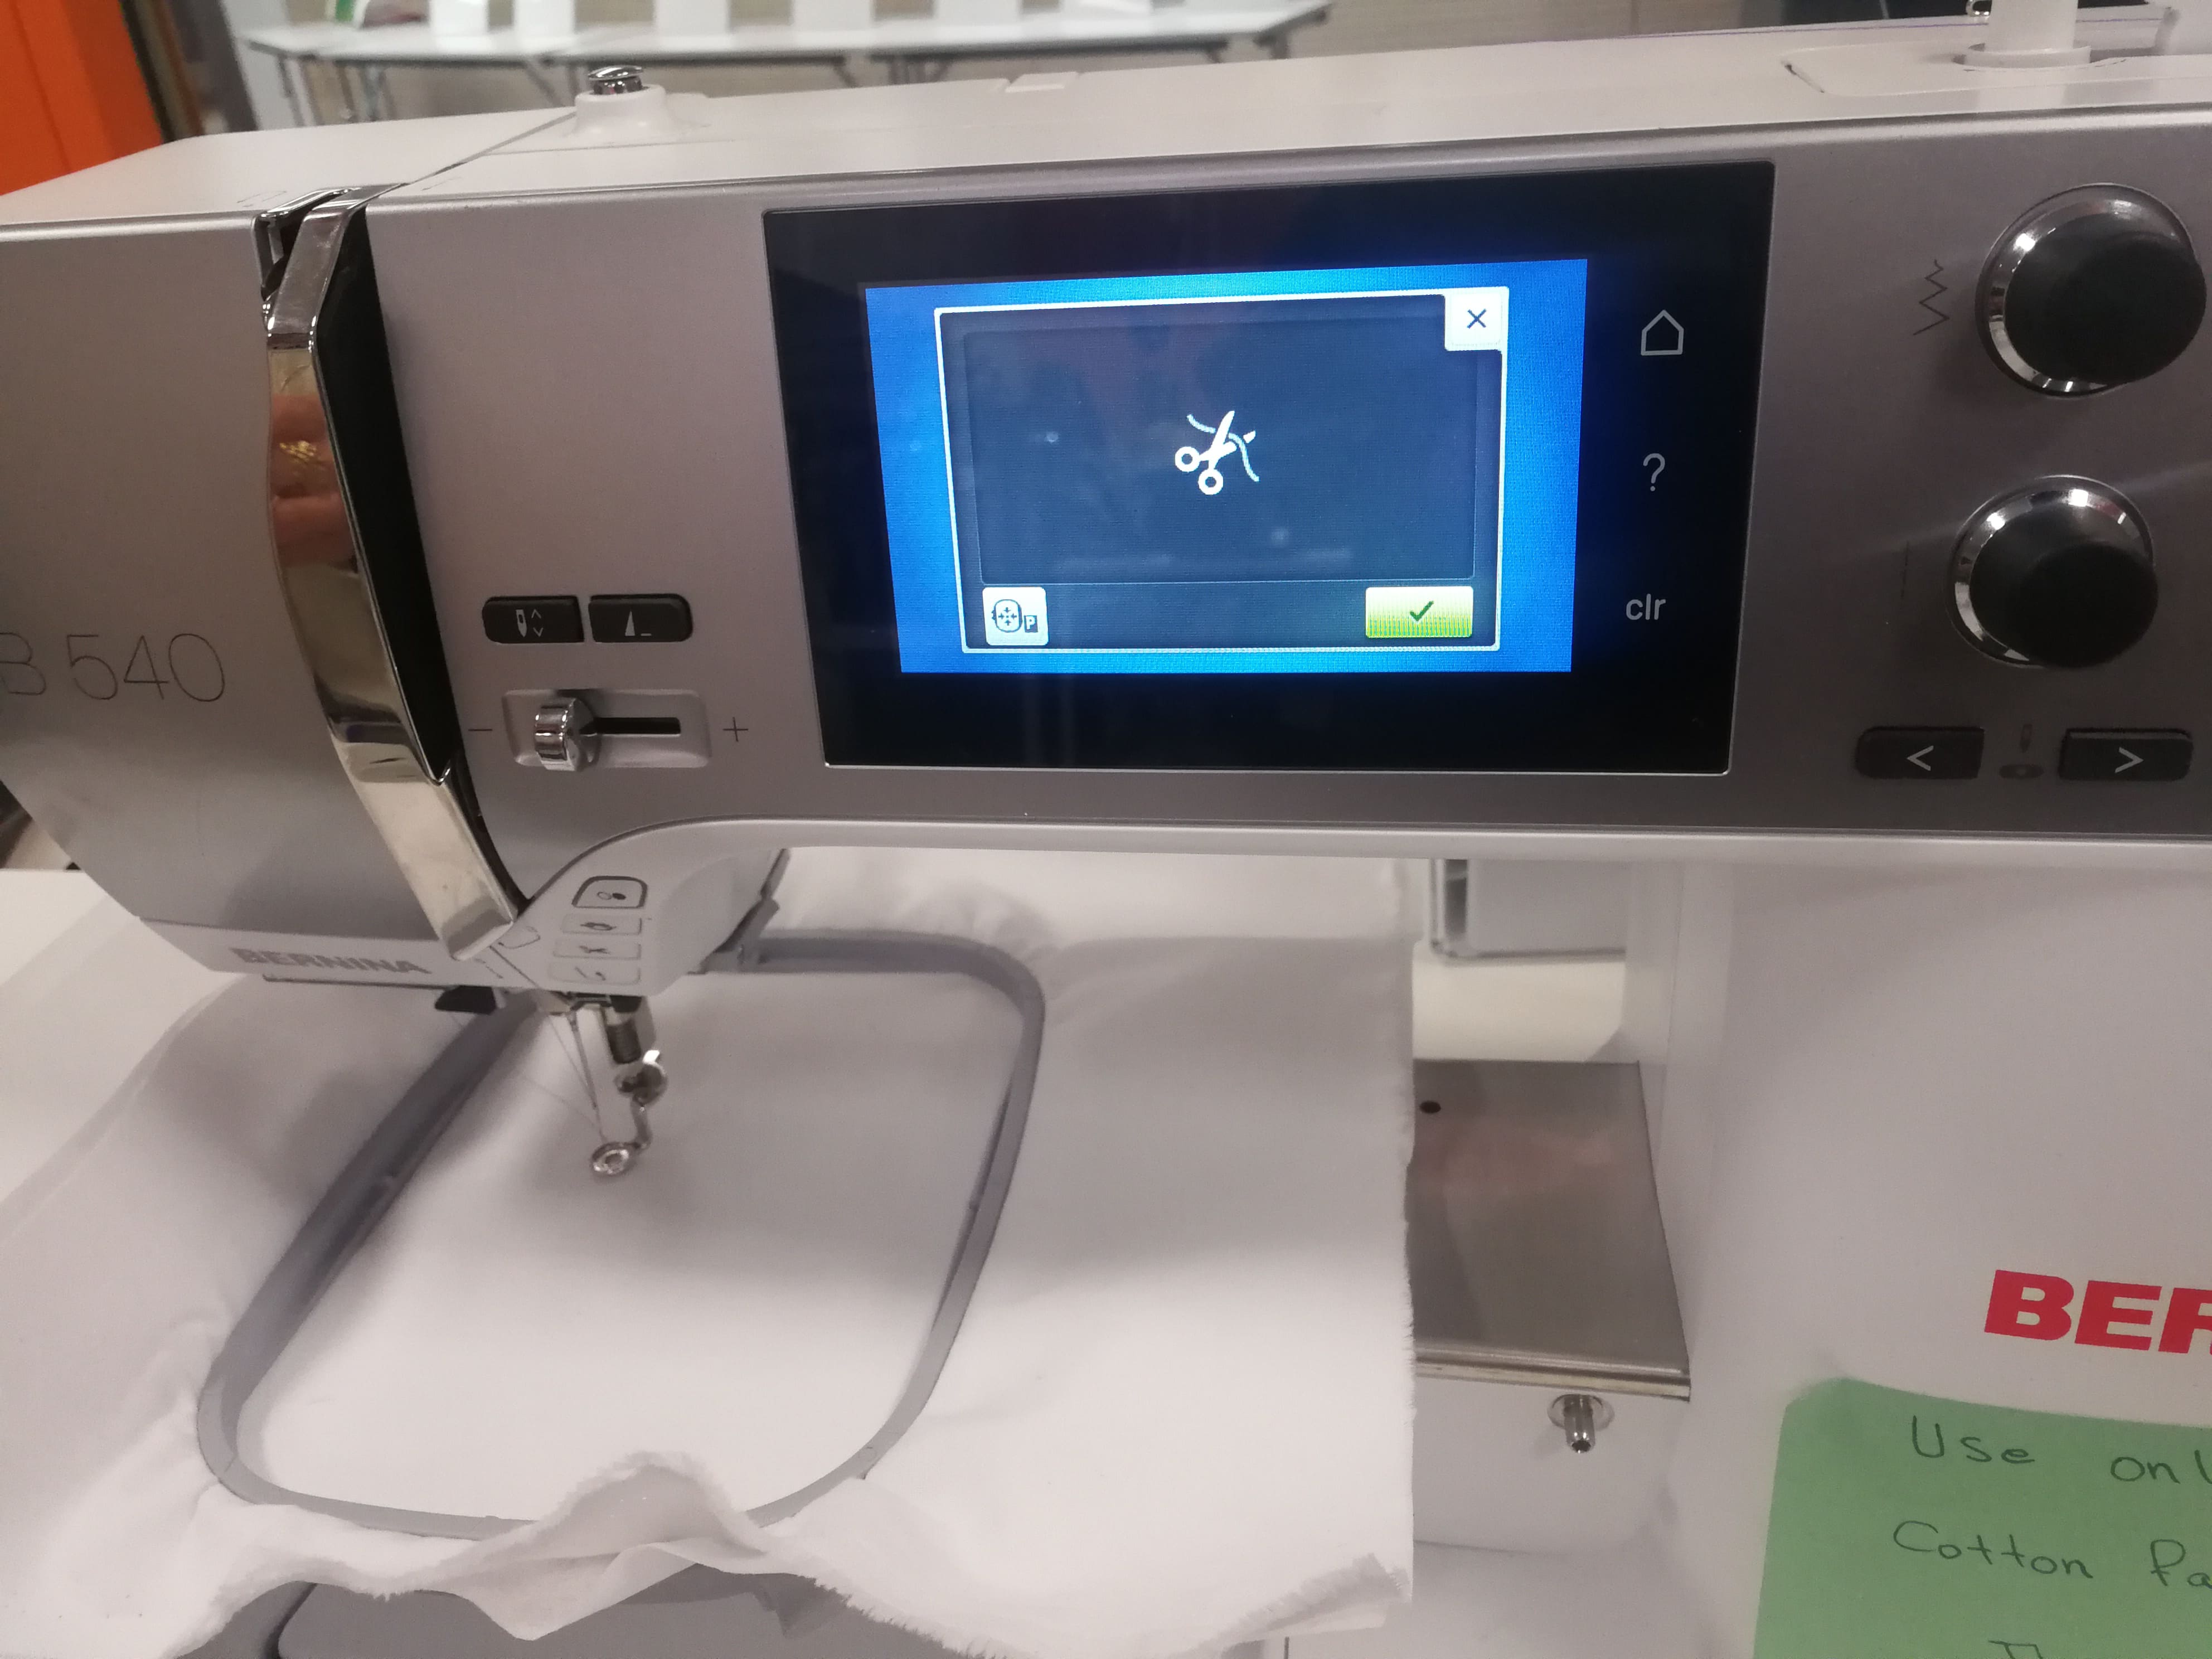 Figure 50. Cutting extra thread, and turn ON to resume embroidery.
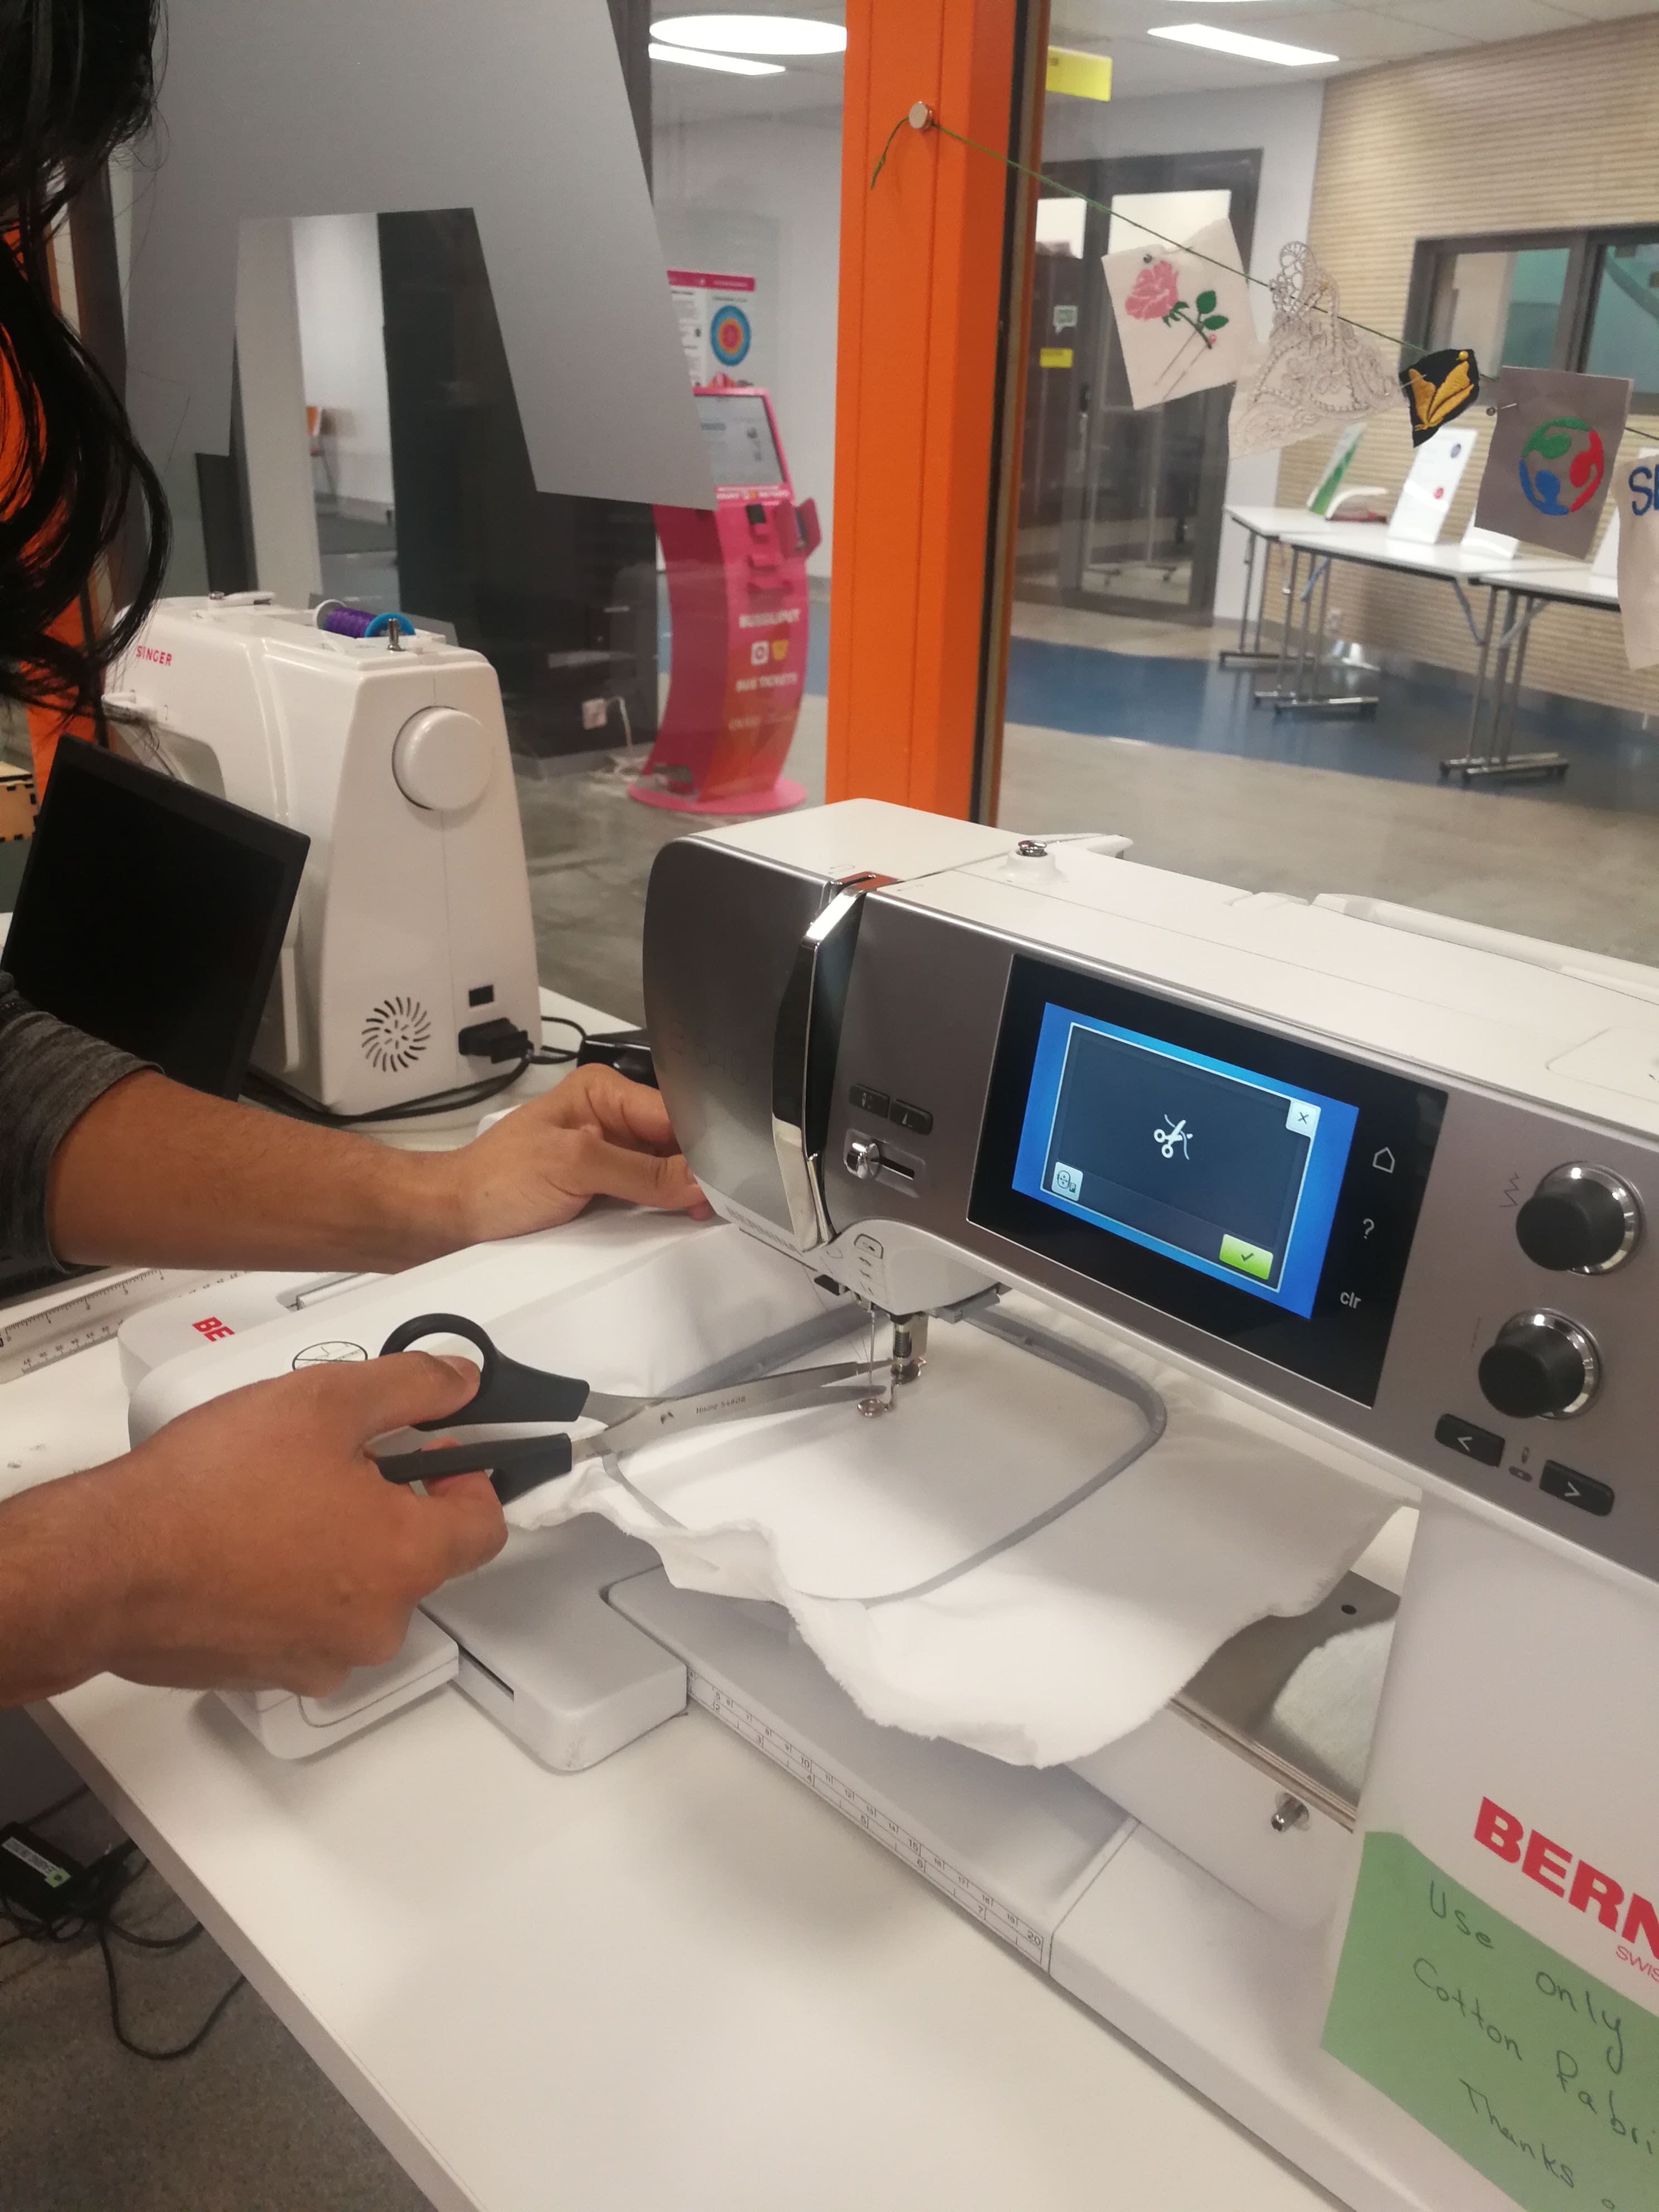 Figure 51. Embroidery for one colour has finished.
Now thread needs to be changed to a different colour, and embroidery is resumed as stated in previous steps.
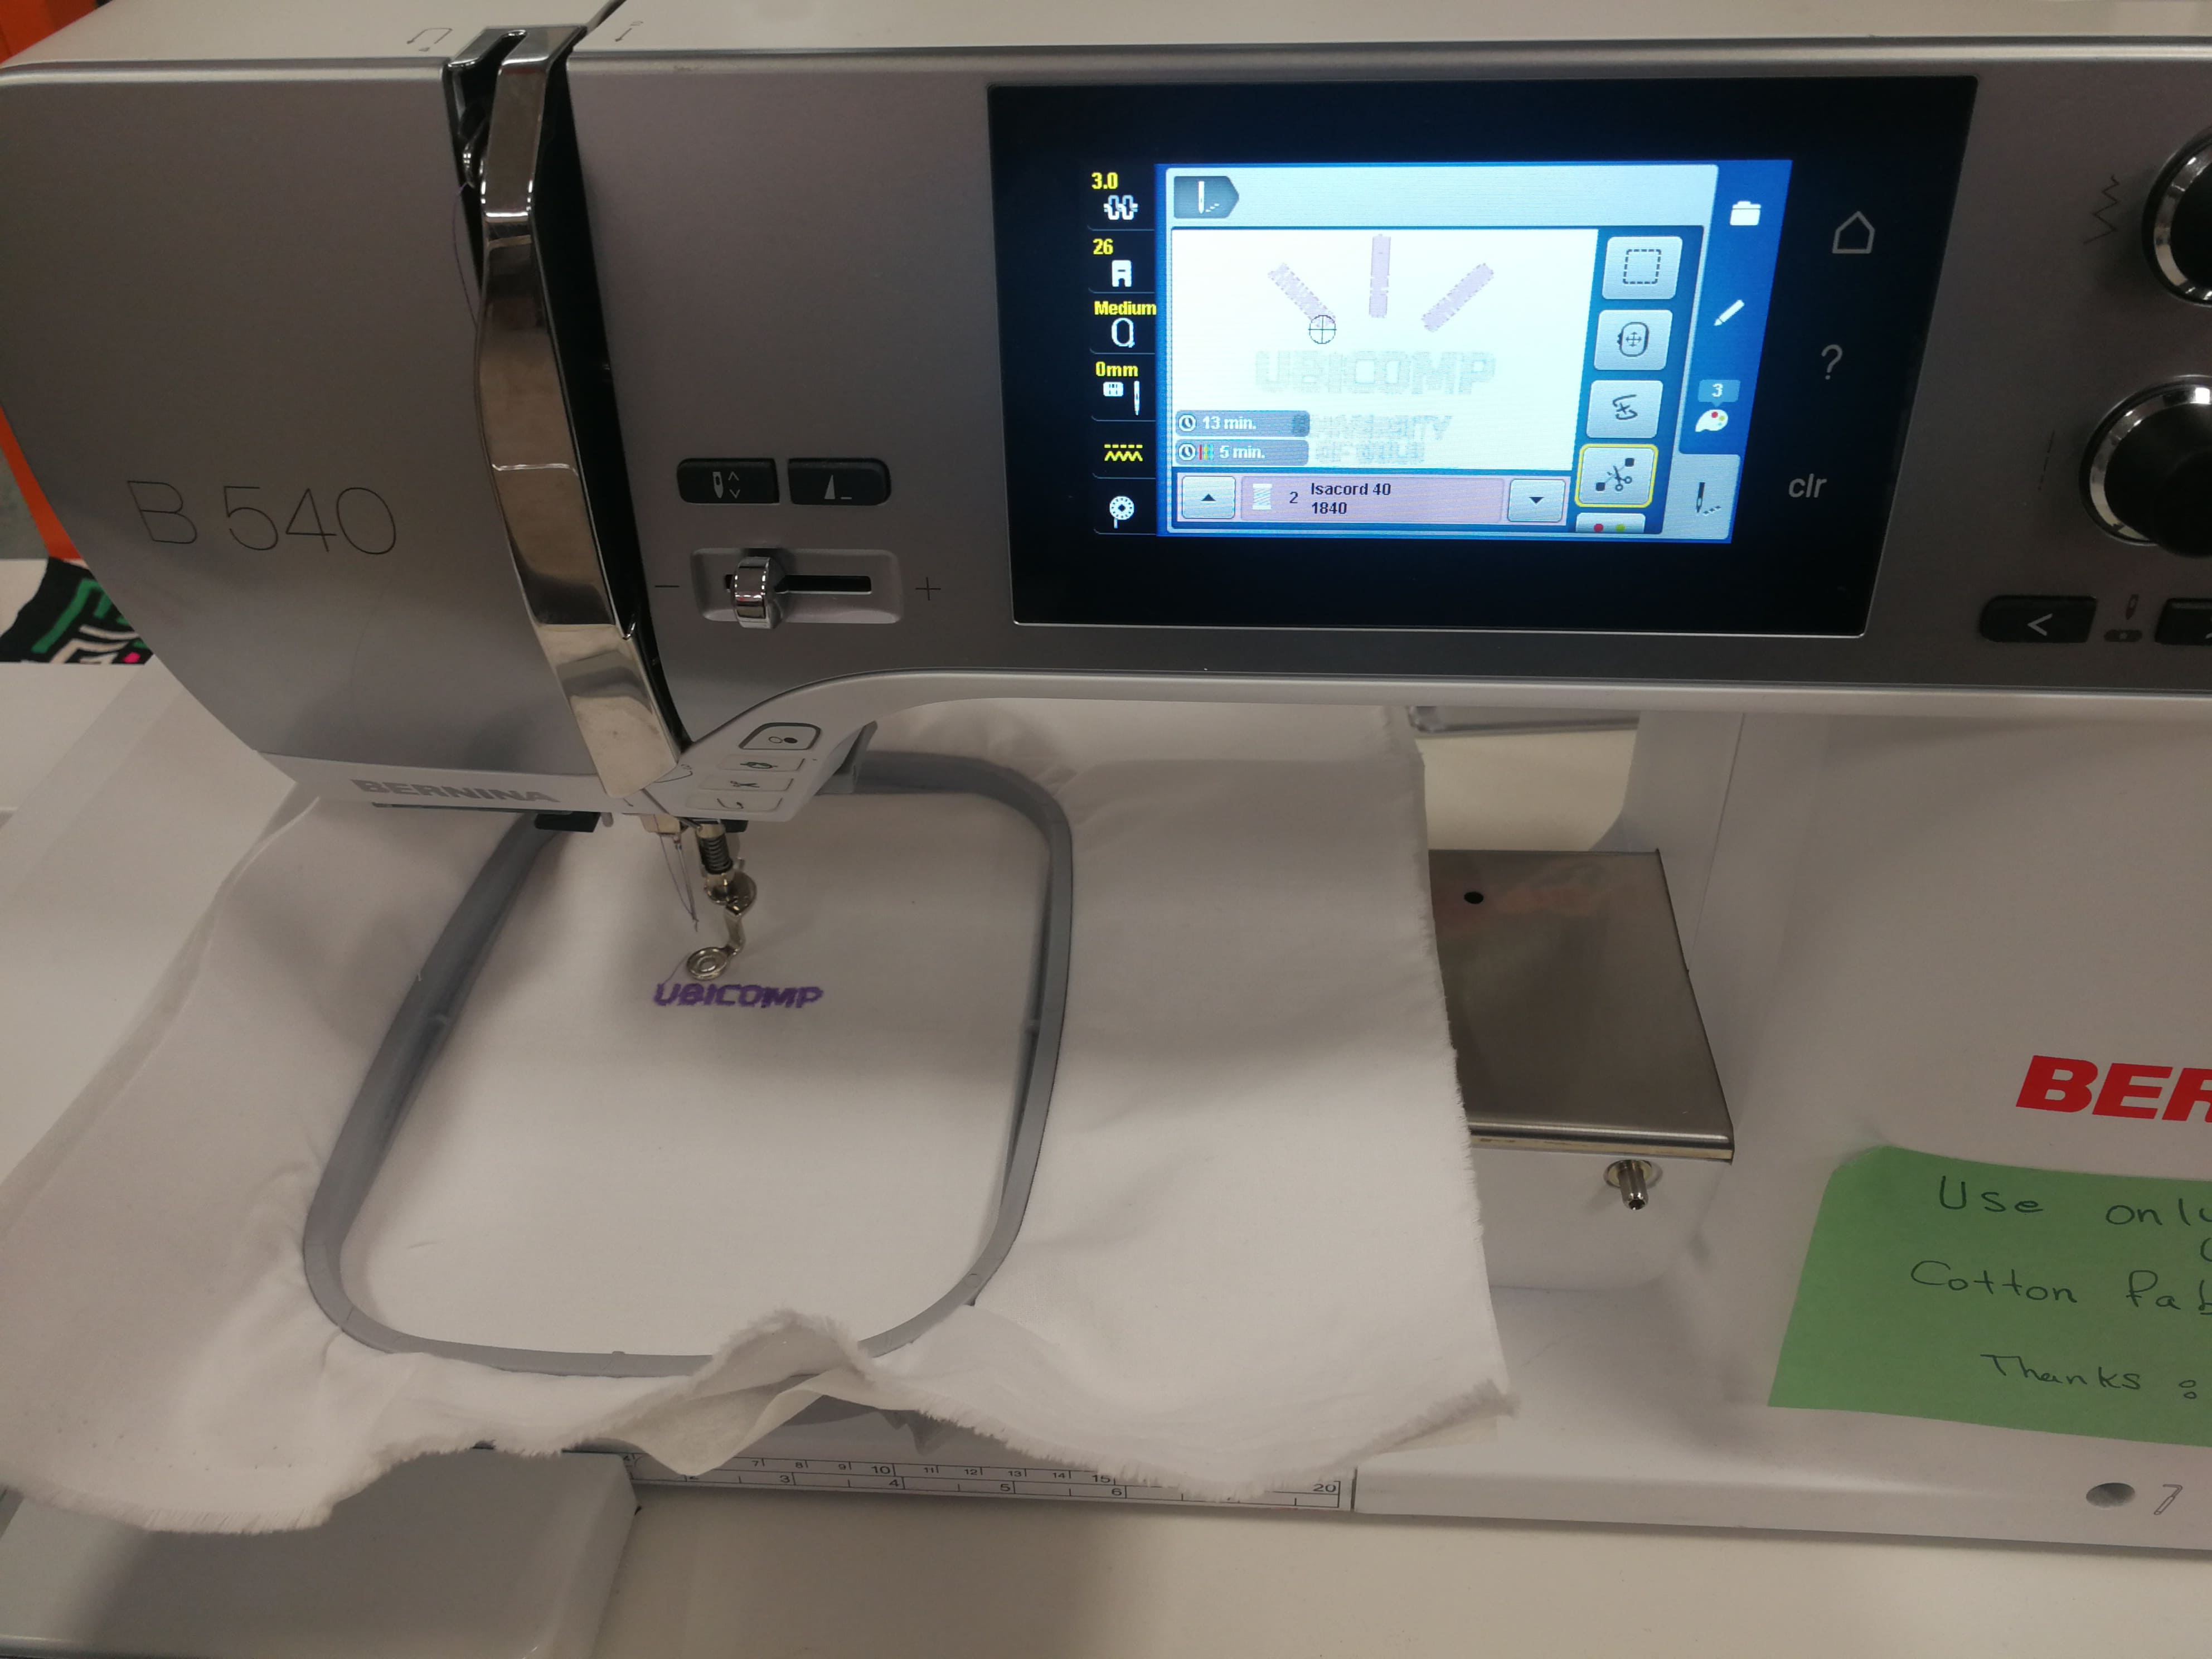 Figure 52.
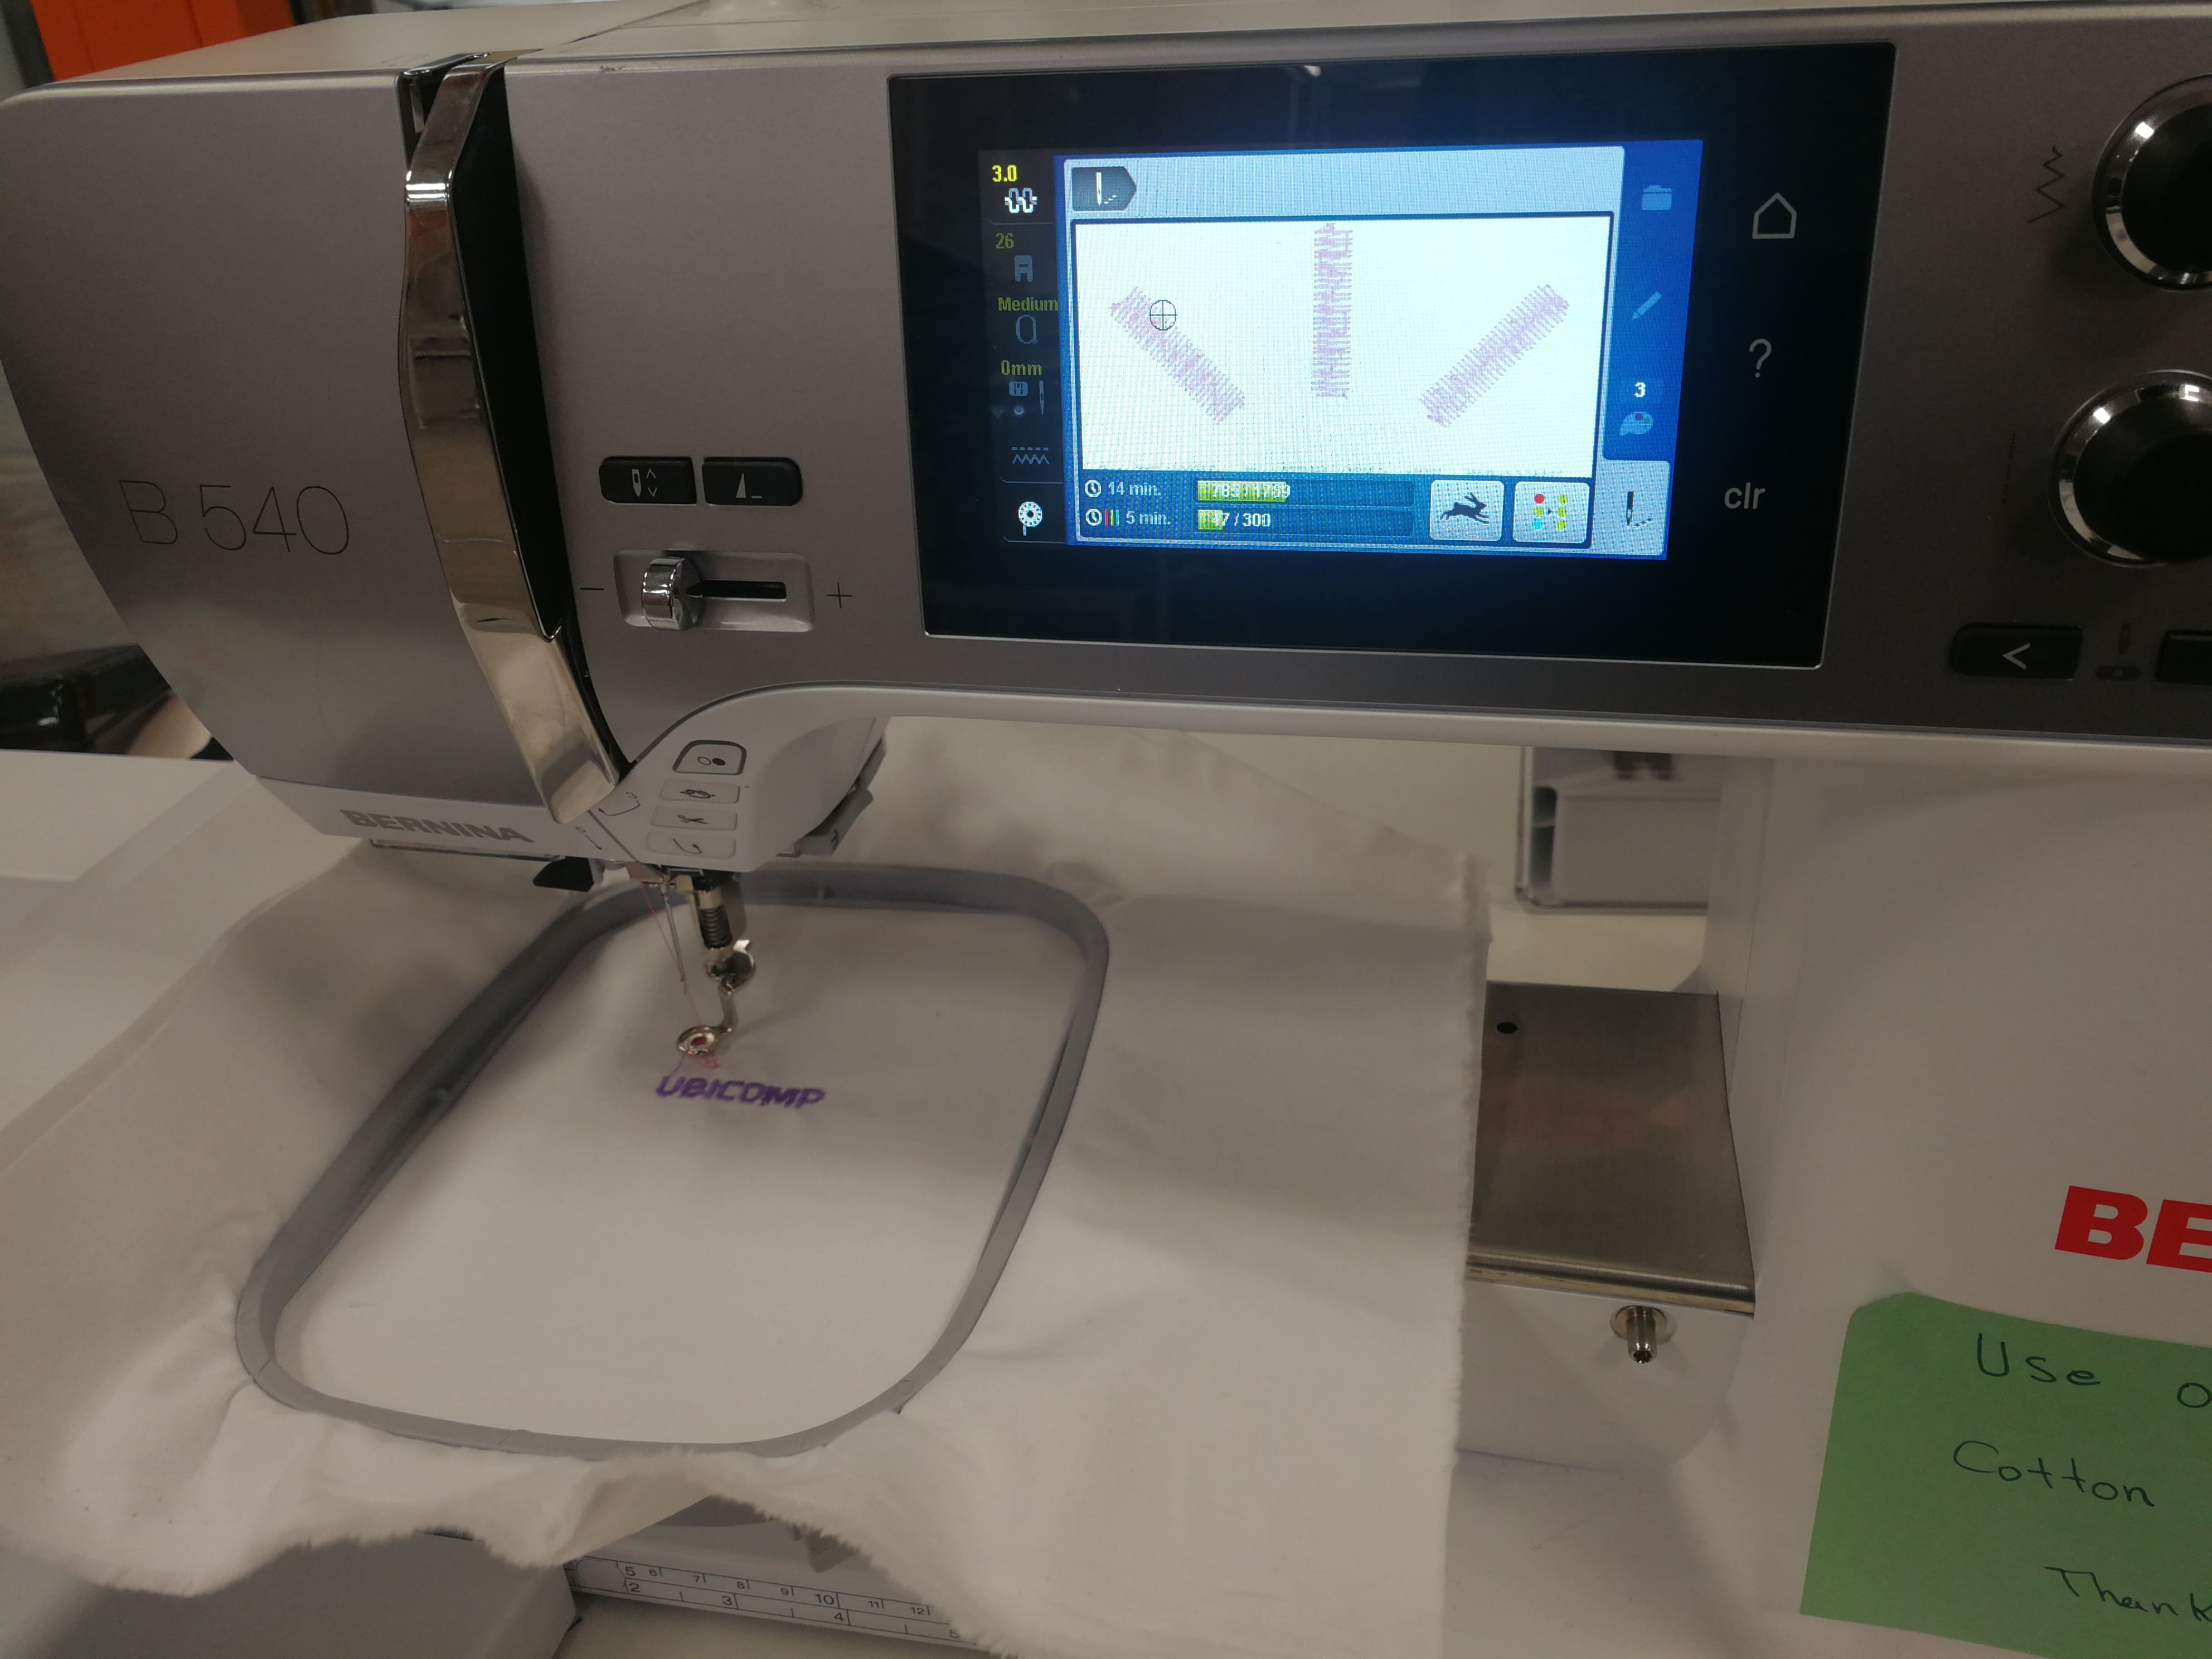 Figure 53.
Now thread needs to be changed to a different colour, and embroidery is resumed as stated in previous steps. The following Figures 54-63 show the steps of engraving the last back-coloured design “UNIVERSITY OF OULU.”
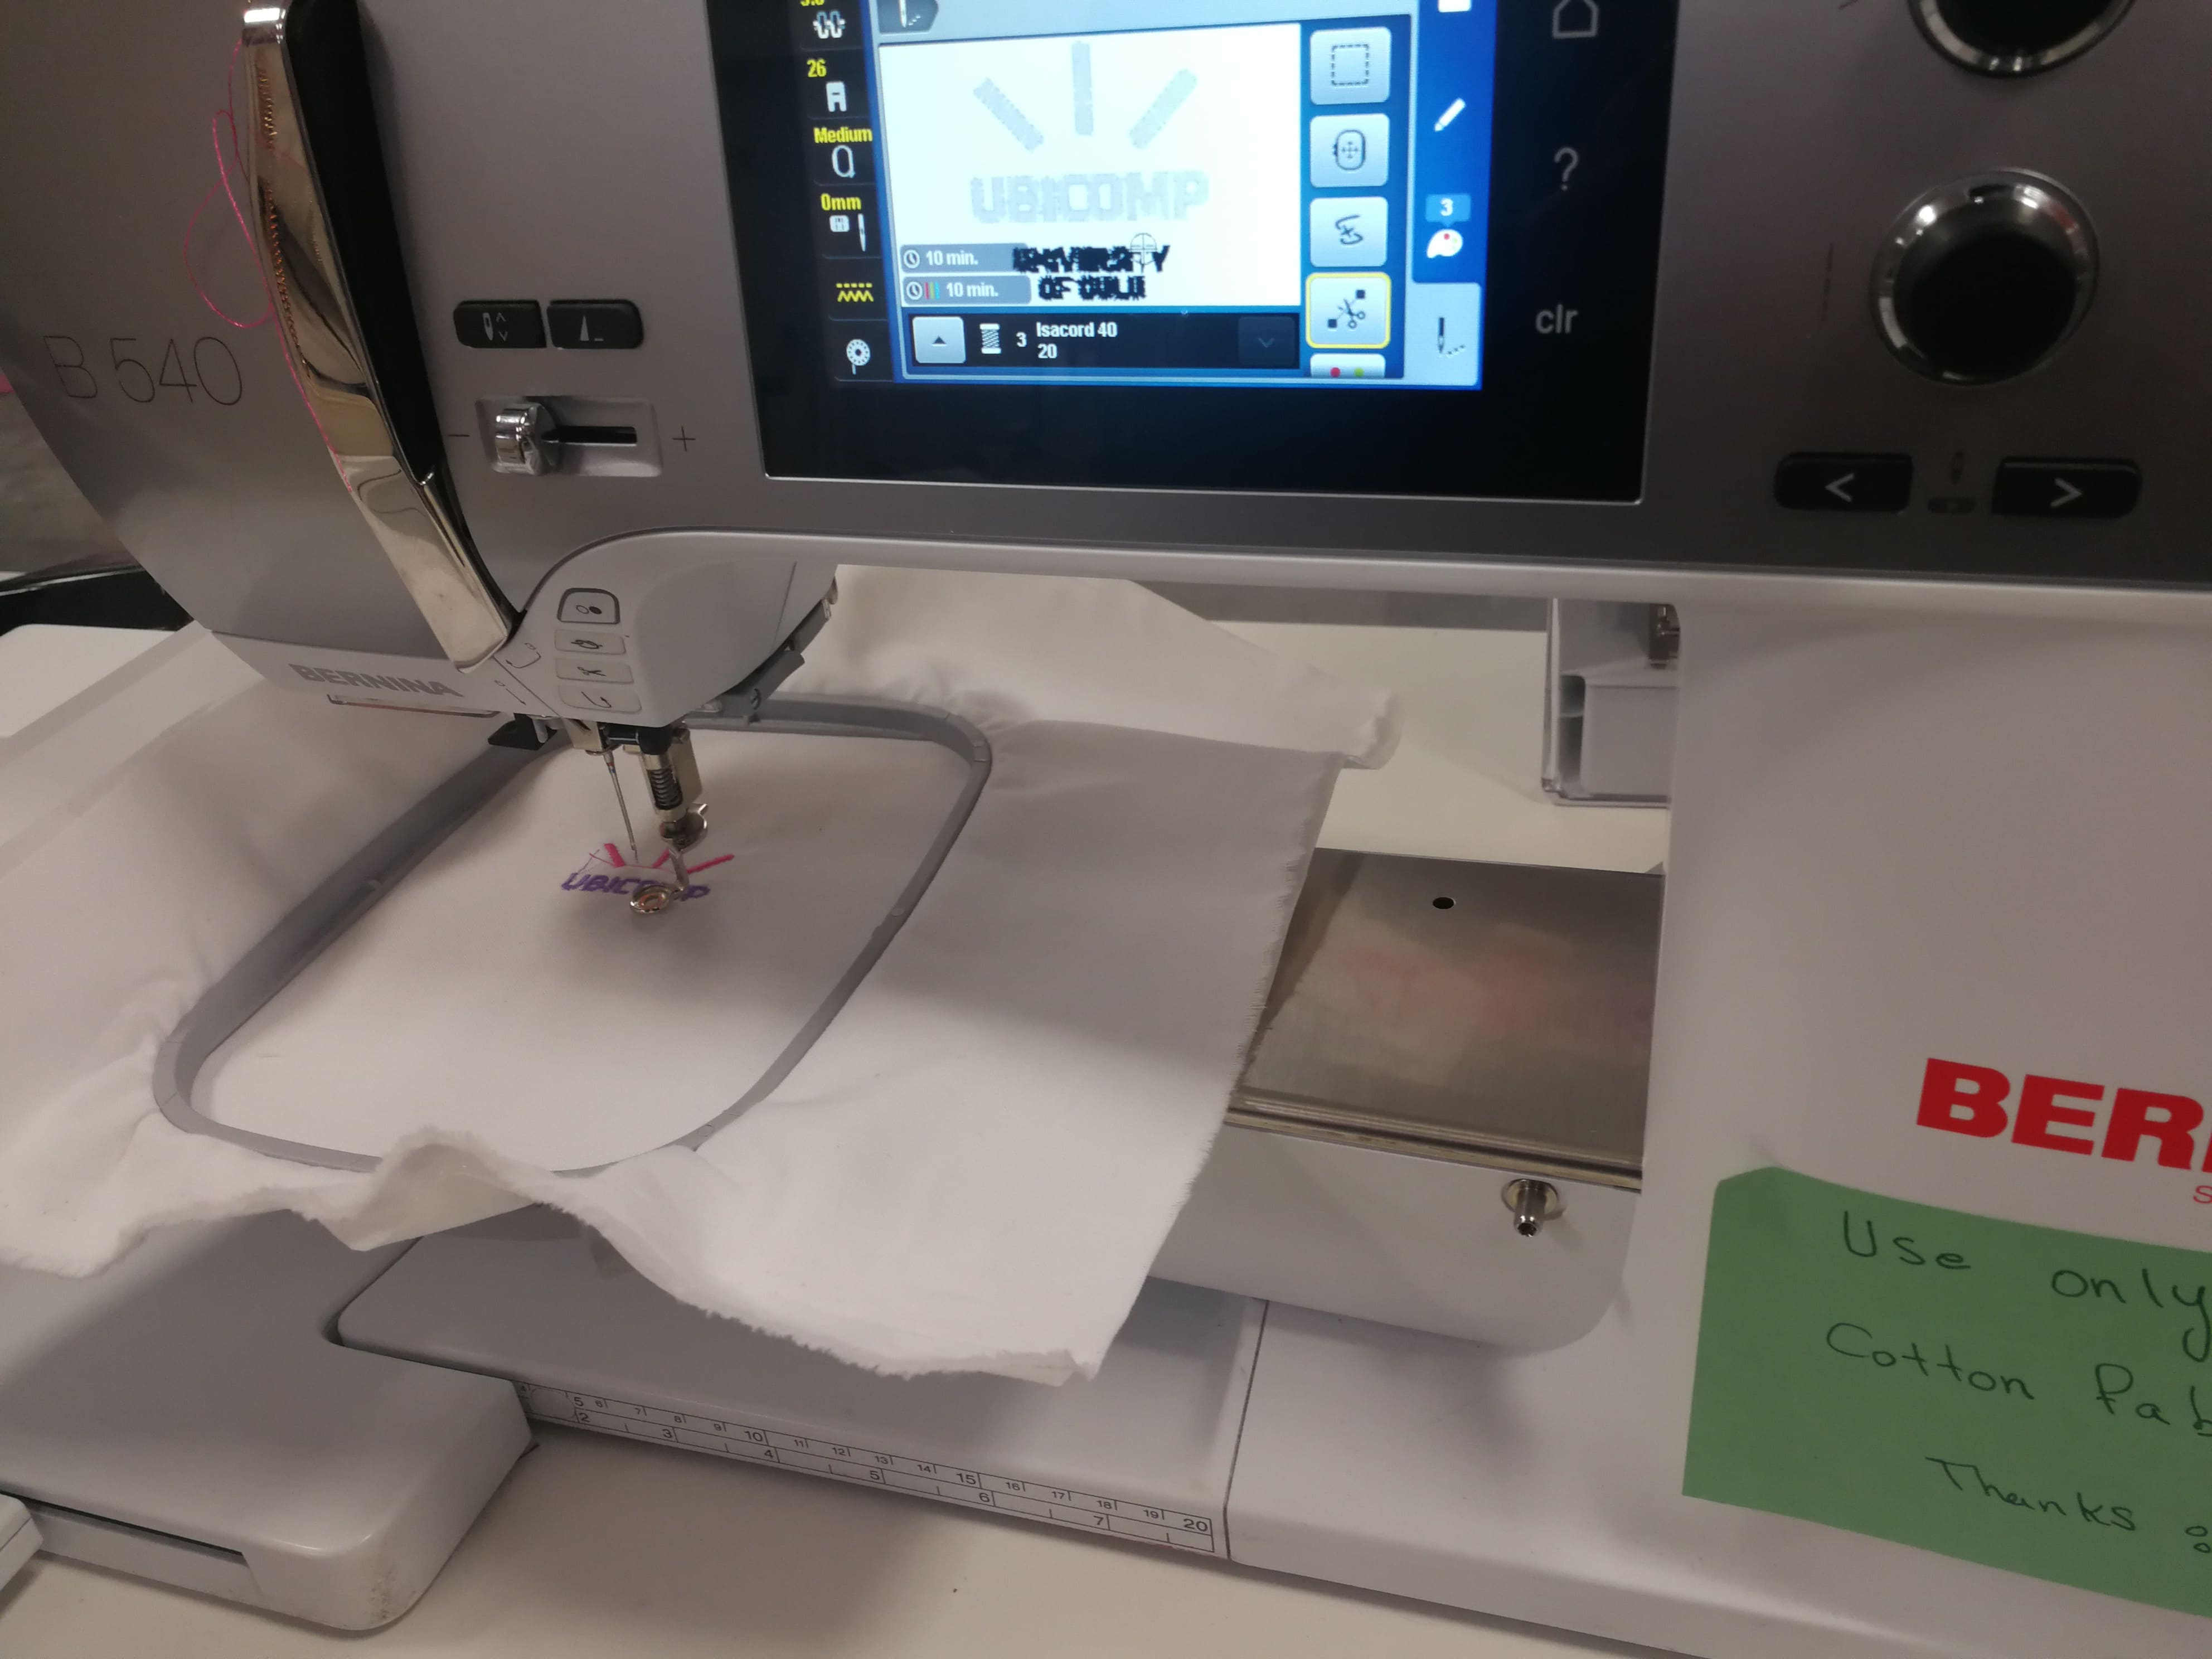 Figure 54.
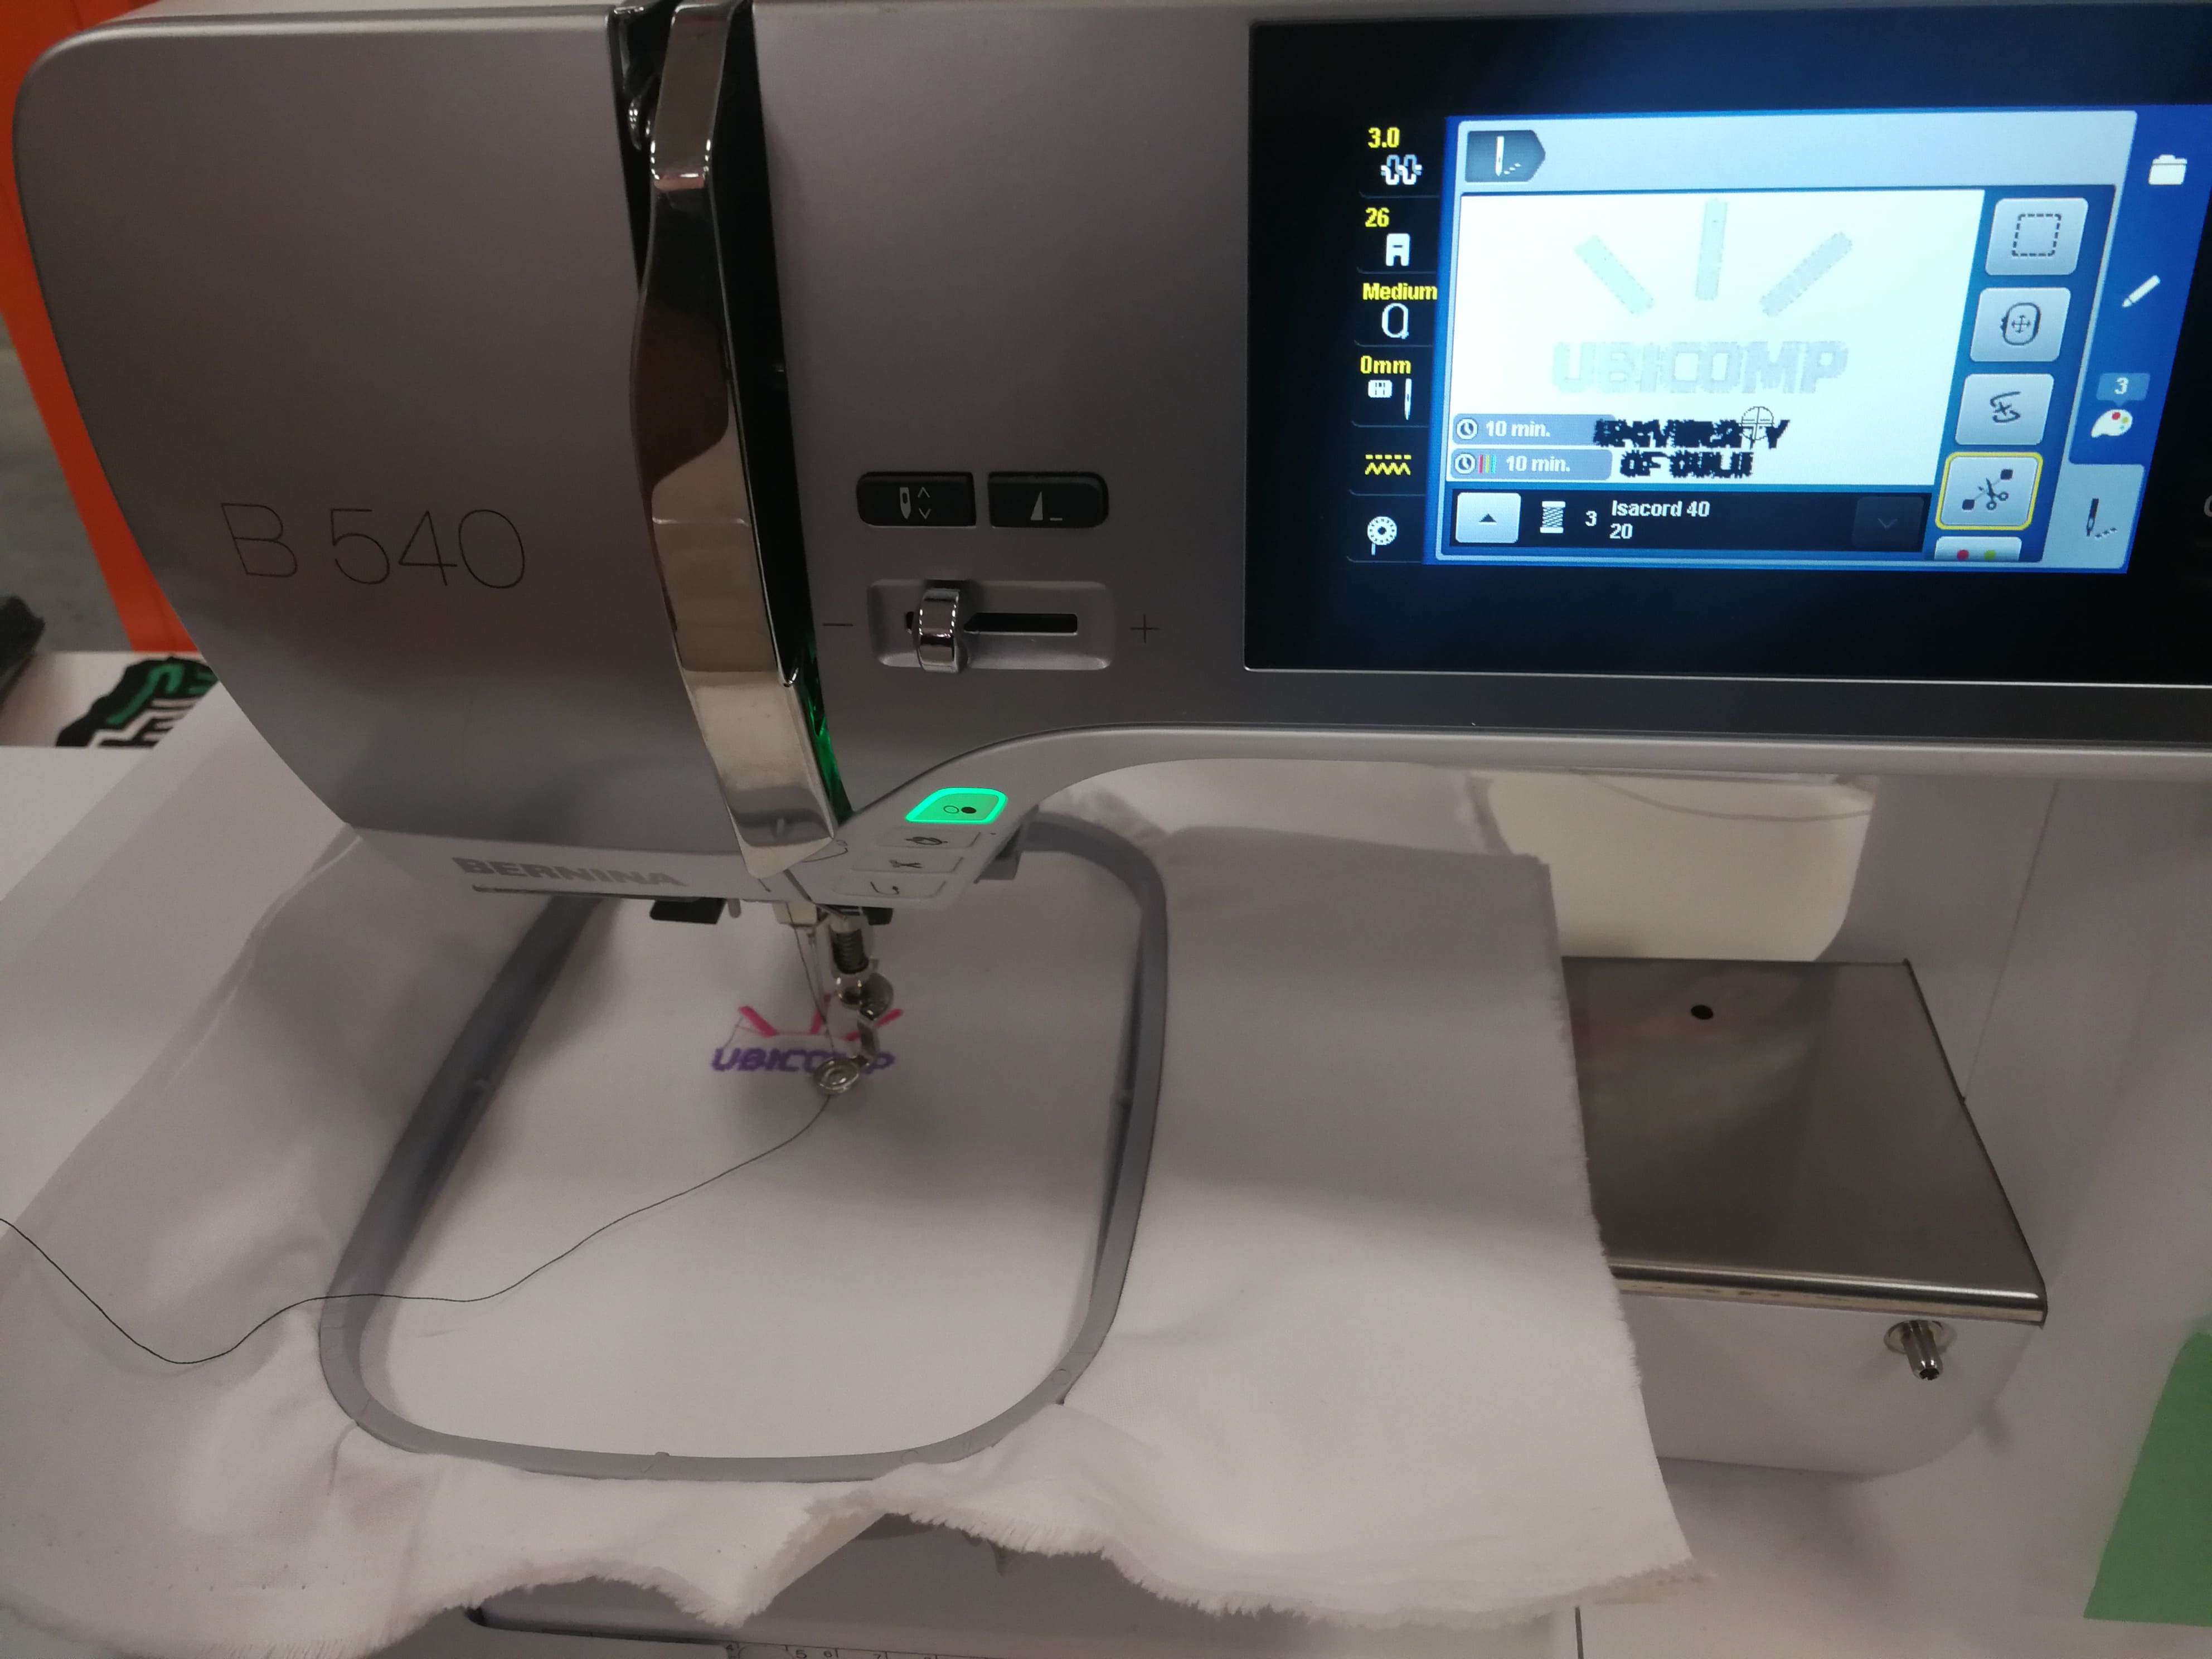 Figure 55.
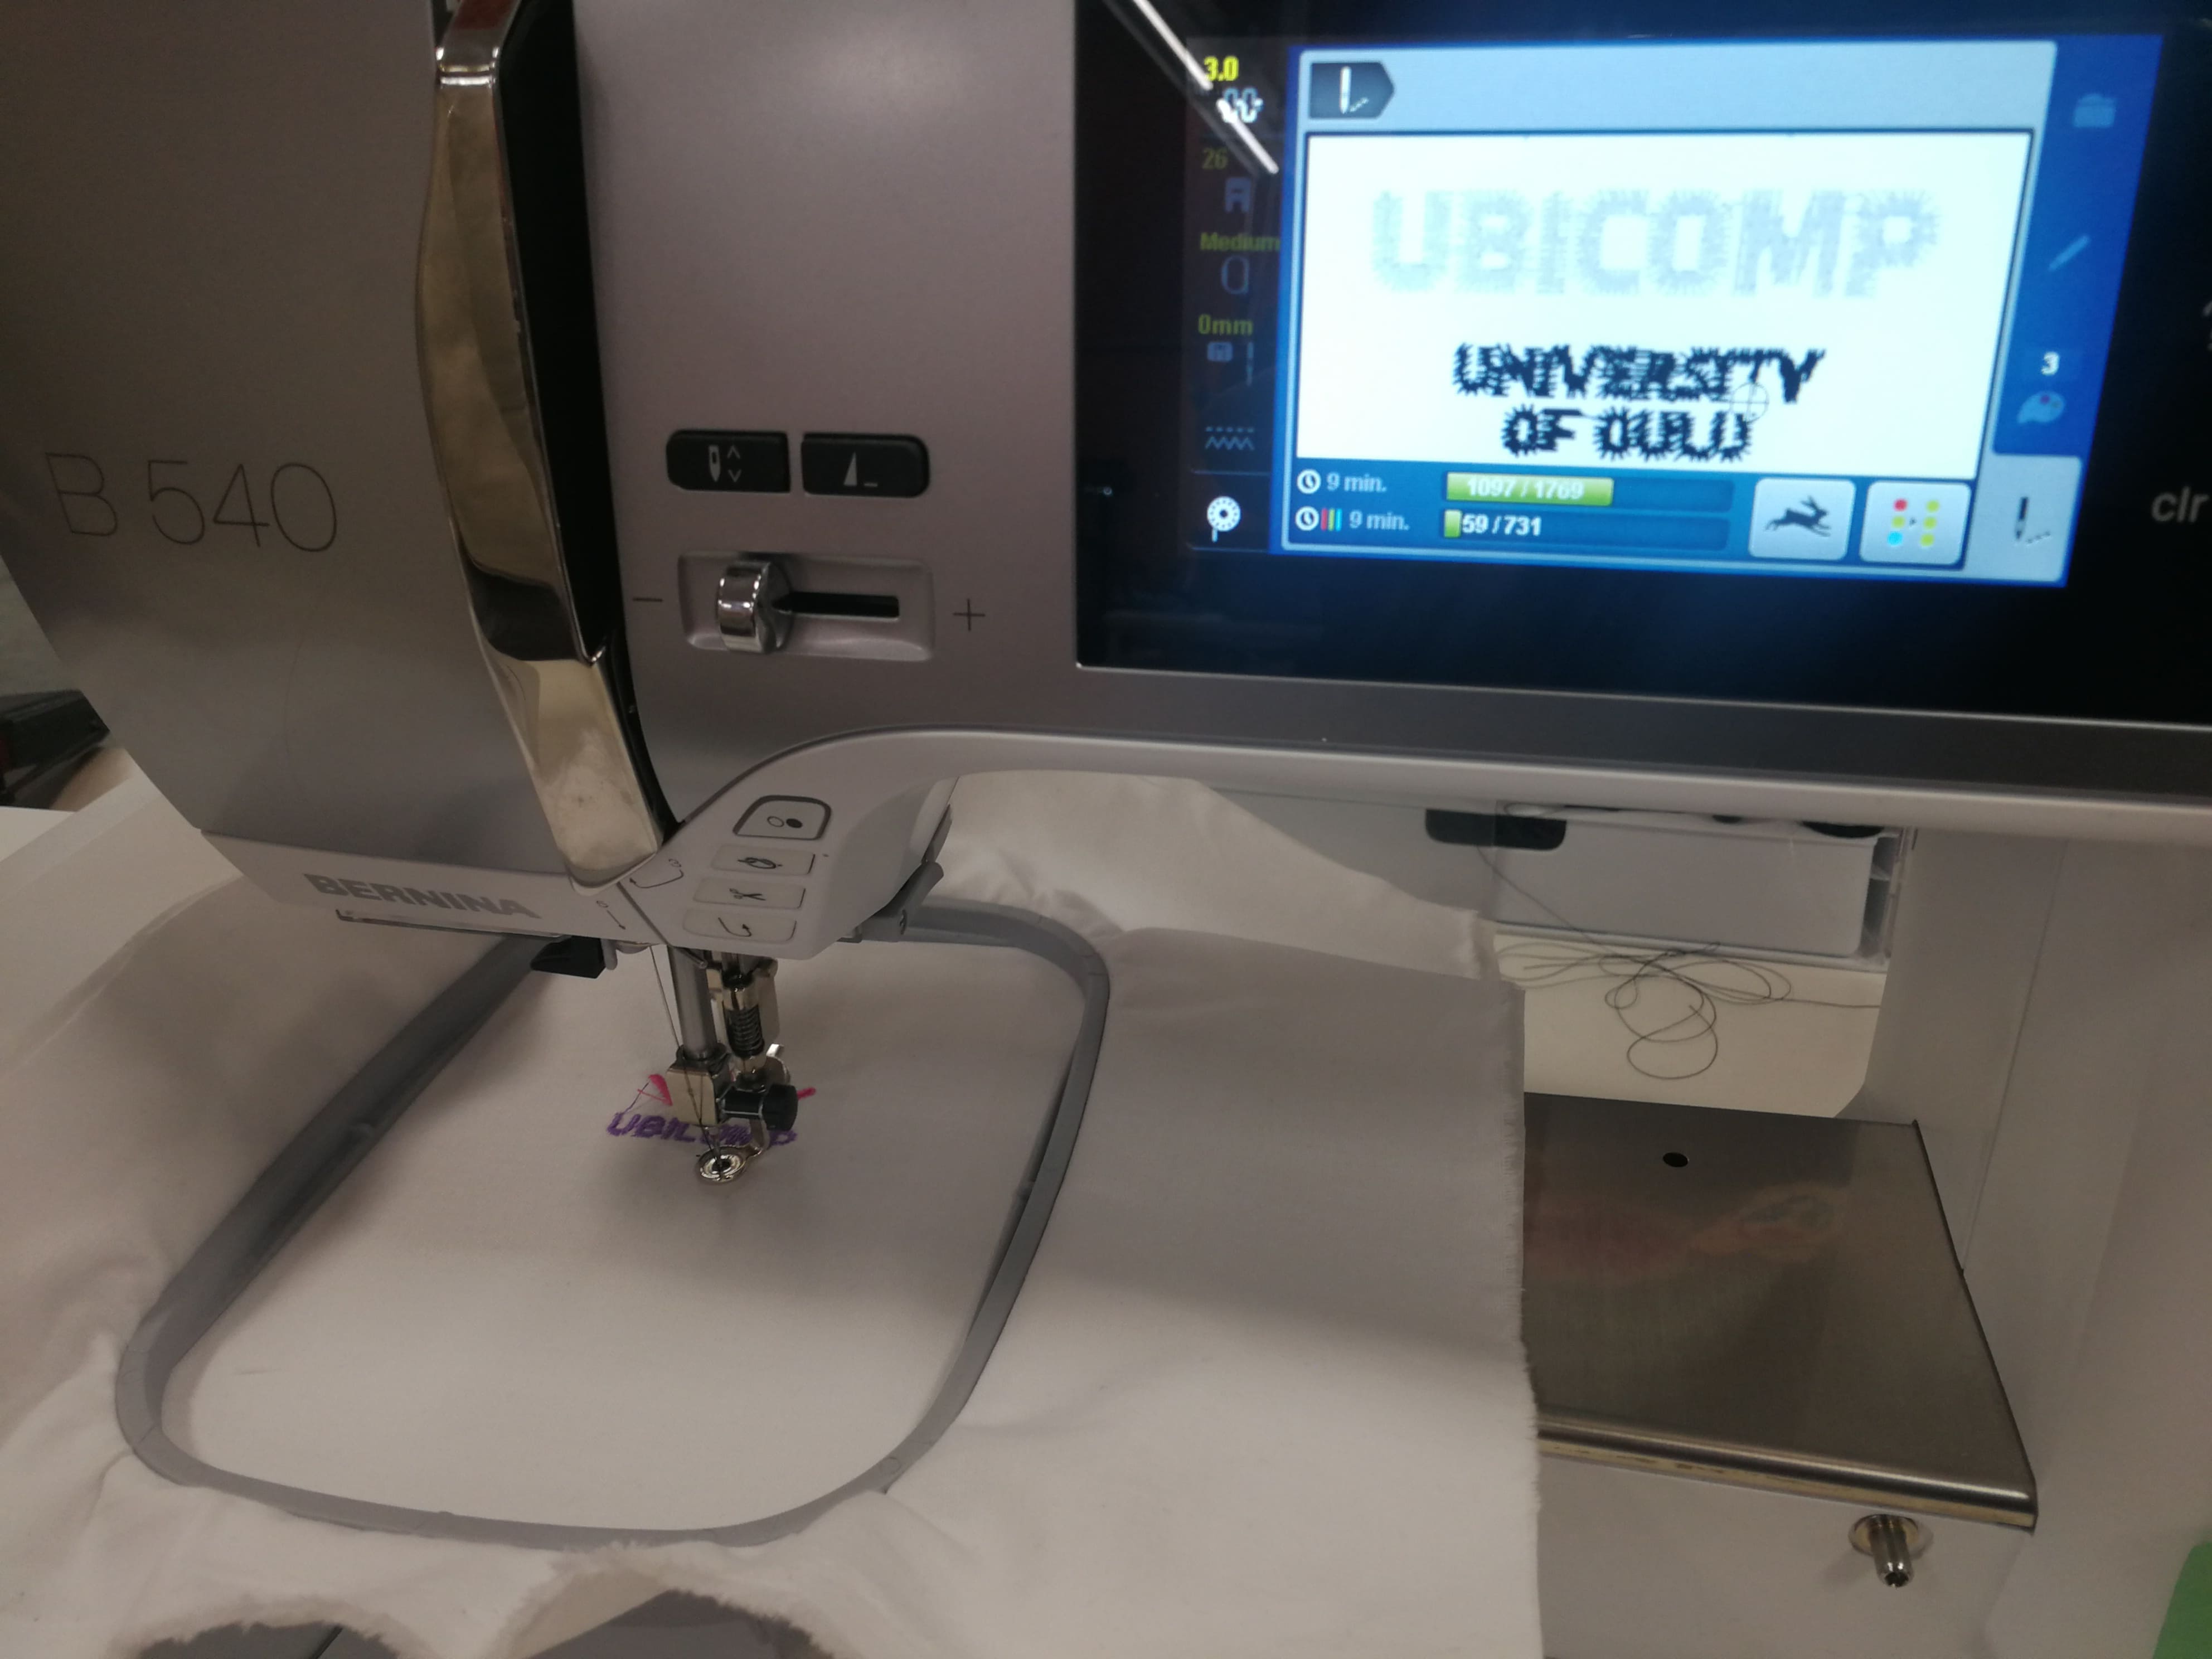 Figure 56.
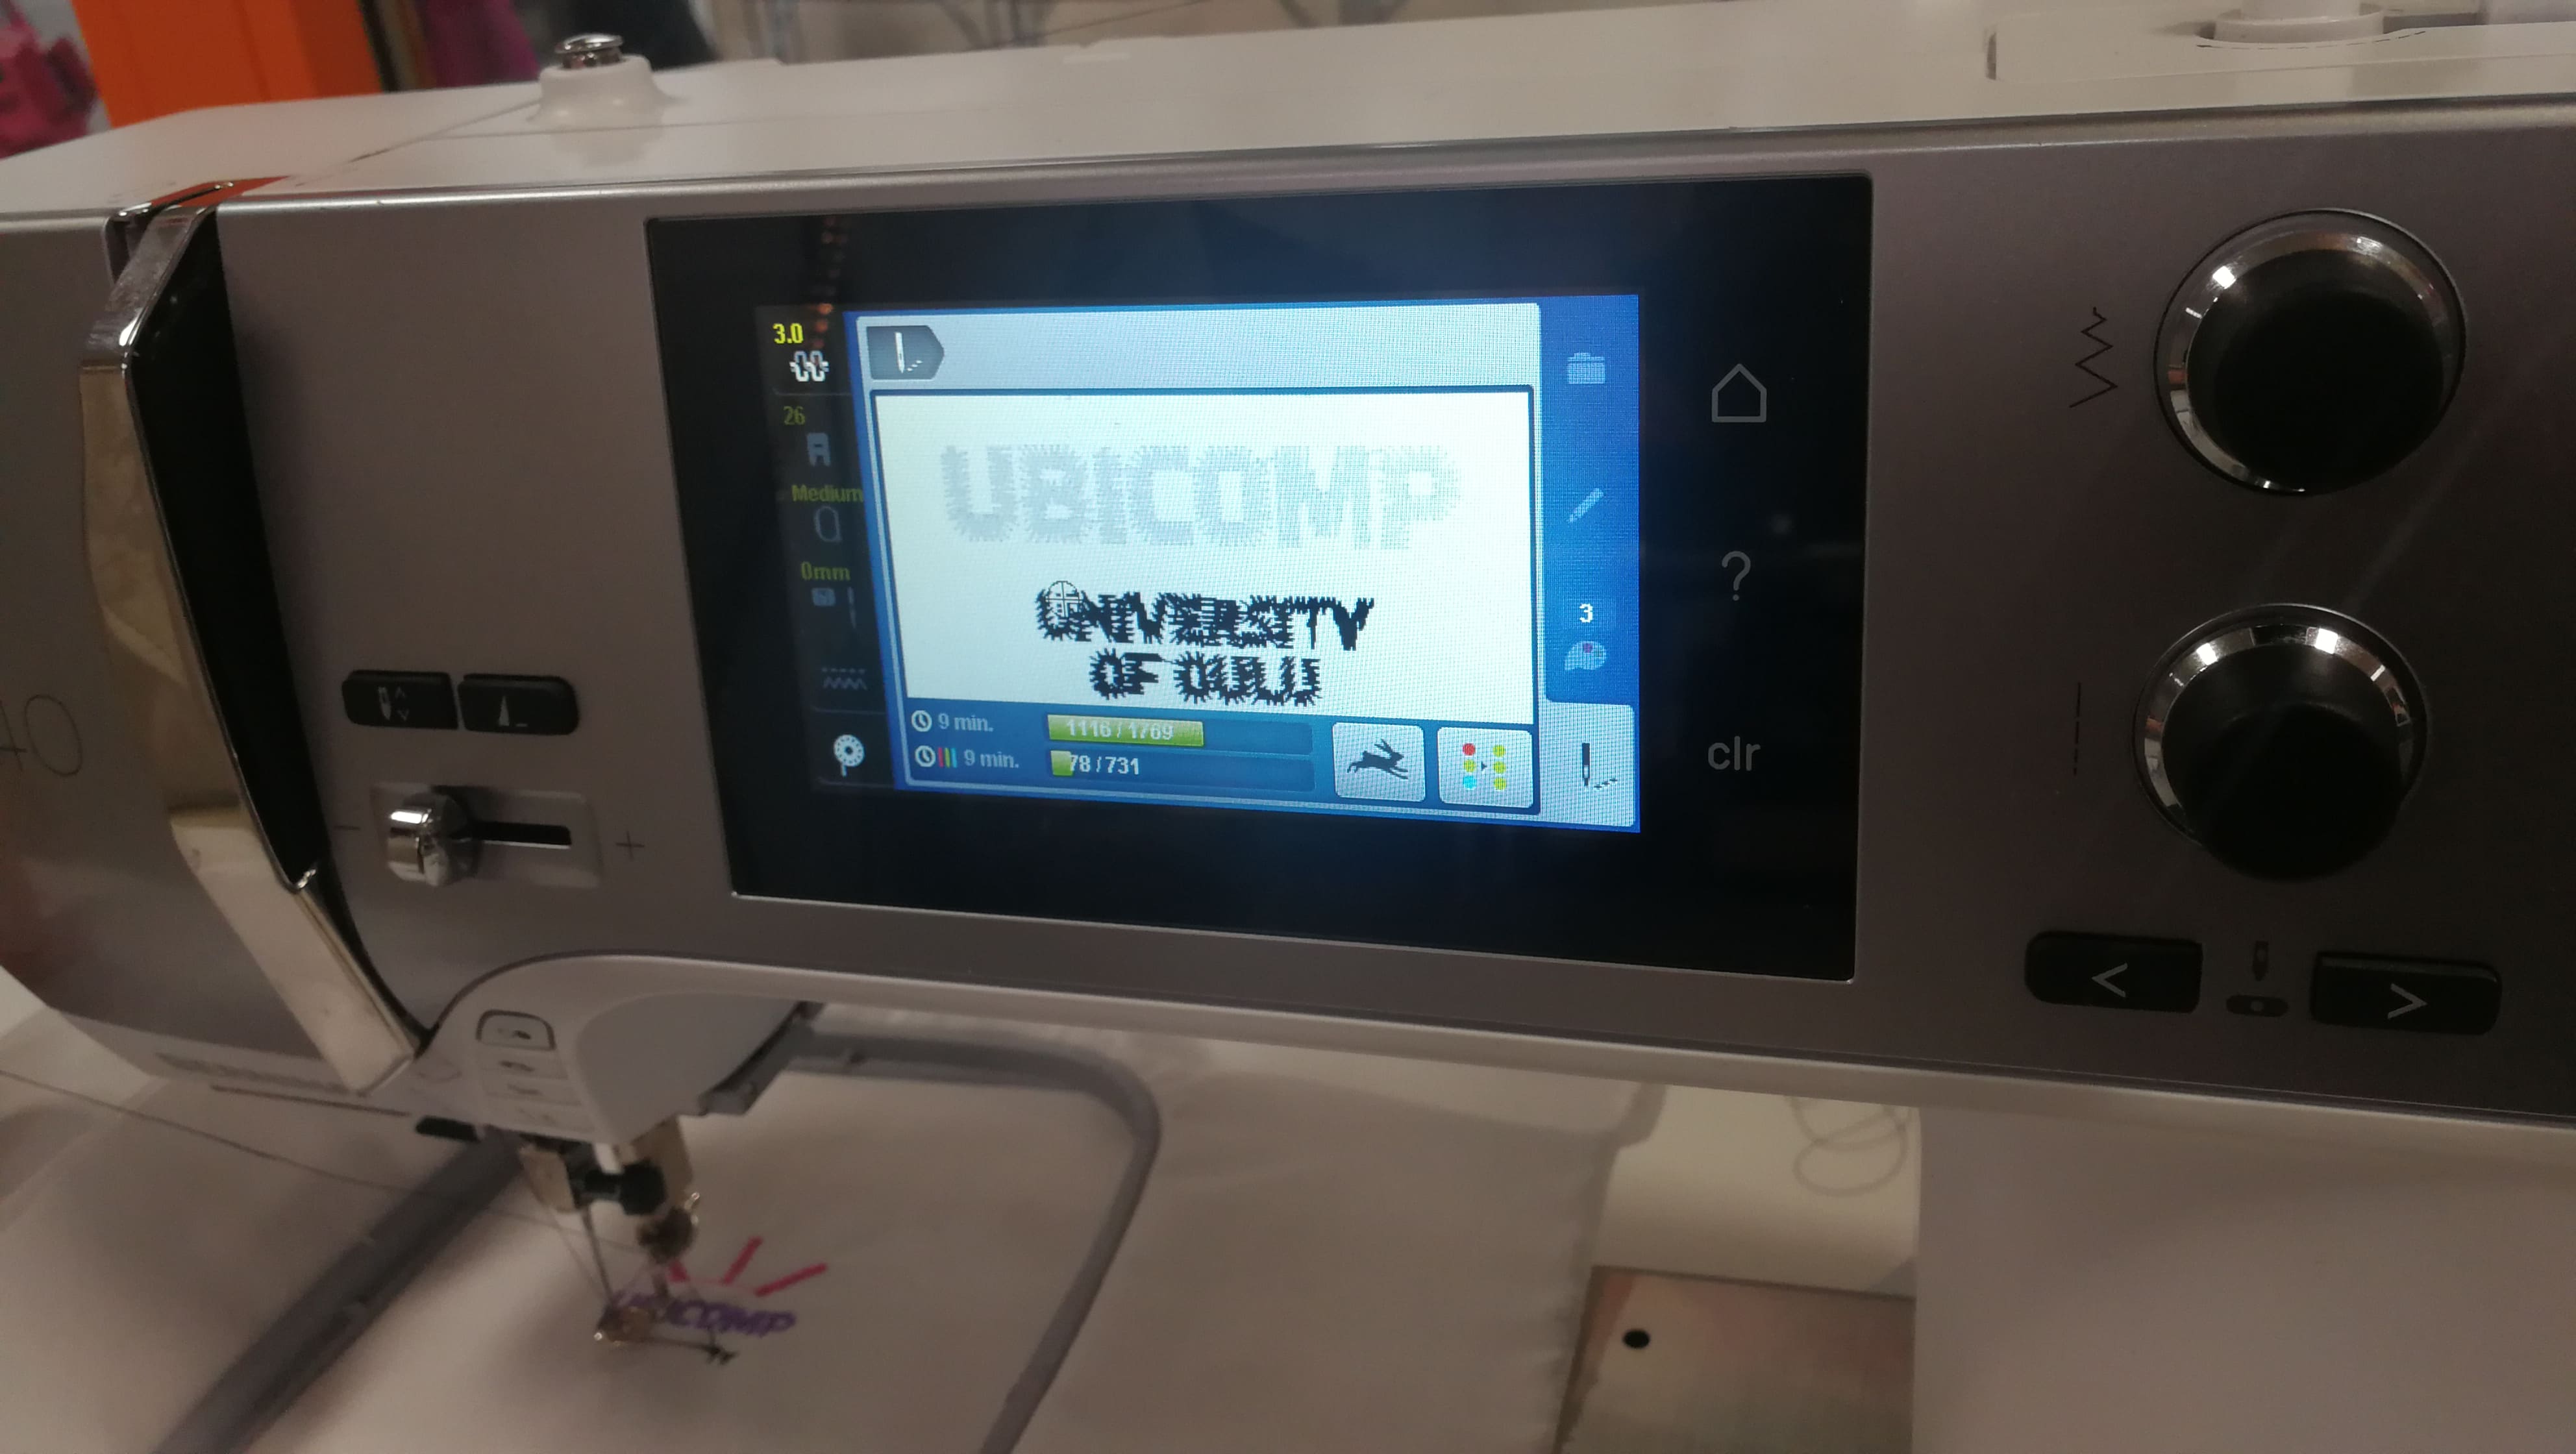 Figure 57.
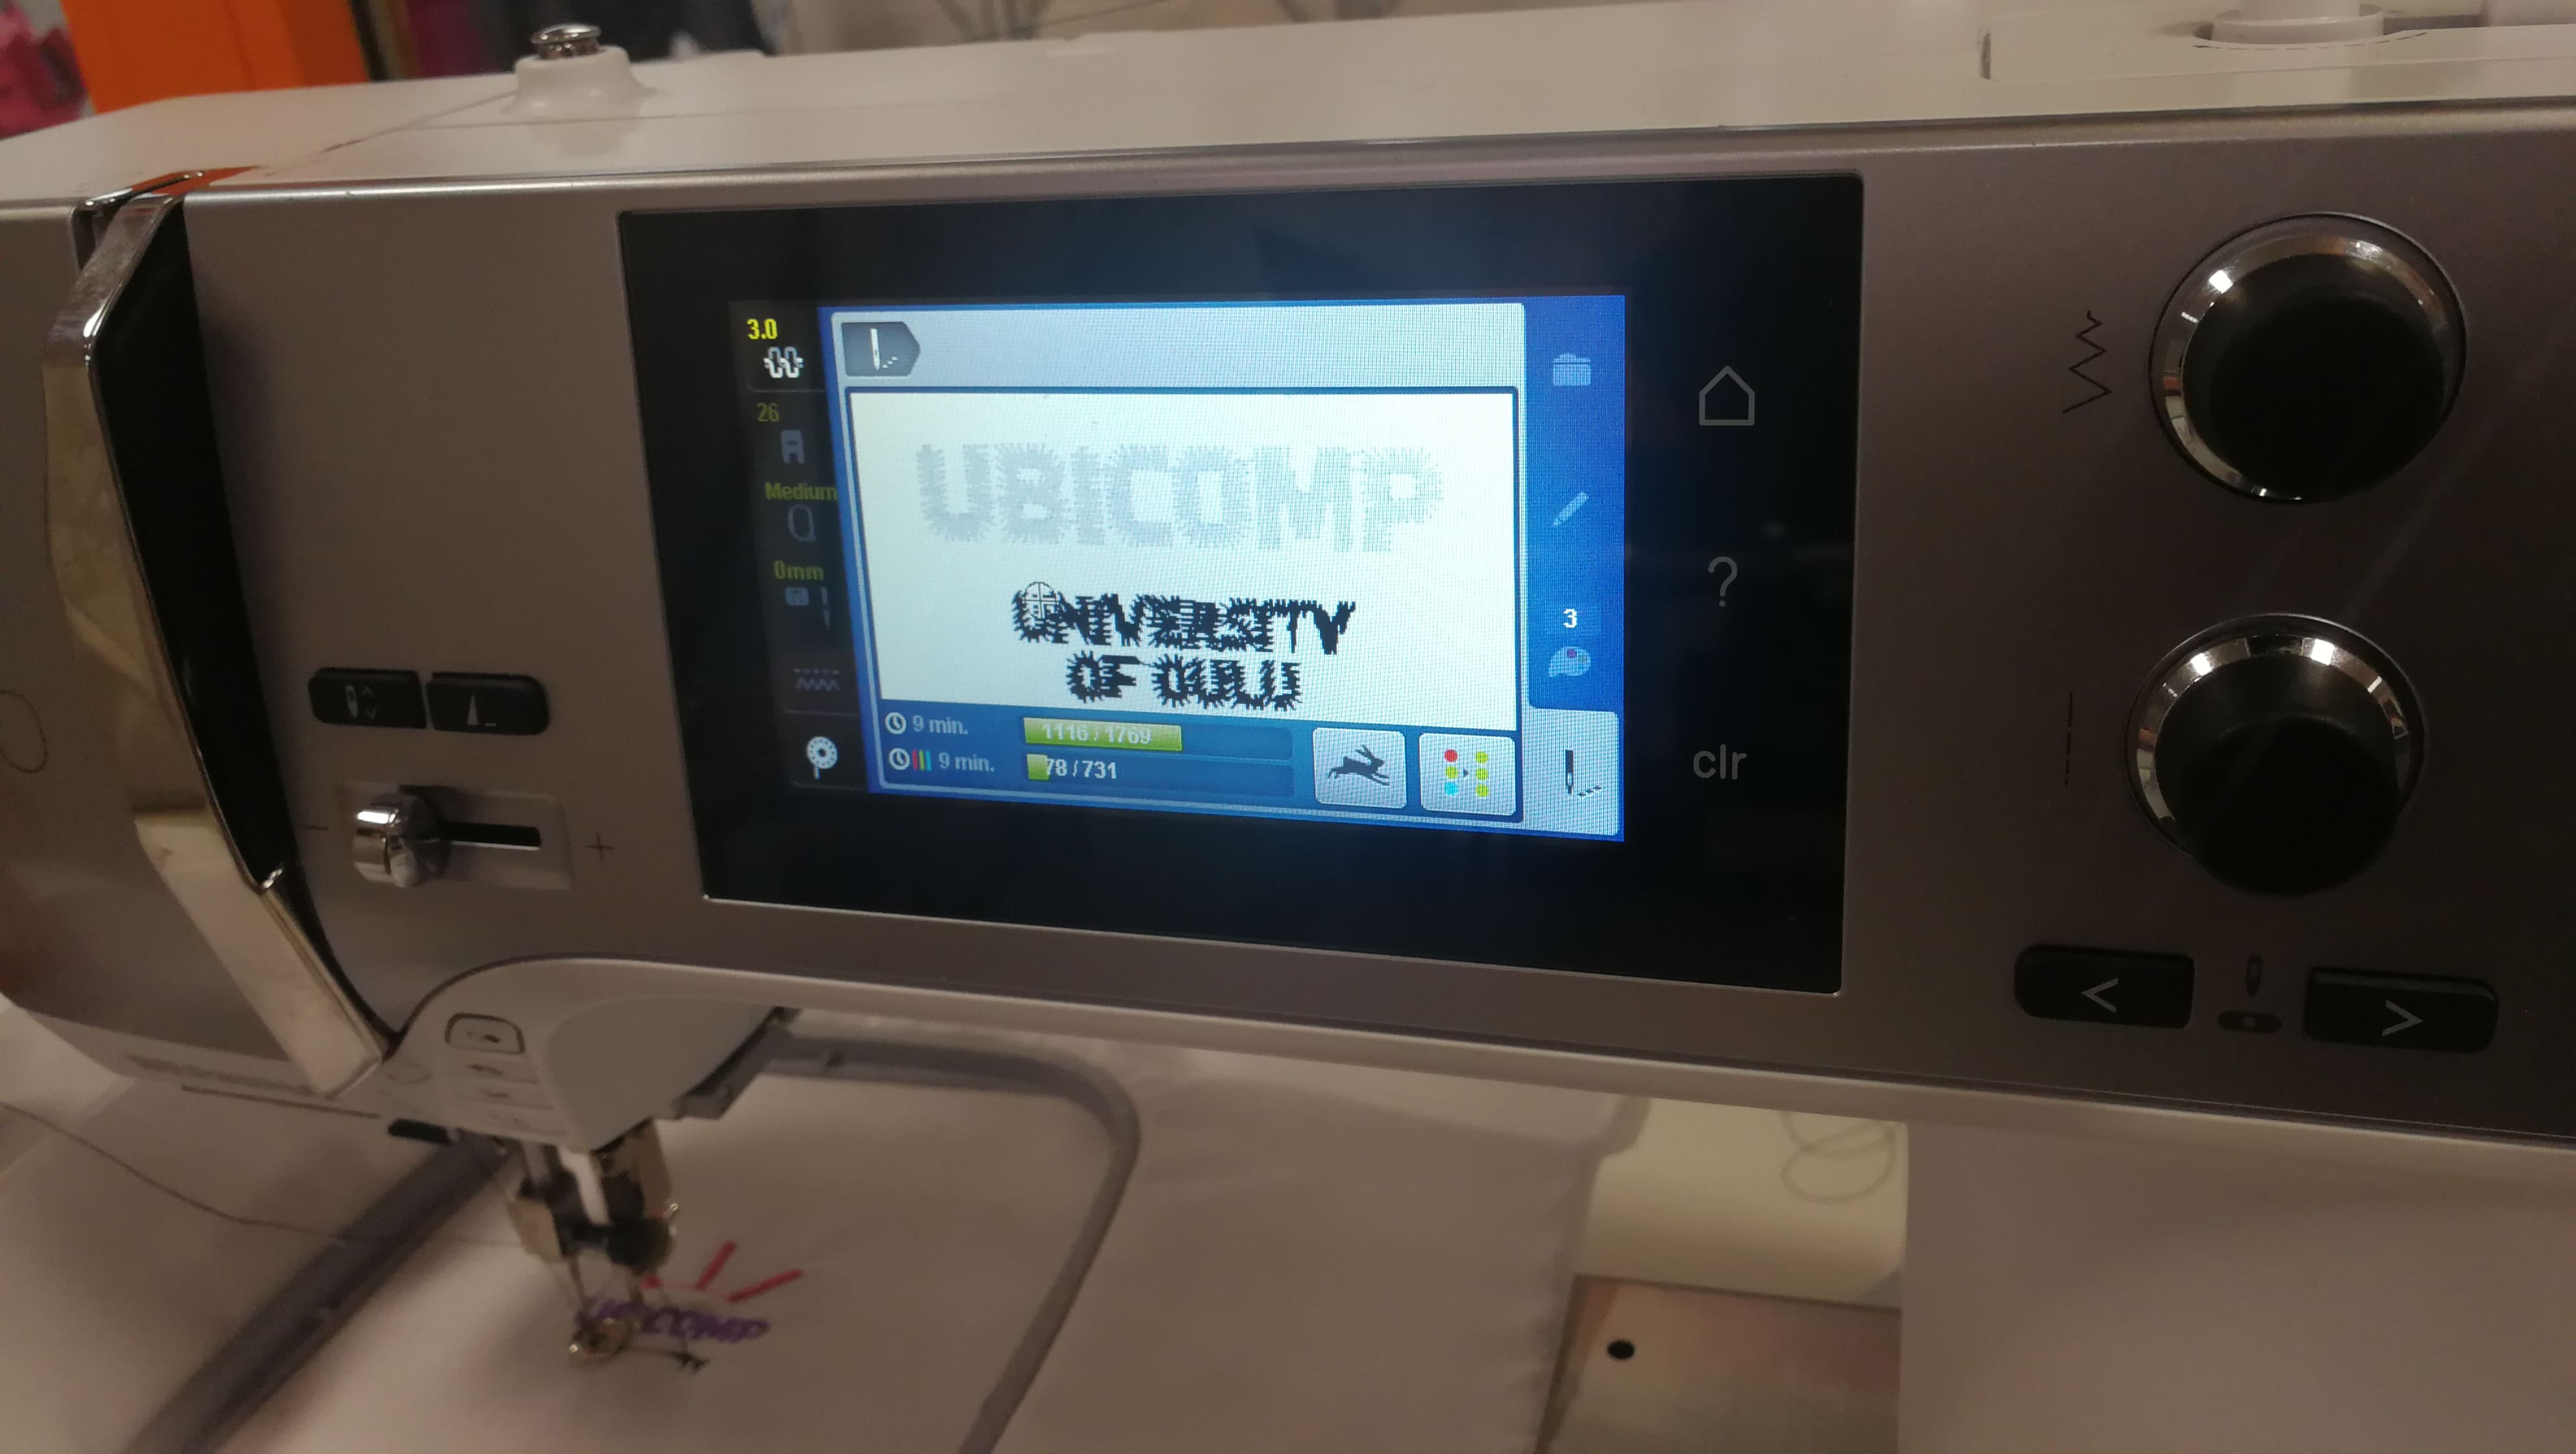 Figure 58.
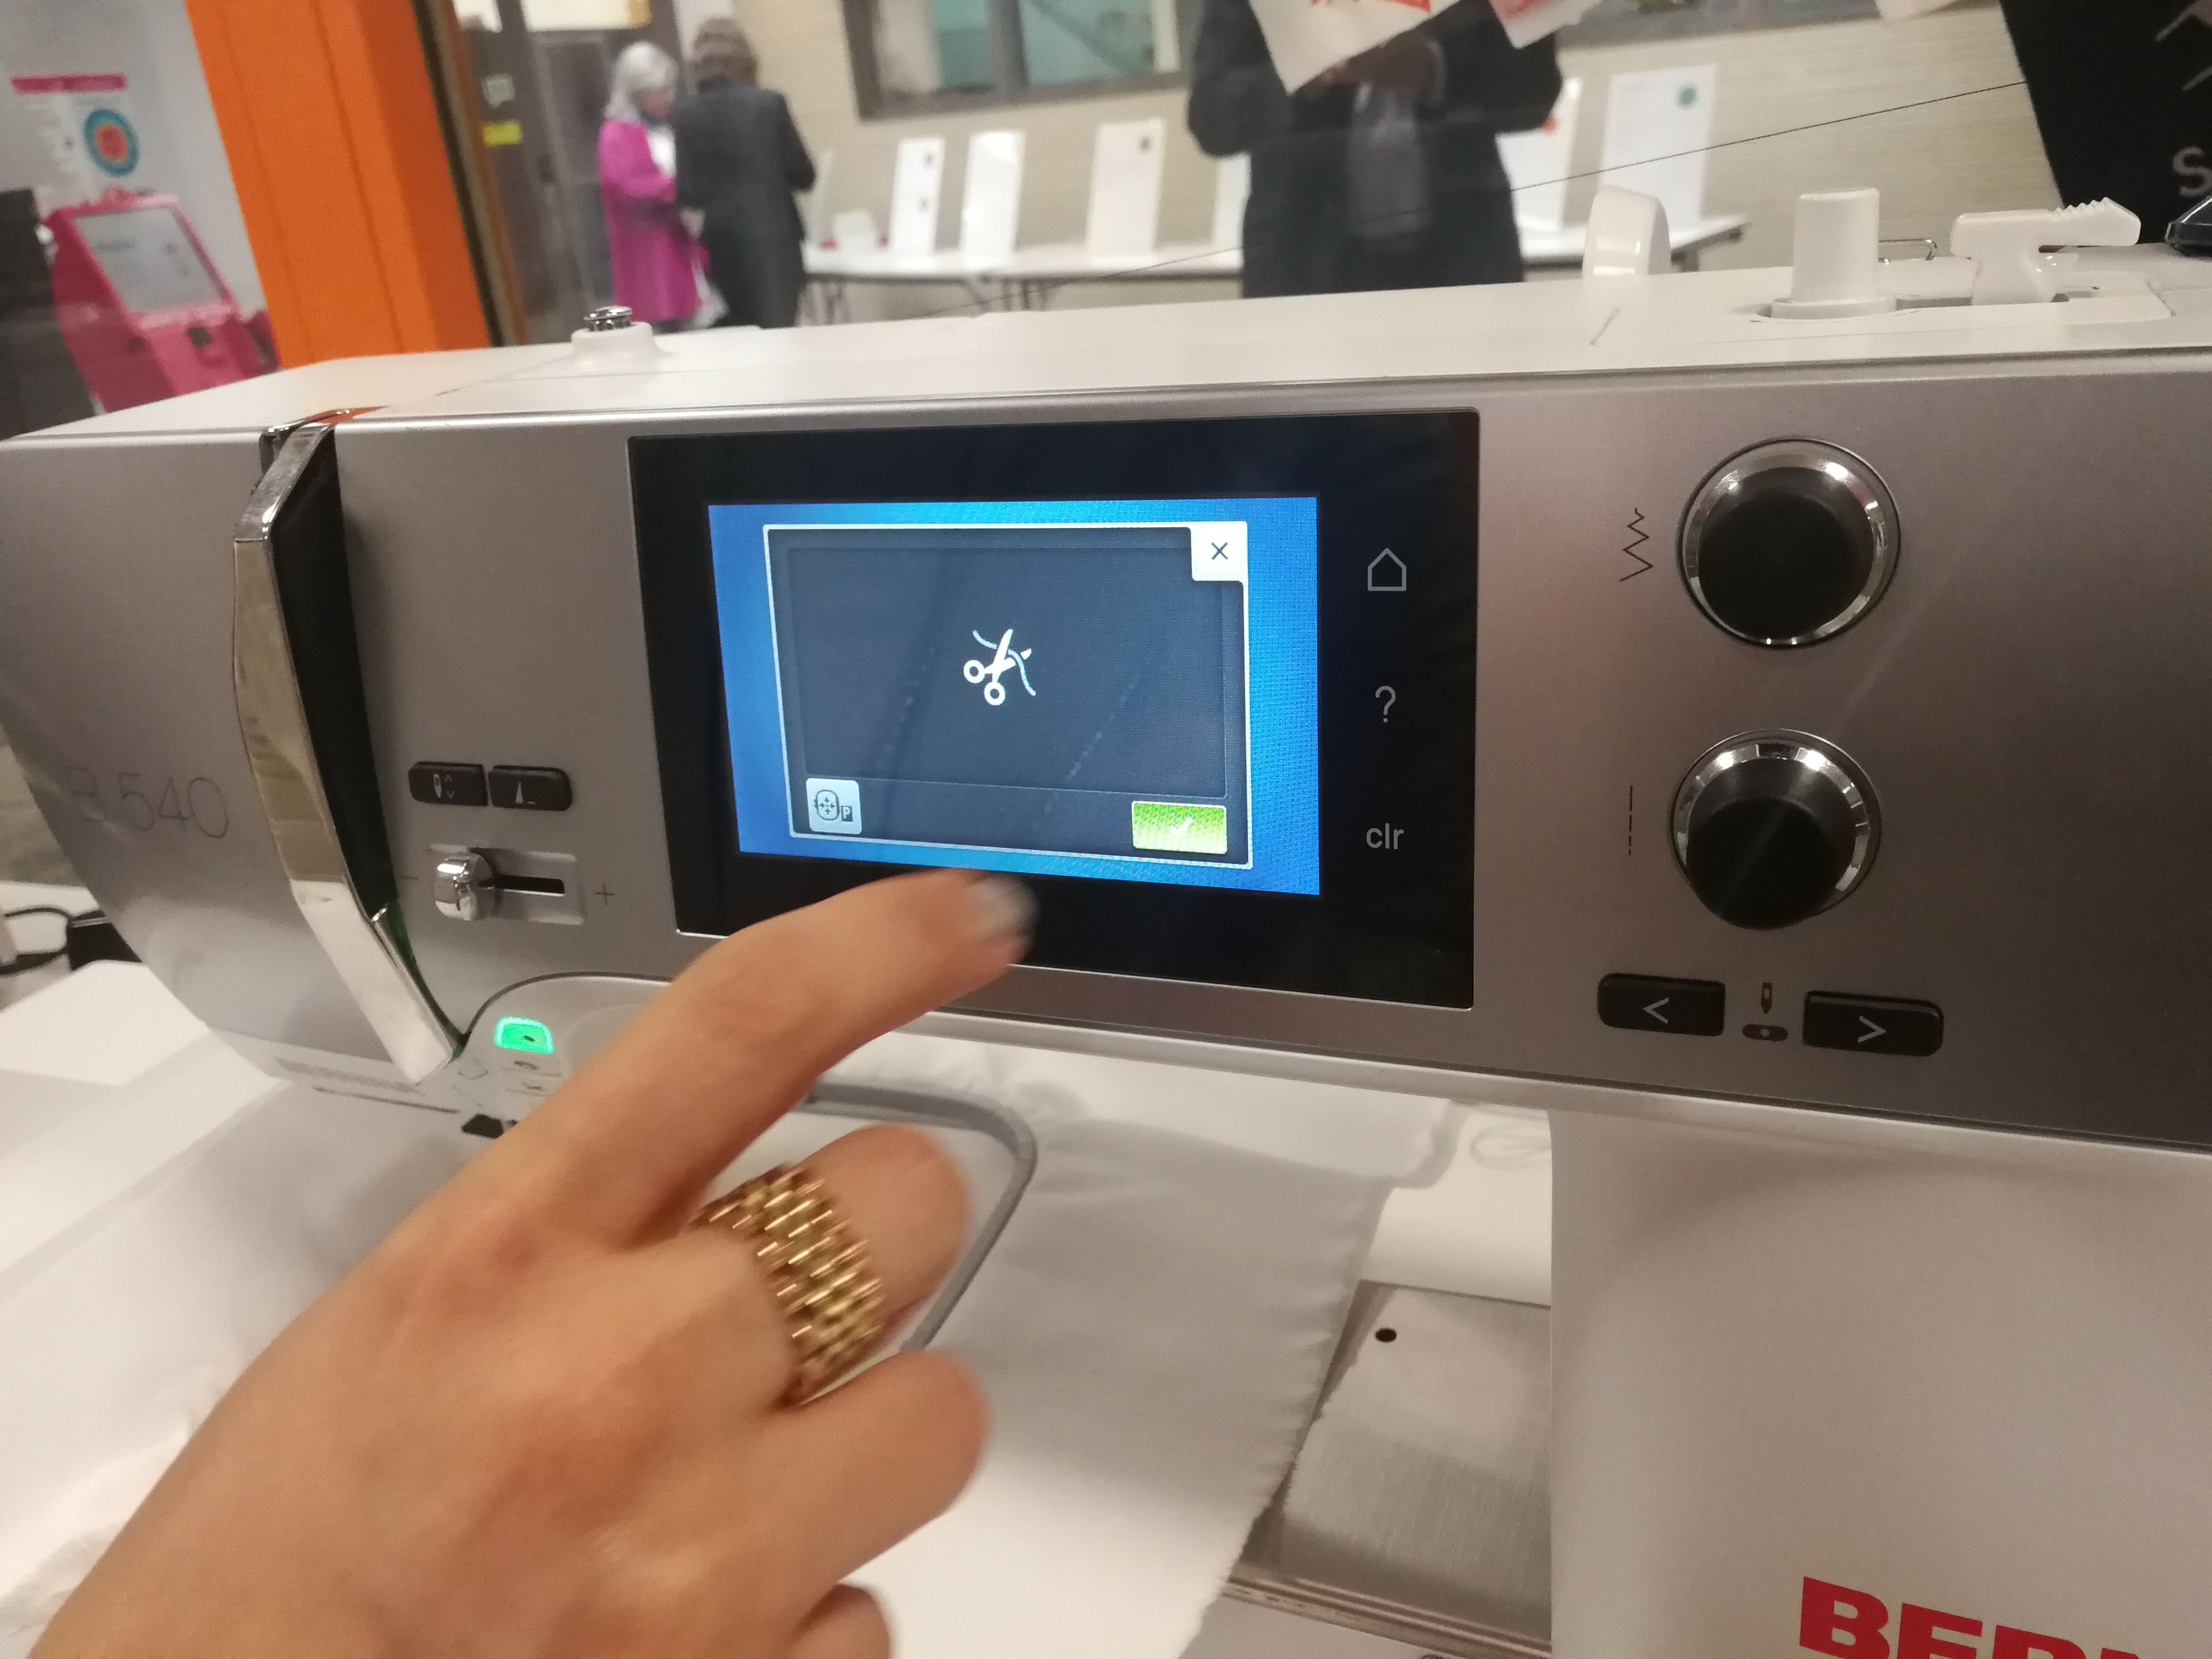 Figure 59.
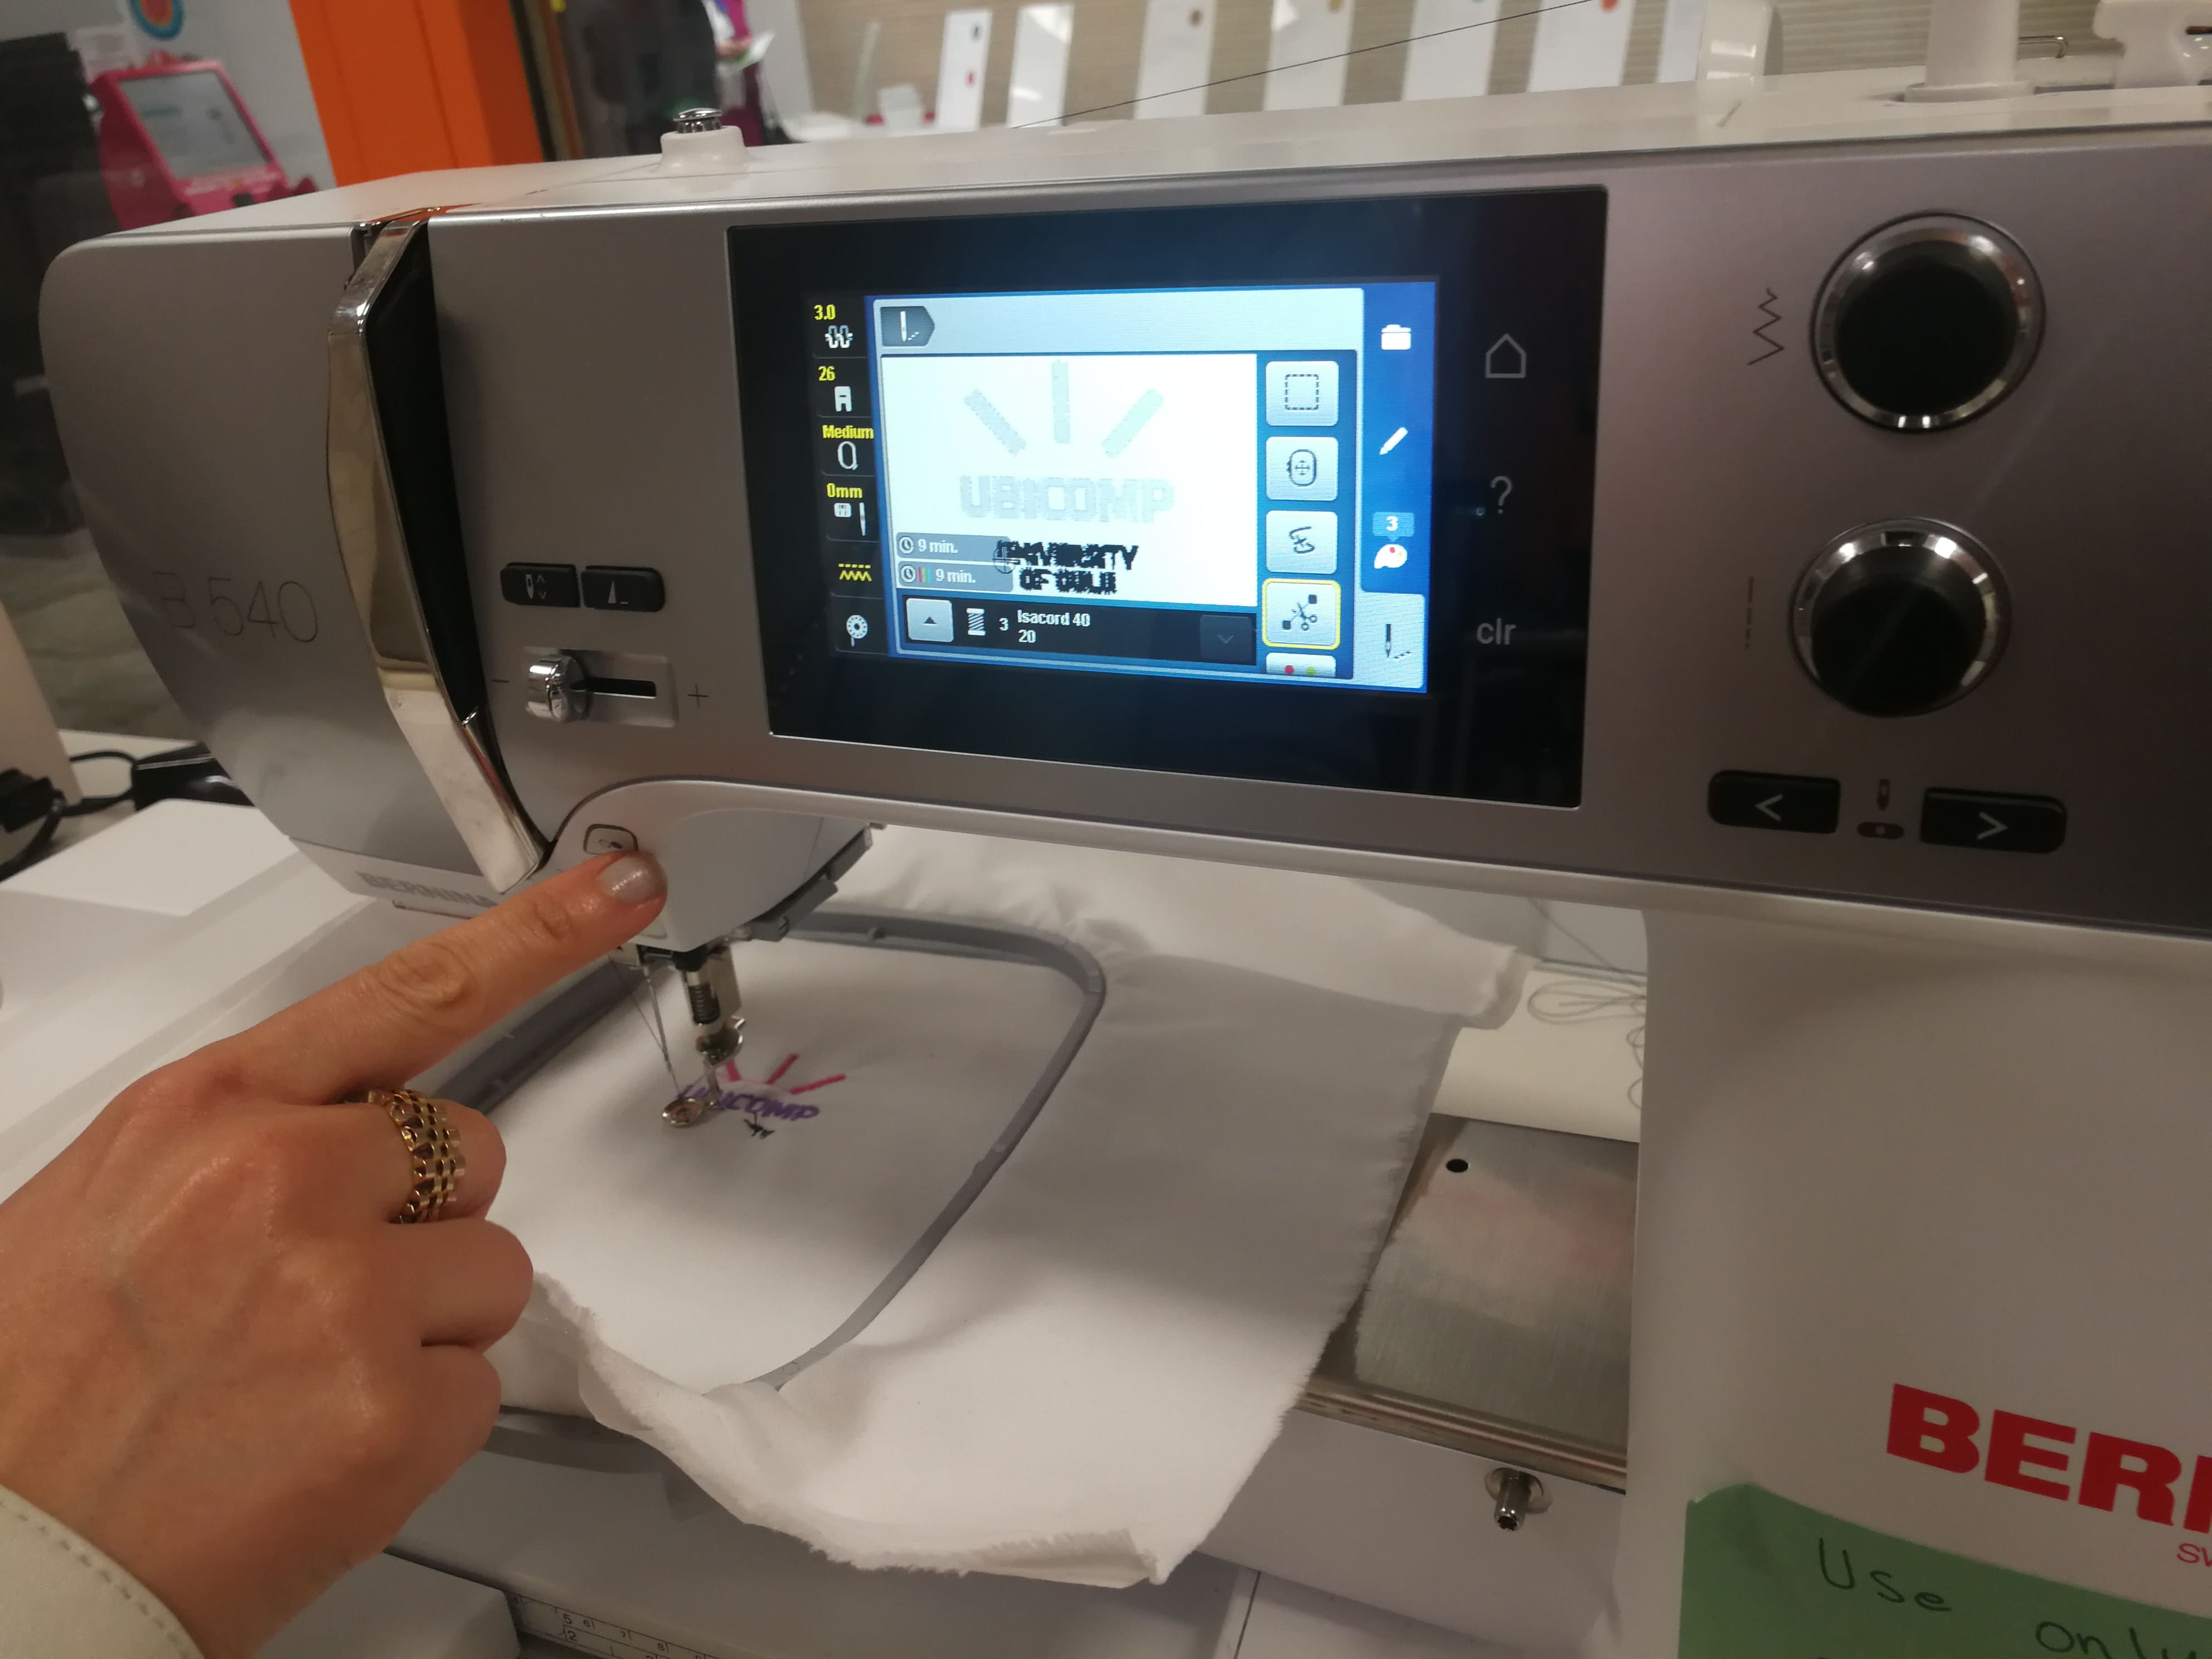 *Figure 60. *
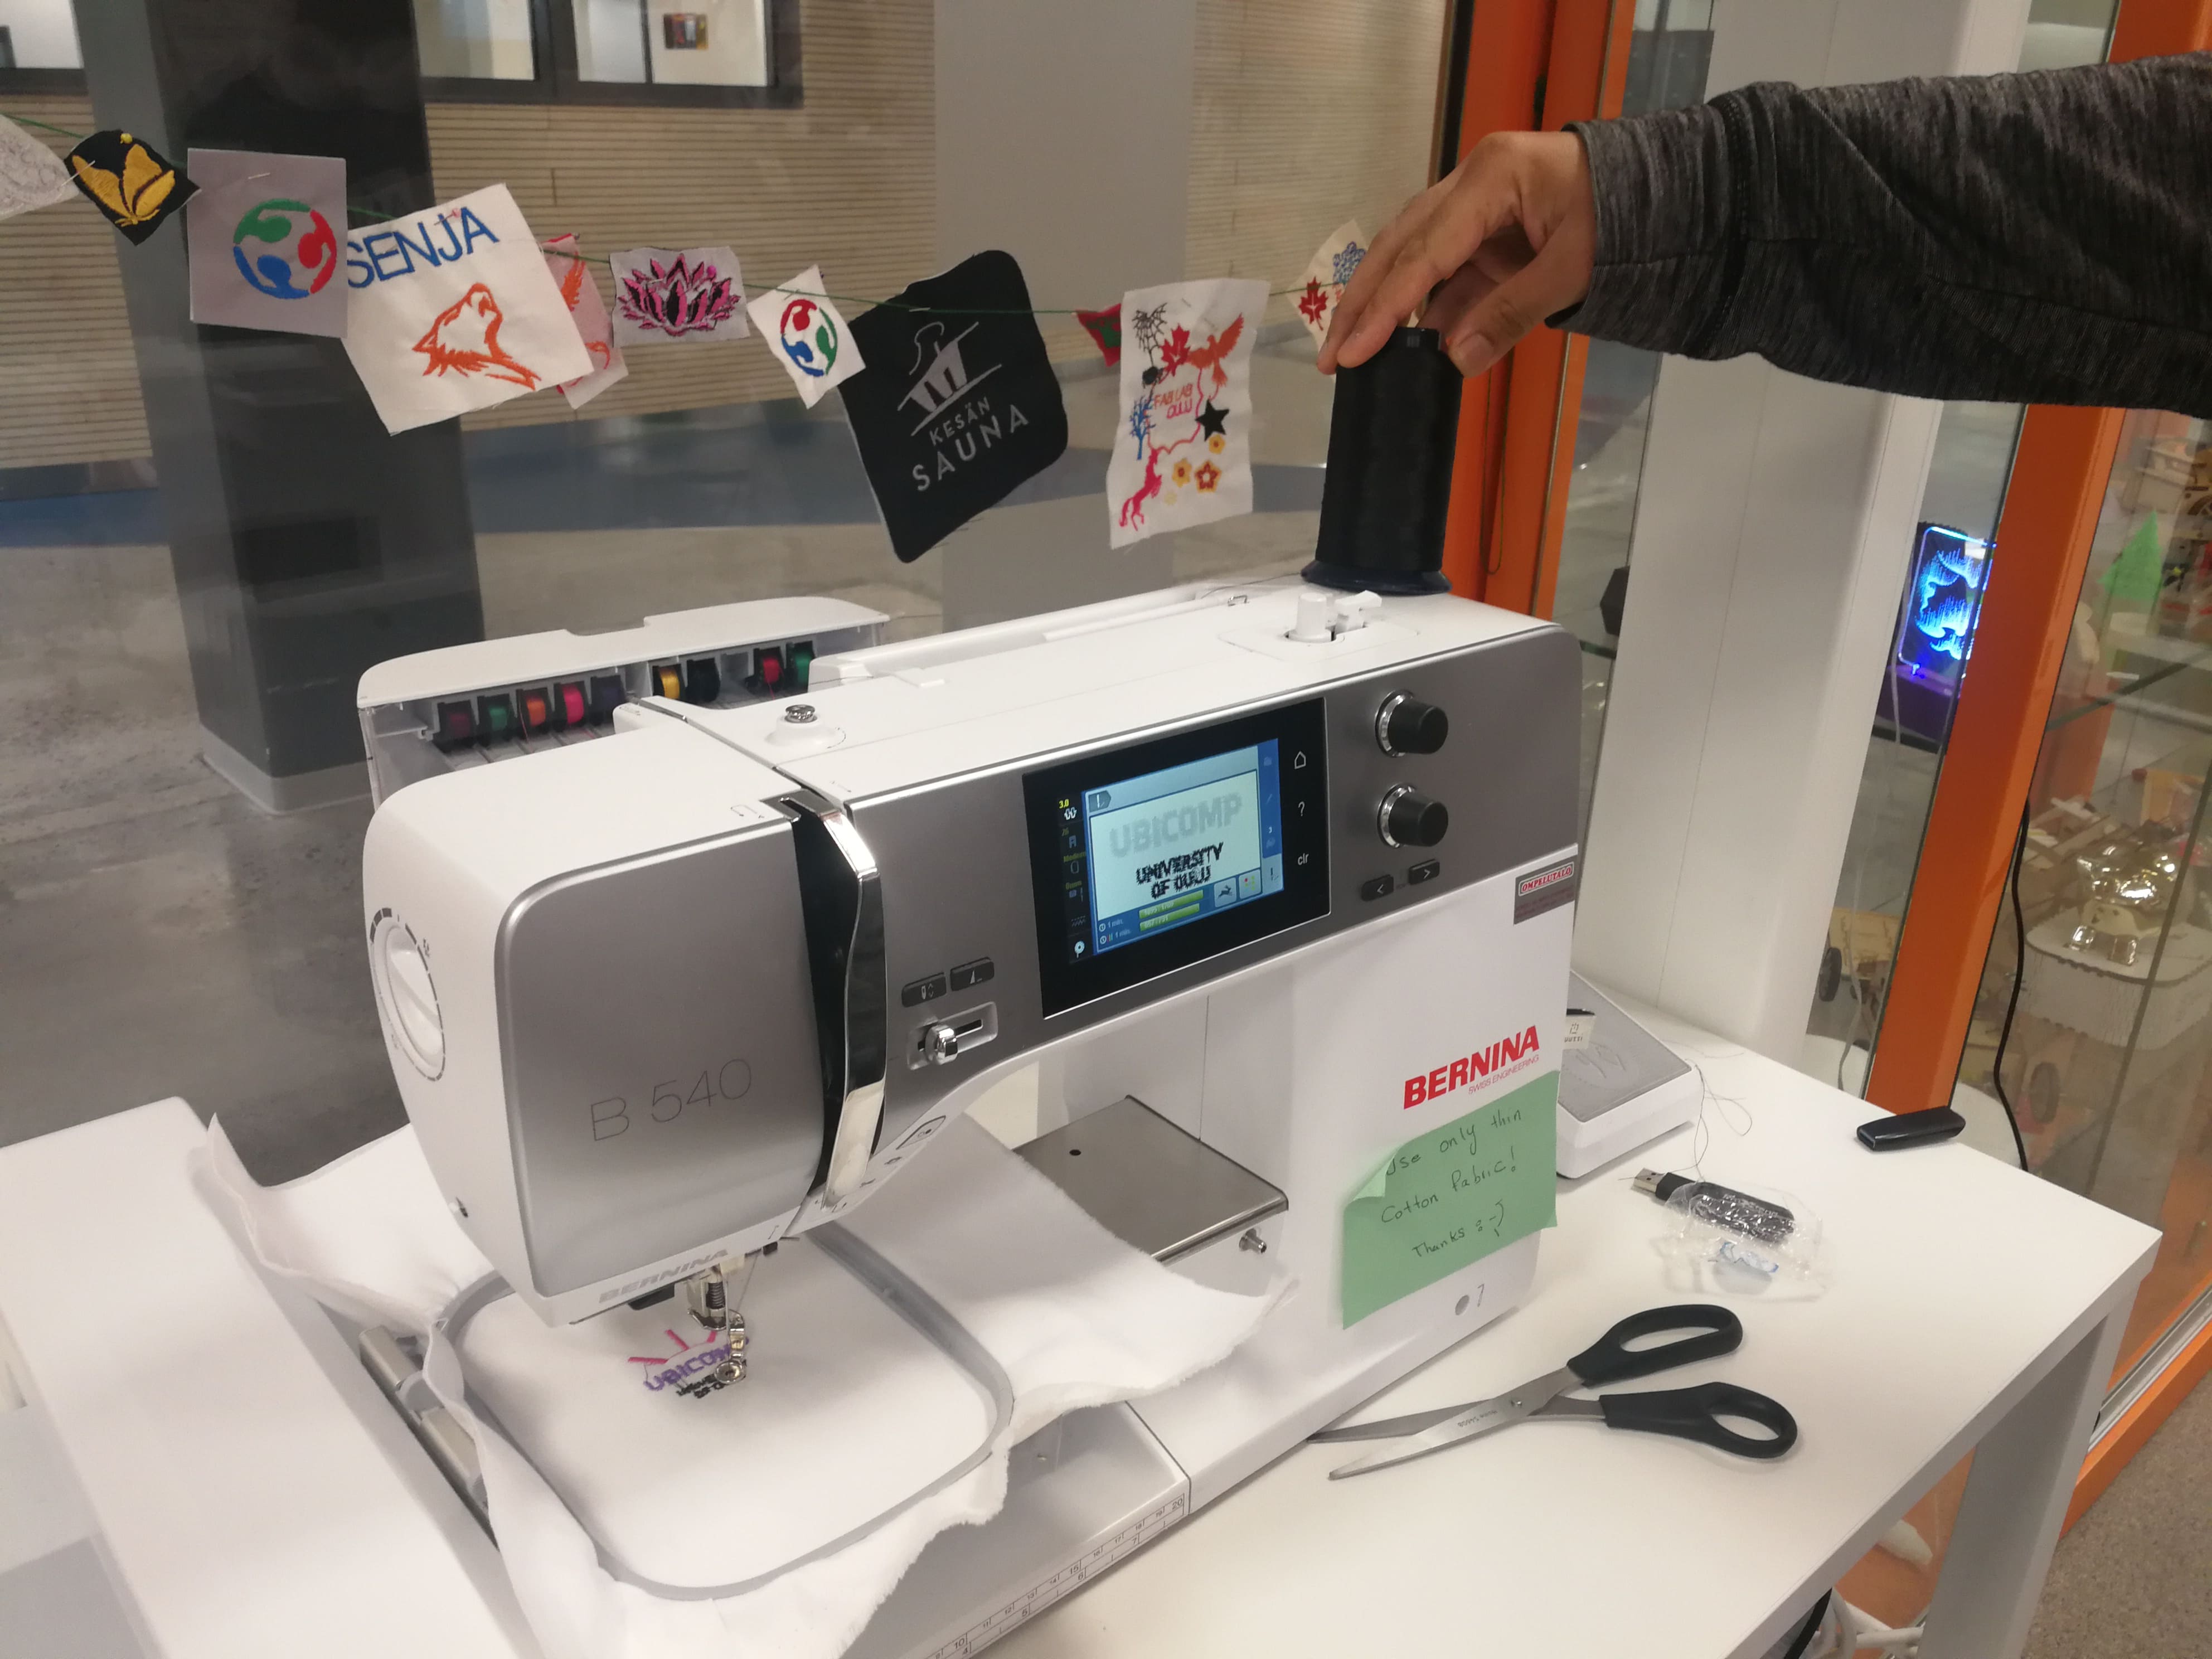 Figure 61.
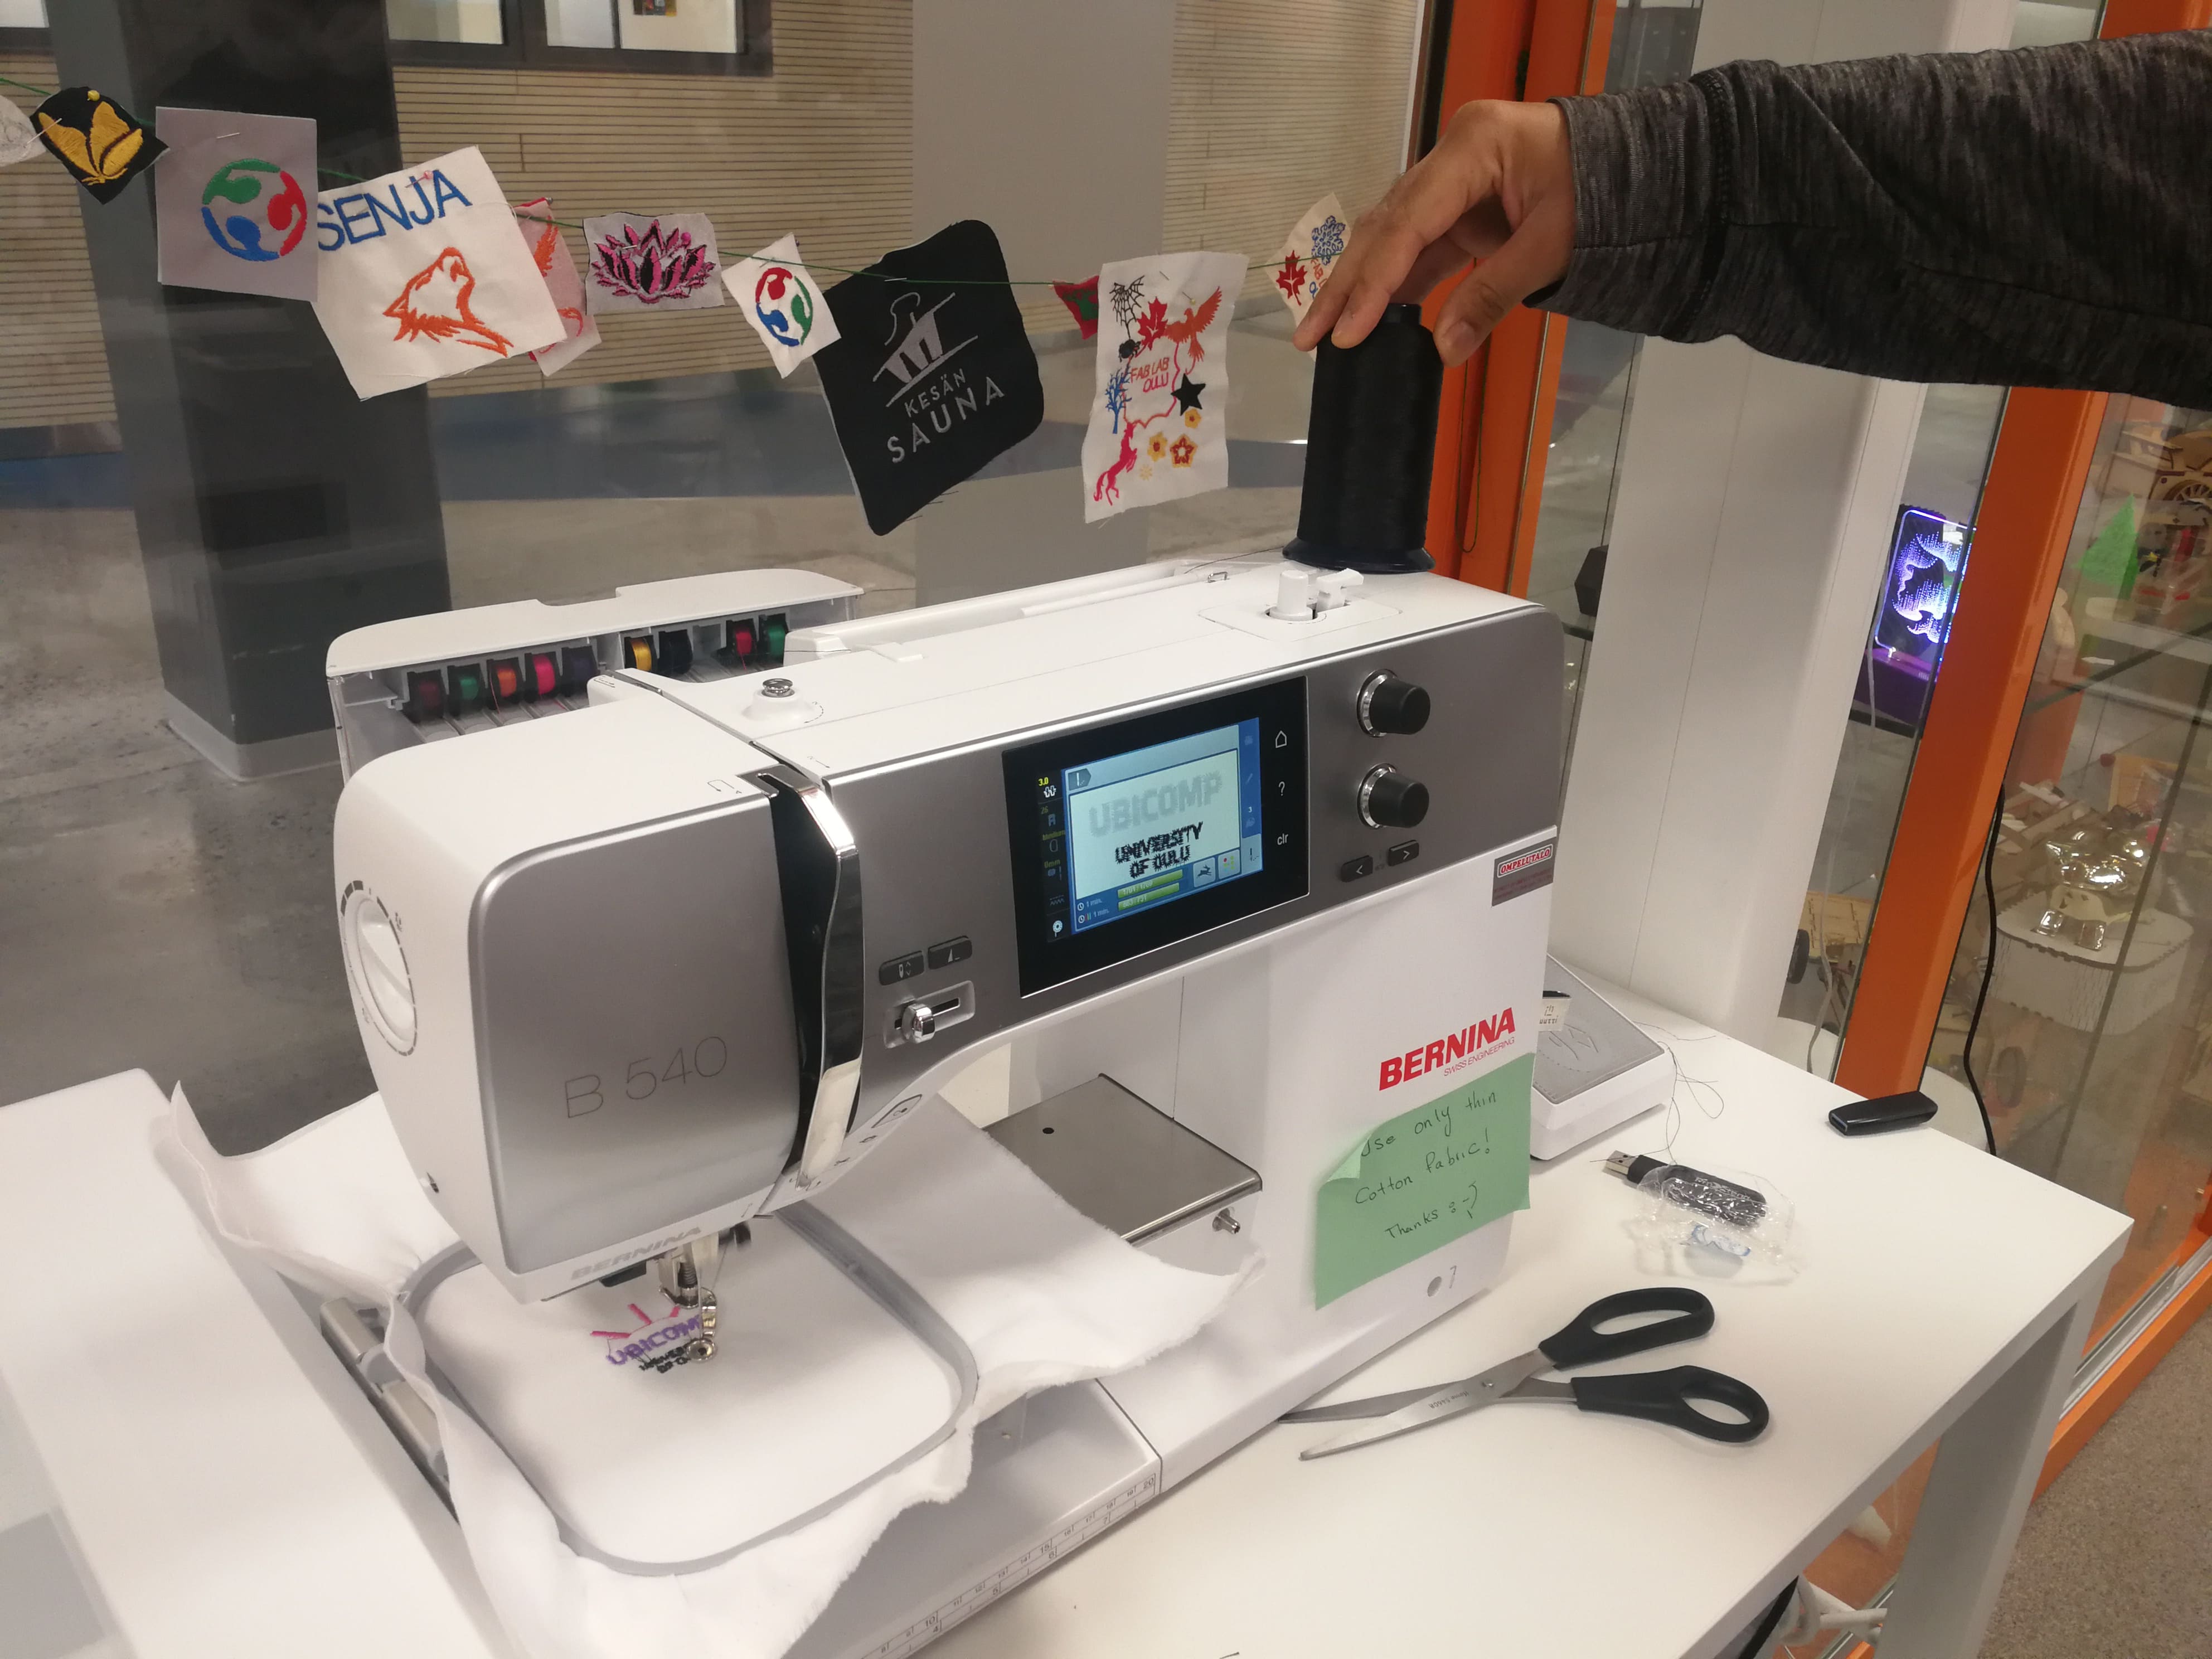 *Figure 62. *
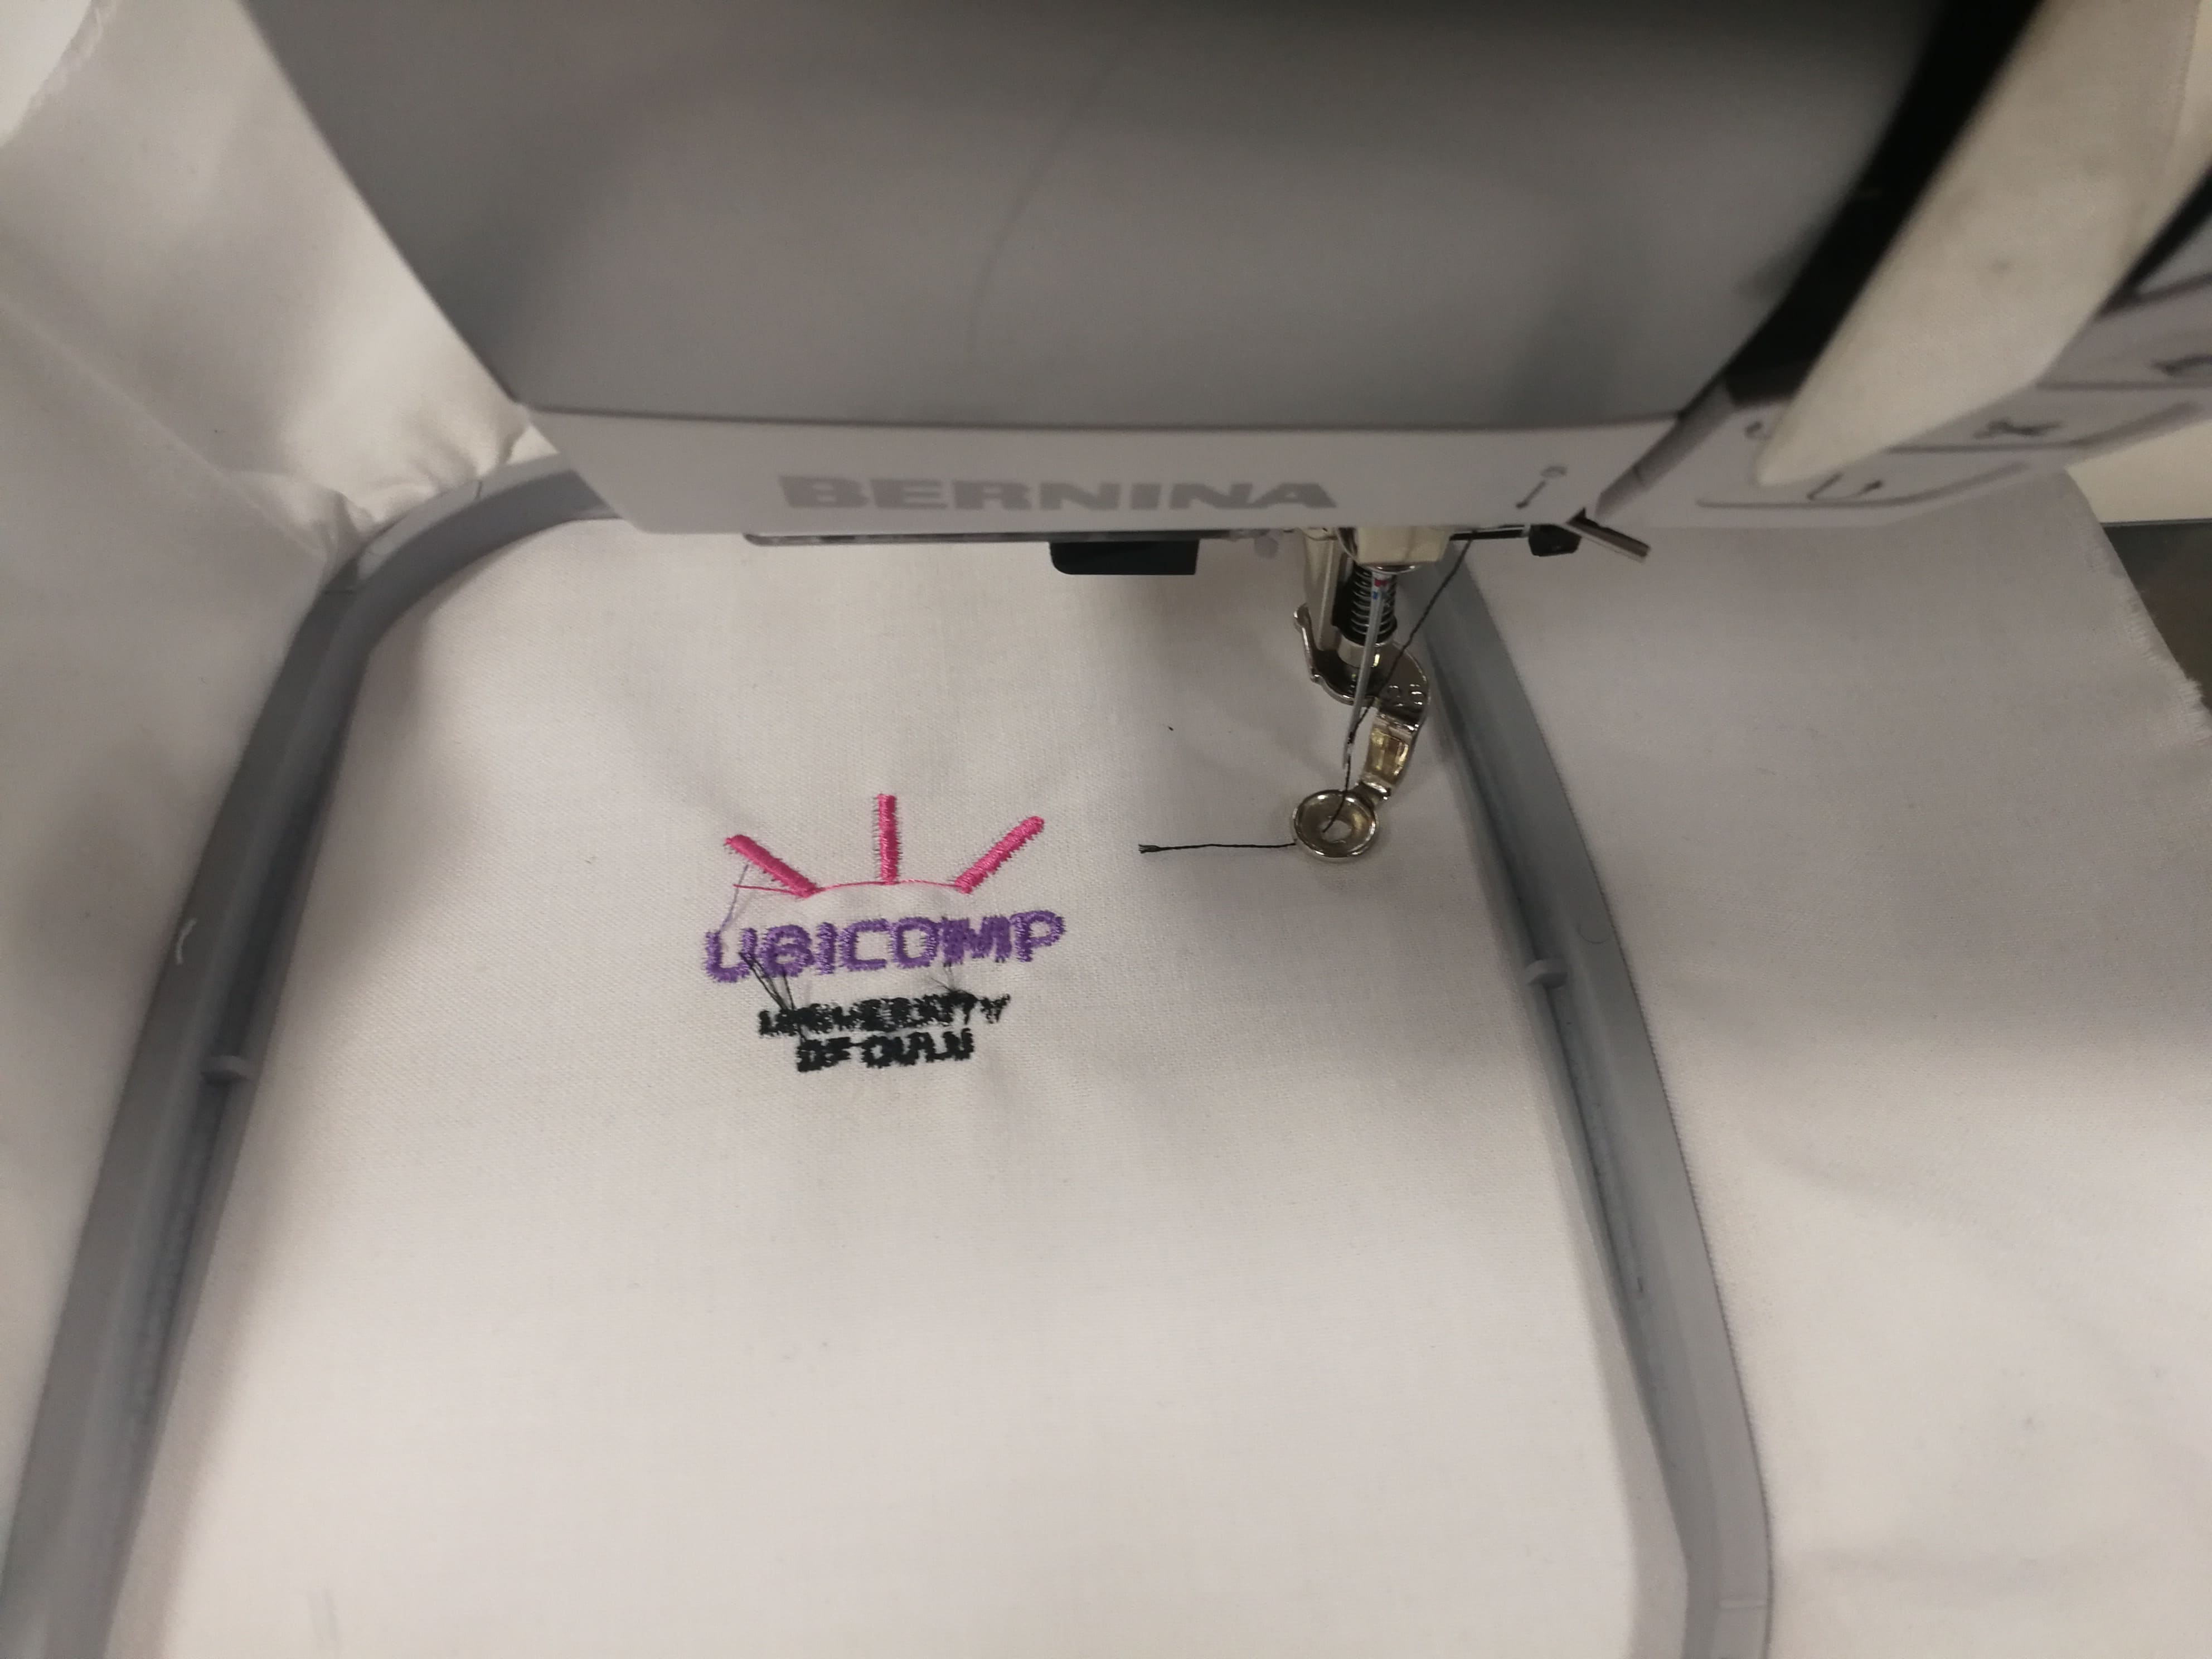 Figure 63.
Setting digital embroidery machine ready to begin embroidery 2
Next, I engraved another logo using the same steps as stated previously. I did this step because the previous engraving, “University of Oulu” in black-coloured did not engrave with distinction.
![]() Figure 65. UBICOMP Logo2
Figure 65. UBICOMP Logo2
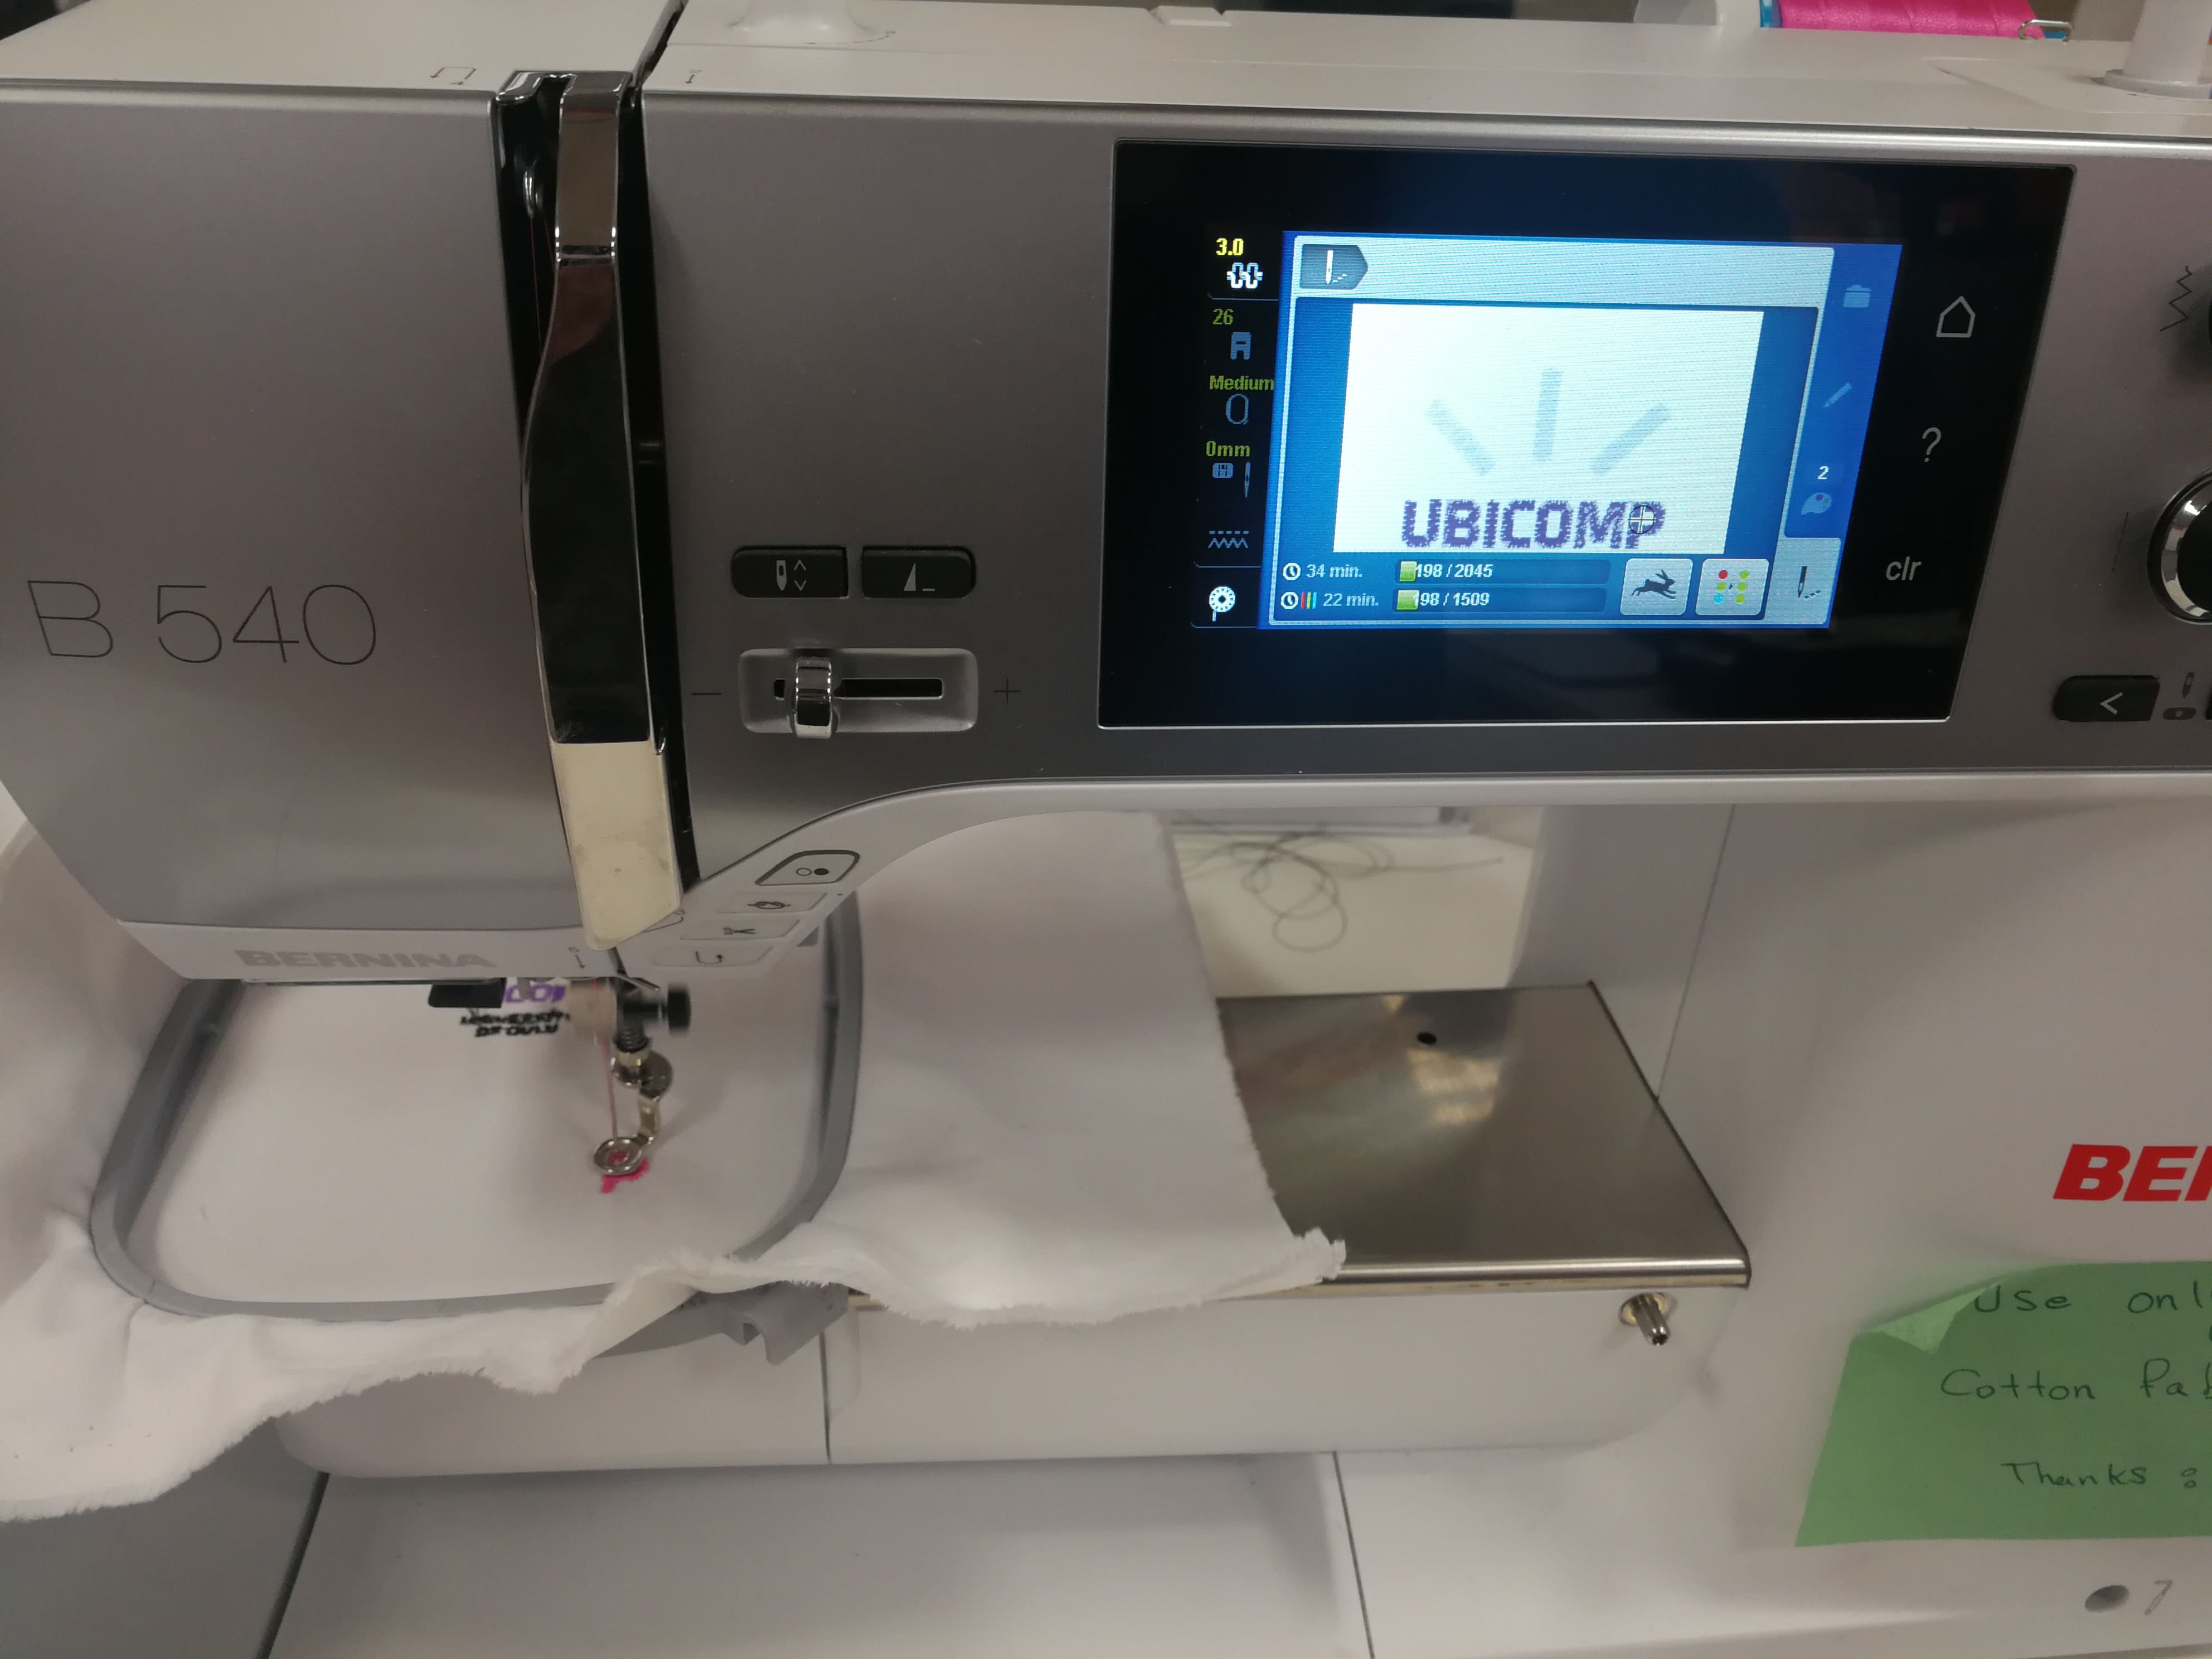 Figure 66. Embroidery begins
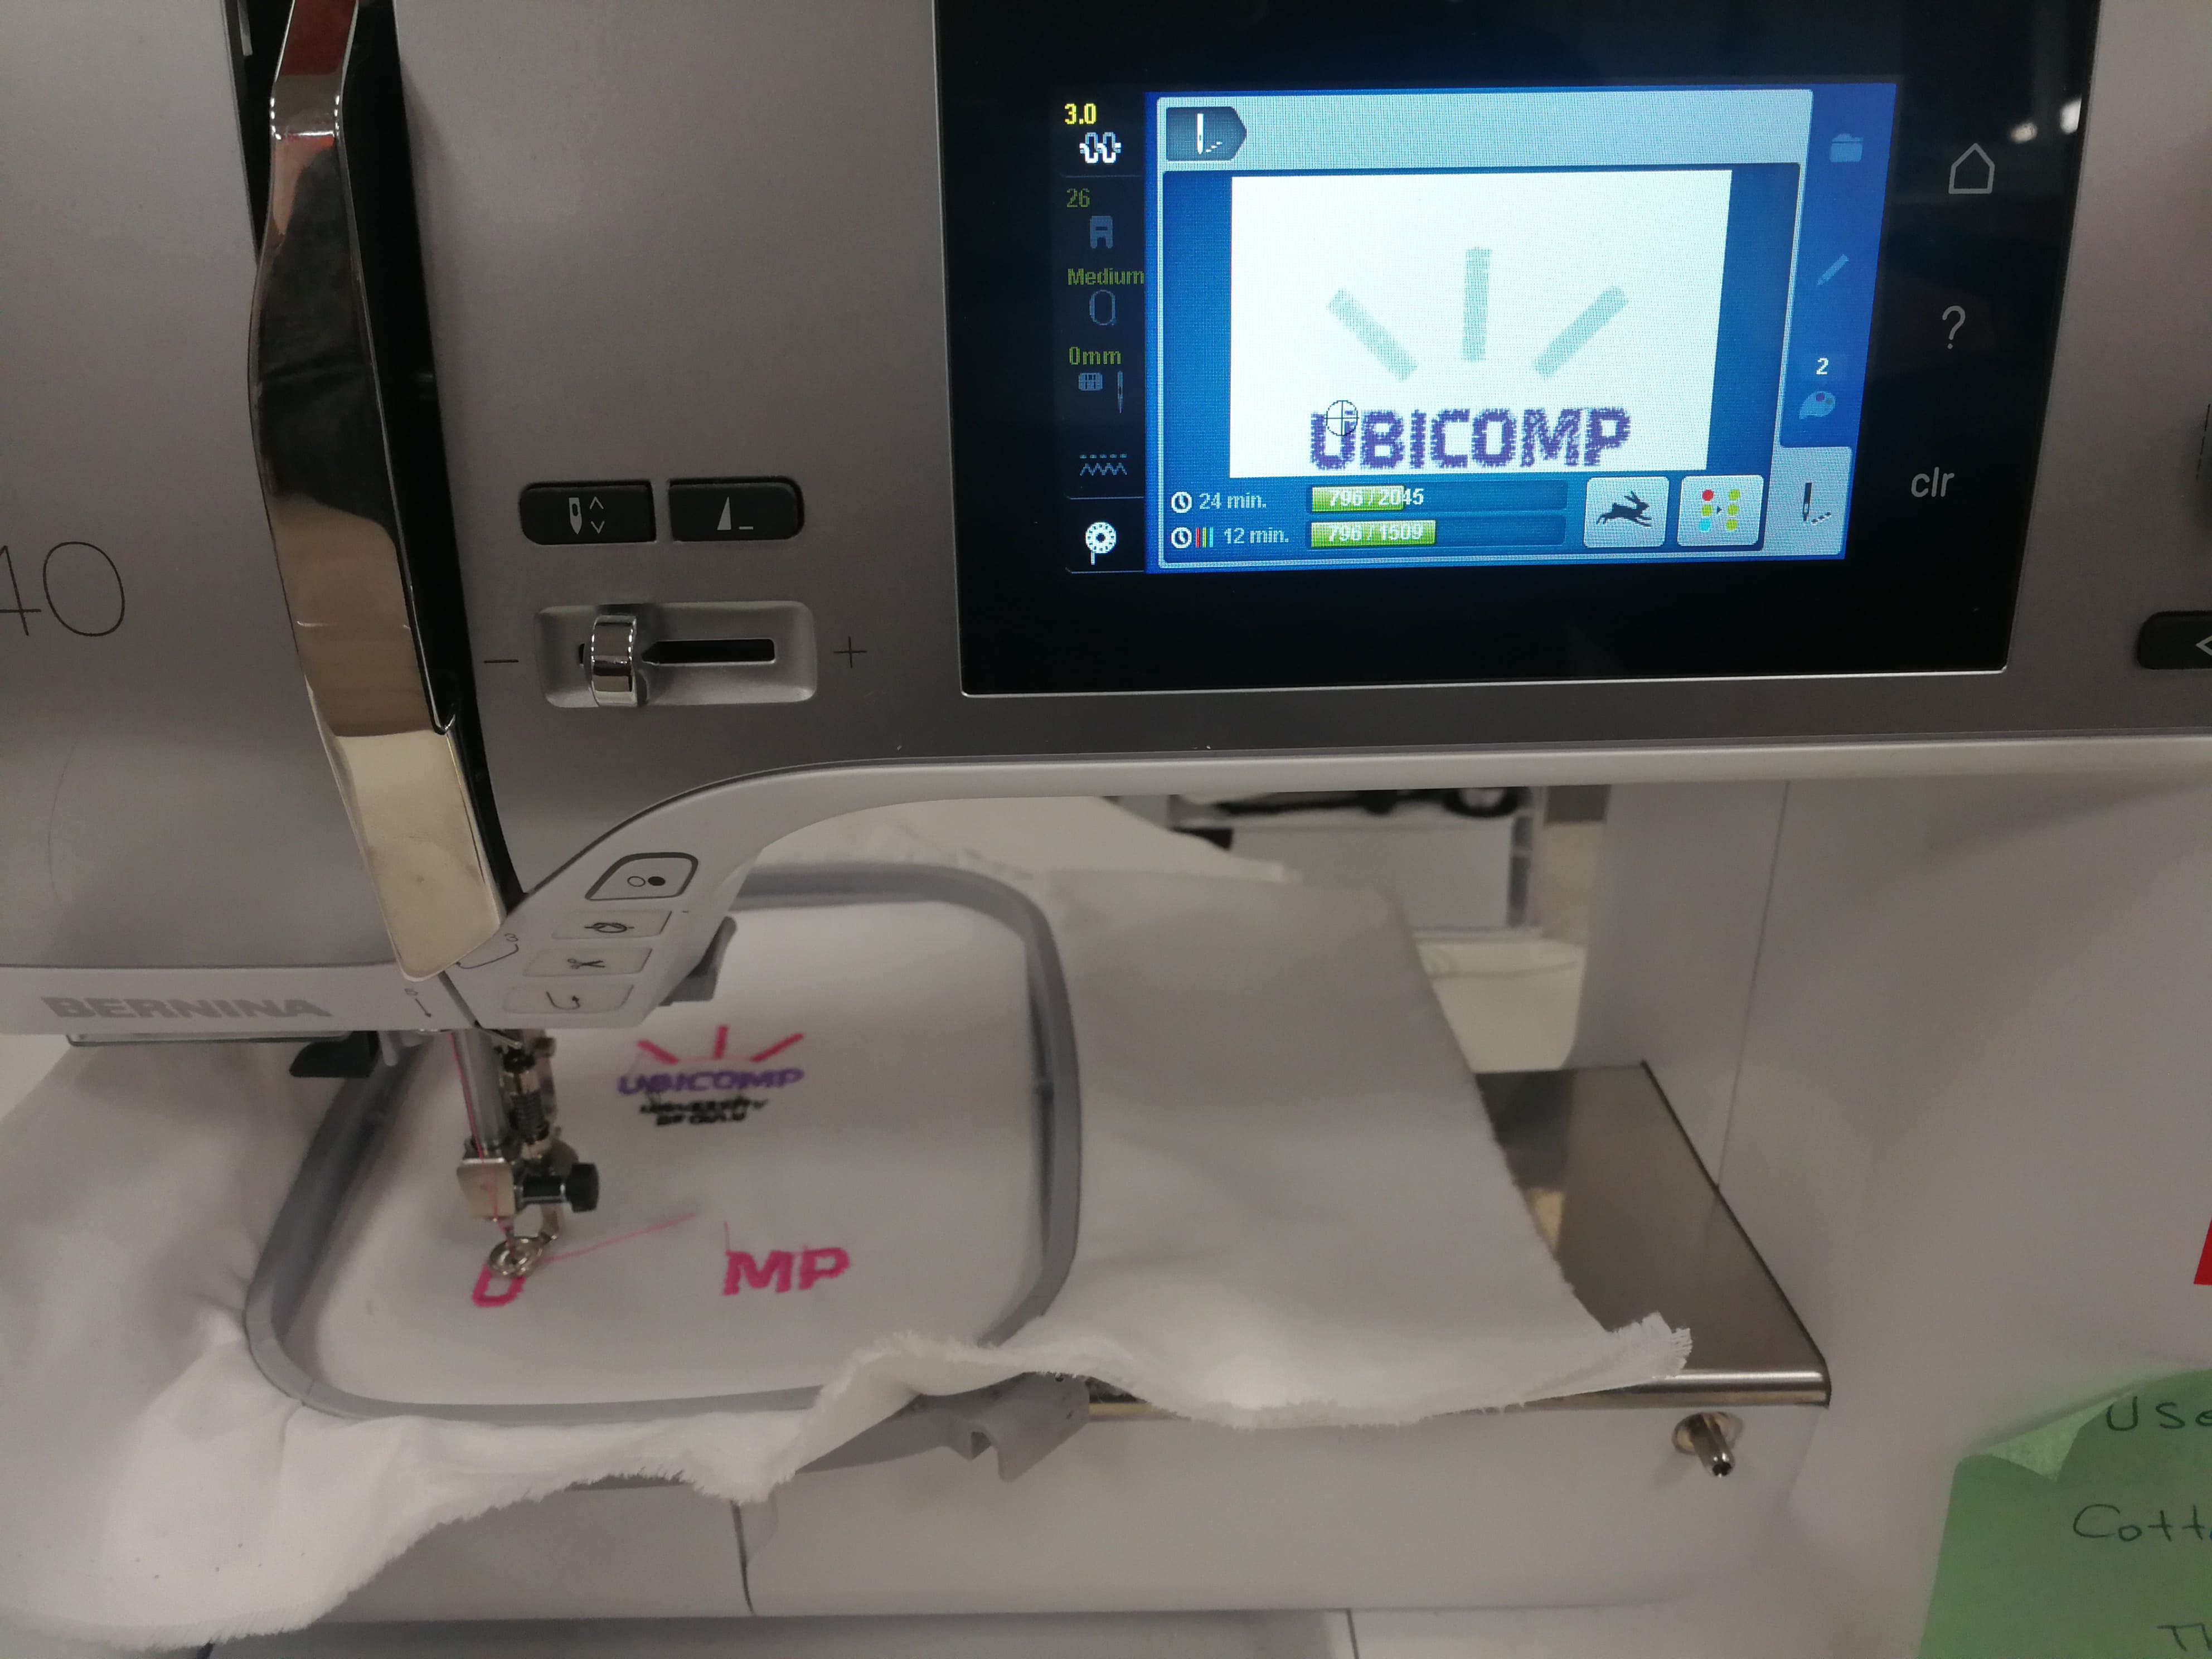 Figure 67.
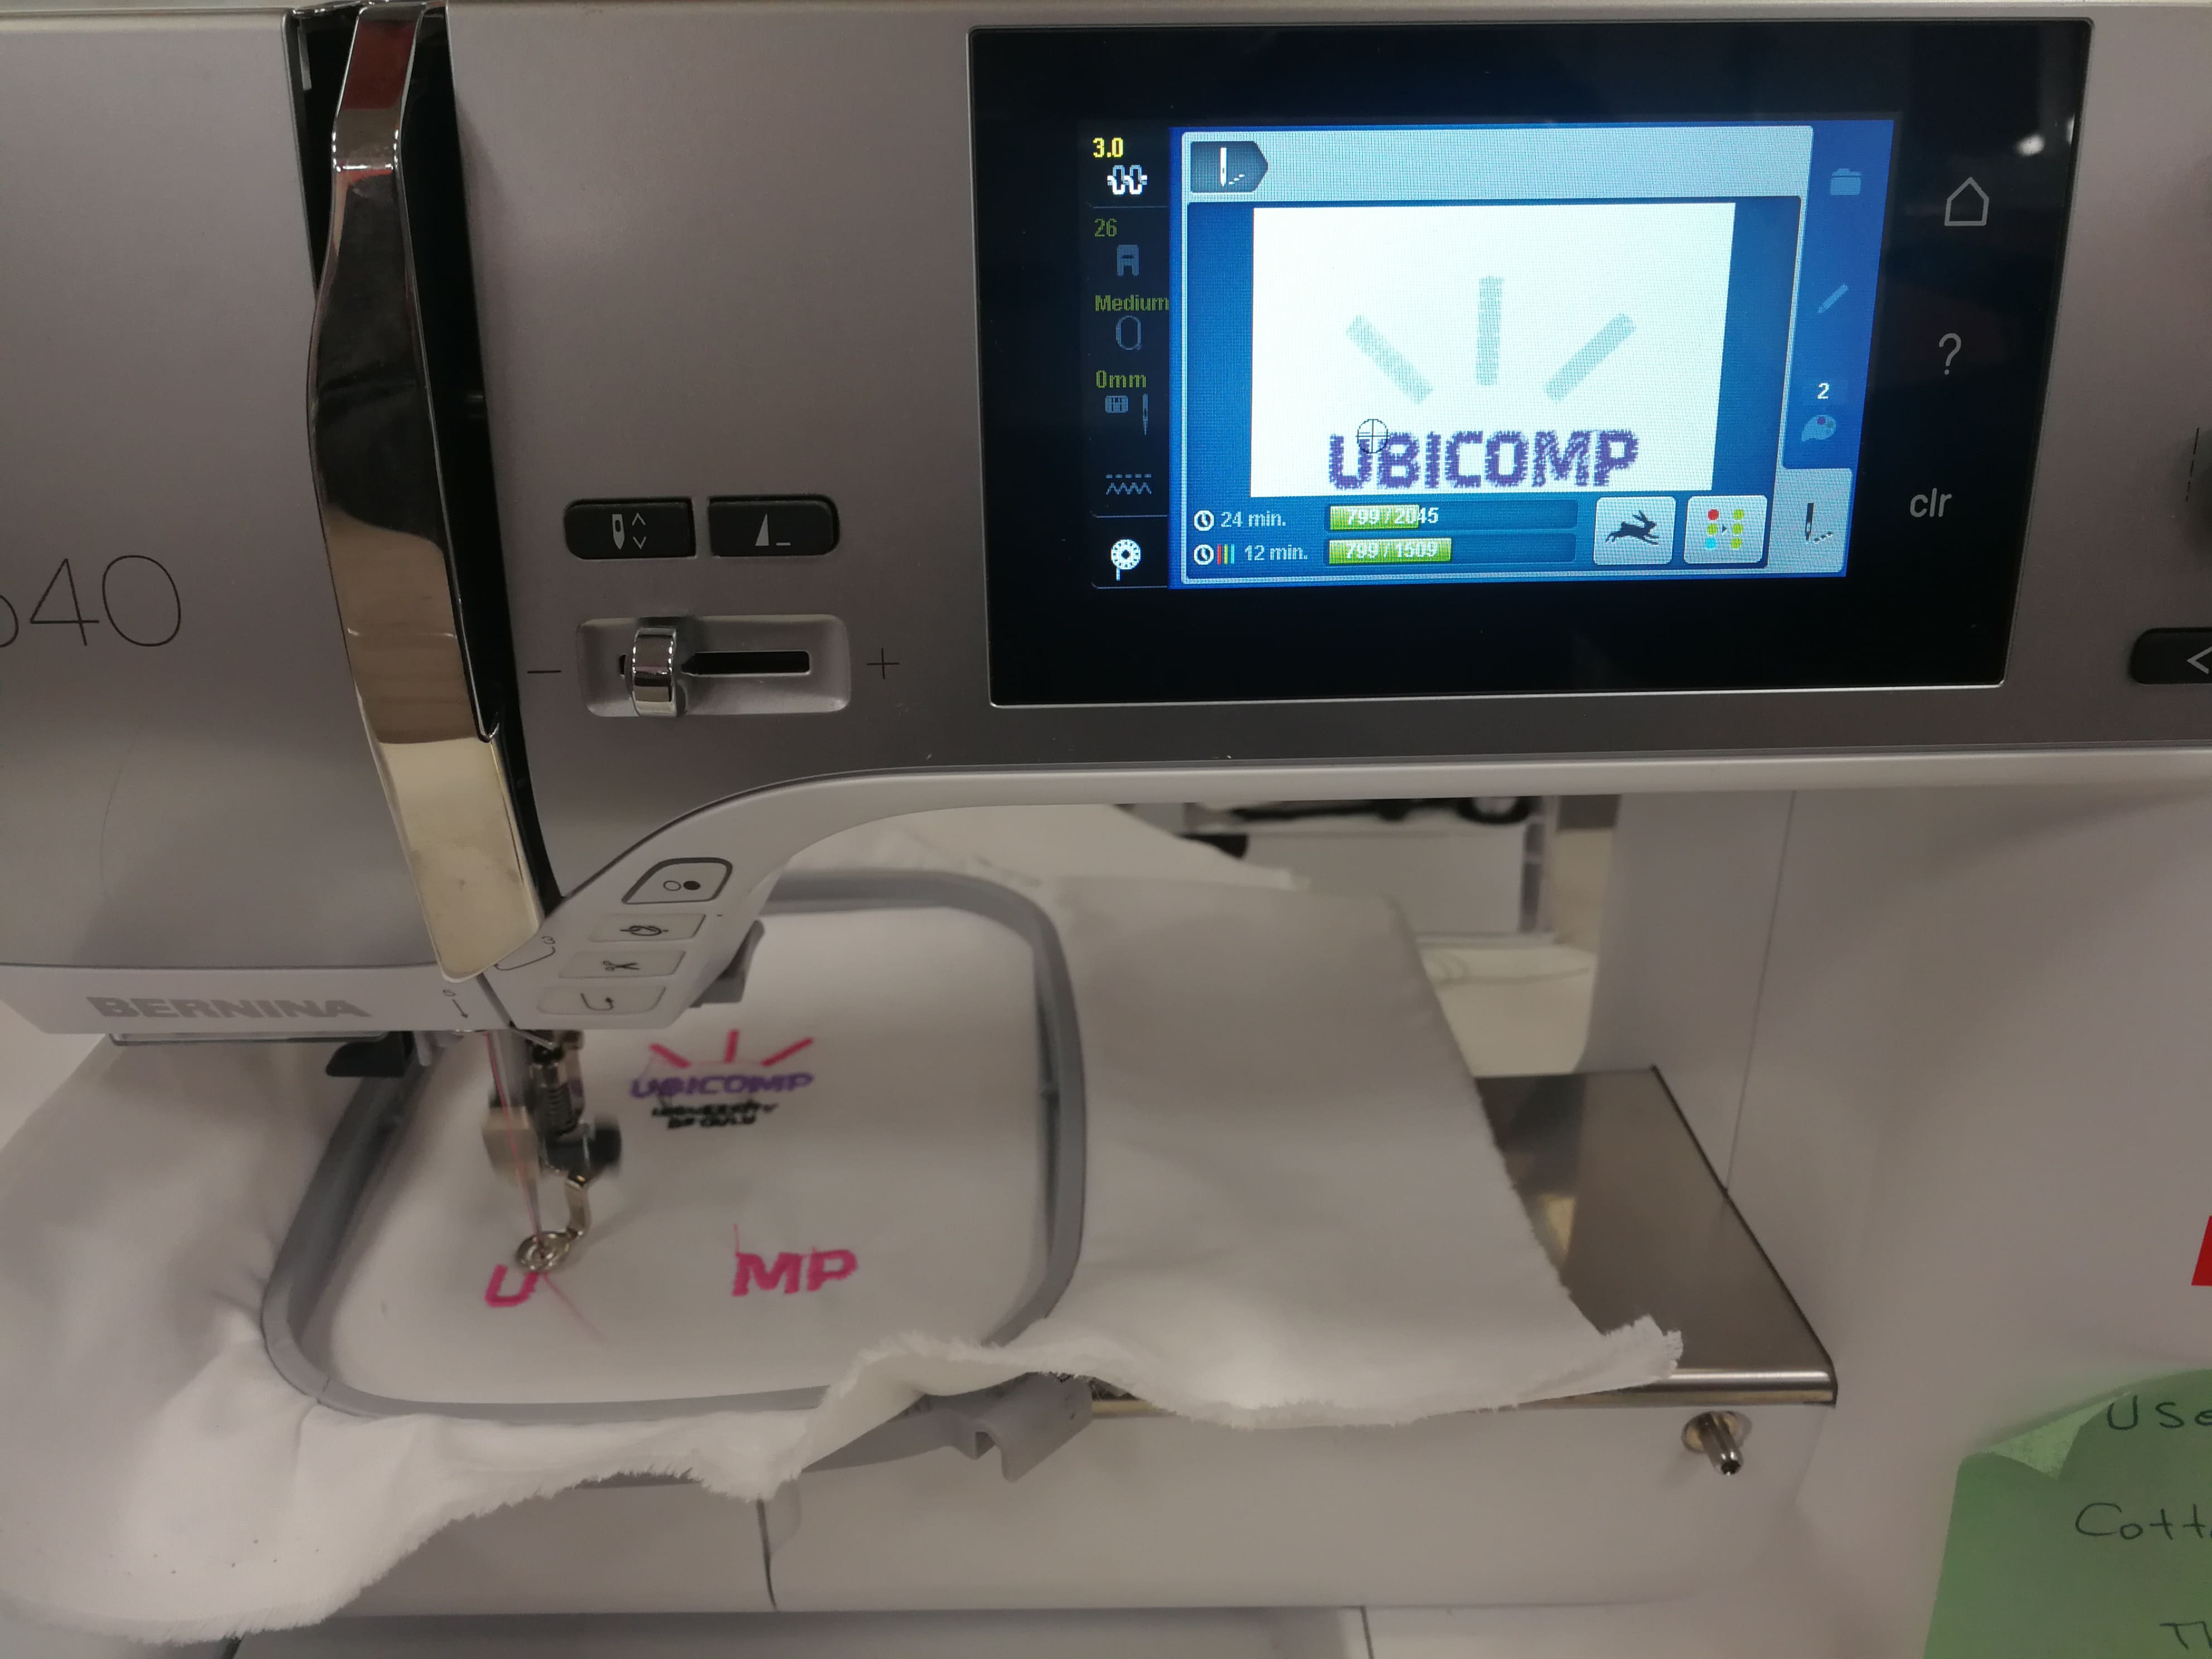 Figure 68.
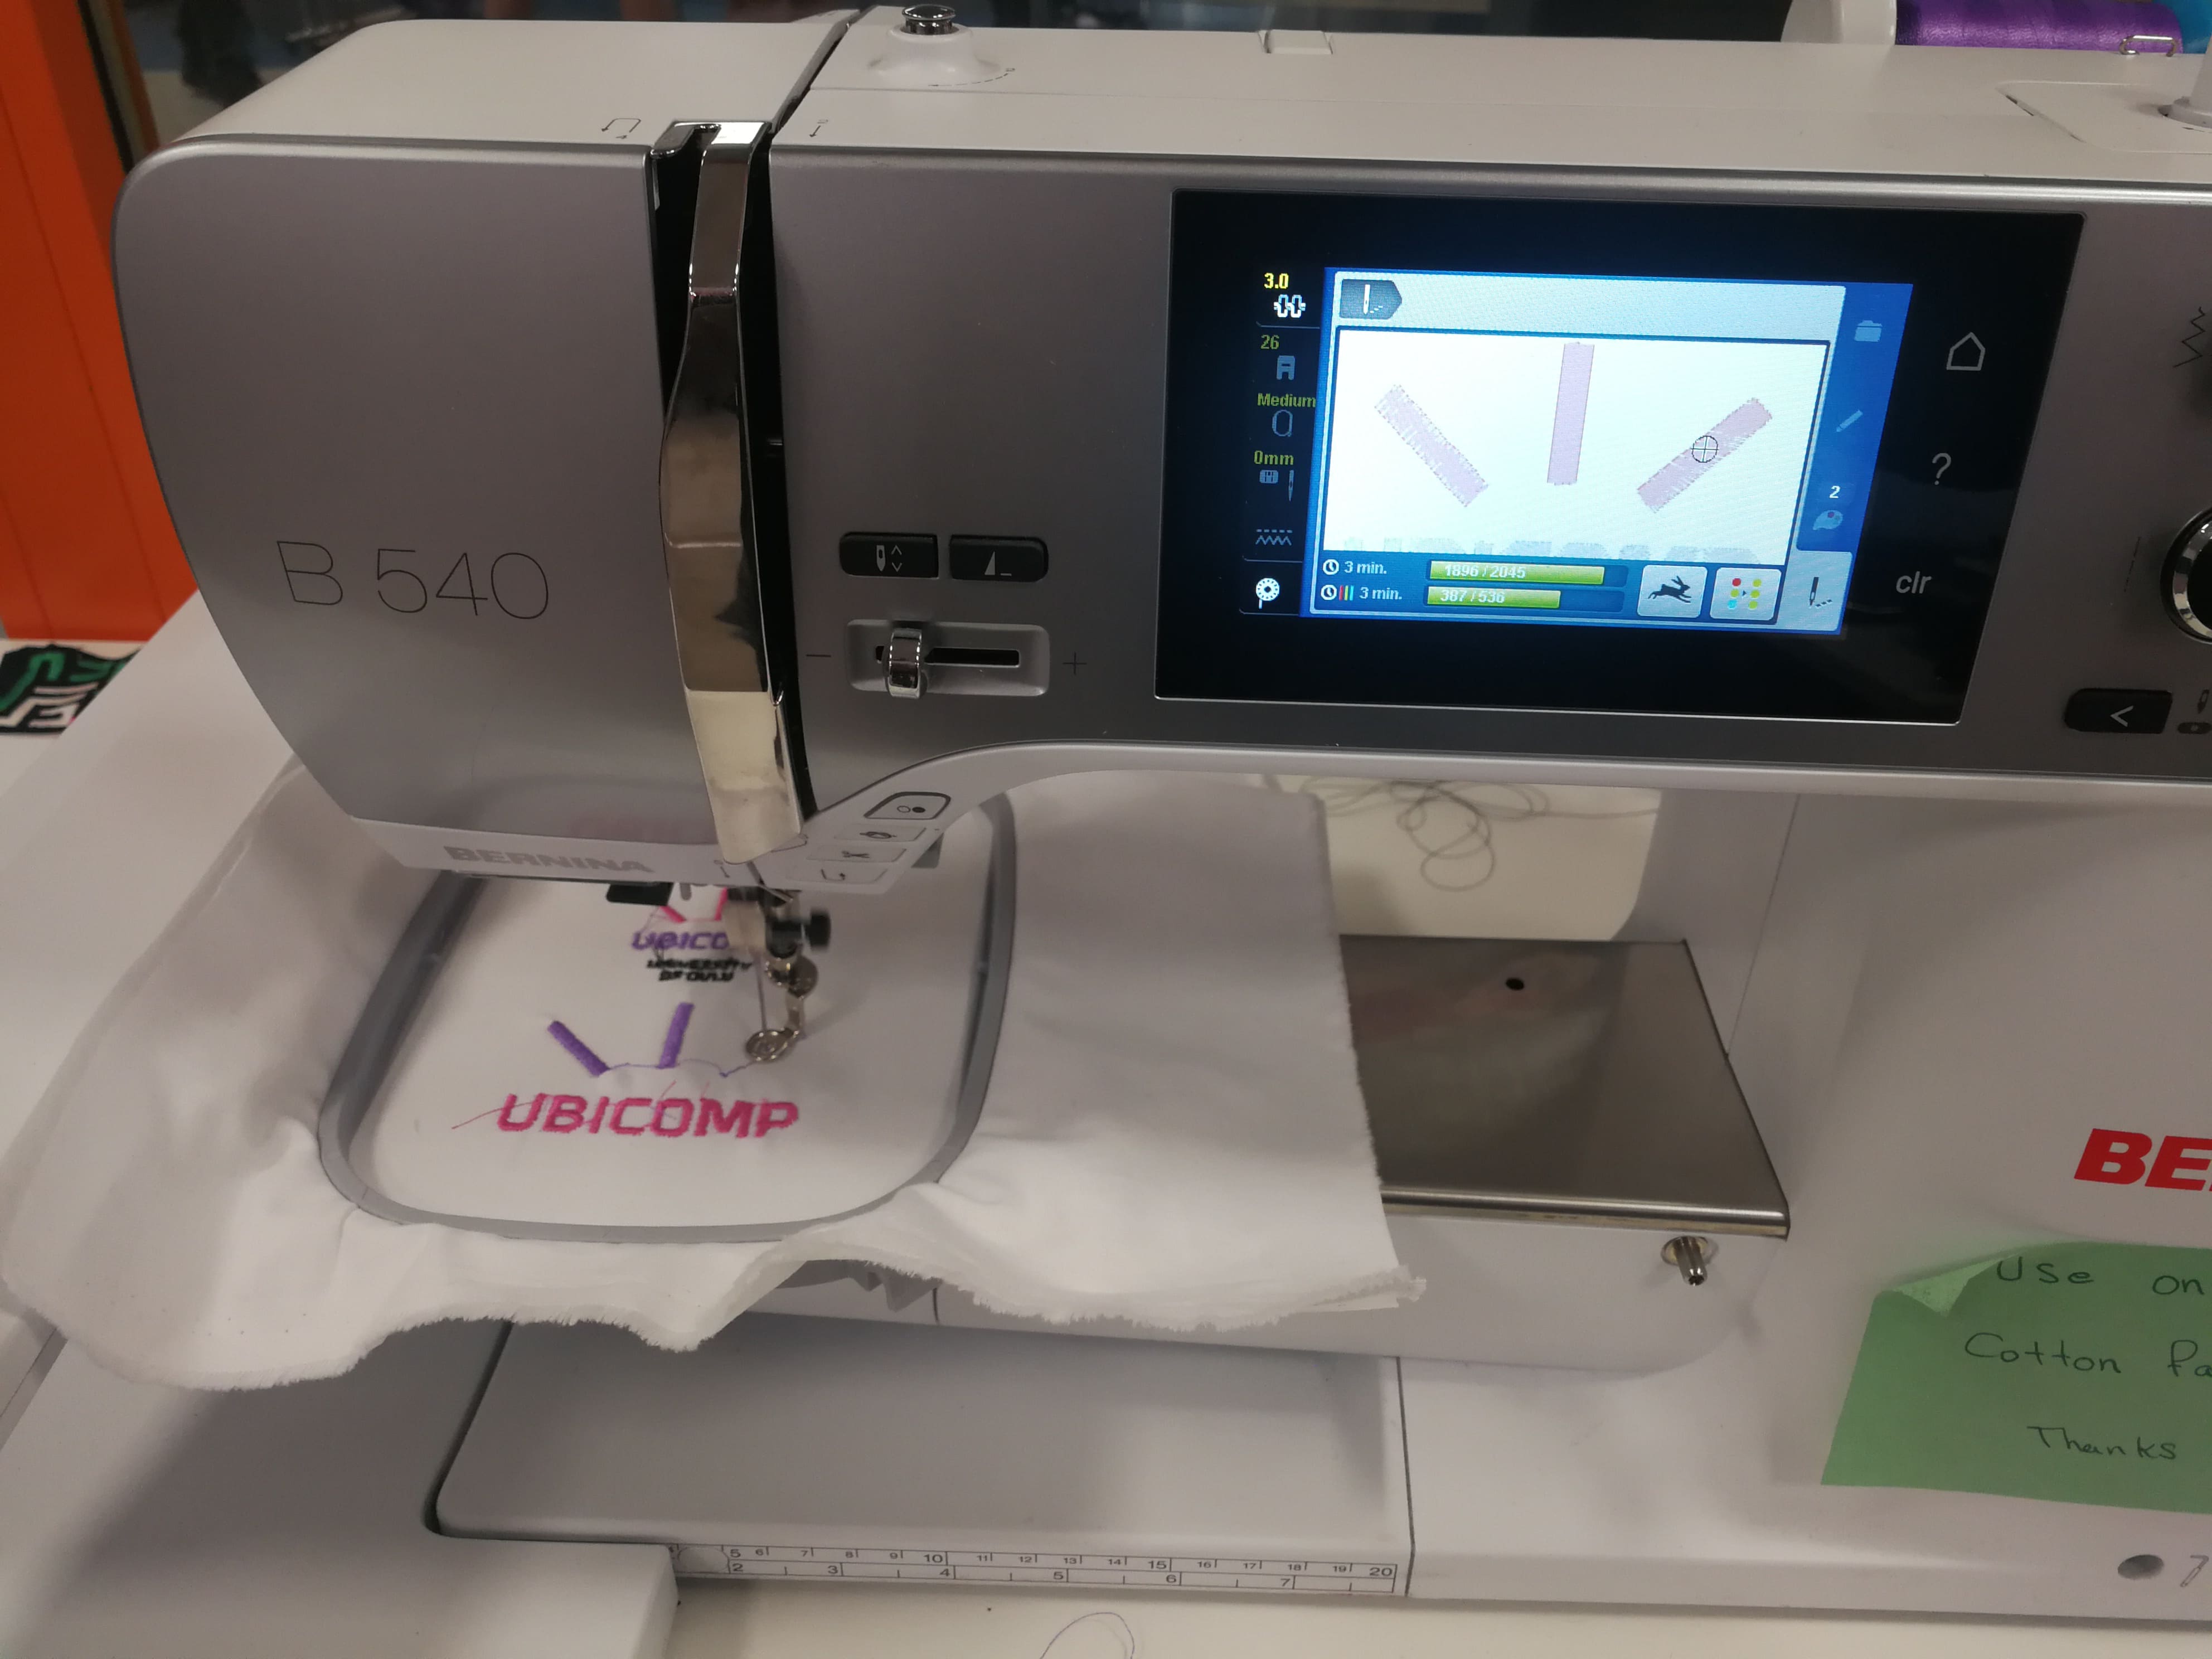 Figure 69.
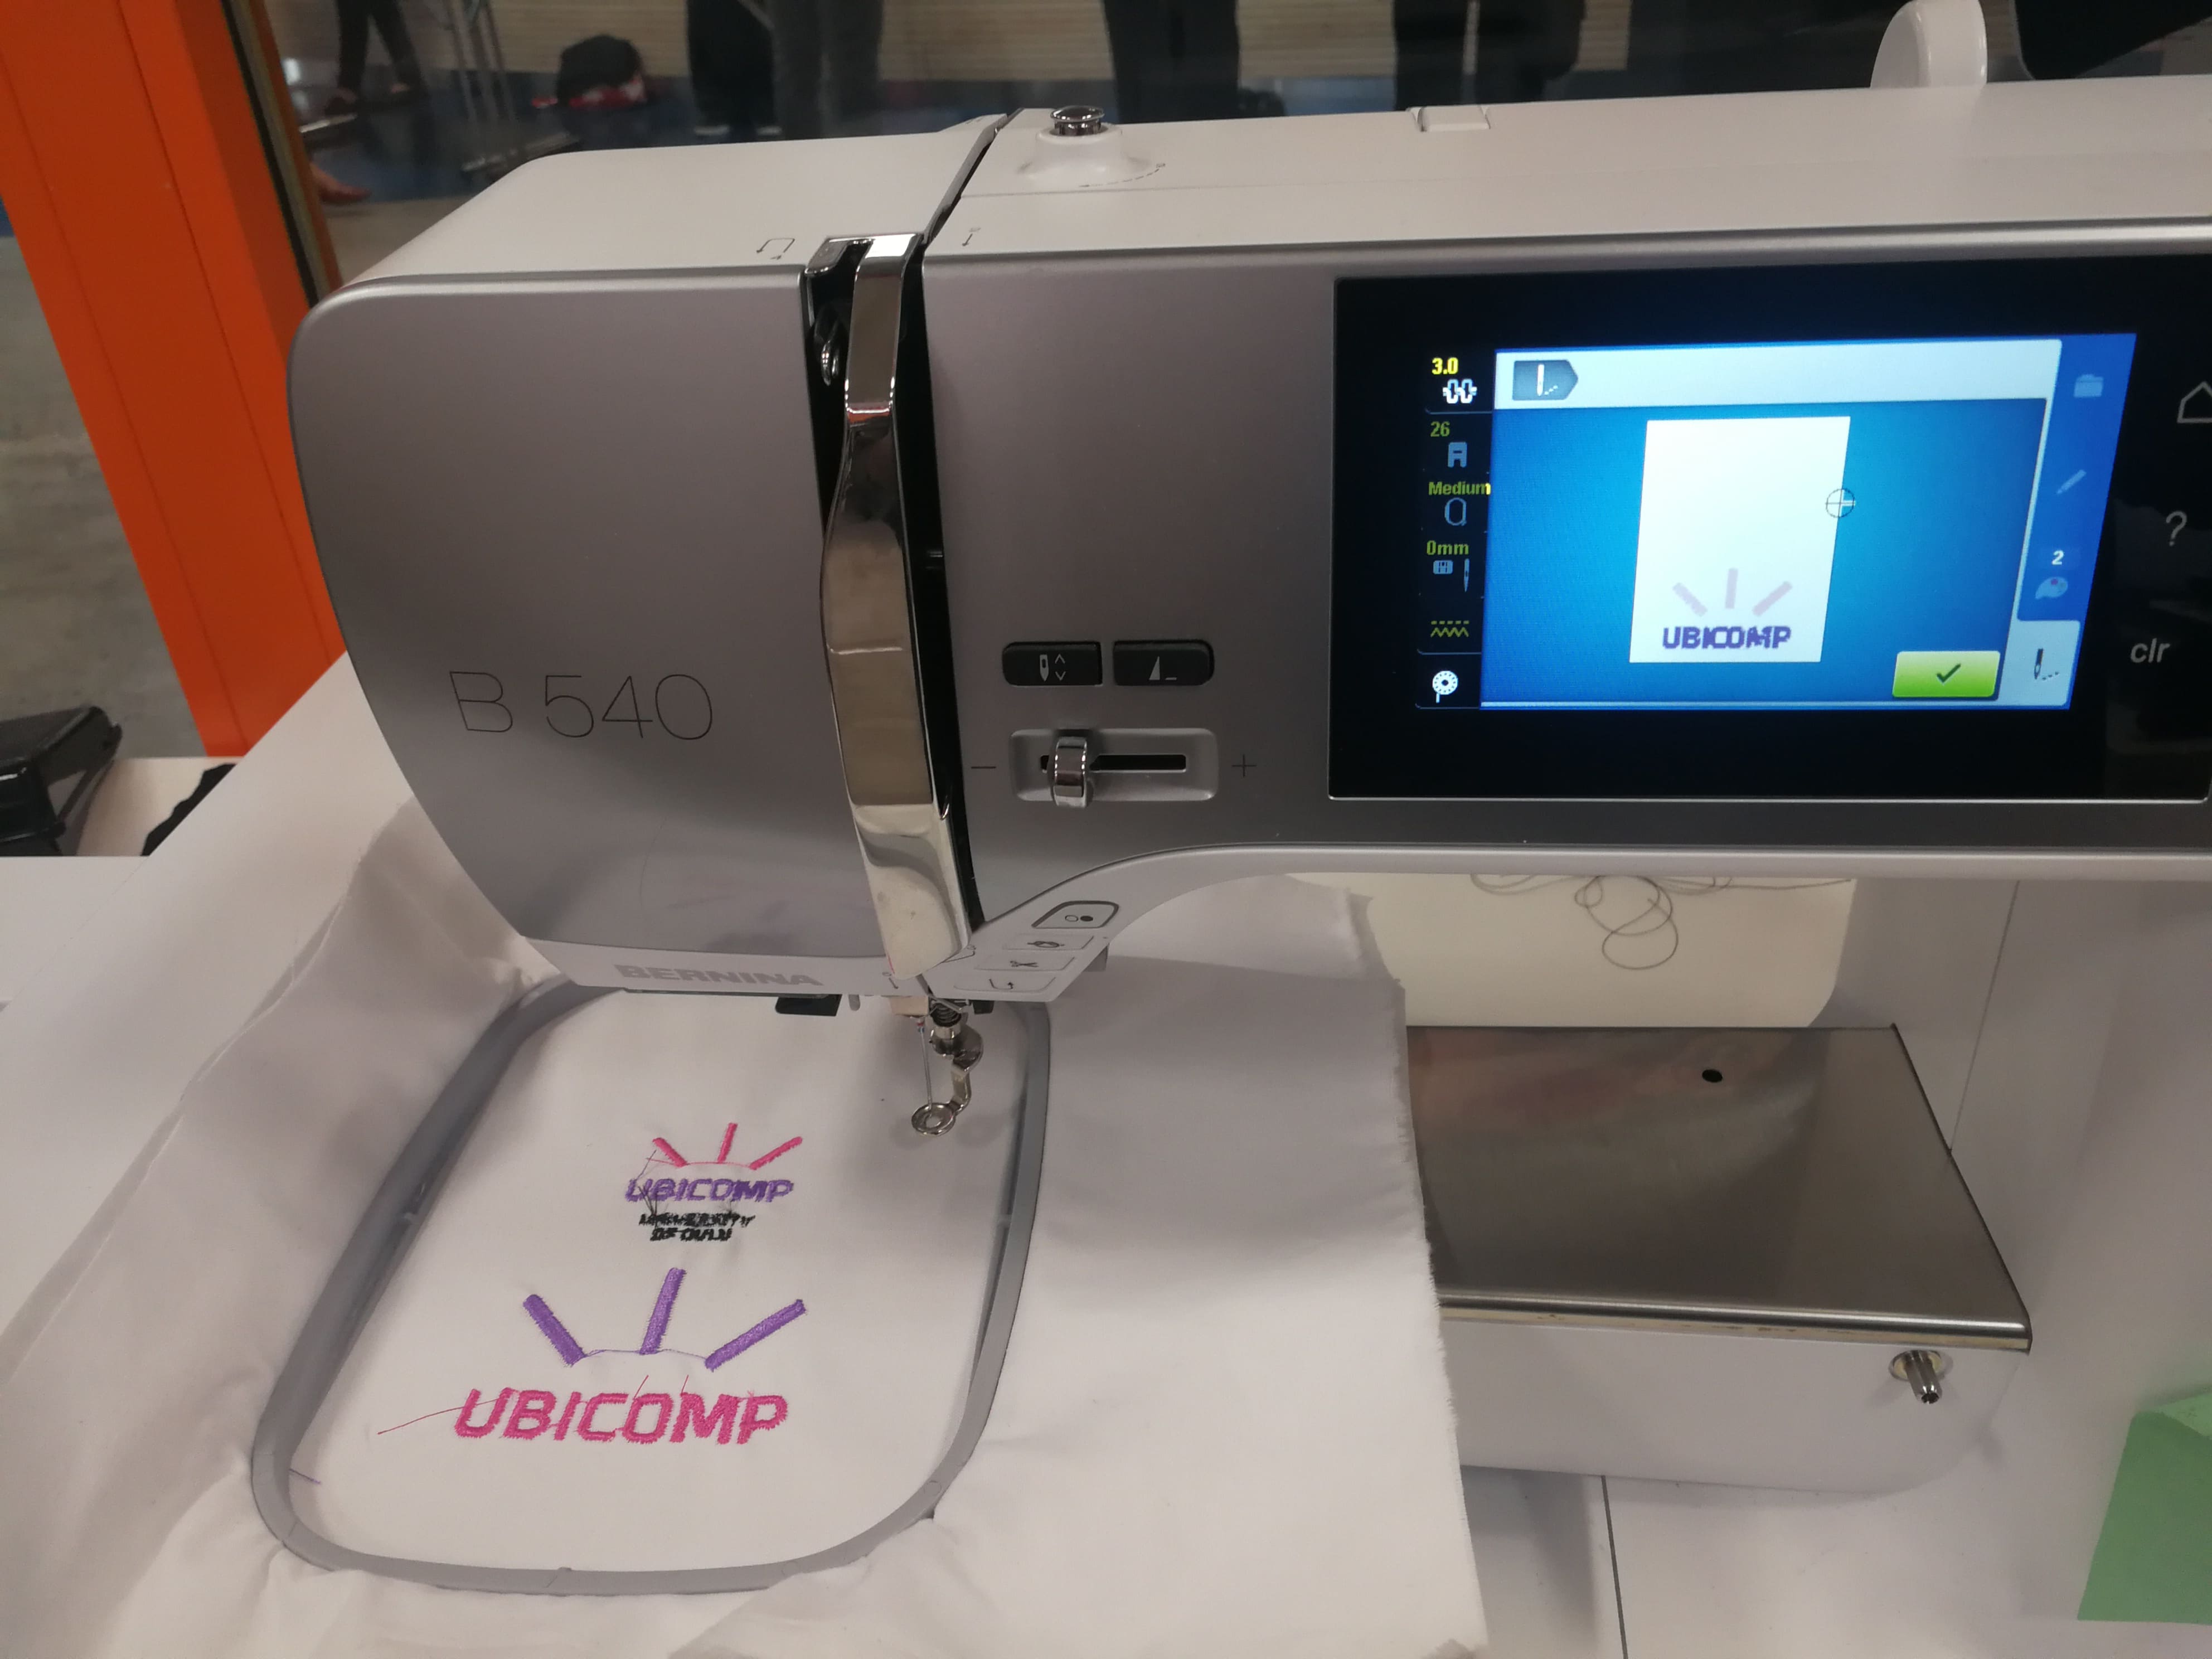 Figure 70.
Figures 66-70 show that the Embroidery machine has limitations in terms of precision. It can not engrave very small and closely spaced characters.
Output
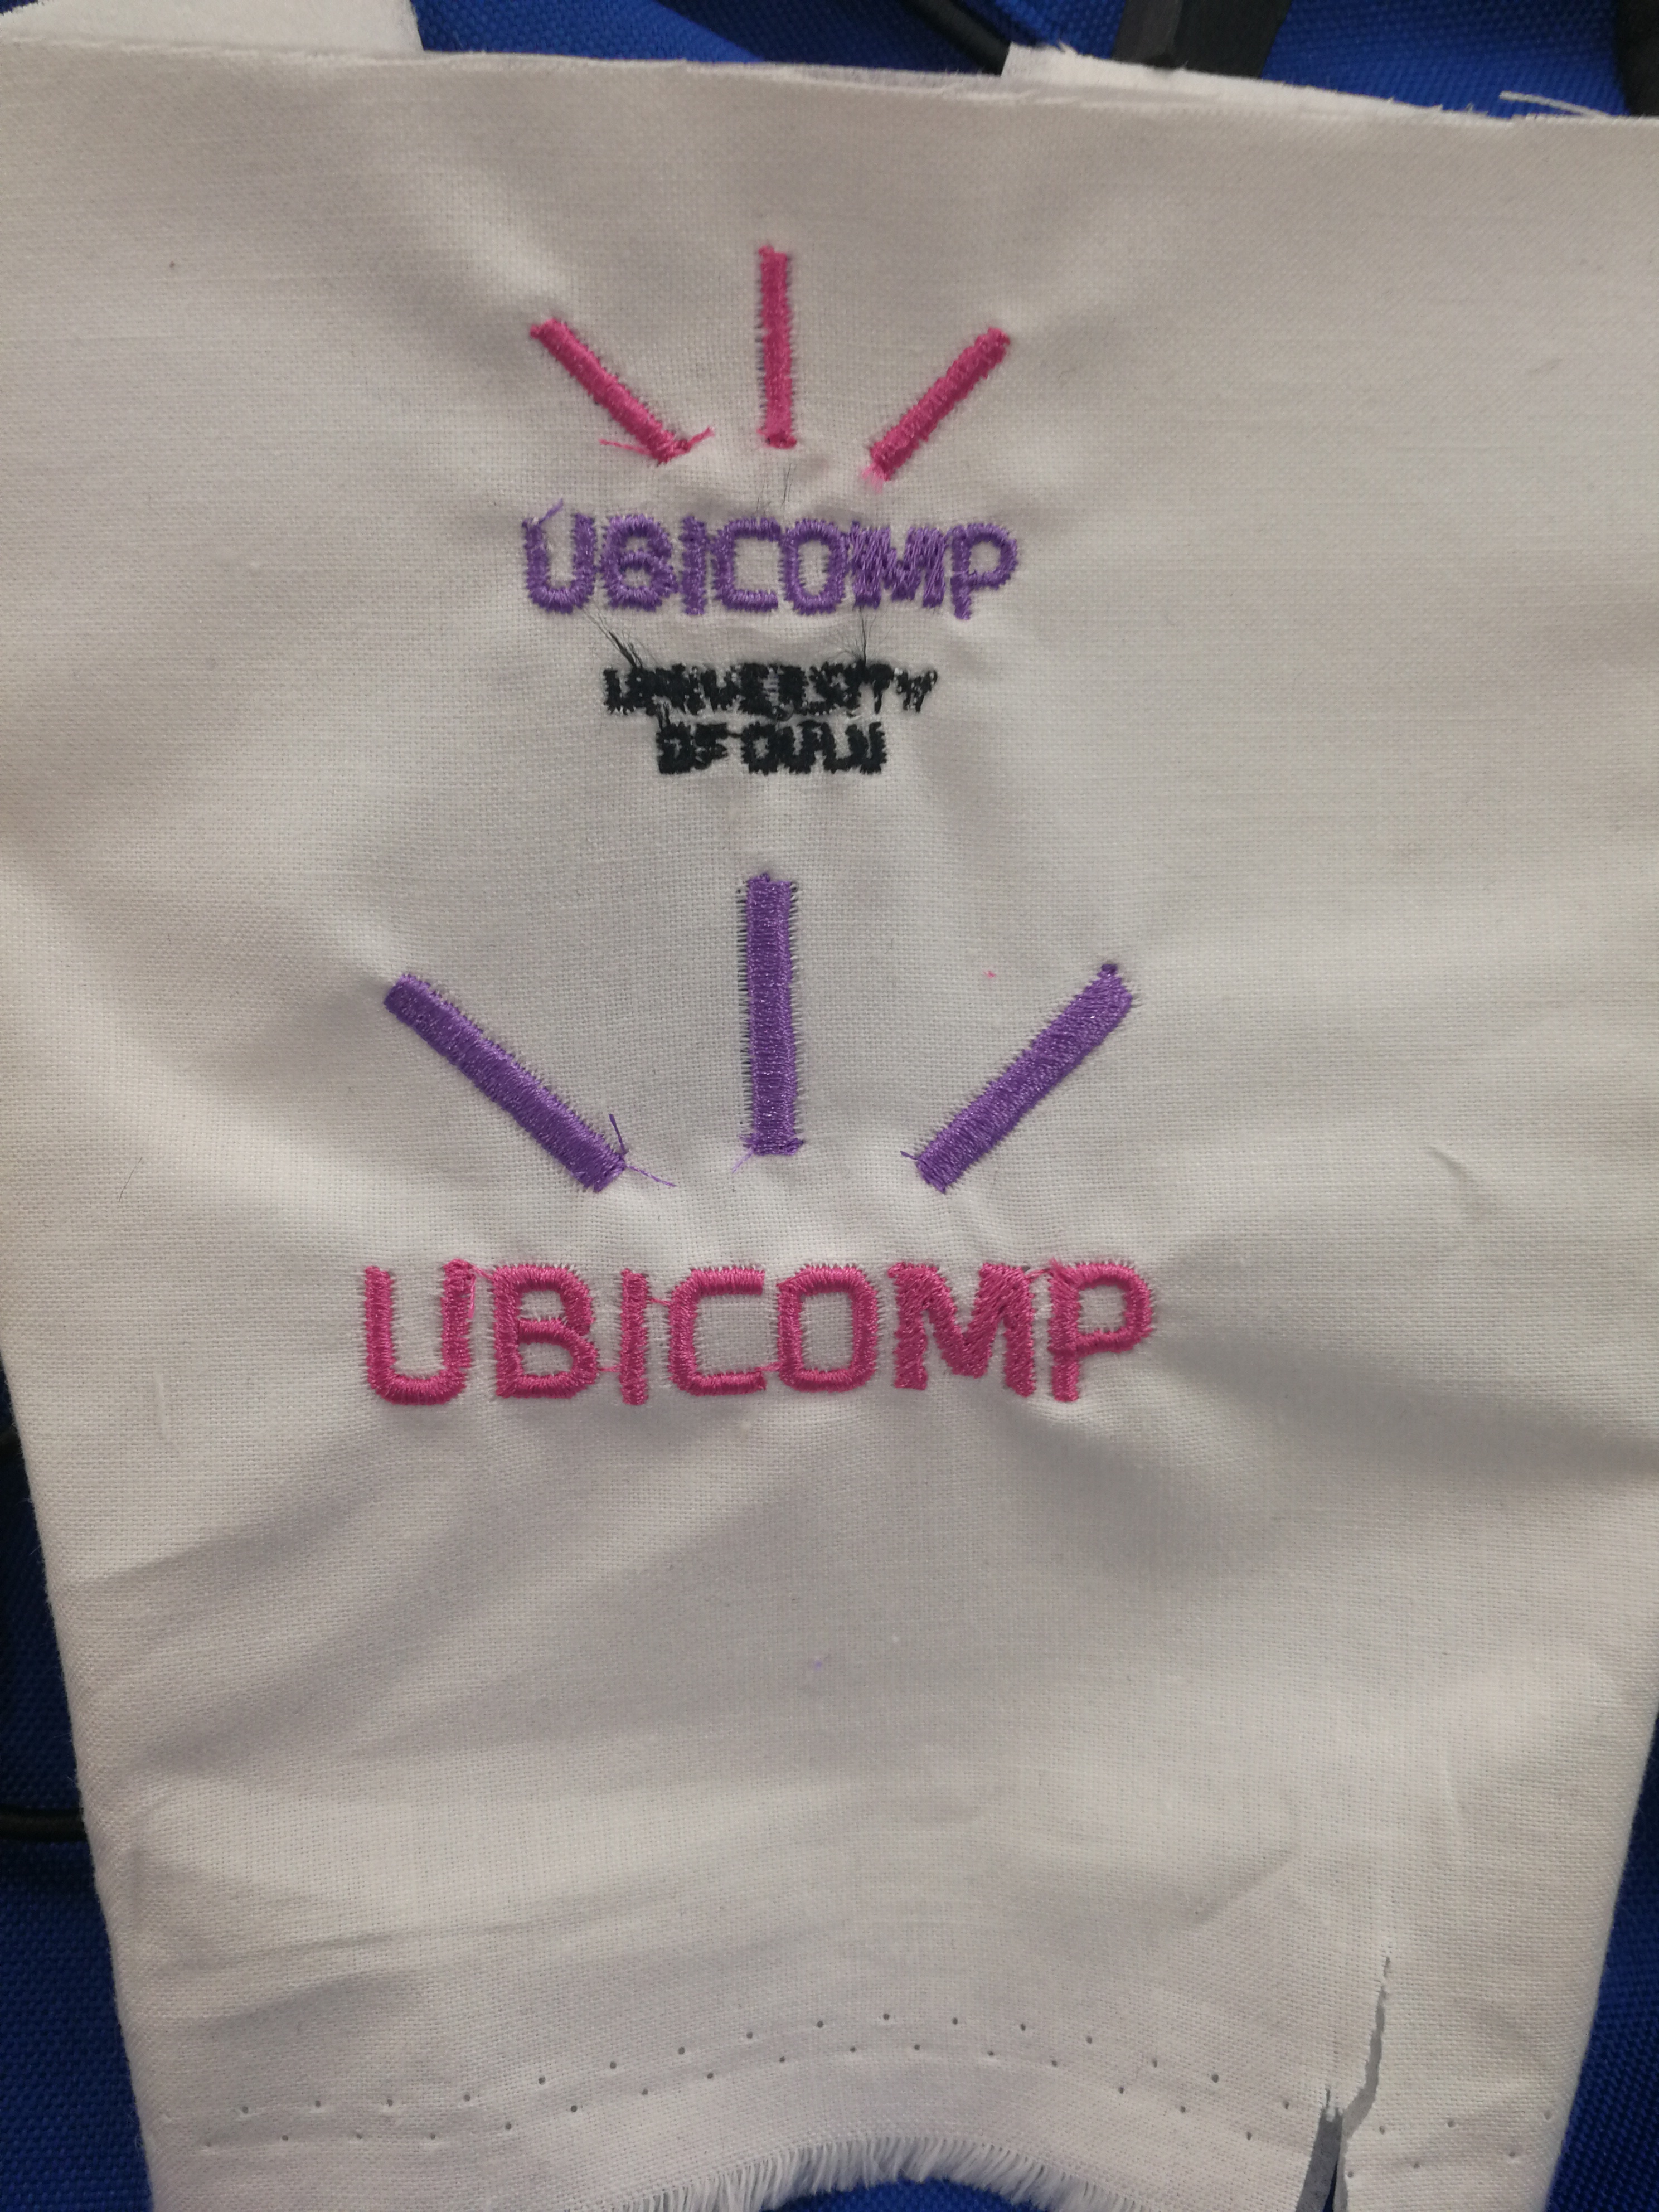 Figure 71. Final output with both designs
Design Files
Design files for Logo 1 can be downloaded from here.
Design files for Logo 2 can be downloaded from here.