14. Interface and Application Programming
This week I worked on Interface and Application Programming. At our Fab Lab site, 6 students are actively taking part in the Fab Academy 2023 program. Our local instructor suggested that each of us should work on different interfaces in order to cover as many as possible. First I worked with LabView. However, LabView has support for only these four device families, and their device types (shown later in Figure 4-7), but our assignment is to do interfacing with our own PCB. I designed PCB only for the Xiao RP2040 module and Xiao ESP32C3 module. First I mention my failed attempt to interface Labview with my PCB equipped with Xiao RP2040 module. Then, I show interfacing between my PCB and Unity.
-
Arduino (Device Type: Arduino Leonardo, Arduino Mega2560, Arduino Nano, Arduino Pro Micro, Arduino Uno)
-
Digilent (Device Type: chipKIT max32, chipKIT u32C, chipKIT Uno32, chipKIT WF32, chipKIT WiFire)
-
PJRC (Device Type: PJRC Teensy 3.0, PJRC Teensy 3.1)
-
Sparkfun (Device Type: RedBoard).
I did not find any concrete working tutorial on interfacing LabVIEW with RP2040 and ESP32 families which we used in Electronics Design and Production weeks at our Fab lab local site. My first attempt (and several subsequent attempts) on interfacing LabVIEW with RP2040 failed (shown in Figure 1- 7).
What is LabView?
LabVIEW (Laboratory Virtual Instrument Engineering Workbench) is a system-design platform and development environment for a visual programming language from National Instruments. LabVIEW can acquire data from NI and third-party hardware and communicate. It can create interactive UIs for test monitoring and control, utilize standard math, probability, and statistical functions and integrate code written in Python, C/C++, .NET, and MathWorks MATLAB software.
Why Interface Arduino with LabView?
Interfacing LabVIEW and Arduino combines both the simplicity of the Arduino hardware board and the graphical language of LabVIEW. Now we do not need to write lines of code and also we do not need the other complex hardware boards.
Steps to Interface LabView with Arduino (in Sequential order)
- Install Labview. I had it installed a few months, but I didn’t get to use it then. The next Part is adding an “Arduino Compatible Compiler for LabView”.
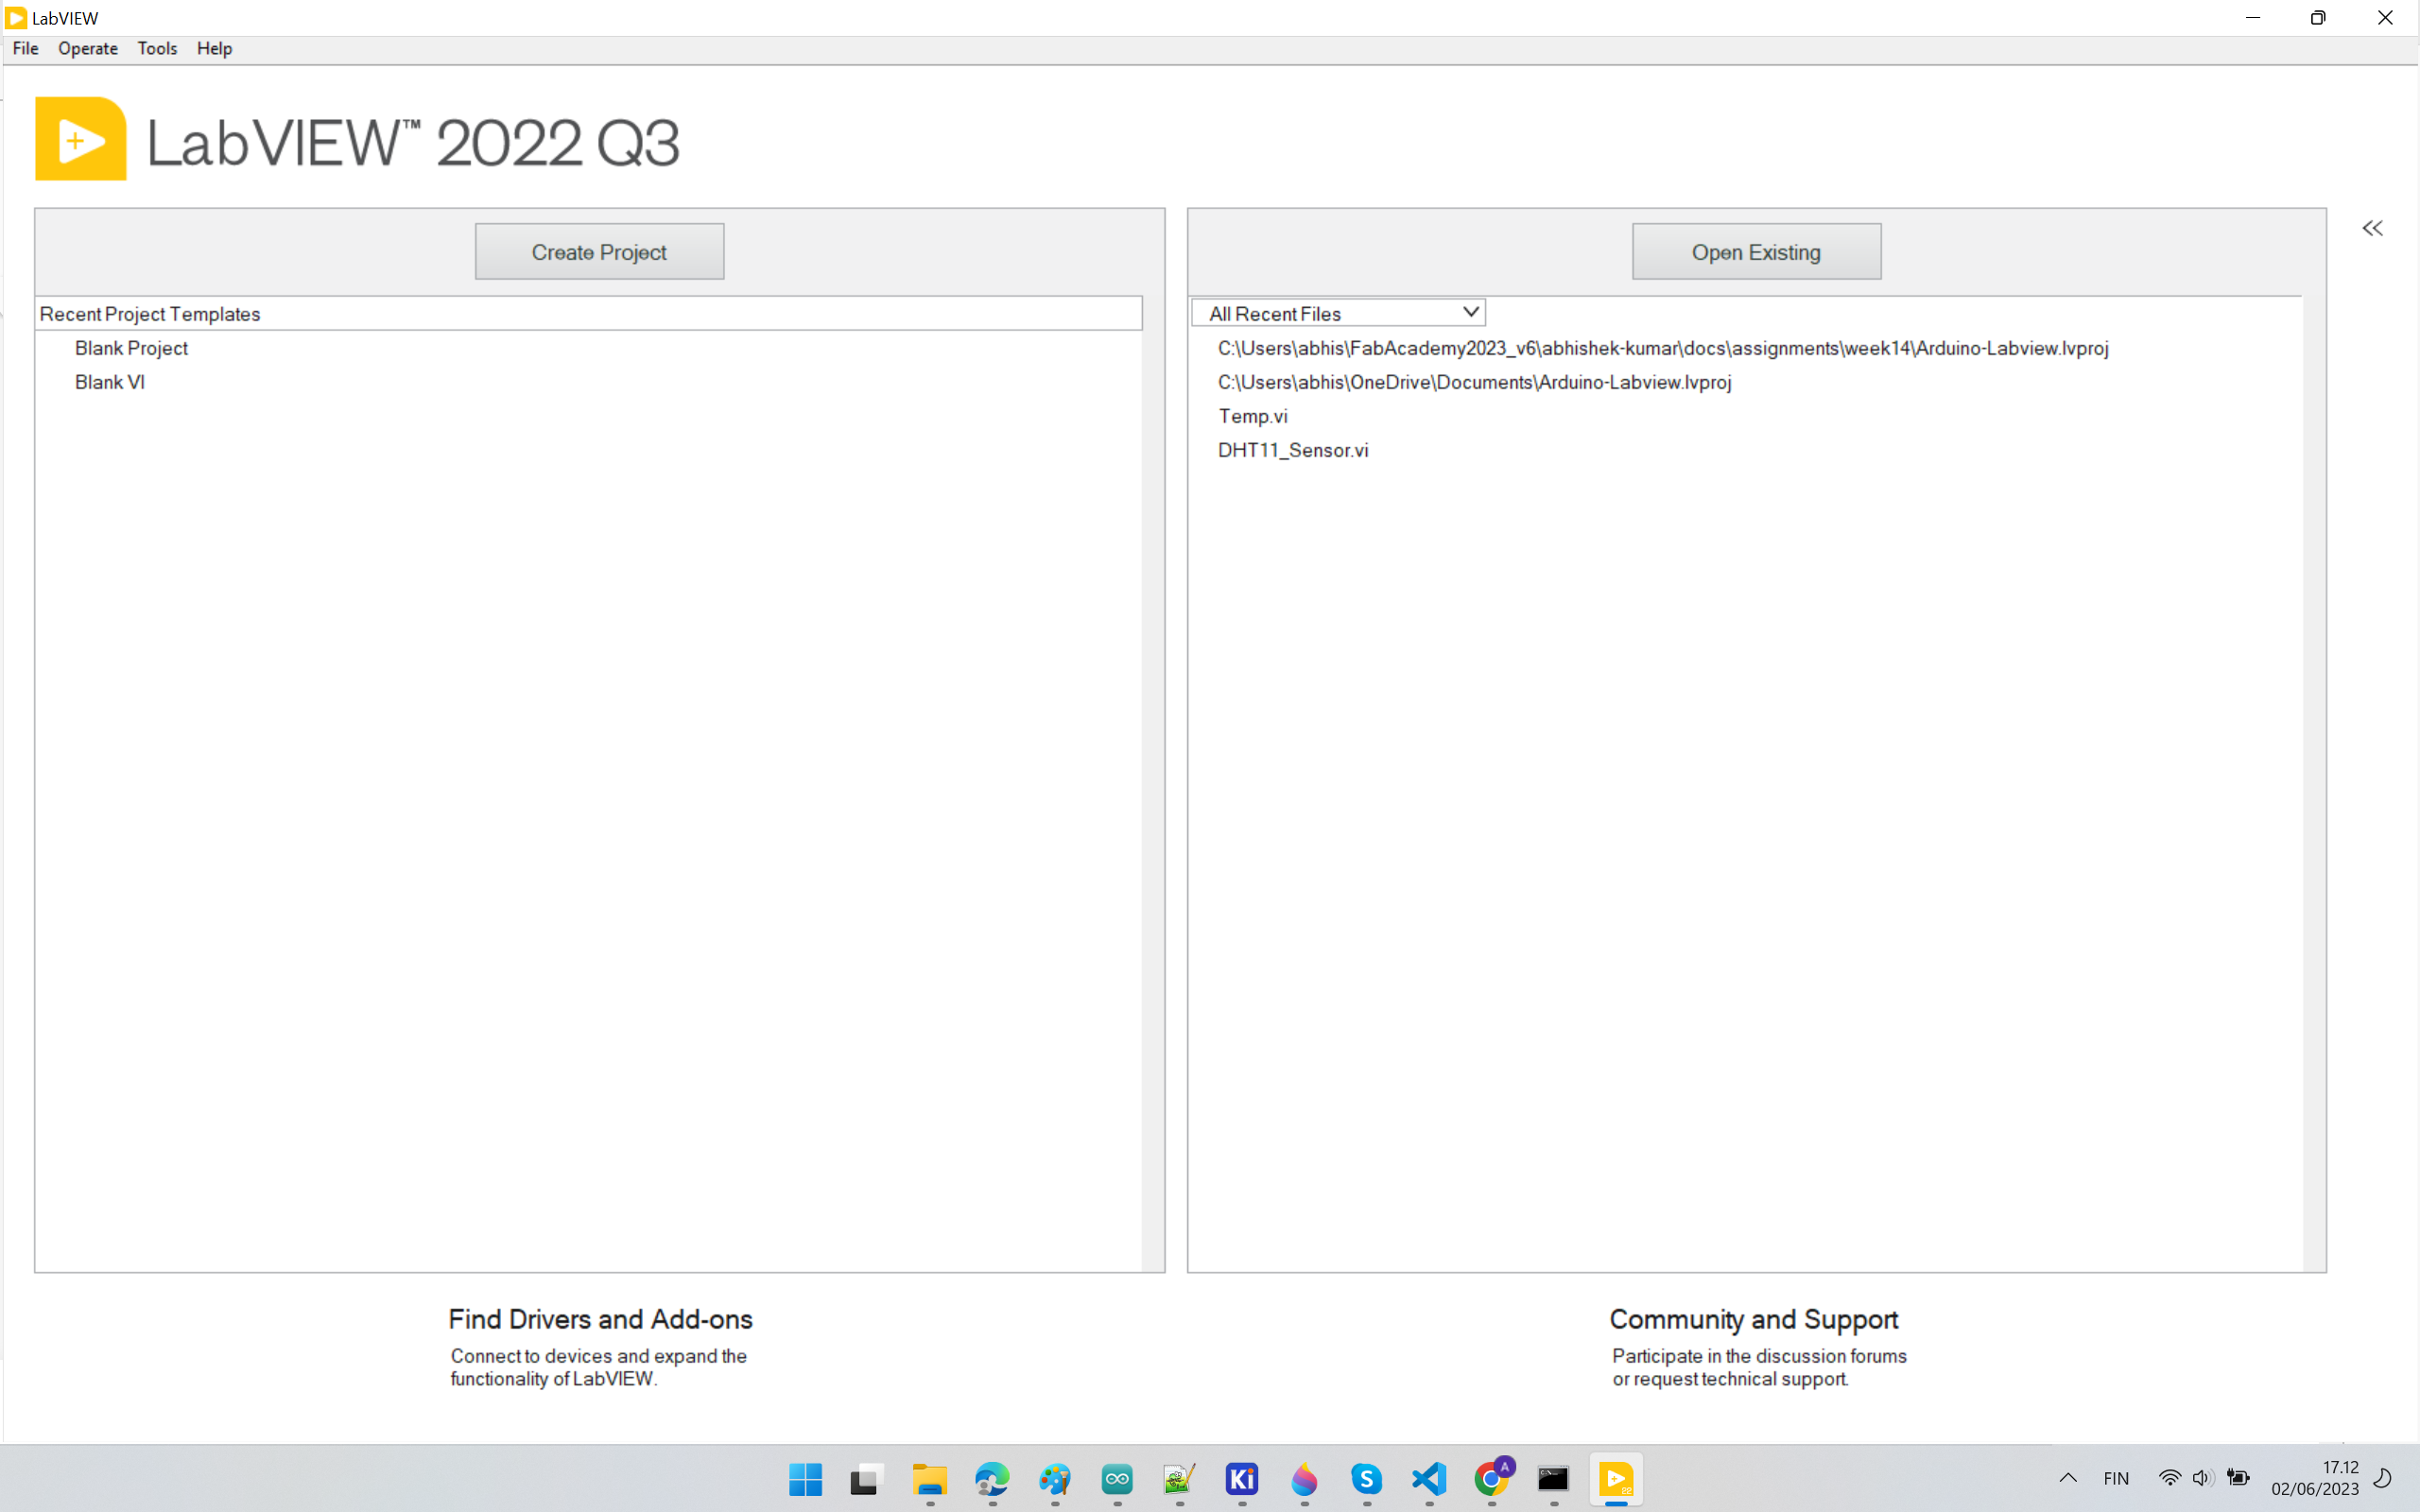 Figure 1. Installing “Arduino Compatible Compiler for LabView” via VI Package Manager
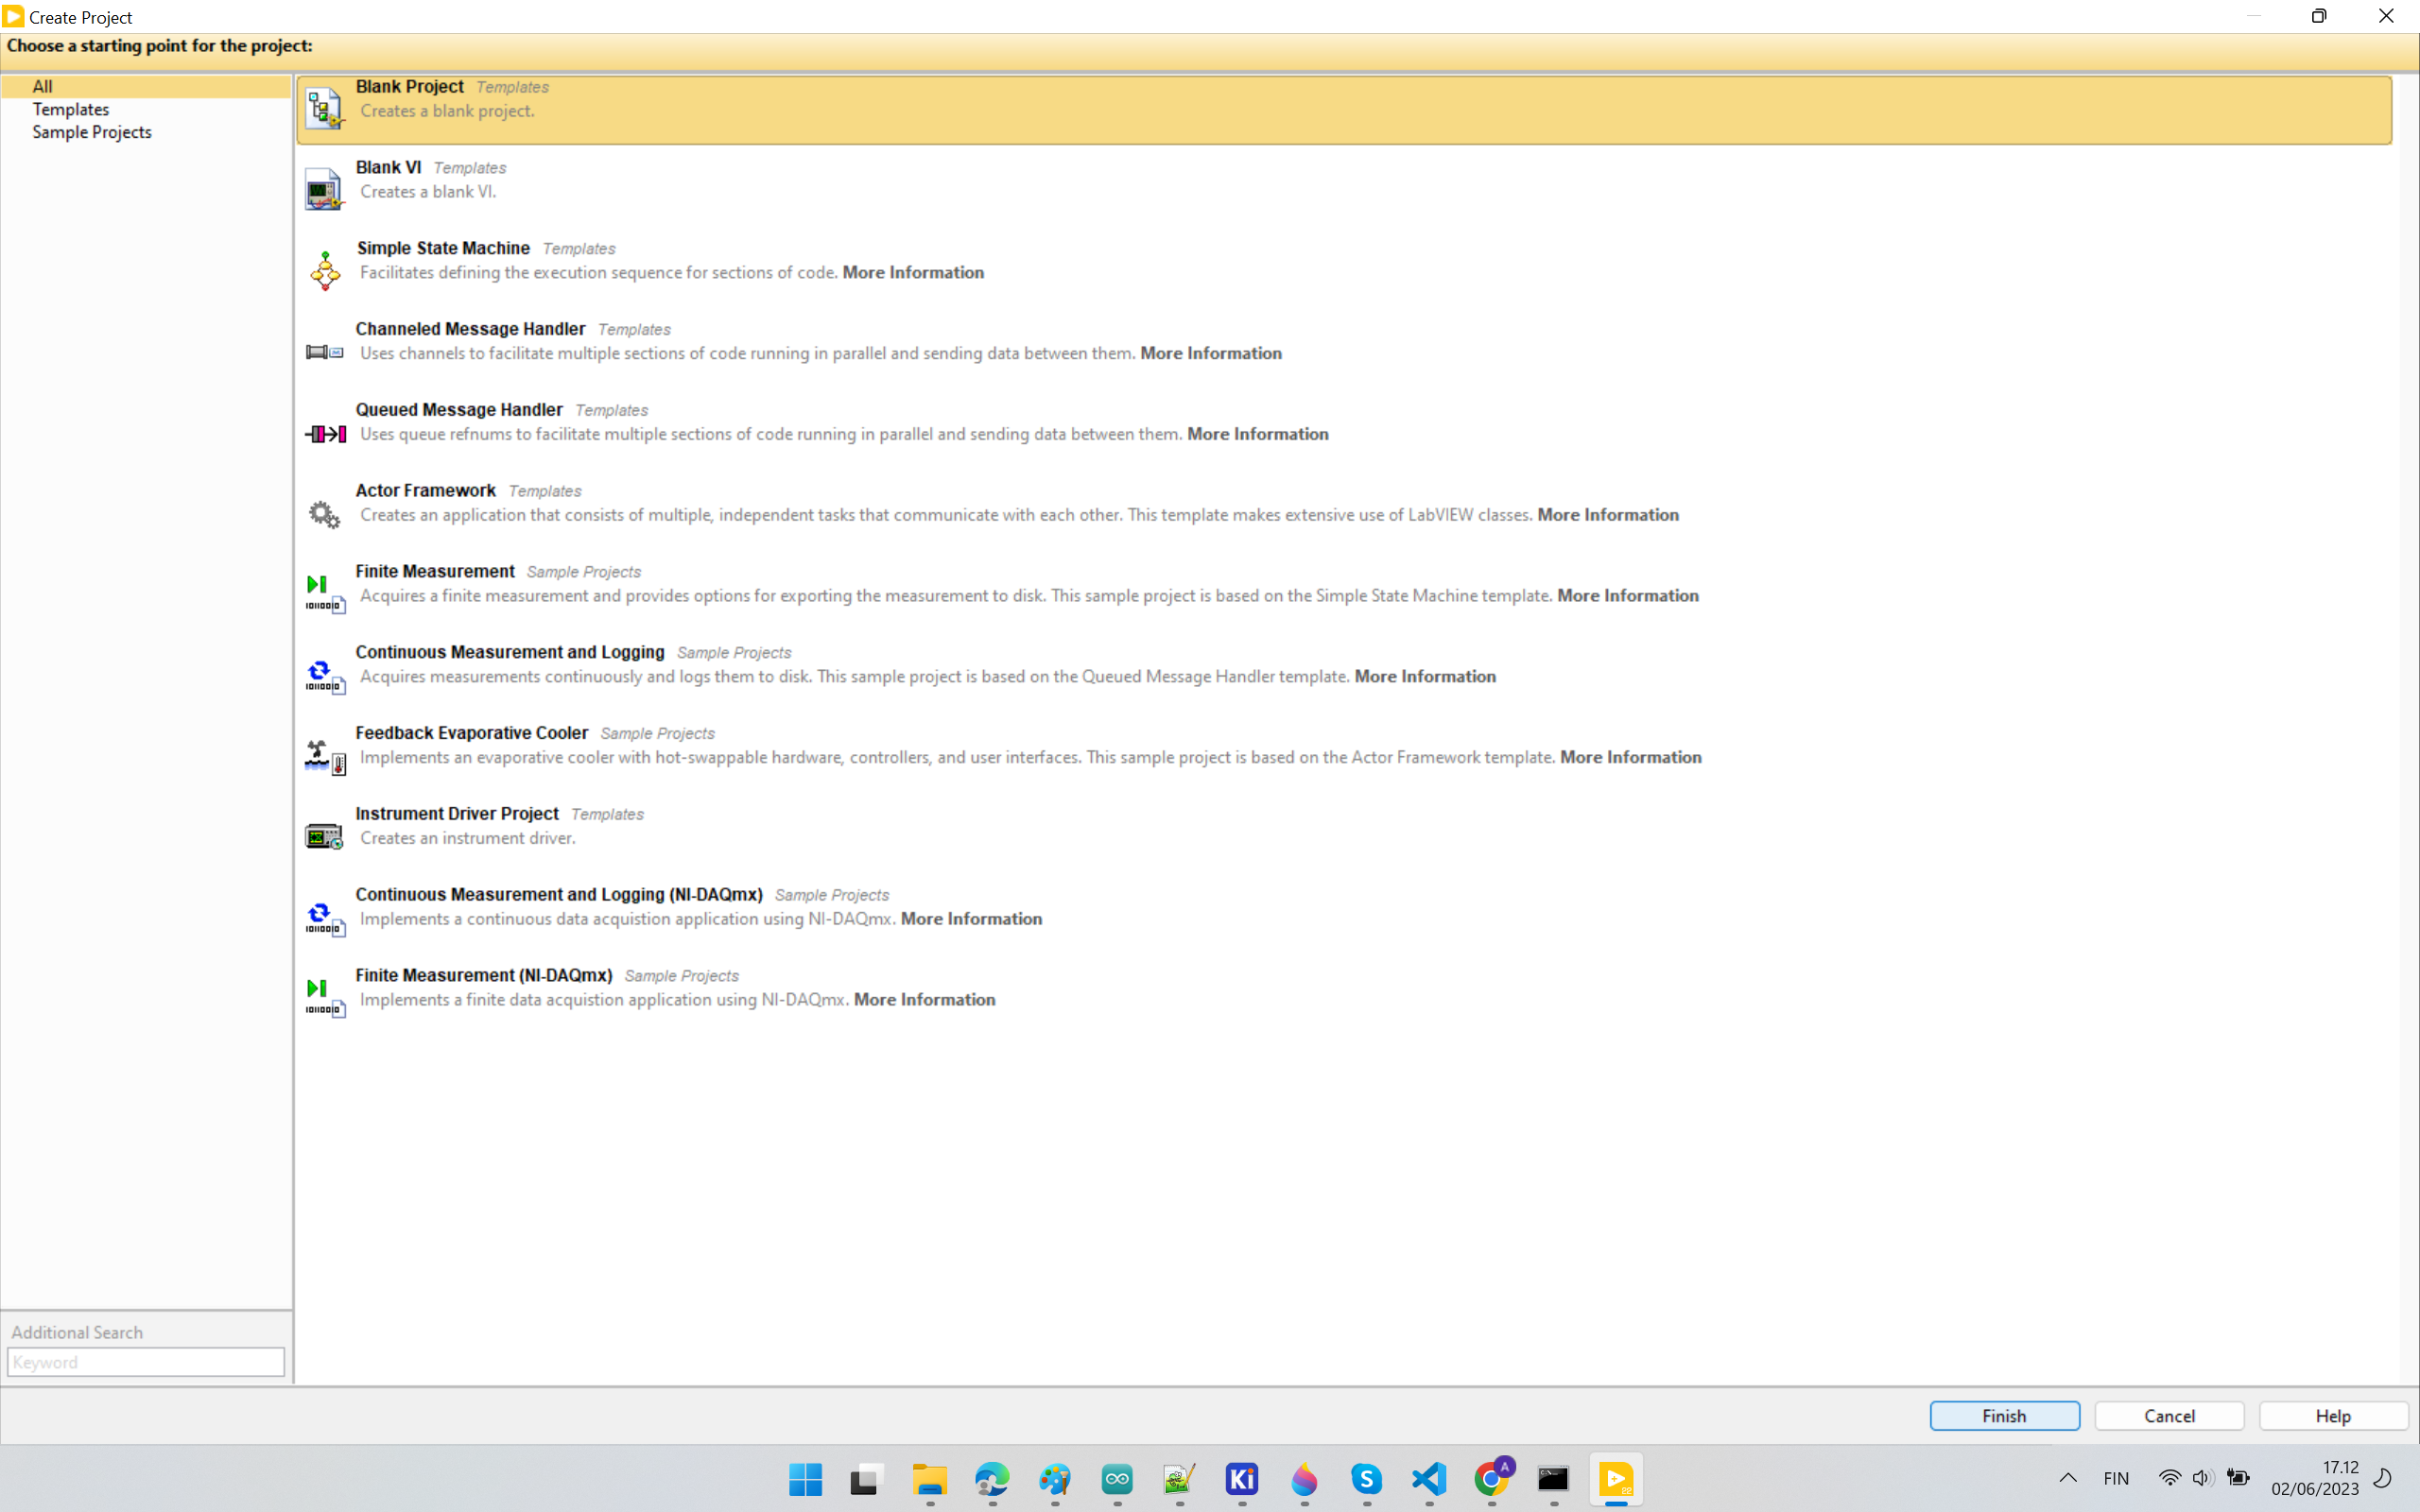 Figure 2. Selecting the compiler based on license
 Figure 3. Click Install or Uninnstall to install/uninstall the library
 Figure 4. Opening Arduino Compatible Compiler for LabView
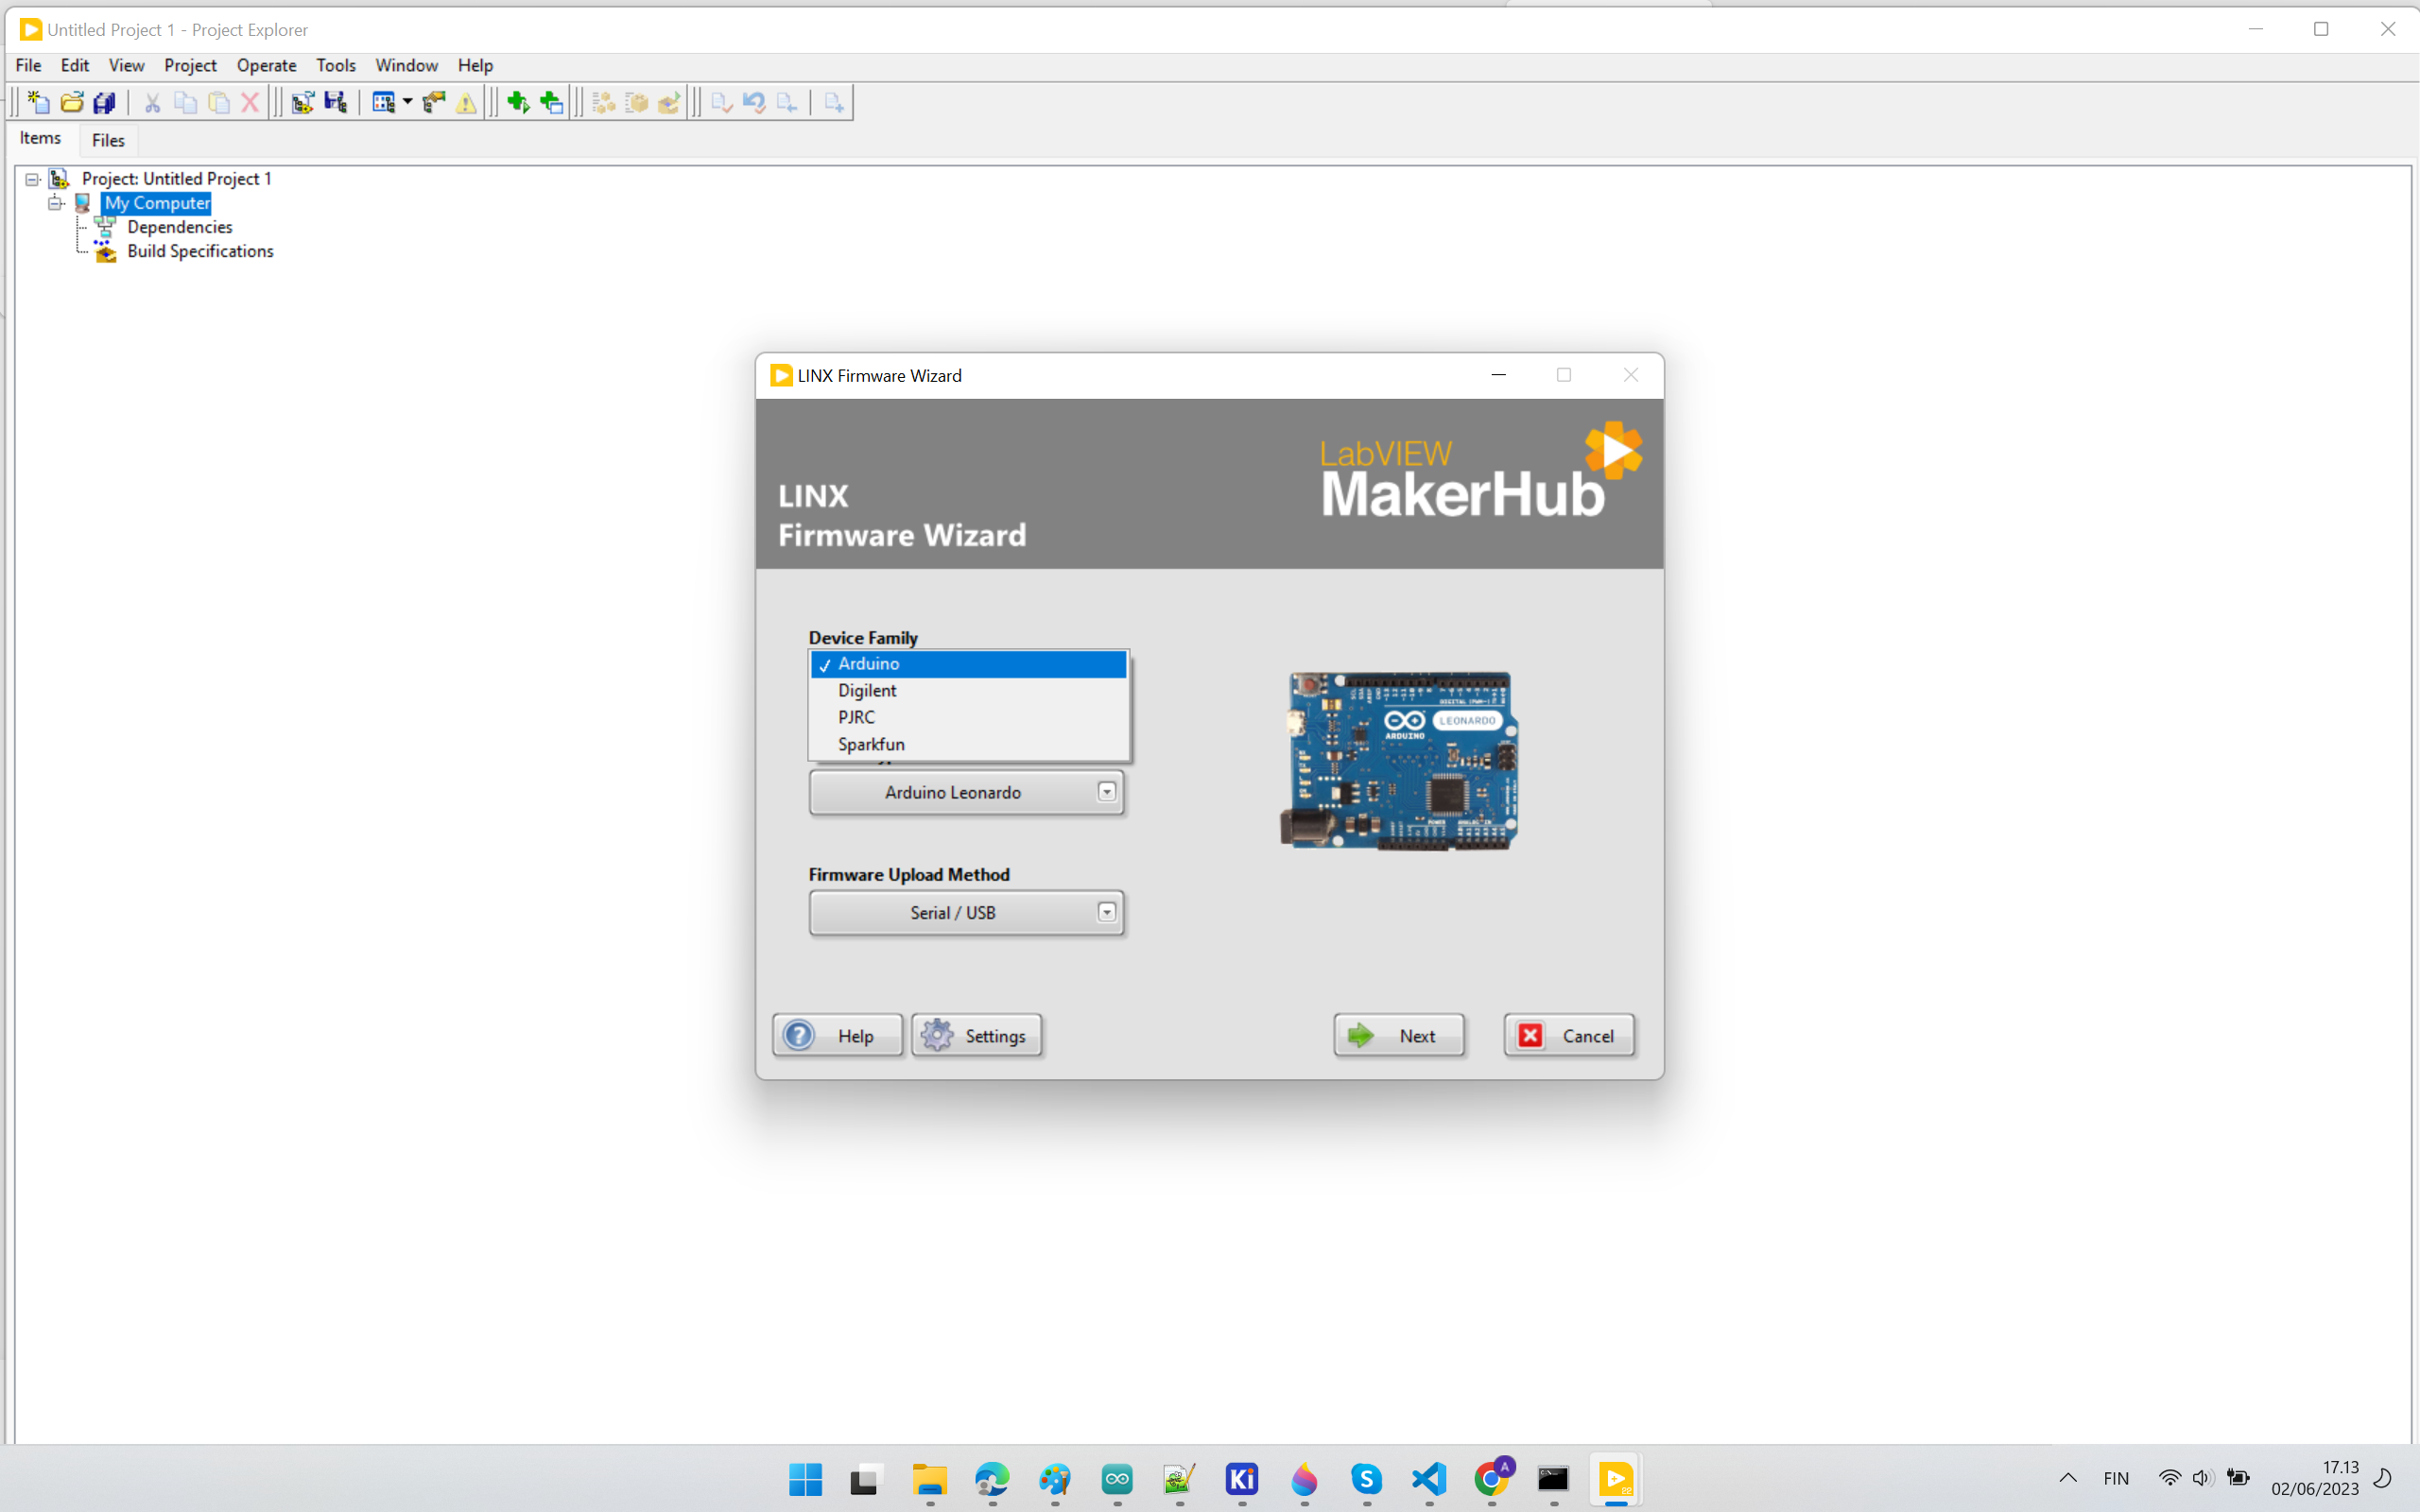 Figure 5. Selecting the Board SeeedStudio Xiao RP2040
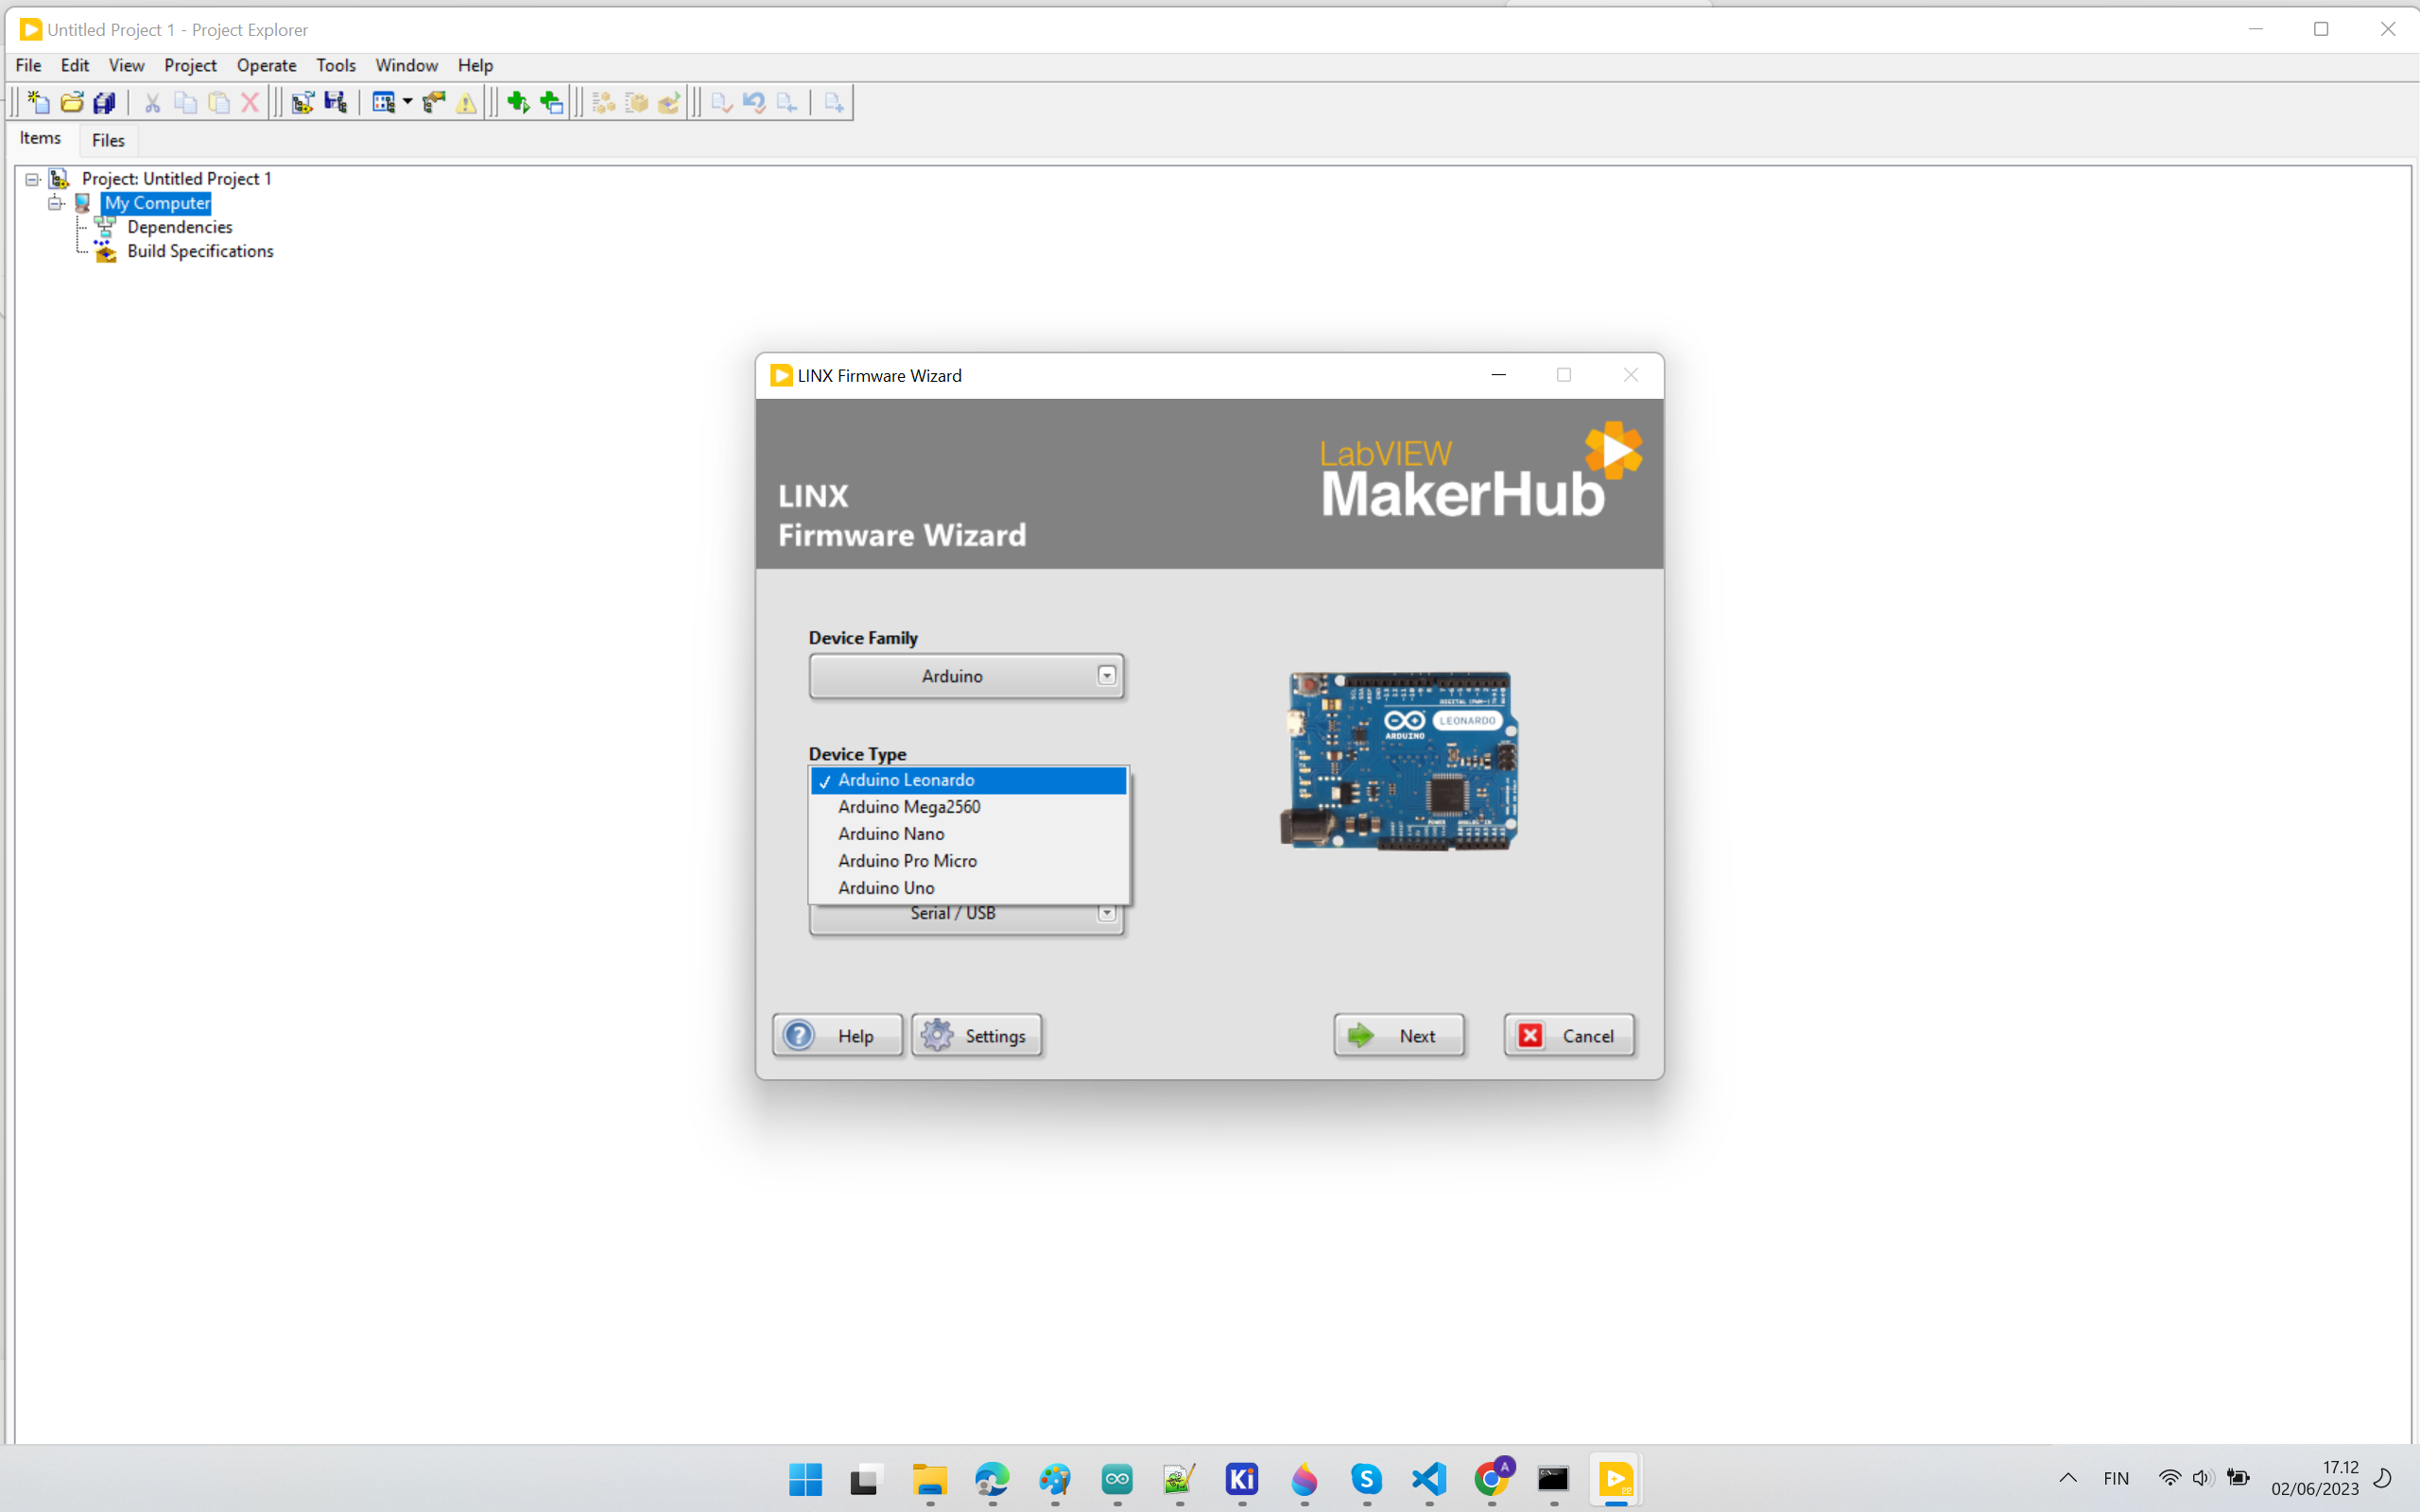 Figure 6. Selecting the port
I spent a lot of time debugging. LabView was not able to find Arduino even though the Arduino path was set in the environmental PATH variable on my Windows OS. It seems that LabView by default expects Arduino to be installed in C:/Program Files/Arduino (if using 64-bit window OS), or C:/Program Files (x86)/Arduino (if 32-bit Window OS), and there is no way to set the path to Arduino in LabView. Arduino was installed in my user directory. I re-installed Arduino and ensured that it was installed in C:/Program Files/Arduino, then restarted LabView, and it worked!
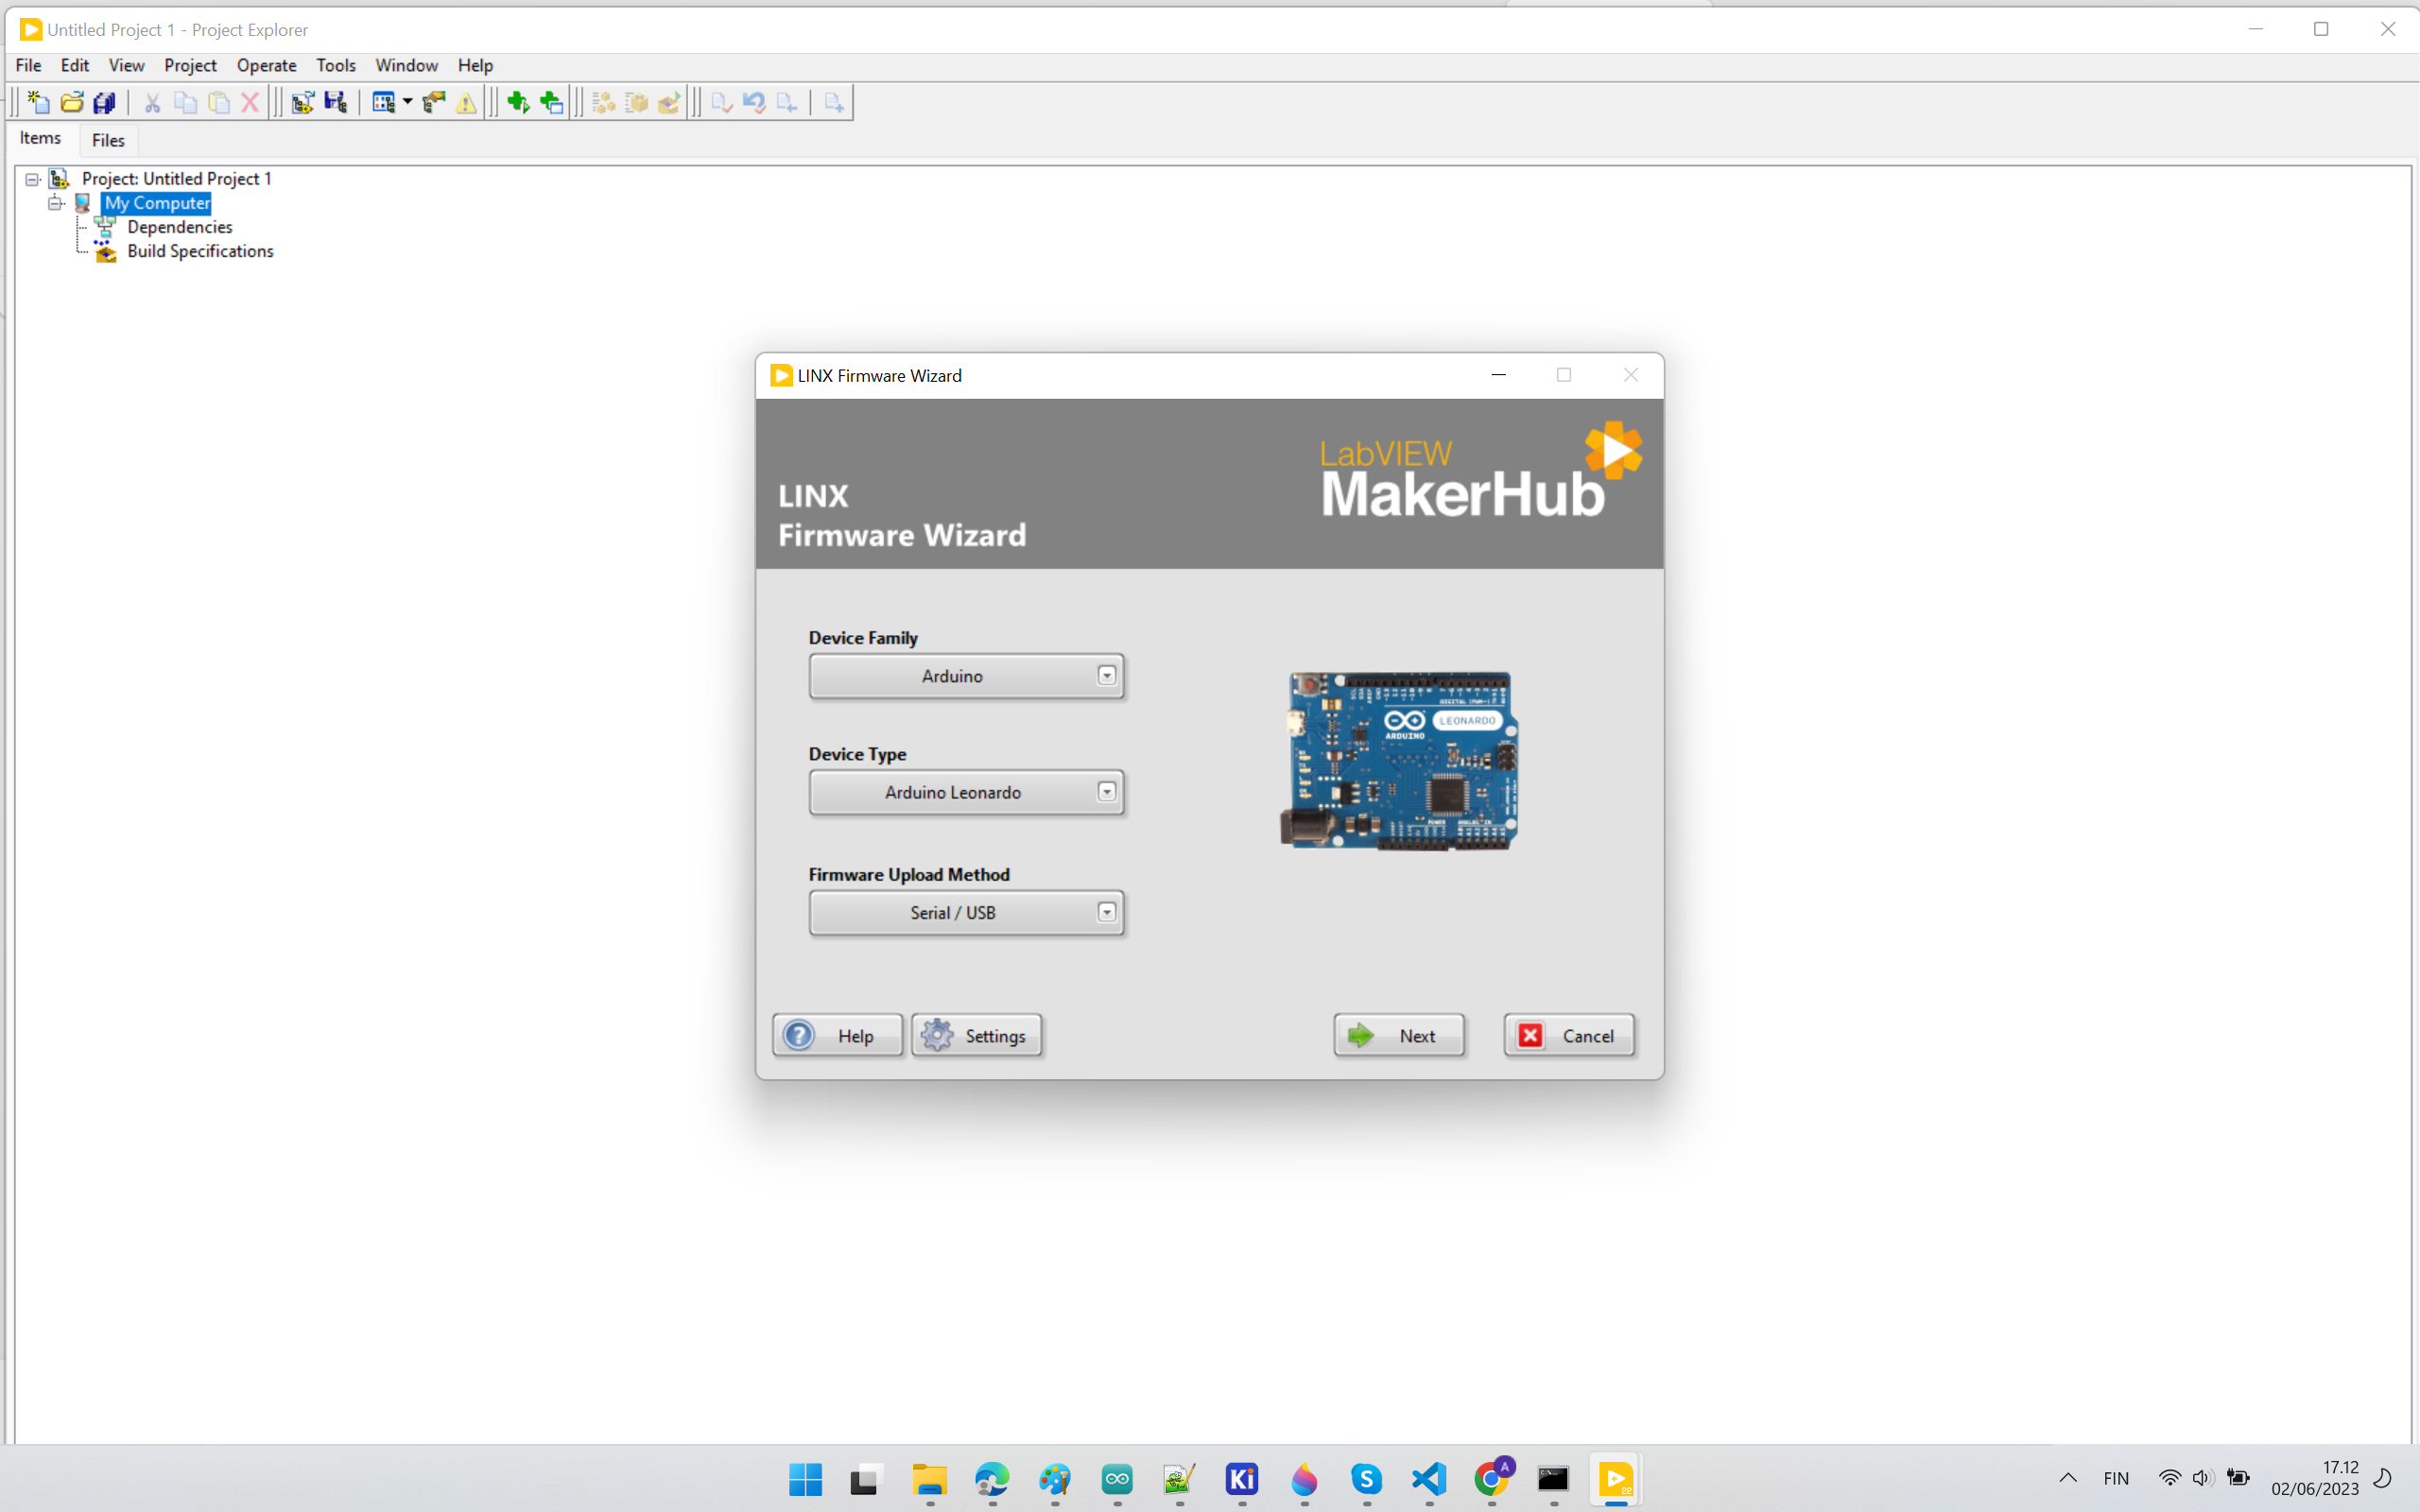 Figure 7. My first and failed attempt to blink LED from LabView
Interfacing with Unity
Here, I tried to interface my PCB equipped with Xiao ESP32CS module and Adafruit 9-DOF Absolute Orientation IMU Fusion Breakout - BNO055 sensor´. I tried to manipulate objects in Unity by moving my PCB board. I also used this part later in my final project.
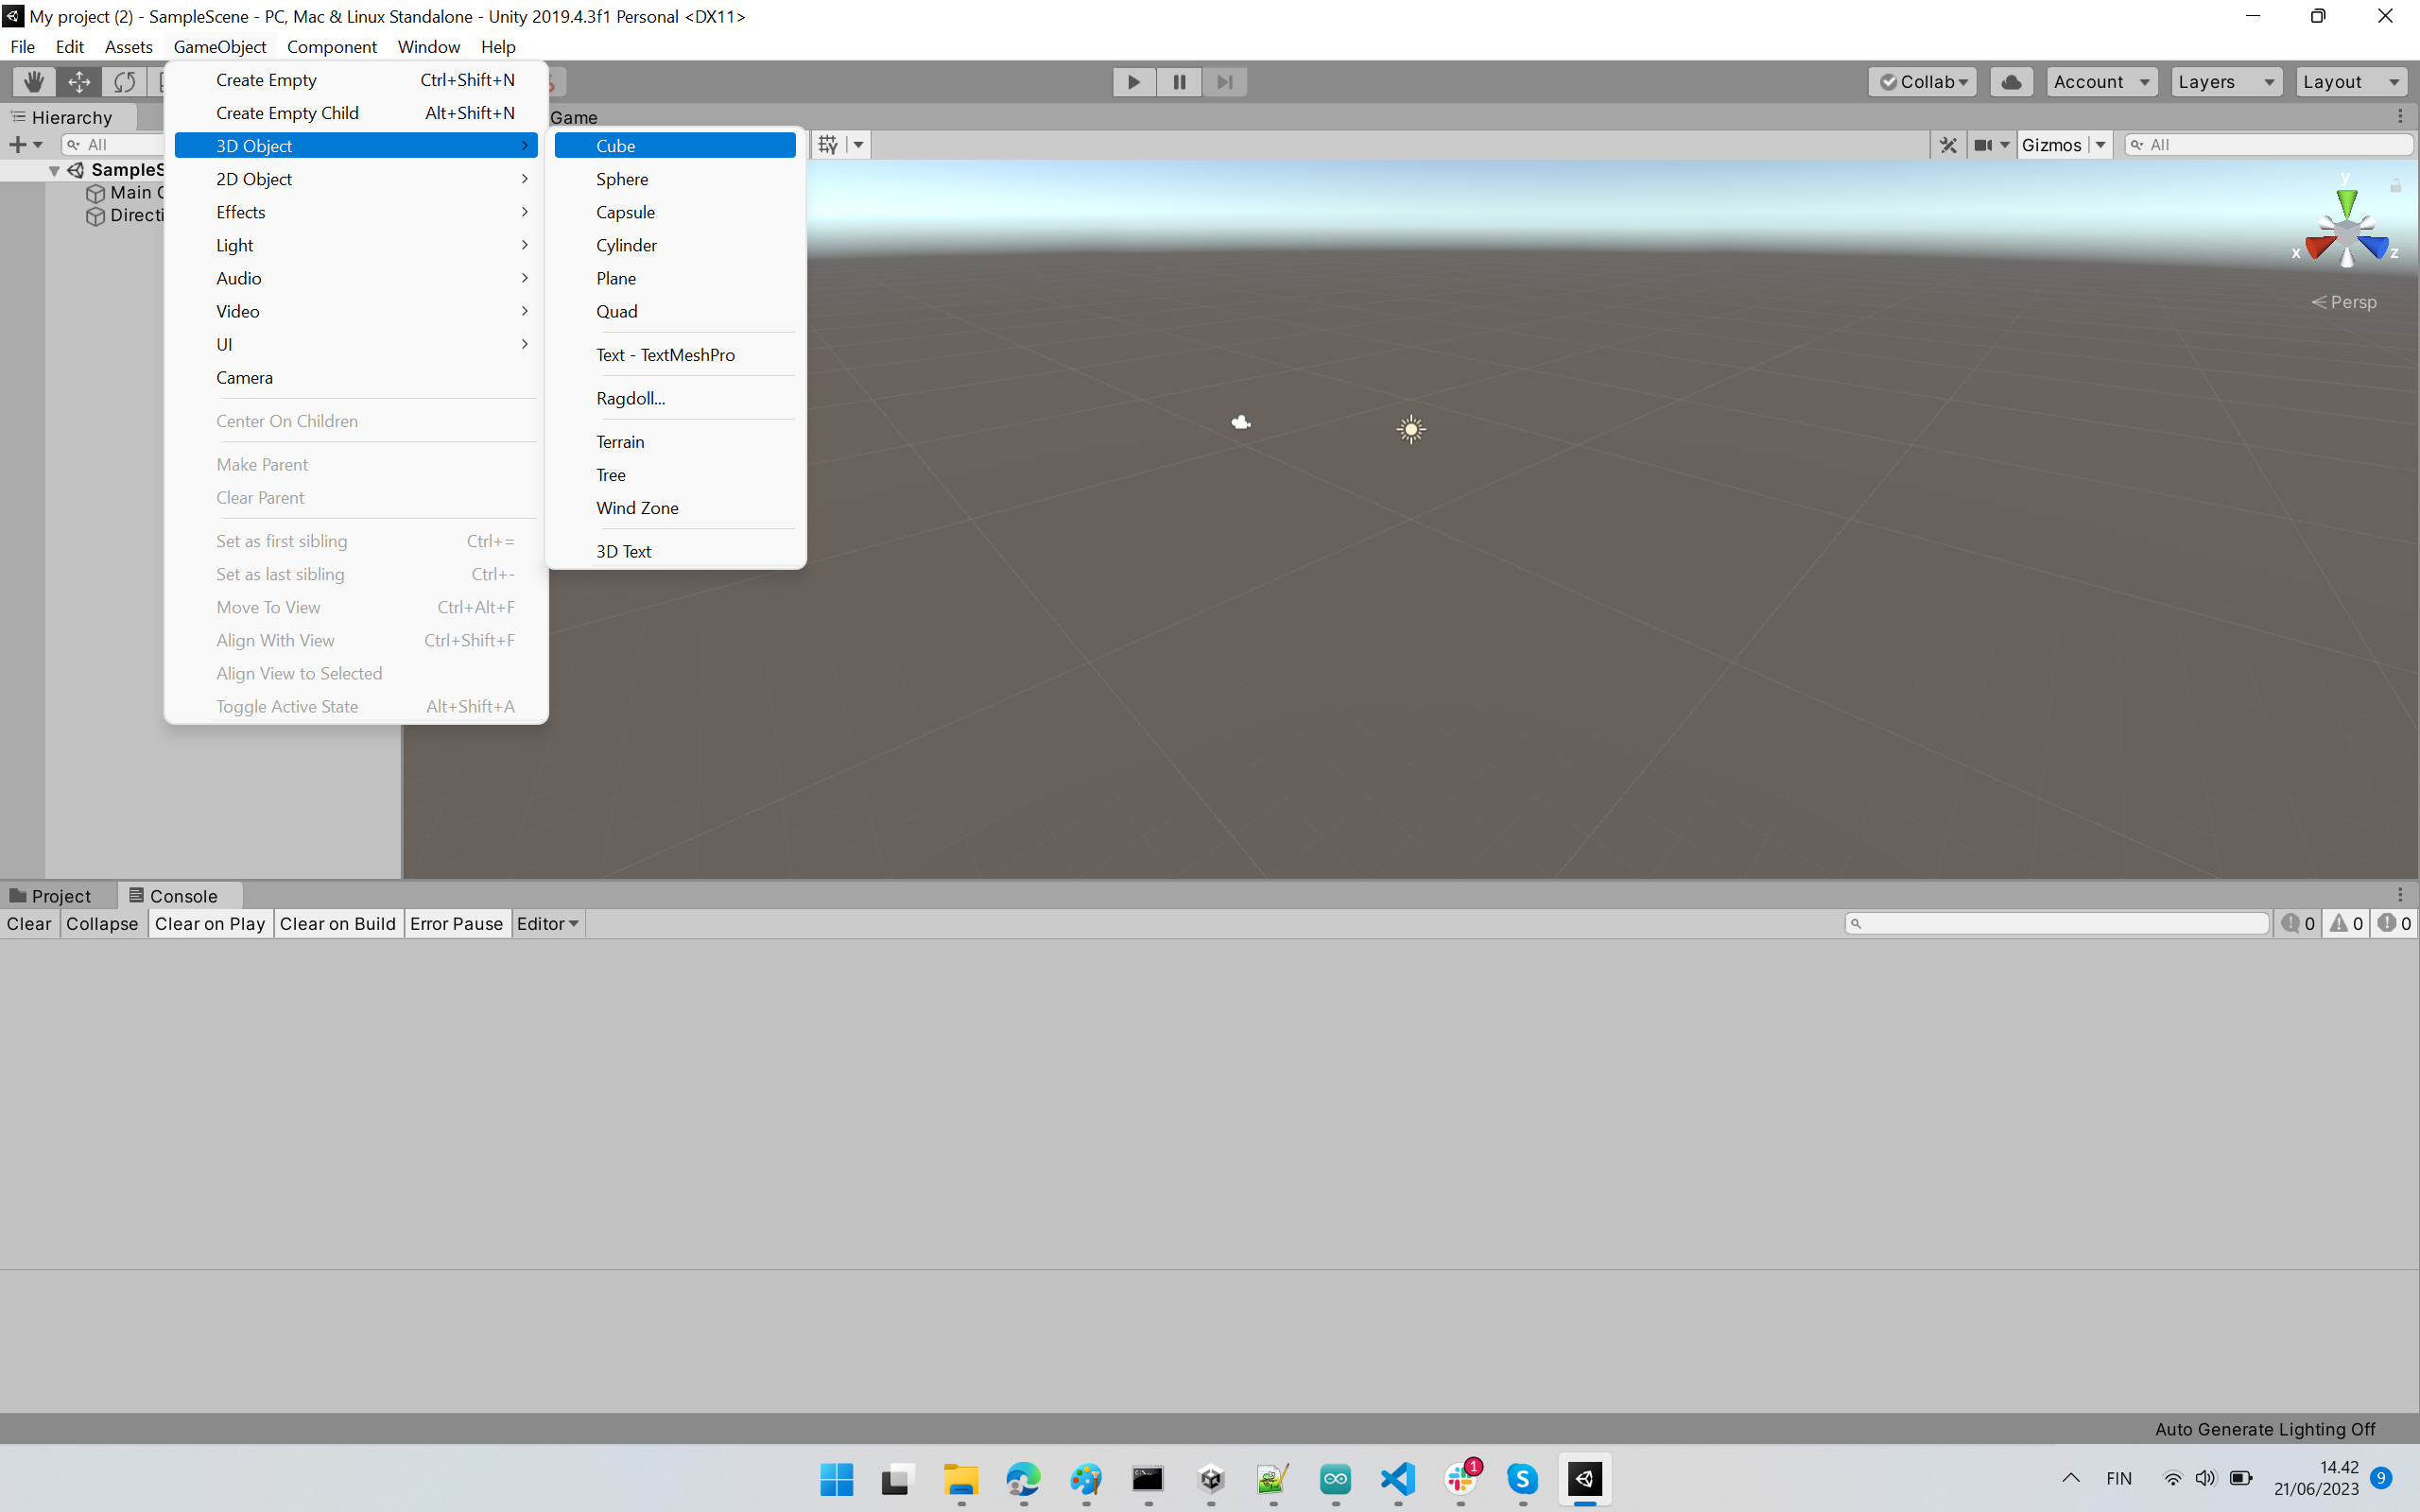 Figure 8. Create a 3D object Cube: GameObject -> 3D Object -> Cube.
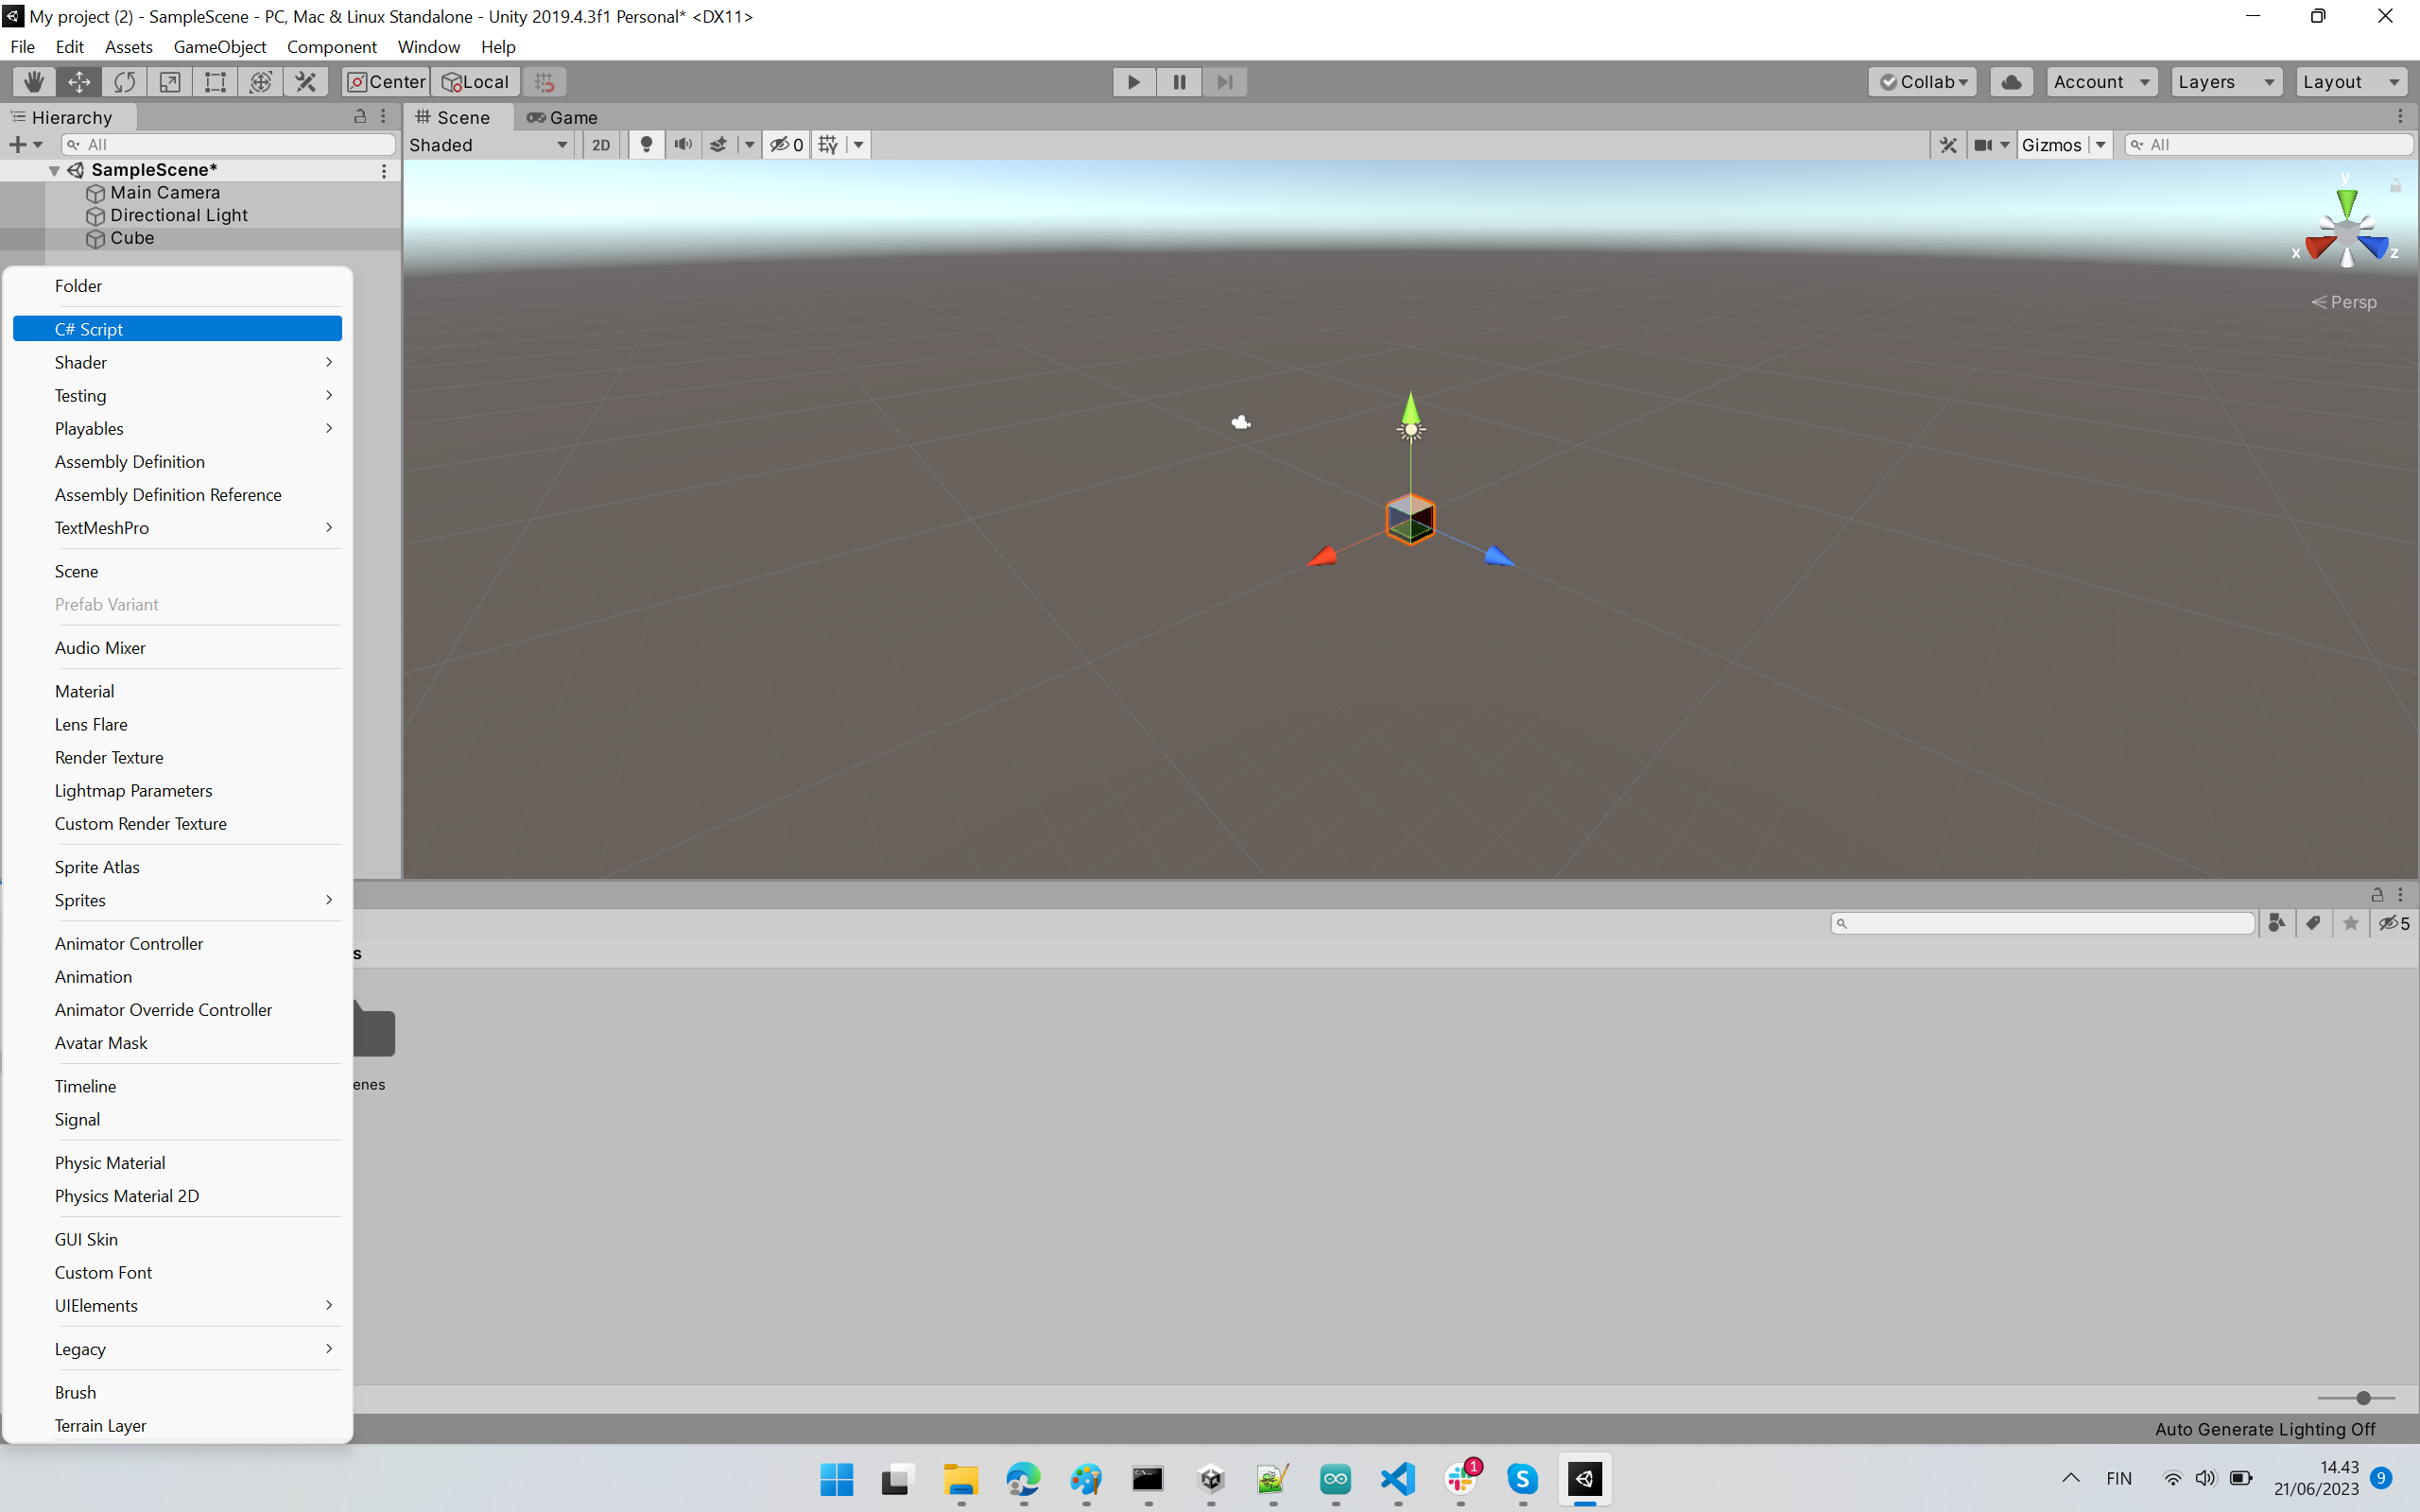 Figure 9. Creating a C# script that will interface Unity with Arduino.
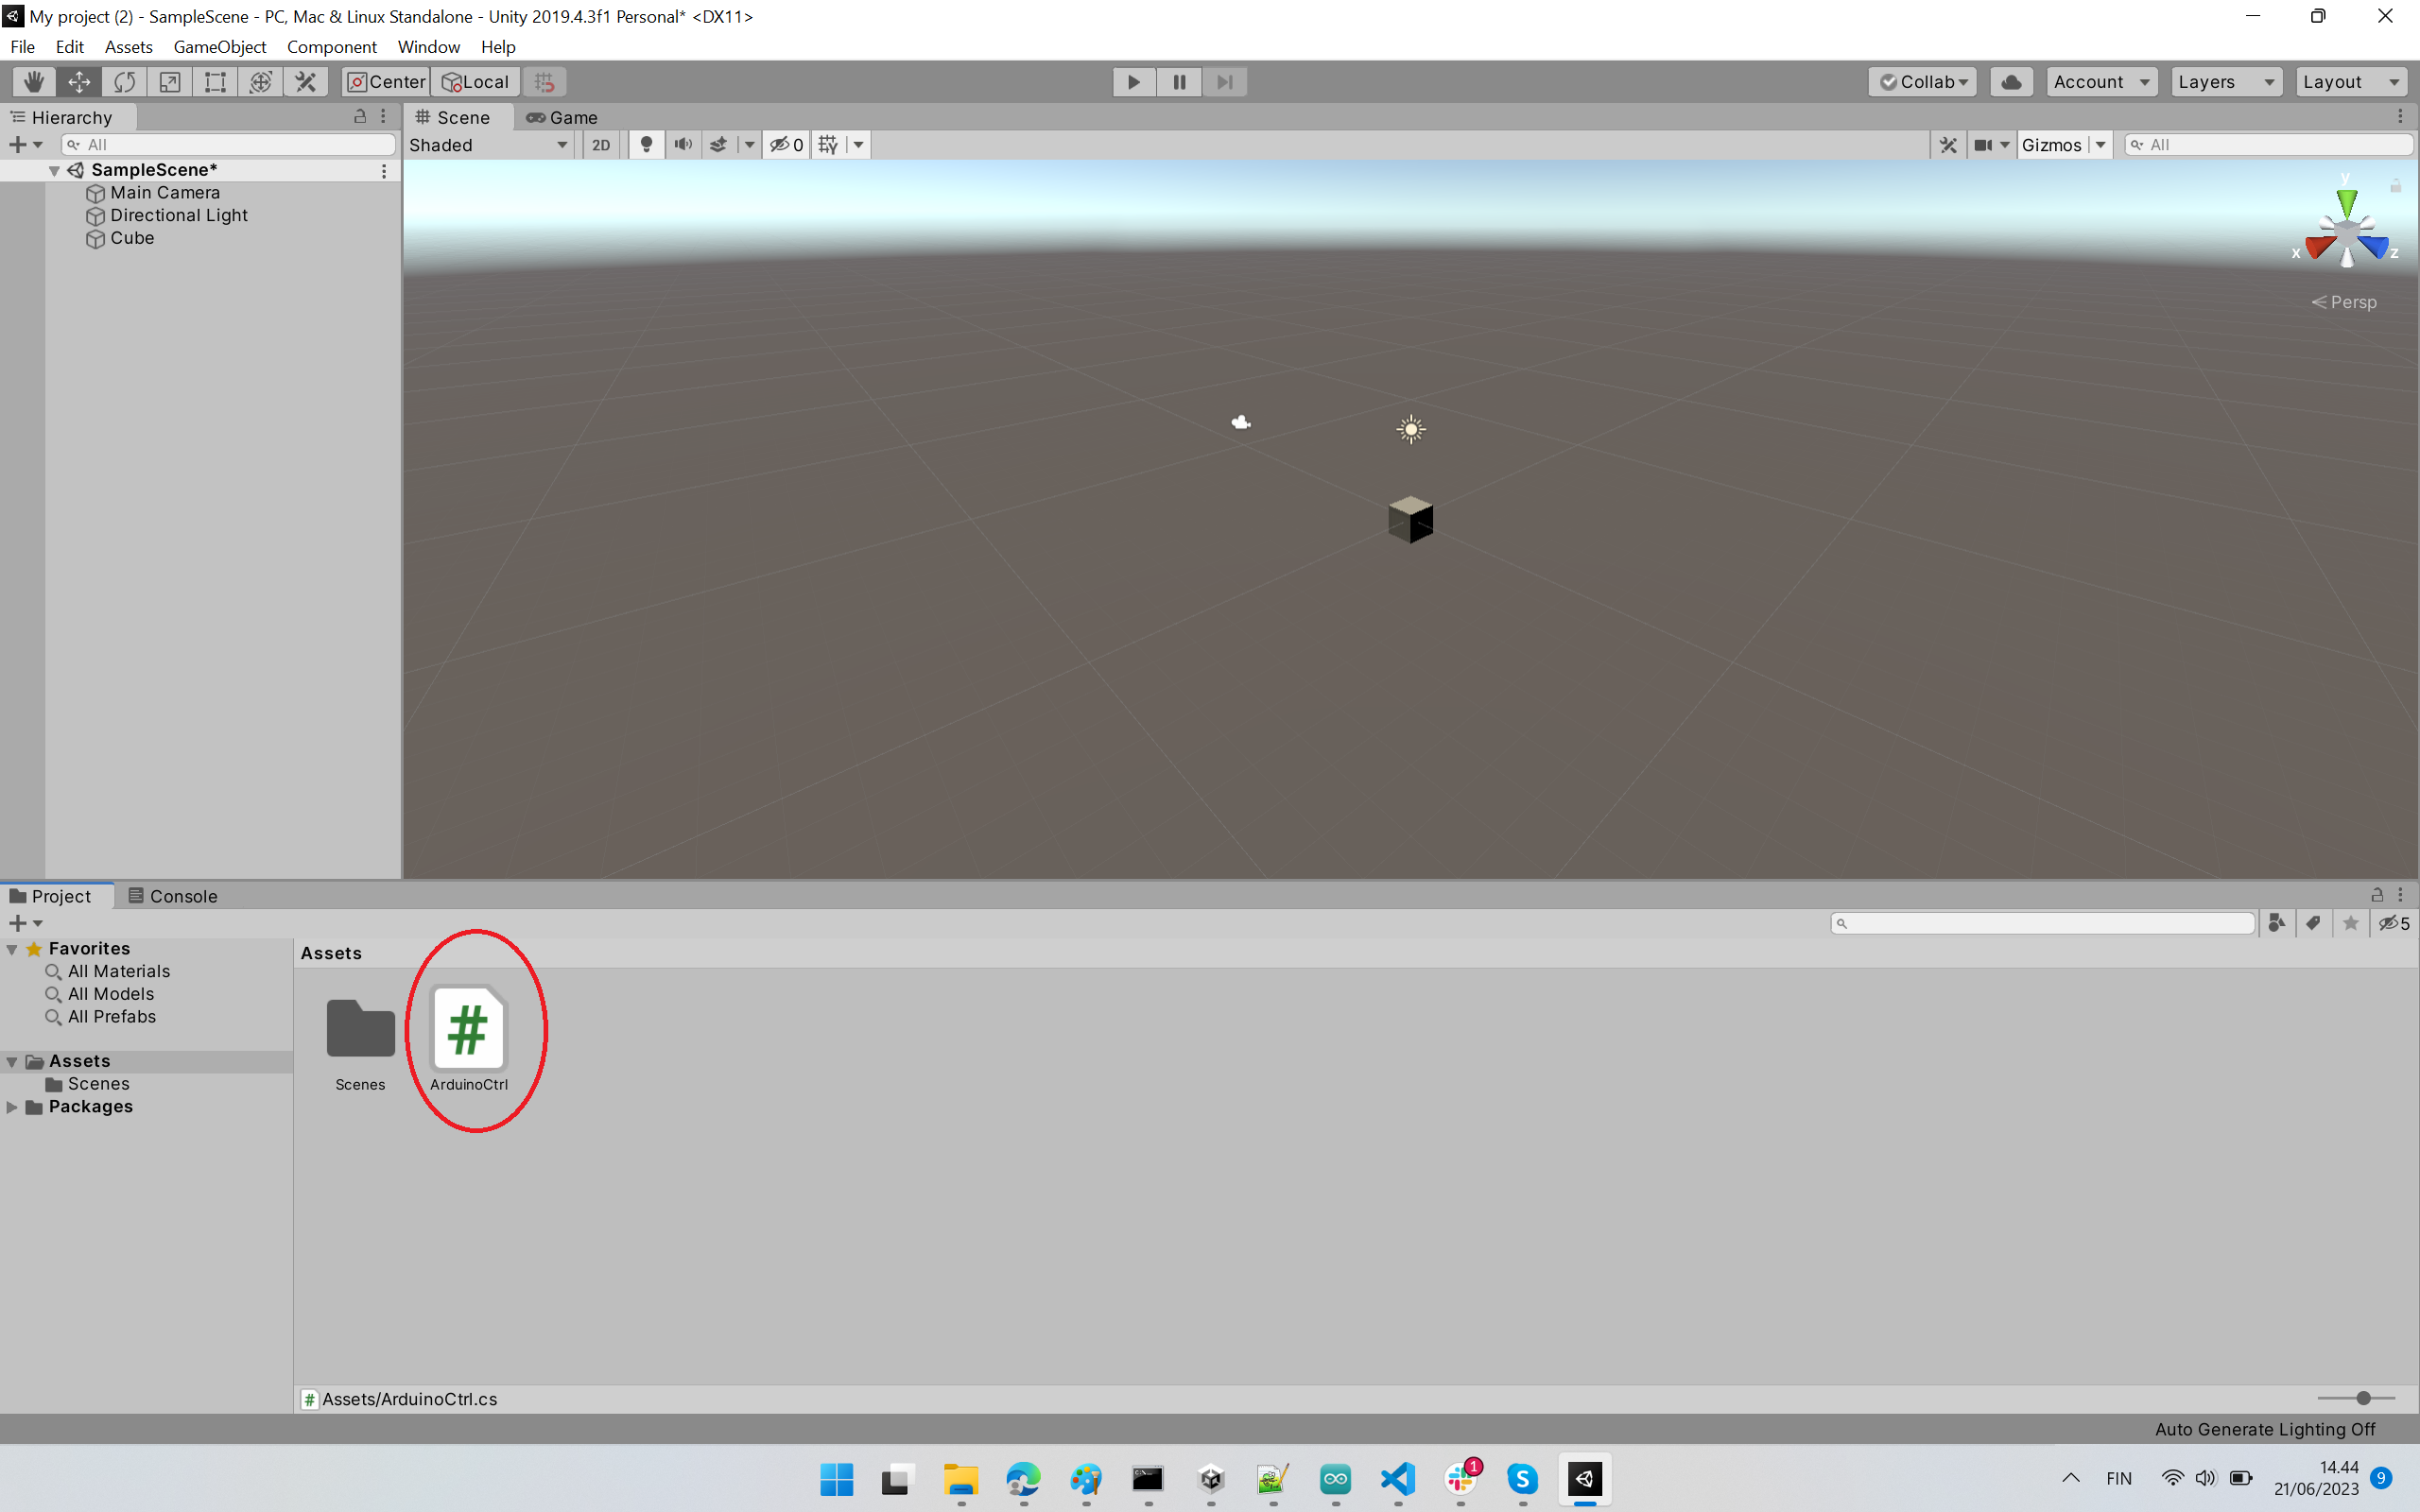 Figure 10. A new script file was created. Now we write the code to interface.
Afterwards, we select the C# script, drag and drop on the Cube object shown in the left upper area (encircled in green).
 Figure 11. Then we build the unity project. File -> Build and Run.
It generates a .exe file which we need to run.
PCB should be connected to the PC via a Serial connection. During writing the C# script for interfacing, Check the port number in Arduino IDE to which the PCB is connected to the computer, and replace the port number here in this code in the ArduinoCtrl.cs file within the Assets folder of the Unity Project. One can also modify the Baud rate. Here, it is also be changed.
SerialPort stream = new SerialPort("portnumber", 9600);
Code
Arduino code can be found here.
Unity code can be found here
PCB used
I designed PCB in Kicad. Kicad design files can be found here
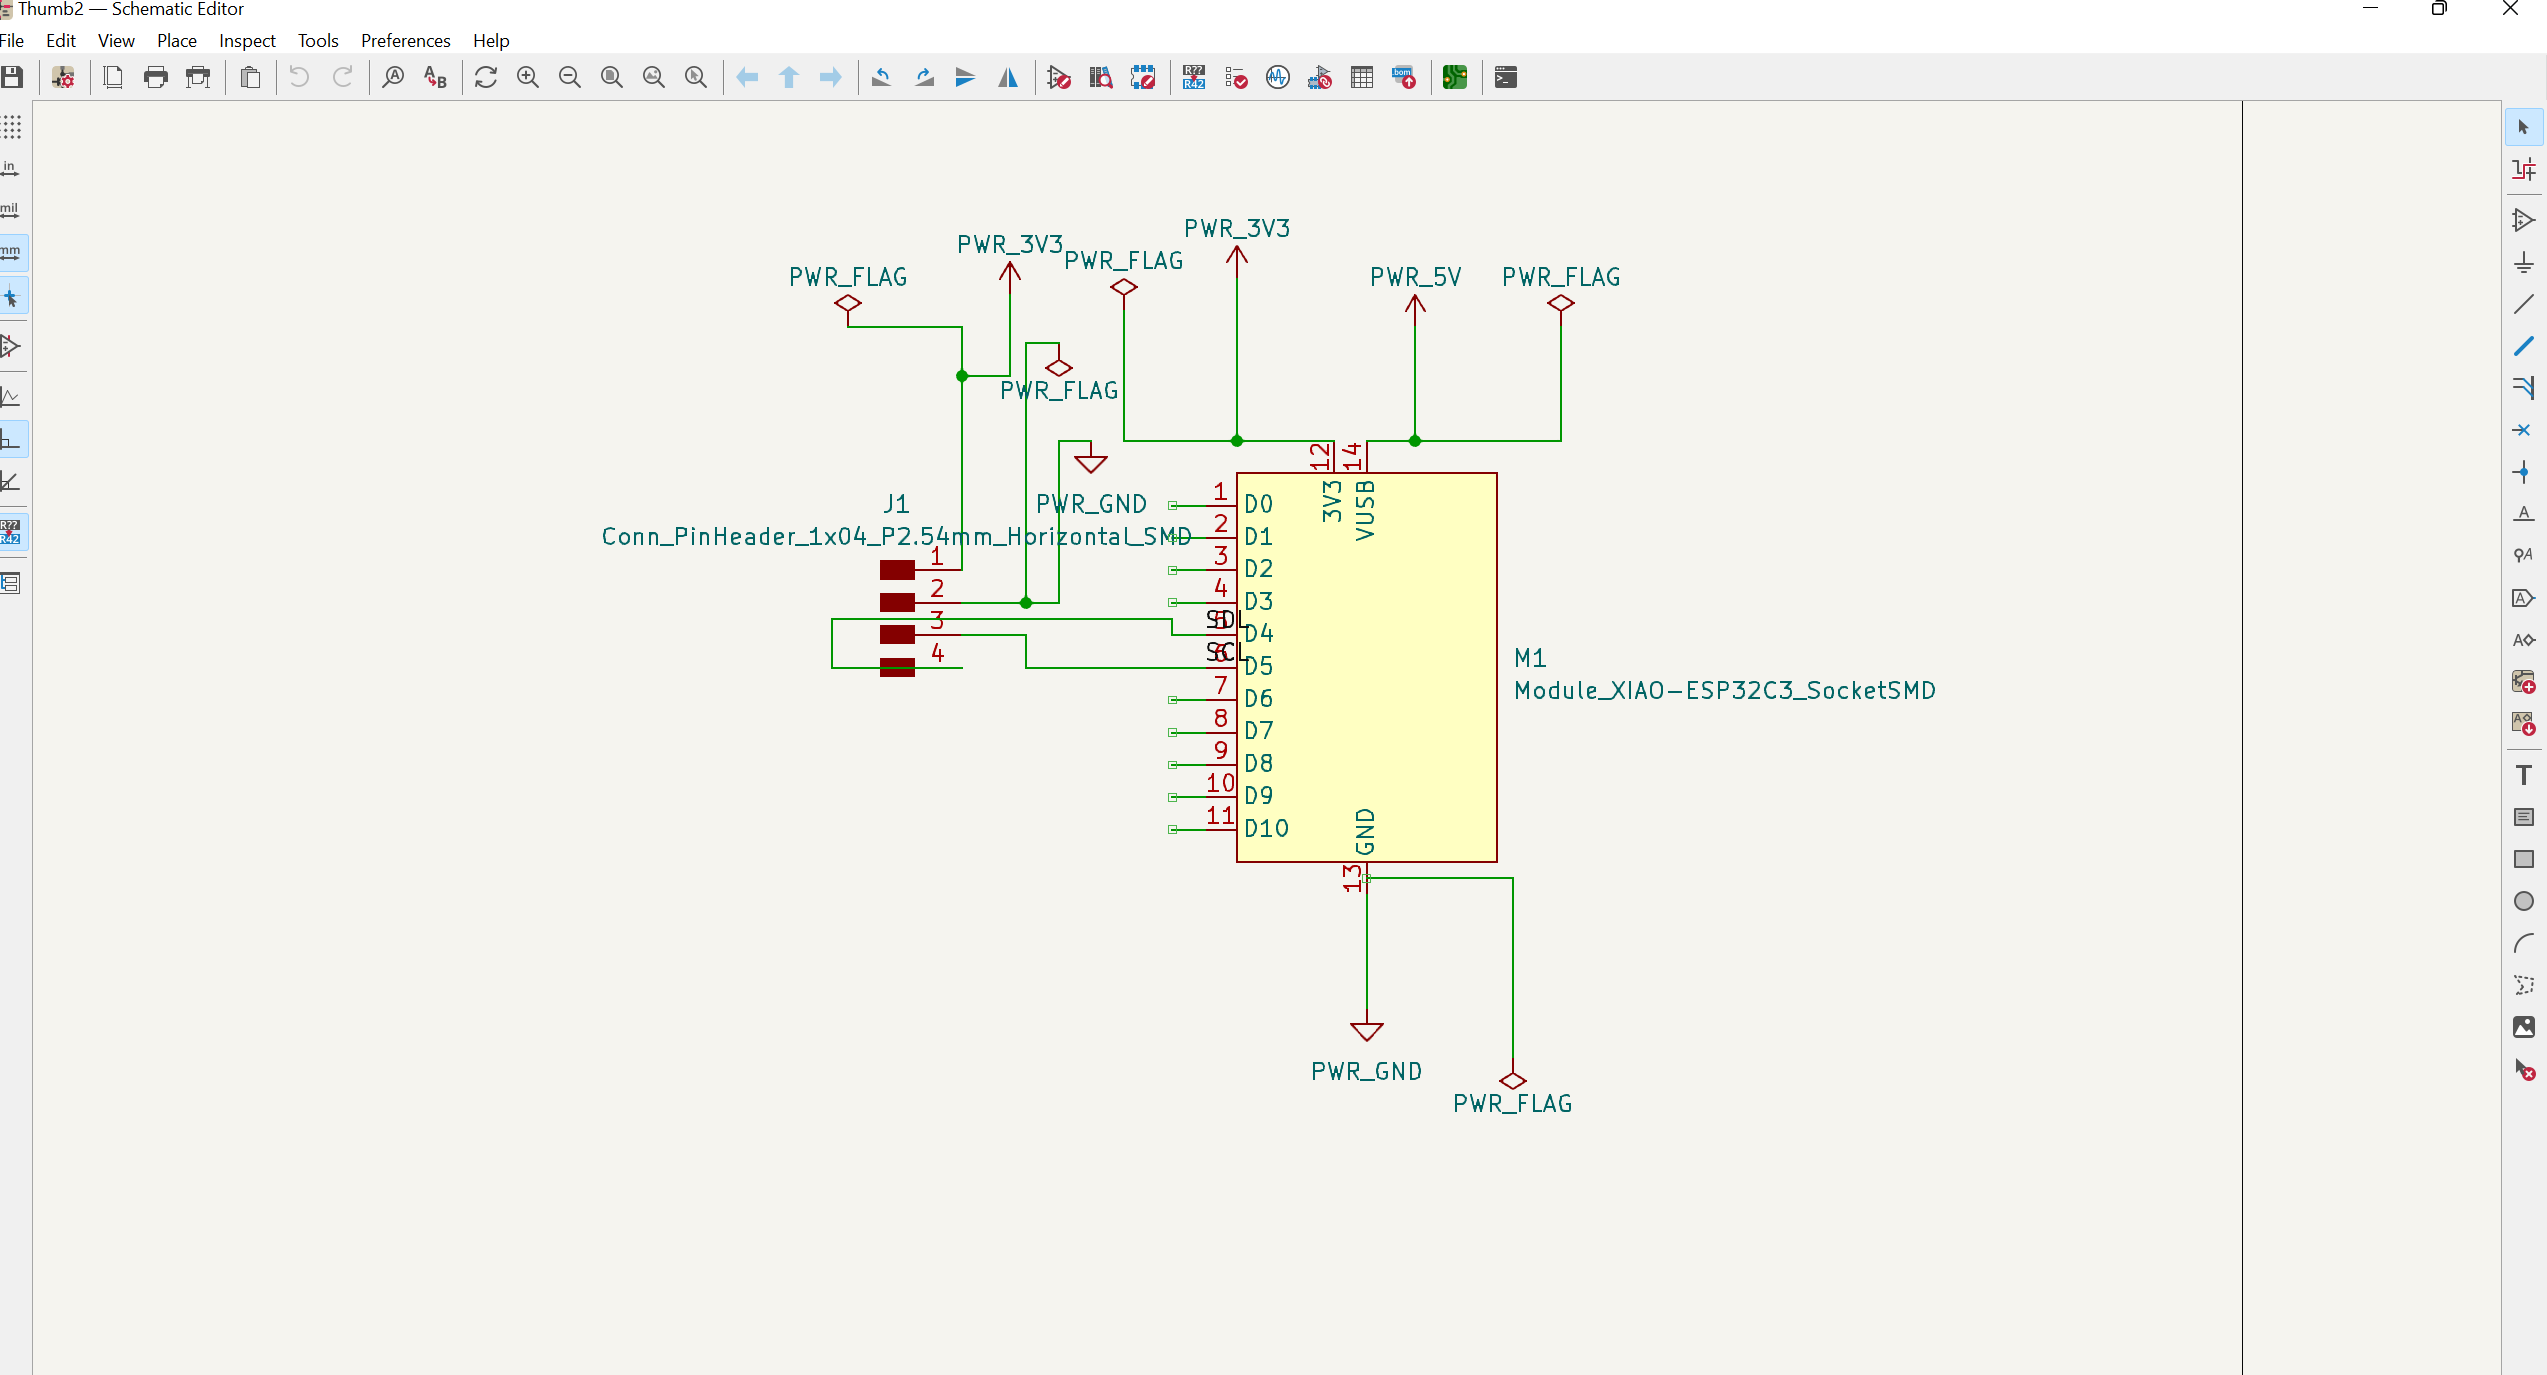 PCB Schematics in KiCad
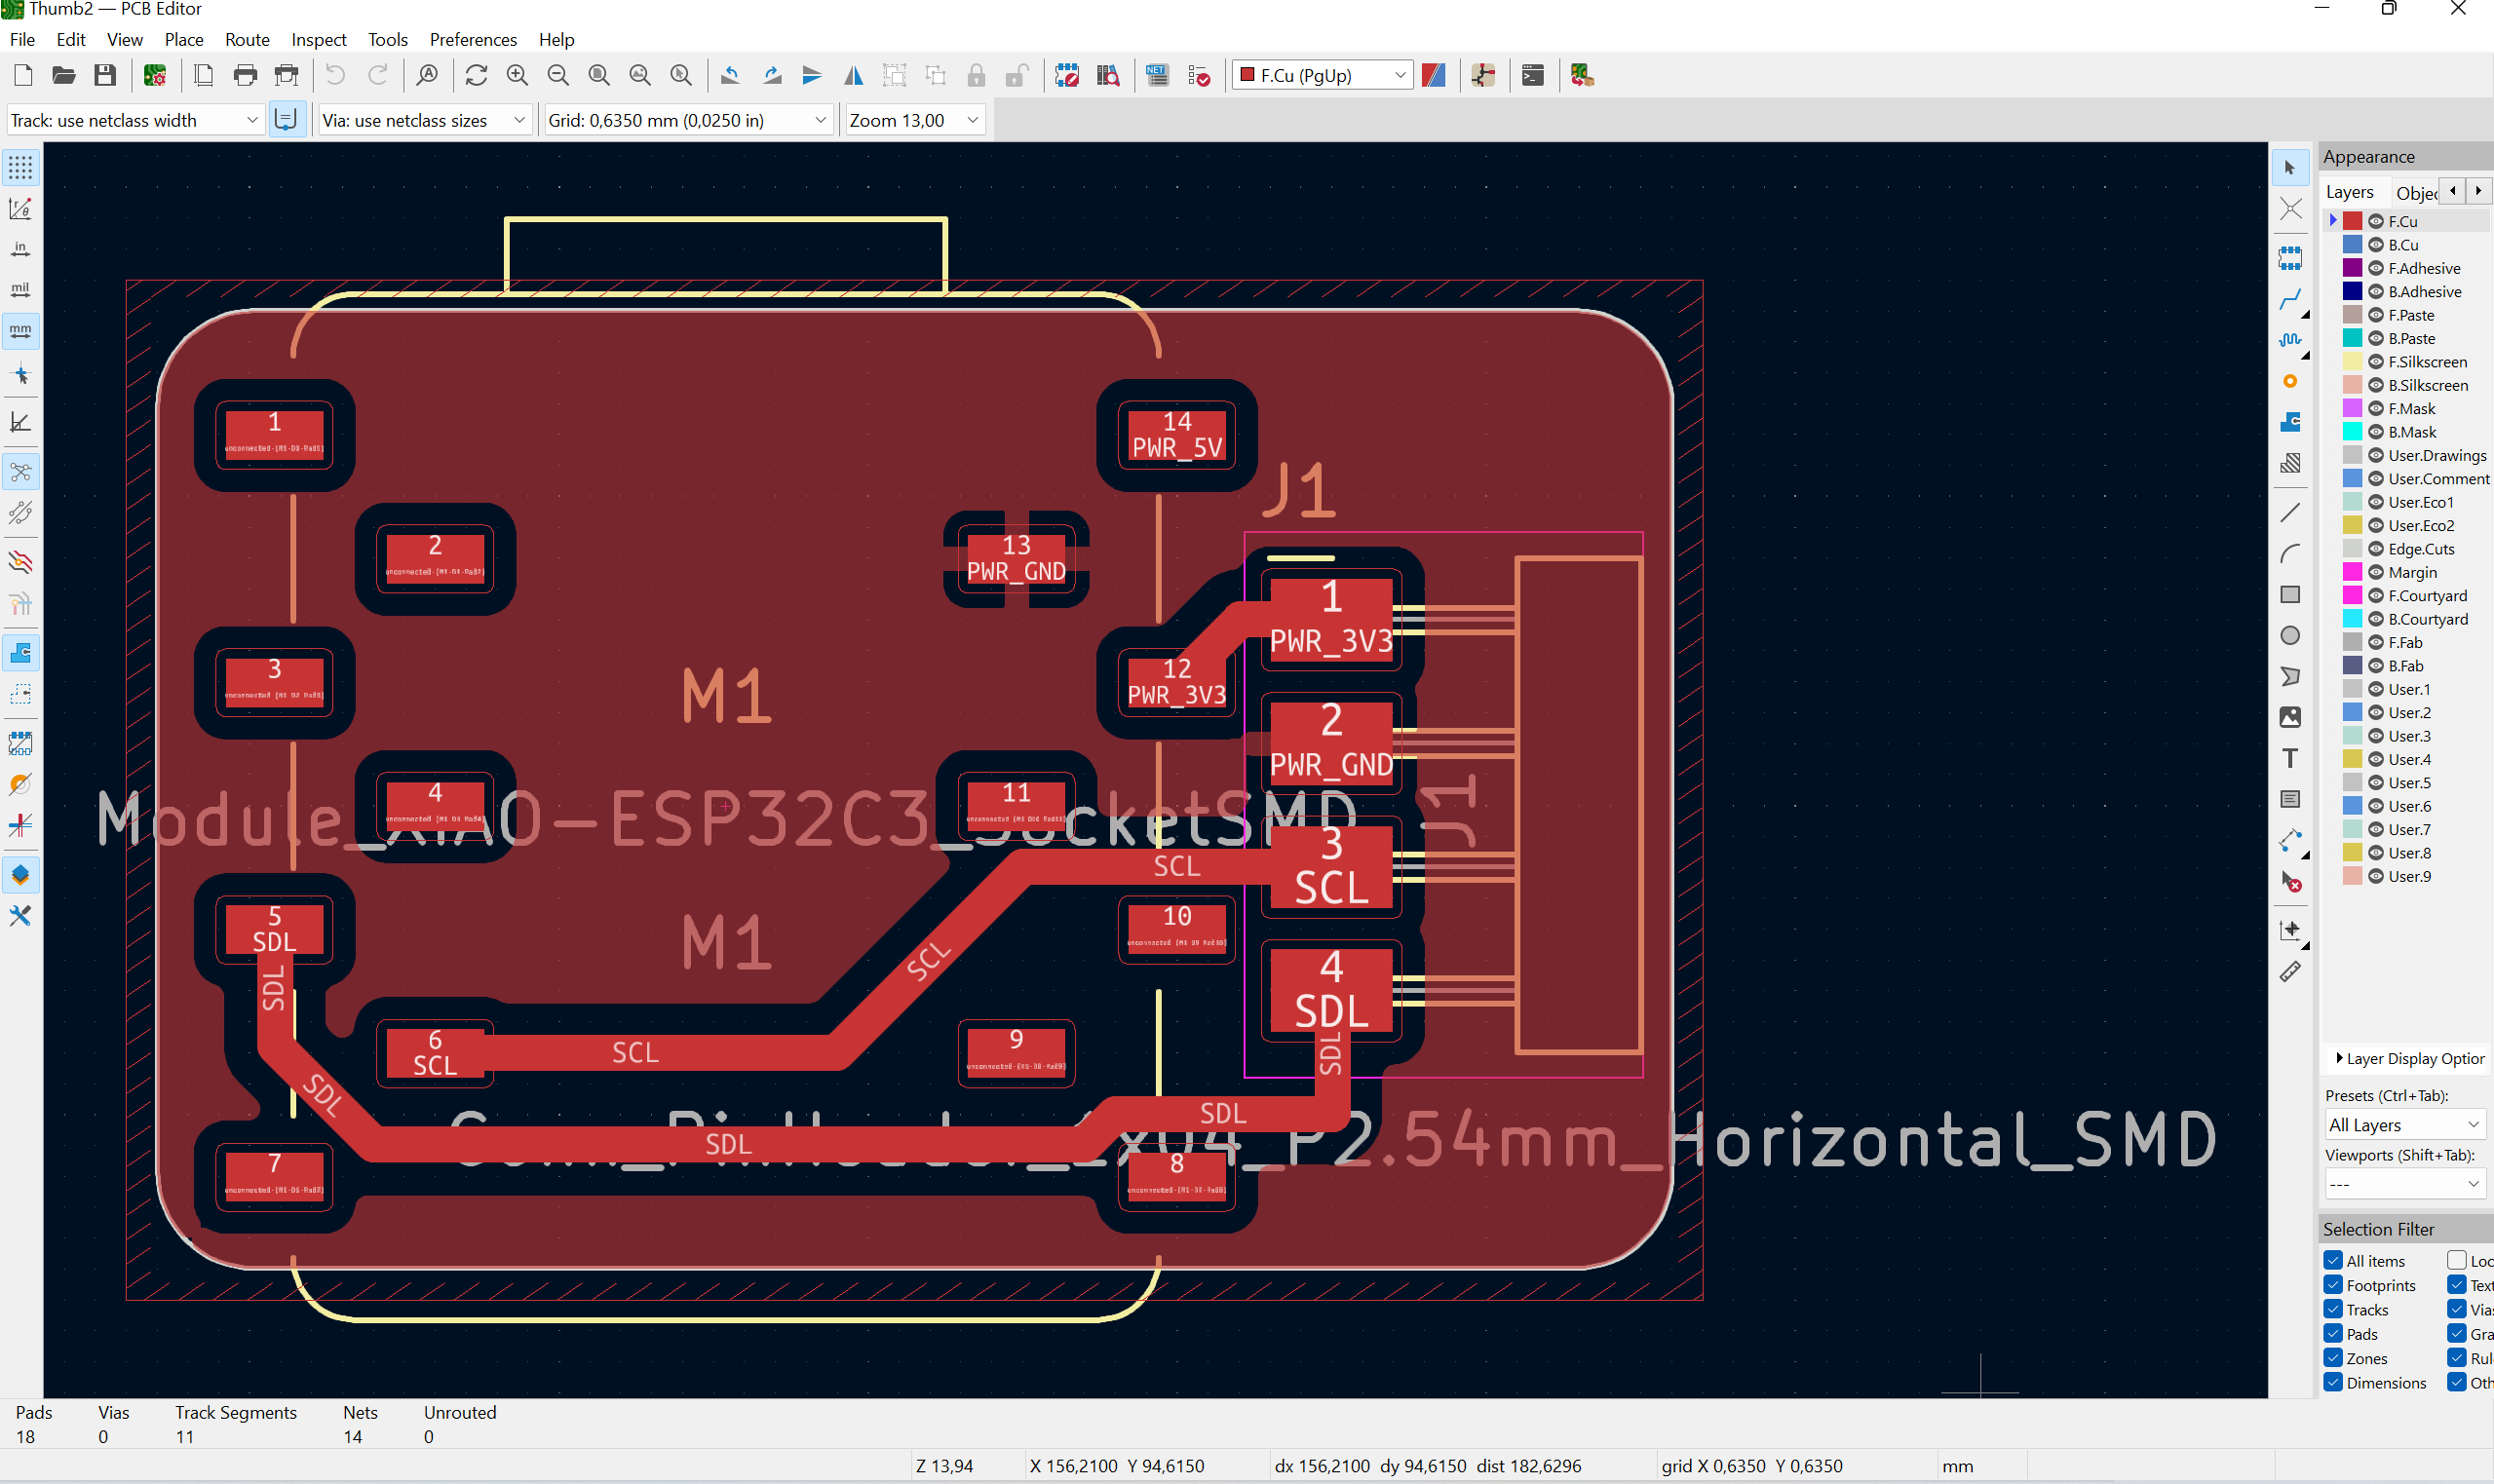 PCB Design Layout in KiCad