Week 5 - 3D printing and scanning
Prusa mini+ printer
Before Fab started, Mr. Dubick got us Prusa mini+ kit to build. The building process was extremely fun, and I enjoyed puting it together despite the issues I encountered. I had a problem after the printer was fully built of the filament getting stuck int he extruder. This issue was fixed by taking off the extruder motor and removing the filament, because it had snapped inside the motor. The fix took a while, because I had to take apart the whole extrusion assembly to remove the whole chunk of fillament. This was caused by inserting a piece of fillament that wasn't cut to a point. From that point on I made a point to cut each piece of fillament to a point before inserting it into the printer.
Printing test prints
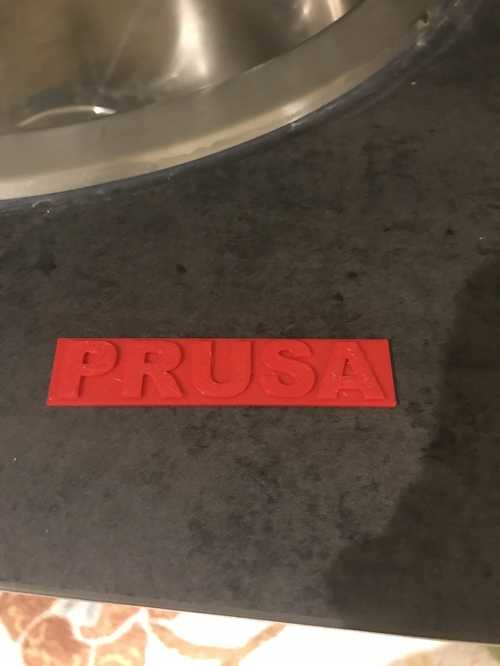
To begin with this new printer, I printed the Prusa logo test print that came included with the printer. This print did not come out the right way, as the bed was not correctly set to the right height.
I did the first layer test on the printer again until it looked like it was the correct height an oriented correctly. I then printed a benchy that was also included with the printer. Unfortuantely my mom accidentally unplugged the printer as it was printing, so I had to restart.
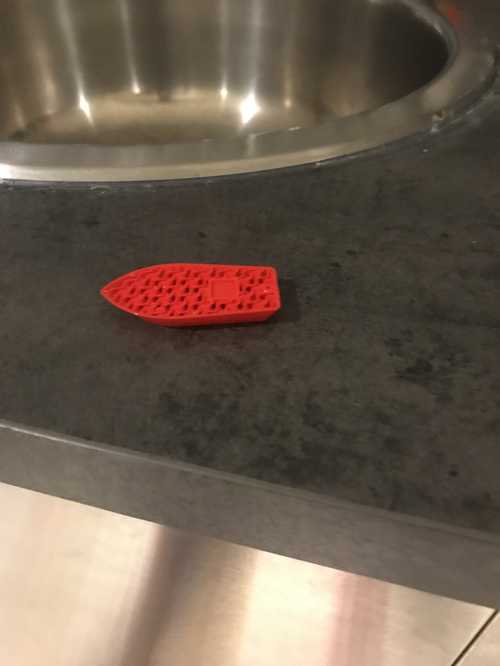 Partly done benchy
I ran out of filament as the print was happening, so I had to make the top part of the print black with the provided test filament.
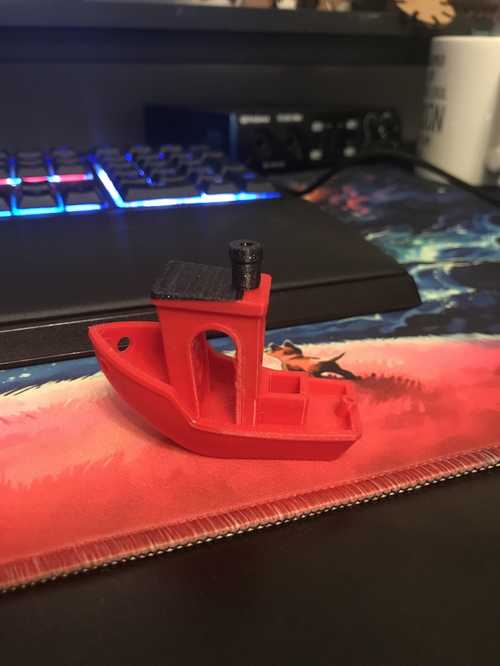
This came out really well, and it actually looks great with the addition of the black roof.
Some advantages of 3D printing are the easy translation from the digital world to the physical. This can make the creation of different products easy, as well as eary and cheap prototypes. Some disadvantages are the amount of time it can take, but in some instances it may be quicker.
The printer works by moving 3 axes in tandem in order to create the shapes and designs in the imported design. The moves are dependent on what the design looks like, and supports can be used to better make the design print. Within 3D printing, circles are better to print than squares because the filament will pile up on the corners of the design.
Ender 3 pro
This was the printer I originally started with, and it has served me well this far, but there are some issues with this printer. The bed leveling is miserable, and if you move the printer too much, then you have to relevel the bed. The nice part of the printer is it's affordability. There are also some issues with it's tolerances. When I tried to print an iris box, the parts got stuck to one another, and disallowed the turning, which was the whole purpose of the print.
Creality slicer vs. Prusa slicer
Slicing in Prusa
To slice my design in prusa slicer it was an easy process, I imported my design, and changed some settings to fit to what I needed my design to do. The settings I typically use are infill 10-20%, speed .15 quality or .2 speed, and supports depend on what my design calls for, which can be referced thorugh the different group pages of our lab, and can be accessed through the group site link at the bottom. Once I have selected all my settings for a given print, I click the slice button and it generates GCODE which I send to the printer to begin printing, after the bed has been cleaned.
Comparison
I have used two different slicing softwares, the creality slicer, which I originally used for the Ender, and the prusa slicer, which I used for both the ender and the prusa mini. I prefer the prusa slicer, because it is easier to access the settings I regularly change such as the infill. Another function that I find interesting with the Prusa slicer is the ability to insert a stop in the print, which I'm not sure the creality slicer offers. This is useful in order to insert something into the print while it's printing. My original idea for what I would do with the assignment for this week was to create magnitiles, a toy I used to play with when I was younger. The concept of these toys was that there were magnets embedded into the plastic so that they would stick together, and you could build things with them. This was a very easy concept to replicate using the insert a stop tool, but Mr. Dubick told me to try something else that was more challenging. I thought of something different this time, a print in place switch. This was something I previously printed out on my ender, but I had to assemble the different pieces. I redesigned this in order for everything to be one piece.
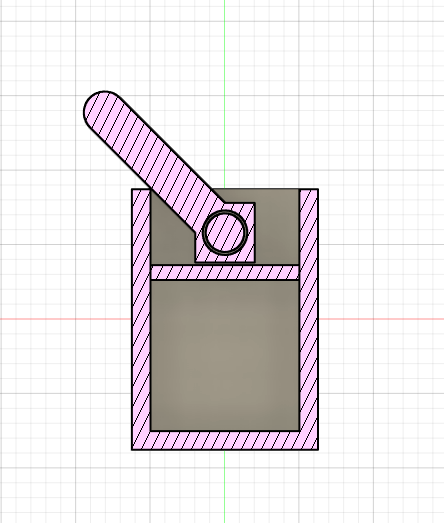
Cross section of the mechanism
This originally worked alright, and I printed it on the prusa mini. This worked alright, I also couldn't get the supports out of the bottom part of the switch. There was a fairly large resistance when trying to flip the switch.
The next itteration of this I filleted the edge of the switch. I also filleted the edge of each of the sides, because th roughness of the previous edges was painful. I additionally added a cap to the bottom to be able to remove all the supports. I printed this itteration on the bambu labs printer we had on loan this week. This allowed me to print in multiple colors, so I used a different color for the actual switch portion which turned out really cool. This clicked much easier, honestly, it clicked too easy, but I would rather use this than the other since it is quieter.
3D scanning
3D scanning can be used to digitze objects by getting a somewhat accurate representation of how they appear in real life, then transfering those features into the digital space. This is limited in the way of how much detail you can capture however, which can be largely dependent on what camera you use.
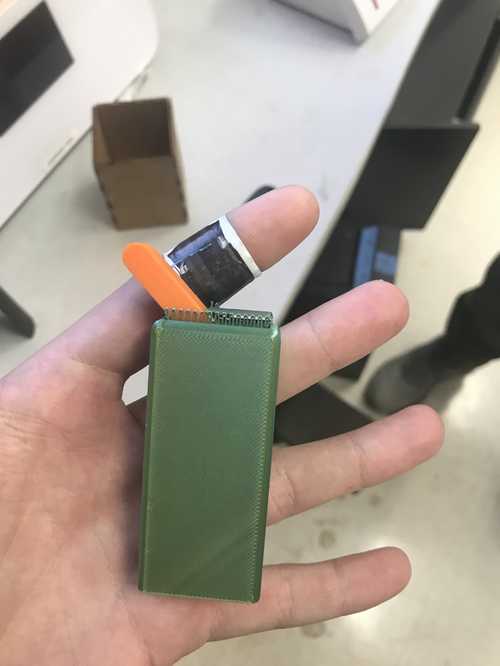
To 3D scan, I used KIRI engine on my phone. This app took pictures in order to convert the pictures into the 3D object. I tried using the app 4 times before I got a file that actually worked. The final file had some issues where the surface I photographed on exported with the image. Because of this I had to use supports in order to print this, and the print unfortunately failed the first time.
I tried using a tech deck for my print. This is how it looked in prusa slicer, vs how it looked in the app.
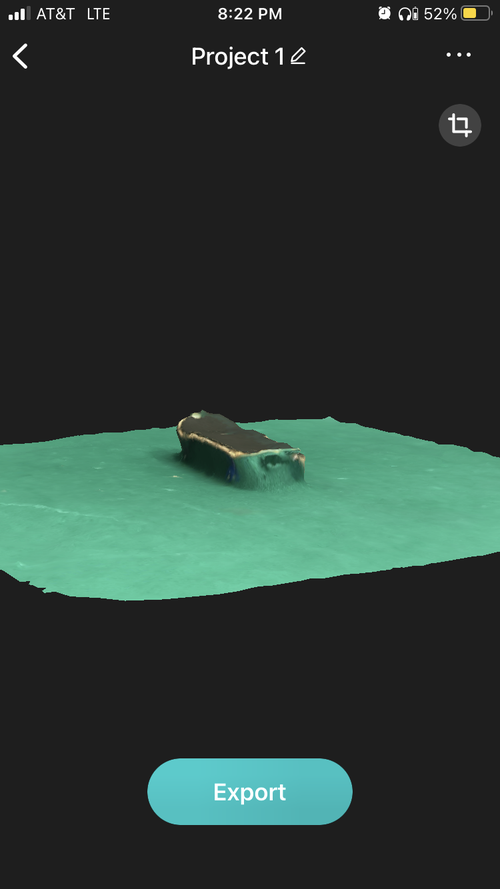 In KIRI engine
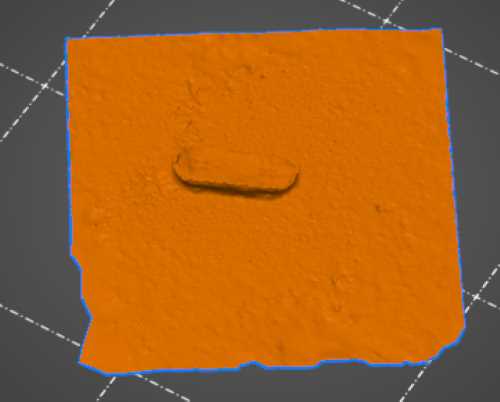 In prusa slicer
This is how the model looked on the build plate
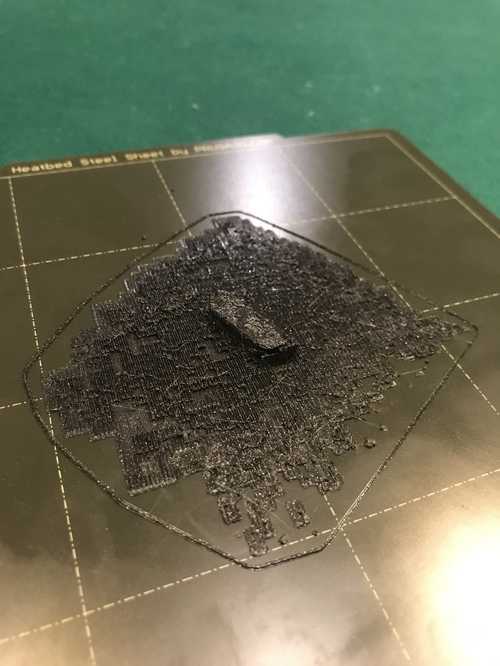
 The model after supports removed
This didn't turn out super well, but that's all right, it's just another instance of what you get with a free software.
Scanning reflection
I believe my scan didn't turn out very well. My design had the same rough shape as the actual thing i was trying to design, but it didn't come out with great quality. I believe this may have had to do with either the lighting where I scanned my object or the surface, because the surface had some texture to it. This translated into the final design which required a large amount of post processing if I were to clean it up, and even still, it would have likely been more efficient both materials wise and time wise to simply redesign the fingerboard in fusion than to scan one, and receive a poor quality print.
Group project
For our group project, our group used our SLA or resin printer, which none of us ever used before. The printer was fun to use, but required many more steps to print compared to the prusa printers. Group project site