Week 12 - Molding and Casting
To begin this week, I wanted to figure out exactly what I was going to make as a two part, mold which is what Mr. Dubick wanted us to do. I wasn't sure I could come up with something that I would mold for my final project yet, so I decided to look for something from the Legend of Zelda Breath of the Wild. I couldn't find a weapon from that that looked manageable but also cool, so I looked for something else. I then settled on the spinning top from inception, it was simple but also was a very cool thing, that held some significance with it.
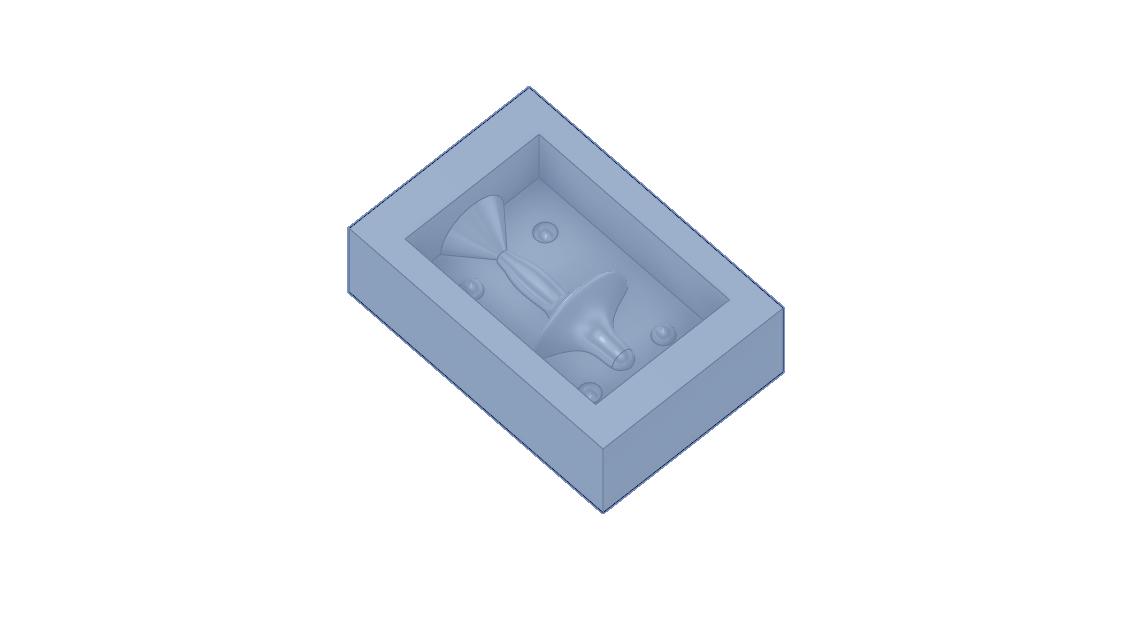
Designing the mold
To design the mold, Mr. Dubick wanted it to be two part mold, so I refreshed on some kewin kennnedy tutorials to make them. I used the fit point spline tool to make the shape, and the revolve so that it would be round. I created 4 spheres at the corners in order to match up the shape of the mold. I also used a cone to pre-add the hole to the design to fill it easier, without manipulating the mold after it has been created.
I followed the steps that I took in my previous engineering class to learn how to make the milling toolpath. I tried initially using an adaptive toolpath to cut the design, but the cut depth was very deep, and I began having problems with how the cuts were working, and how the wax was melting. I initially continued to try the same toolpath, but the block of wax was moving.
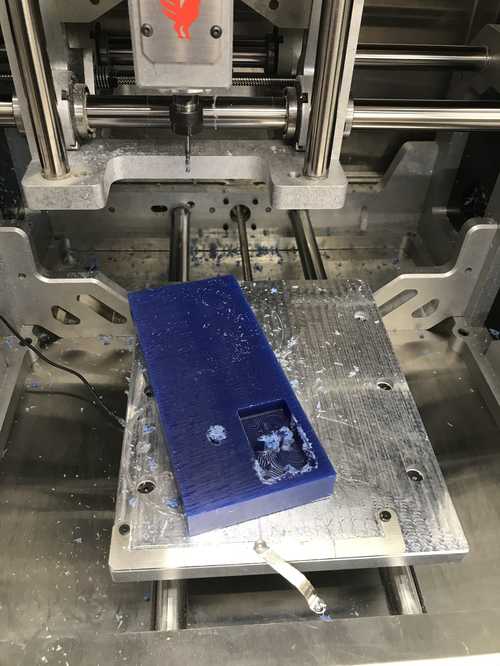
I tried to change my toolpath then, which resulted in my usage of the normal 3D pocket toolpath. I turned on smoothing within the settings of the toolpath, which would make my whole project more rounded, and look nicer as a result. I did this on a smaller block of wax as well, because there was no point in wasting a large quantity of wax.
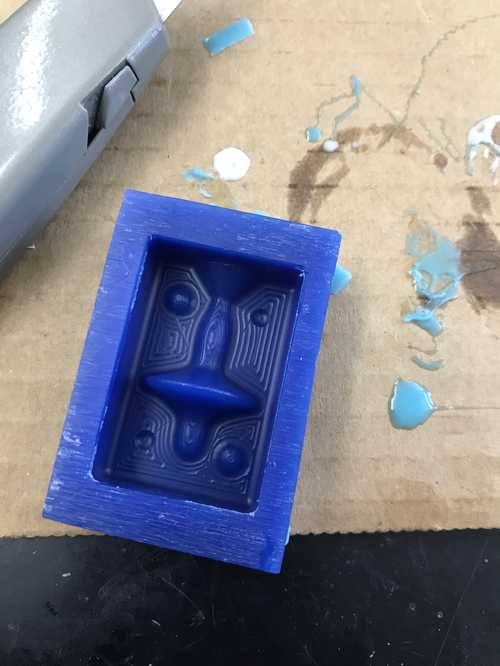
The mill turned out better than I anticipated, and the ballnose endmill definitely helped with the smoothness of the top. I then used our mold star 16 D, in order to create the mold for the cast. This process was fairly simple, and to see what my group did and how it works, visit our group site. I cast this mold twice so that I could get both sides complete, and then I used our smooth cast 65D for the actual cast of the top.
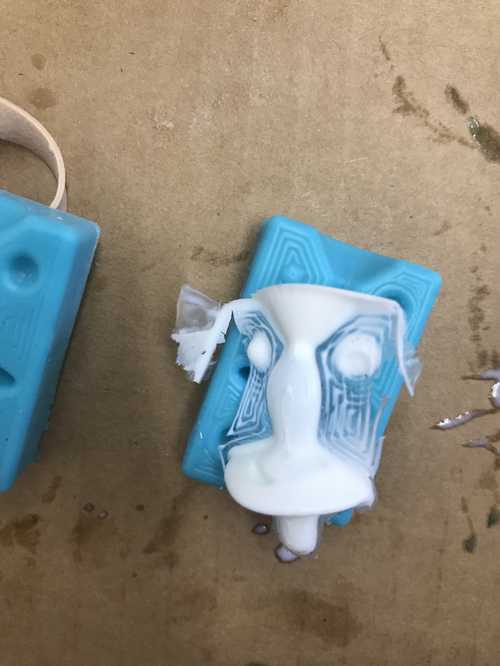
Failed cast
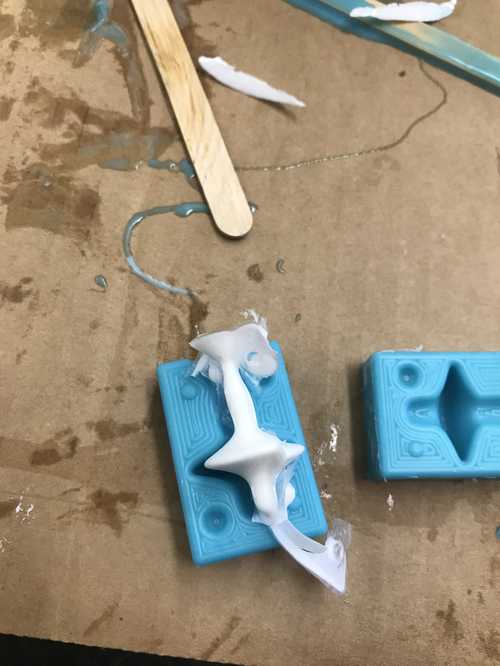
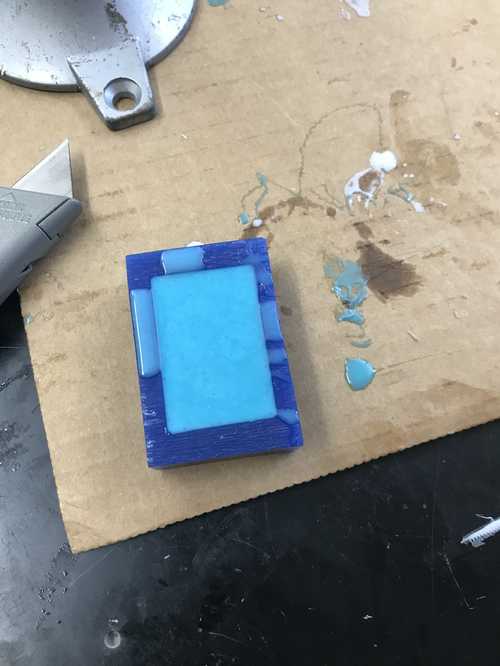
successful cast
The first pour didn't work, because part in the middle didn't get fully filled. I tried again, but used a different method, fil filling both sides with the casting material, then putting them together afterward. This did work, however, the 2 halves were offset, so I had to file down the bottom to make it more rounded.
What I did to get the mold milled for this was a feed rate of 750 mm/min and the rest of the settings were default, on the pocket toolpath.
The main reason I had to recast was likely because the opening was too small when I had designed it.
Roughing and finishing pass
To demonstrate the roughing pass I used the adaptive clearing toolpath which created 2 paths that were fairly deep. I used the 1/8 inch flat end mill for this. This was very quick, and finished in under 10 minutes. I used a 750 mm/min feed rate, and the rest were default for the adaptive clearing toolpath on fusion 360
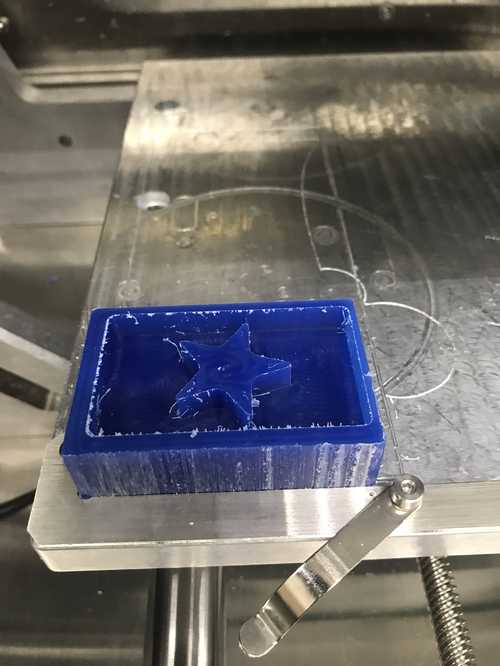
The next step was to create a finishing pass. Since I had used the star design I used for the group work, the design was flat, so I used the flat finishing pass. I used the ball end mill for this.
This process was much quicker than what I used before, and also turned out nicer. The mold was very smooth, and looked much better than when I did it before.
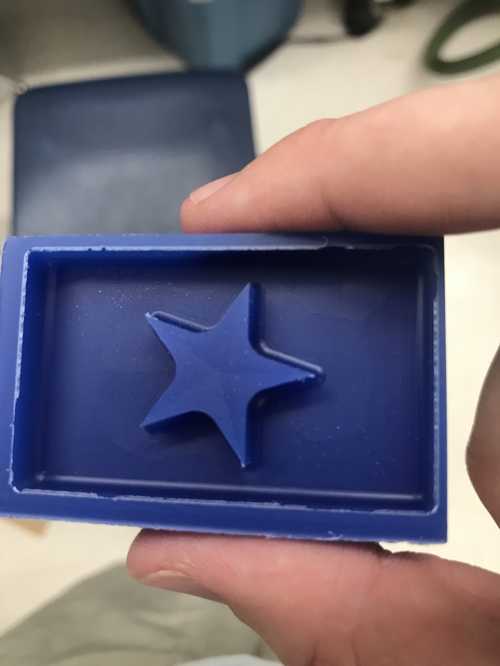
Group site
Four our group work this week I milled out a mold to test the materials I used, as well as creating the soft silicone mold to test our casting materials.