Week 2 - CAD designing
GIMP - Vector based graphic software
To start this week, I began by using GIMP. Gimp is a raster based software and is used for image manipulation, which is actually apart of the acronym for the name. Mr. Dubick was gracious enough to find 2 tutorials on how to use GIMP, so I began by following those. I started by opening an image from the NASA website, the same image that the tutorial used, a picture of the horsehead nebula. I began by resizing the image as well as modifying the quality of the image.
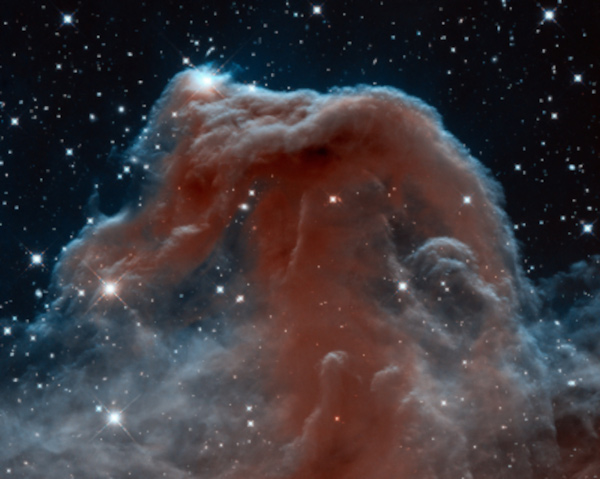 Image resized and quality changed
Then in the tutorial I learned how to crop the image, using the crop tool, which was coincidentally selected for me when I opened up the program. I selected a short portion of the image, and clicked inside the box I made. After the image was cropped, I used the transform menu to flip the image, as well as rotate it 180 degrees.
 Final image
After the first tutorial, which was just minor image manipulation, I could move onto the second and final tutorial provided to us by Mr. Dubick. The tutorial was about how to make a floating Logo, and it can be found here. As I went through, I learned how to make new layers, add effects, create text, and change the colors of each layer. I wasn't a huge fan of GIMP, the whole process feels pretty convoluted, and fairly confusing in order to design something so simple as a name on a background.
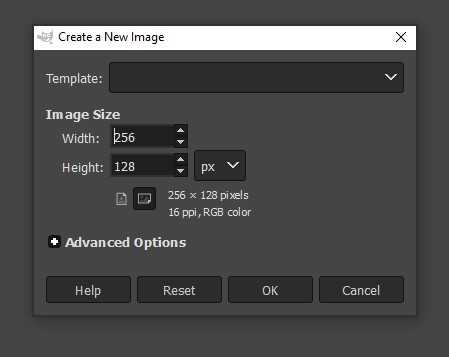
Above is the image of me creating a new image for this project, and below are some snippets of what parts I needed to complete the tutorial.
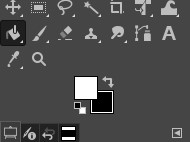 Background and Foreground colors
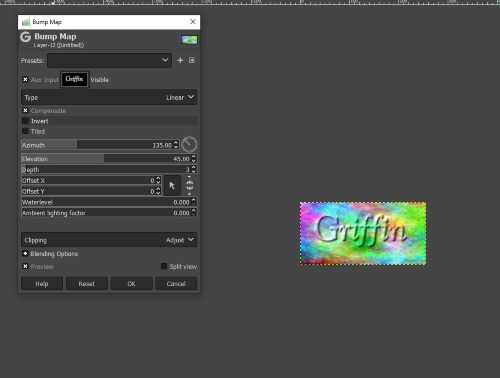 Usage of the bump map feature
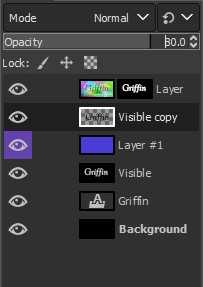 This is the final layer map of what I had to design the final design, and as I said before, it still confuses me what each layer is doing, but I have a general Idea of how it works. The layers are shown from top to bottom, but my issue is that there are some layers with two parts to them, and I was confused how this worked out.
There were not very great explanations of what every action I took did to the final project, but I could interperate slightly what was happening. I felt overwhelmed by the number of layers I was creating, and wasn't sure what would happen if layers were moved around. I don't think this is the software I will use in the future.
Final Project design in GIMP
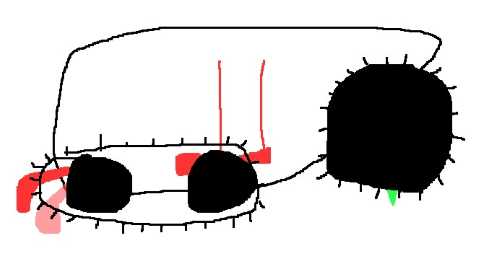
 This was a struggle the whole time, creating things is not what GIMP is good for at all
Final Thoughts on GIMP
Gimp wasn't a terrible software, it was slightly confusing for making art, or objects similar to the second tutorial that I followed. I liked the image manipulation portion of the software, it seemed very easy to understand, but also didn't appear to offer much more than simply editing in my photos on my windows pc. The software is for editing images, which definitely makes sense as that seems like the most fluid workflow to do in GIMP. I didn't like the image creation of GIMP though, it seemed klunky and wasn't easily understood. The tutorial made sense, but I feel like it was convoluted and could've been more easily done in a different software.
Cuttle
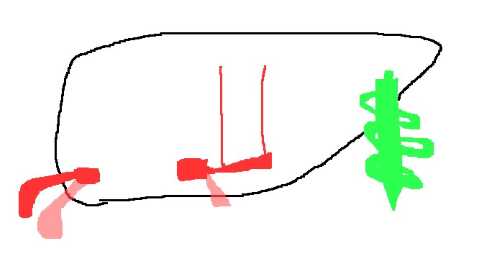
The vector based software I'm trying that I havent tried before was Cuttle. Cuttle is a browser based vector editor, which is used for cutting. To learn cuttle, Mr. Dubick graciously provided us with tutorials again, but these were more self guided. The tutorials can be found on Cuttle's website. I followed the introductory tutorial to create a dodecahedron candle holder. I began by dragging a polygon onto the canvas, in this tutorial we used a pentagon. This was the part of cuddle I wasn't the biggest fan of, having to drag lines into the canvas was irritating, especially when you need to create many different individual lines. In the tutorial we learned how to make boolean curves, and then pattern using the circular patter tool. I also learned how to group objects, which was a very useful tool to have.
I continued to add parts to the design until there was no longer space. I came upon the idea of making my design into a nightscape, as the boolean curved shape I created looked similar to a moon. I added stars into the canvas, and also a small cloud portion which would be akin to a nebula. Here is my final design of this on Cuttle:
Final thoughts on Cuttle
I actually enjoyed using cuttle quite a bit, but it seemed as though it was a slightly dummed down software. THe drag and drop feature was frustrating, but the commands were easy to use and very intuitive. The pattern tool was nice, because it was easy to select many items to pattern, and you could add things to pattern, as well as preview them in real time when added to a group that used pattern. The pattern tool was likely my favorite part of cuttle, as well as it telling you what you were snapping to in the canvas. The downside of cuttle, as mentioned before, was the dummed down portion of the software. This was frustrating having to drag and drop things into the canvas because I don't like having to do that. The lack of available tools was frustrating, as some other software has the opportunity to use more tools for greater customization and creation options.
Freecad - 3D design software
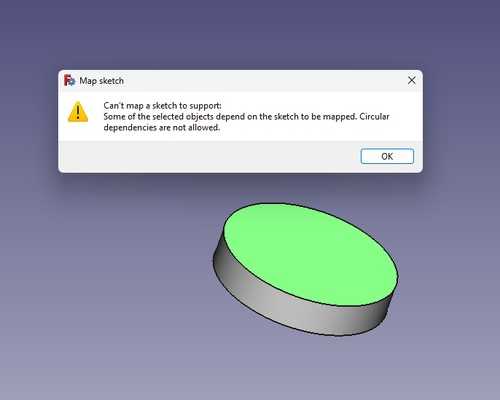
Free cad is a free downloadable 3D modeling and design software. The main appeal of Freecad is that it is as in the name, free. Mr. Dubick, once again, got us tutorials that show how to use Freecad. The basics of Freecad, like GIMP, are extremely convoluted, for no reason whatsoever. The way you dimmension things is by dimensioning with a radius constraint, a length constraint, and a height constraint. There are also no pattern tools here, which is frustrating, because for my design, I need to use lots of patterning. The total amount of time to design a simple piece, was extremely long, very convoluted, and the motion controlls were confusing and dizzying. The design menu was also poorly organized, despite the fact that you can alter the menu, there wasn't good dropdown menu usage. Navigating the contstraint menus was a hastle, and the way constraints are applied is also annoying. But that is besides the point, here is how I made the design in the tutotial, which can also be found here.
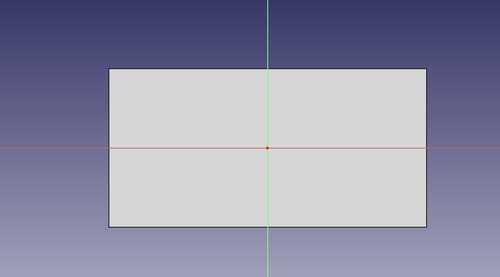
To create this simple design in the Freecad program, you first have to enter the sketched workspace by selecting where you will sketch an object. Using the constraint menu, and the sketch menu, you fully define a sketch. You have to individually find the different constraints for width, length, and radius, they are all seperate entities needed to create a sketch. I created a rectangle, and dimensioned it using the afformentioned dimmensioning tools.
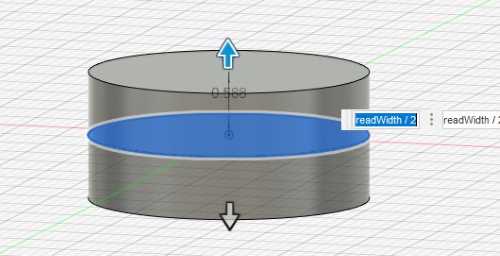
After you have a fully defined shape, you need to create the body. For this you close the sketch, and use the pad tool. This is what my rectangular prism looked like after using the pad tool:
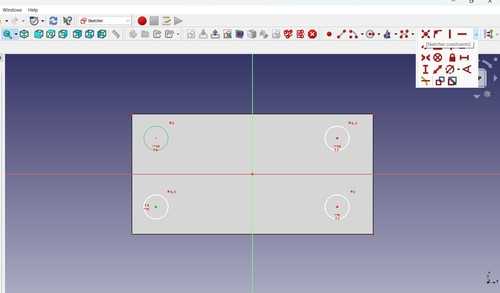
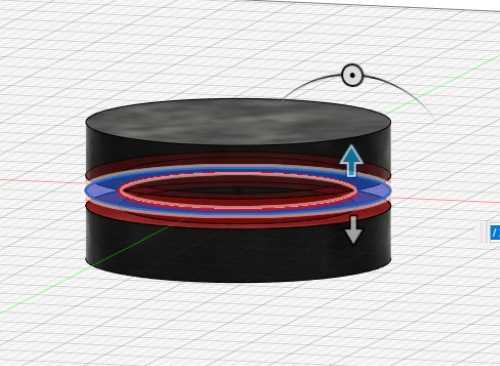
The 3d movement controls are fairly confusing and dizzying, as I said before. The controlls don't handle very well, so I don't try to move it around too much. Then I created 4 circular sketches on top of the rectangular prism. The sketches all had to be individually dimmensioned, which was annoying. I then put these circles through the entirety of my previous shape.
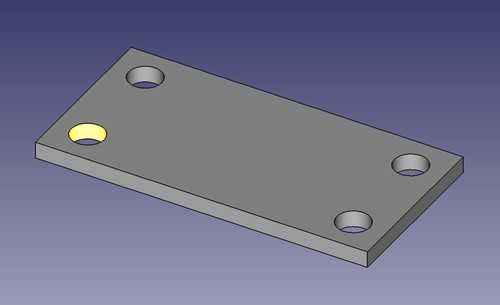
After the circles were created, I made the top portion, I did the same thing as before, made a sketch on top of the body. I used the symmetry tool here instead, and made the distance between each edge of the recantgle, 5 mm. I made another pad feature, and had the final base shape. Then the tutorial showed how to use filelts, which was probably the most intuitive part of this process, as it is very similar to how you would do this in something like Fusion360. I made the fillets on the long top extrusion first, then made them on each of the corners of the bottom extrusion. This is the final design:
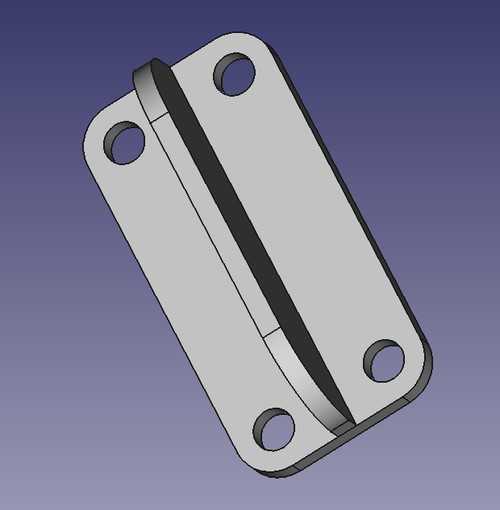
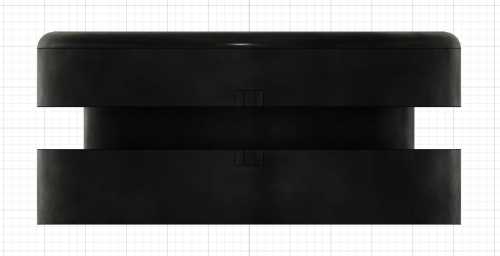
Designing a wheel for my final project in Freecad
This was what my final design looked like, but it was a struggle to get there. I tried doing extrusions initially but got these messages as errors, so I ended up using the revolve tool
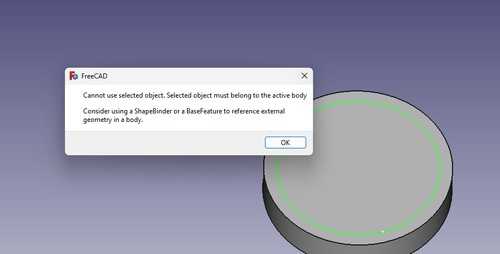 These are the images I got as a result from trying to extrude atop another extrude
Final thoughts on Freecad
I am going to keep this one short, I really disliked Freecad. The way you constrain your drawing is slow, and the icons depicting each constraint are fairly confusing. The way each of the workspaces come together is also irritating, you transfer one workspace to another, and than that one to another. The only redeeming qualities I can think of, were the way you fillet, the timeline-like feature, which allows you to revisit former parts of your desingn before more iterations were made, and the pan feature, which was the easiest and least jarring movement option. I guess that is what you get with a free 3D modeling software.
Fusion360 - 3D design software
In preparation for this class, Mr. Dubick had us do the Kevin Kennedy Fusion 360 tutorials, which were very helpful for learning the software. There were 30 tutorials in total, and they were very helpful for learning fusion. The majority of the videos were repeated though, which was unfortunate. I learned my main toolkit here, the revolve feature, the pattern tools, and the different shortcuts that go along with each tool. Fusion was actually the first design software I ever used, so it was pretty familiar with me. When going through the tutorials, they were slightly outdated so there were a few short struggles throughout. The first full piece I designed by myself was a wheel to fit within a tread, which was for my final project. The process is shown below:
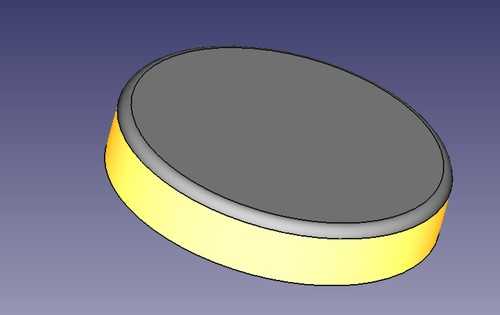
 Extruding the first shape
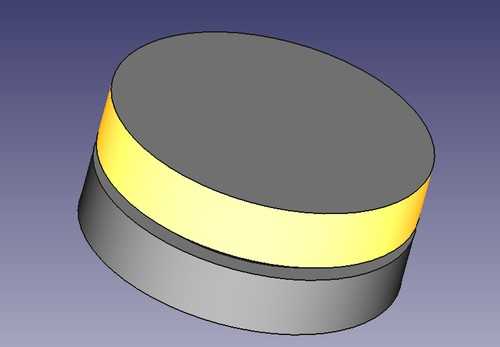
 Cutting the circle for the inner portion of the tread
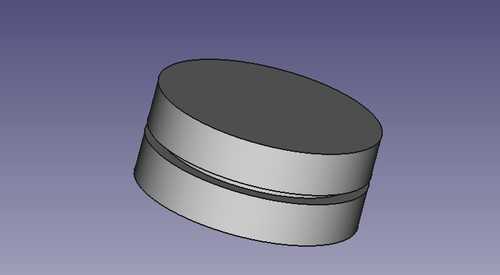
 This was the cutting of the holes in the tread
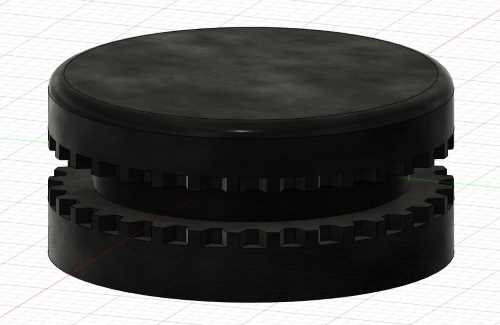 This is the final design of the wheel, I just added a circular pattern with the exact dimensions to fit the treads I had
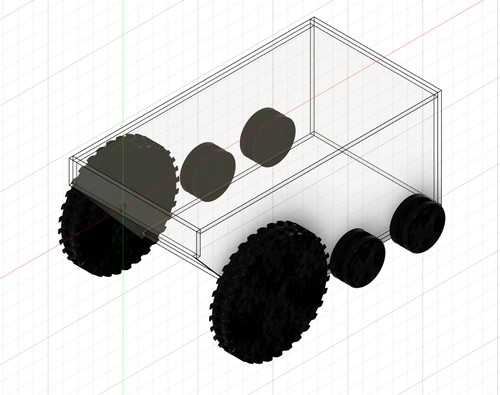
After I designed the wheel, I printed one out, but I realized that the depth of the slot for the teeth of the tread I ordered was to small. I accidentally subracted the tread depth from the diameter instead of the radius. I then changed this, along with making the clearances larger, and reprinted the part. There were no issues with the new part, so I printed a second one and tested to check how large the tread would be when fully extended out. The tread was much smaller than I anticipated, so I had to create a new workaround for this in the way of creating a large front wheel, which I had not anticipated. I designed a new front wheel as well, which I anticipated that I would cast later. I designed the whole projects layout in fusion and this is the image of that
Final thoughts on Fusion360
I really enjoyed using Fusion360, the UI was really simple and well designed, the tools are easy to understand and manipulate to your needs, and the other included options such as rendering and sculpt workspaces were nice additions. The revolve tools are intuitive, and the pattern tools are also a very handy feature I use often. The one and only issue I had with fusion was the way assemblies are made. I am more of a fan of bottom up assemblies, whereas fusion is top down. It would be nice if there was an option to build them bottom up, but alas, there is not. The sculpt workspace was very fun to use, but I unfortunately don't think that there are any practical applications for using it in my project. Overall I think fusion is the best option for my project, and I feel most comfortable with it compared to other software.
Corel draw - 2d vector based software
Corel draw is a vector based 2D software that our lab uses to run our laser cutters. I already know correl draw going into this course and plan on using it in the future. Correl draw is more advanced than cuttle, and because of that it gived more options. Now this is a personal preference, but I prefer the correl draw to the other softwares for 2d designs. The way correl does their UI makes sense, and I also have more experience in correl compared to cuttle, which would have been my second choice for 2D design software. Corel's dimmensioning tools make sense, which important when something has to be made to exact specifications.
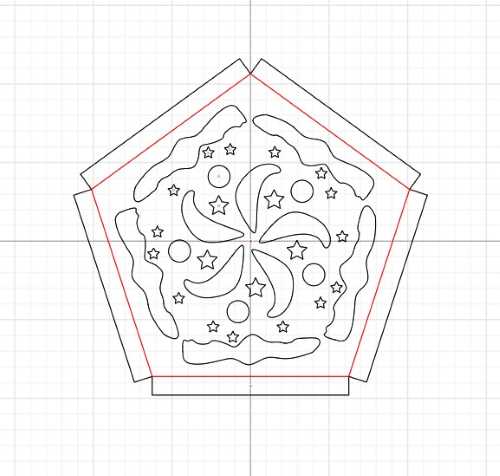
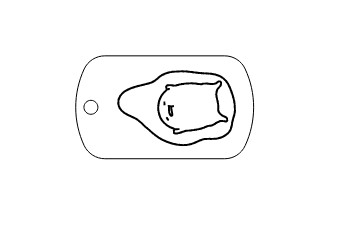 This is an image I designed in Corel Draw