9. Mechanical and Machine Design
Learning outcomes
- Work and communicate effectively in a team and independently
- Design, plan and build a system
- Analyse and solve technical problems
- Recognise opportunities for improvements in the design
Objectives
- Document the machine building process to the group page
- Document your individual contribution to this project on your own website
- Linked to the group page from your individual page as well as from group page to your individual pages
- Show how your team planned and executed the project (Group page)
- Describe problems and how the team solved them (Group page)
- List future development opportunities for this project (Group page)
- Include your design files (Group page)
- You need to present your machine globally and/or include an aprox. 1 min video (1920x1080 HTML5 MP4) + slide (1920x1080 PNG) (Group page)
Link to the group assignment page
https://fabacademy.org/2021/labs/vancouver/students/terrence-carew/assignments/week10_group.html
For this assignment the group decided to design and build an automated cookie cutter.More on the description can be found on the group page.
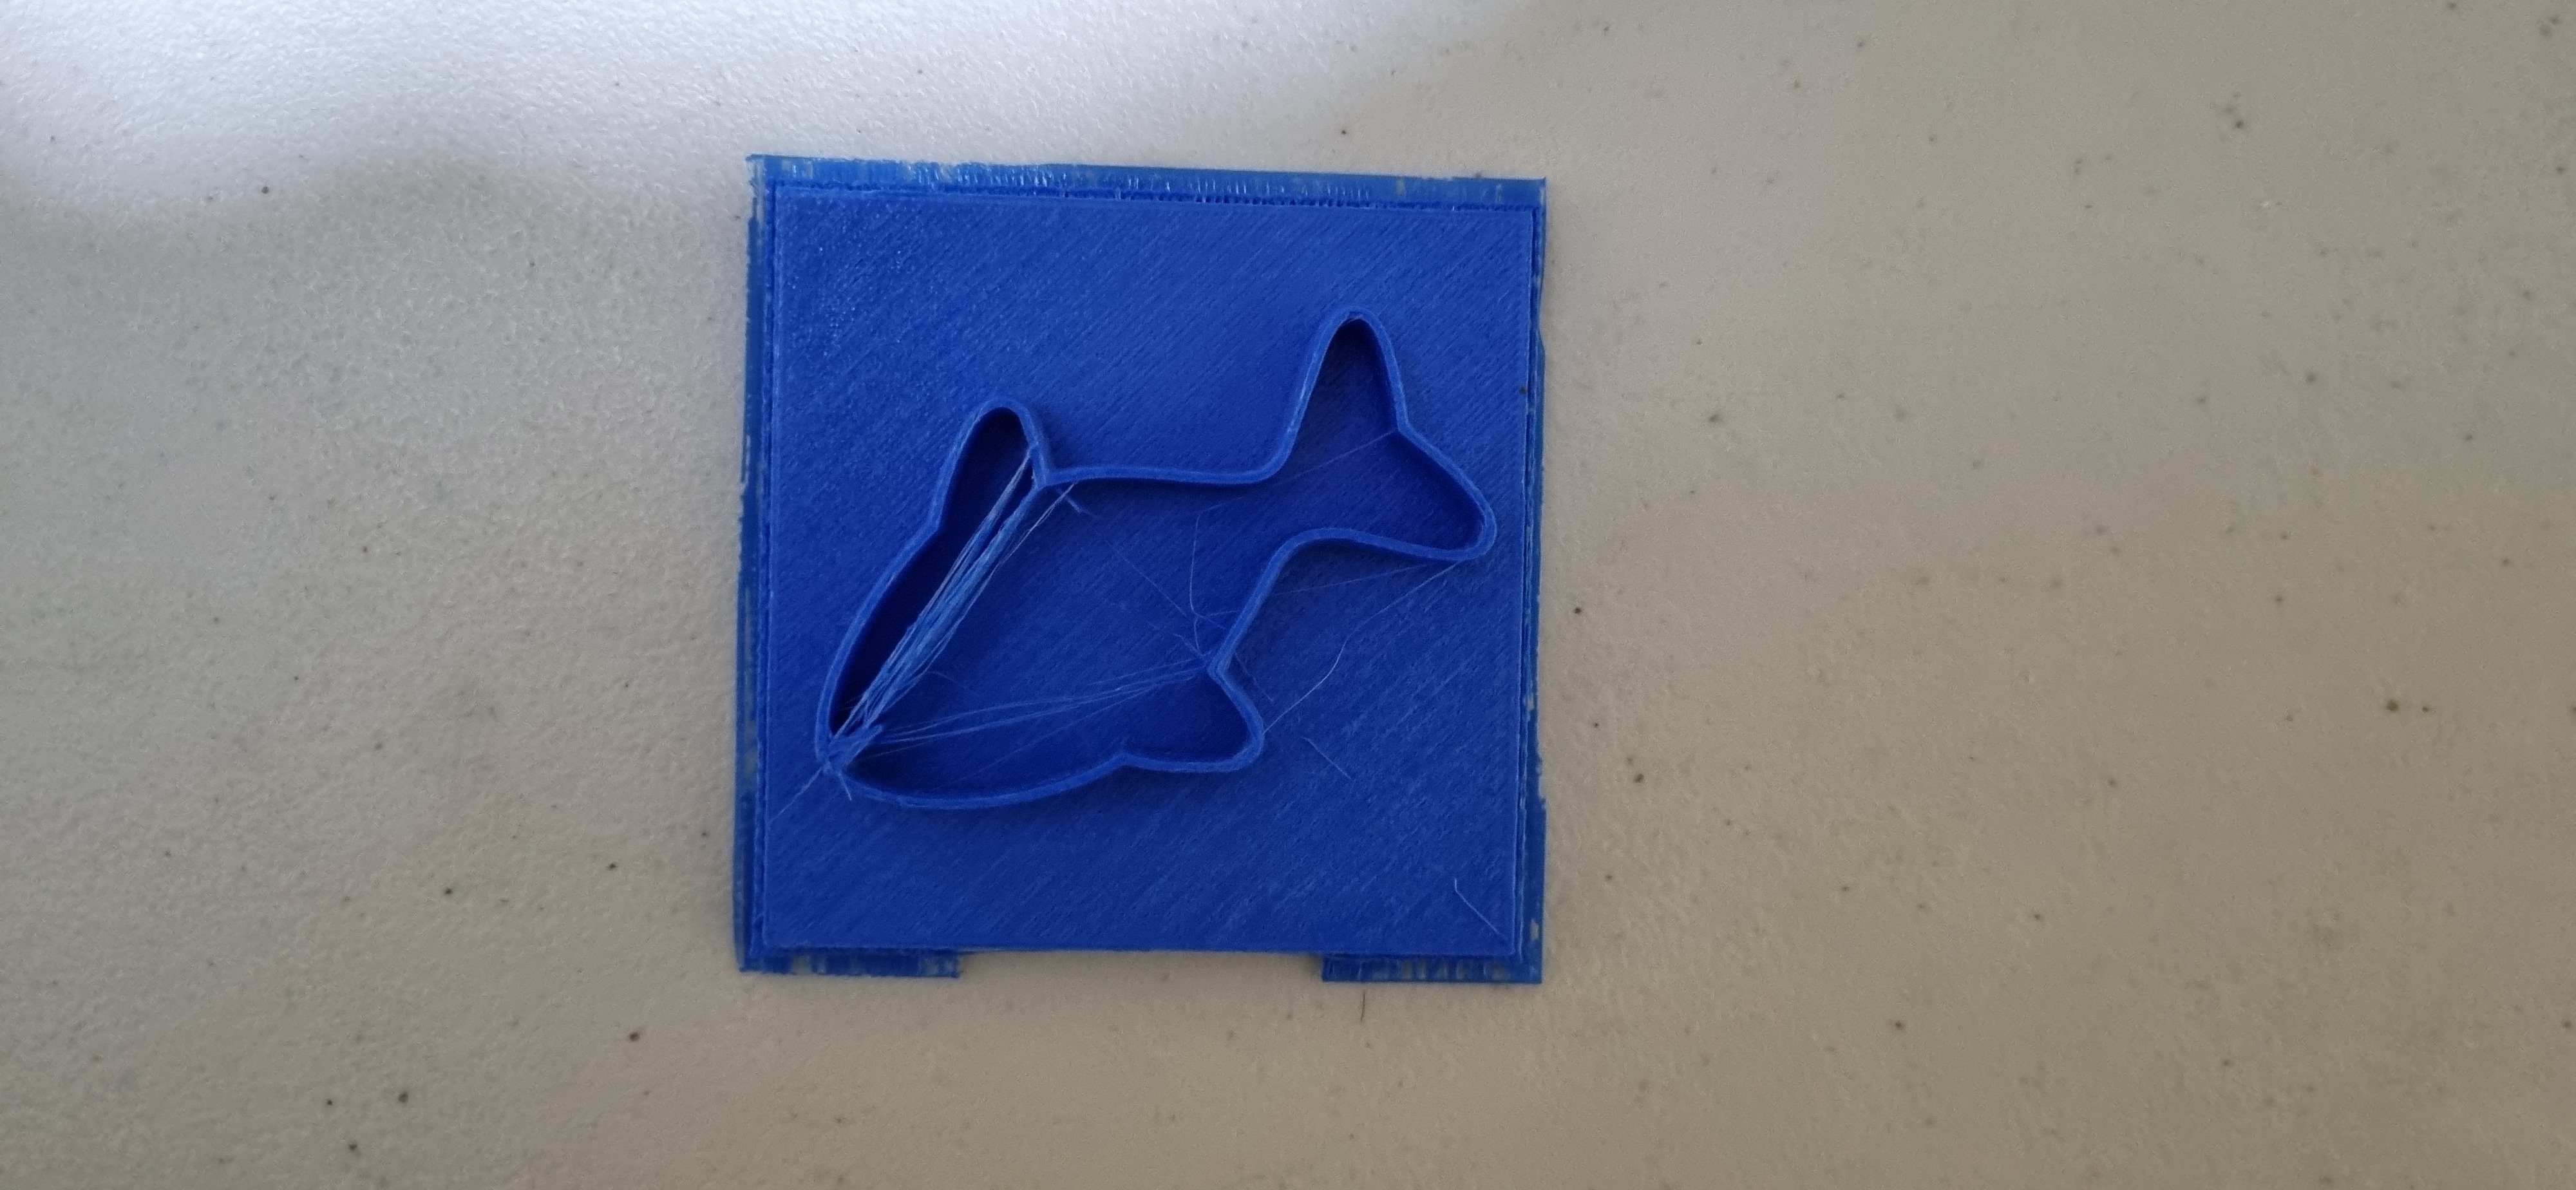
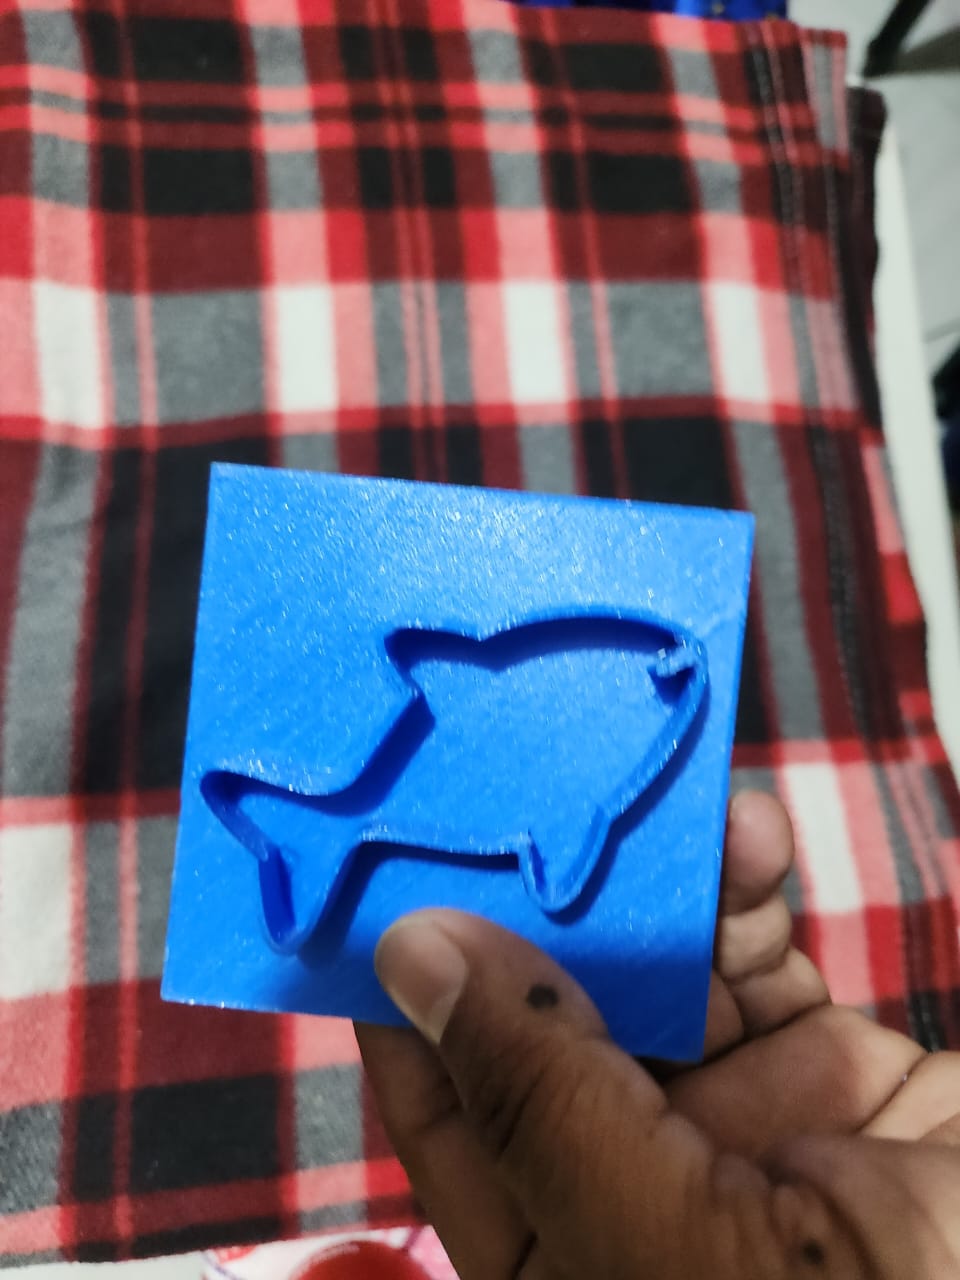
I designed a mold plate to be used to cut the cookies.
The first thing i did was to set up the fusion360 workspace which included setting the units and creating a new sketch.
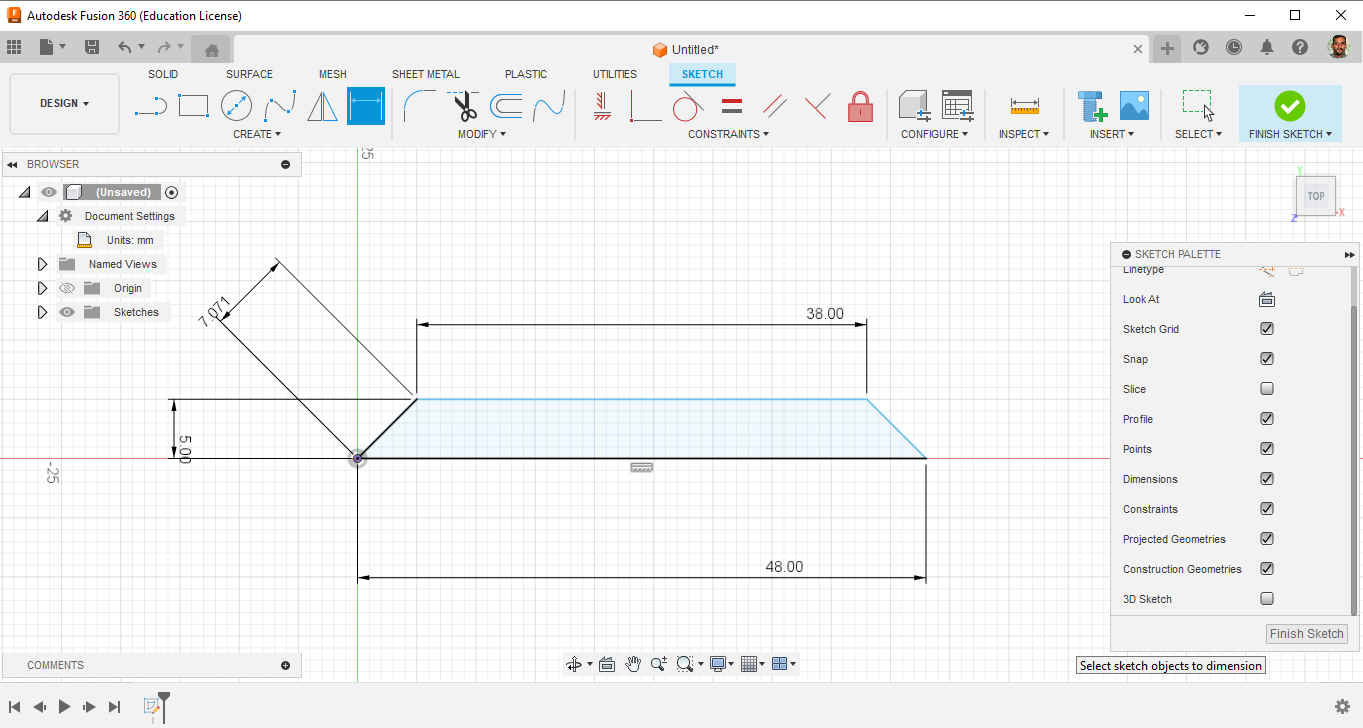
I then used the extrude command to extrude the sketch to a distance of 77mm.

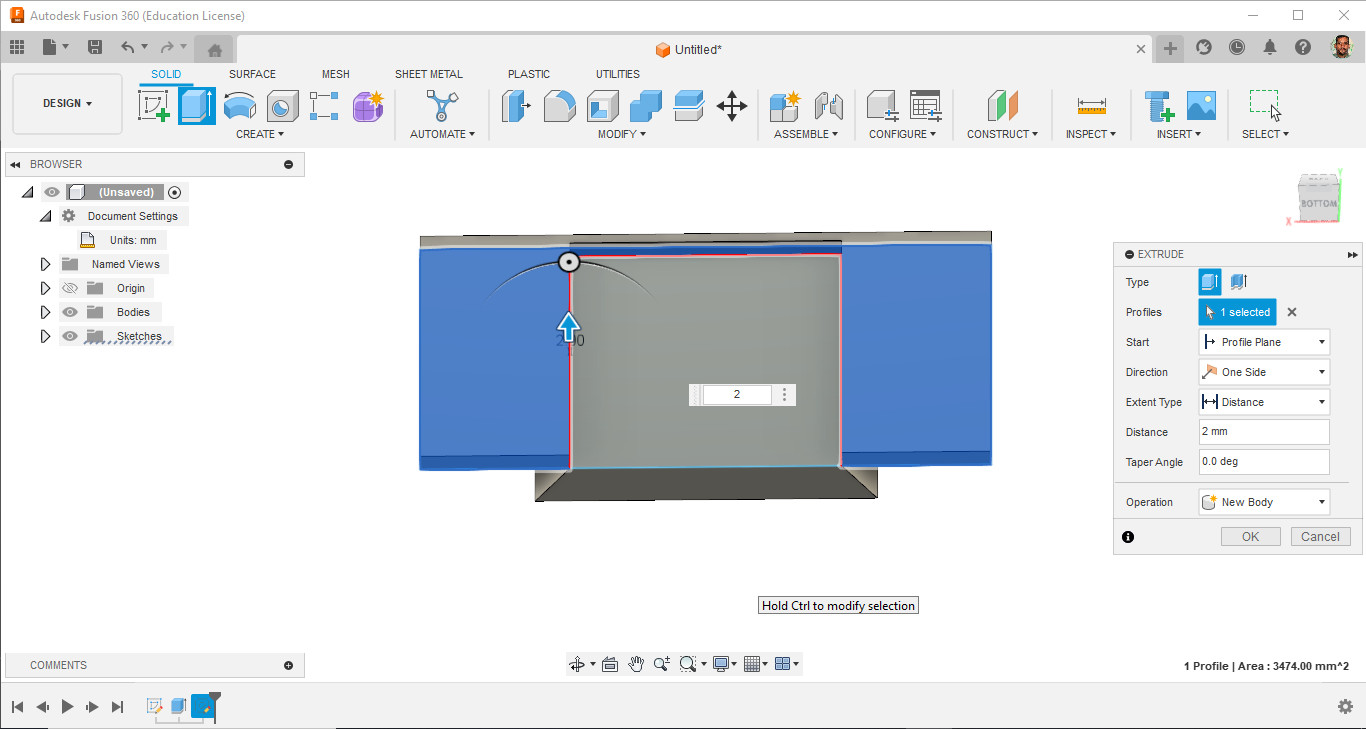
I then started a new sketch on top of the previois one to create a palte 80mm x 80mm. The sketch was extruded to a distance of 2mm.

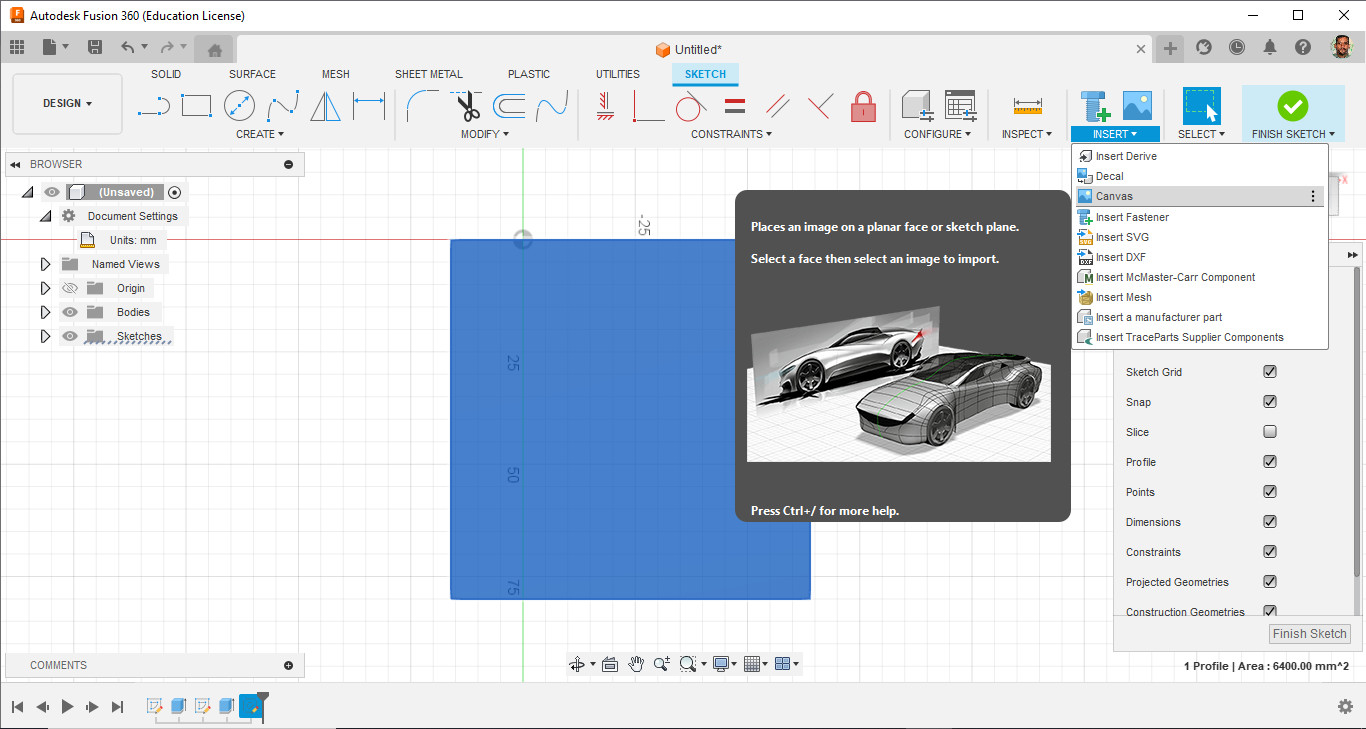
I downloaded an SVG file from the following website which i used to create the 3D file for the mold.
I went to the insert menu and click on canvas to import the picture into fusion360. I used insert SVG and in the menu set the size and position as shown in the picture below using the arrows so that it fits reasonably into the frame.

I then used the offset command to create an offset in the outward direction of 1.5mm.
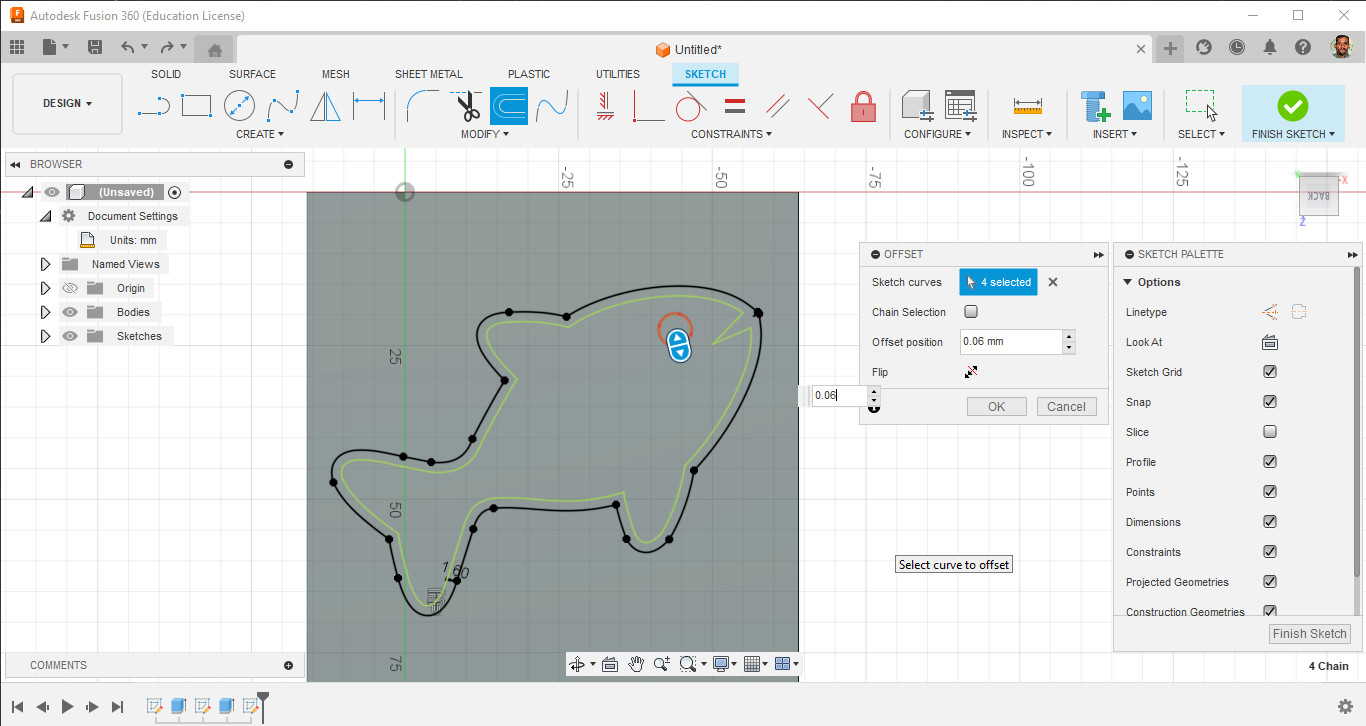

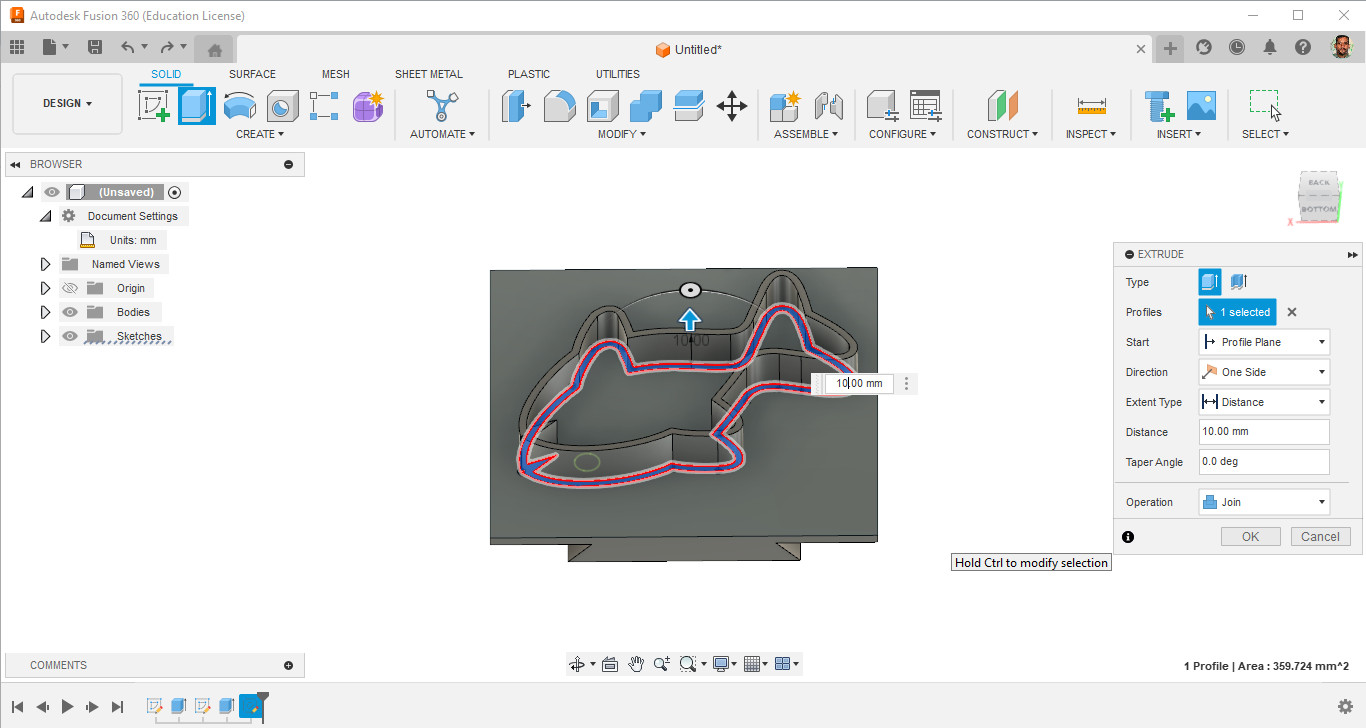
The sketch of the fish was the extruded to a distance of 10mm.
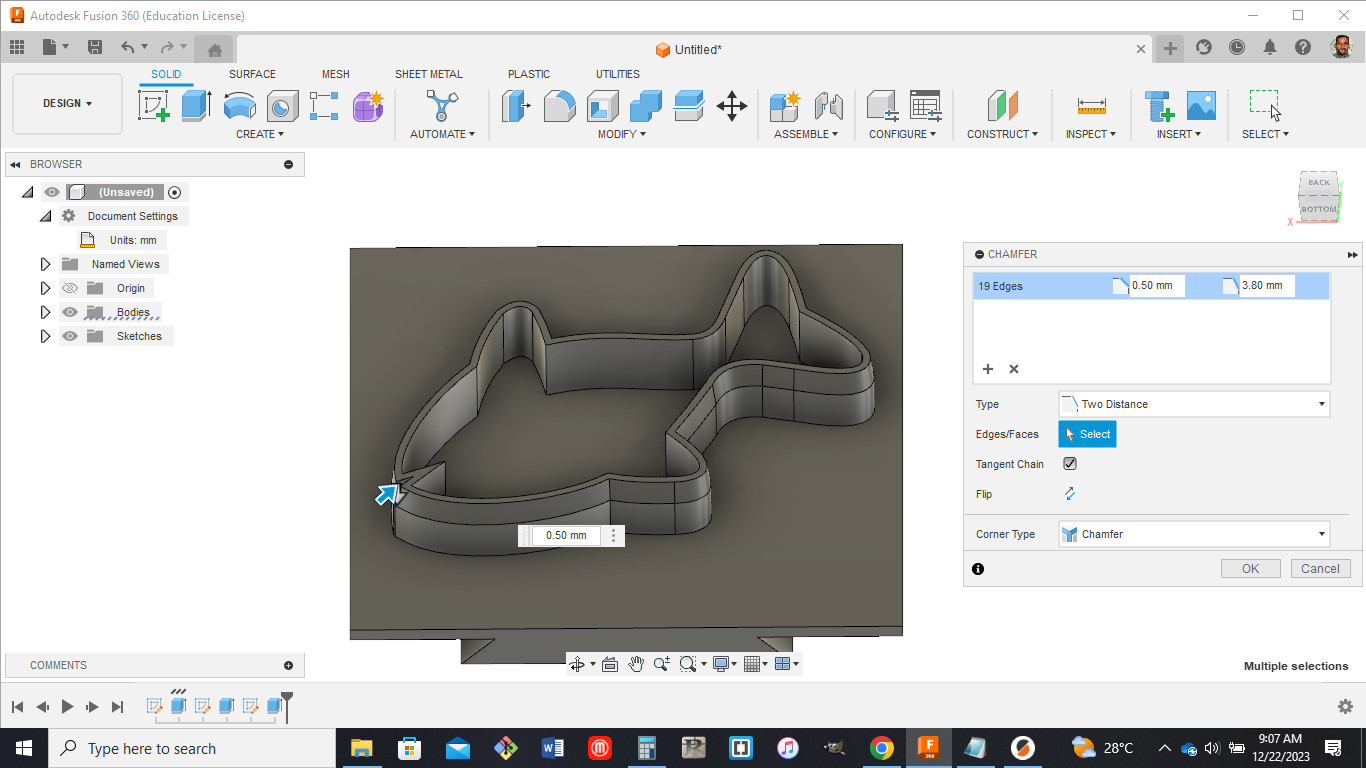
The chamfer command was used to narrow the edges for a smooth cut into the dough being used.
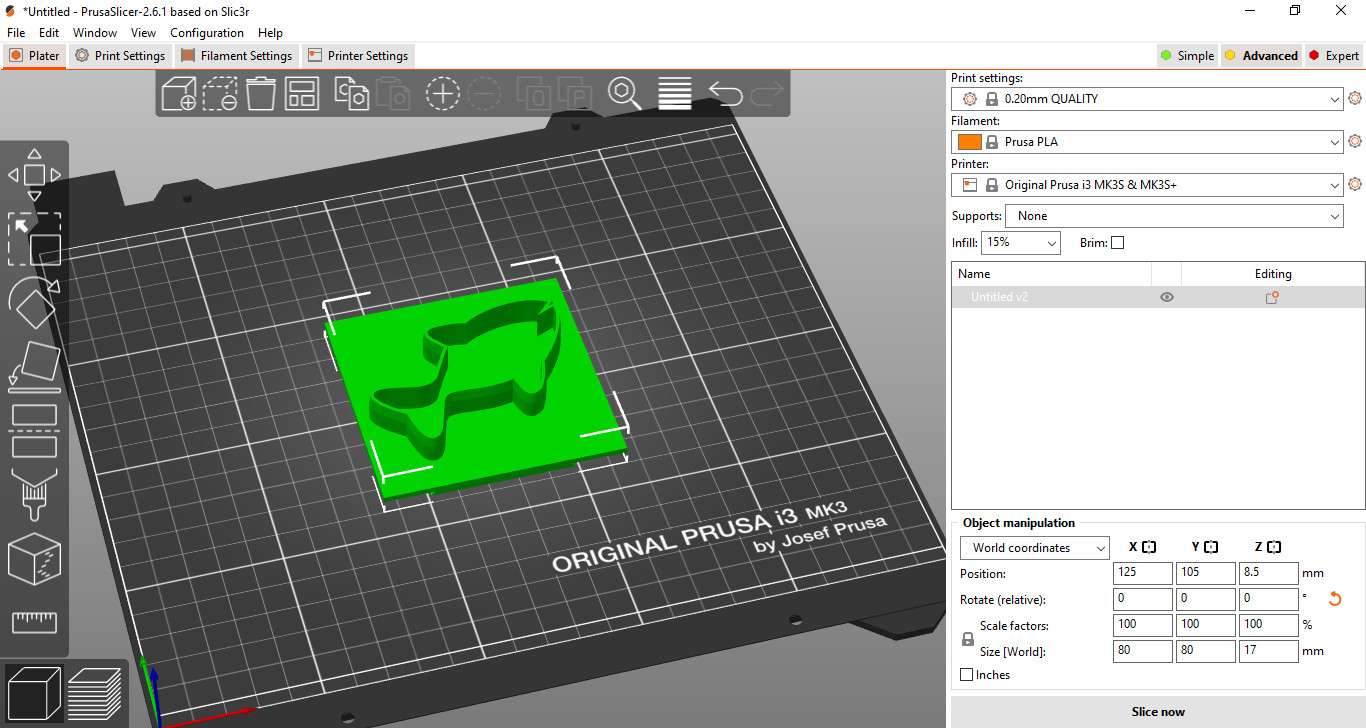
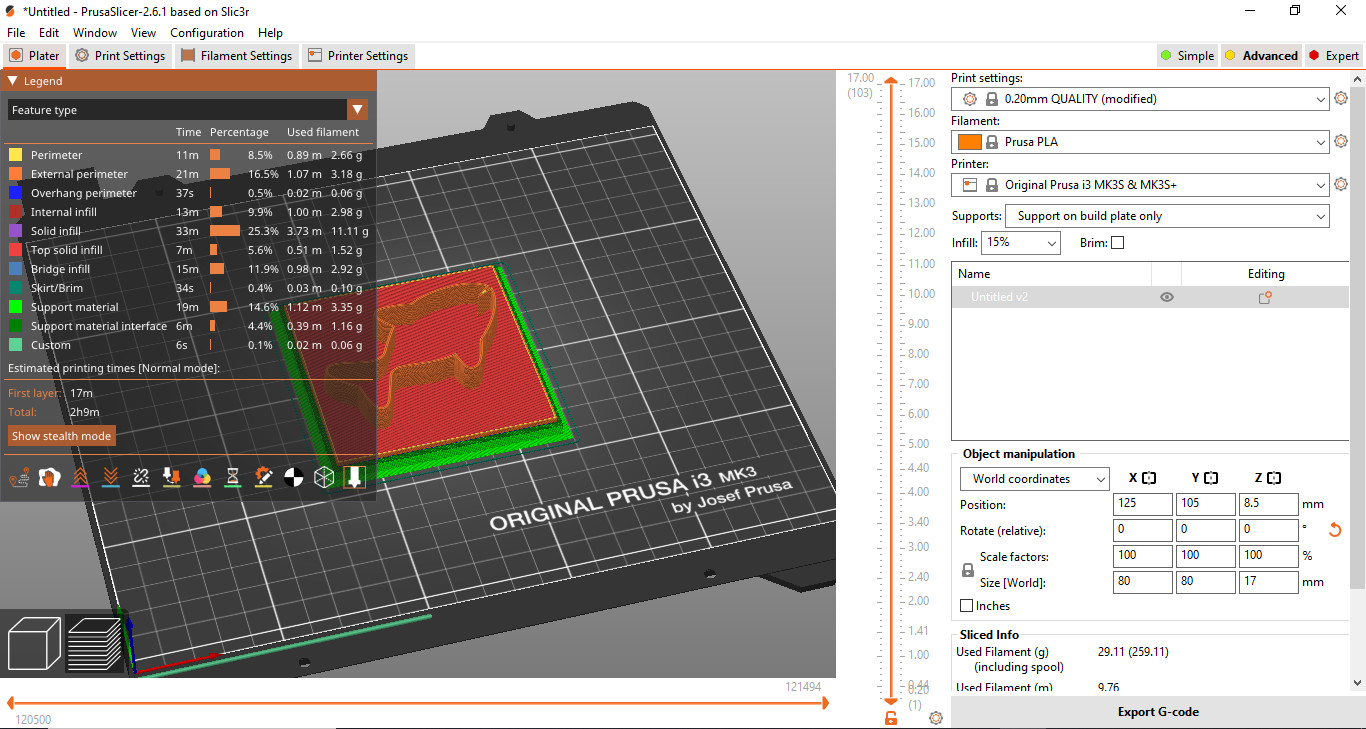
The file was then exported in an stl format for printing.The printer used was the Original Prusa i3 MK3S