7. Computer controlled machining
Learning outcomes
- Demonstrate 2D design development for CNC production
- Describe workflows for CNC production
Objectives
- Link to the group assignment page
- Document how you designed your object (something big)
- Document how you made your CAM-toolpath
- Document how you made something BIG (setting up the machine, using fixings, testing joints, adjusting feeds and speeds, depth of cut etc.)
- Describe problems and how you fixed them
- Include your design files and ‘hero shot’ of your final product
https://fabacademy.org/2021/labs/vancouver/students/terrence-carew/assignments/week07g.html
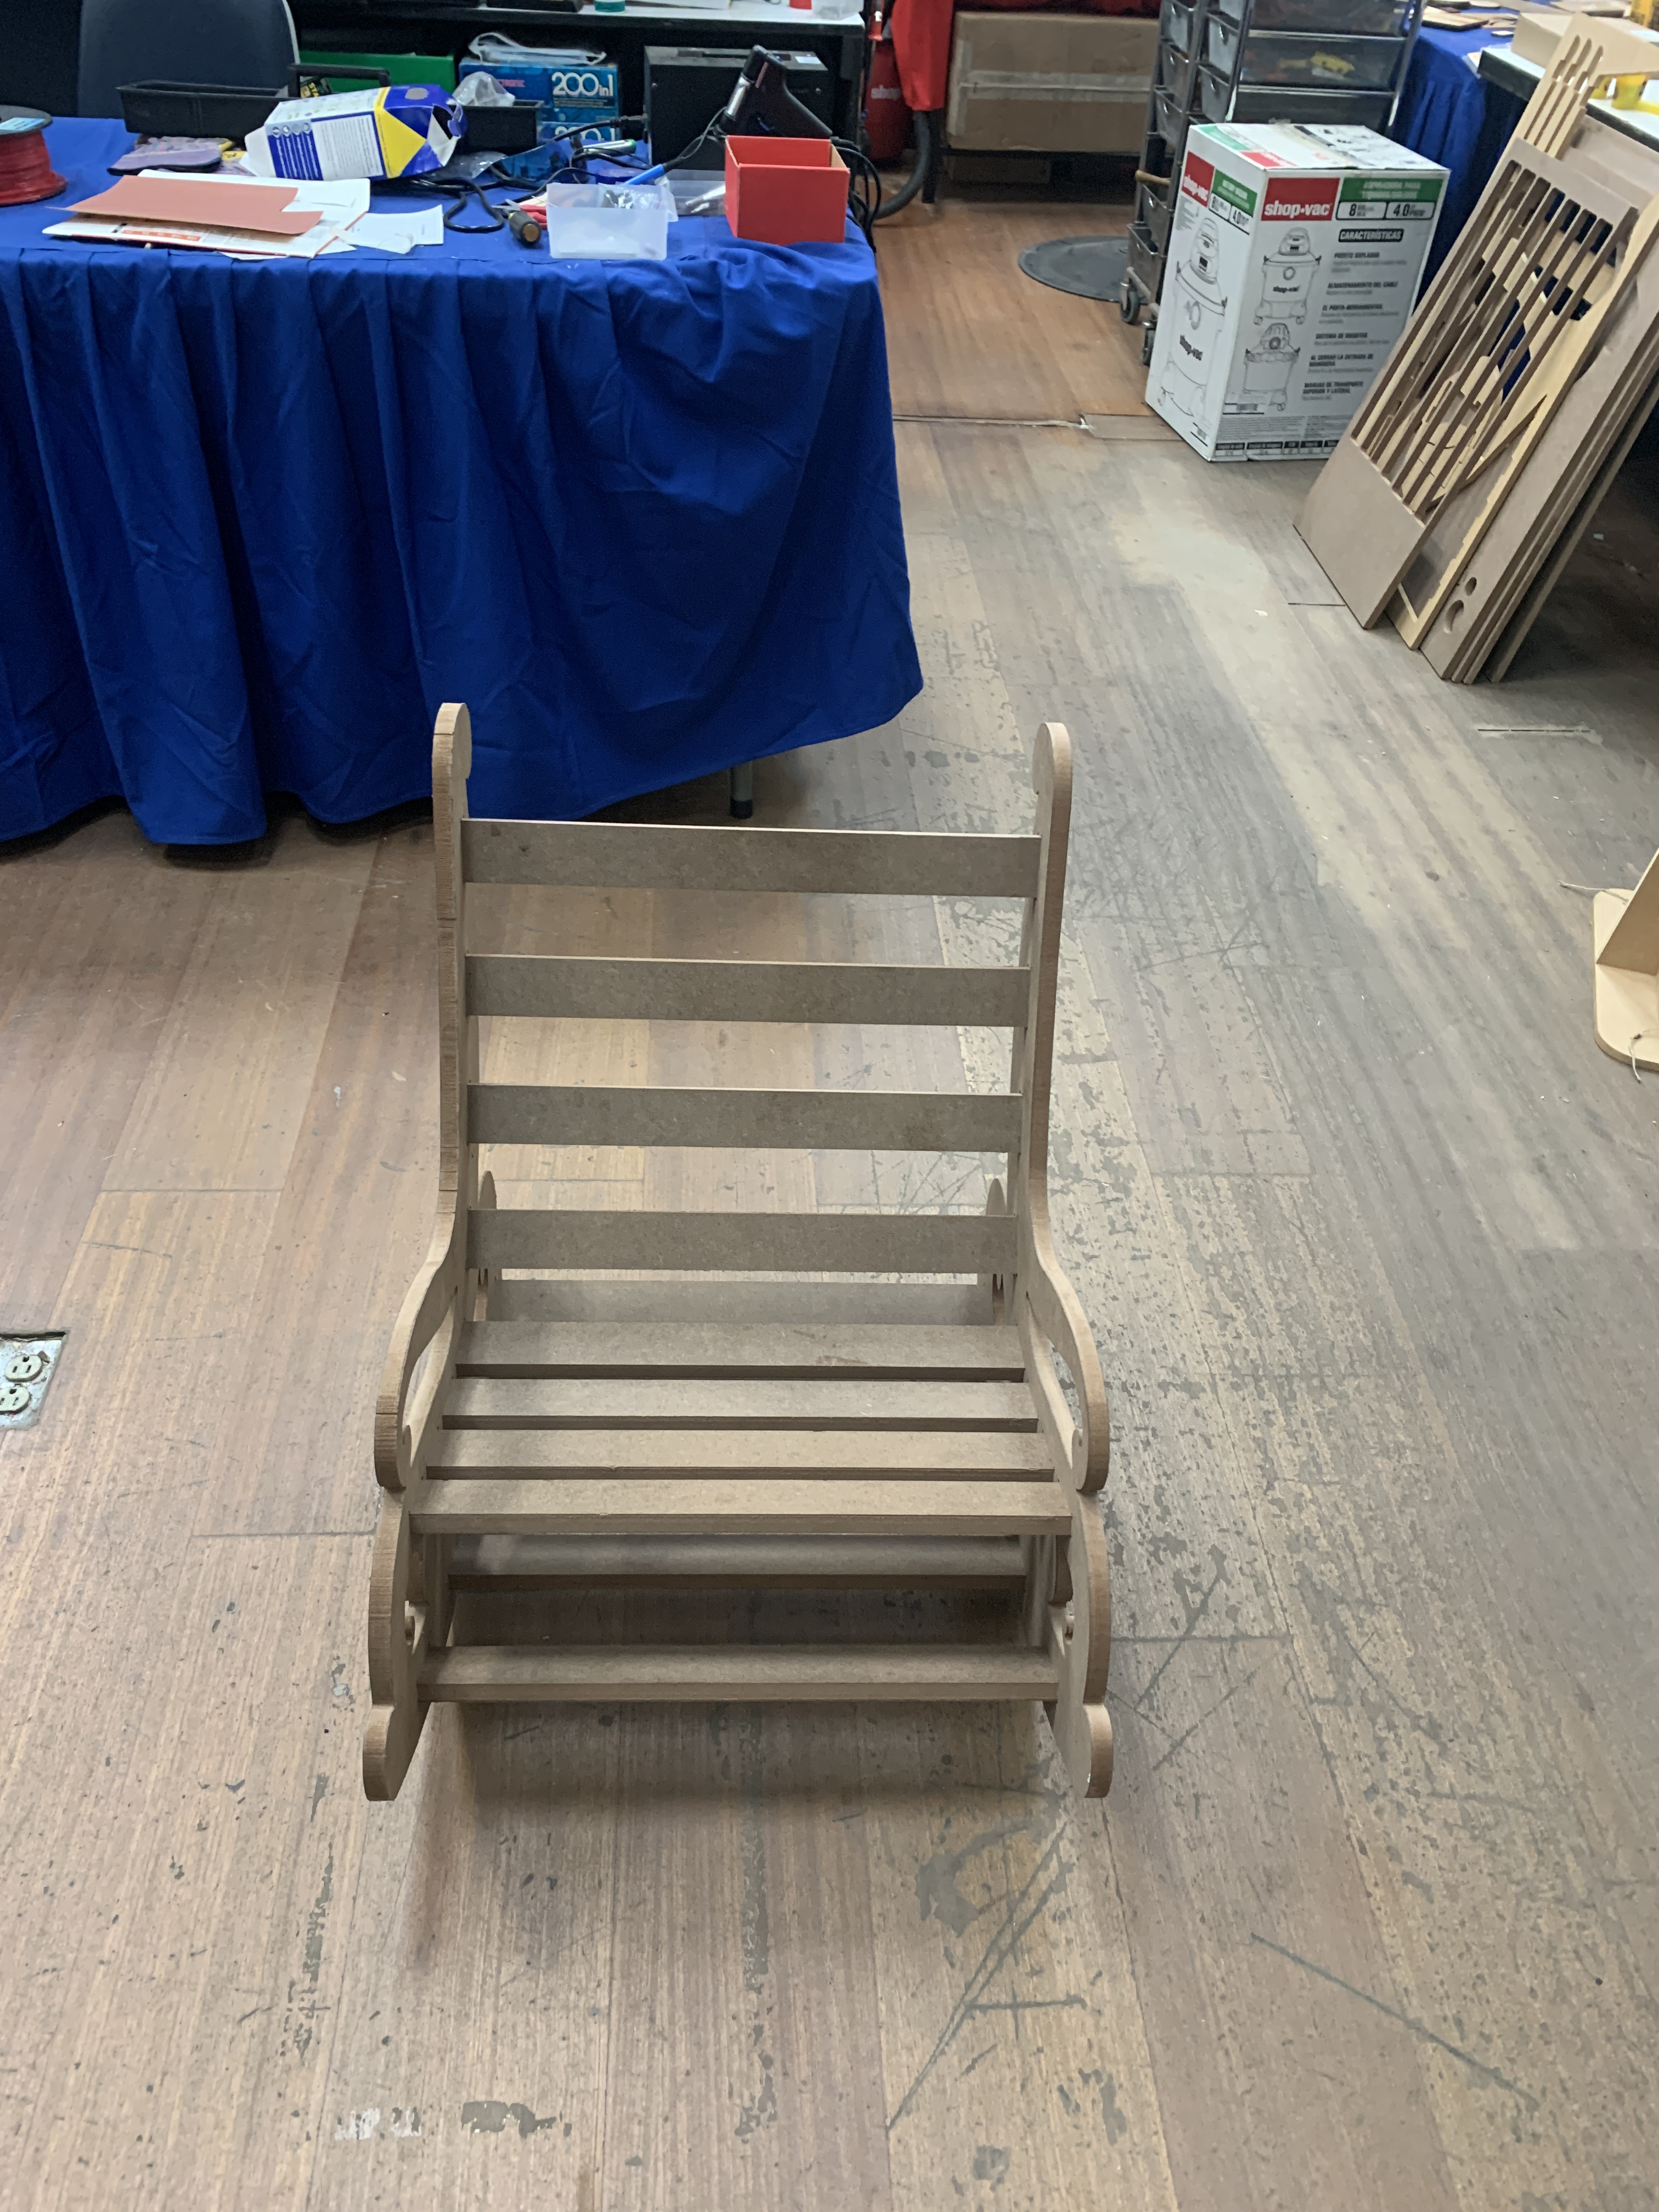
For this week assignment i decided to use AutoCAD to design a rocking chair.
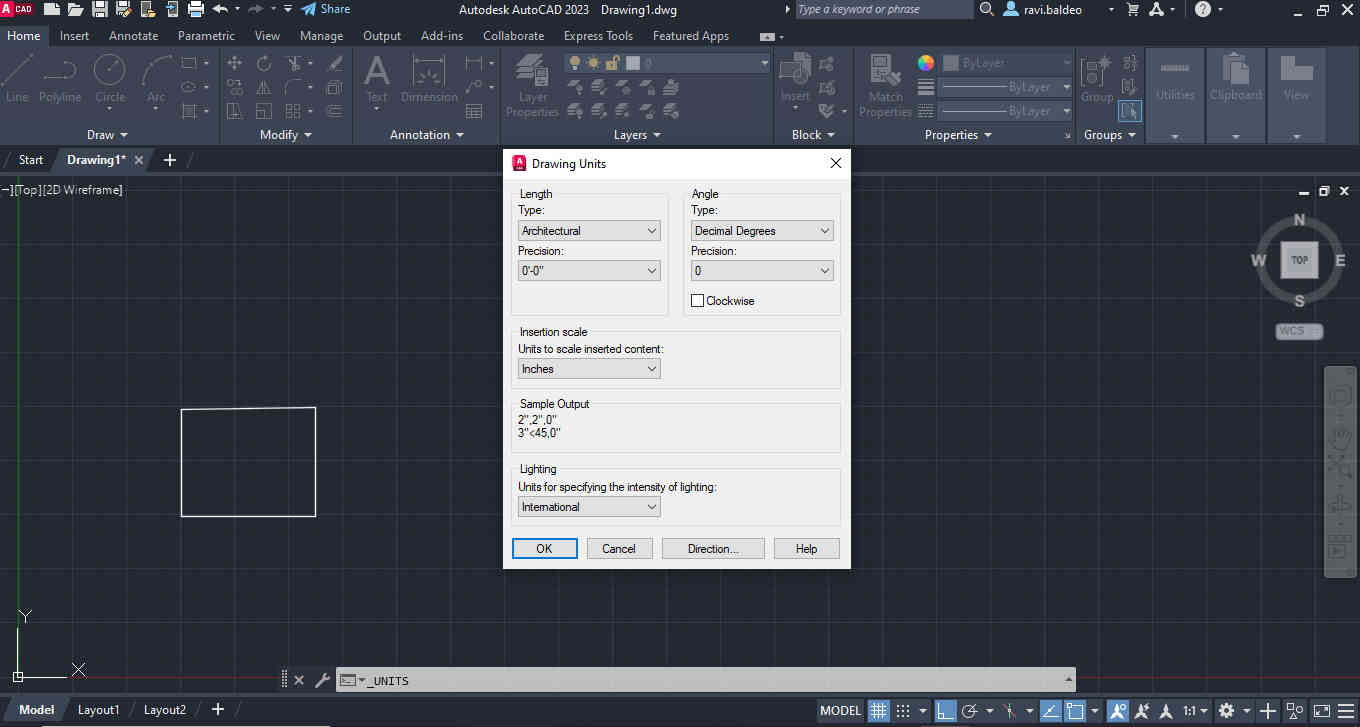
I opened autocad and started a new drawing.The first thing i did was set the drawing limits and dimension style

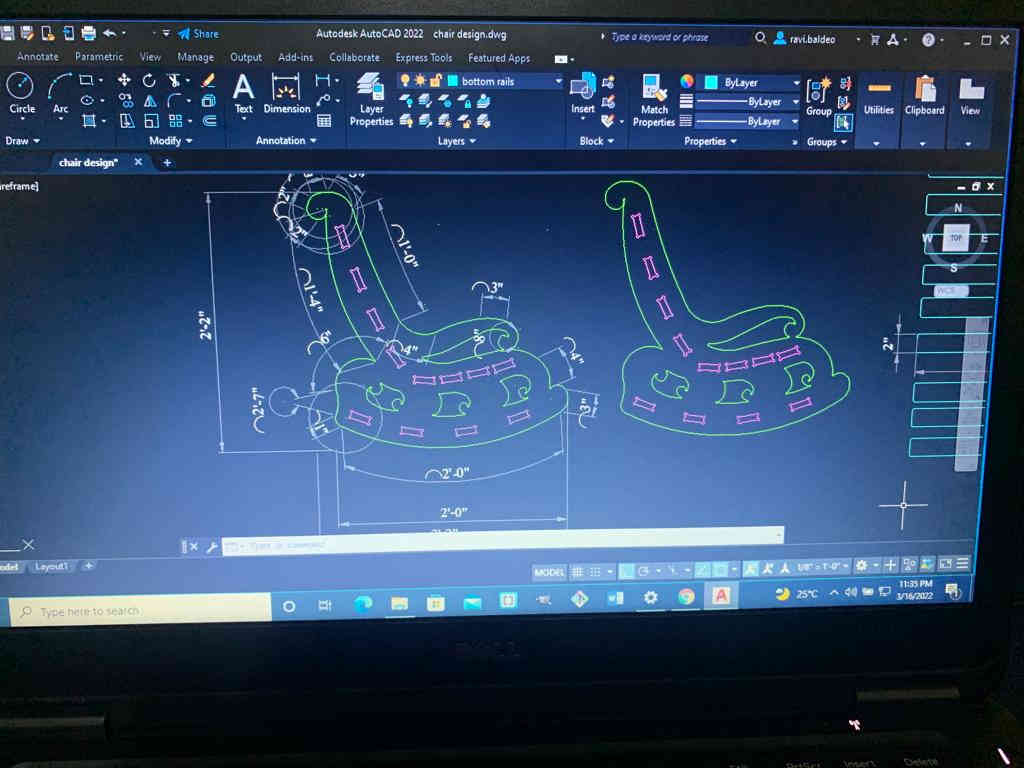
To start the drawing i used the arc command as shown in the photo below which cab be used to create a three point arc
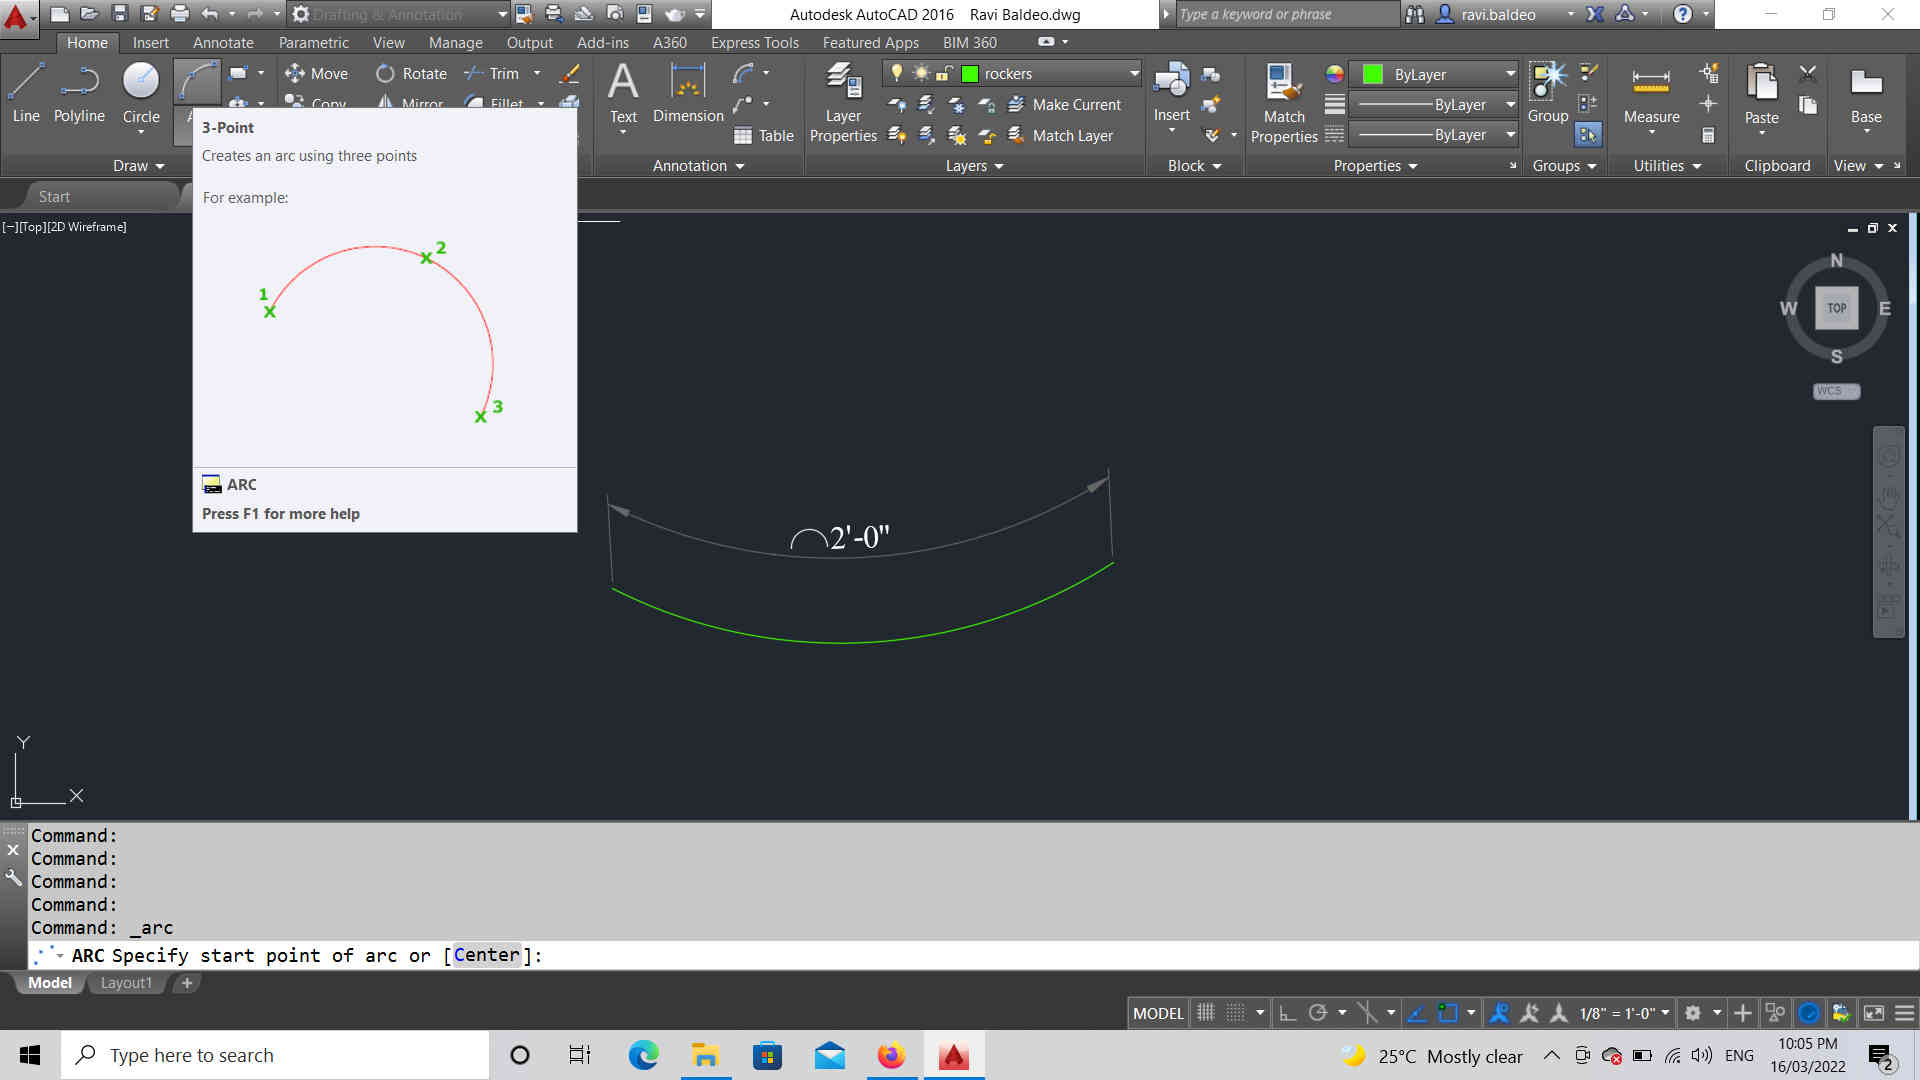
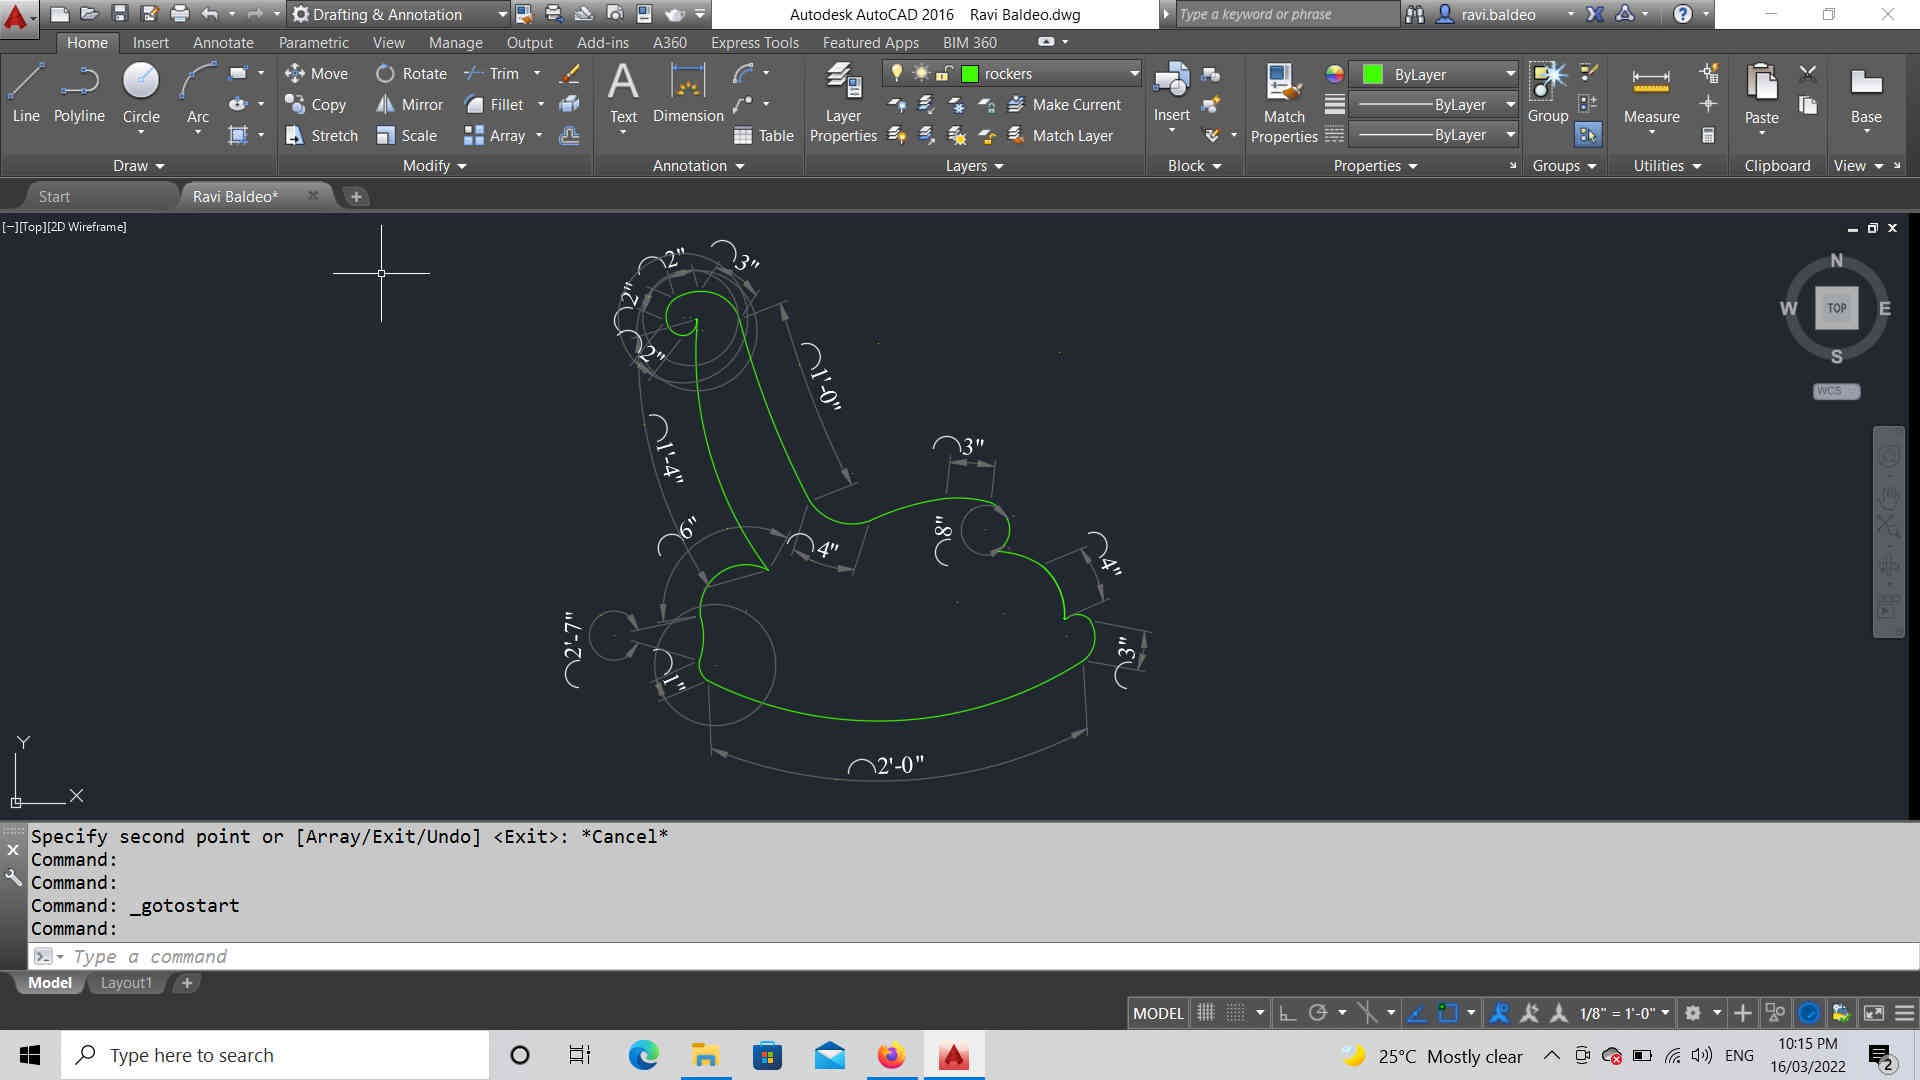
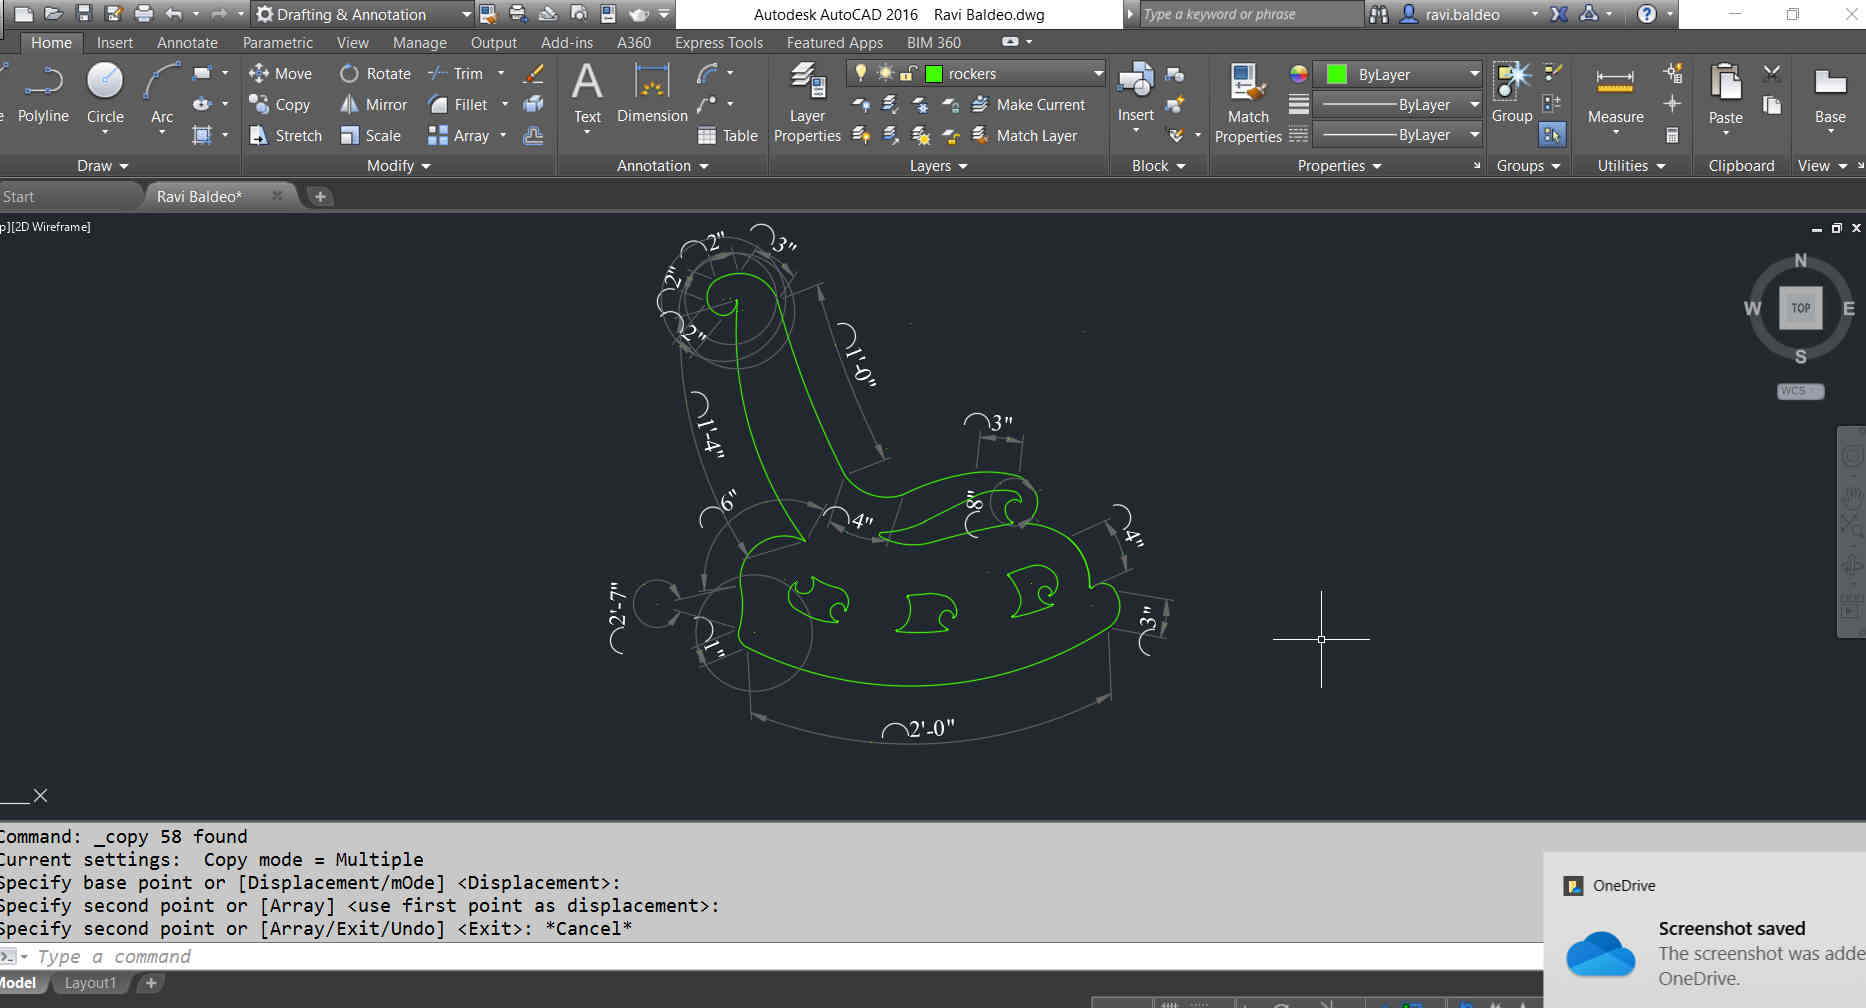
The inside pattern of the chair was created using the following commands that can either be located in the top menu or can be called from the command line at the base of the software.
* arc
* curve
* circle
* fillet
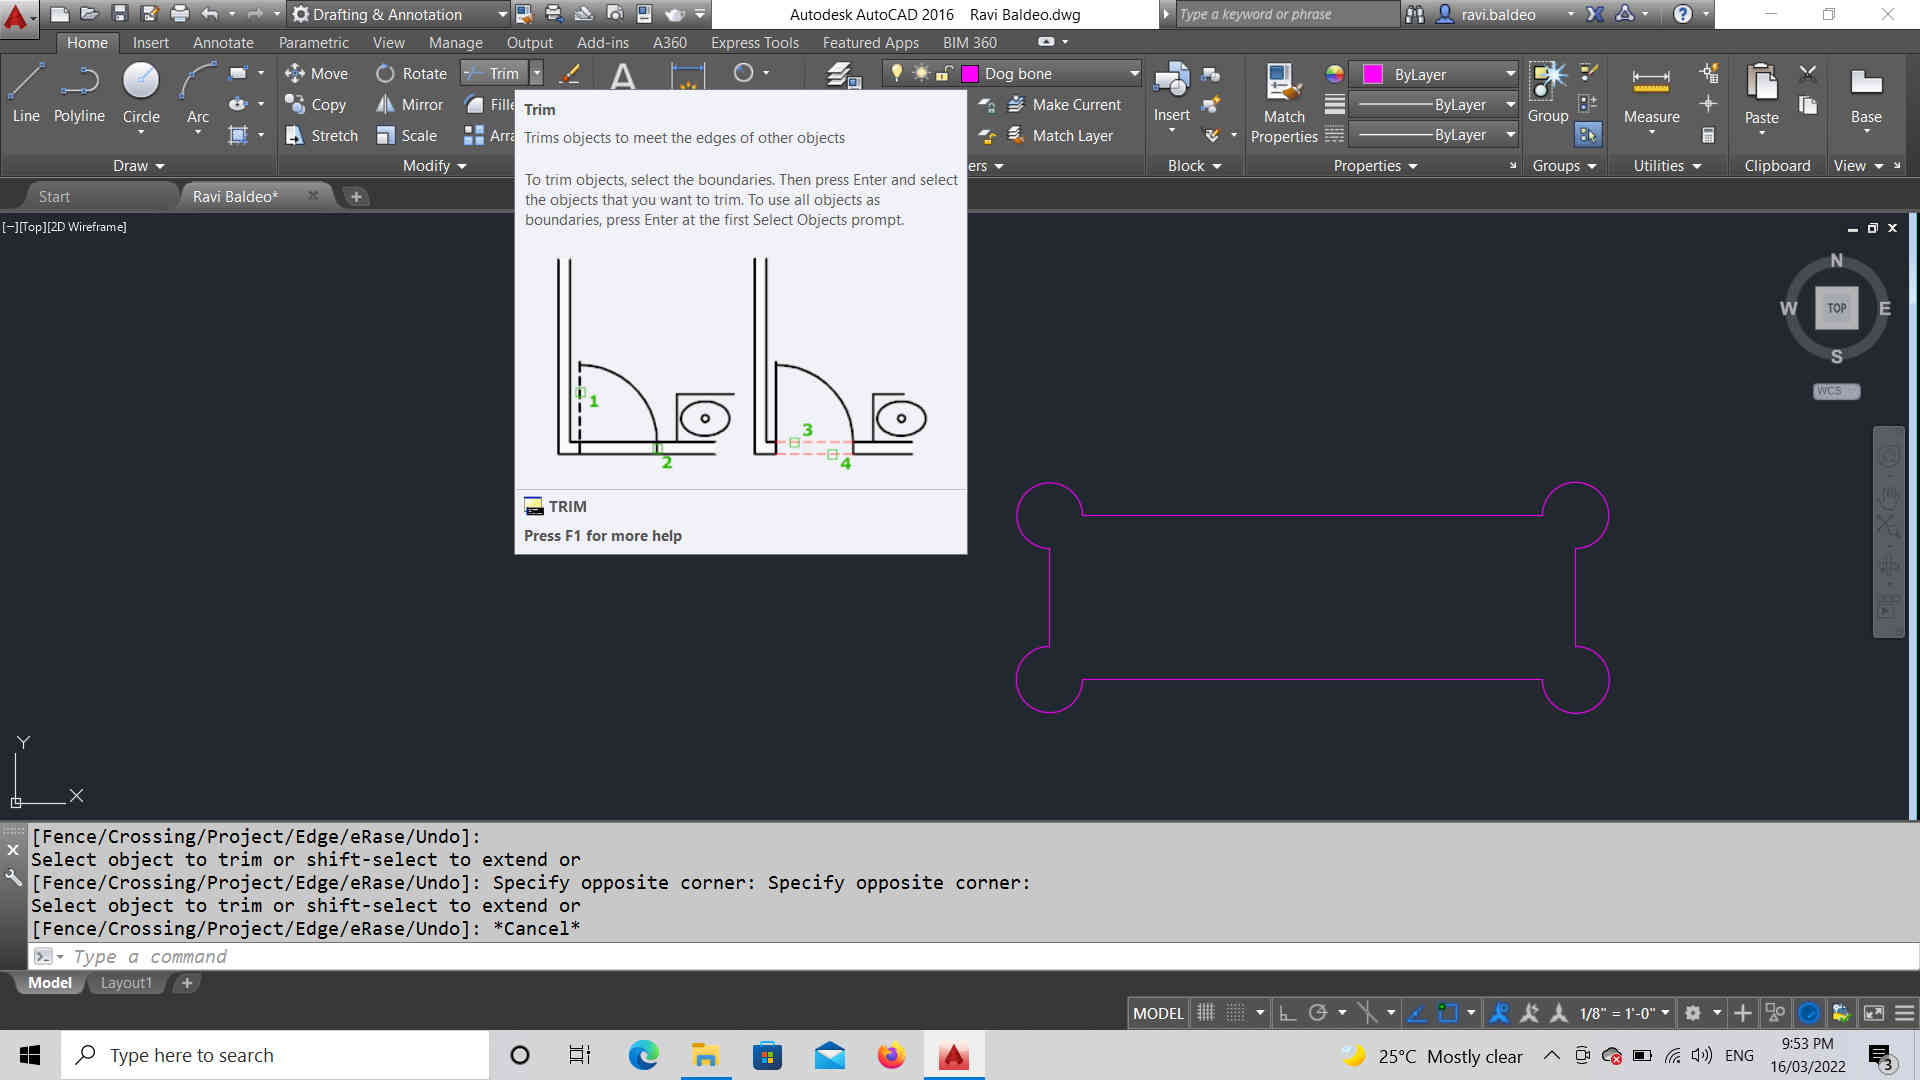
* trim
* rotate
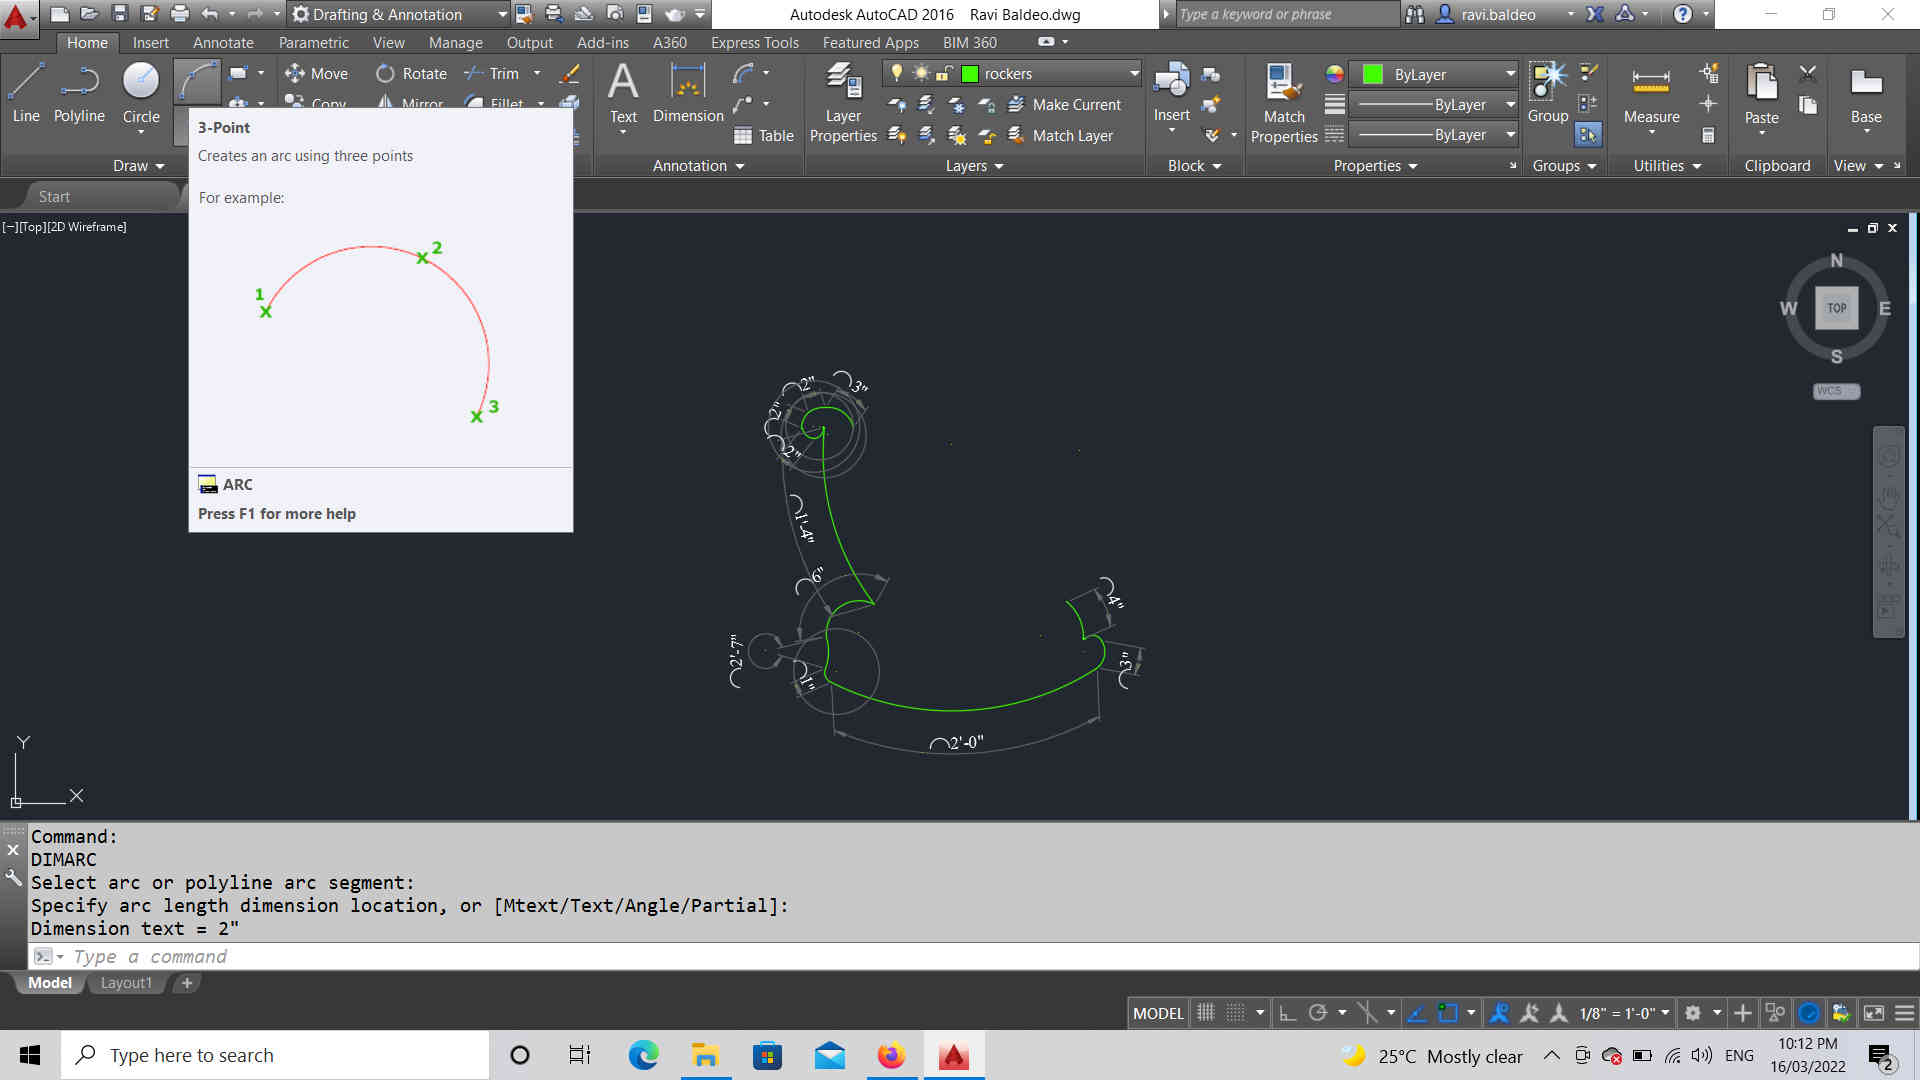
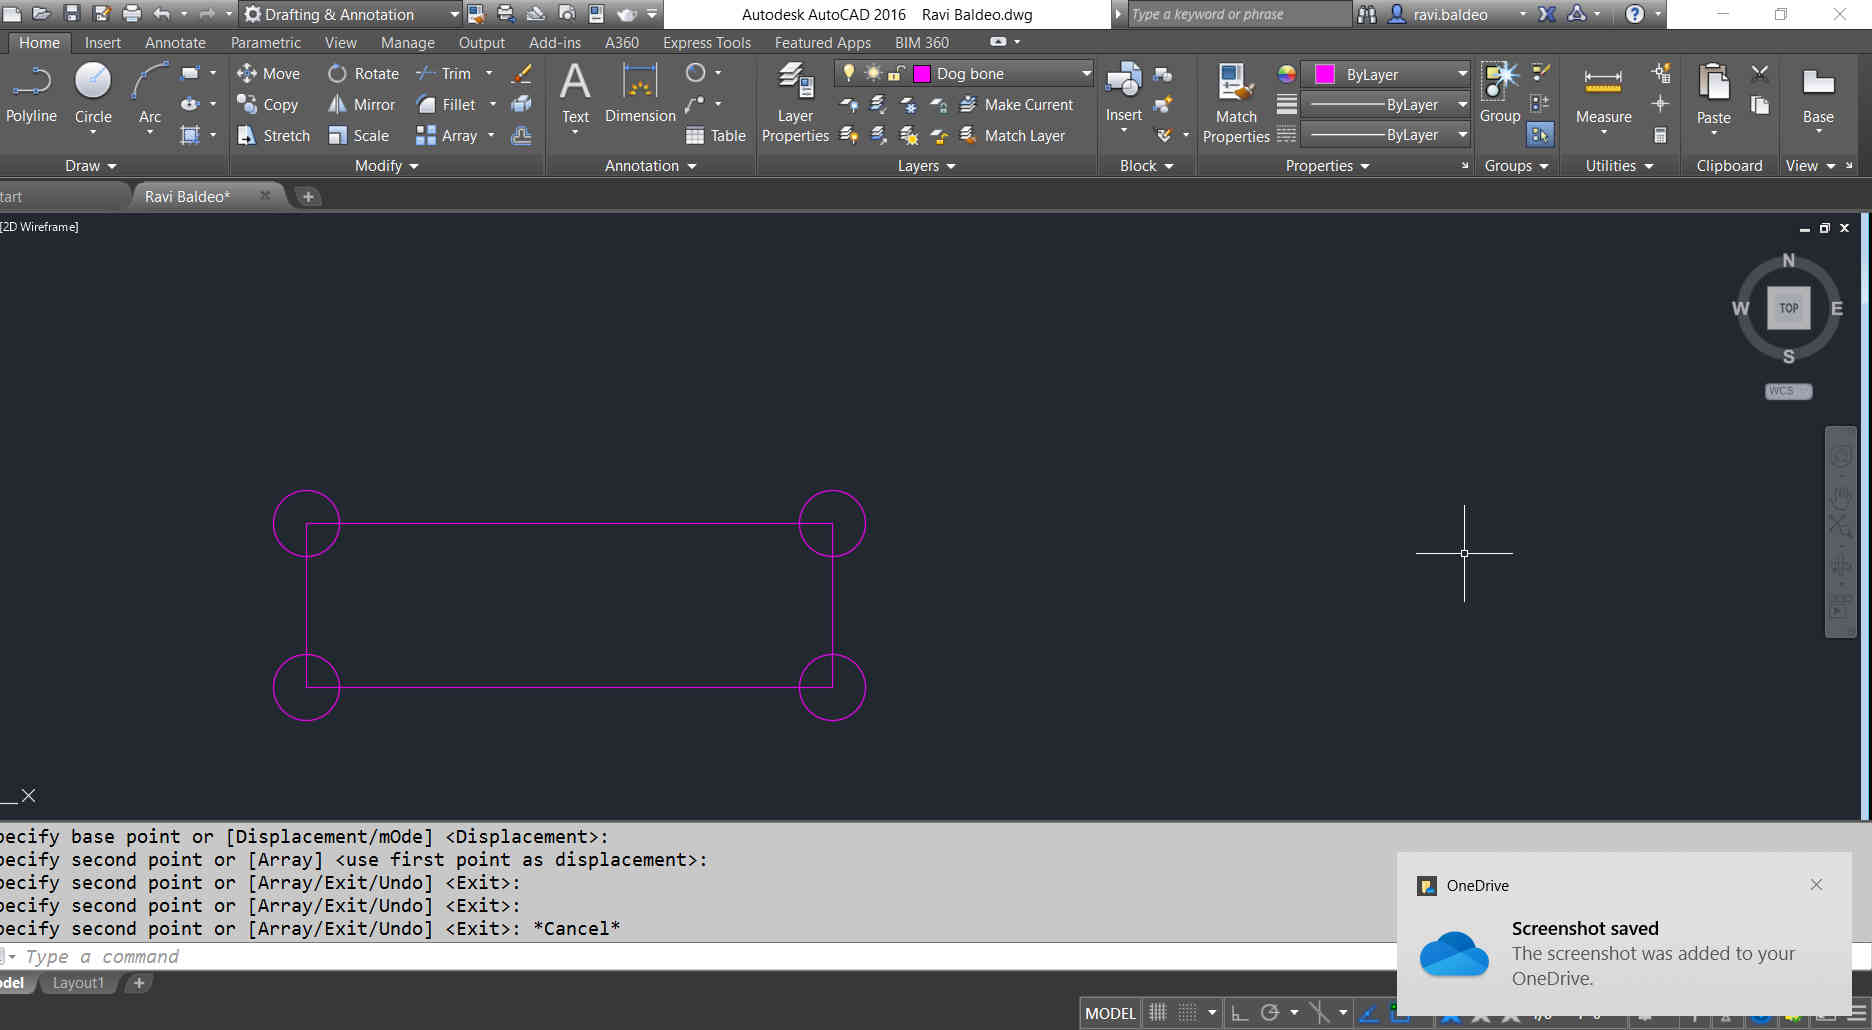
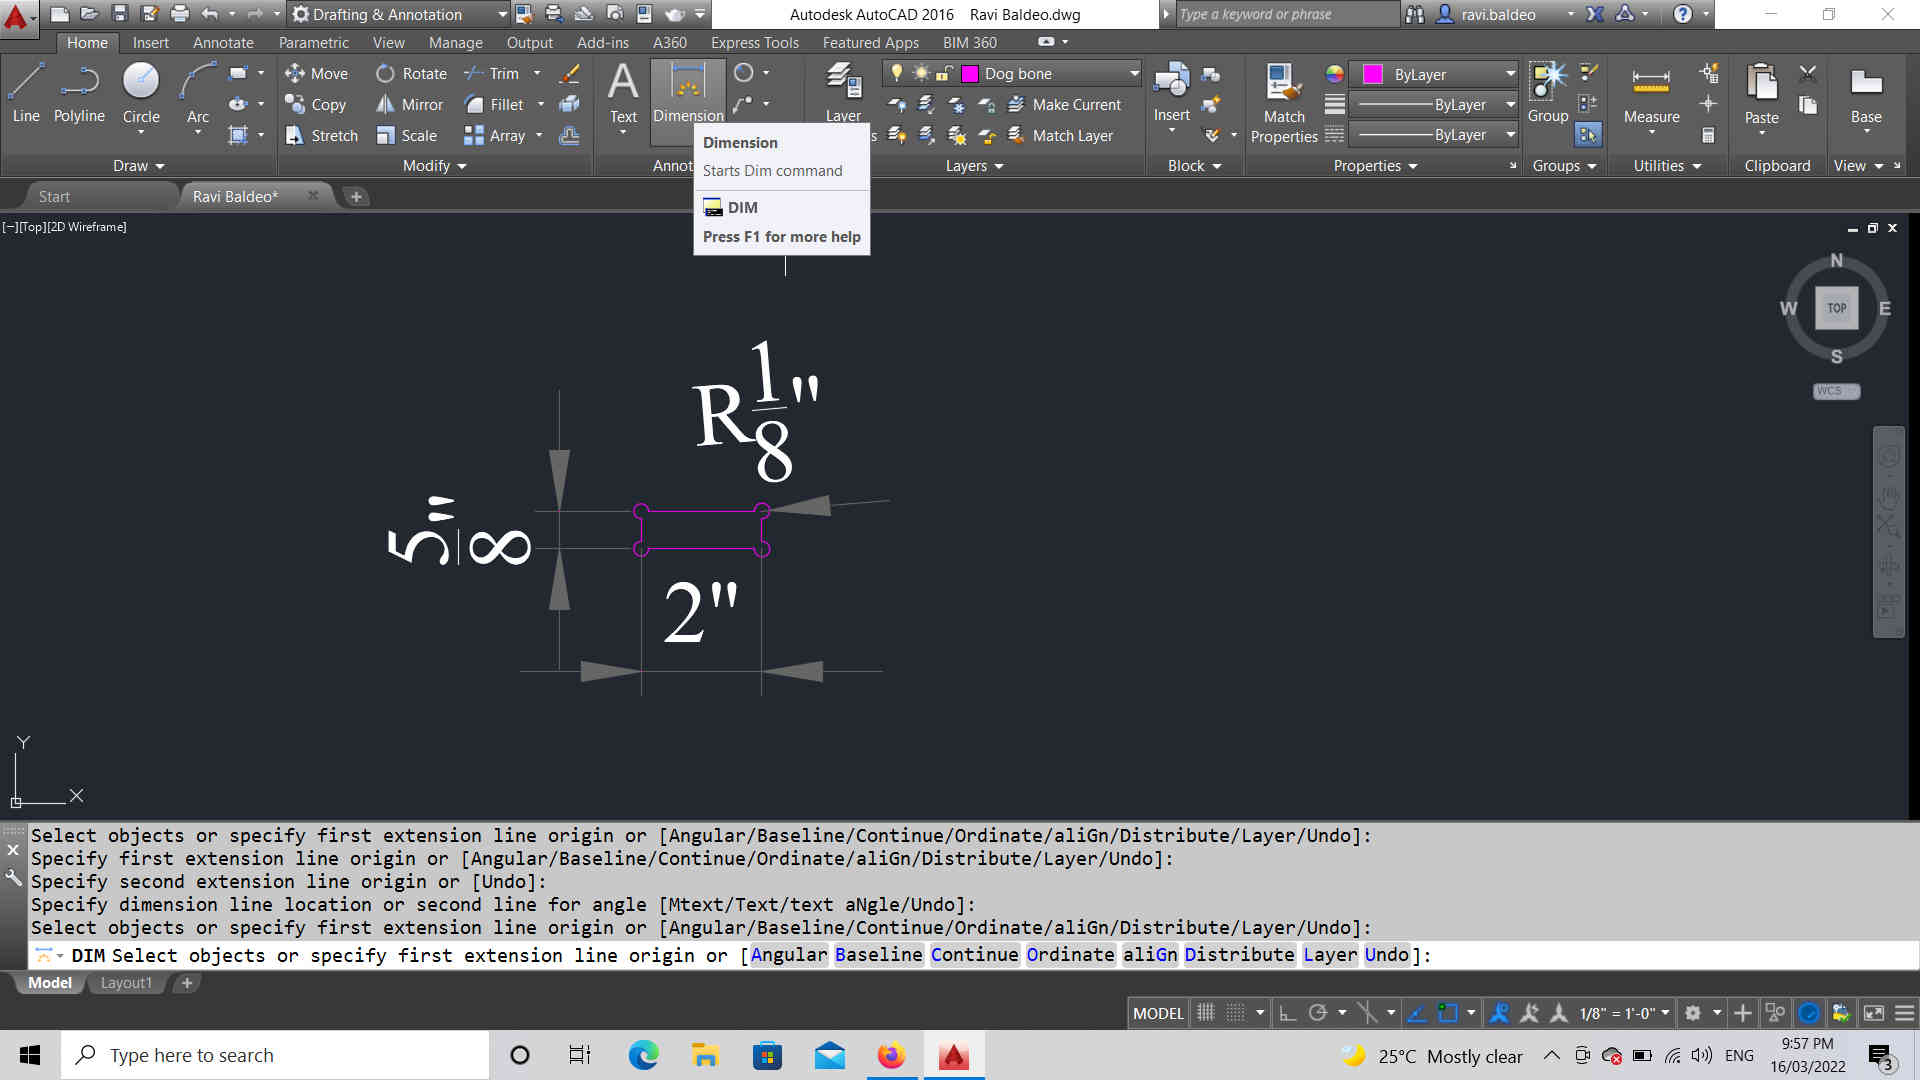
I also created a dogbone pattern in an effort to have the chair assembled with a little bit of ease and for the parts to fit in properly.
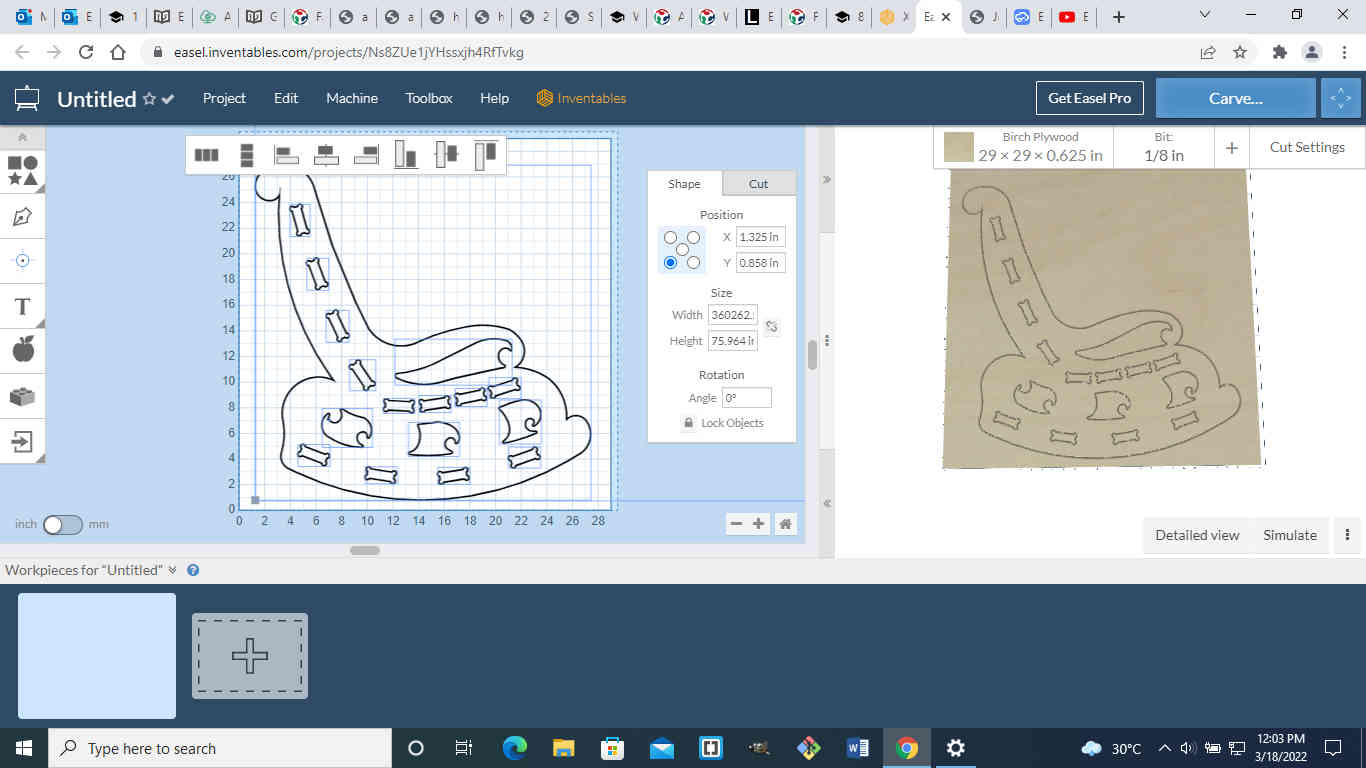
The image below shows the final sketch before the file was exported in a dxf format to be cut using the easel software.
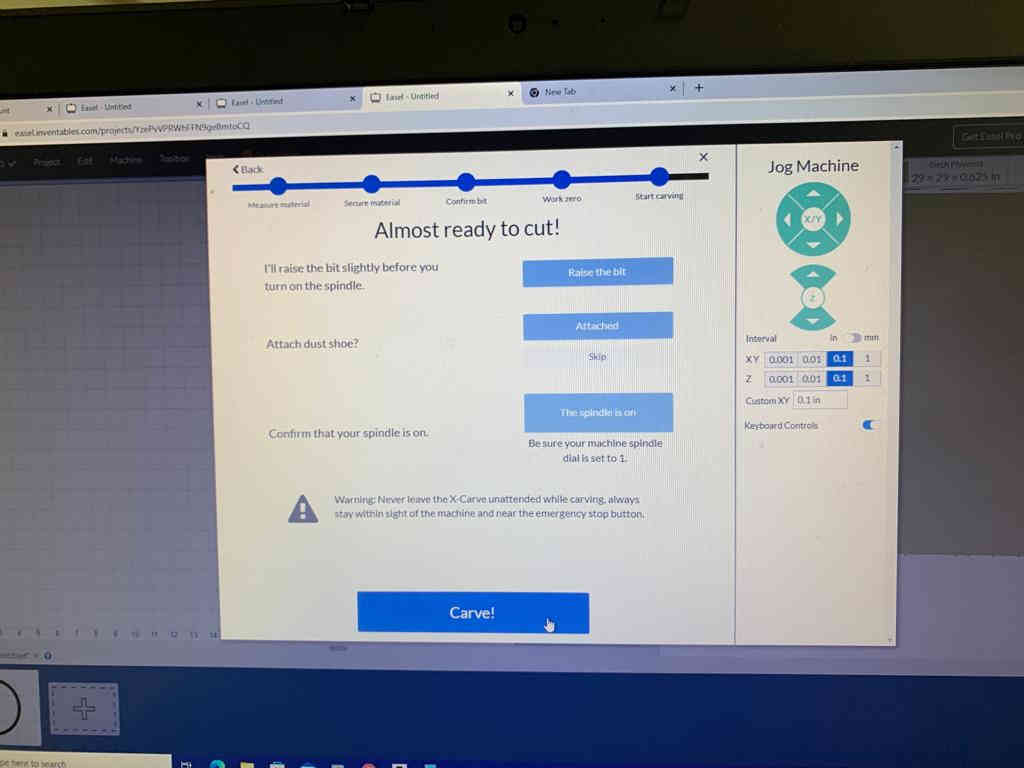
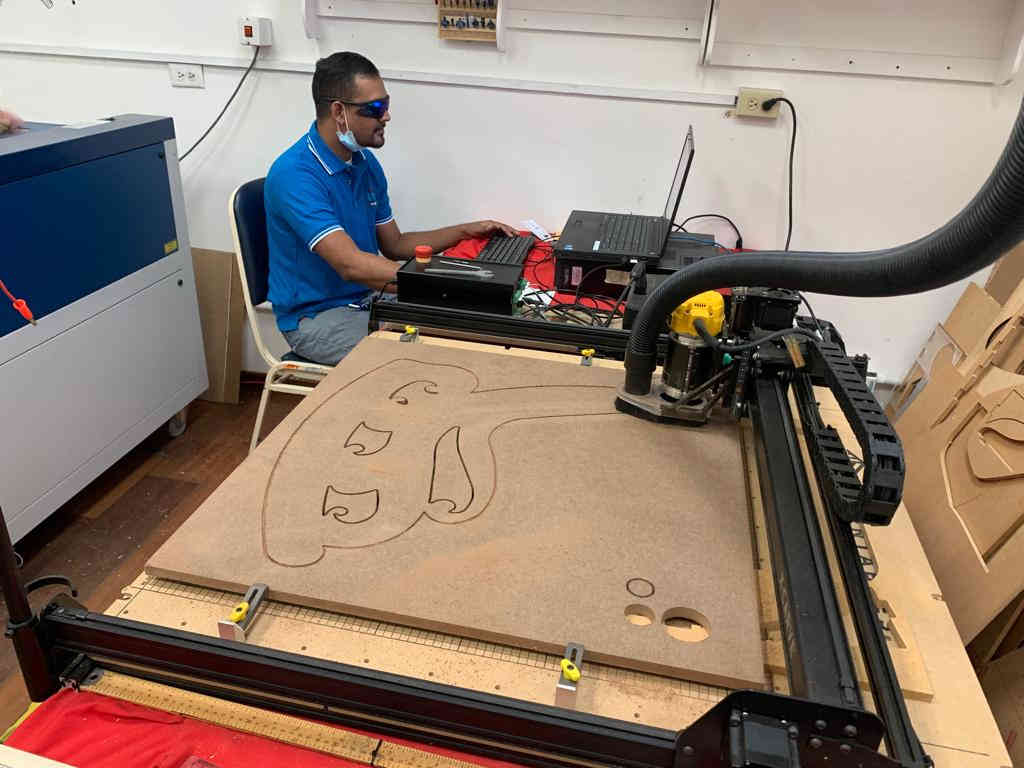
The file was then imported into easel and the machine settings was assigned as follows:
- feedrate : 20 in/min
- plunge rate : 12 in/min
- depth per pass : 0.05 in
The bit used was the HQ master 4 flute milling cutter with a diameter of 3.175mm a working length of 17mm and a total length of 38.5mm

The page size was set to 29in x 29in and material thickness used was o.625in
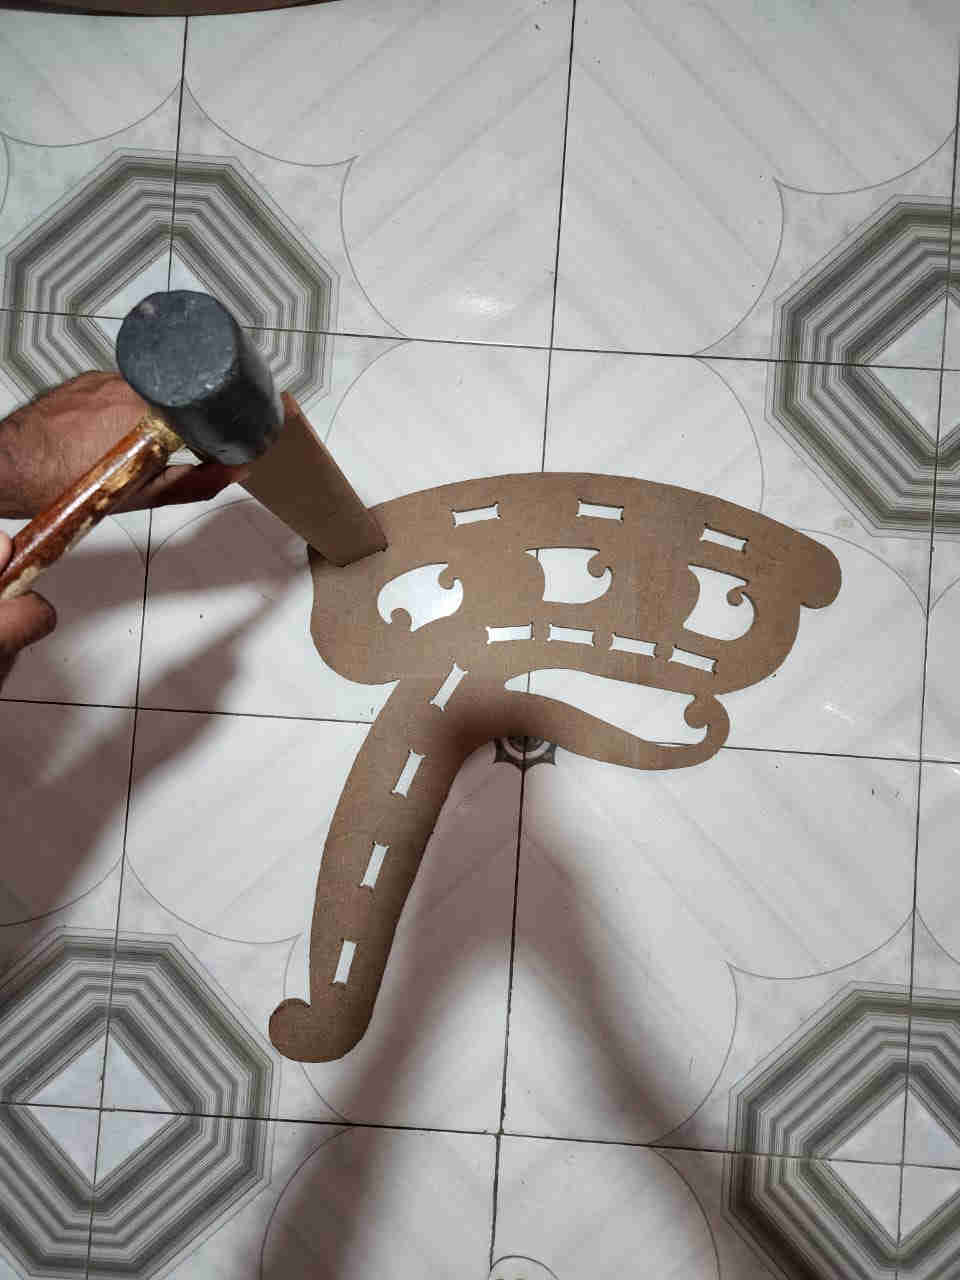
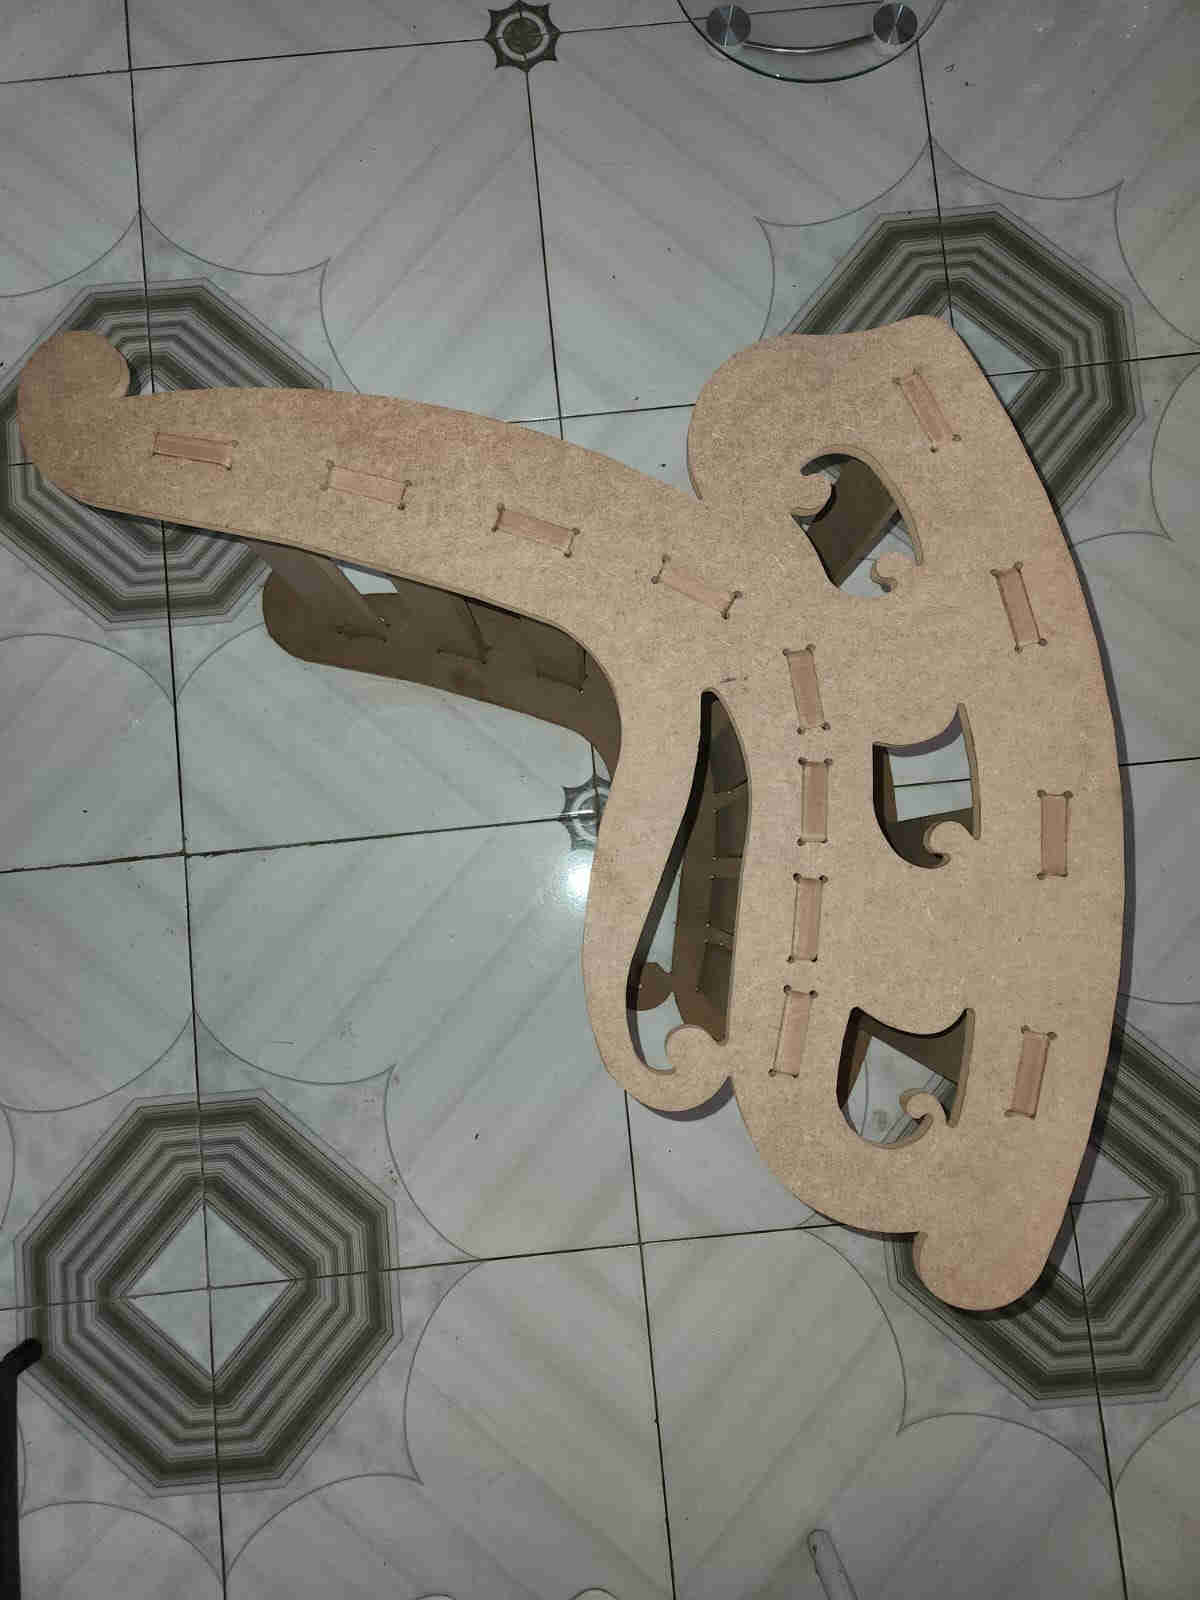
Assembly of the rocking chair.

Hero Shot