16. Interface and application programming
This week I designed an interface to control any output device. I am doing this as part of my final project. My idea is basically to do image processing of a human hand and translating the pose of the fingers into low level control commands of actuators.
Group Assignment
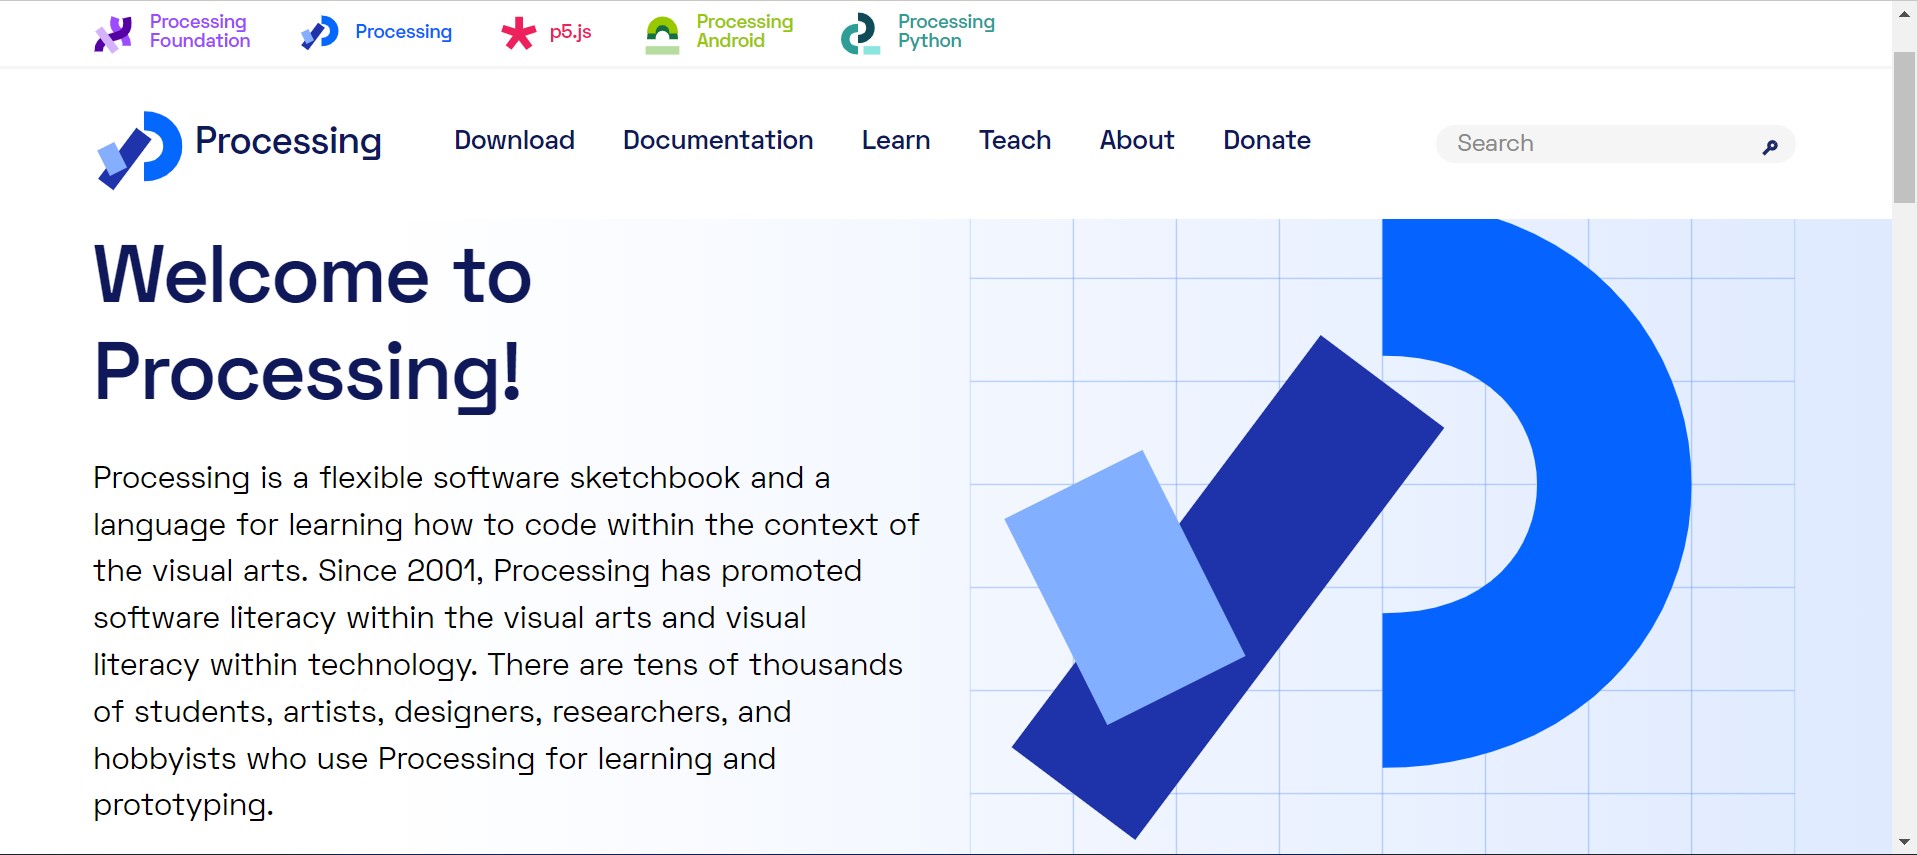
Processing
For learning how to code in the visual arts, Processing is a flexible software sketchbook and programming language. Since 2001, Processing has worked to advance both visual and software literacy in the arts and technology. Tens of thousands of students, artists, designers, researchers, and hobbyists utilize Processing for learning and prototyping.
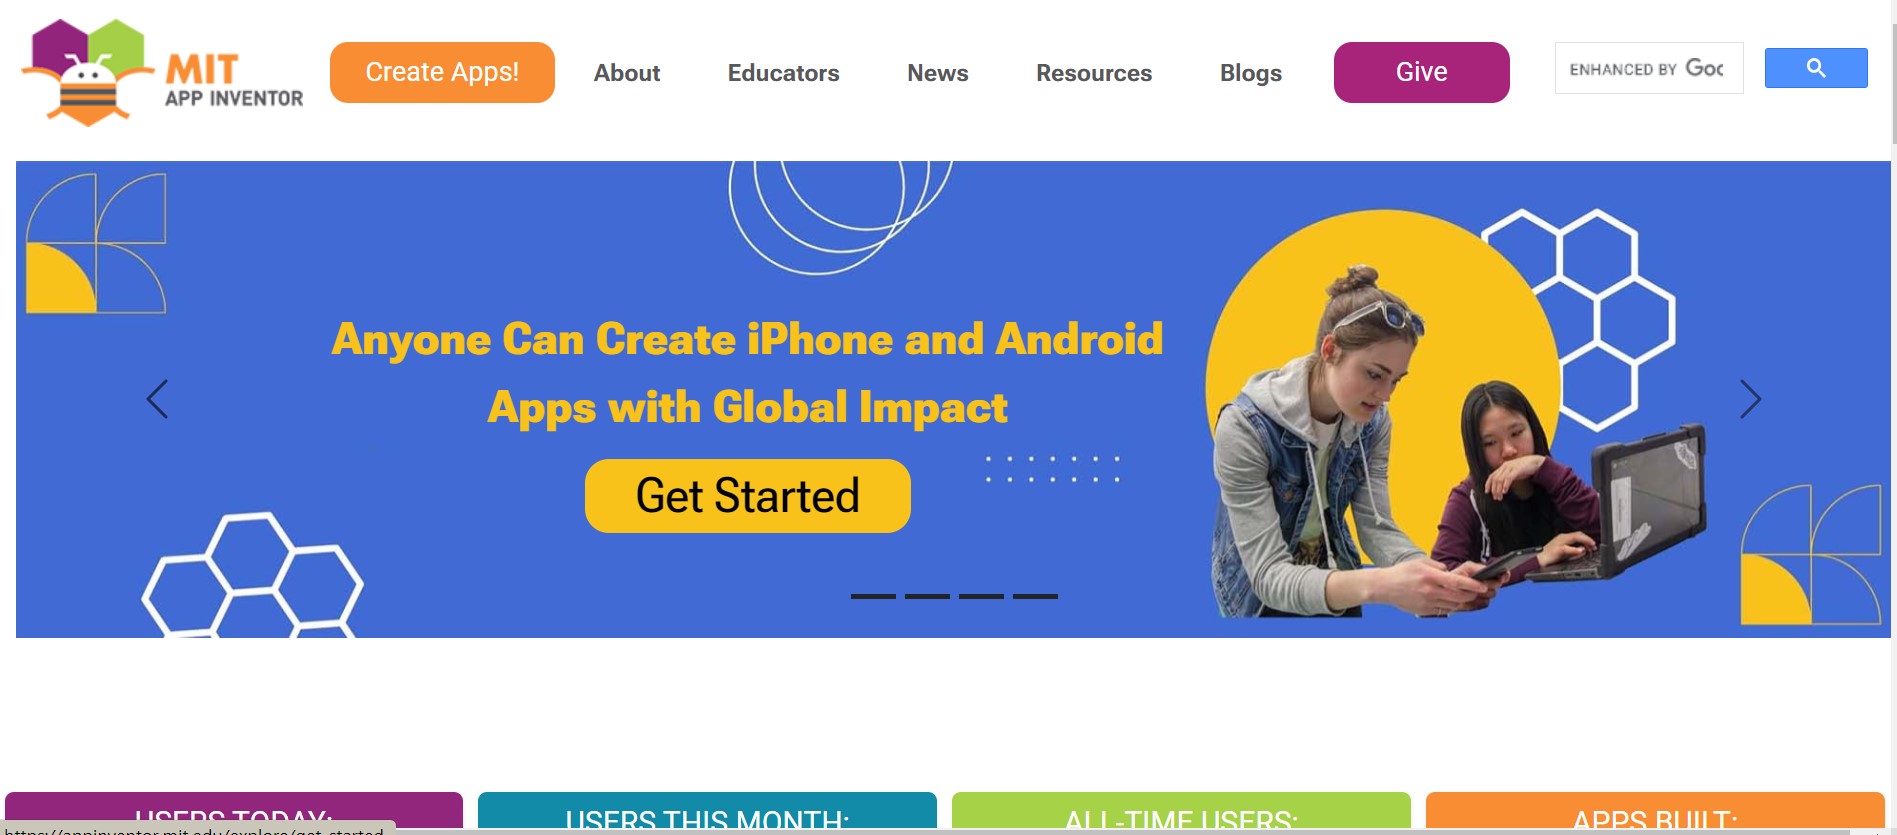
MIT App Inventor
The Massachusetts Institute of Technology now manages MIT App Inventor, an integrated development environment for online applications that was first made available by Google.
JupyterLab
The most recent interactive development environment for code, data, and notebooks is JupyterLab, which is accessible online. Its flexible interface allows users to design and arrange workflows in data science, scientific computing, computational journalism, and machine learning. A modular architecture promotes extensions to improve and enrich functionality. Jupyter’s similarity to HTML and the simplicity with which powerful data visualization tools like seaborn and matplotlib, as well as scientific libraries like NumPy, may be used are advantages. The best part is that it’s quite easy to put it together if you grasp the foundations.

Individual Assignment
Computer Vision
I used Python to do pose estimation of my fingers. Mainly, I used CV Zone library, which is based on OpenCV and MediaPipe. I chose this library because it is high level and takes a few lines of code to build a very powerful deep computer vision model. Moreover, it is also connected to a serial communication library. So, CV Zone can do all the job alone.
My idea is basically to that the when a finger is up a signal is serially communicated to the microcontroller to actuate a servo. As the code below indicates, I started by importing the required libraries OpenCV and CV Zone.
import cv2
from cvzone.HandTrackingModule import HandDetector
from cvzone.SerialModule import SerialObject
Then, I created instances of the required objects: a camera, a detector, and a serial communicator. I also chose to have the maximum number of detected hands to be equal to 1.
cap = cv2.VideoCapture(0)
detector = HandDetector(maxHands = 1, detectionCon = 0.7)
Serial = SerialObject("COM4", 9600, 1)
After that, I started a while loop that reads the input frame from the camera, does pose estimation and finally checks if the index finger is up or down. If it is up, it serially communicates the number “1”. Otherwise, it communicates “0”.
while True:
_, img = cap.read()
img = detector.findHands(img)
LandmarksList, BoundingBox = detector.findPosition(img)
if LandmarksList:
fingers = detector.fingersUp()
if fingers[1] == 1:
Serial.sendData([1])
if fingers[1] == 0:
Serial.sendData([0])
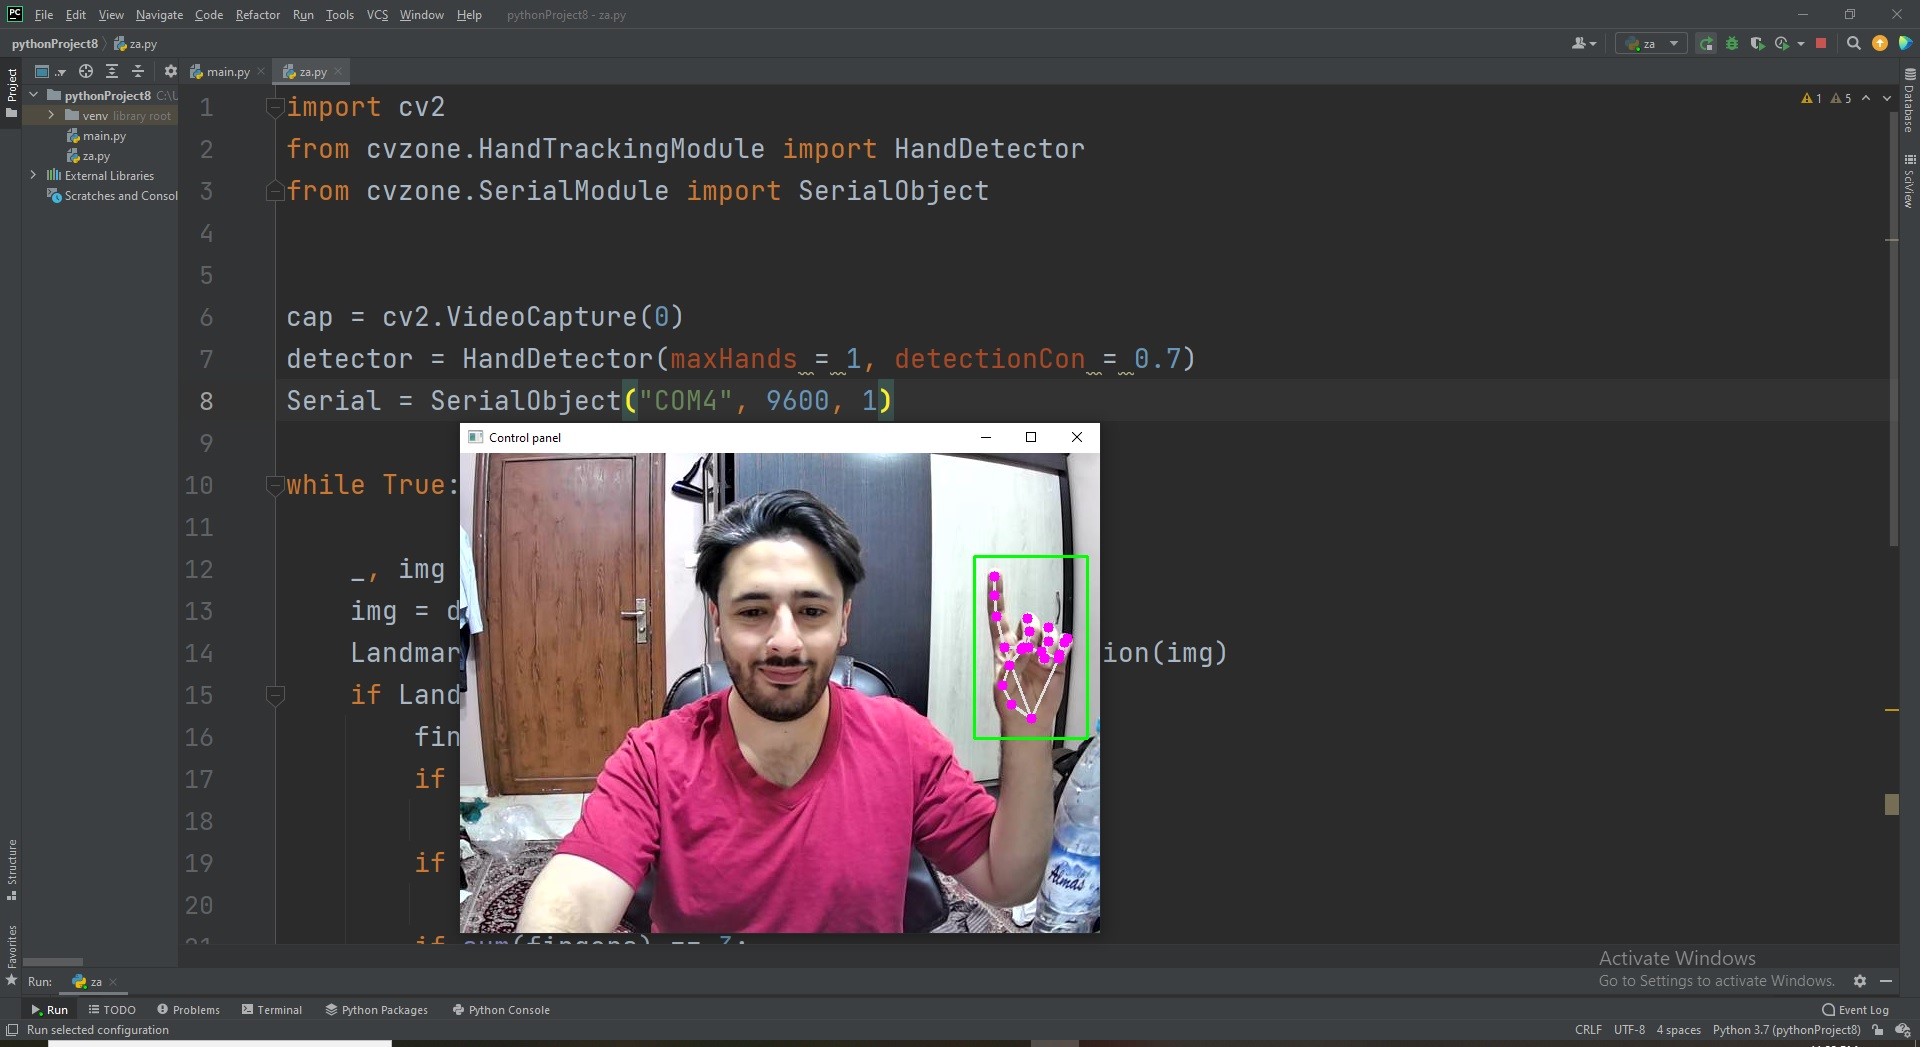
cv2.imshow('Control Panel', img)
cv2.waitKey(1)
Here is how the control panel looks:
Low-level Control
Now it is time to do the servo control code. I will use the same board I designed in “Output Devices”, whose microcontroller is ATmega328P. The code is as simple as shown below. What it does is basically reading serial data and actuating four servos based on it.
#include <Servo.h>
int x;

Servo myservo1;
Servo myservo2;
Servo myservo3;
Servo myservo4;

void setup() {
  myservo1.attach(5);
  myservo2.attach(6);
  myservo3.attach(9);
  myservo4.attach(10);
  Serial.begin(9600);
  Serial.setTimeout(1);
}

void loop() {
  while (!Serial.available());
  x = Serial.readString().toInt();
  if (x) {
    if (x == 0) {
      myservo1.write(0);
      myservo2.write(0);
      myservo3.write(0);
      myservo4.write(0);
    }
    if (x == 1) {
      myservo1.write(180);
      myservo2.write(180);
      myservo3.write(180);
      myservo4.write(180);
    }

}