4. Computer controlled cutting
This week I learnt about computer-controlled cutting (CCC) machines: Laser Cutter and Vinyl Cutter.
Laser Cutting
In this section I’ll document my laser cutting assignments. I’ll start with the group assignment and then go through the individual one.
Group Assignment: Investigating the Parameters of the Laser Cutter
In this part of the assignment, the goal was to characterize the FabLab’s lasercutter’s focus, power, speed, rate kerf, joint clearance and types. The laser cutter is one of the most useful machines in a FabLab. Laser cutters’ working principle is very simple: They direct a laser beam, at a precise focal length, onto a material which they either cut or engrave, depending on the user-defined settings.
Machine Specifications
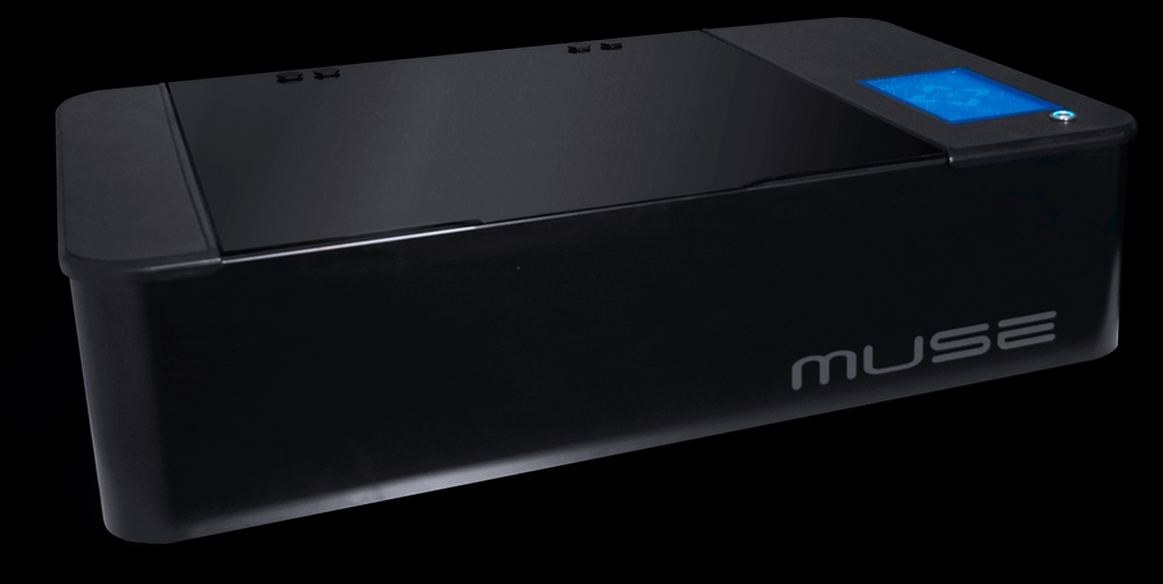
The laser cutting machine we used is Muse Core Desktop CO2 Laser Cutter. Its working area is 508mm x 305mm and it weighs 24.5 Kgs. Moreover, its power is 40W and it can engrave rasters with a resolution that is up to 1000 dpi.
Before Operating a Laser Cutter
-
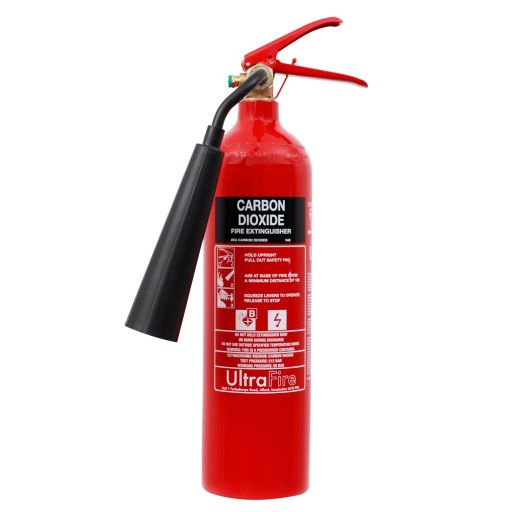
Make sure you have a fire extinguisher.
-
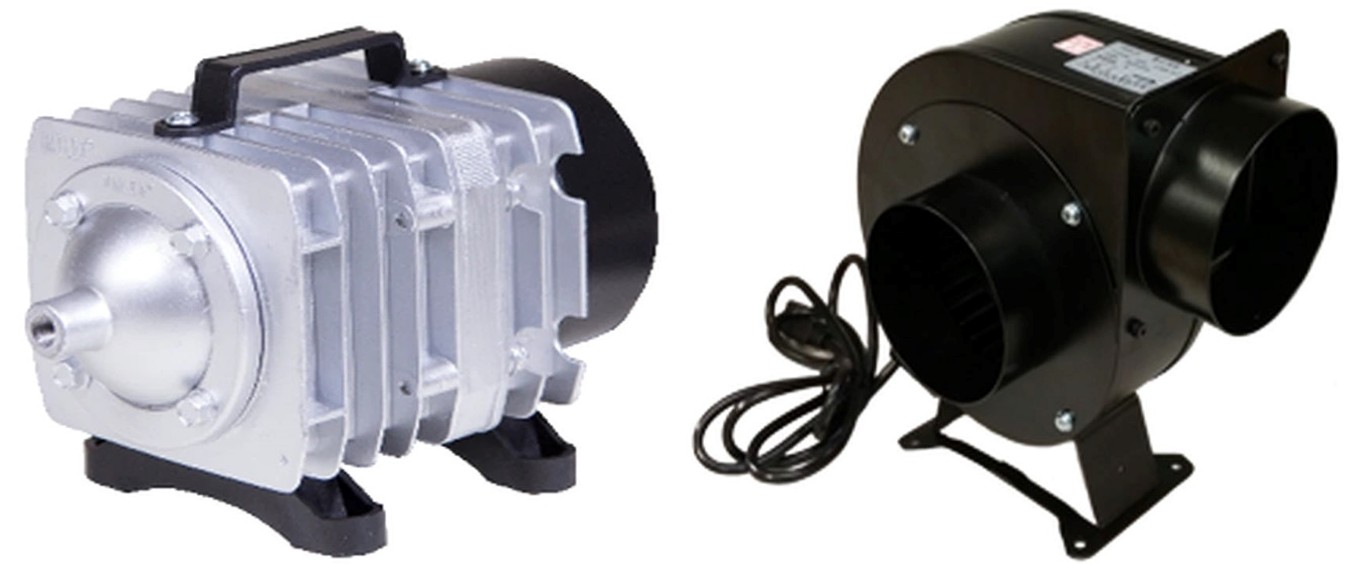
Turn on the air compressor and exhaust.
-
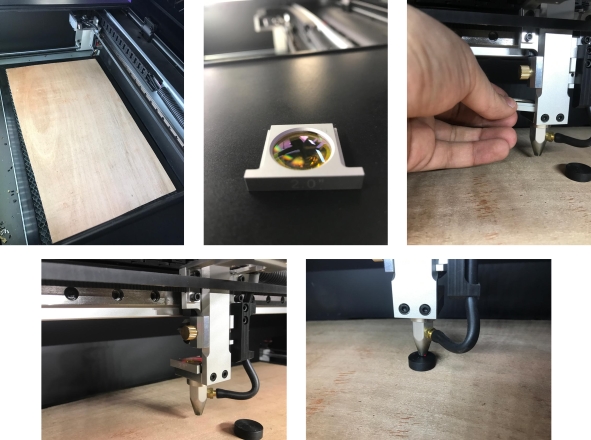
Clean the lens and focus the laser.
-
Fine-tune your machine parameters (Read the section below)
Fine-tuning Cutting & Engraving Parameters
-
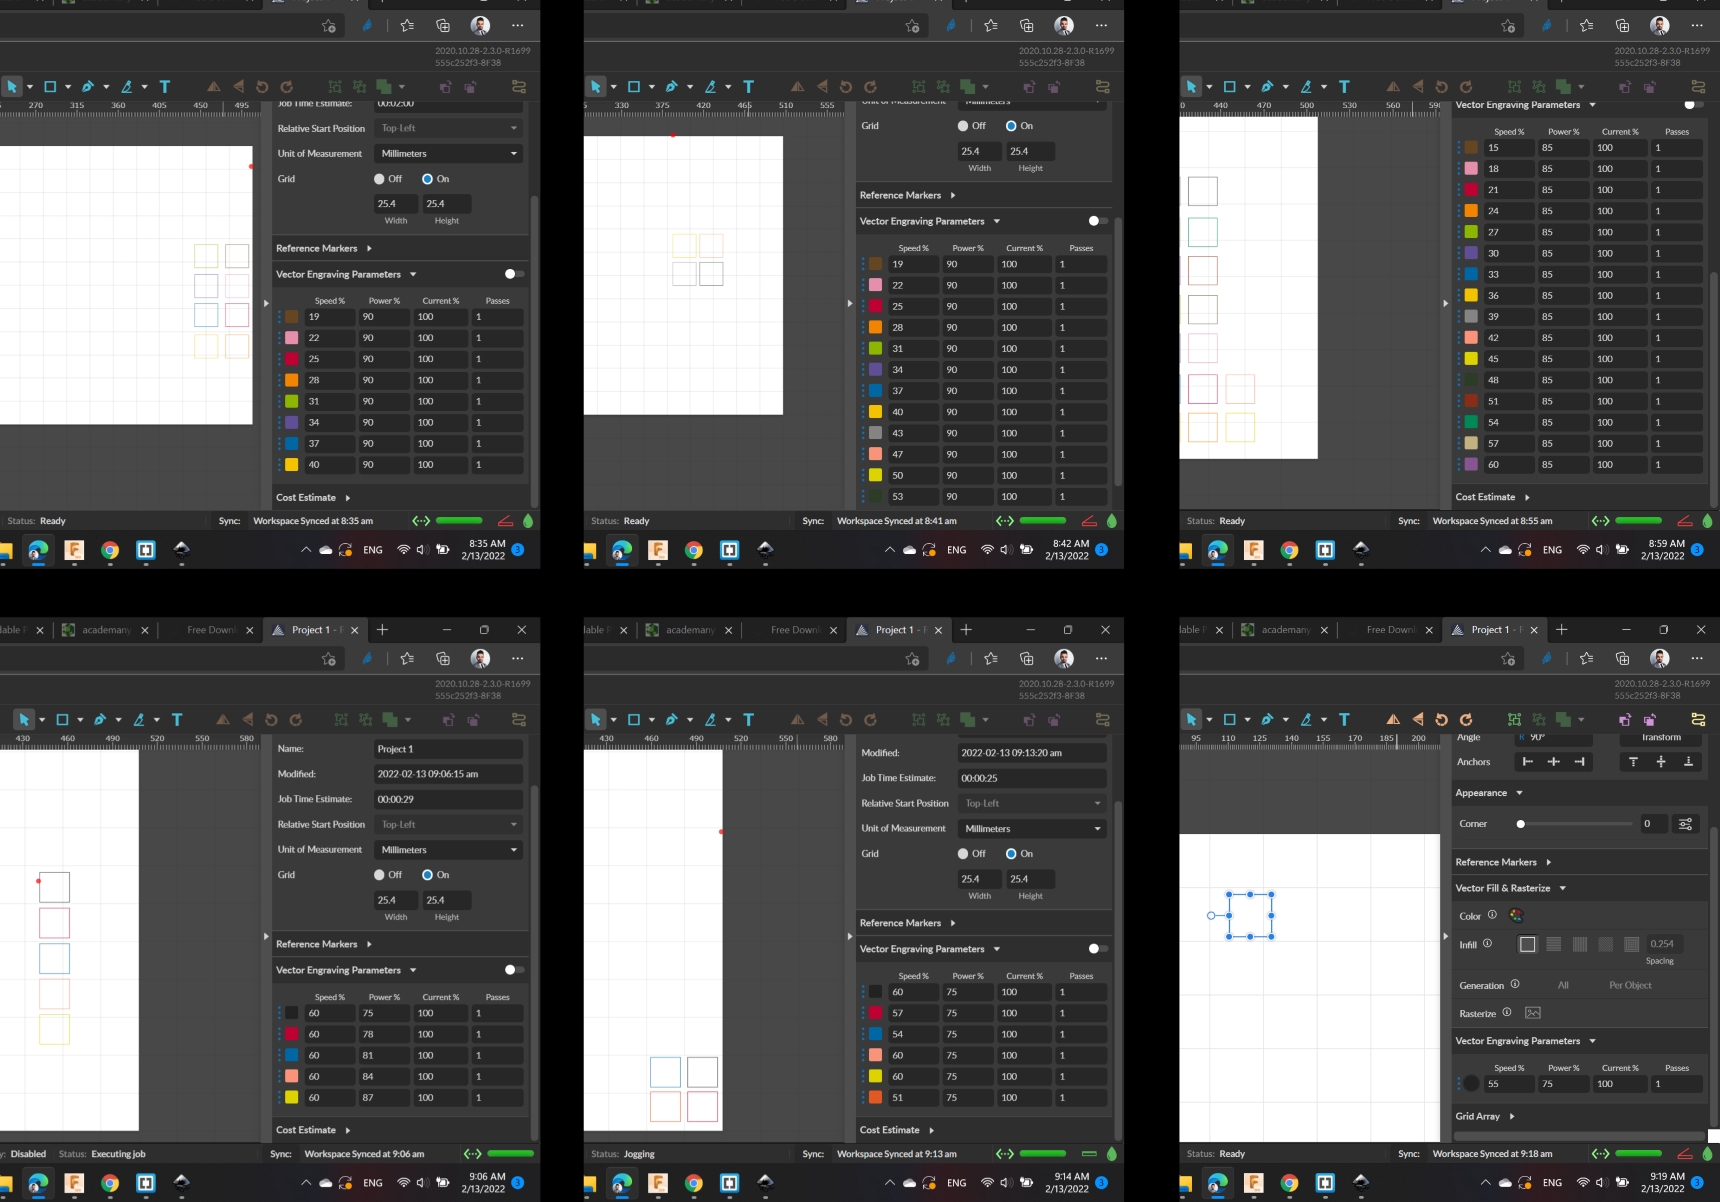
The first step is to test different parameters for the material you need to cut or engrave. An easy way to do this is to color-code (I.e. use different colors for different settings) as illustrated below.
-
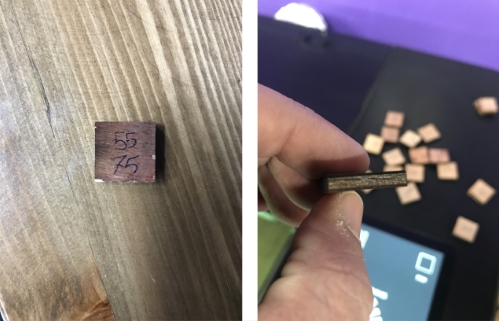
You know the parameters are good once you get a clean cut and engrave. For instance, when we tried cutting plywood, we knew the parameters were okay when we got a bronze-colored cut, as depicted below.
-
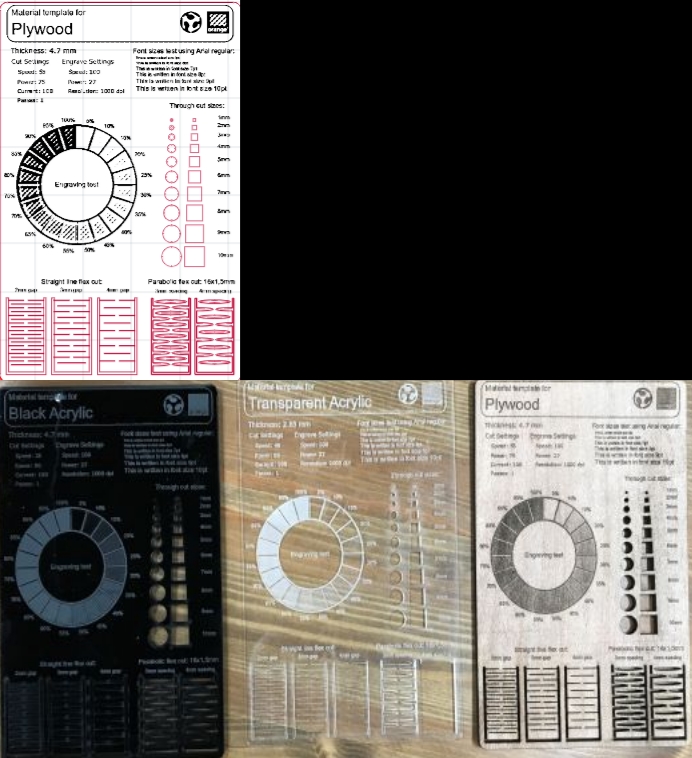
Afterwards, a template outlining the impact of different design parameters should be cut and engraved. An example is shown below.
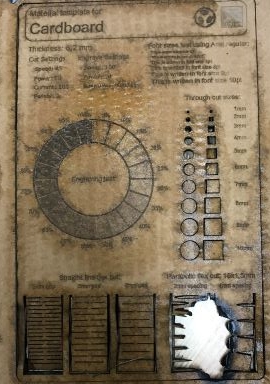
BE CAREFUL WITH CARDBOARD! If the cutting lines are too close, such as in the case of a a living hinge, there is a big fire hazard. As depicted below, when we used cardboard the living hinge caught on fire and we had to use water to put it out.
Below are the optimal cutting parameters for our machine.
| Material | Thickness | Power | Speed | Current |
|---|---|---|---|---|
| Black Acrylic | 4.7 mm | 90% | 25% | 100% |
| Transparent Acrylic | 2.85 mm | 65% | 48% | 100% |
| Plywood | 4.7 mm | 75% | 55% | 100% |
| Cardboard | 6.2 mm | - | - | 100% |
Below are the optimal engraving parameters for our machine.
| Material | Thickness | Power | Speed | Resolution |
|---|---|---|---|---|
| Black Acrylic | 4.7 mm | 27% | 100% | 1000 dpi |
| Transparent Acrylic | 2.85 mm | 27% | 100% | 1000 dpi |
| Plywood | 4.7 mm | 27% | 100% | 1000 dpi |
| Cardboard | 6.2 mm | 27&% | 100% | 1000 dpi |
Kerf Test
The kerf is the amount of material removed by the laser cutter as it burns through the material. It is important to know this parameter when designing joints, because the quality of the fit you make hugely depends on whether you are taking this parameter into consideration when you design the male and female parts.
Finding out this parameter is simple. You first design a part with a known size, and then laser cut it. Comparing the actual measurement of the part to the designed one you find out the amount of kerf for the material you are using at the cutting settings you chose.
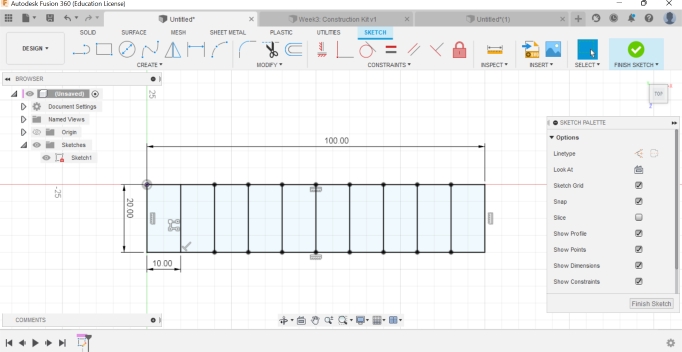
In order to find out the kerf our machine induces on different materials, we went through the following procedure. As depicted below, we first designed a 100mm x 20mm rectangle and divided it into ten equal parts.
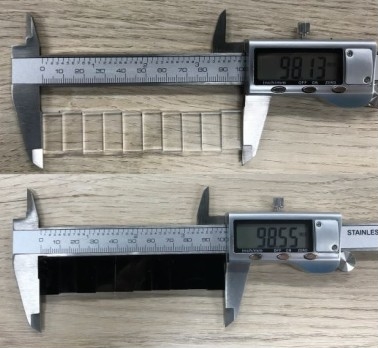
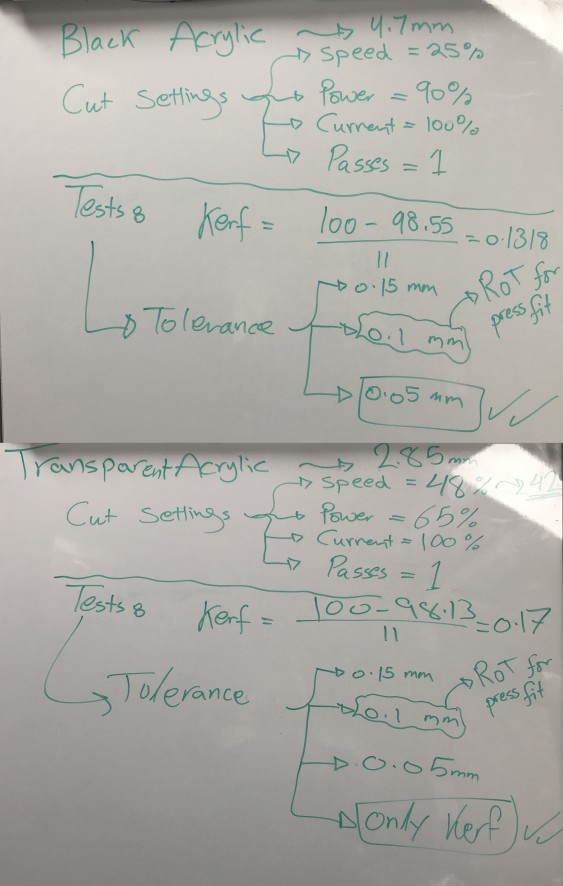
After cutting it, we measured its size which happened to be less than 100 as expected. The amount of kerf equals the difference between the actual measurement and designed length divided by the number of cuts.
Using the method detailed above, we found the following kerf values.
| Material | Thickness | Kerf |
|---|---|---|
| Black Acrylic | 4.7 mm | 0.1318 mm |
| Transparent Acrylic | 2.85 mm | 0.17 mm |
| Plywood | 4.7 mm | mm |
| Cardboard | 6.2 mm | mm |
Fit Tolerances
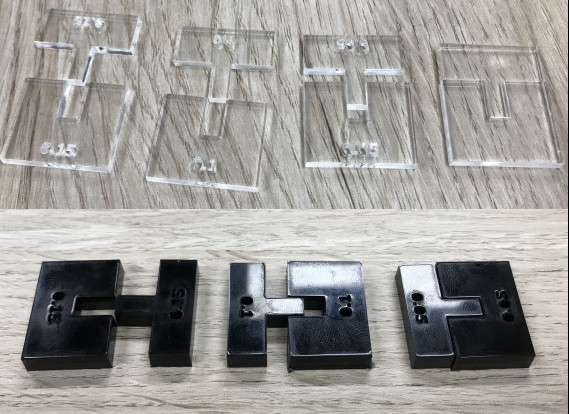
Based on the type of fit you need, a tolerance must be added to the kerf value. Even though there are rules of thumb for the appropriate tolerances, theses value differ for different machines and materials. Consequently, it is necessary to find them out. Given that experts suggest a 0.1 mm tolerance for a press fit, we chose this to be our starting point of investigation and designed a finger joint with the following tolerances: 0.05 mm, 0.1 mm, 0.15 mm. We found tolerances of 0.05 and zero for black acrylic and transparent acrylic, respectively, to work best for a press fit.
Individual Assignment: Parametric Design of a Construction Kit
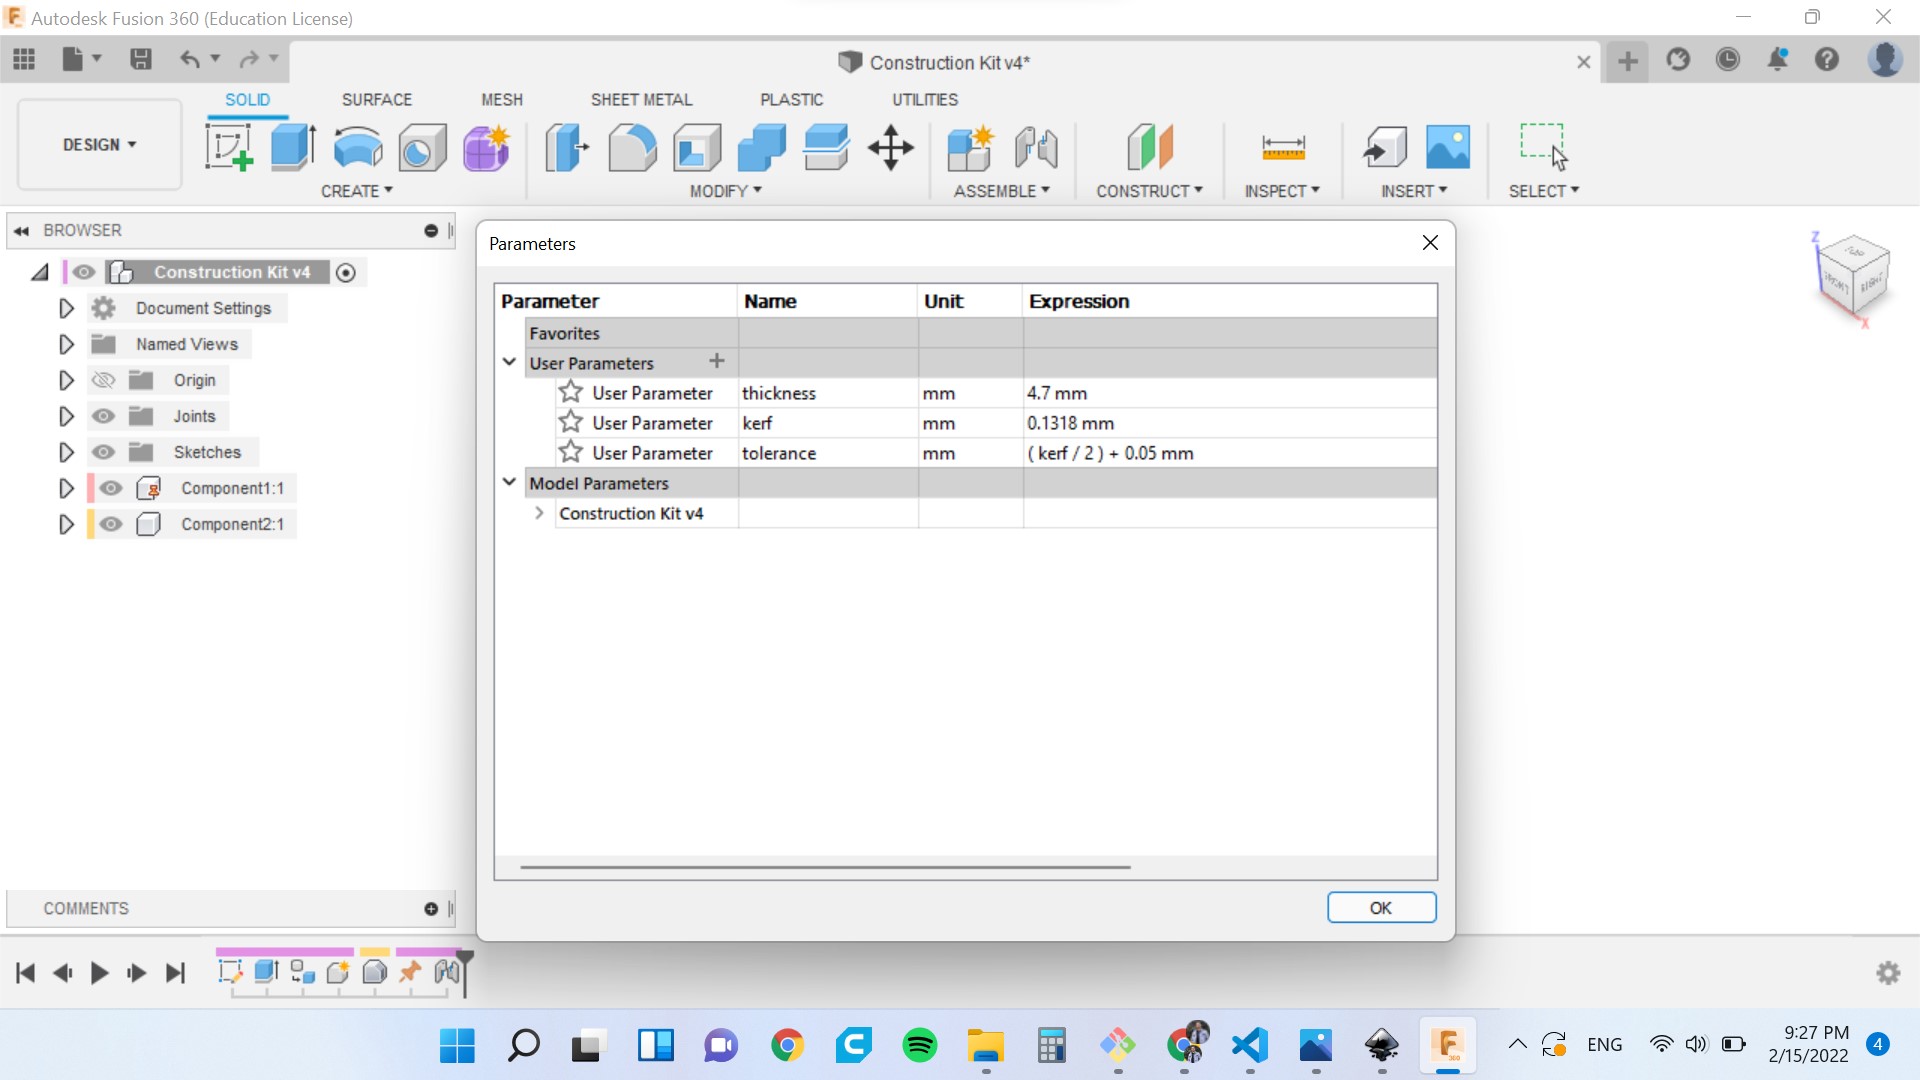
In this part of the assignment, I designed and laser cut a construction kit. Using Fusion 360, I started by defining the parameters needed for joint design: material thickness, the kerf, and the tolerance. The parameters below are for black acrylic, which I will use to build the kit.
After that, I sketched a 6-sided polygon with a diameter of 70mm. Each side includes a female joint, whose width = tolerance * 2. Note that the tolerance parameter includes the material kerf.
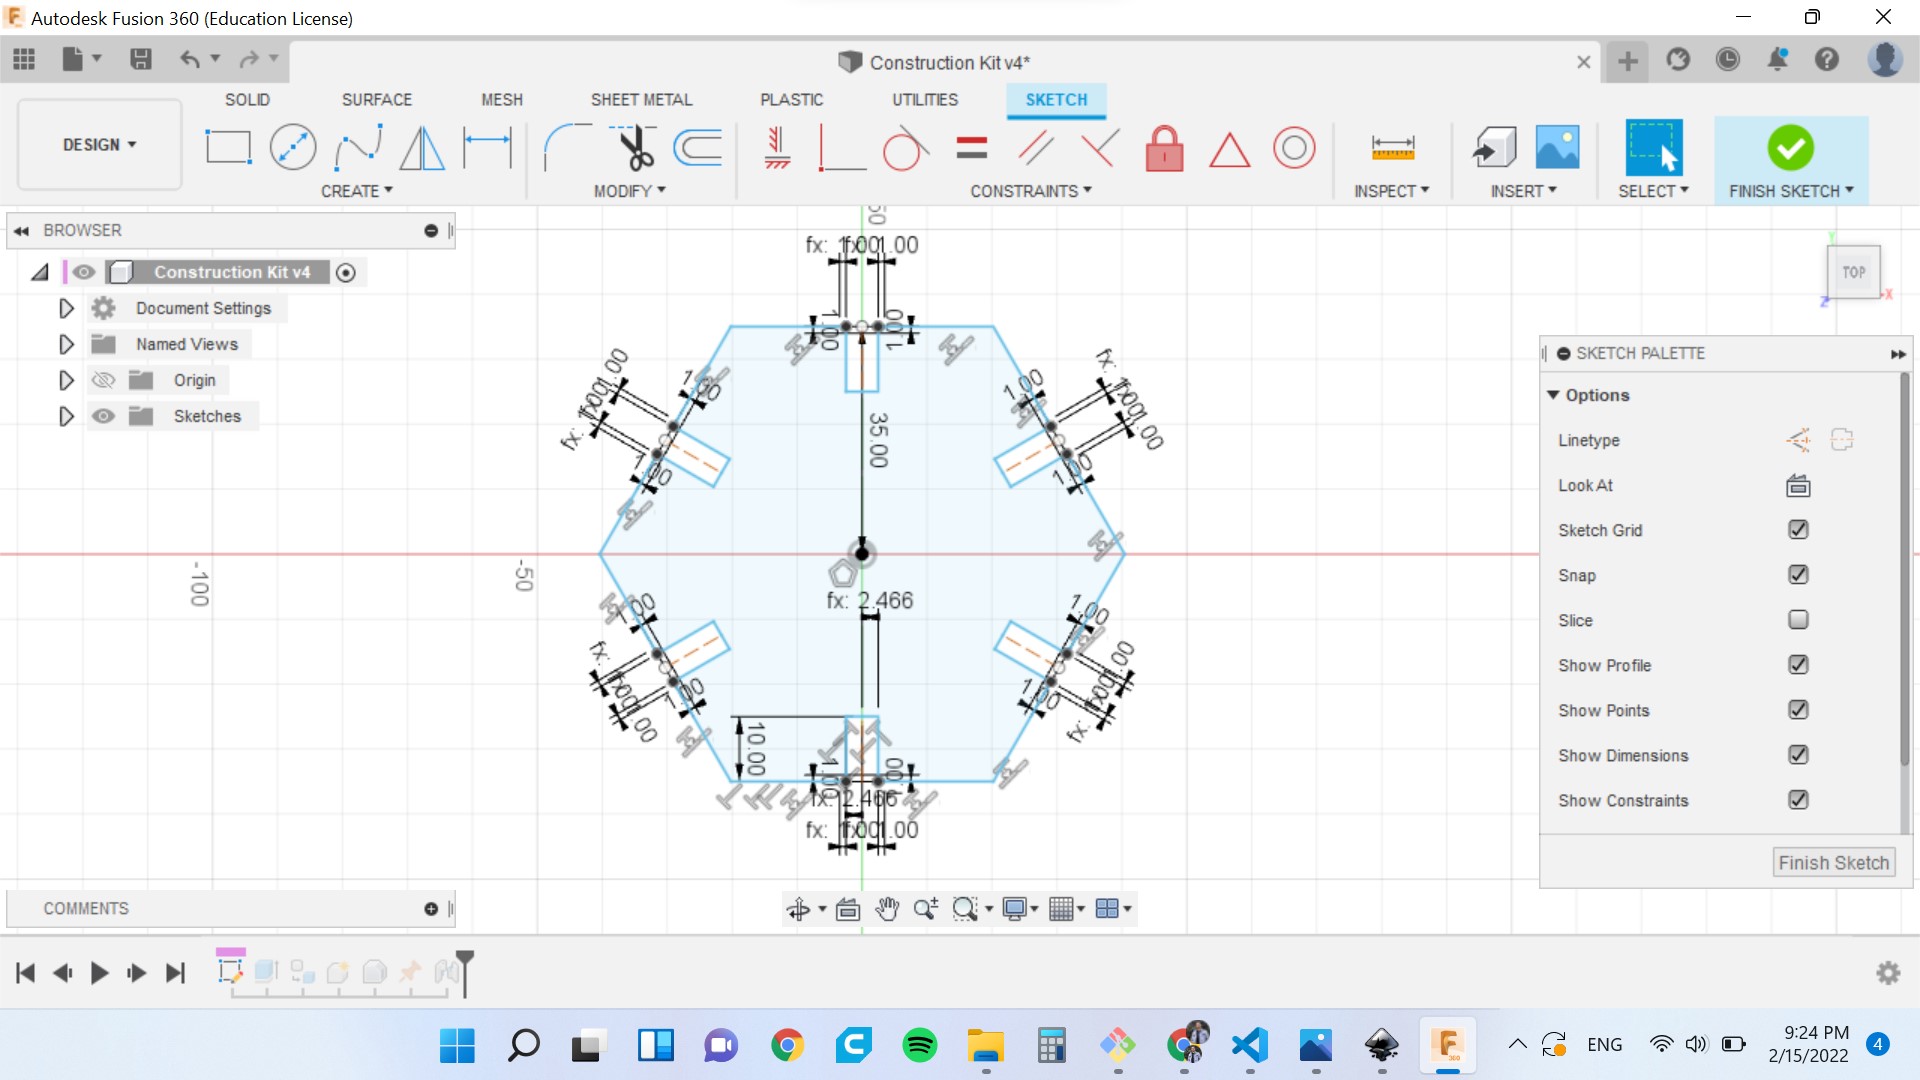
In the design, I chamfered the joint corners in order for other parts to slide in easily.

Then, I duplicated the design as much as the laser cutter bed fit, and fabricated the pieces. Below is how they looked before and after assembly.
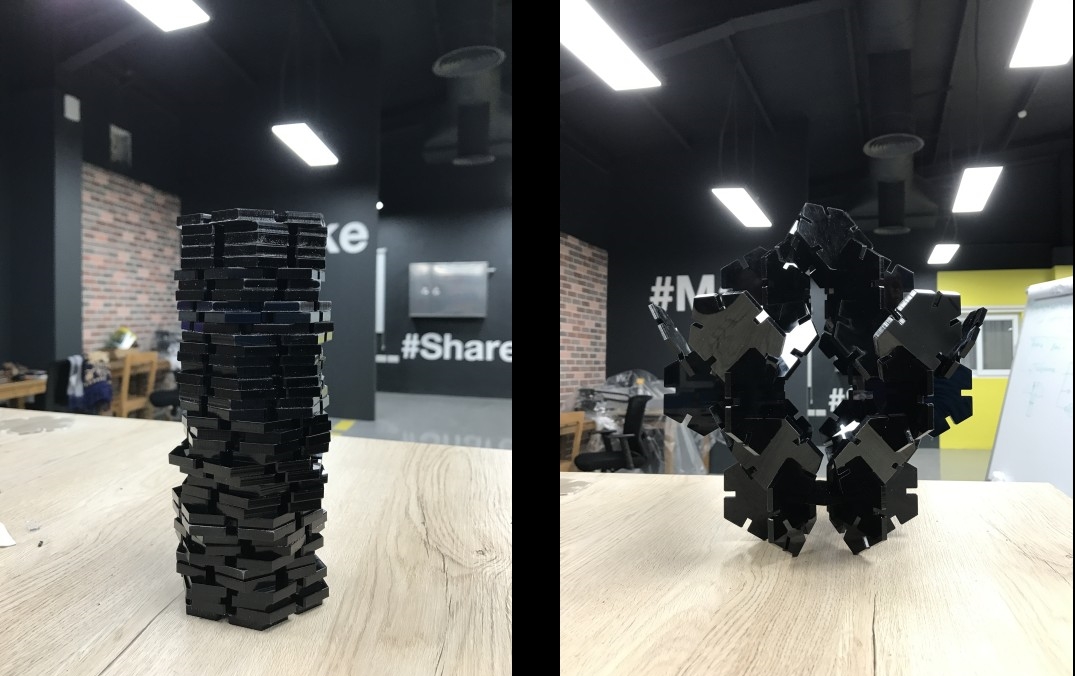
Finally, I have also documented the process of assembly via the following video.
Vinyl Cutting
In this section, I will discuss the second part of the assignment: vinyl cutting.
About the Machine
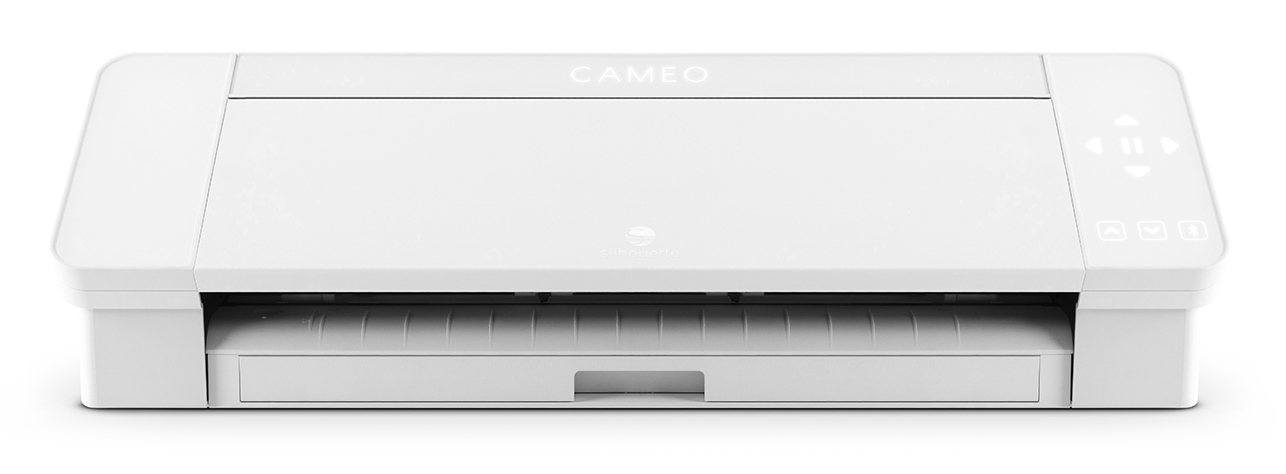
The machine we used to complete this assignment is Silhouette Cameo 4, depicted below. The Silhouette Cameo 4 is the latest 12-inch desktop cutting machine from Silhouette. It lets crafters work with a number of materials, including paper, vinyl, fabrics, cardstock and more [Source].
Assignment
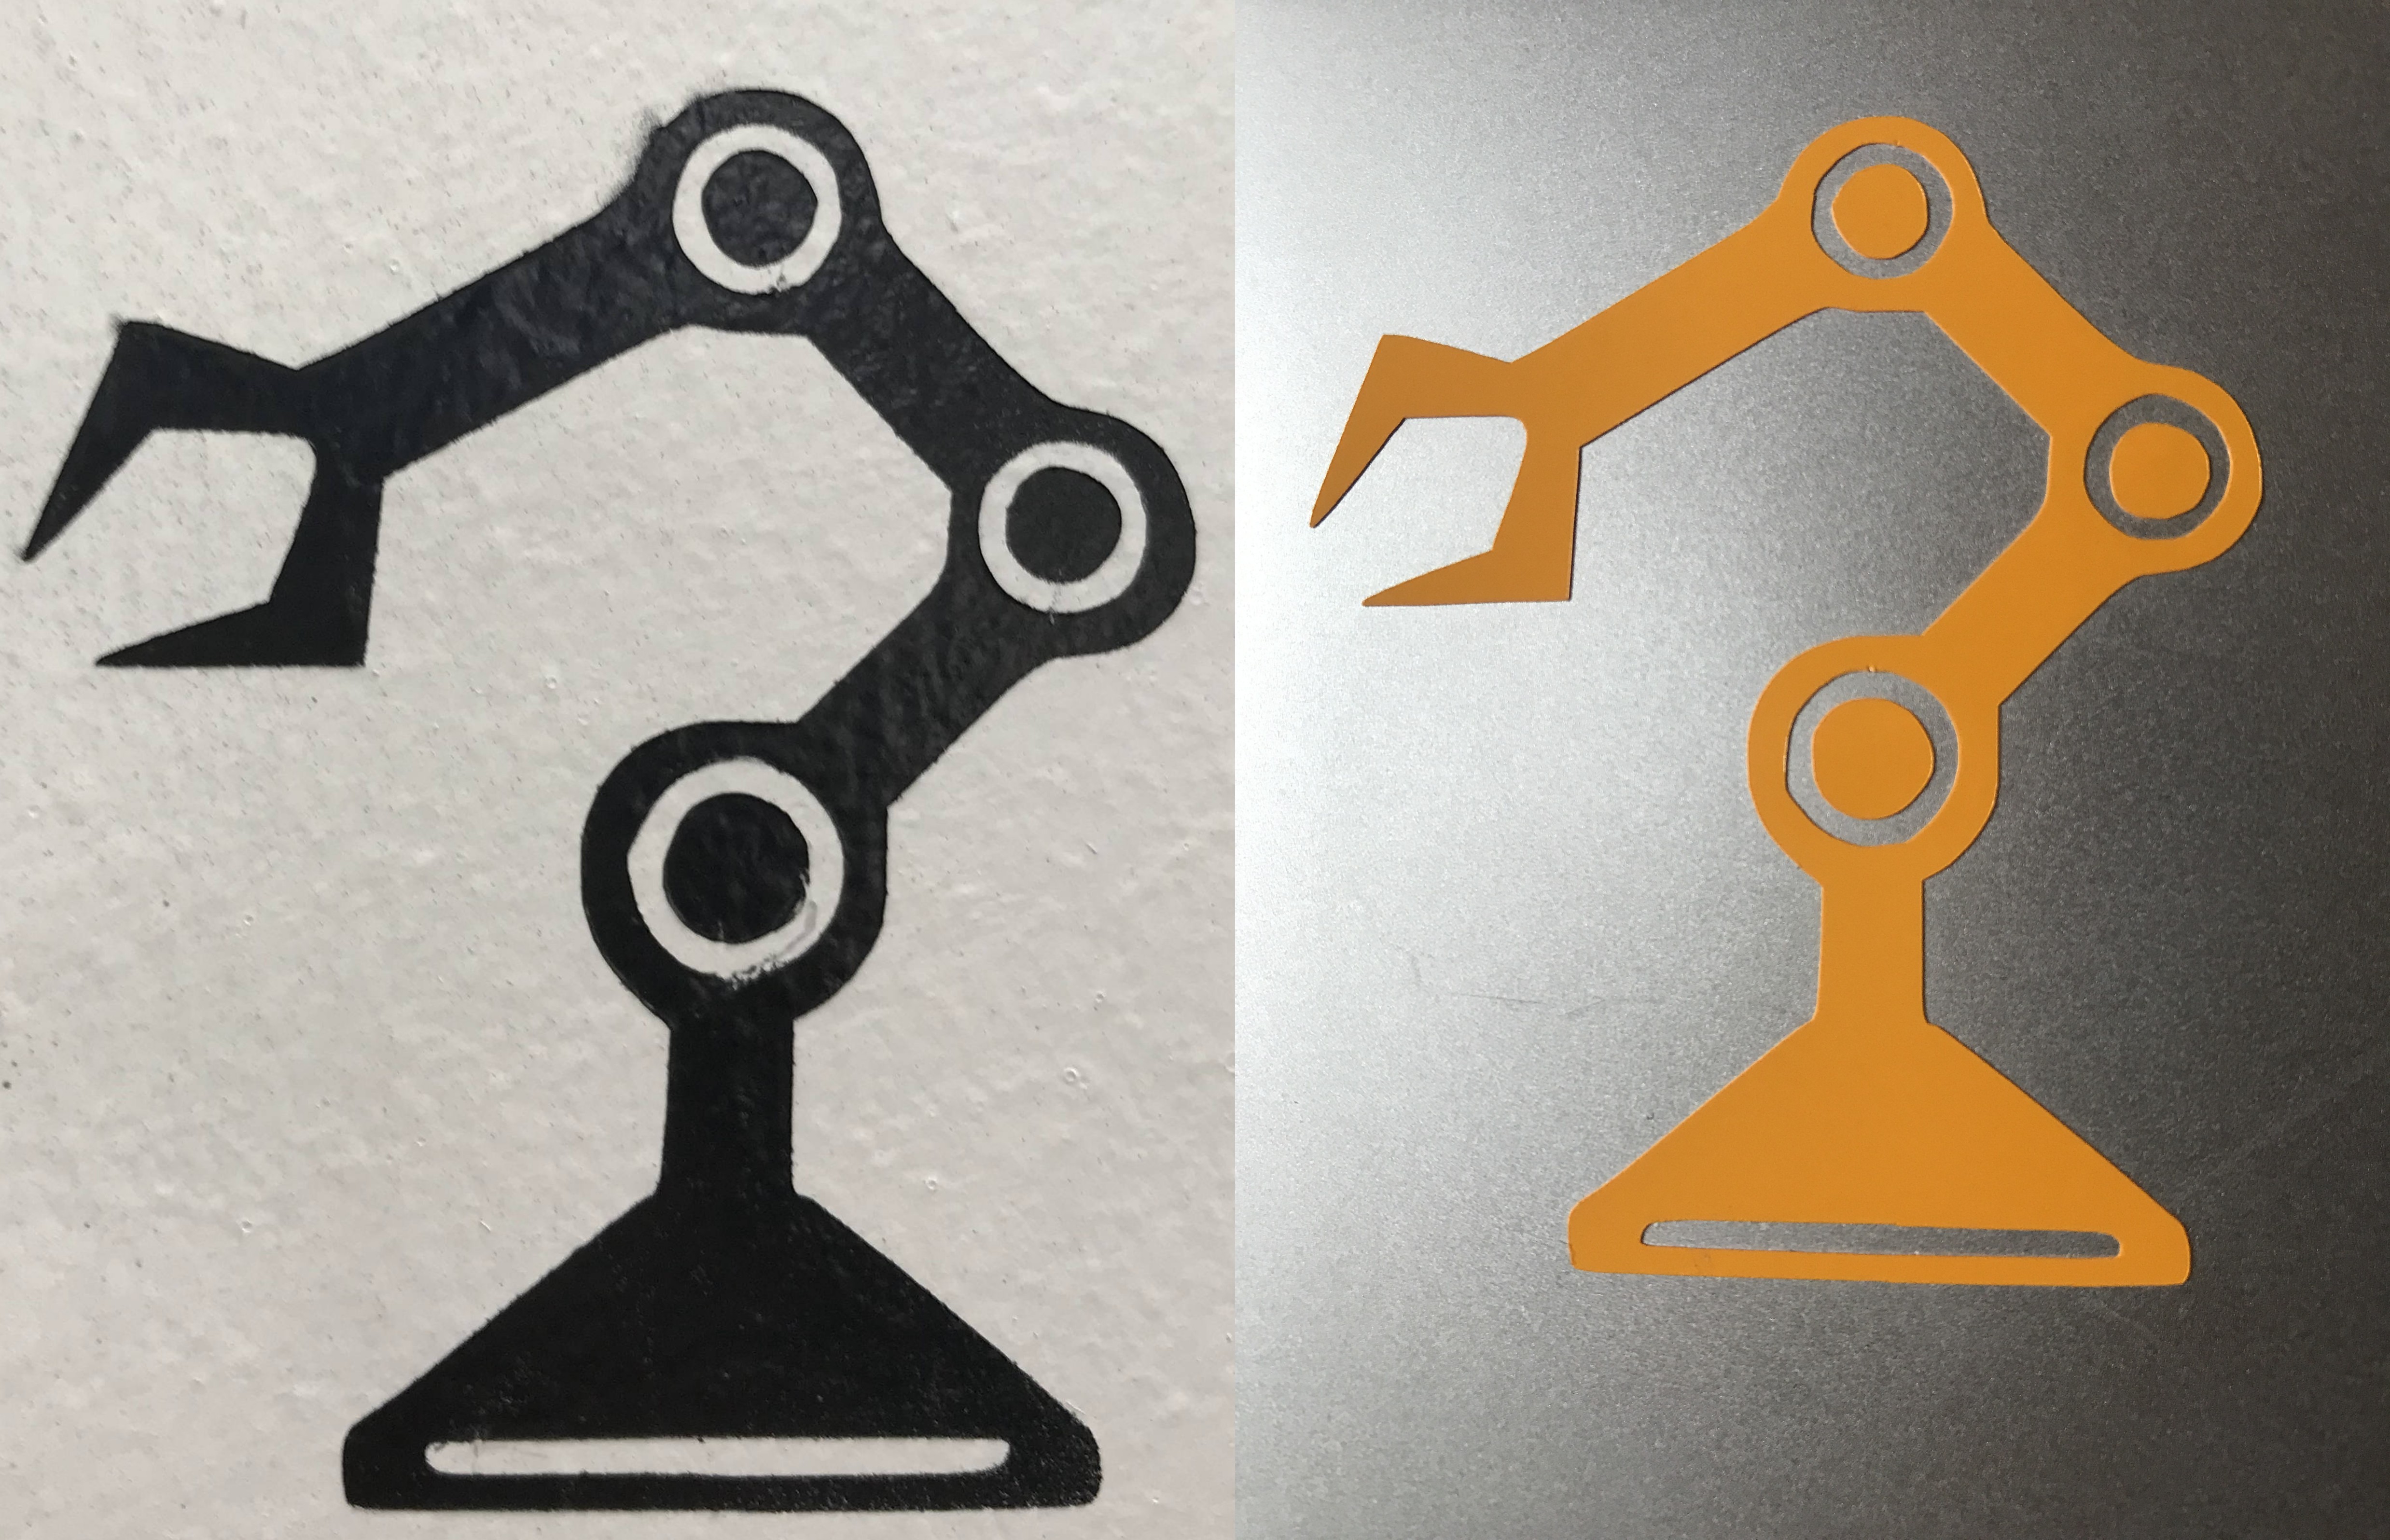
I first downloaded an image of a robotic arm from Google.

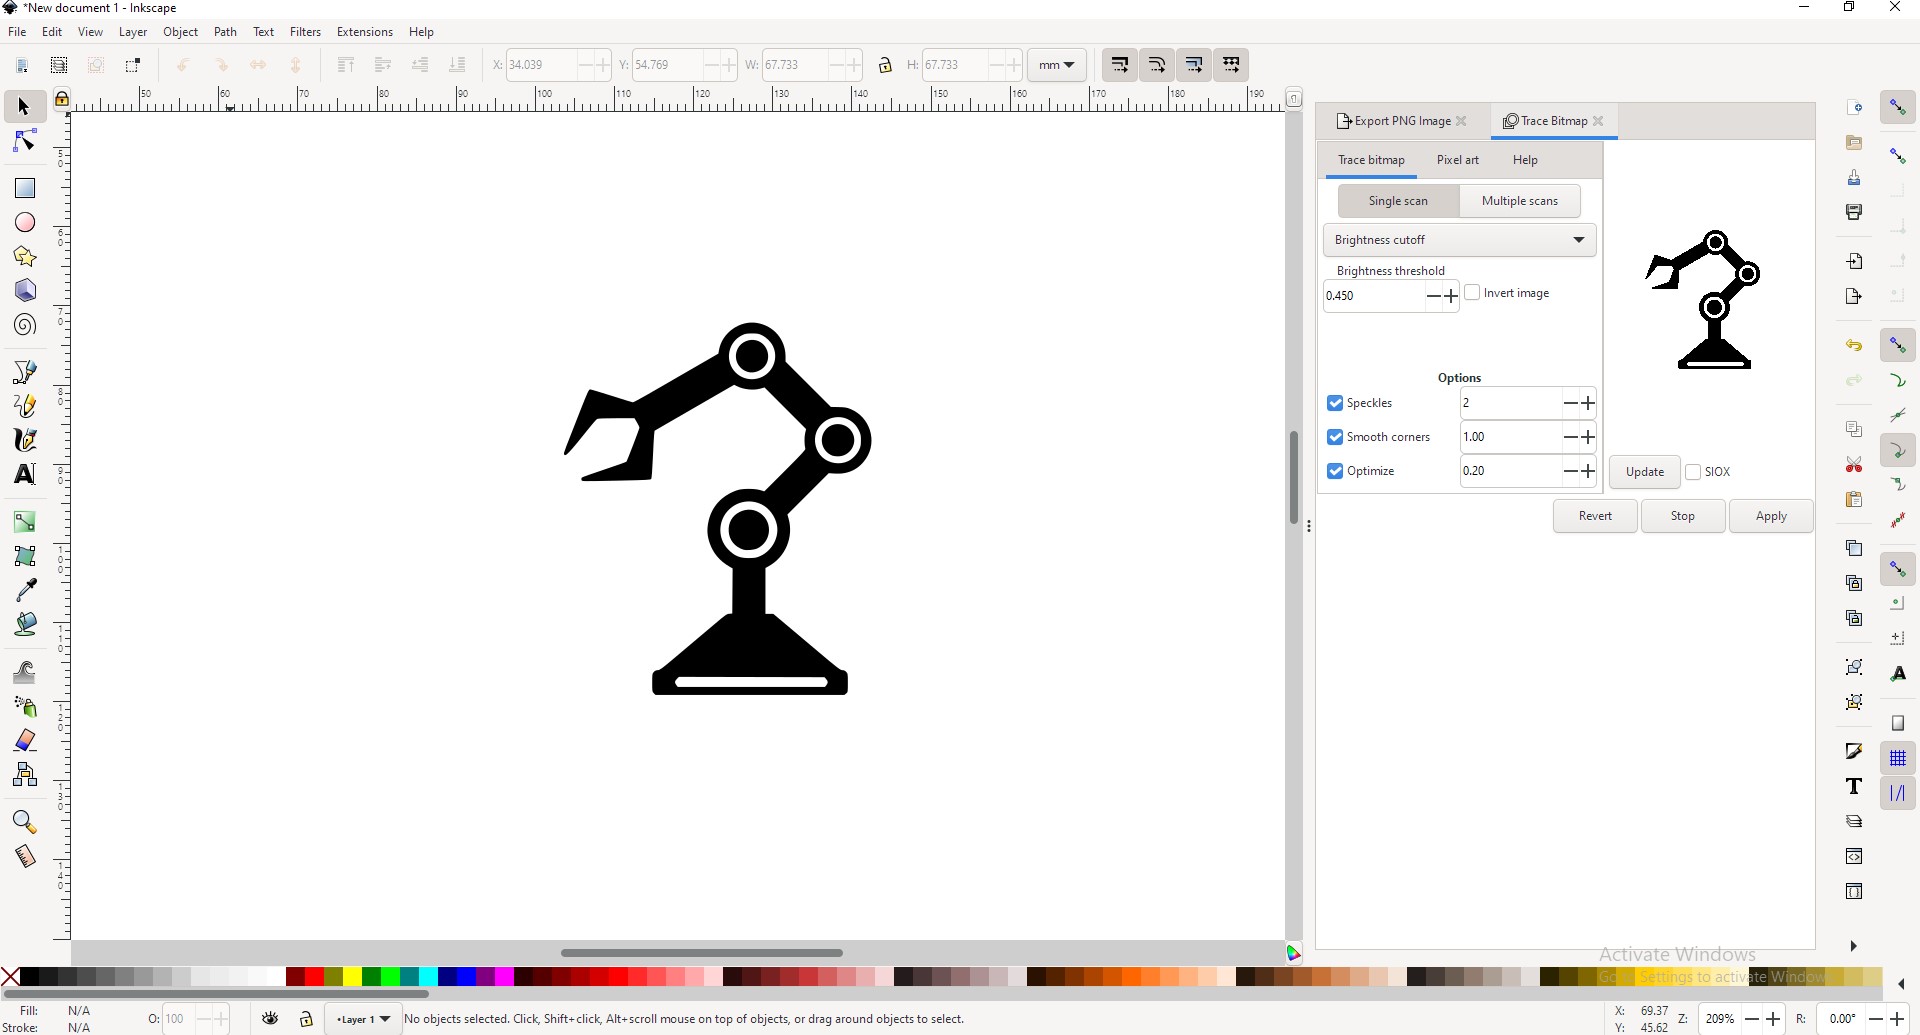
Then, I used Inkscape to remove its background.
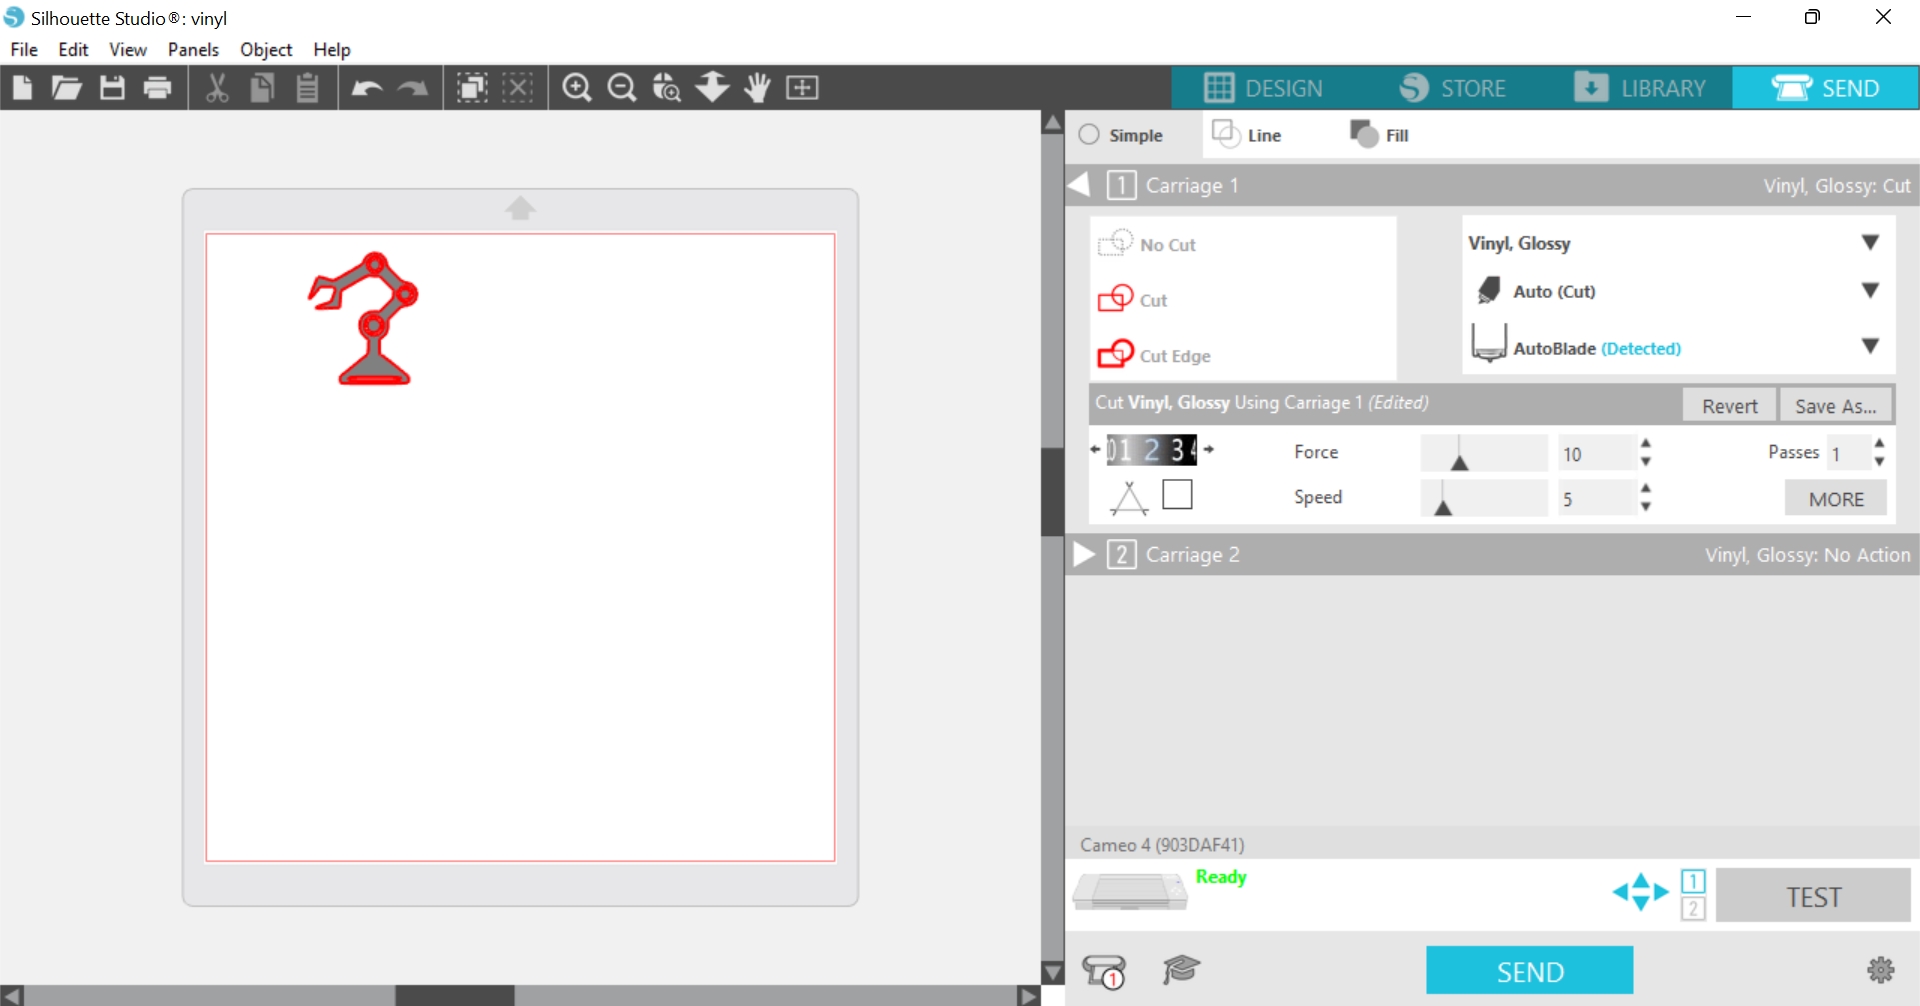
After that, I uploaded the image to the Silhouette CAM software. I used the default setting for cutting vinyl, already embedded in the machine.
As illustrated below, after cutting the image, I took off the outer boundaries and stuck it on the wall. Then I spray painted it to create a stamp of the image.
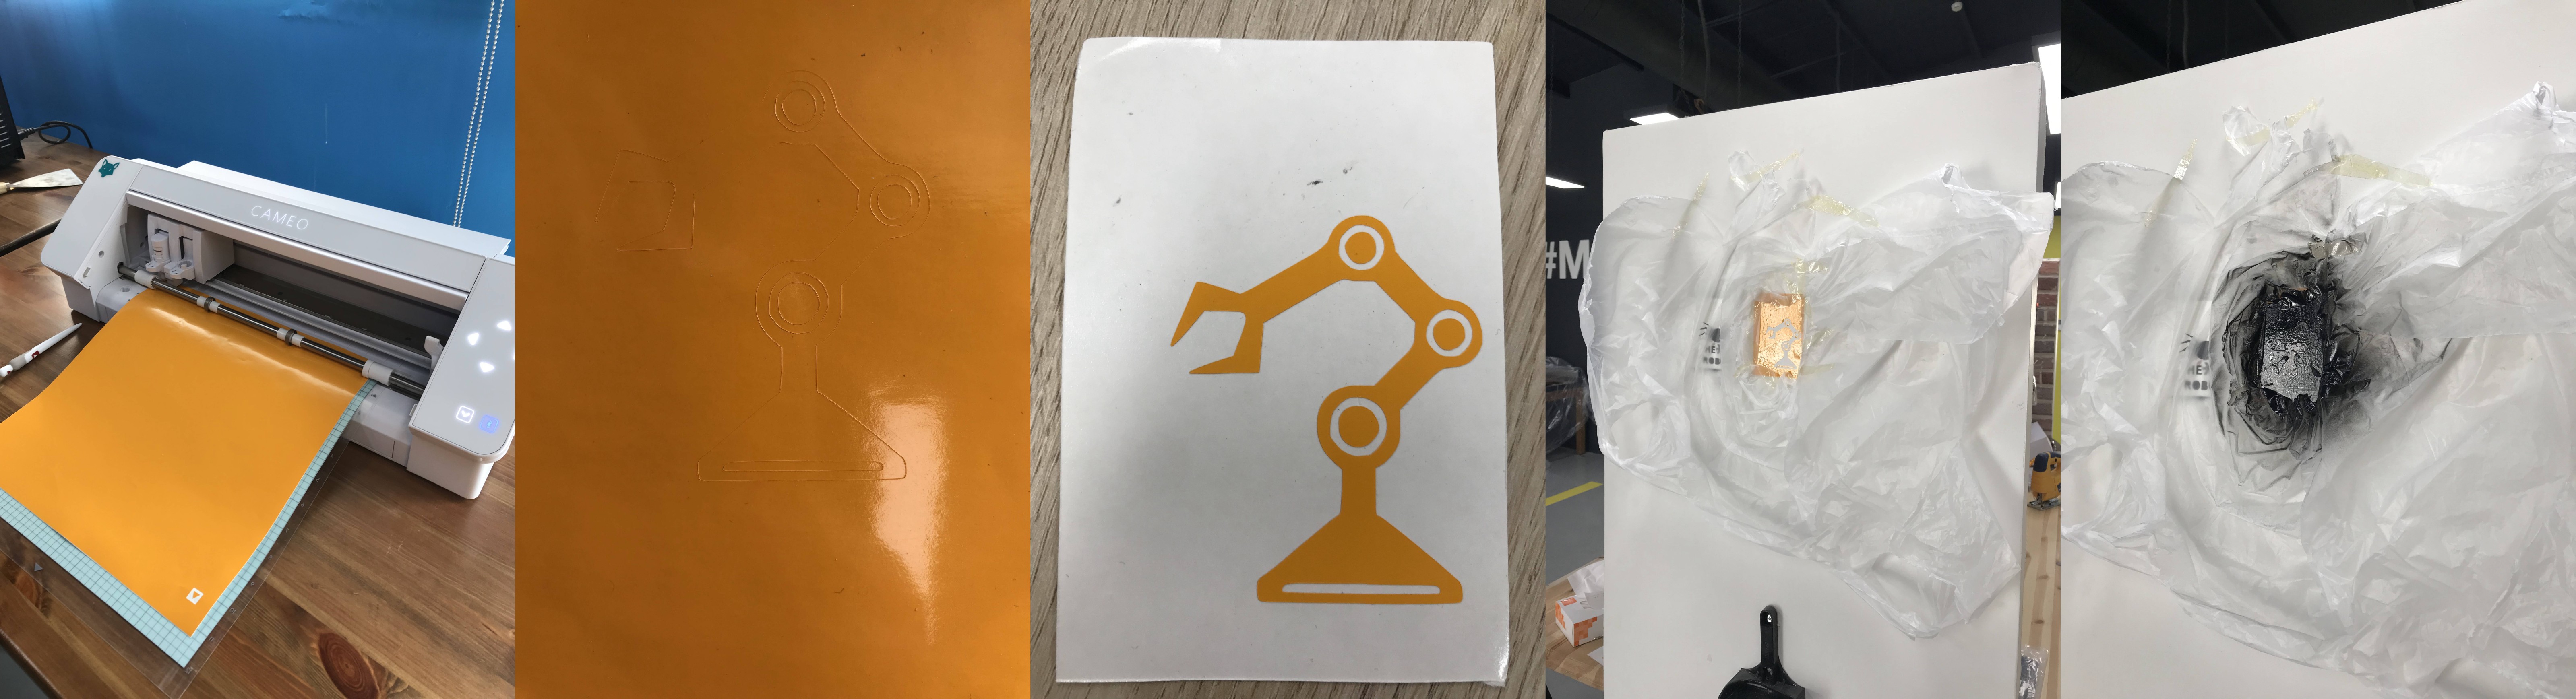
Finally, I stuck the original sticker to my laptop, and the results looked as shown below.
Files
- Construction Kit: SVG, DXF, Fusion 360
- Robotic arm image: JPG
)