Wildcard Week
- Design and produce something with a digital fabrication process (incorporating computer-aided design and manufacturing) not covered in another assignment
We recently received a CNC lathe Charly4T. It’s a machine we got from Polytech next door, they don’t use it enough anymore and got a newer model (this one is from 2009, an antique!)
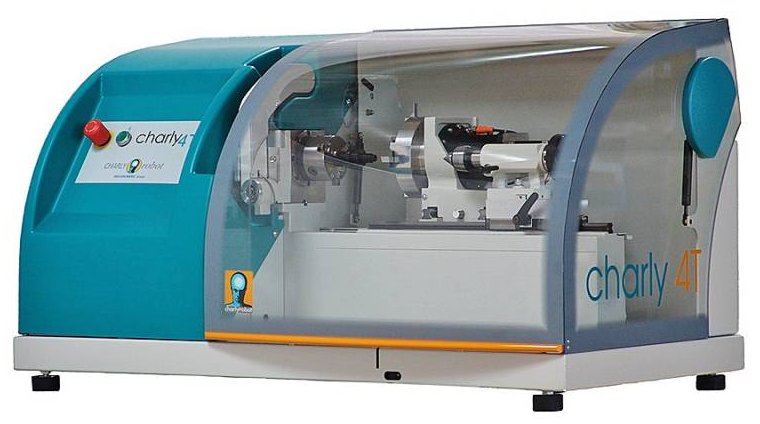
It took some time to Stephane to get it to work, but now it’s functional for simple pieces. We discussed the type of piece I could design to challenge myself for this assignment, and continue to learn about the machine at the same time. We settled to a magic wand for three reasons: it’s an enough easy form to not challenge the machine too much, it’s long so we can try to use the tailstock, and most importantly, it’s fun!
Designing: from Blender to FreeCAD
As I loved using Blender during Computer-Aided Design week I decided to refresh my memory by designing my magic wand in it. I really had a lot of fun doing this and I hope to continue practice Blender in the future. The only issue I see it’s the size of files I export from it. As Blender is really effective I can’t help myself but trying to be as smooth as I can when designing. But the exportation of the files are too big for machining afterwards, so I need to calm down on the Smooth option!
I inspired myself a lot from this tutorial that explained how to do a magic wand. I learned a lot on Blender again. I changed my metrics to millimeters to be accurare when designing.
Attention: when exporting in .STL afterwards, I need to select Scale: 1000 to obtain the right size.
Creating a magic wand step by step
- Add a circle with Shift + A
- In Edit mode, go to Select > Checker deselect to select only a few of the vertices
- Extrude the circle to the size you want
- Add a subdivision surface modifier to smooth the area
- Divide the handle with Ctrl + R + mouse wheel
- Turn on proportional editing
- Rotate to obtain a spiral (use the mouse wheel to change the rotation area)
- Scale the point of the wand (turn off proportional editing)
- F to close the face
- Shift + S is useful to put the cursor on the right place to add some rings to the design
- After adding a small circle perpendicularly to the handle, spin in Edit mode to form a ring
Why I did this wrong
Stephane explained to me that we don’t have the tools to realize the model I made. I didn’t relazed yet there were so much to take into account when designing. But it’s finally like every other machine, you have to adapt to them, you can’t just hope everything will be working because you decided it that way.
My first design couldn’t work because of the spiral line. The axe of the machine will rotate too fast for the tool to correctly render this design, it will evenly remove the material all around it.
I redid another model with Blender following roughly the same steps but skipping the rotation.
I had to export the model with a scale * 1000 to get a normal size .STL file. After that I converted my model to .STEP to send it to Solidworks and convert it to a .X_T format.
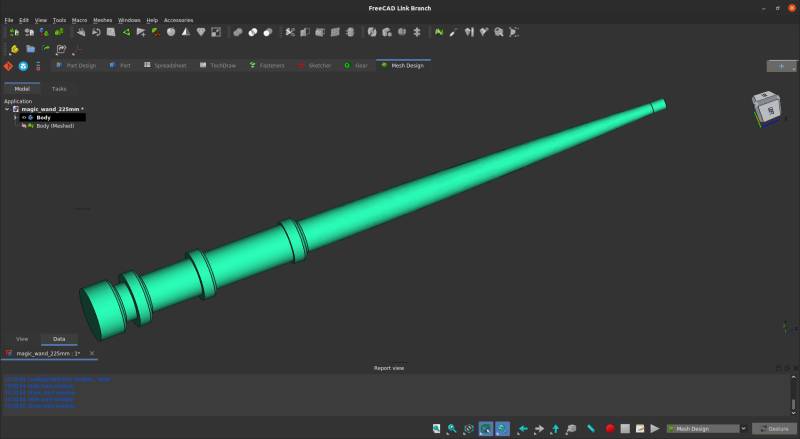
Unfortunately, the conversion of a blender file to x_t was far too long for any computer we had. I had to redo my model in FreeCAD and lost the irregularities of the design that made it special (as I thought). But the goal of this week was to use the machine, not to beautifully design, so I went for it.
Once my design was realized in FreeCAD, I exported it in .STEP format and converted it in .X_T (parasolid) thanks to Solidworks. I haven’t found a way to convert it without a non-open source software, so if you read this and hear about something, please tell me!
Machining
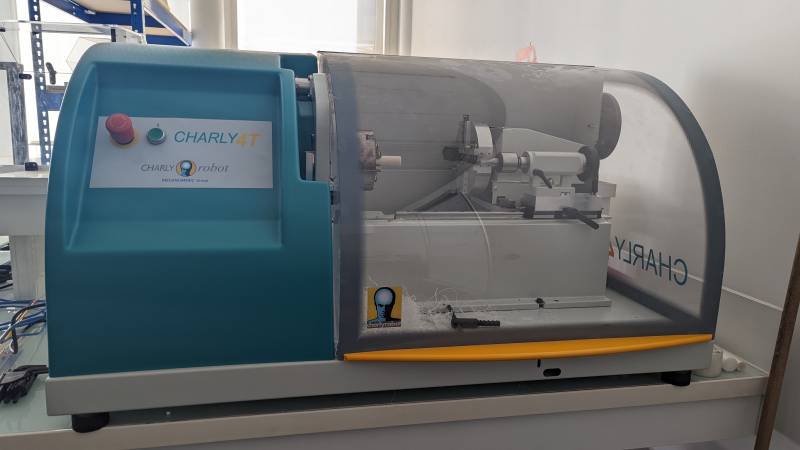
Our machine is currently in the Creativity Lab, as it takes some space.
I found a website showing all the parts of a CNC lathe, as it was a fairly new machine to me.
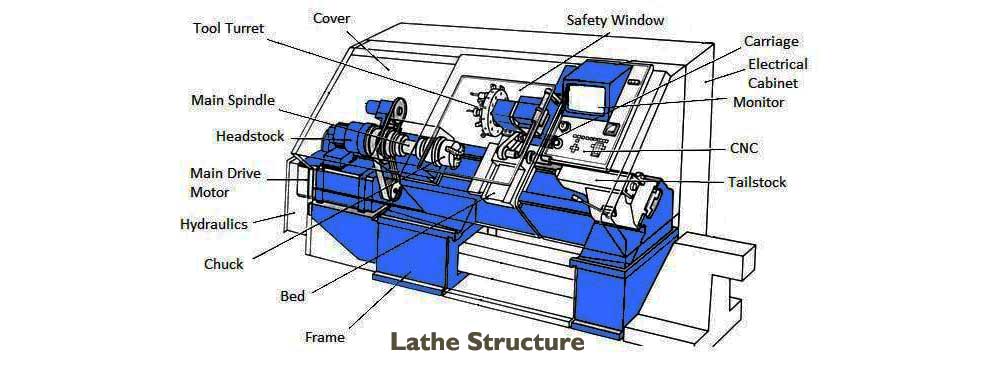
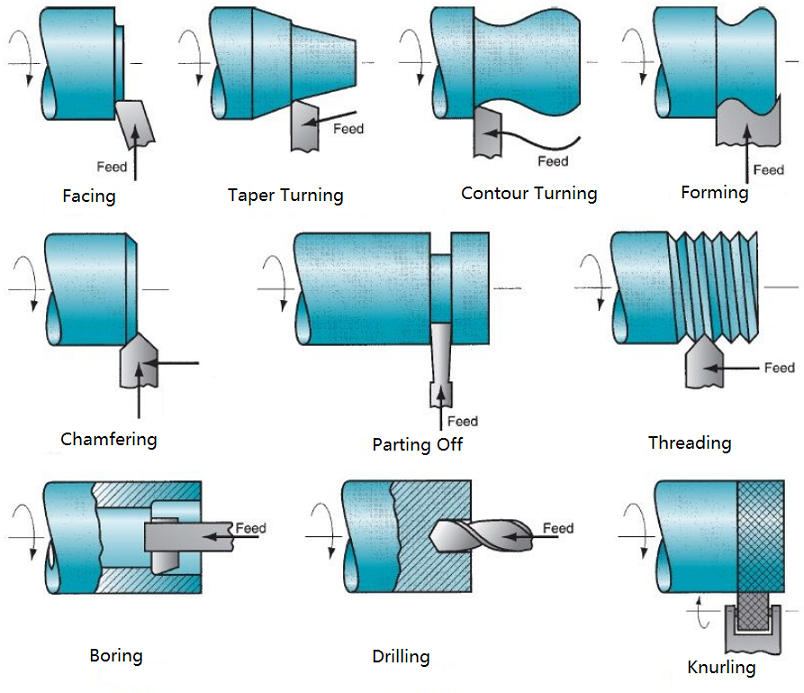
There are several operations you can make with a CNC lathe. We used turning only because we don’t have other tools, but I look forward to learn new tehniques to make more complex objects!
Example process: a pawn
We use 2 softwares: GOcharly and Gpilote.
POM version
In GOcharly I opened my .X_T file as a revolution solid. The first thing to do is to configure the brut material: it’s diameter and size around the piece. For the pawn we chose a margin of 5mm and a diameter of 20mm, same as our piece.
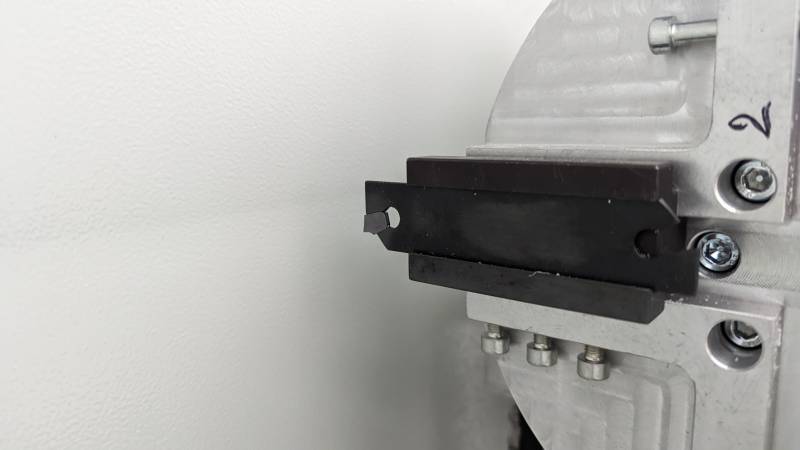
Then I configured the operations: the rough turning and finishing turning are made with the same tool (left on the picture below) and the parting off is made with the third tool (right below).
We need parameters for the tools. Stephane made some tests already and he uses this tool online to calculate the speeds and avance. I found an equivalent in english here. We used speed 100 and feedrate 0.2 as parameters.
We can finally save the iso file and close GOcharly. It’s time to start the machine !
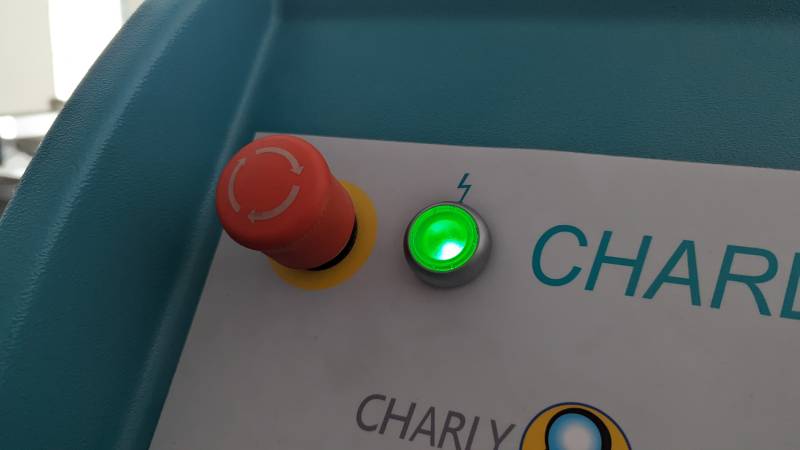
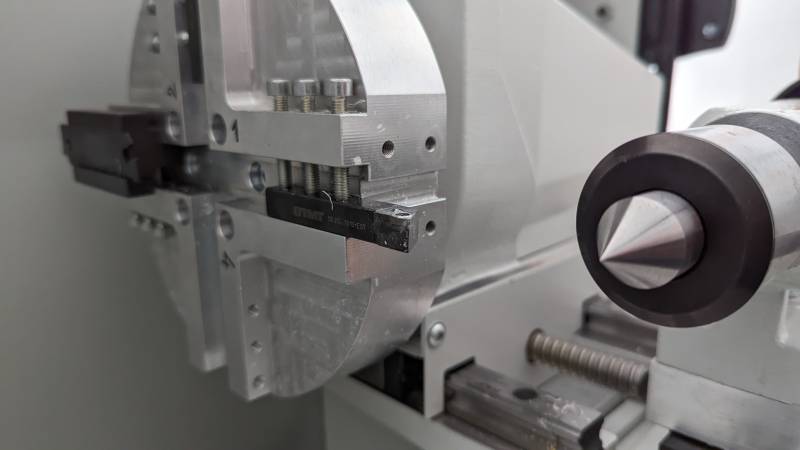
Once the material is inserted in the main axe and well maintained, we can start the machine by pushing the green button. The red one is the emergency button.
With Gpilote software, we zero the tool manually. You need to approach the tool very close to the beginning of the material and diminish the incremental step to finally touch the material.
After zeroing, the machine waits for the file to be imported. A last verification and we can launch the operation.
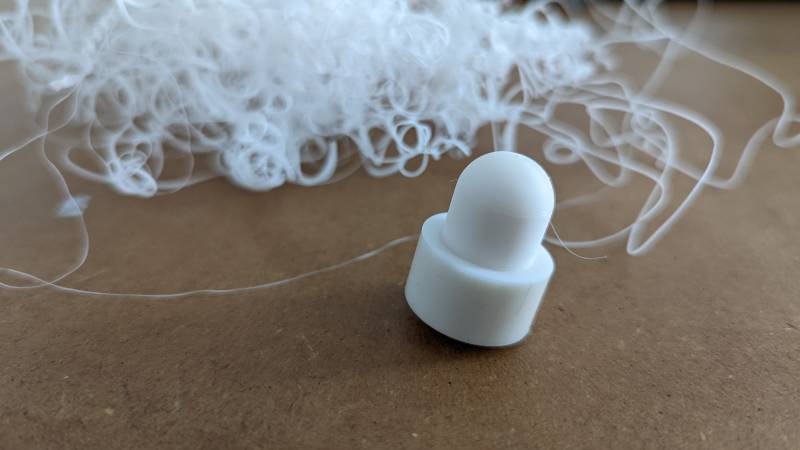
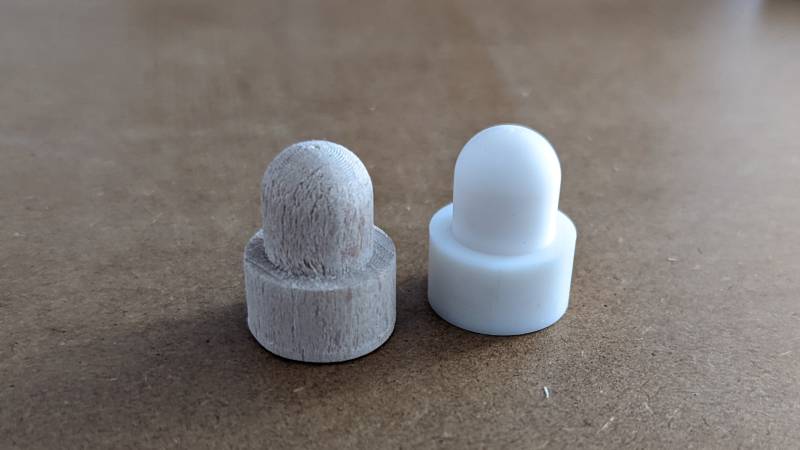
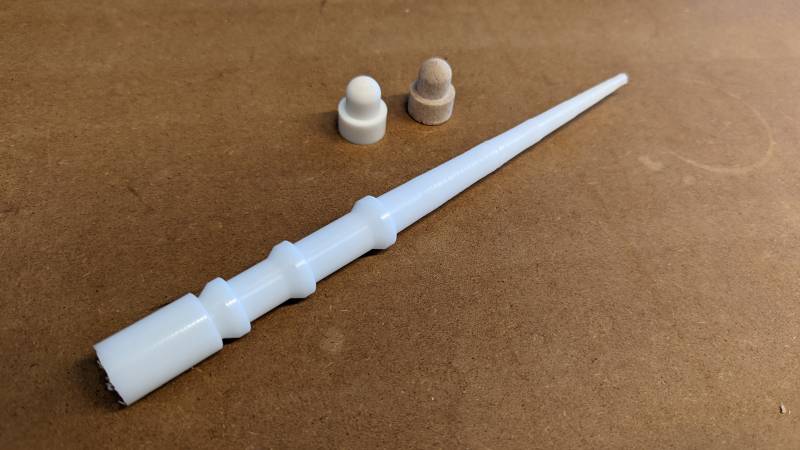
The result was very clean, I was impressed. The parting off operation is quite impressive because the pawn just fall.
Wood version
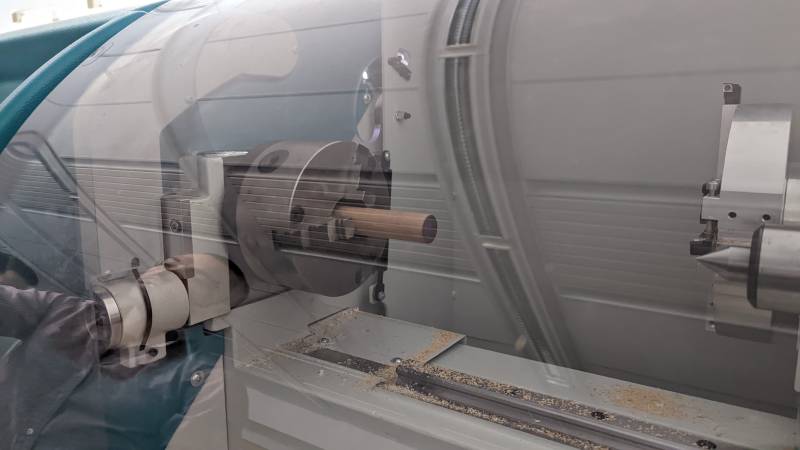
As I wanted to experiment a little more before launching the wand, we decided to test a new material: wood. We had an old broken broomstick laying around for a while, so we cut a piece and inserted it into the machine.
After that we checked the speeds and settled for speed 500 and feedrate 0.4.
We launched the first try, and everything seemed to work as expected. But during the finition operation, the piece of wood detached itself from its axe and we stopped immediatly the machine. We think the wood were too dry to take the final step, and maybe we should have let a little less material for the final pass.
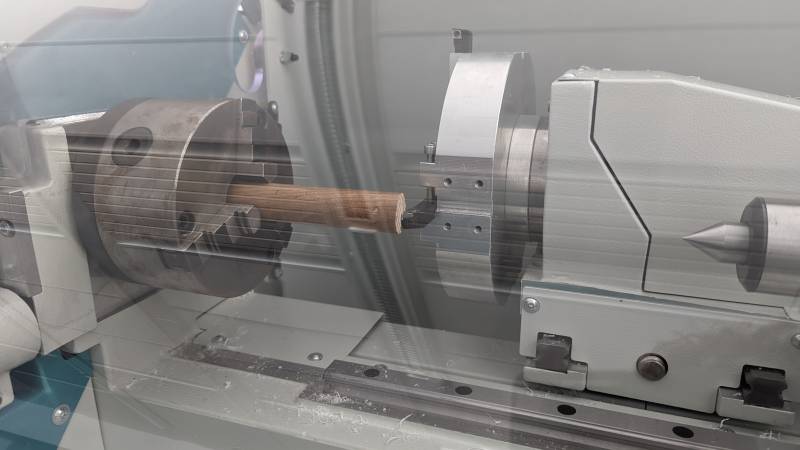

We tried again, this time with another piece of wood that seemed in better shape. It worked, but the result wasn’t as clean as the POM one, and the parting off operation didn’t go through. It was certainly because the wood was ill-centered in the axe.
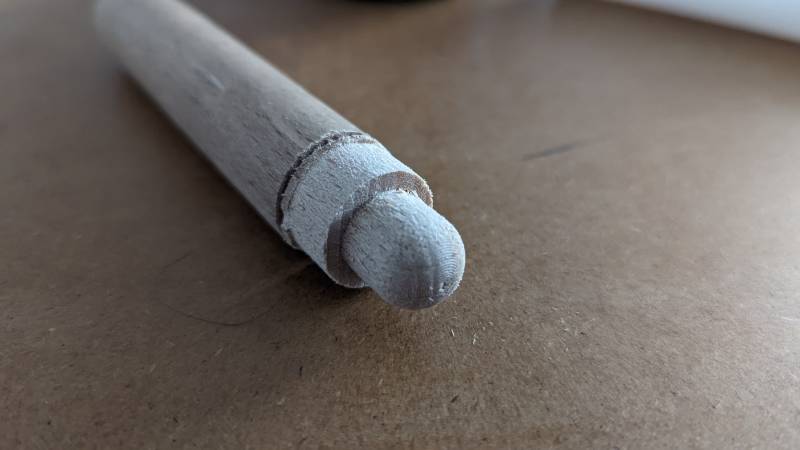
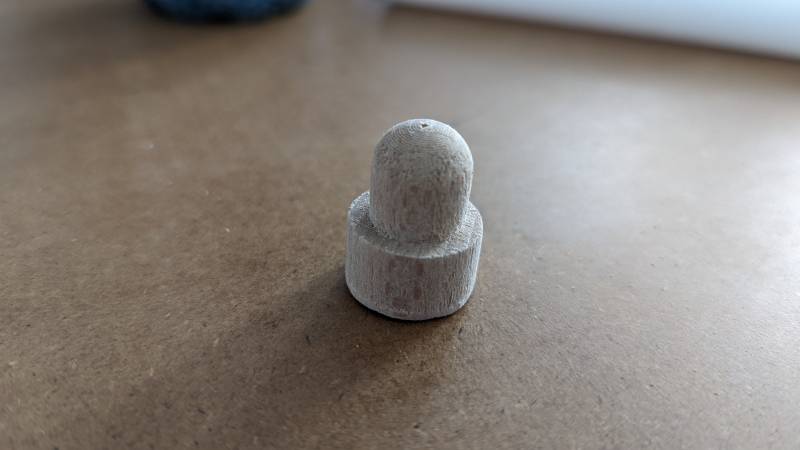
So now we have two demonstrative pawns for this machine!
Magic wand
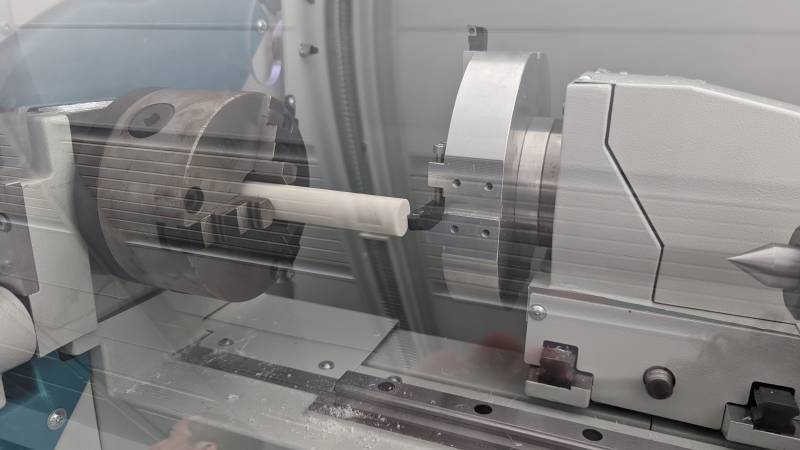
For the magic wand we decided to use POM because we were more sure of the behaviour of the material. We chose faster parameters because of the time estimation made by the software: the first time we ran the simulation, it was 4 hours long! But it ended up being badly estimated, as we chose parameters (speed: 150, feedrate: 0.4) to limit the process to 30 minutes, and the job took only… 2 minutes and a half.
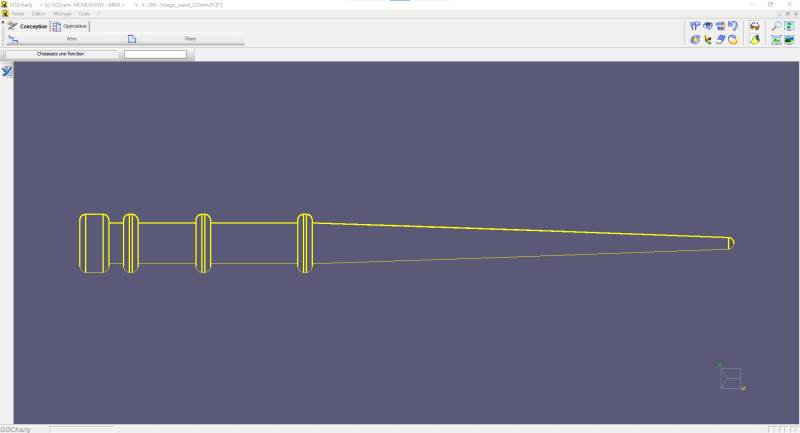
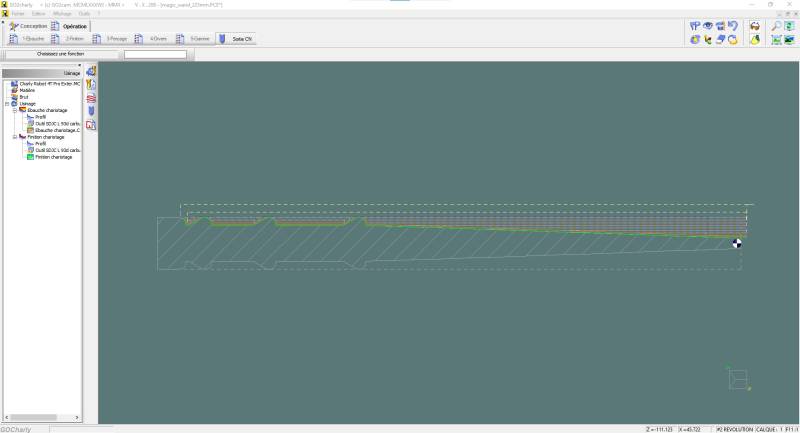
I better realized the limitations of the tool we have when I prepared the job for the wand. You can see the differences between the imported model in GoCharly (image above), and the toolpath created afterwards (image below). The tool is not capable of going straight in the material, it is forced to make a 55° angle.
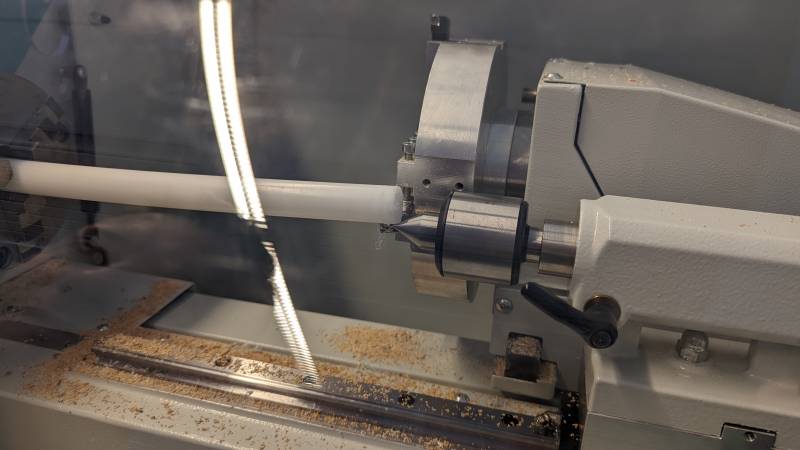
We zeroed the tool just behind the material because with the tailstock in place it wasn’t possible to do it the same way we did with the pawns.
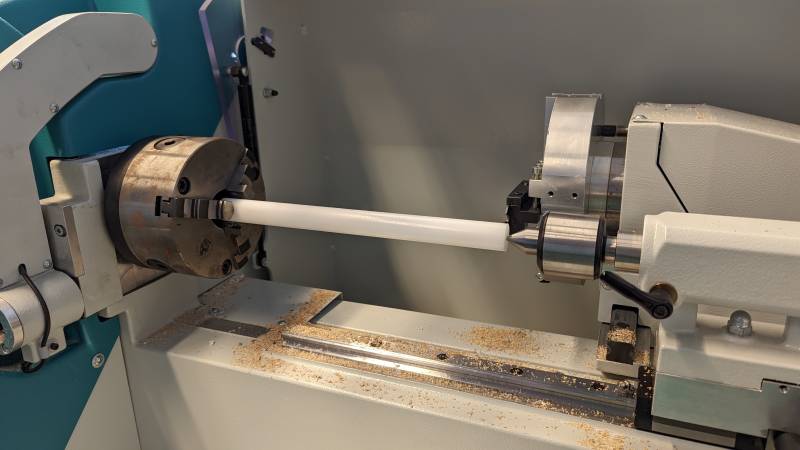
The first time we started the job, the tailstock didn’t grip the material enough but we saw it immediatly and we fixed it.
Then we launched it and the tailstock kept the material in place, although we think of maybe don’t use a brut material with a hole next time, it was still not tight enough for the finishing turning.
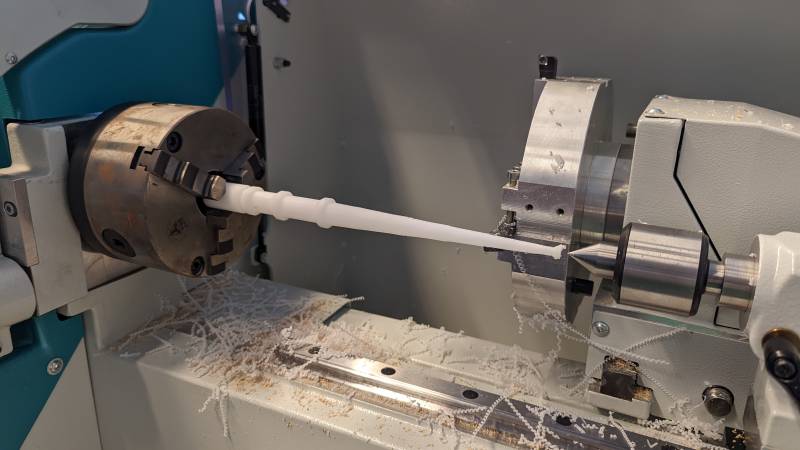
I was super scared every time the tool entered the material as it made an horrible noise each time. Thankfully the job went through, but the finishing turning got the material out of the tailstock. We stopped it immediatly, and I will clean the wand with my dremel at home when I’ll have time for it.
After stopping the job, the wand was still inserted in the main axe.
About this week
I really had fun this week, and I hope to explore this machine later on!