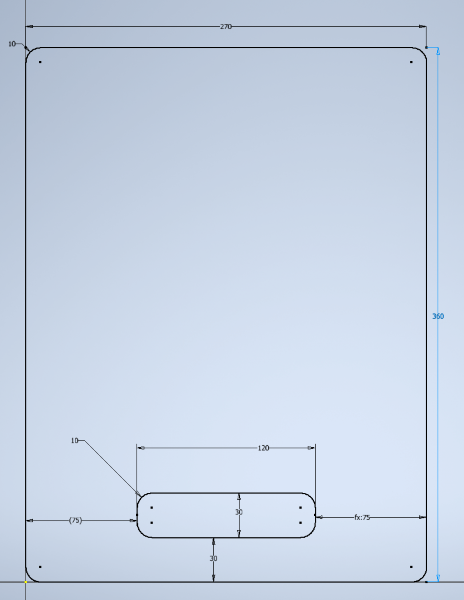
I wanted to waterjet cut a pizza steel. After talking with Juha-Pekka and Jani, they said that I needed a DXF file in Autocad 2010 format. Quick googling didn't provide very promising results so I checked the work of previous year students websites. Reading from Kenichi Komatsu's site I learned that he used Autodesk Inventor to convert the DXF file to correct format. So I downloaded it and made a sketch of the pizza steel in Inventor. It was nothing special, just rectangle with rounded corners and other rectangle as a handle hole. Since my oven is small the steel would be small also, 27cm x 36cm. I think the sweet spot for thickness would be around 1.5cm but I will take anything that we will found in the workshop.
Sketch of the steel
I right clicked the sketch and selected Export sketch as... and selected the DXF type and from the options selected the 2010 version.
Selecting the DXF version
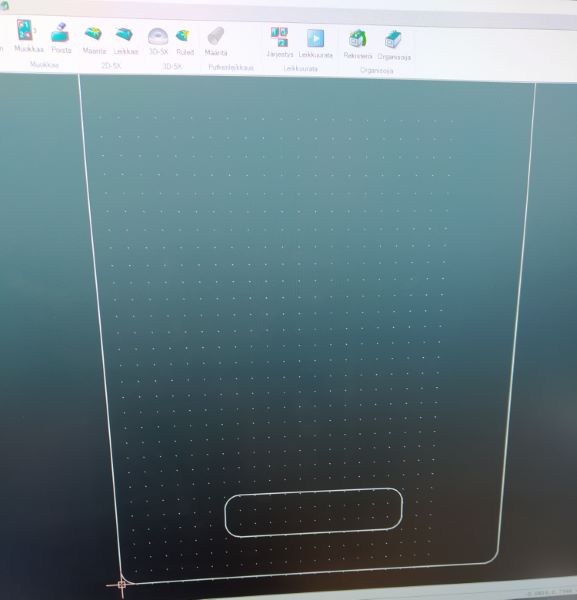
I imported the design to IGEMS R2017 software.
Design in IGEMS
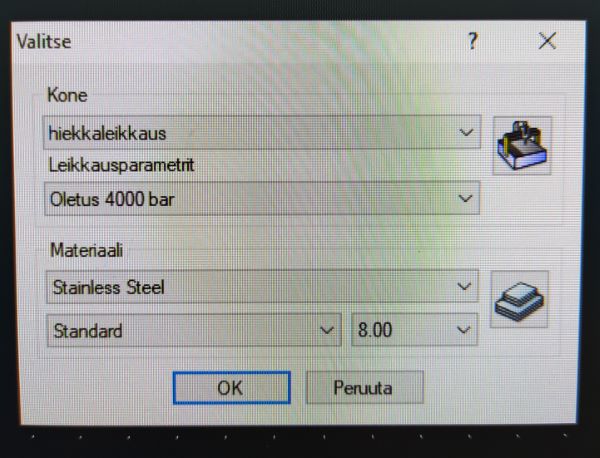
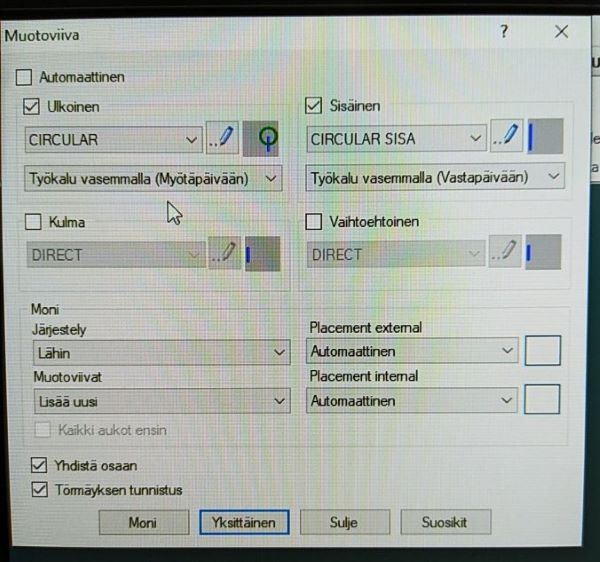
Then I started to make the toolpaths and to do that you need to first set the parameters of the machine and the material you are going to cut. In my case 4000 bar pressure and 8mm stainless steel was set.
Setting the material and pressure
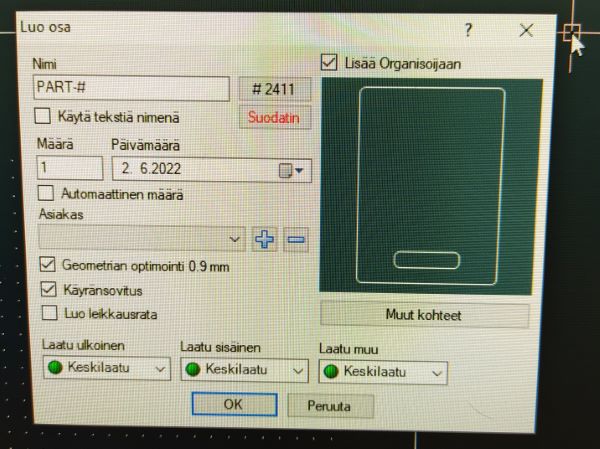
Then you can create the part. I used medium quality.
Creating part
Then you can generate the toolpaths. Since the part was so simple the software recognized the inner and outer toolpaths automatically.
Generating toolpaths
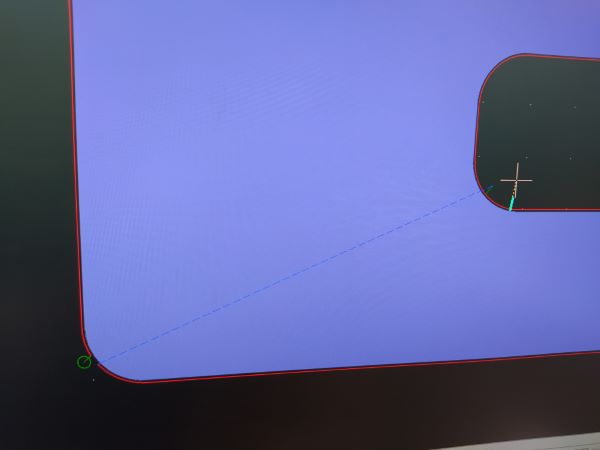
You can select the starting position for the toolpaths. You can change the order that the toolpaths are cut. In my case the inner, handle hole, toolpath was selected to be the first one to cut. Having the outside cut last, means that the workpiece has a lesser chance of moving during other cuts.
Selecting the starting positions
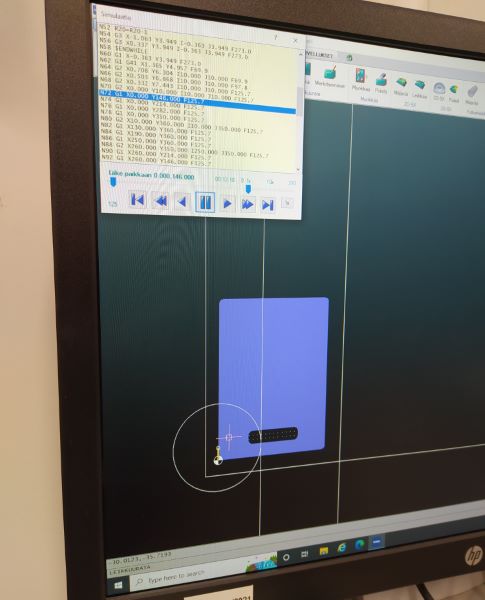
You can simulate the toolpath to see that the order is correct.
Simulating
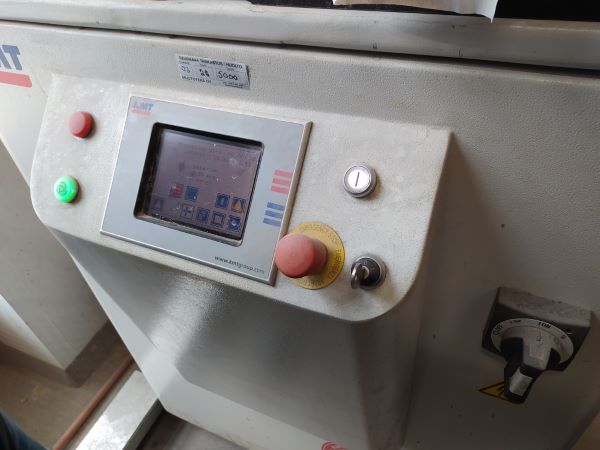
To get started we had to run couple of warm-up cycles to get the pump up to 21℃ .
Warming up the pump
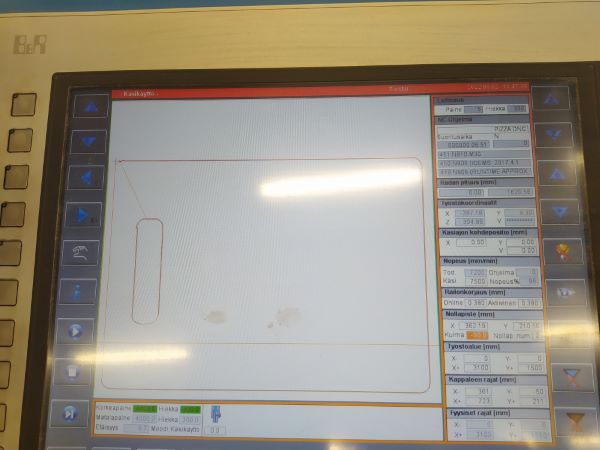
While the pump was warming up I loaded the toolpaths to the waterjet cutters controller. Part was rotated in the controller so that the origin would be in the top left. This way the origin in the machine would be in the bottom left that was easily accessible. The Z-height had an automatic calibration process but the XY origin was set by jogging to desired loaction and zeroing those axes.
Origin in controllerNozzle in the origin position. The longer side will be cut in the direction that the camera is facing.
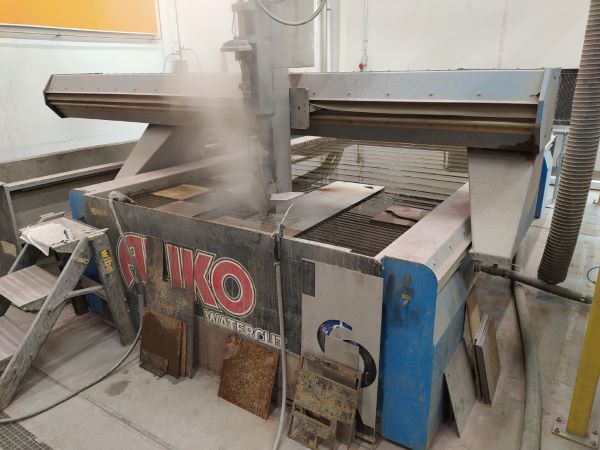
While the cutter is doing the piercing, it sprays a bit. I have heard that in really thick materials it is better to use lead-in because it saves time and I guess also sand and water.
You get a mist while piercing
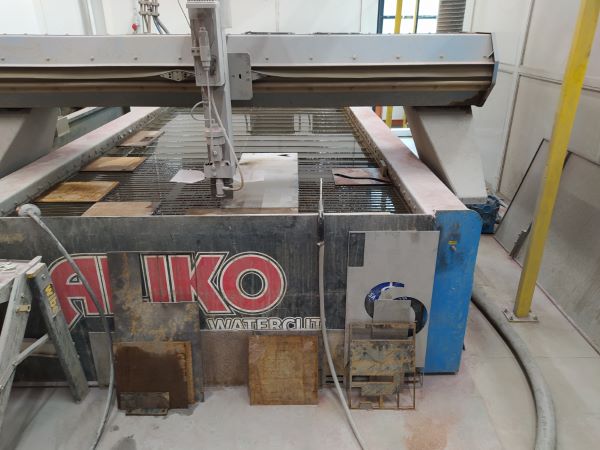
While the machine is cutting barely any water sprays on the top. All of it is going throug the material and to the tank under it. On the image below you can see bit of brown abrasive that does the actual cutting work. Water is basically used to accelerate the abrasive to a speed that it will make the cut.
While cutting, almost no water sprays over the work. You can see a bit of the abrasive that does the actual cutting work.
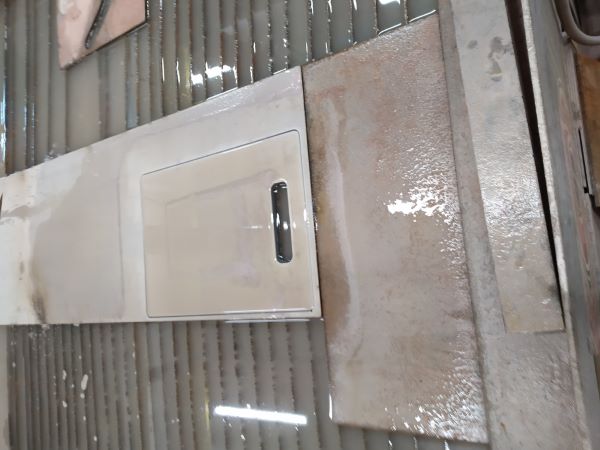
After the cutting was done, I just used a hose to wash the abrasive away. The water in the tank is full of abrasive and all kind of different metals and other materials, so it's a good idea to wash your hands after interacting with it.
Cutting done
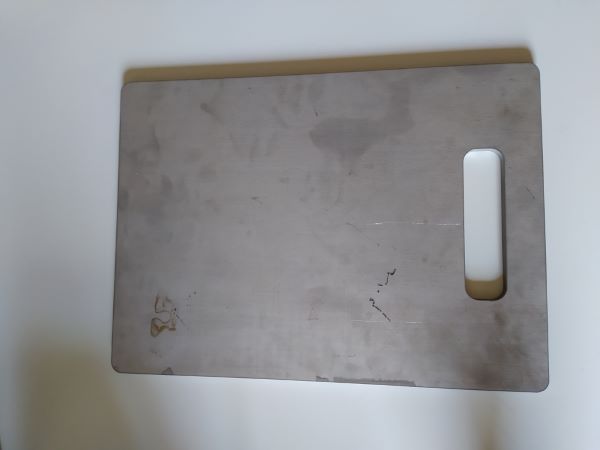
The cutted part has small burr on the underside. It's small eneugh that it doesn't rip your fingers open, but sharp enough to catch oven gloves. I think I will use a rotary tool with a carbide burr to add a small chamfer or rounding to every corner to make the handling nicer. I also think that I will sand it with scotch brite or something similar to get the surface finish consistent.
Washed pizza steel