16. Wildcard week
- Design and produce something with a digital fabrication process (incorporating computer-aided design and manufacturing) not covered in another assignment, documenting the requirements that your assignment meets, and including everything necessary to reproduce it.
This week I worked on the most creative assignment: the wildcard week. We all decided to build a skateboard from scatch with a composite material. We all did the same thing because we are a very strong team and we love to do things together.
🎩 Composite material
Before disclosing what I did in this week, I want to explain what are composite materials.
A composite material (also called a composition material or shortened to composite, which is the common name) is a material which is produced from two or more constituent materials. These constituent materials have notably dissimilar chemical or physical properties and are merged to create a material with properties unlike the individual elements. Within the finished structure, the individual elements remain separate and distinct.
Usually the individual components are fibers, and in this case I used two tipes of fibers:
-
jute
-
Canadian maple wood
💎 Design
In order to create a skateboard, I needed to design the skateboard, create the composite material and mould it into the shape of the skate I wanted.
🚪 Designing the skateboard
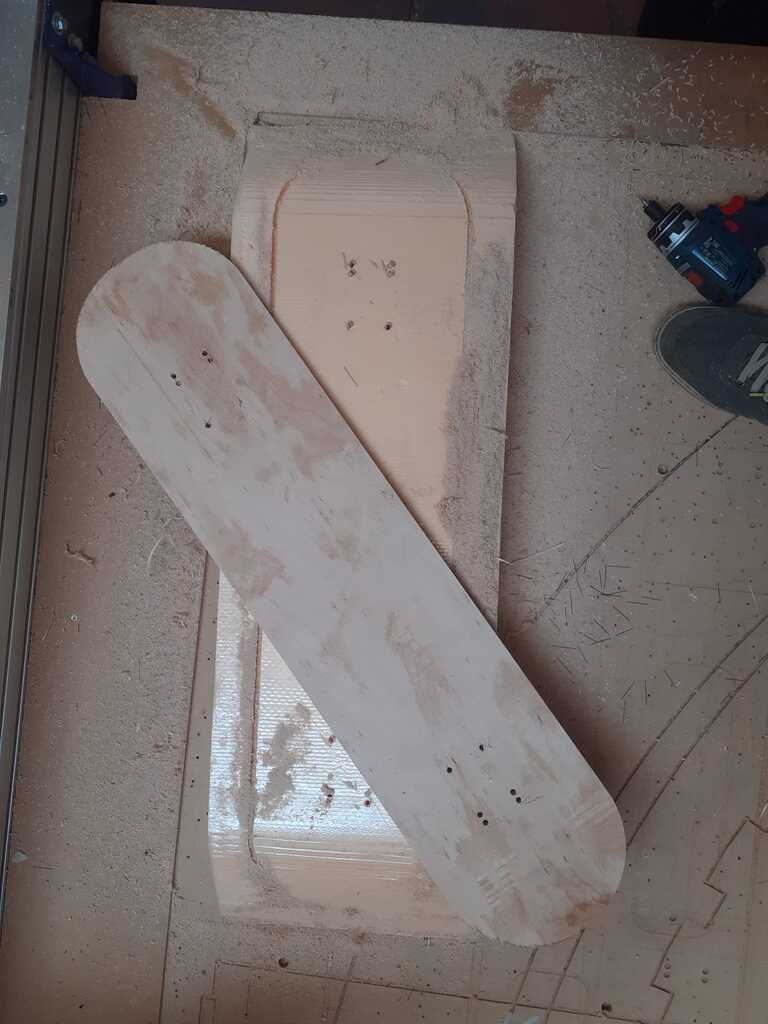
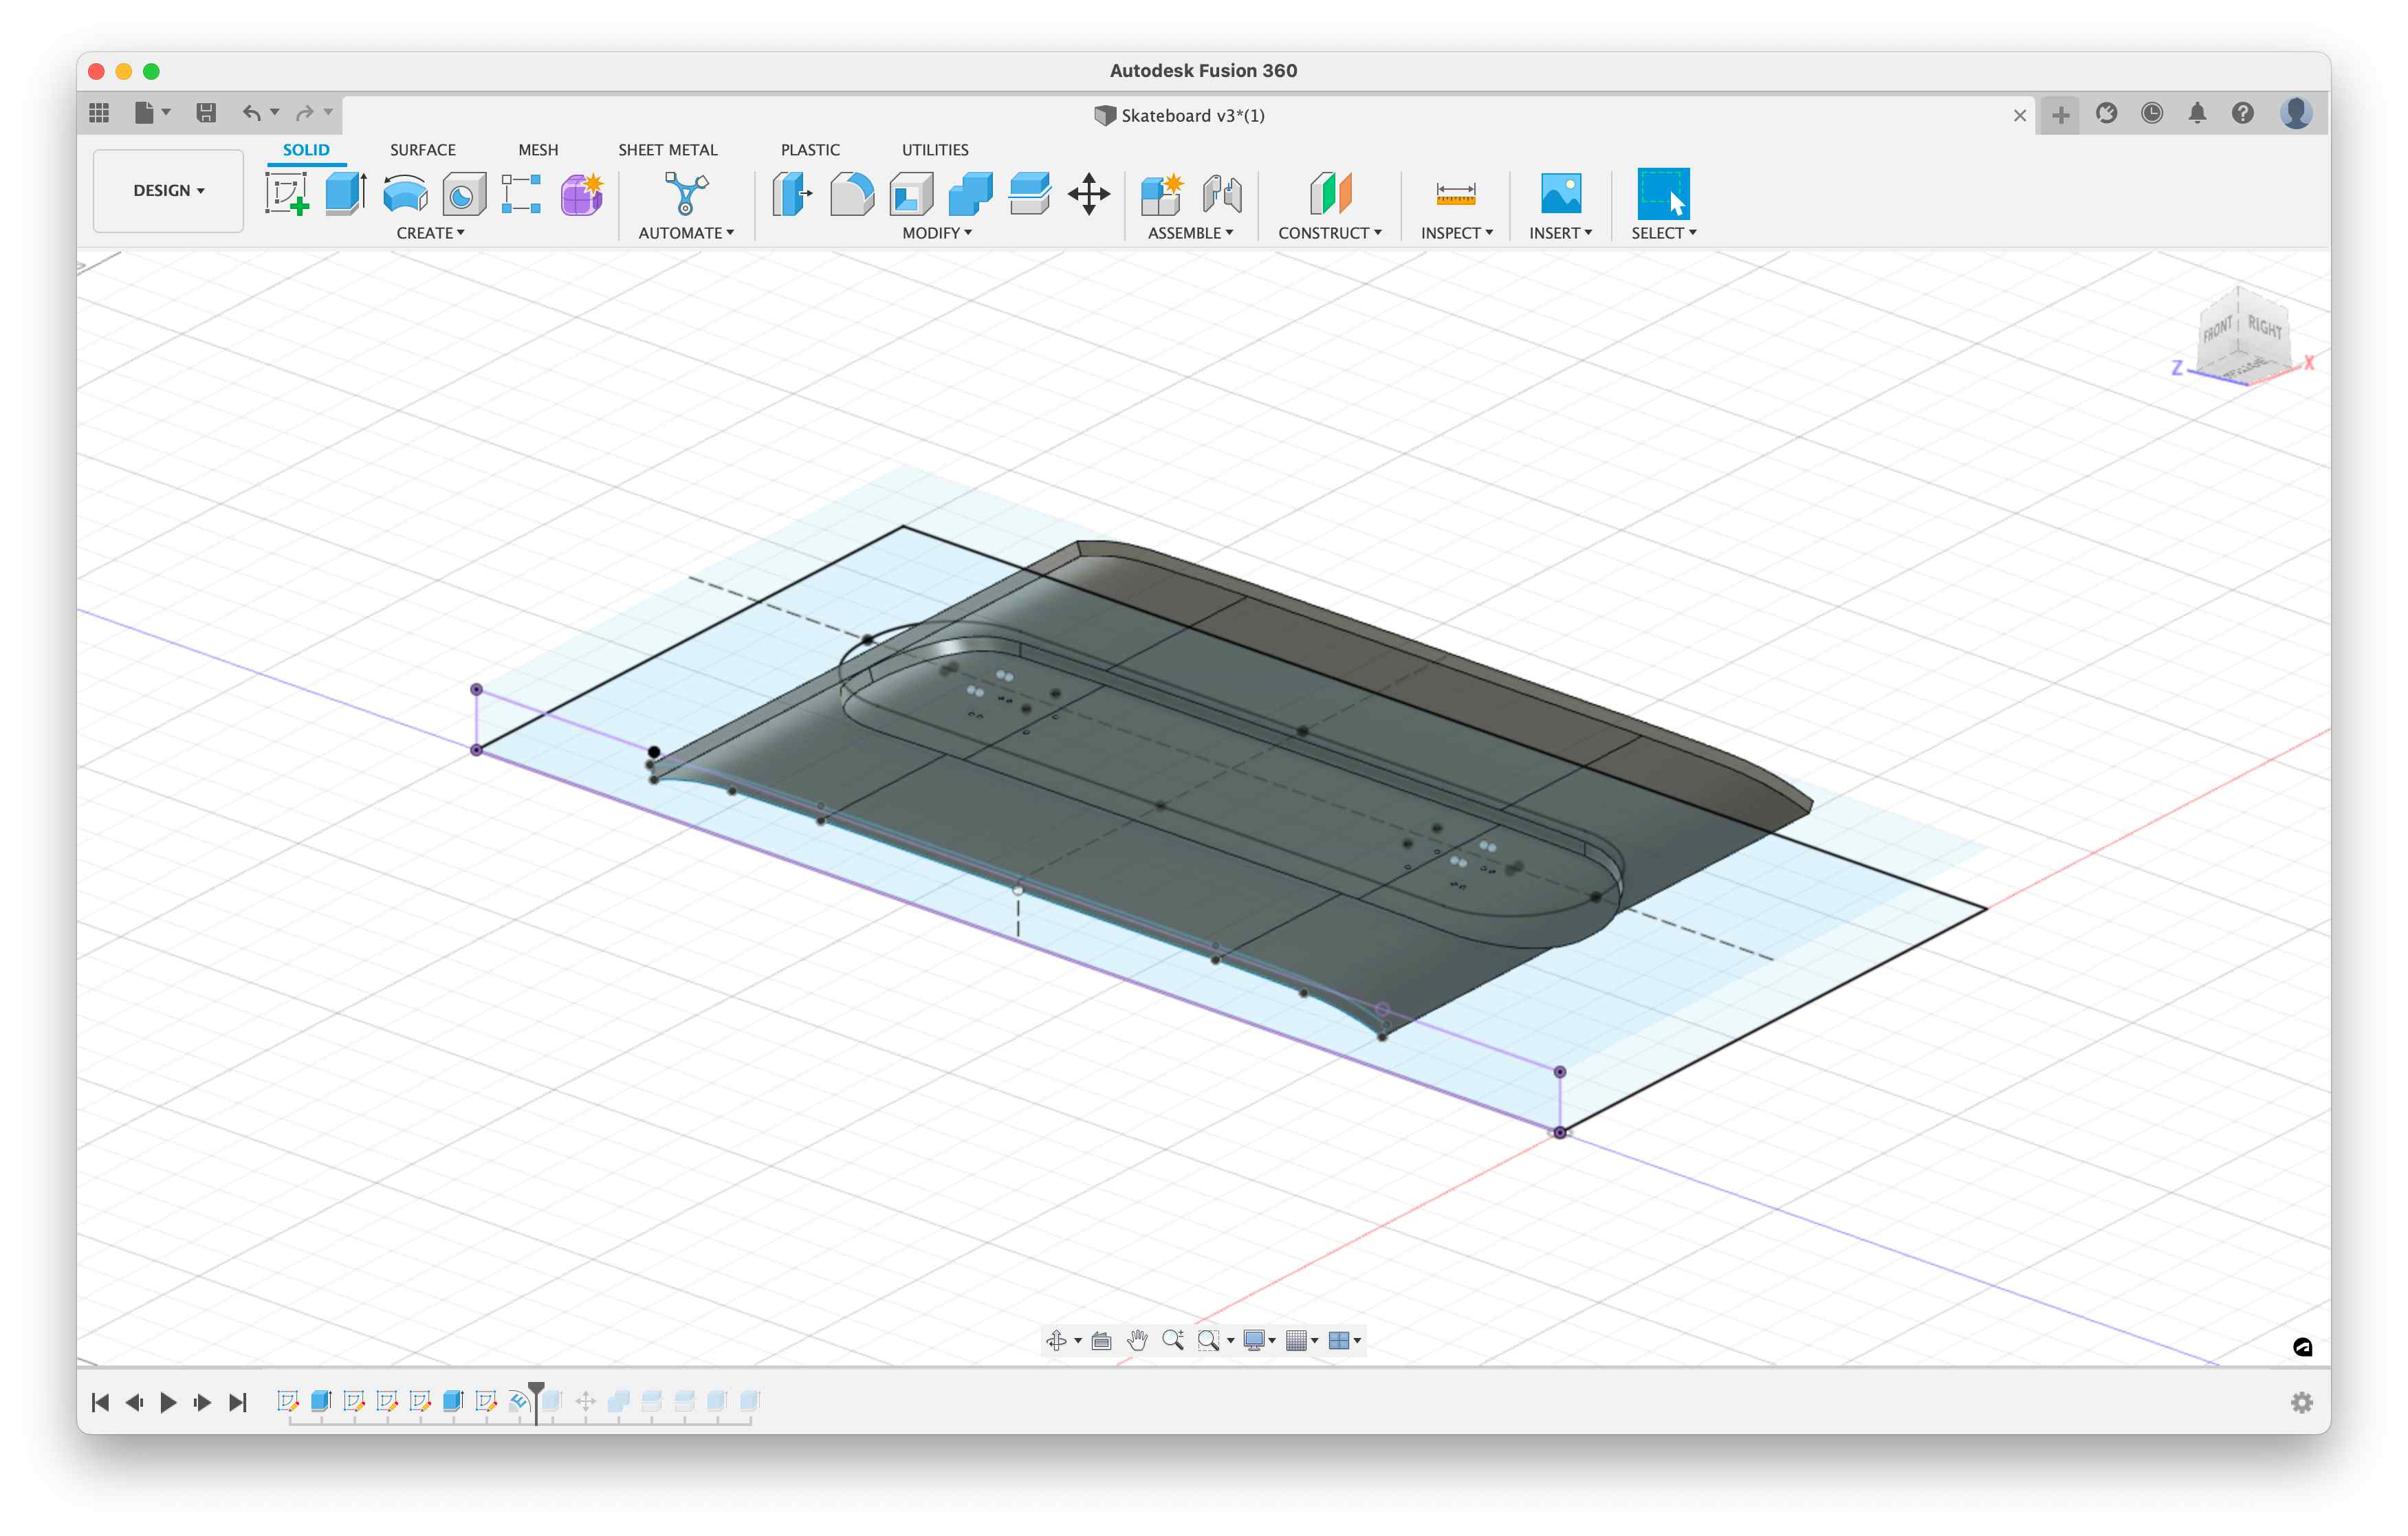
In order to make my skateboard, I had to design it first. I did so using Fusion360. I started by drawing the sketch of the board, specifically its top profile.
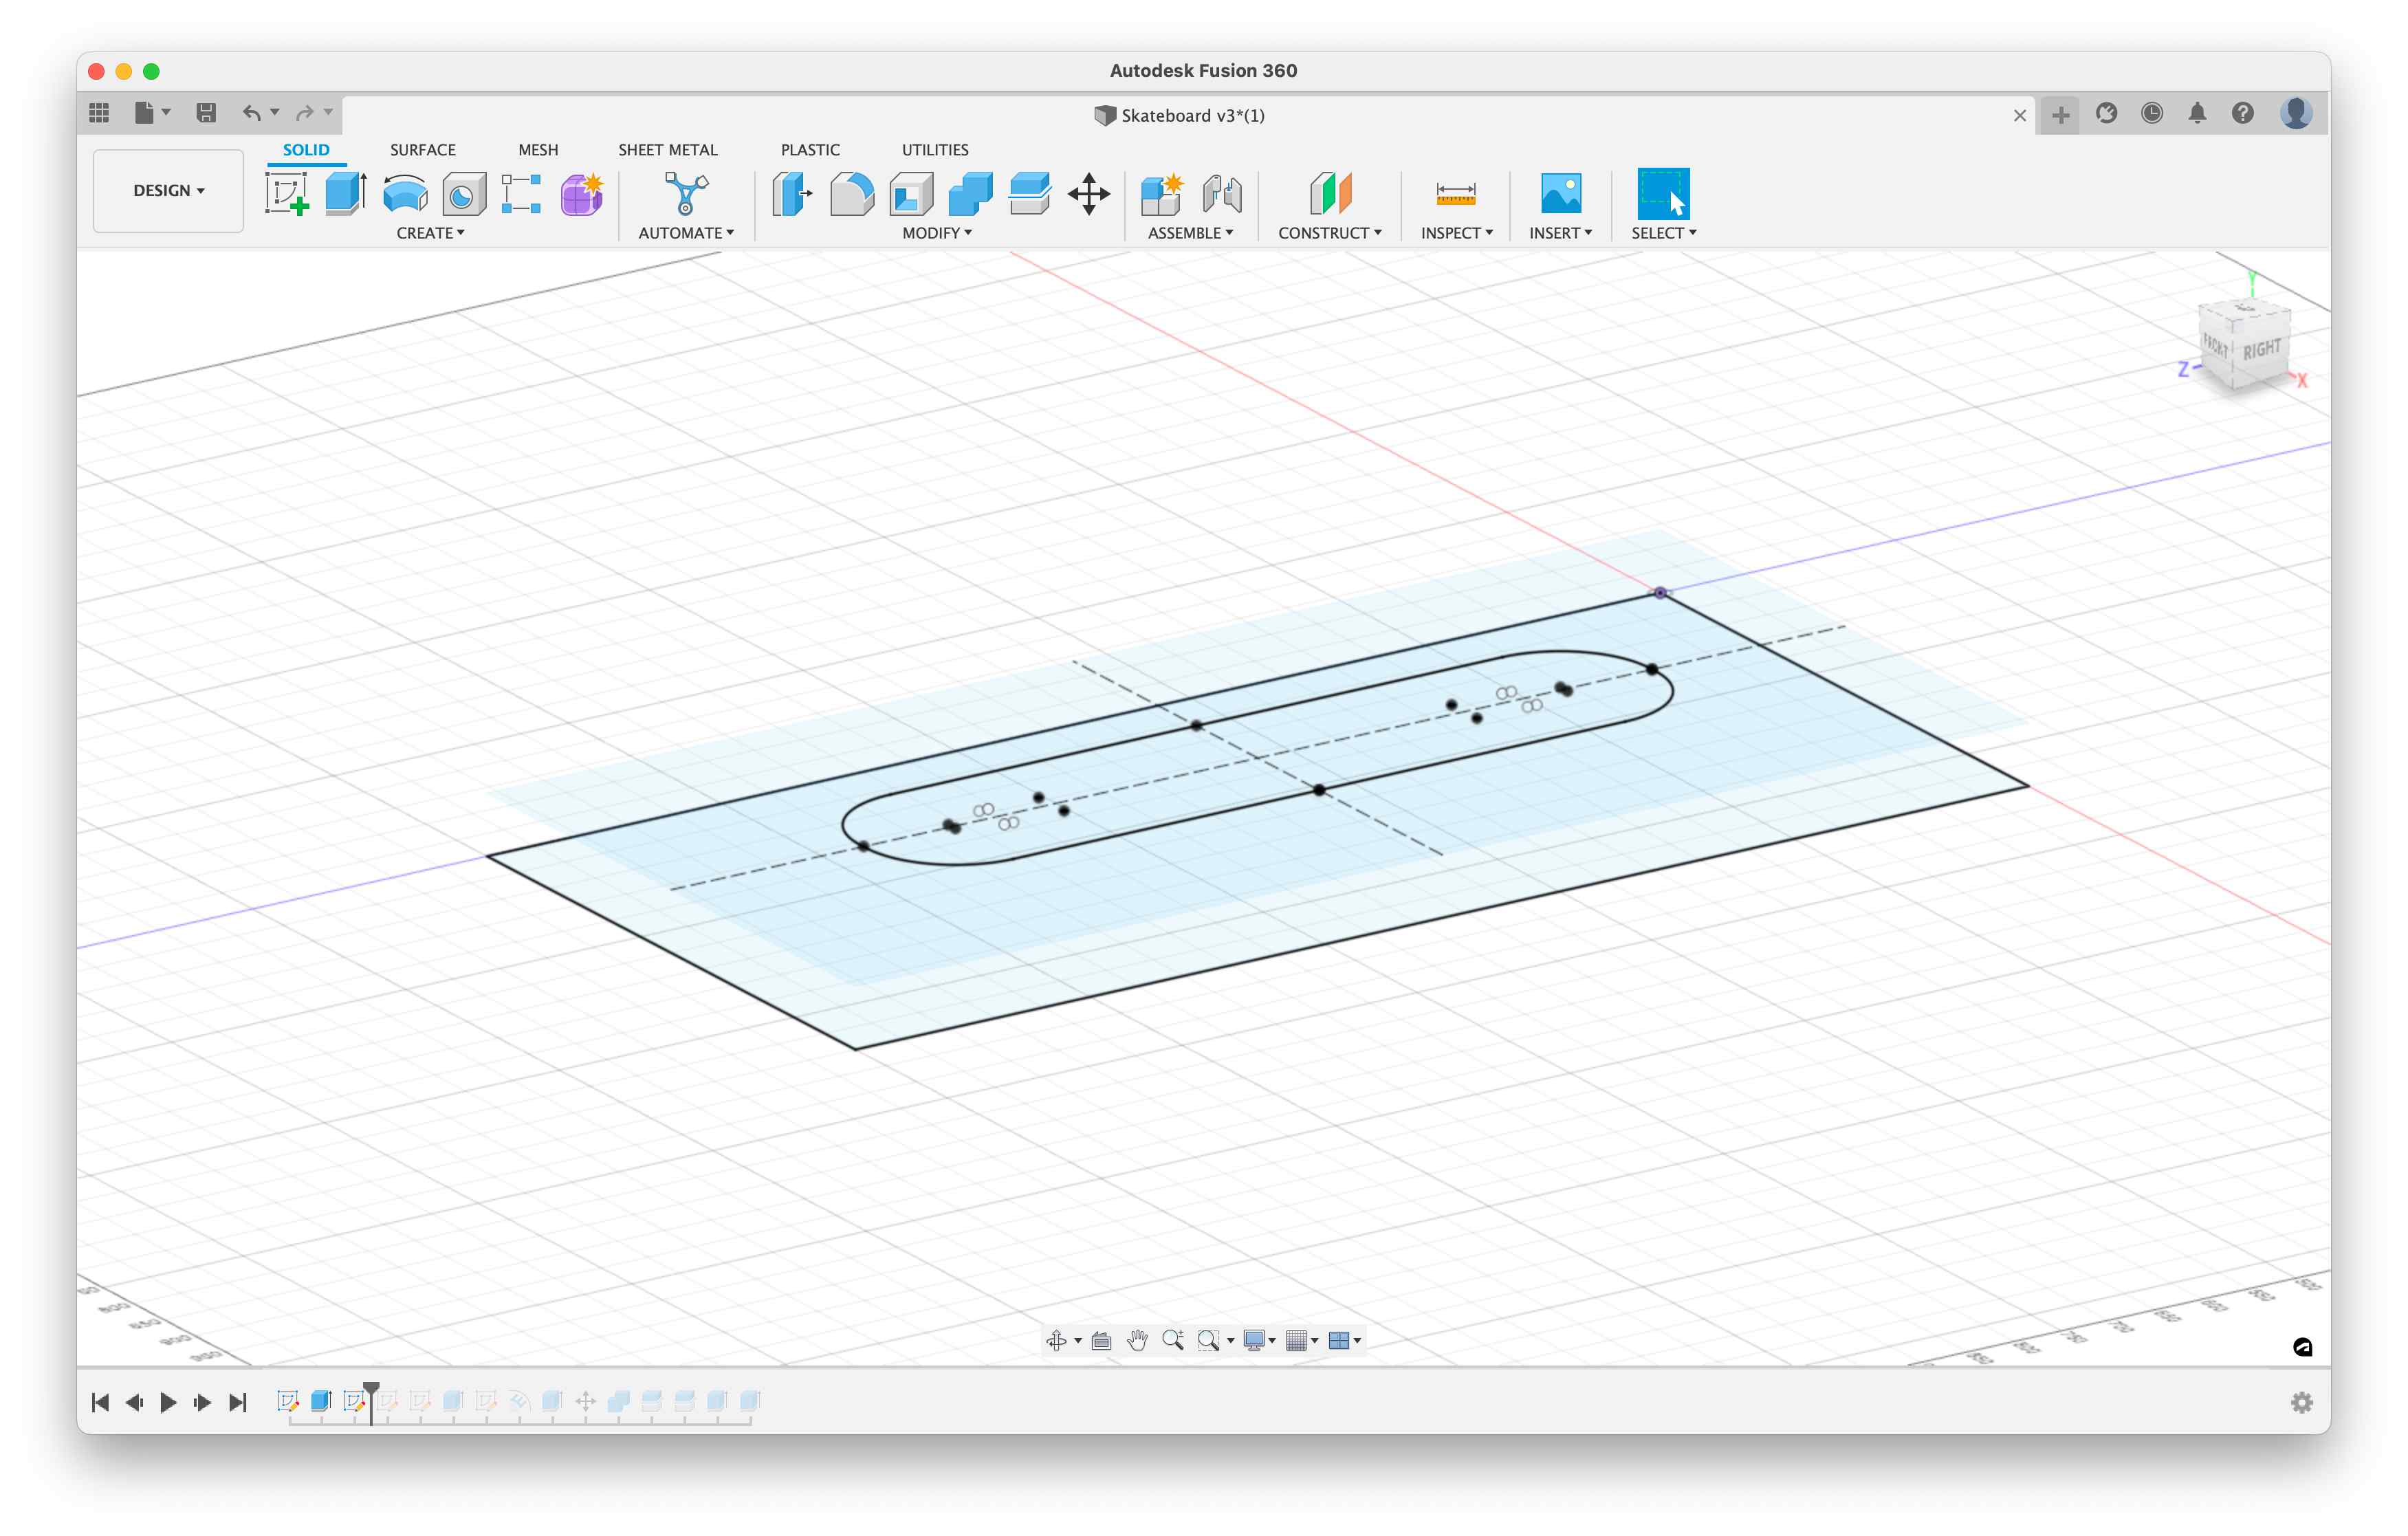
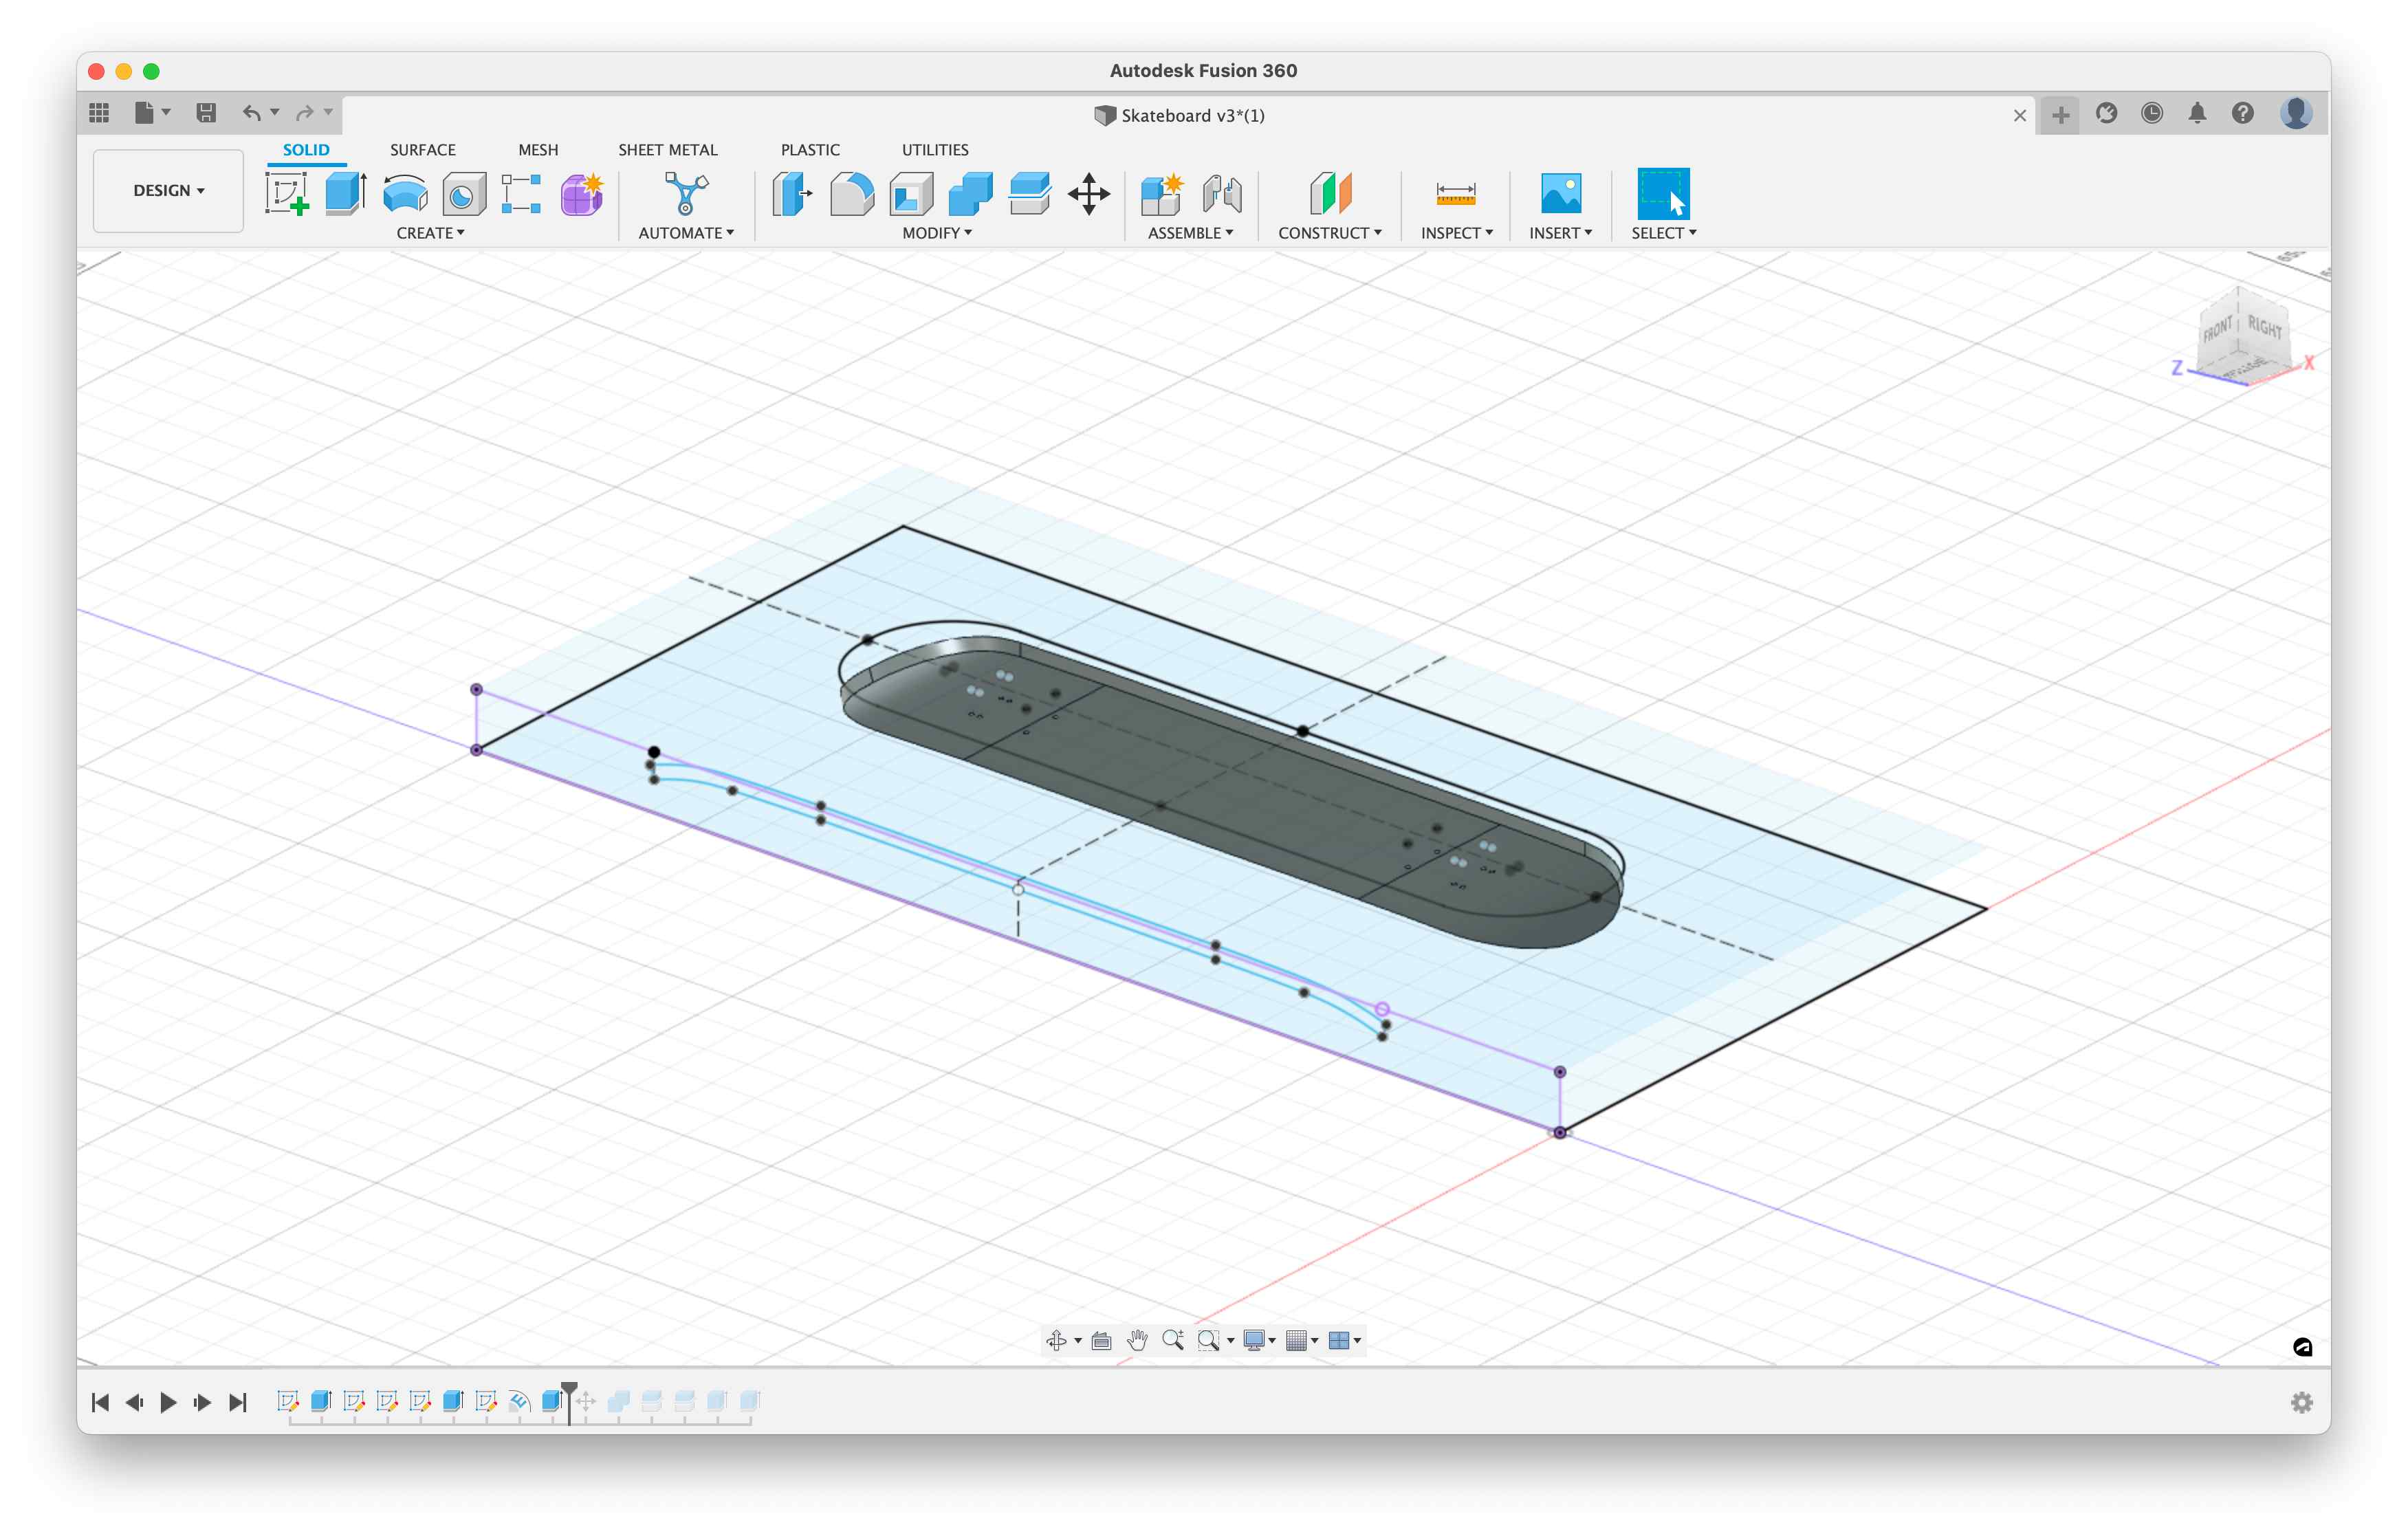
I then focused on the lateral view of the board, sketching it offsetting from the board itself. As you may know, skateboard can be longboards (which are flat), can be normal skateboards (usually they have the front and the bottom a little bit curved), they can be penny (like longboard but short, shortboards?). I decided to make it normal, like a plain skateboard.
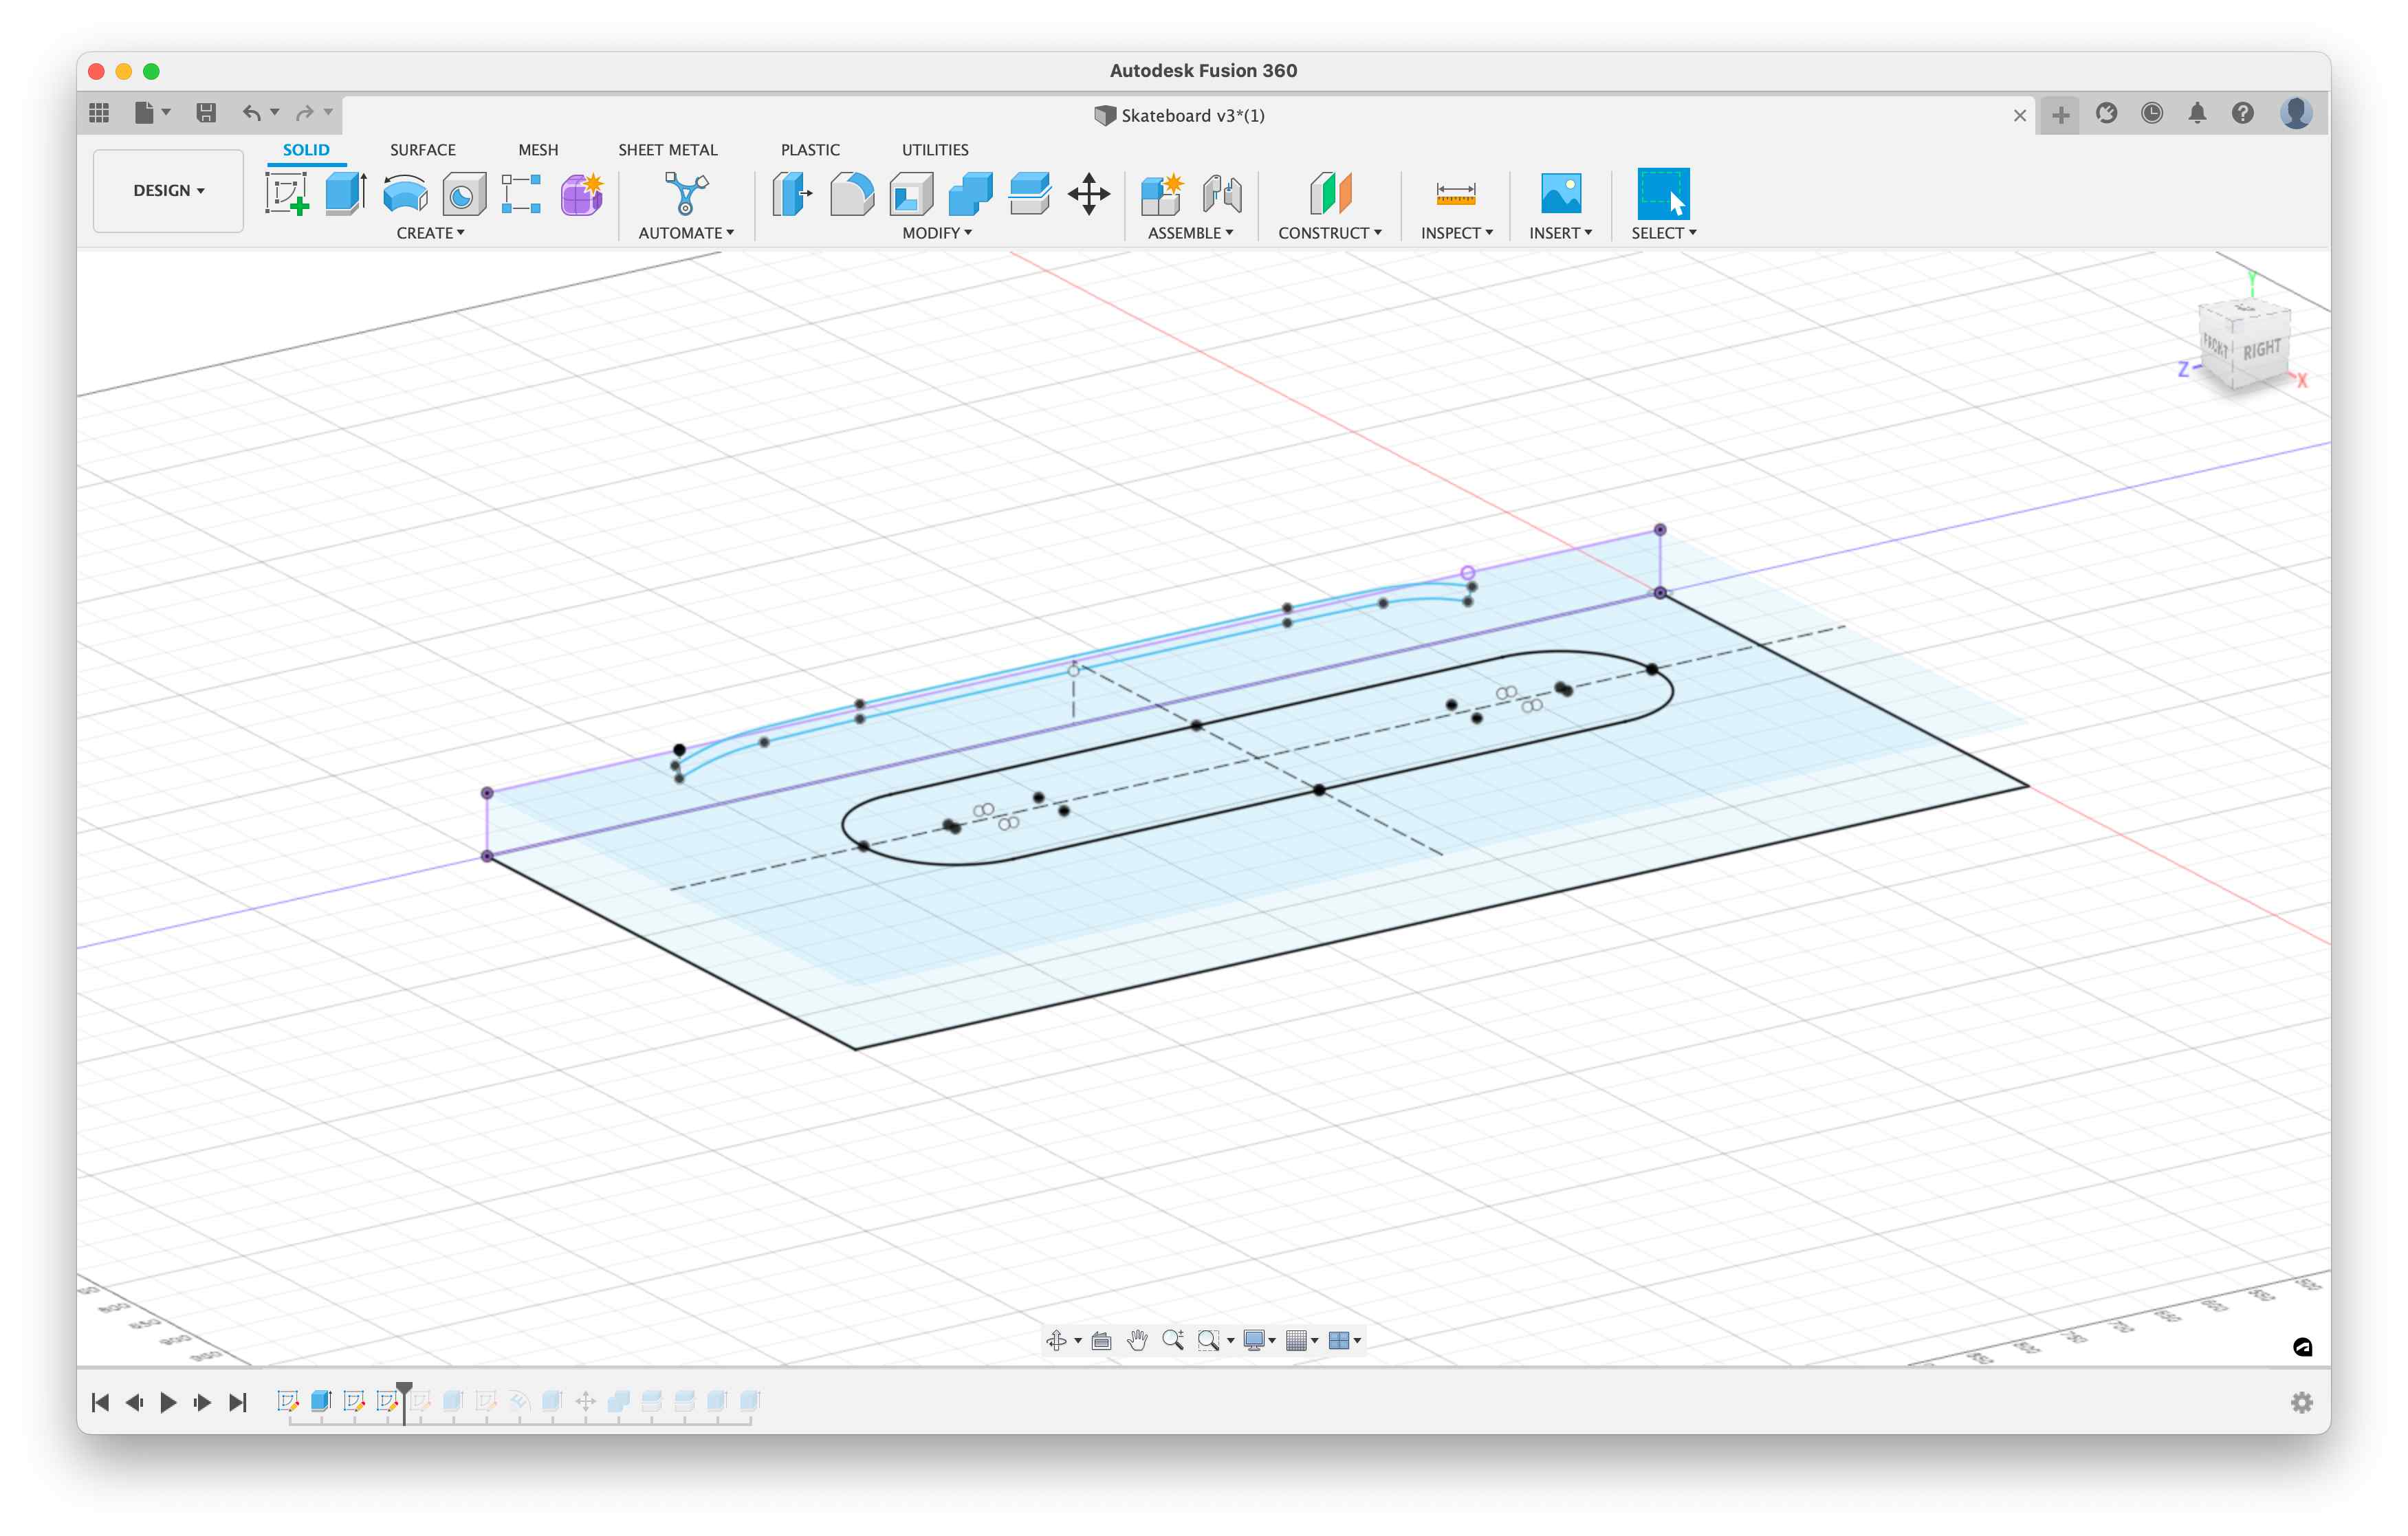
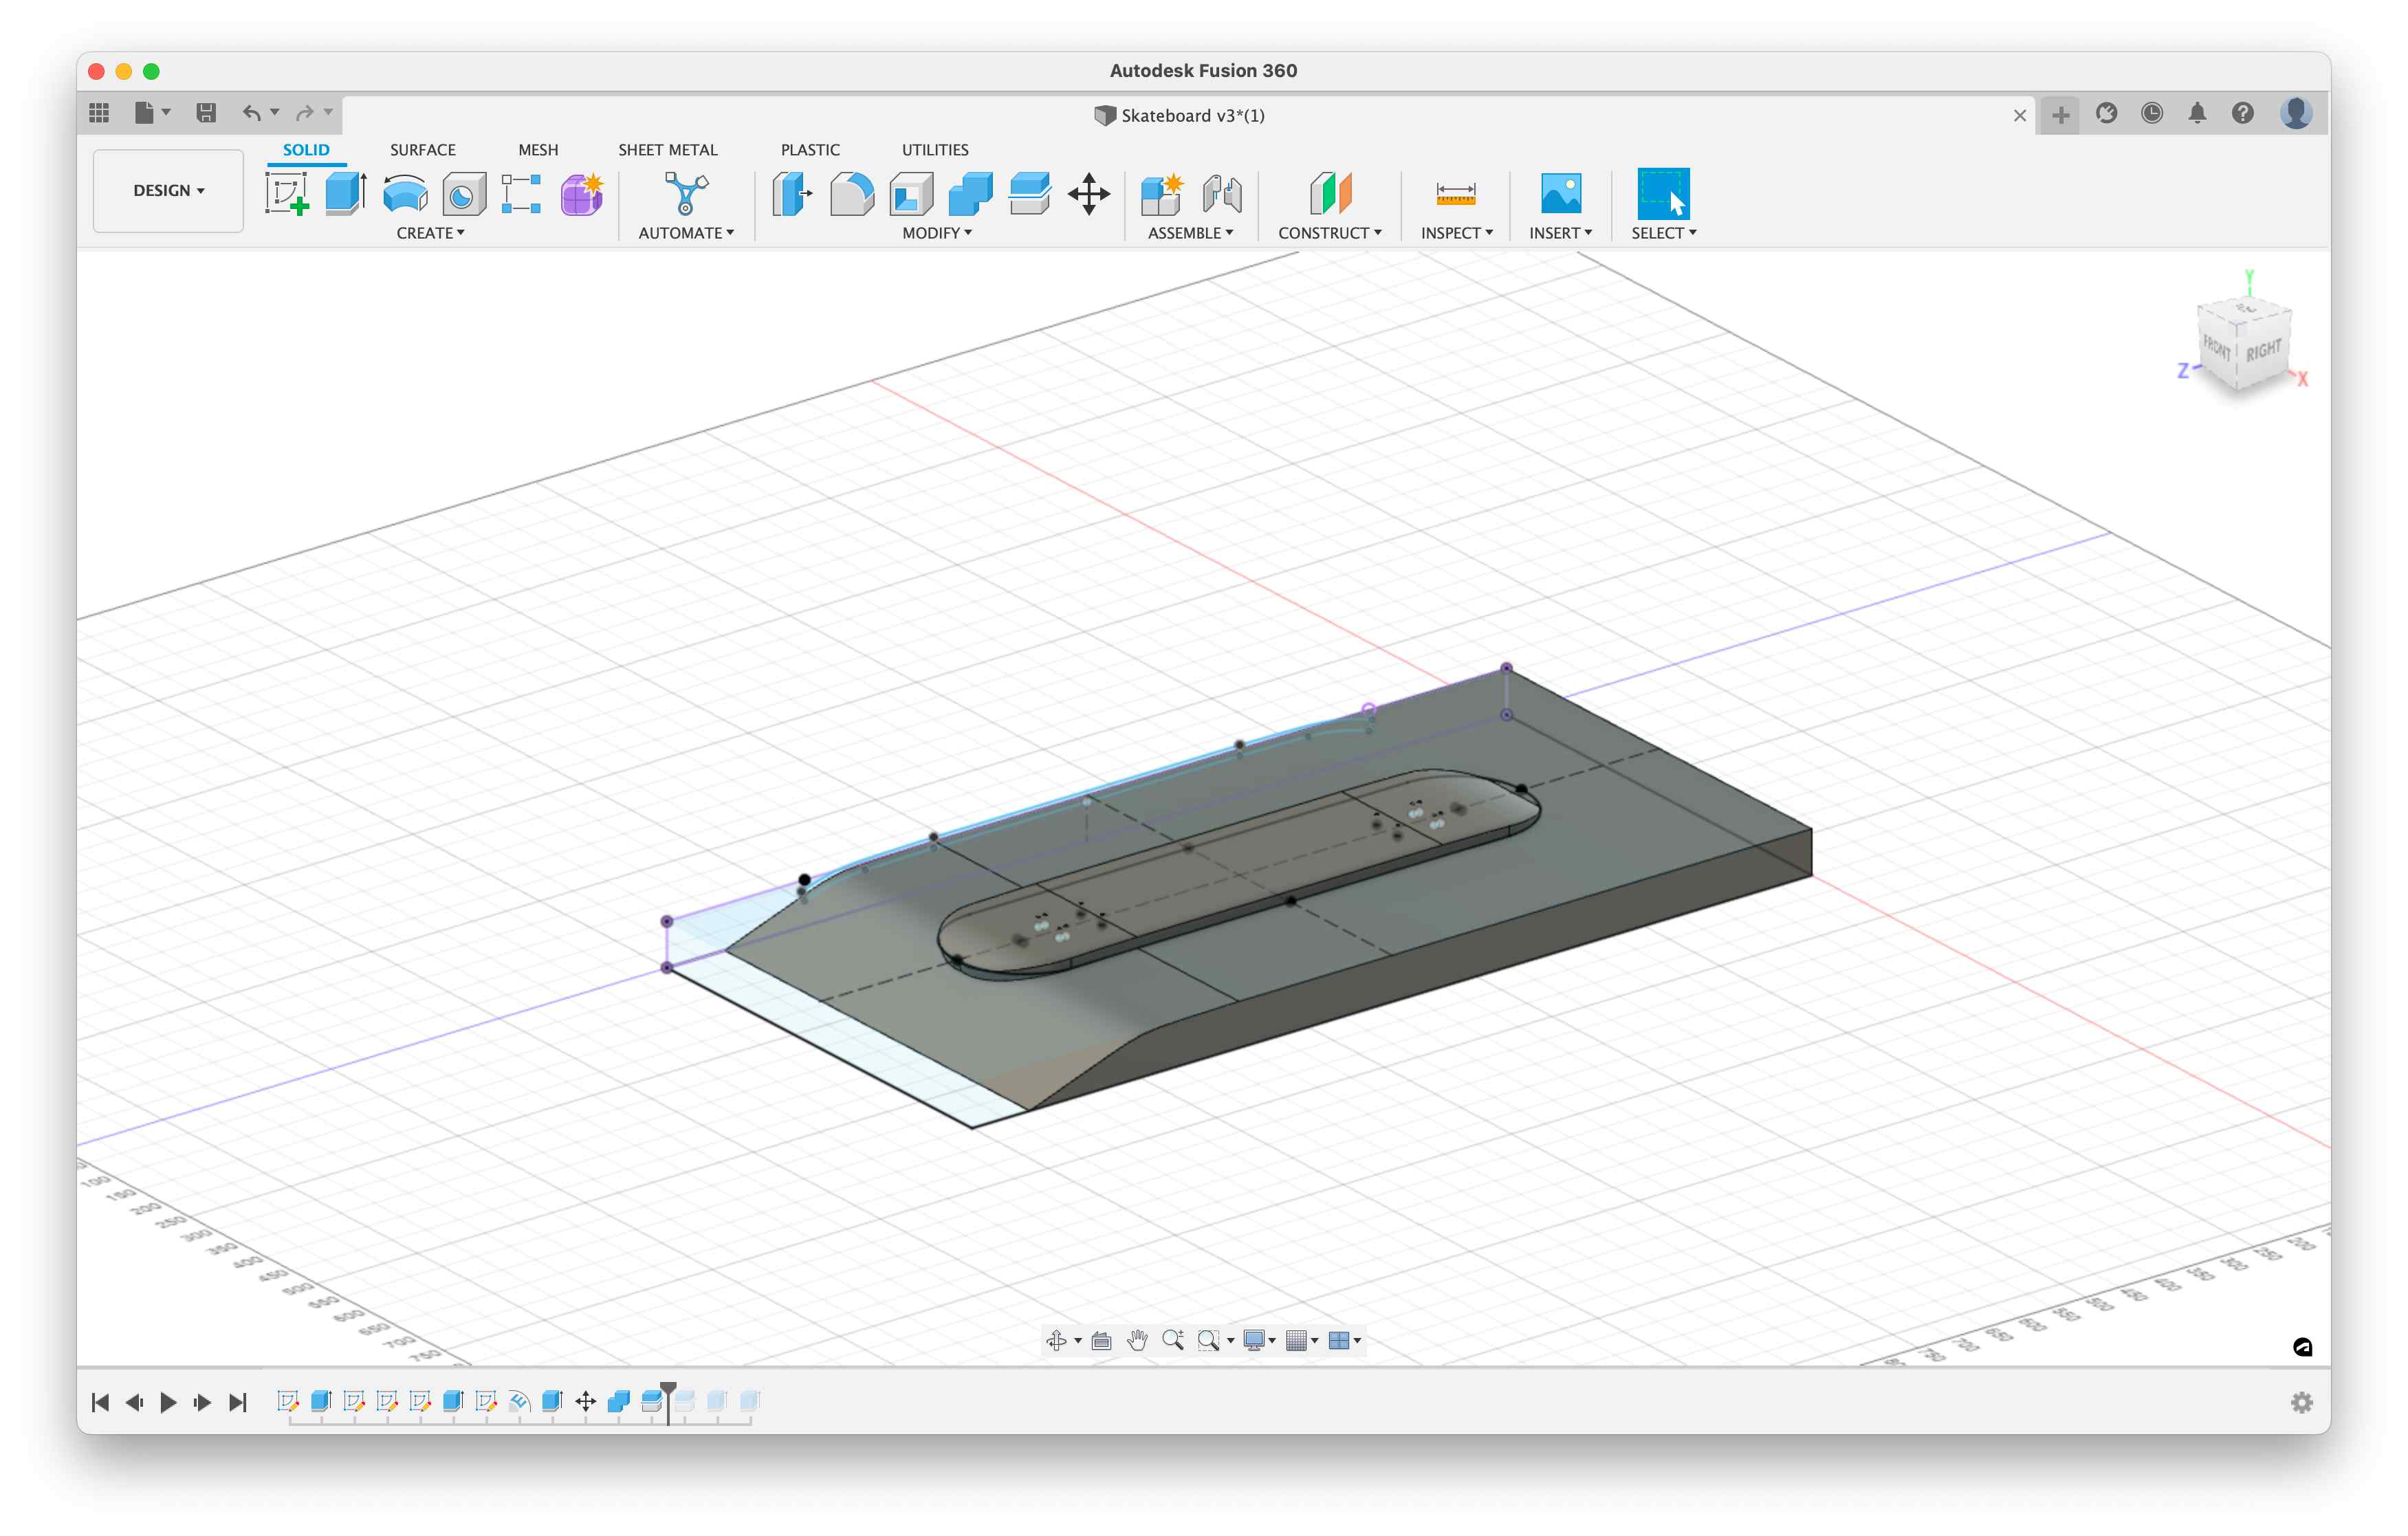
I extruded this profile as so:
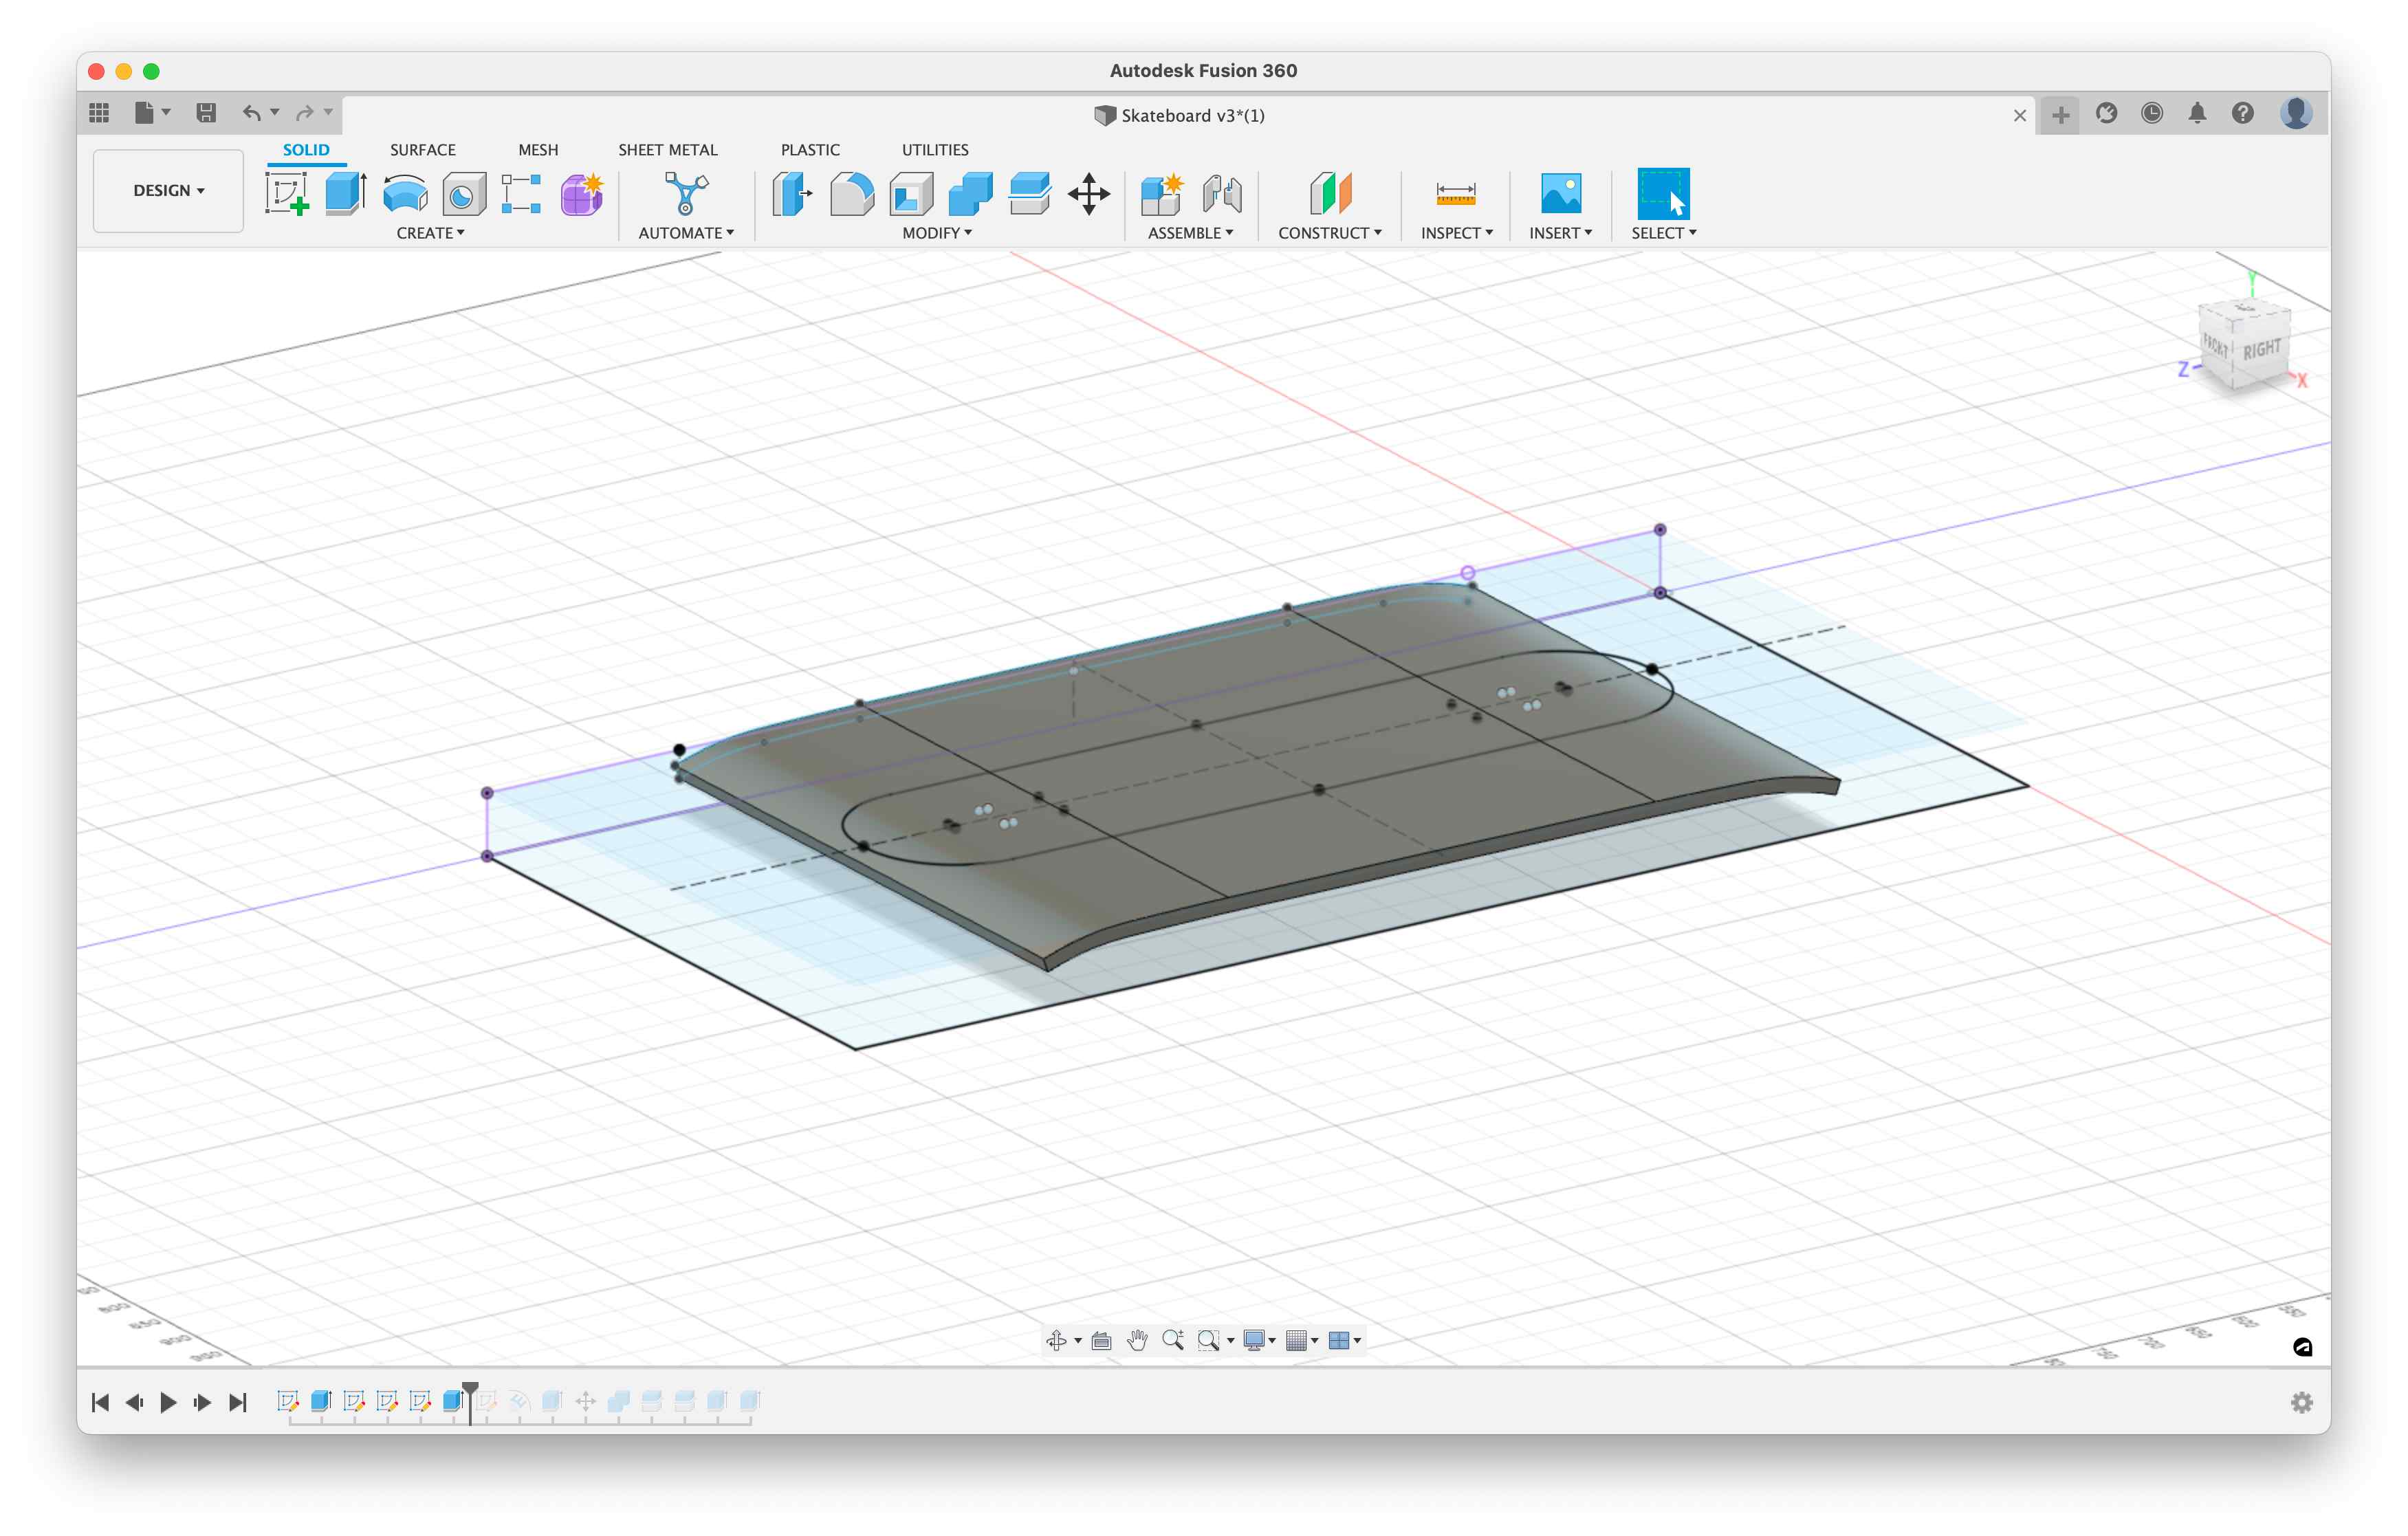
I then embossed the skate profile with my extruded board:
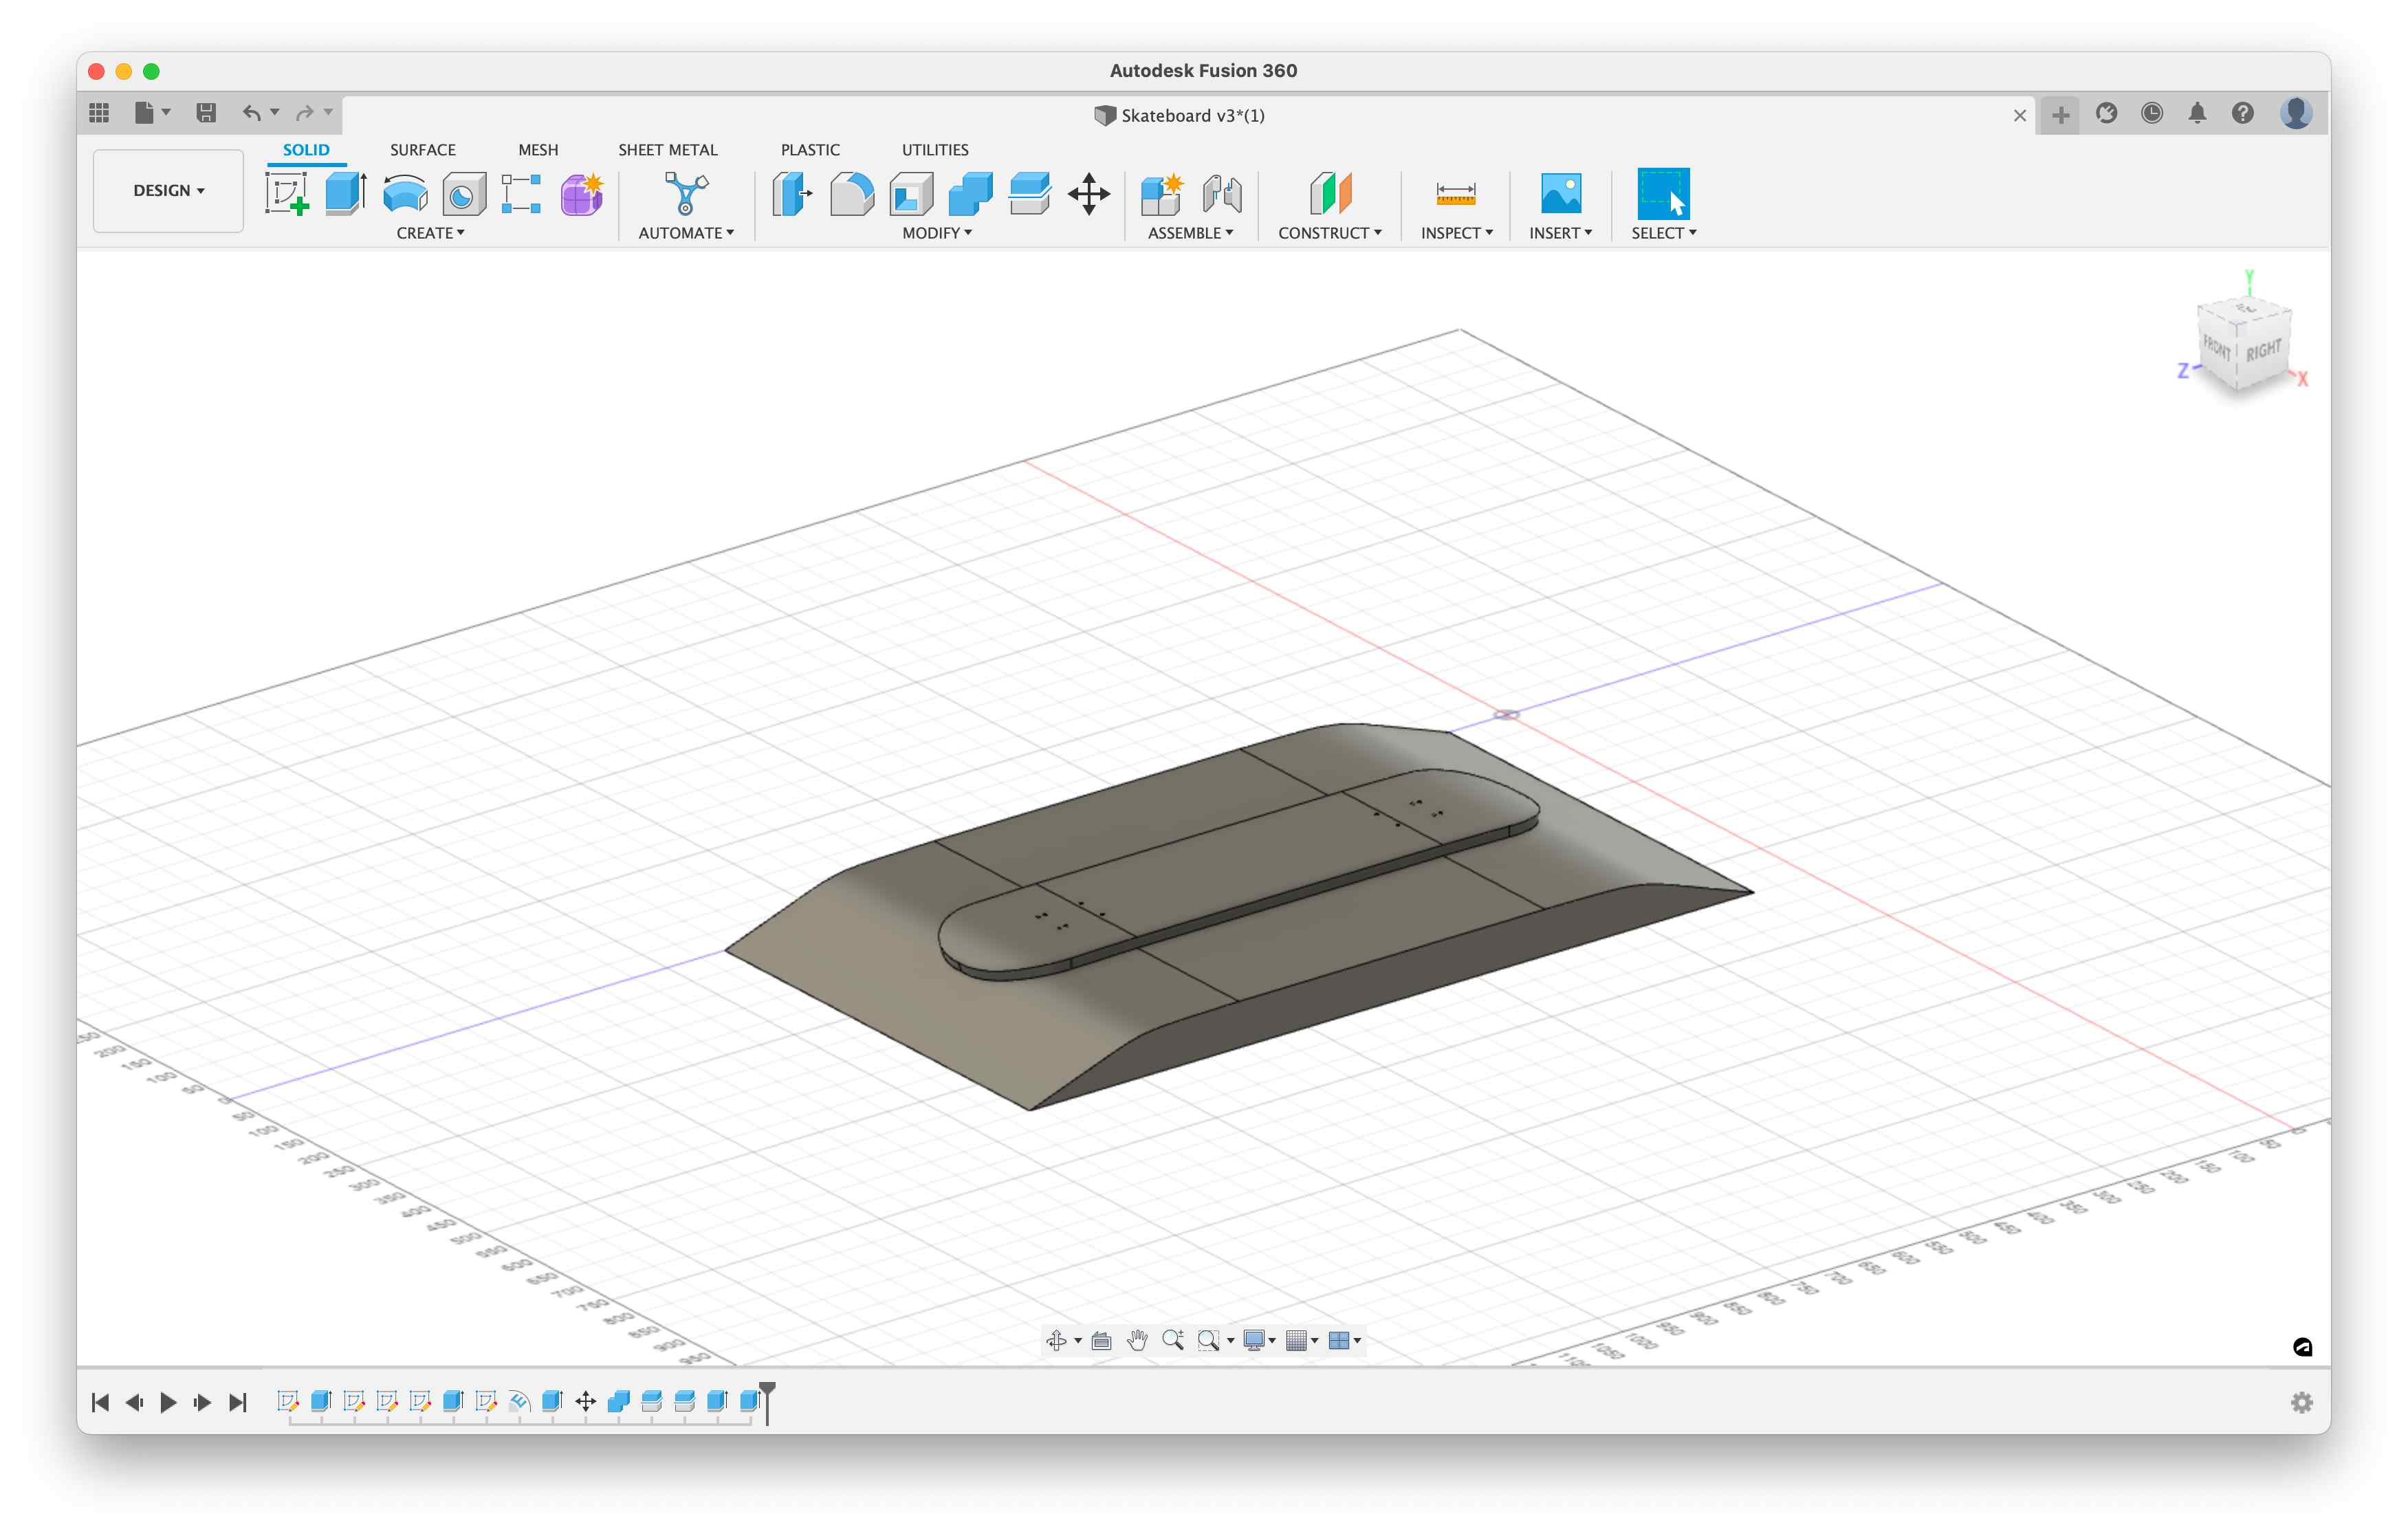
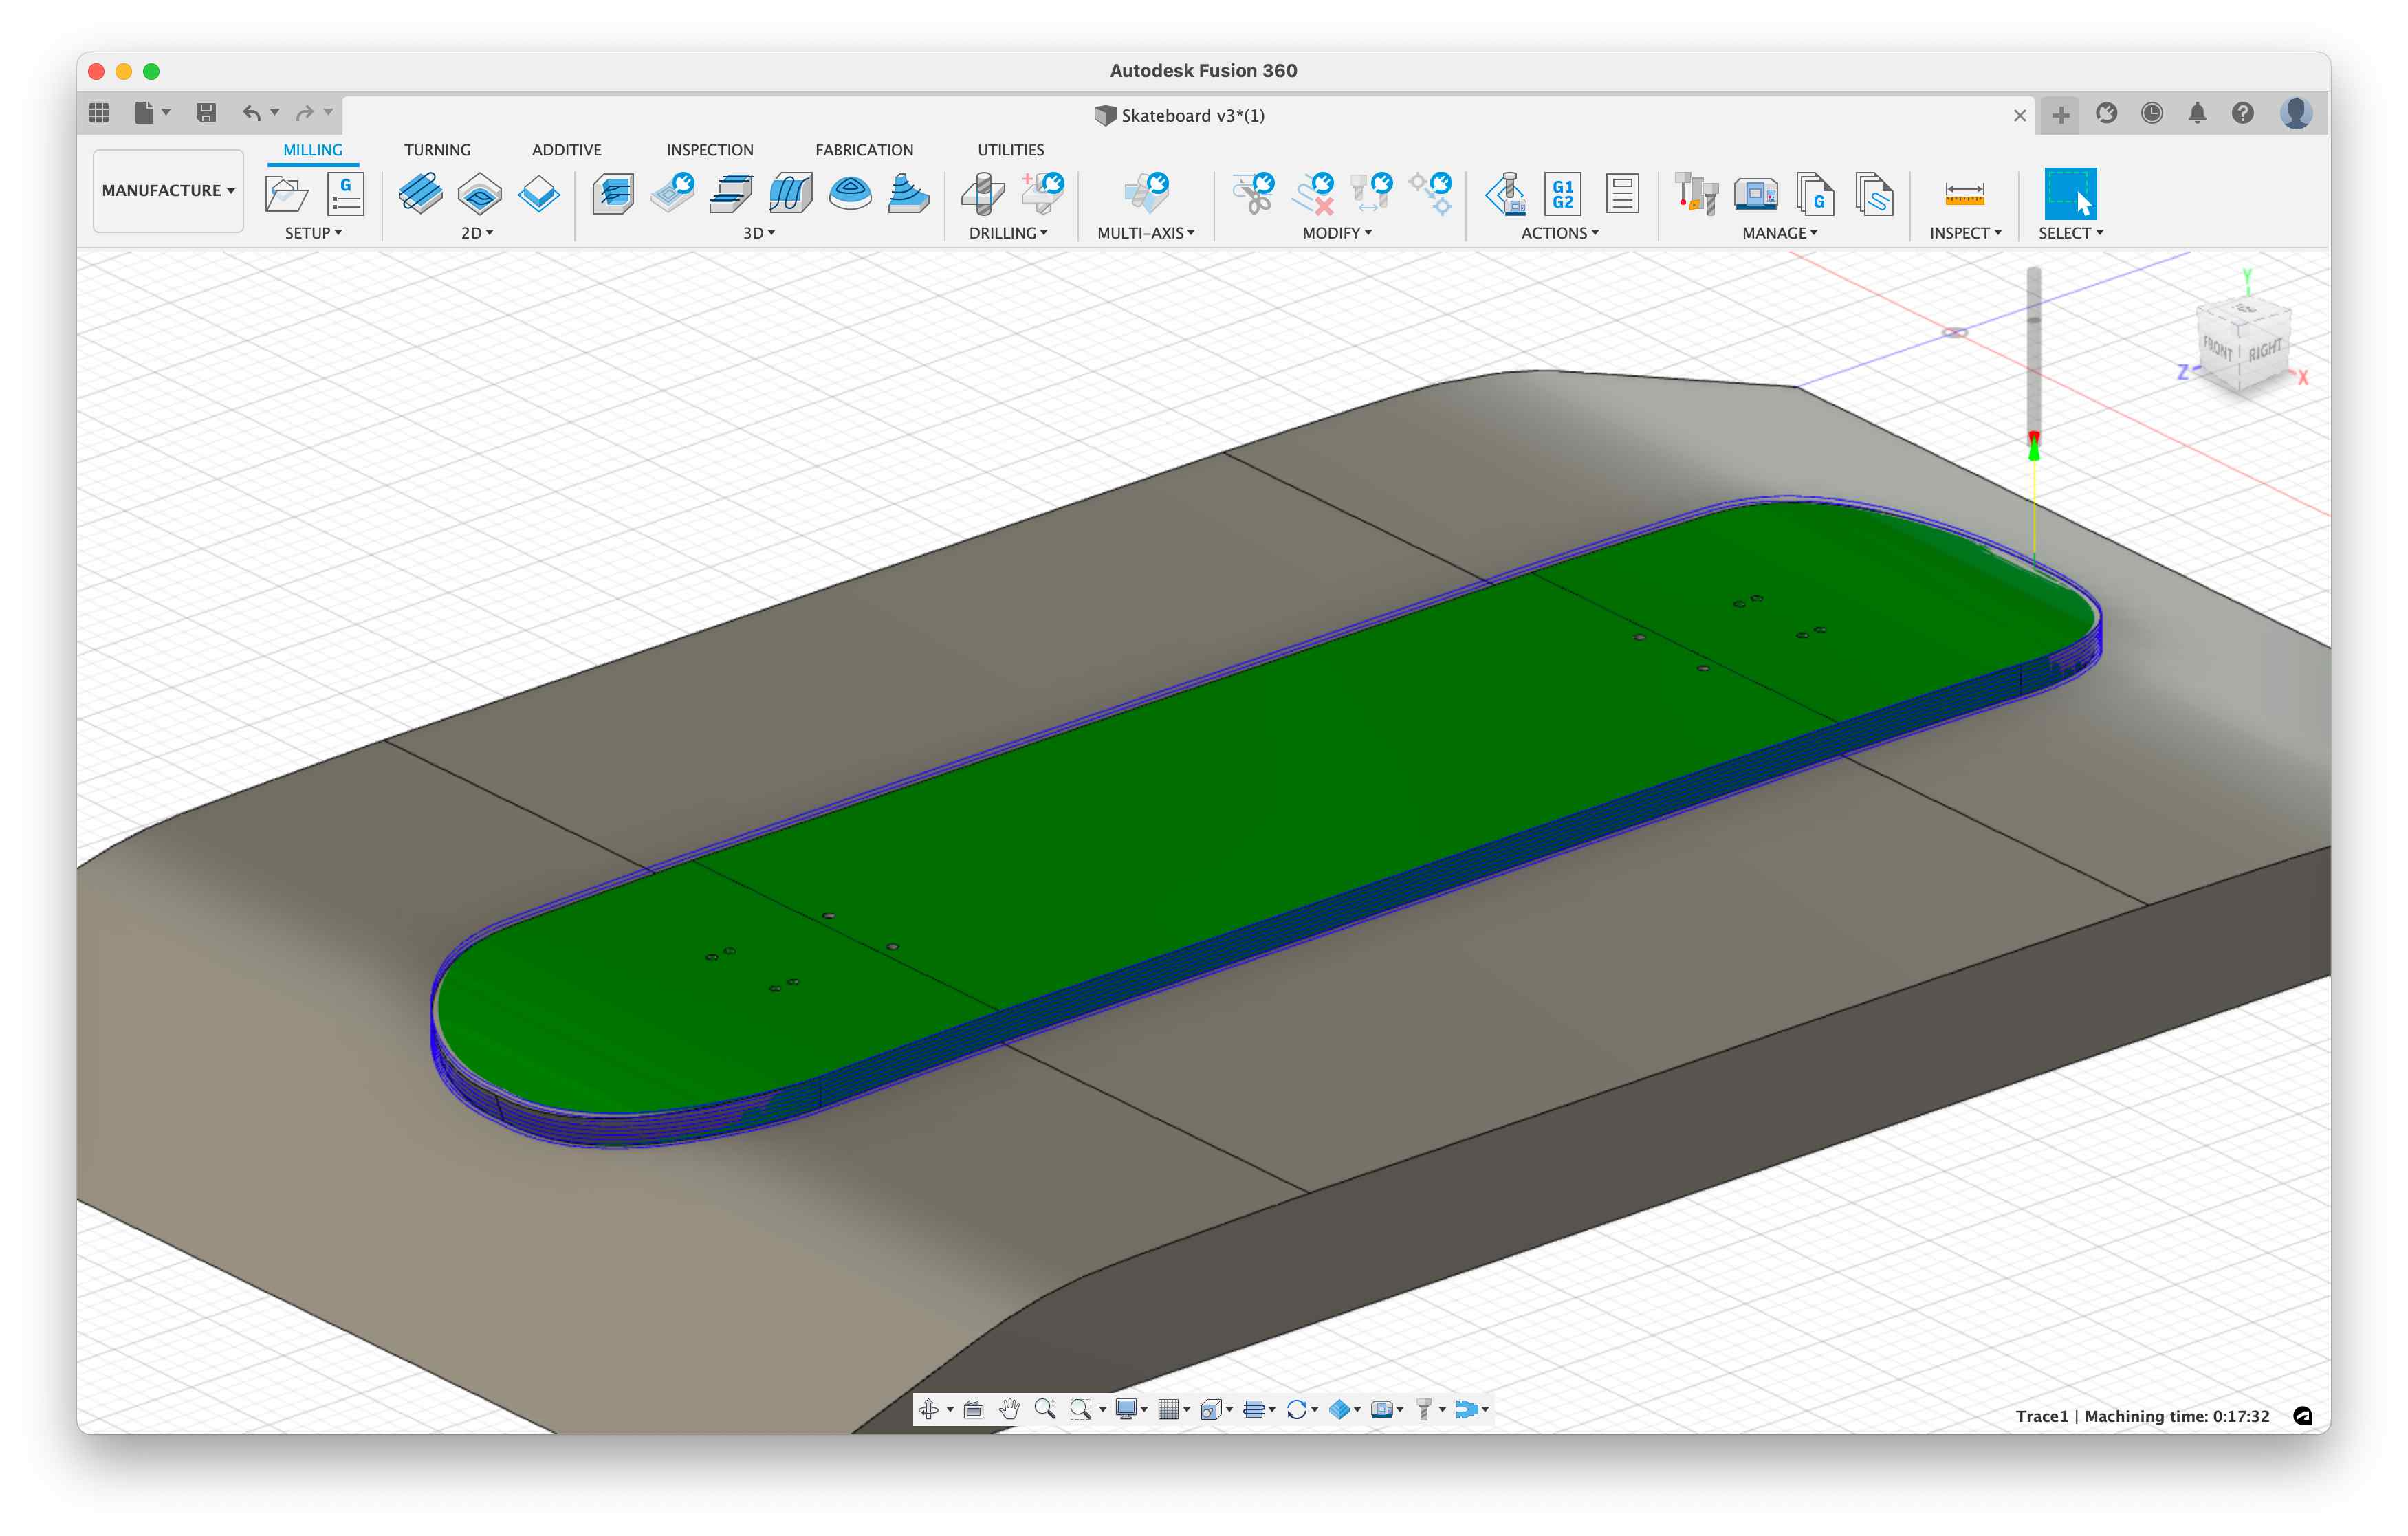
🧱 Designing the mold
Once I had the board ready, I started to design the mold. I started making a parallelepiped as a new body which I then extruded using the skateboard. I obtained then a female mold (with concave and camber) to use with the vacuum bag.
Here you can find the Fusion viewer.
🧣 CAM
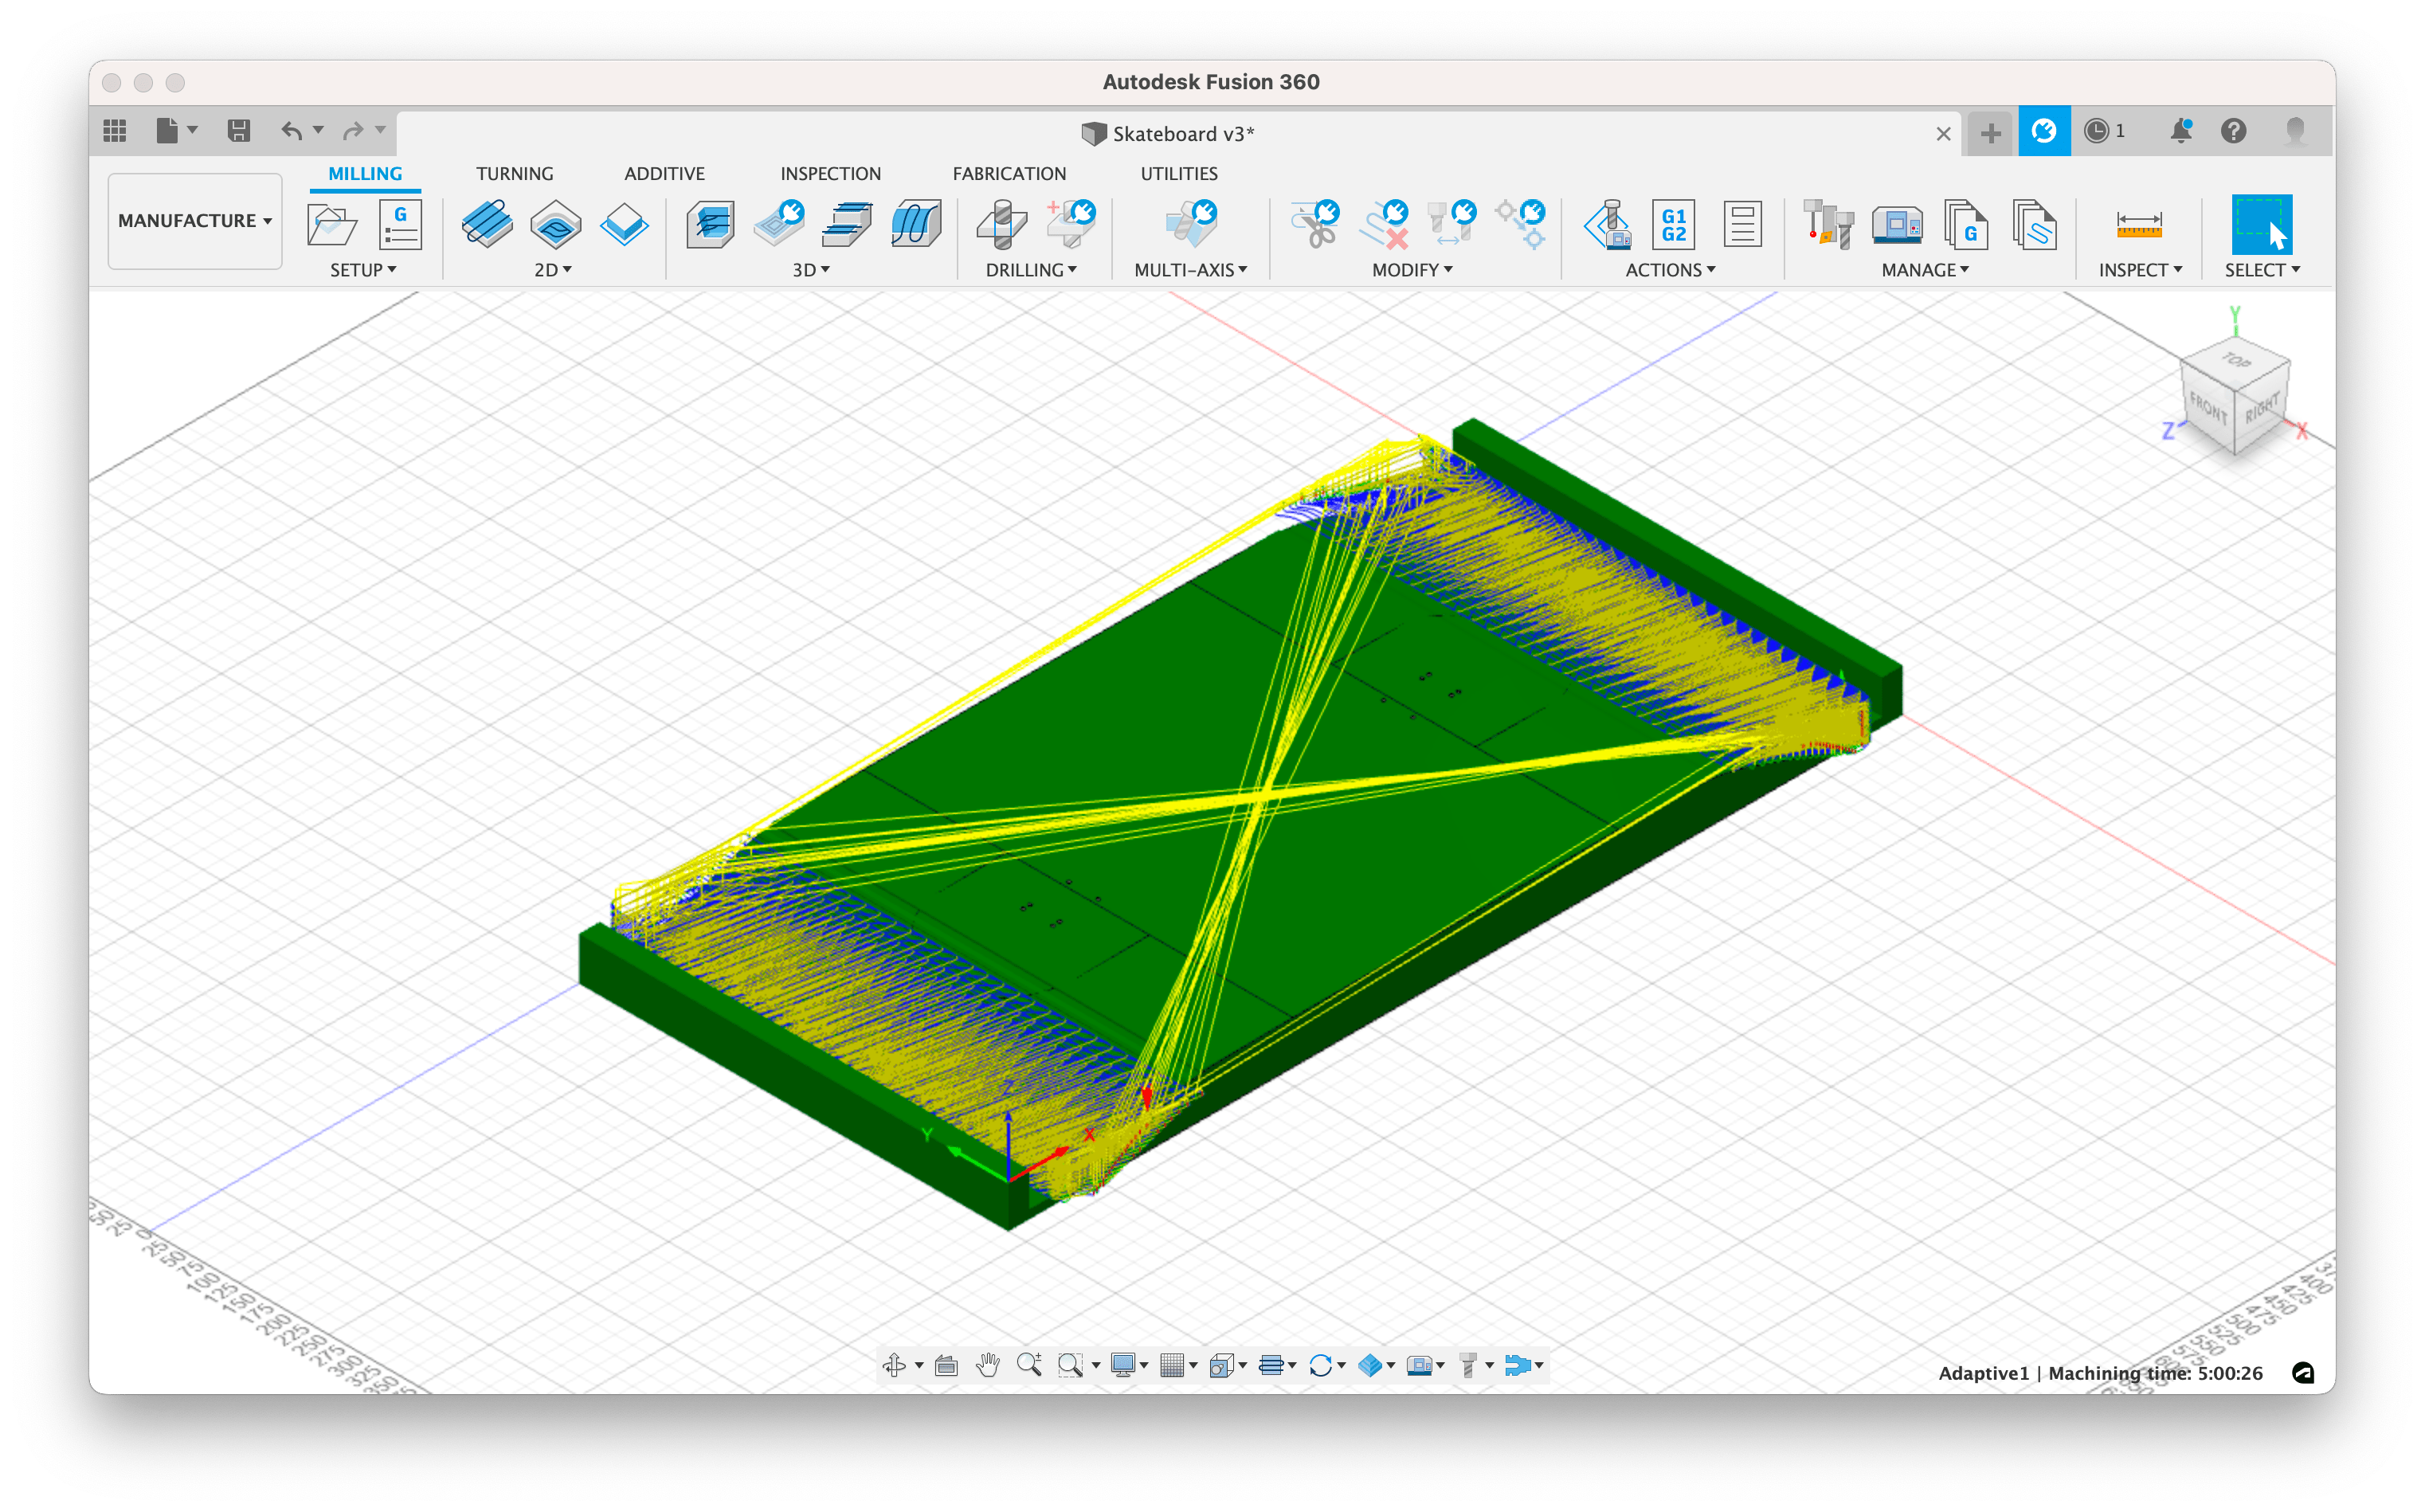
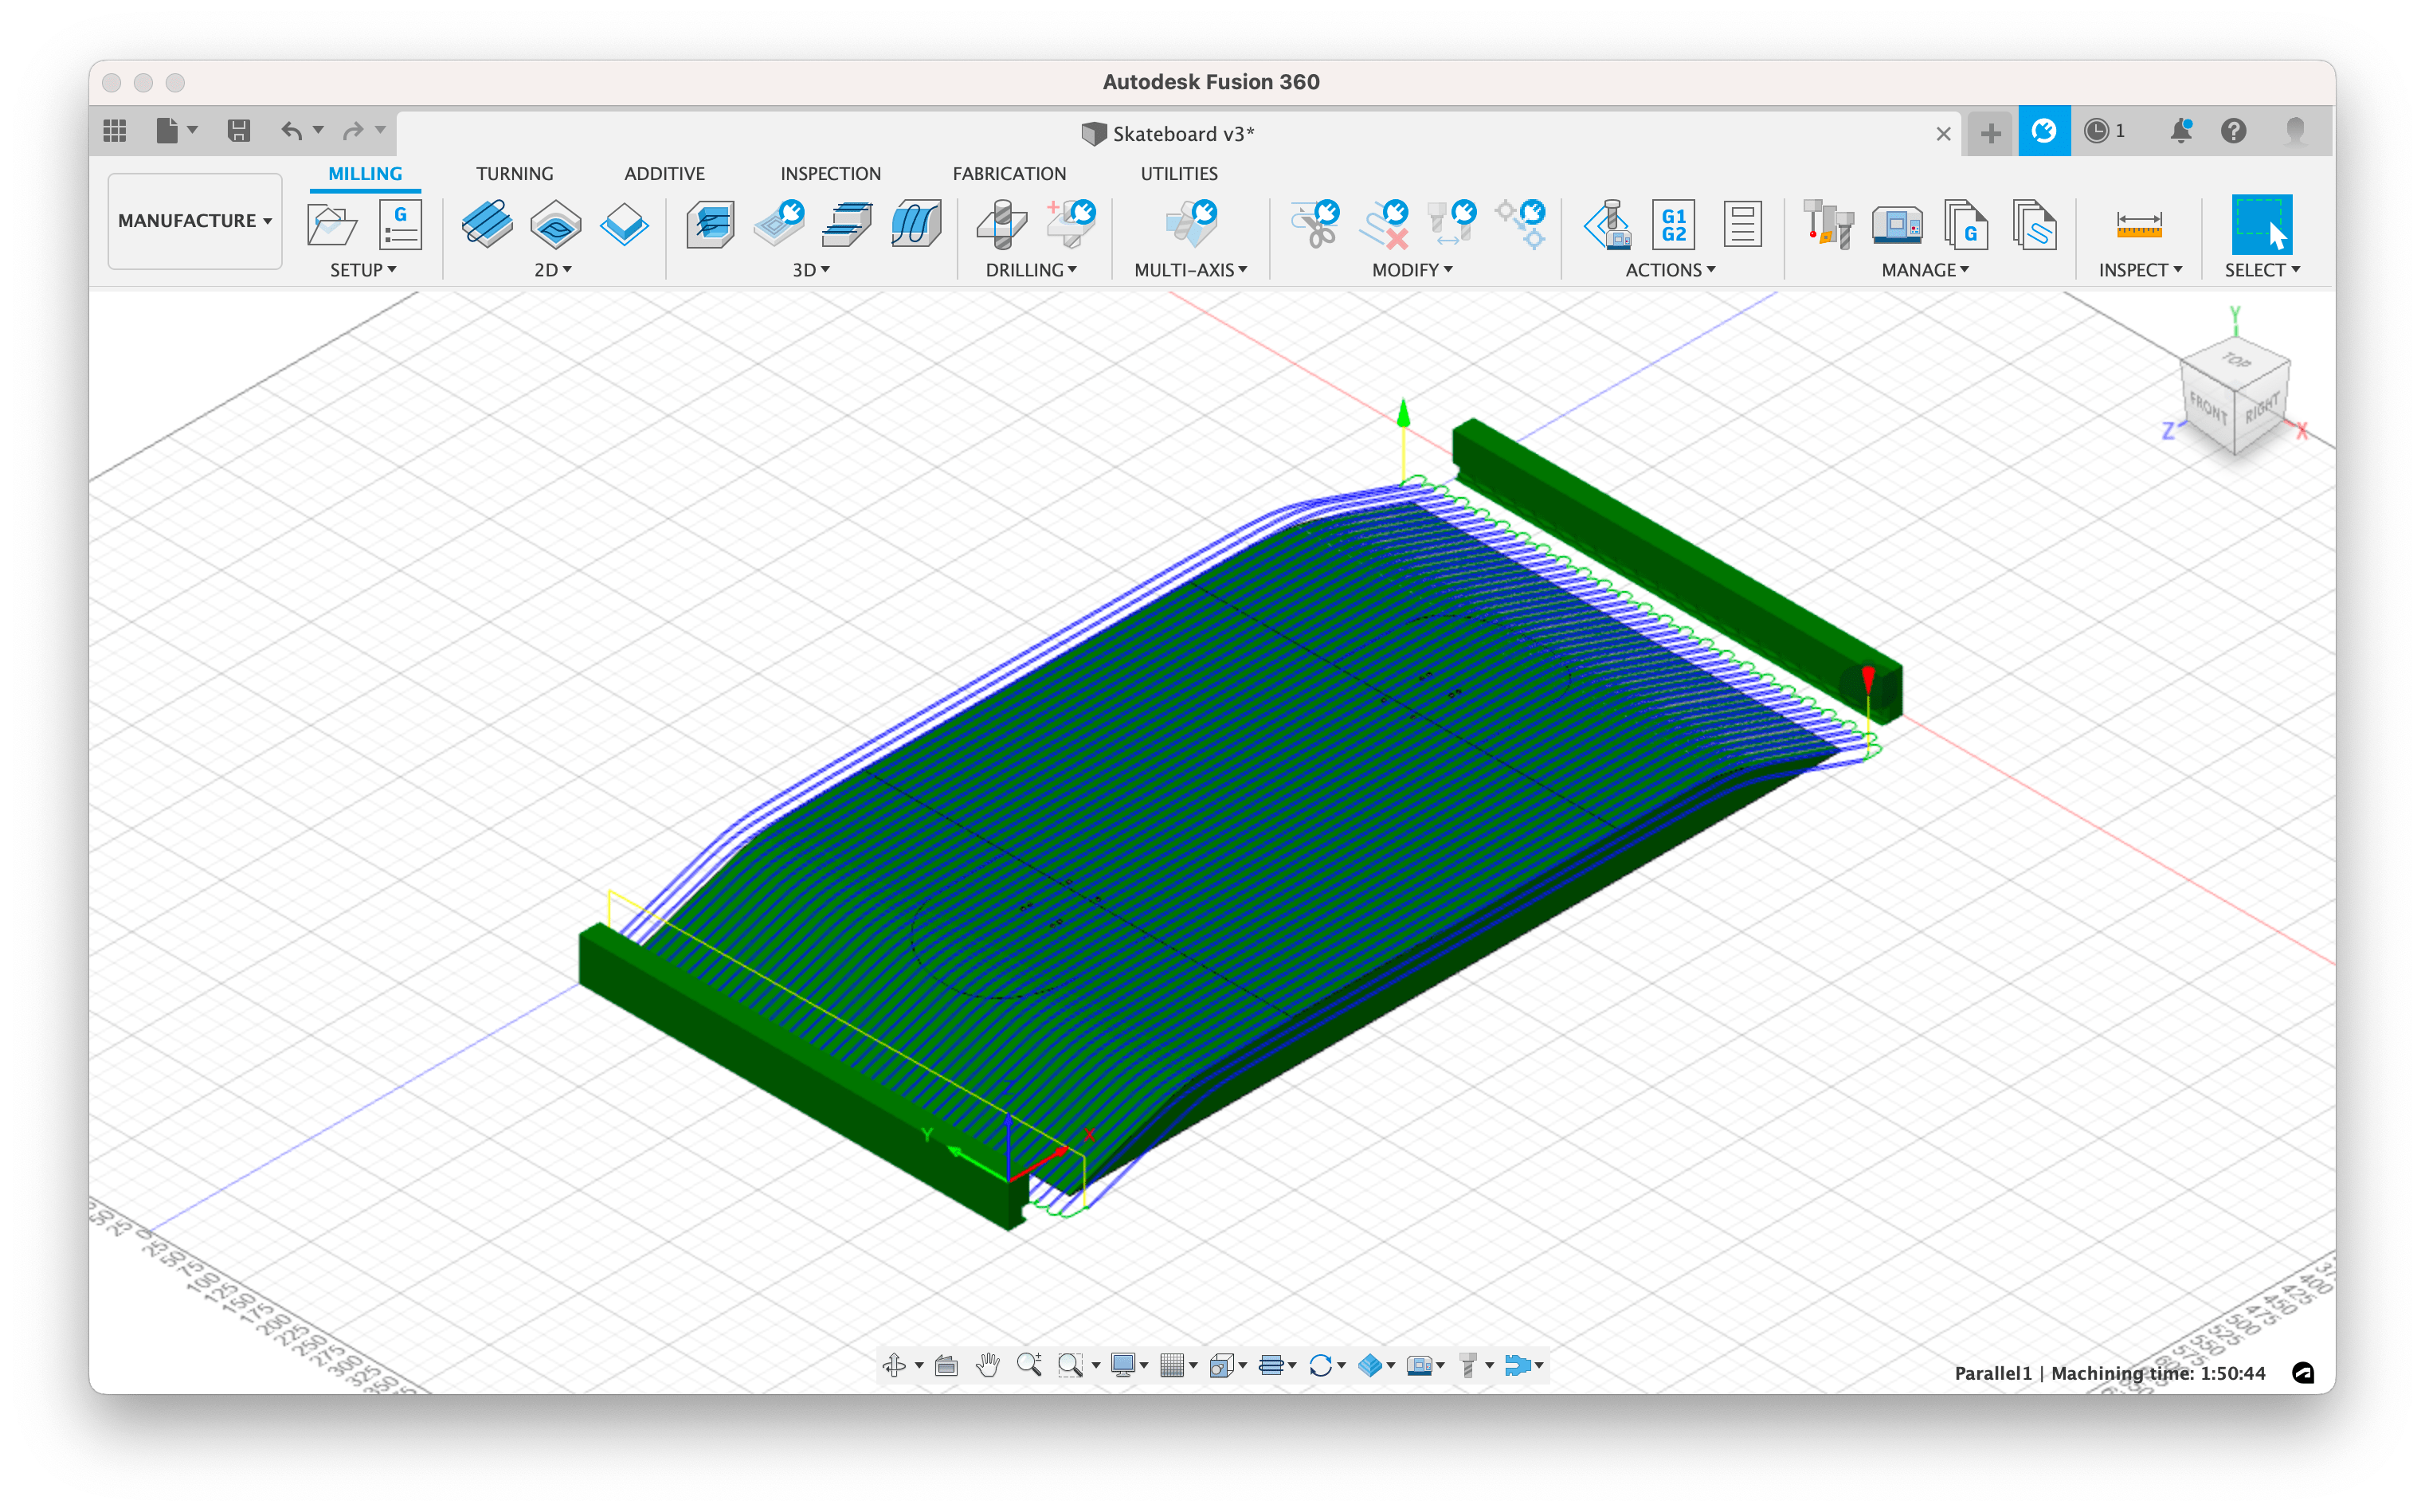
For the mold I used a lightly spongy material, which I willed mill using two types of bits:
- a large and flat one to drill the material 6mm diameter;
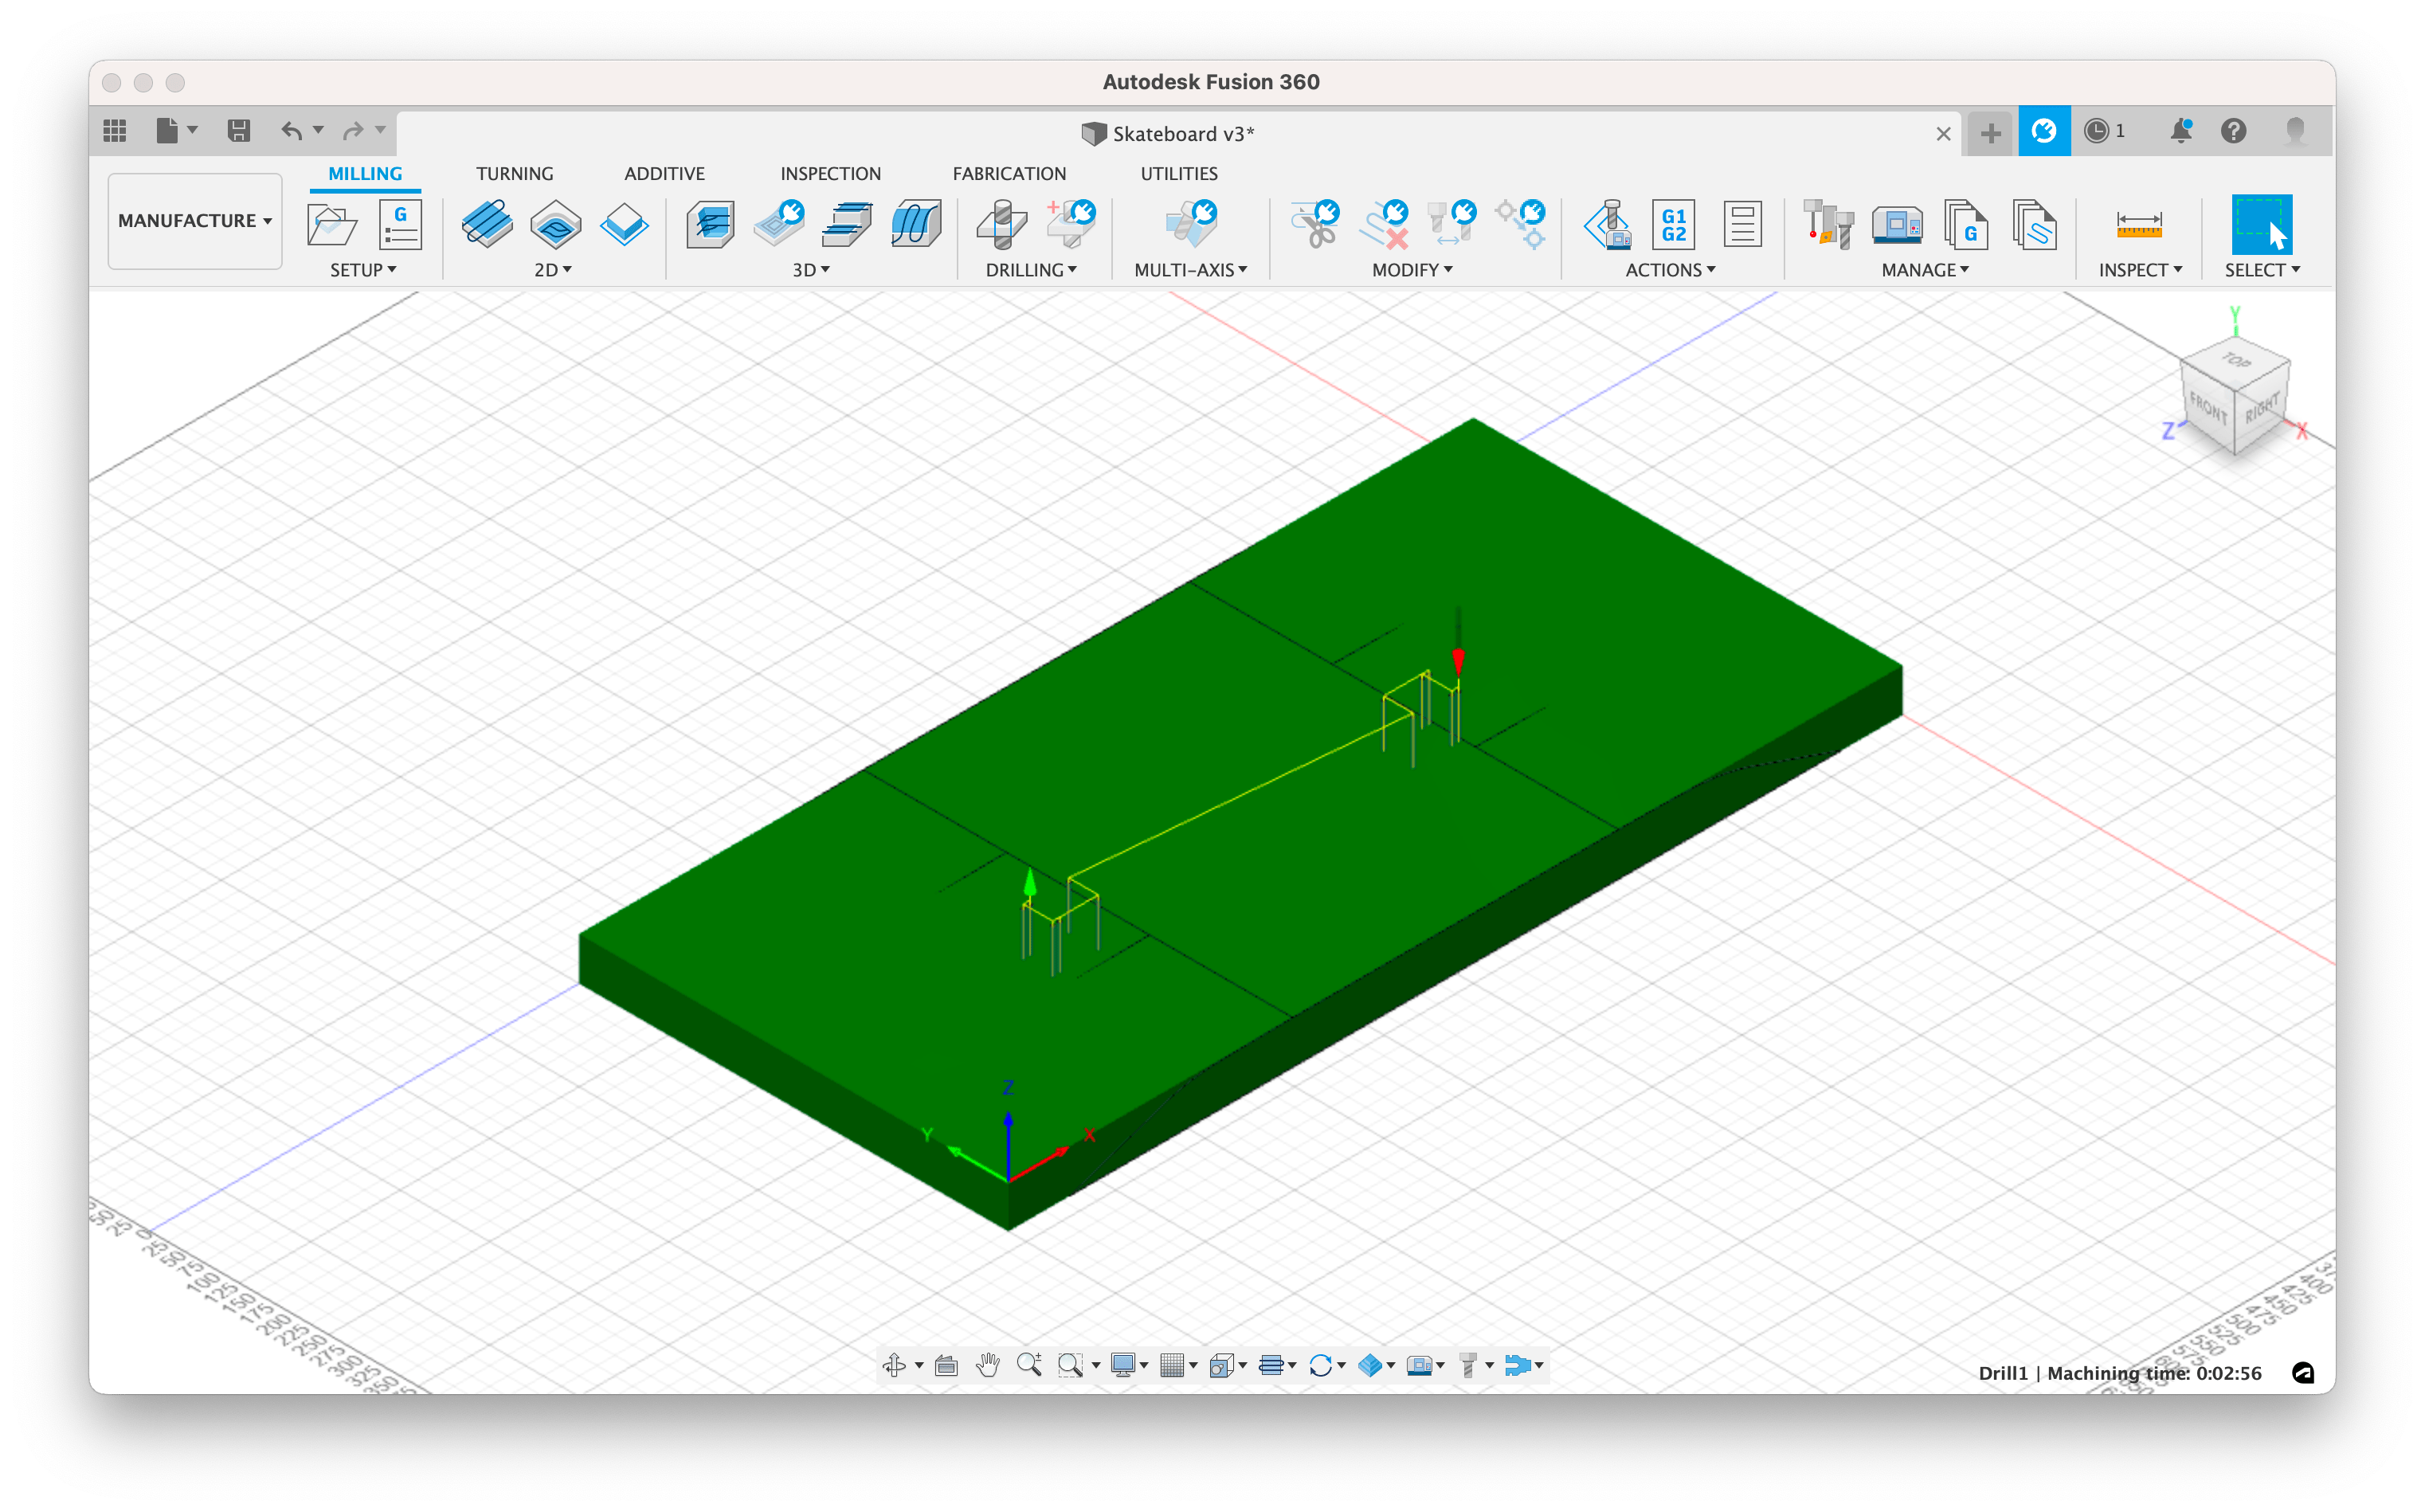
- a long and narrow one to do an adaptive 57mm diameter.
- a long and narrow one to do a parallell mill with 57mm diameter.
For the skate I used:
- a large and flat one to dig the material (6mm);

- a long and narrow one to create the holes (6mm).
On how to do the CAM correctly, see the Computer controlled machining assignment.
🎡 Making the composite
In order to make the composite I needed this ingredients:
-
jute
-
Canadian maple wood
-
epoxy resin
-
roller / brush
-
vacuum bag
-
vacuum
-
tape
-
elastic bands
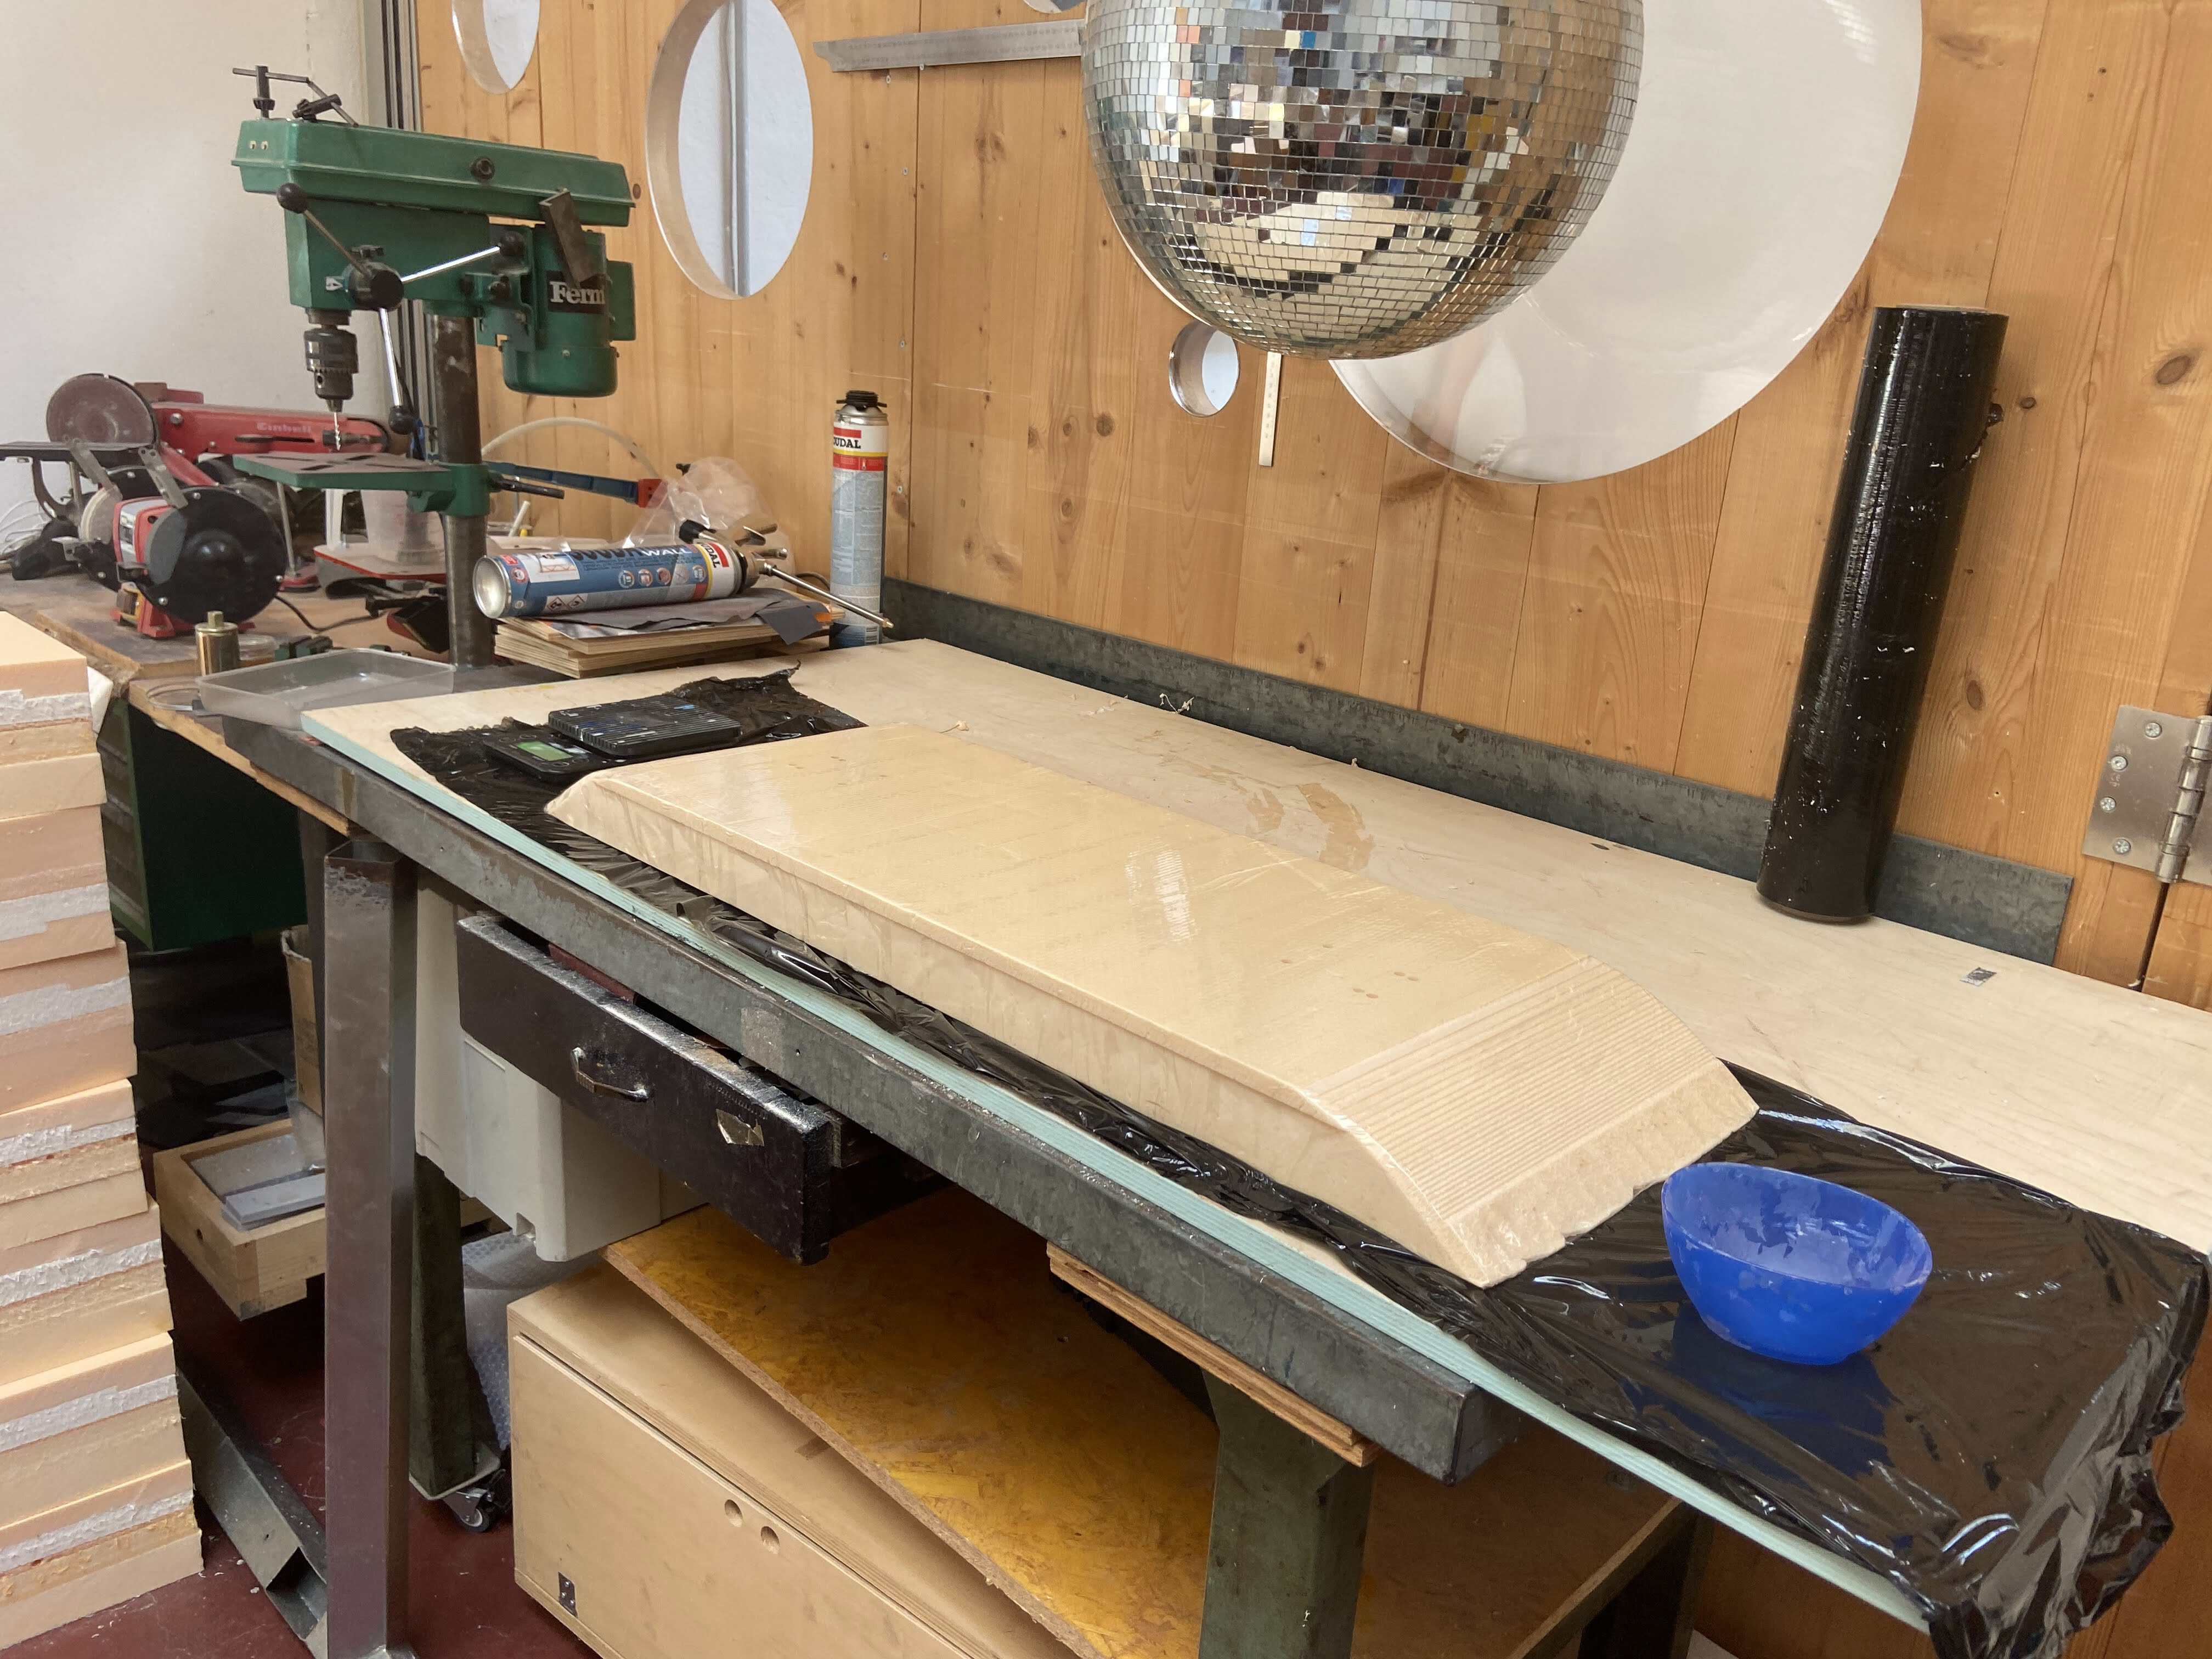
Making the composite is quite easy, even if you must be quick. The first thing I did was to cover the mold with transparent tape: this will allow the composite to be detachable as easy as possible and not letting it attach to the spongy material.
Once I did that, I prepared the epoxy resin. Before using the epoxy I put gloves on and a mask to avoid the fumes that are not exactly fun. Safety is important guys!
As for the quantities of resin, it is necessary to take into account the number of layers, the area in square cm of the single layer and the jute which will absorb at least twice as much as the wood. Since I wanted to do 12 layers, I used this wonderful calculation sheet that our fabulous instructor Antonio made for us.
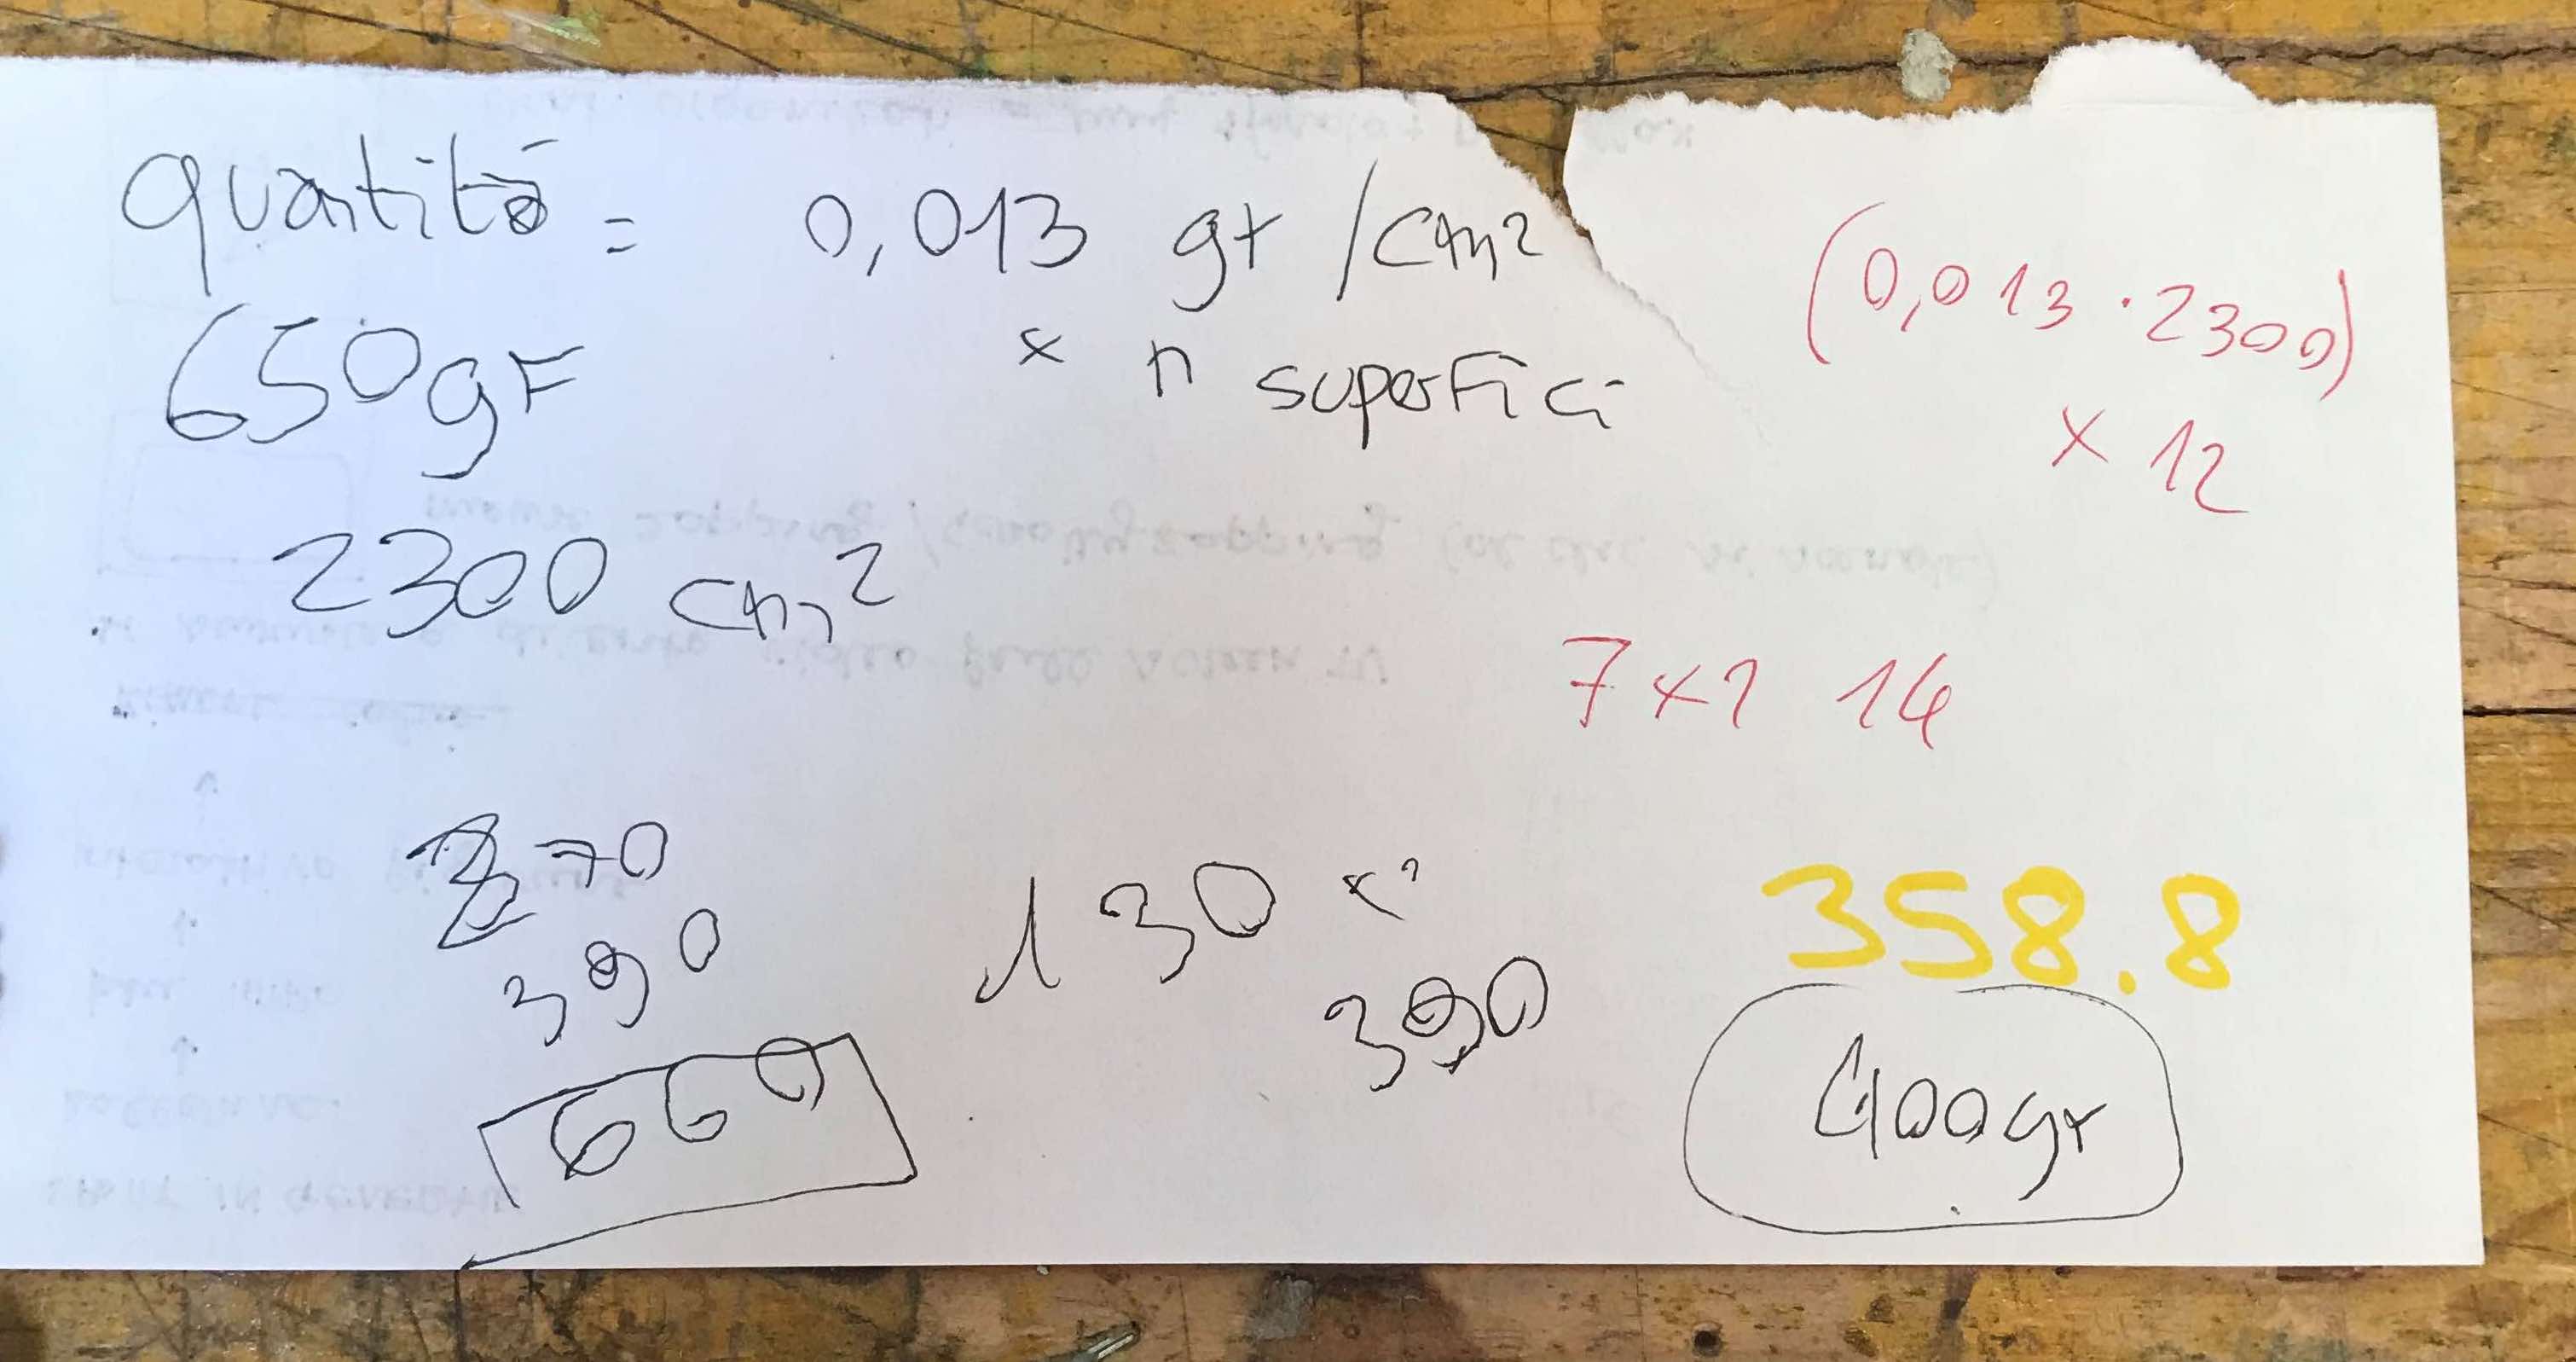
I therefore used about 660 g of resin, 440 of A and 220 of B. I mixed them well stirring and I used the roller inside the container.
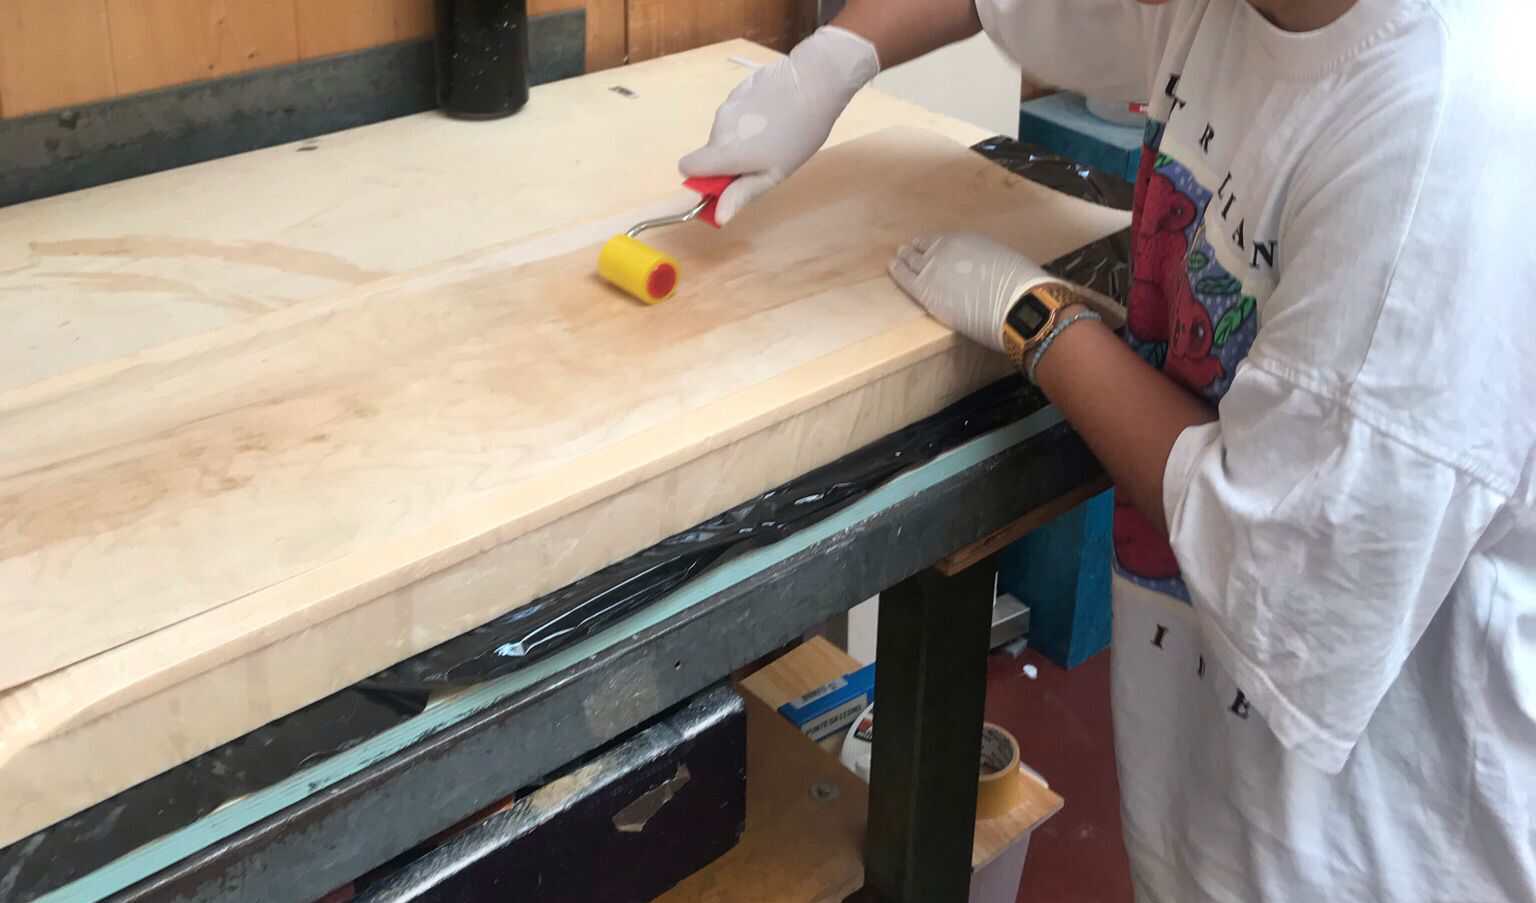
Then I started to roll on the mold the resin, trying to be as fast as I could or the resin would start to cure. I then put a piece of wood and I coated it with resin; I put on top some jute and coated the jute with resin too. I went on and on, as you do with a lasagna.
Once you finish, you have to use elastic bands to secure the composite material to the mold.
🥽 Vacuuming
Arrived at this point you need to get you vacuum bag and put the mould and the composite inside it. You have to close it properly and then start to vacuum with the valve.
You have to suck all the air that is in the bag and then you should be ok. You should have a smile on and be happy.

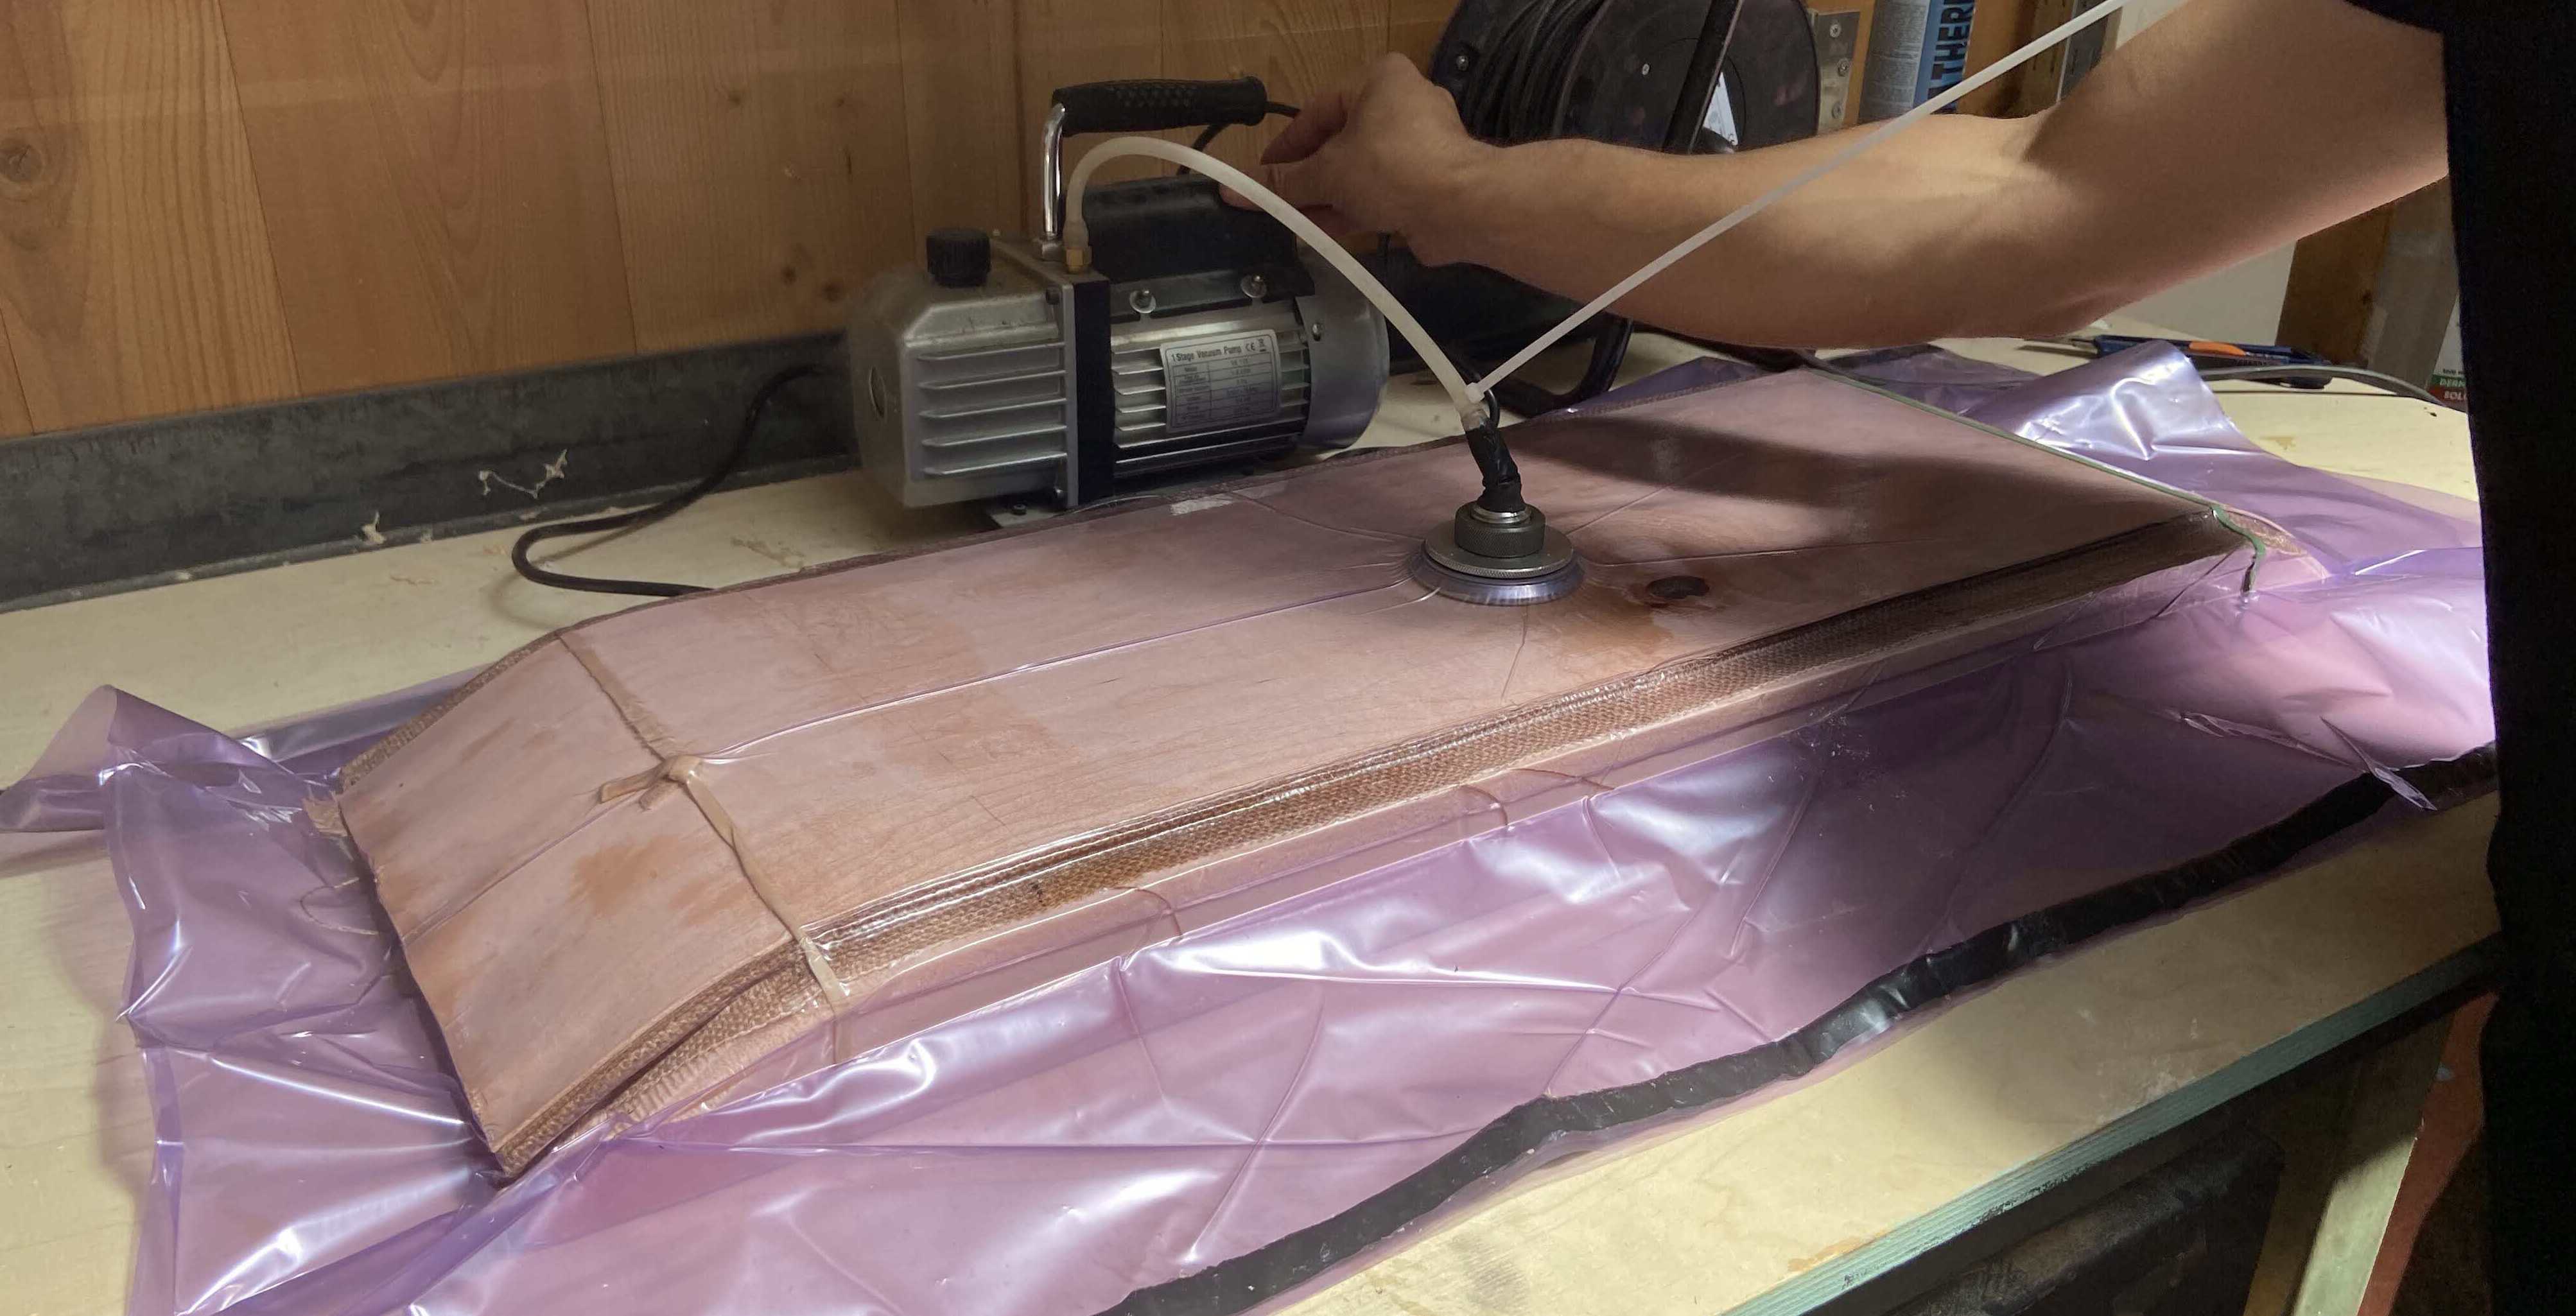
But of course you are not, because the last vacuum bag in the lab is flawed and the valve is not working properly so the air is continuously going back in the back. So you have to create a vacuum bag with the help of Alberto.
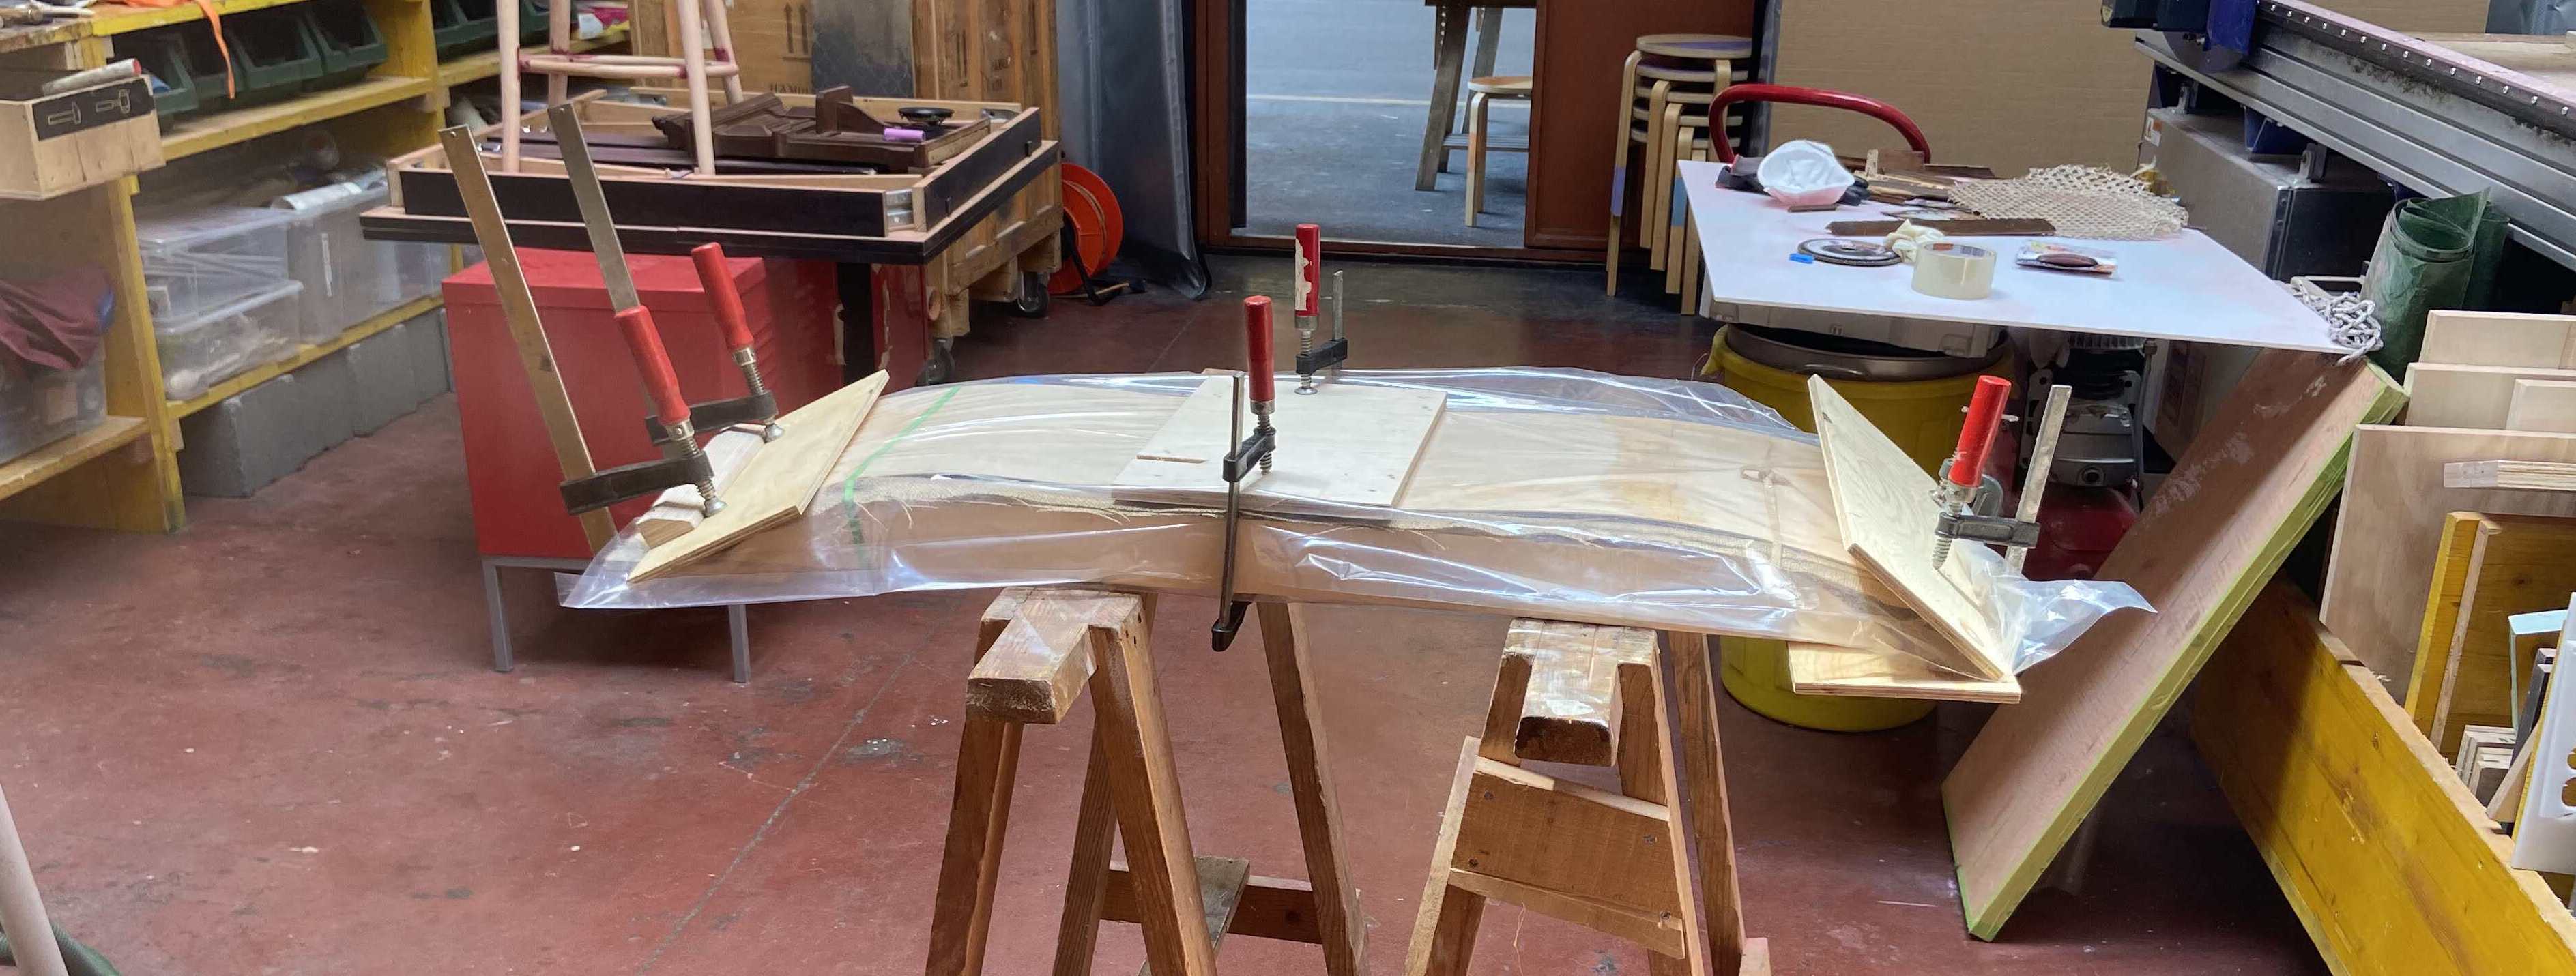
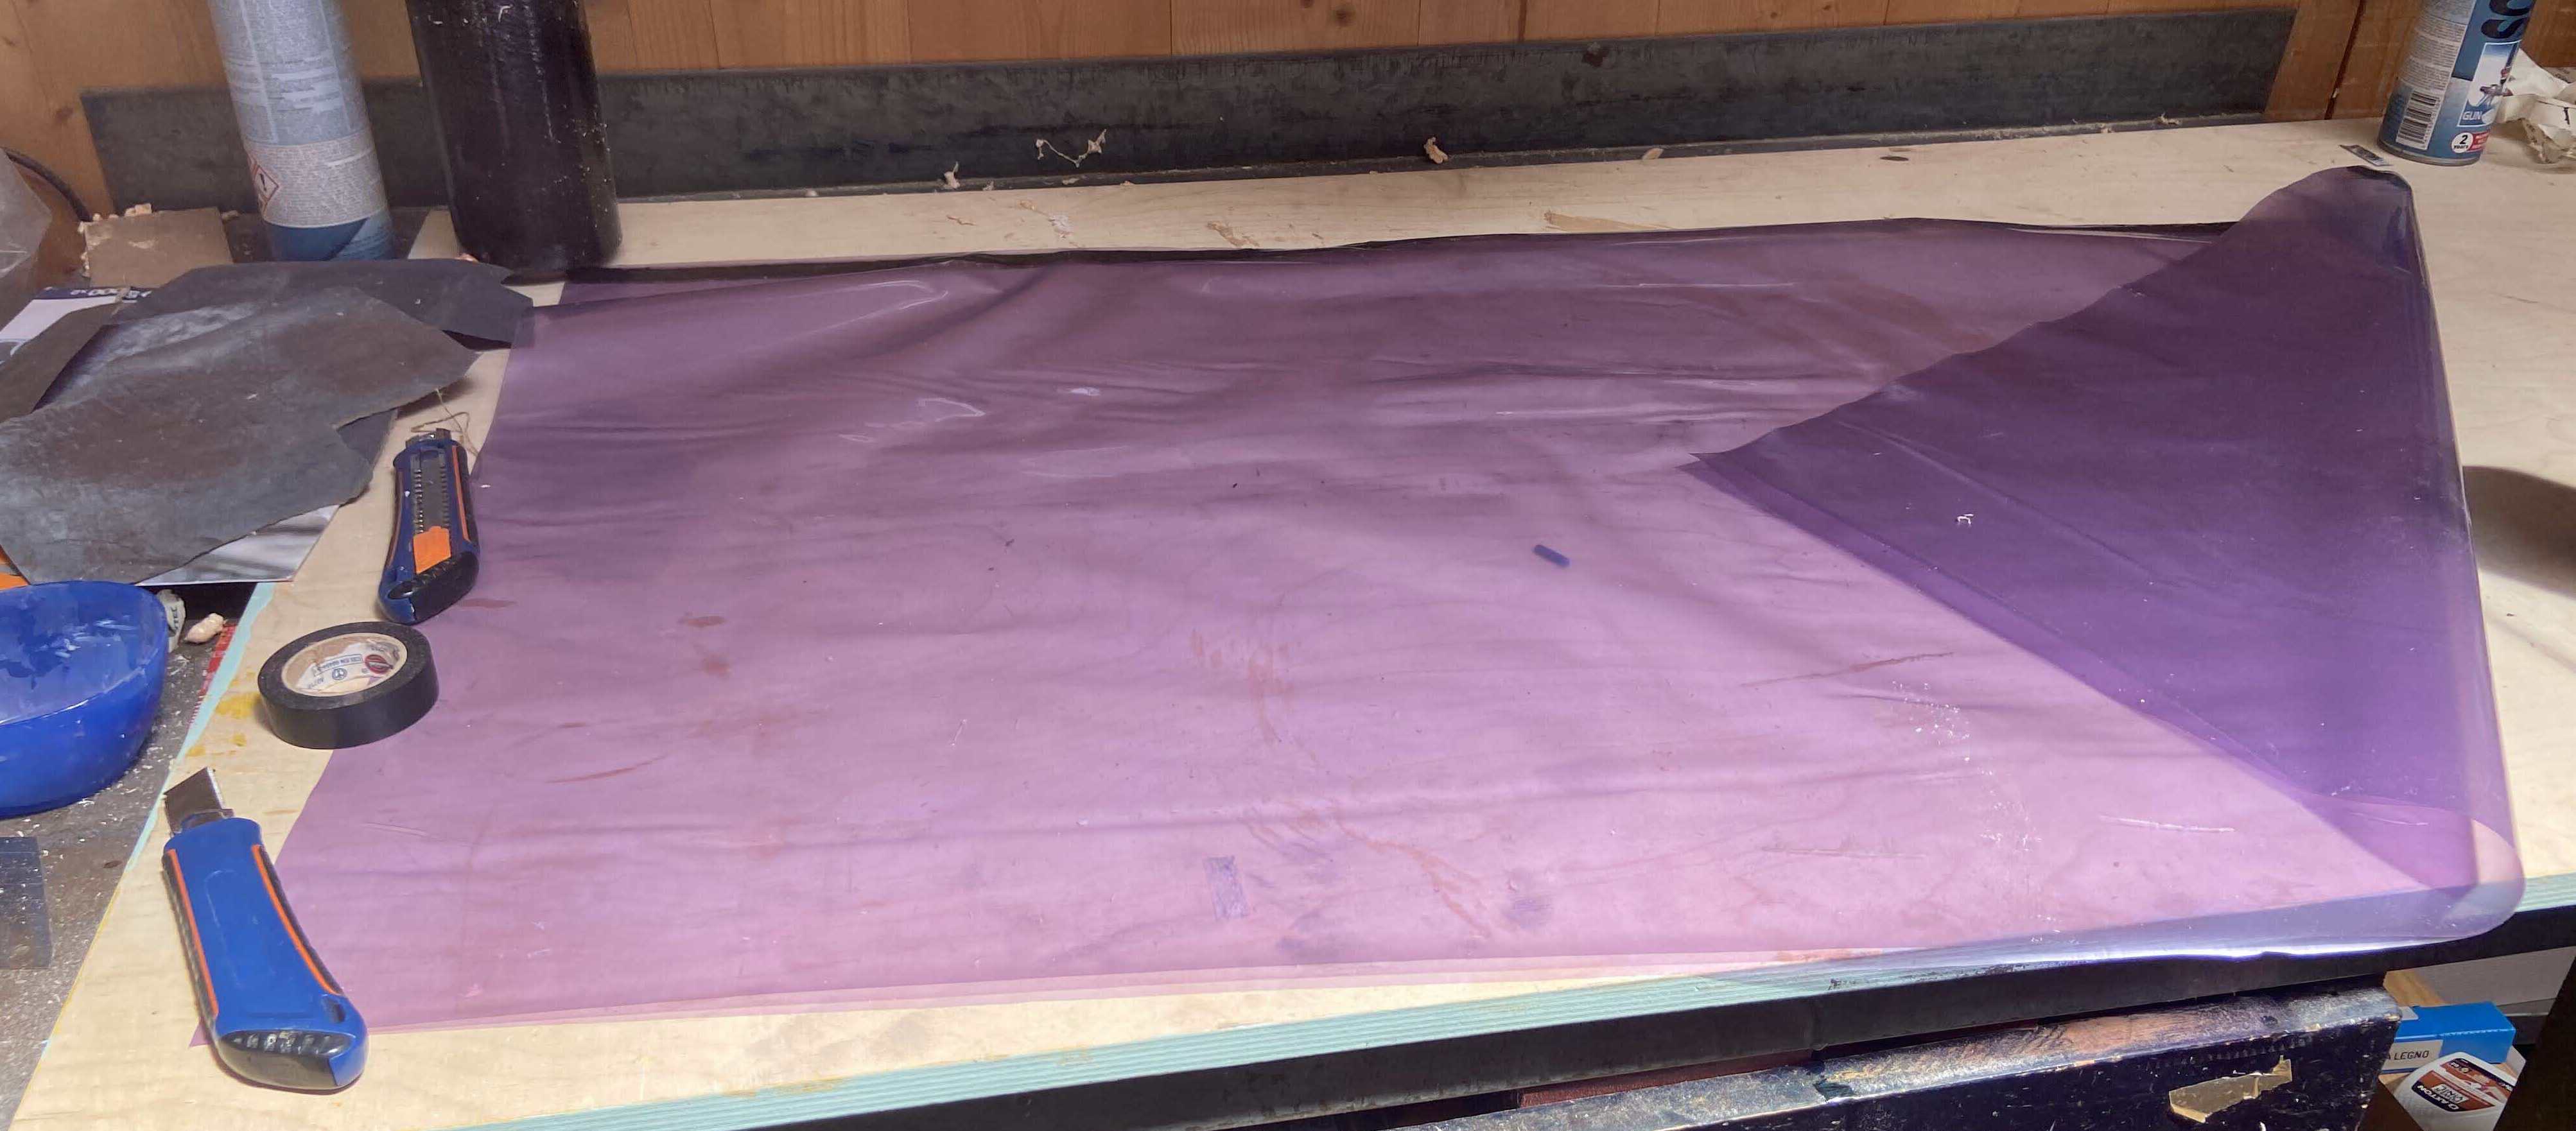
We took a purple plastic sheet, big enough to fit the mold, and some magick black sort of tape.
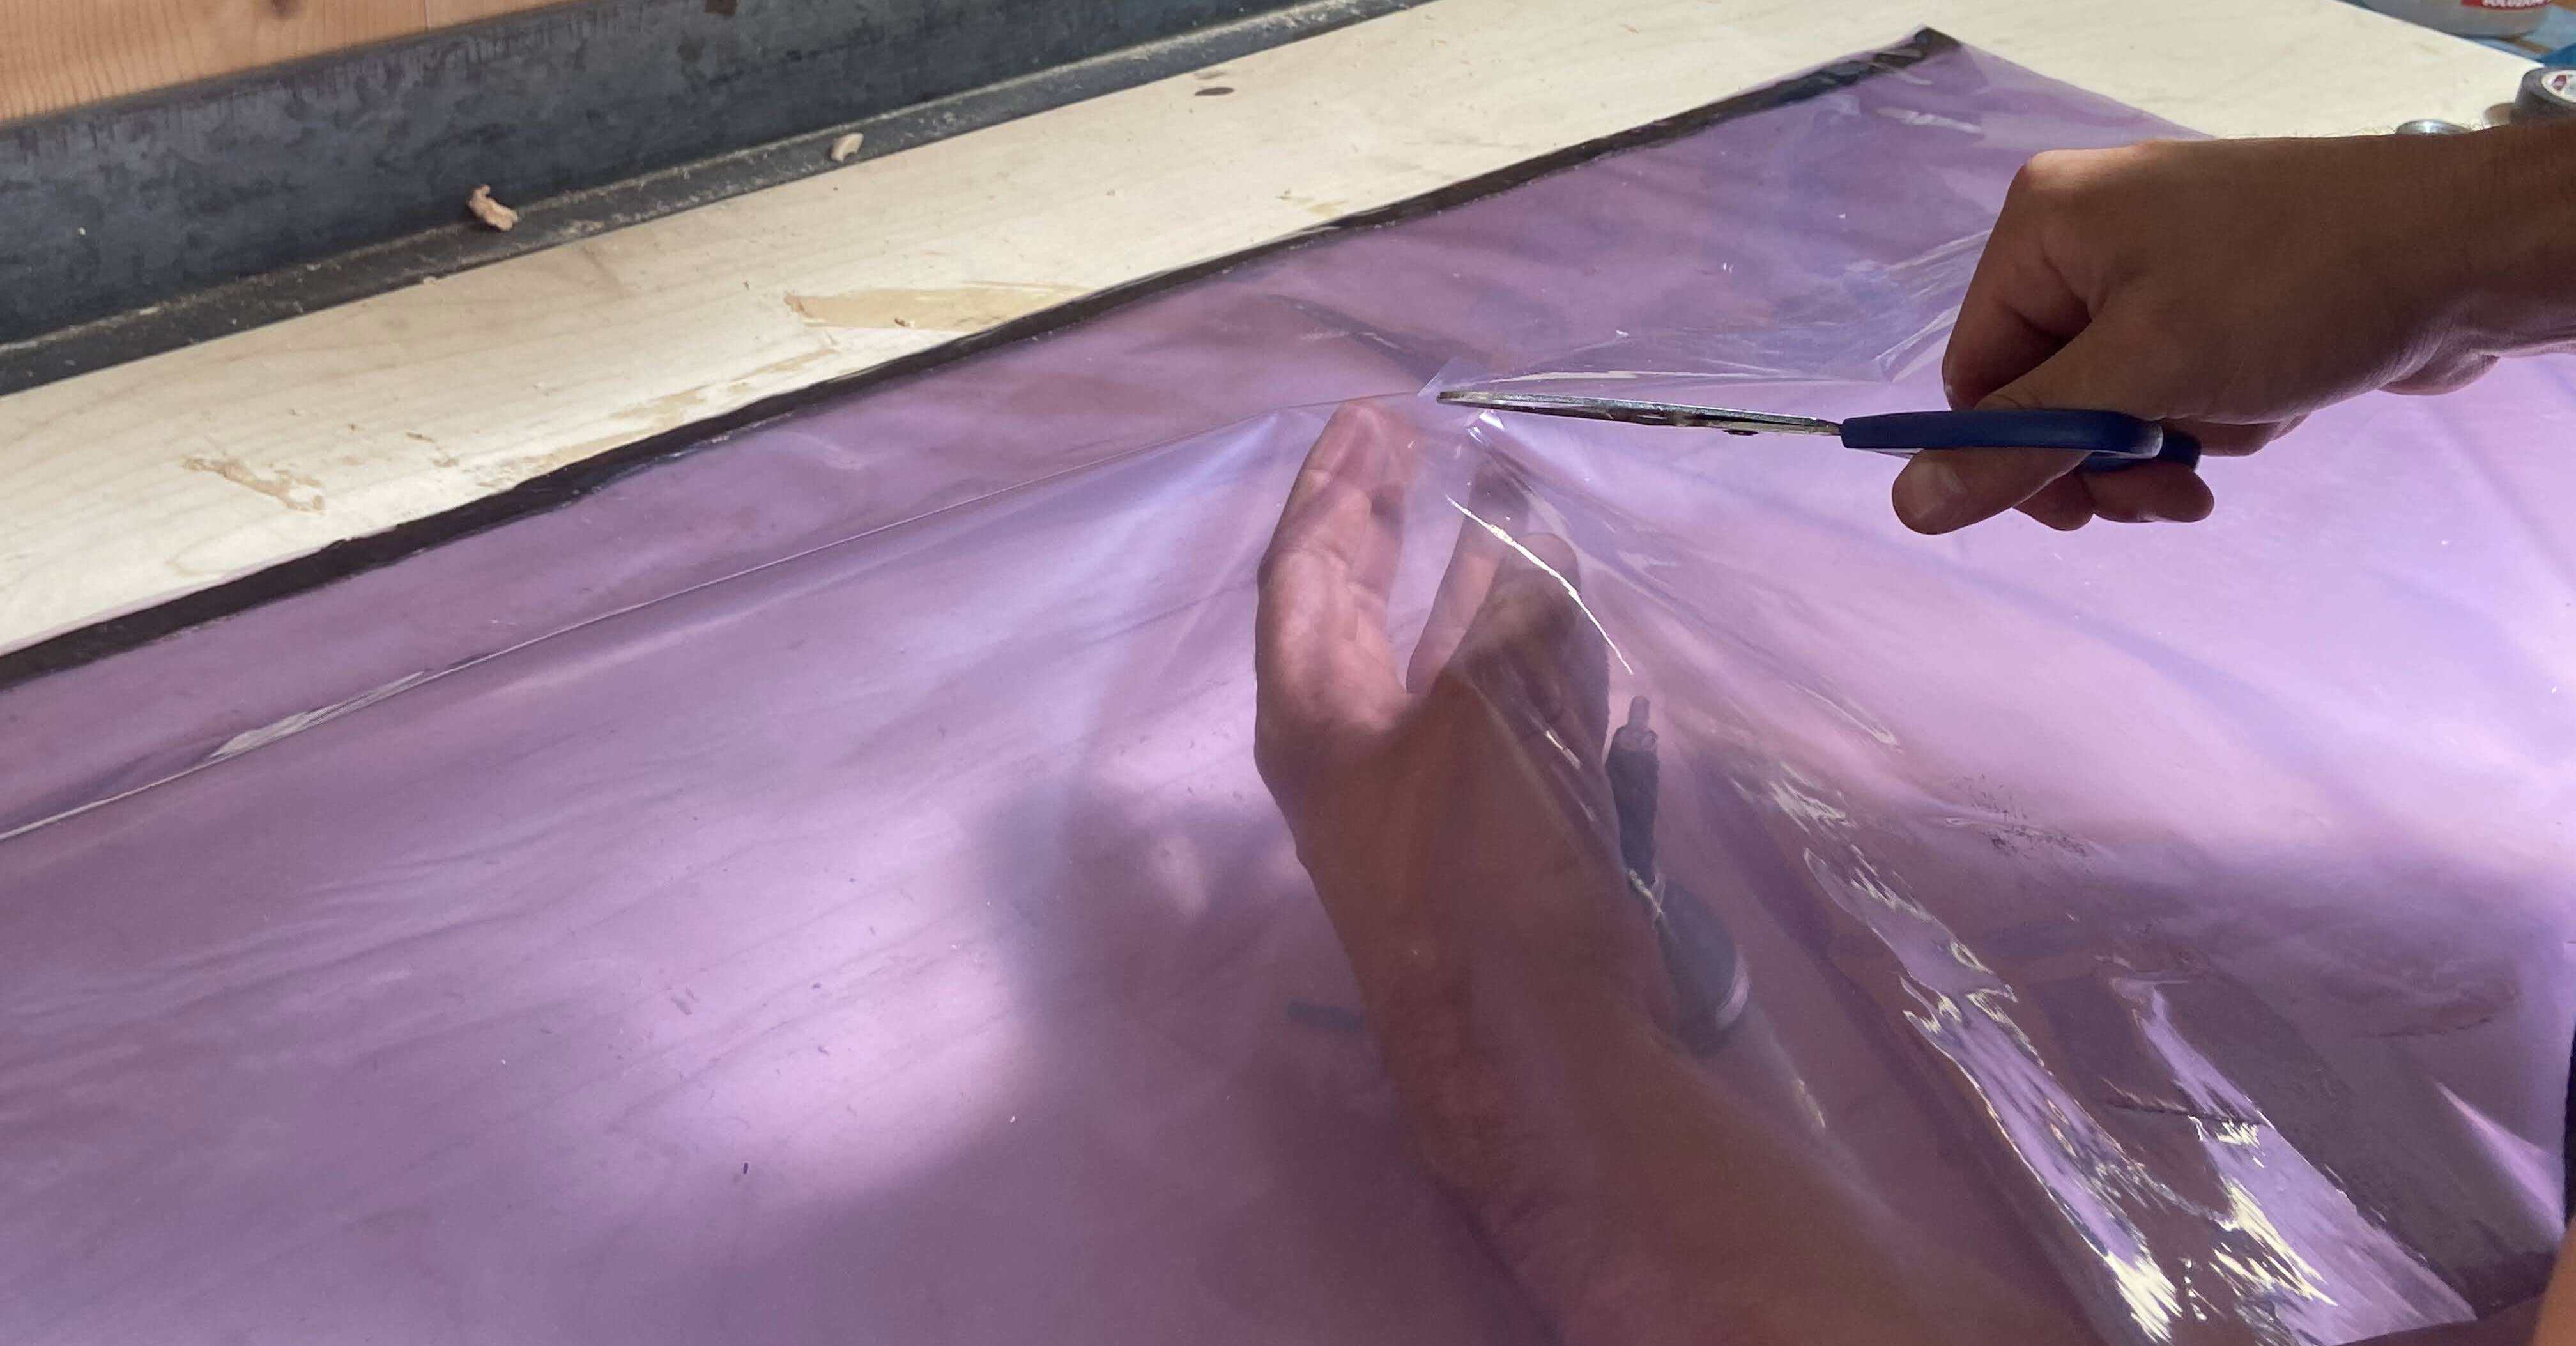
We closed one borders of the sheet folded in half and then we created a hole for the valve.
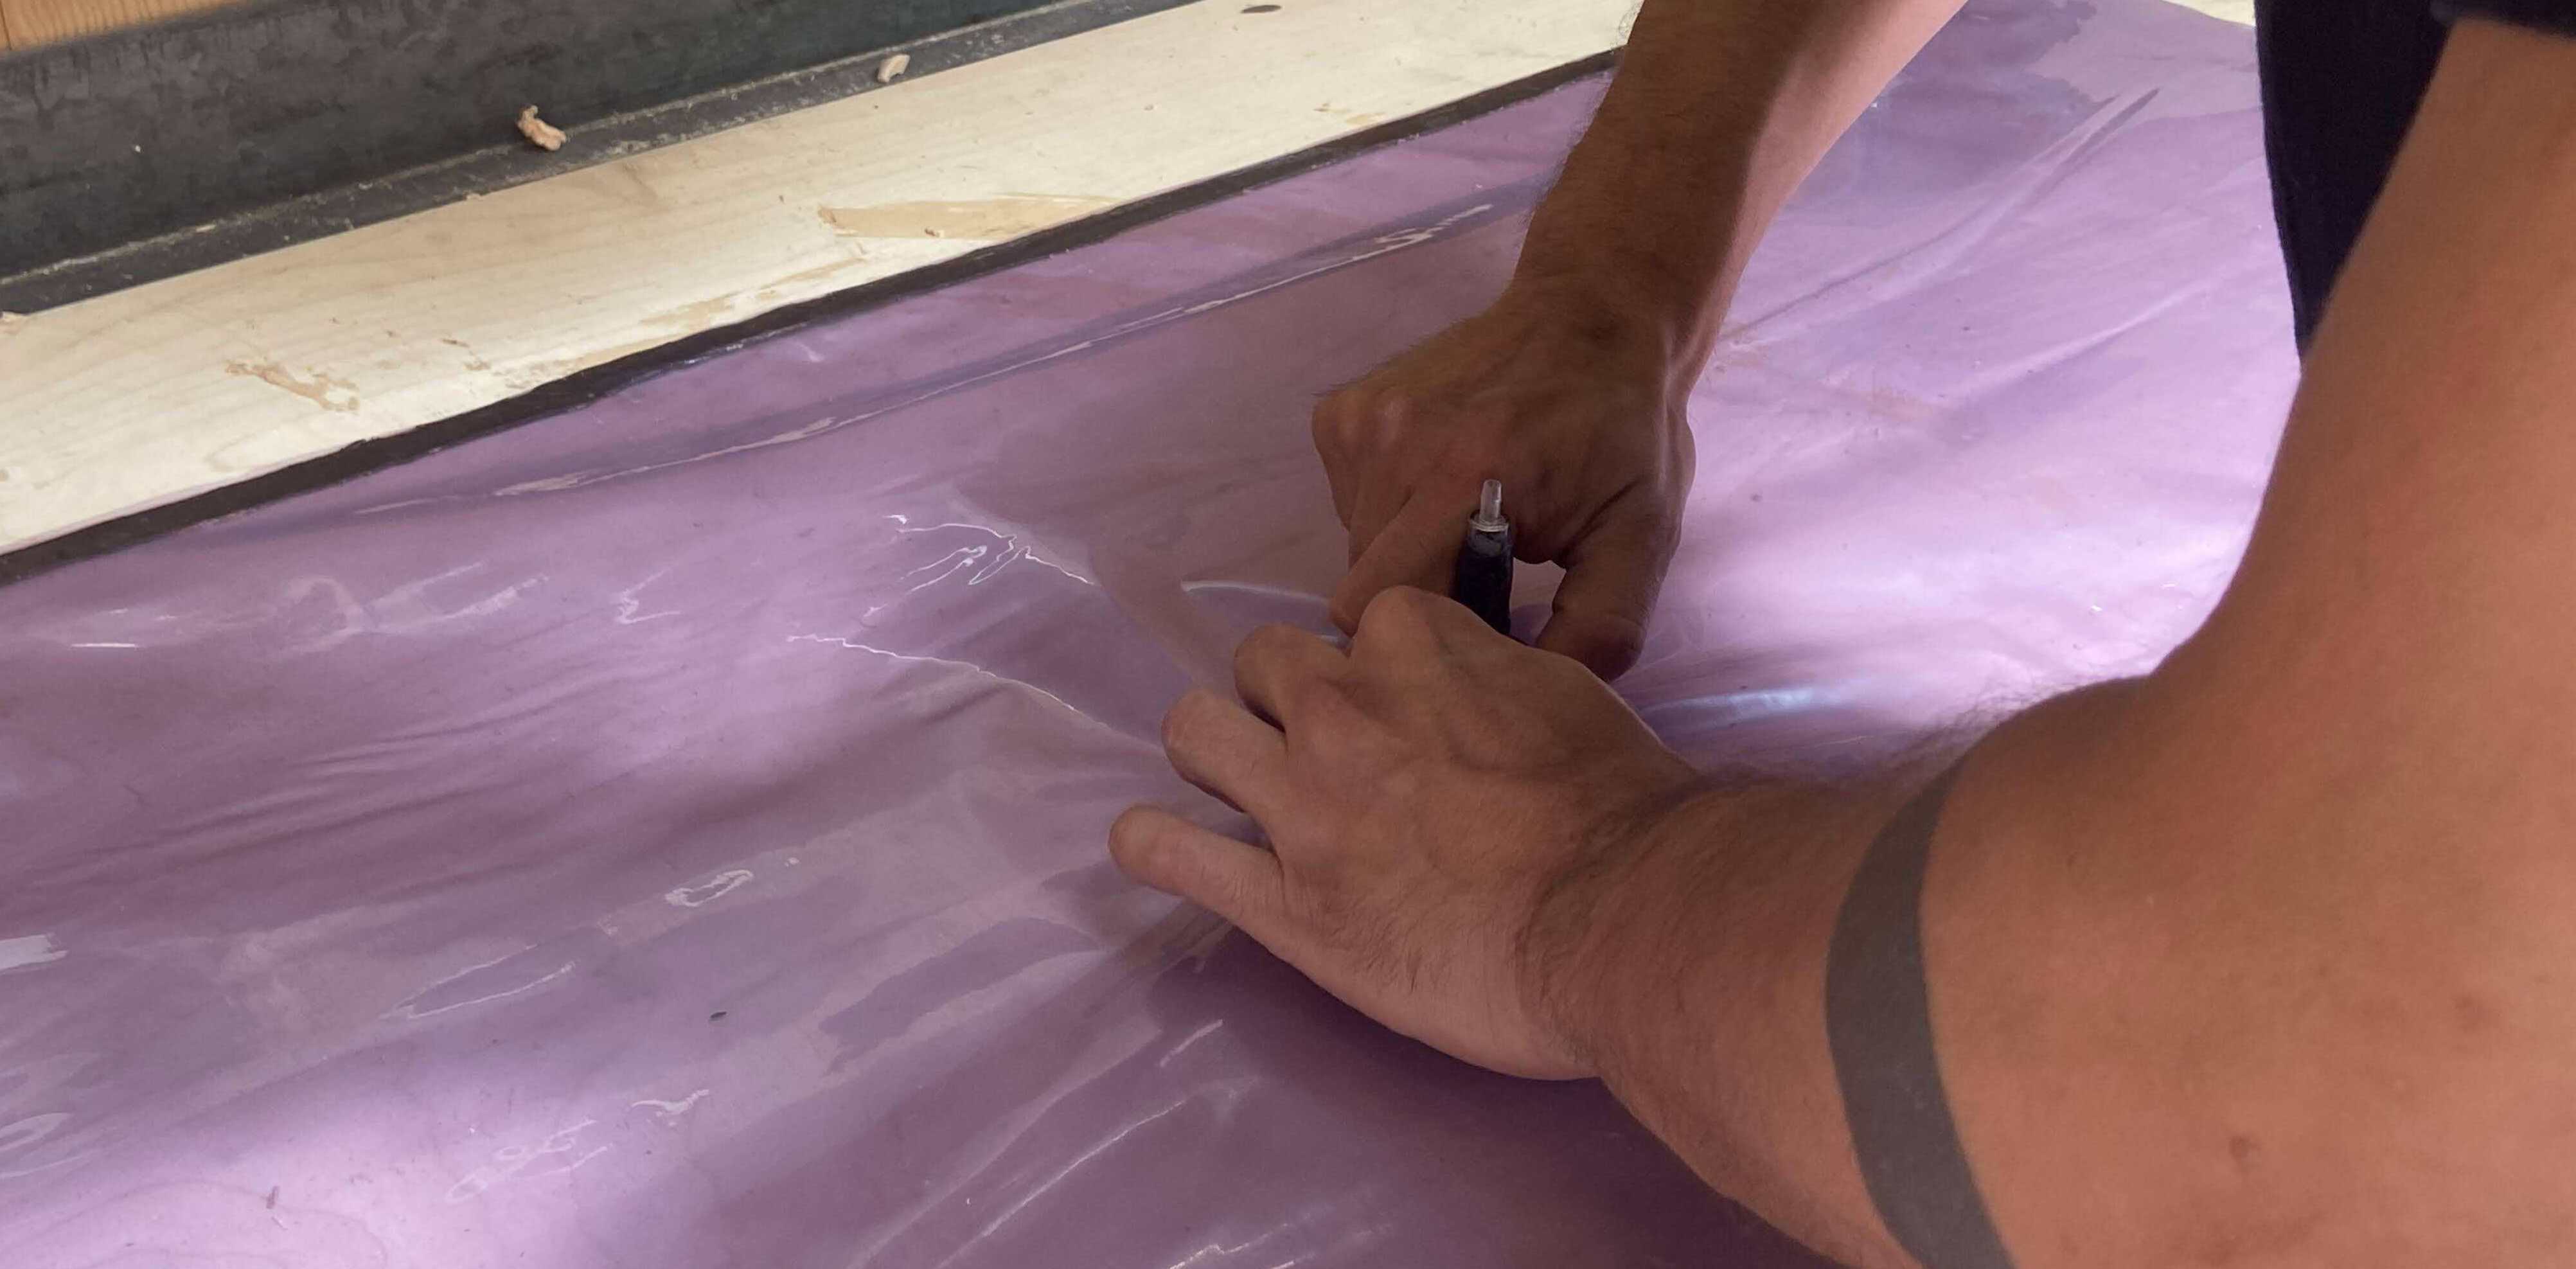
We put the valve and taped with black tape.
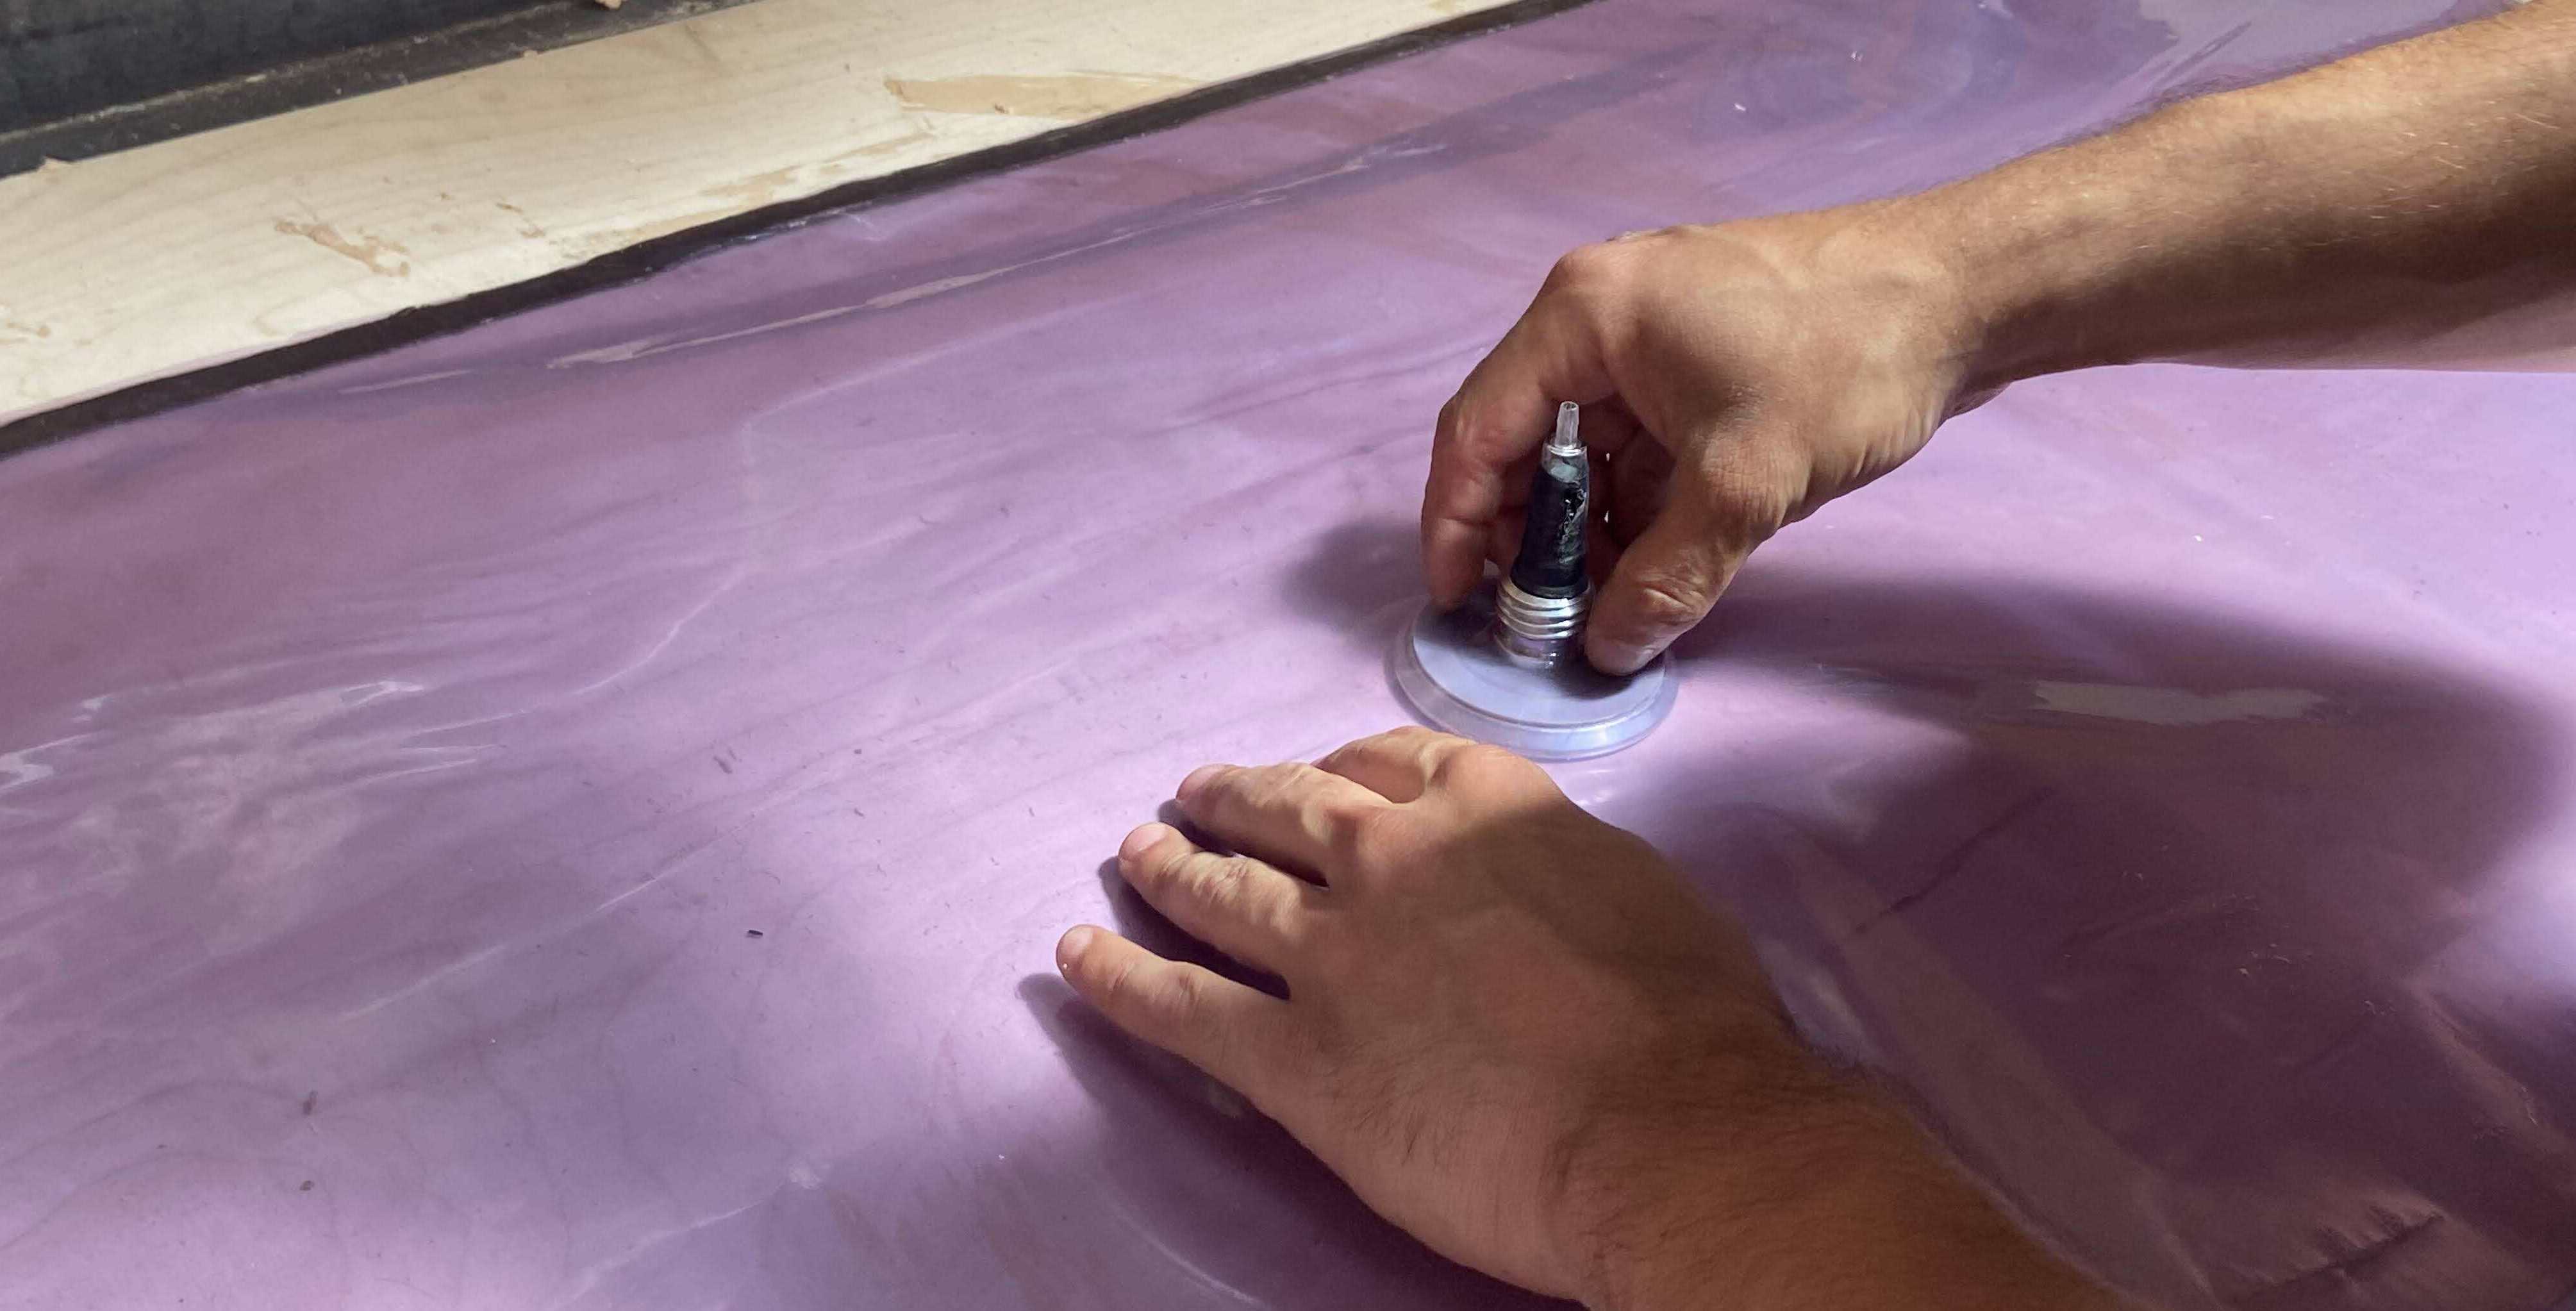
Then we closed the valve.
We put inside the mould and closed the missing border hermetically.

We used a vacuum to extract all the air aaaaaaaaaand this time it worked.
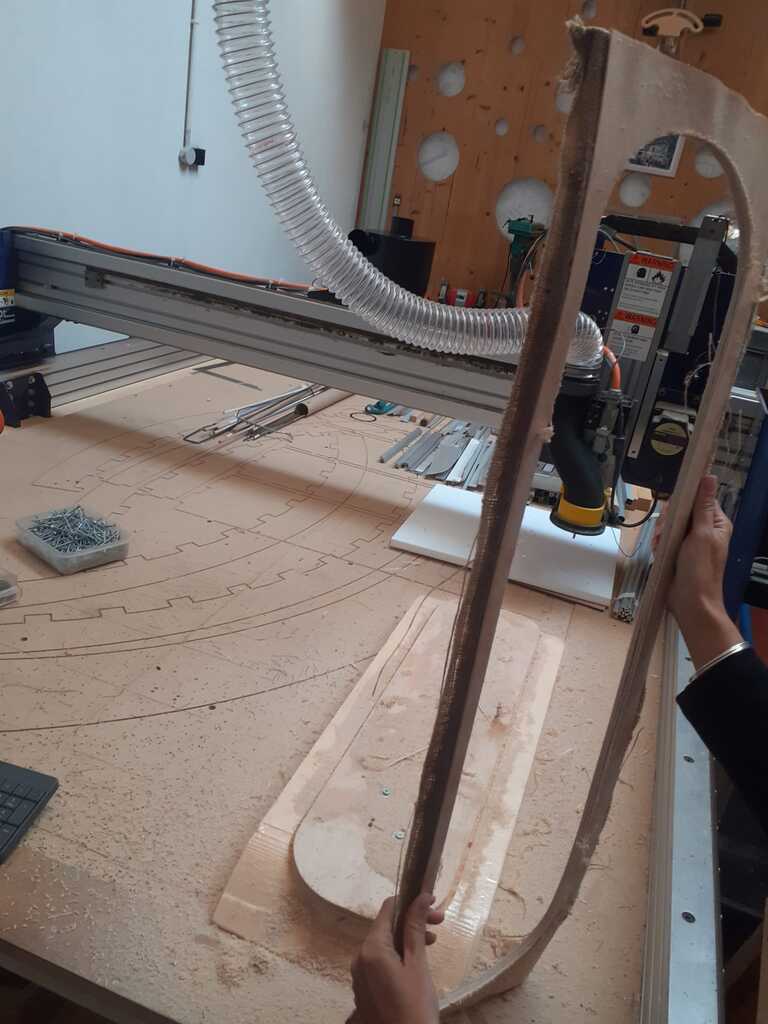
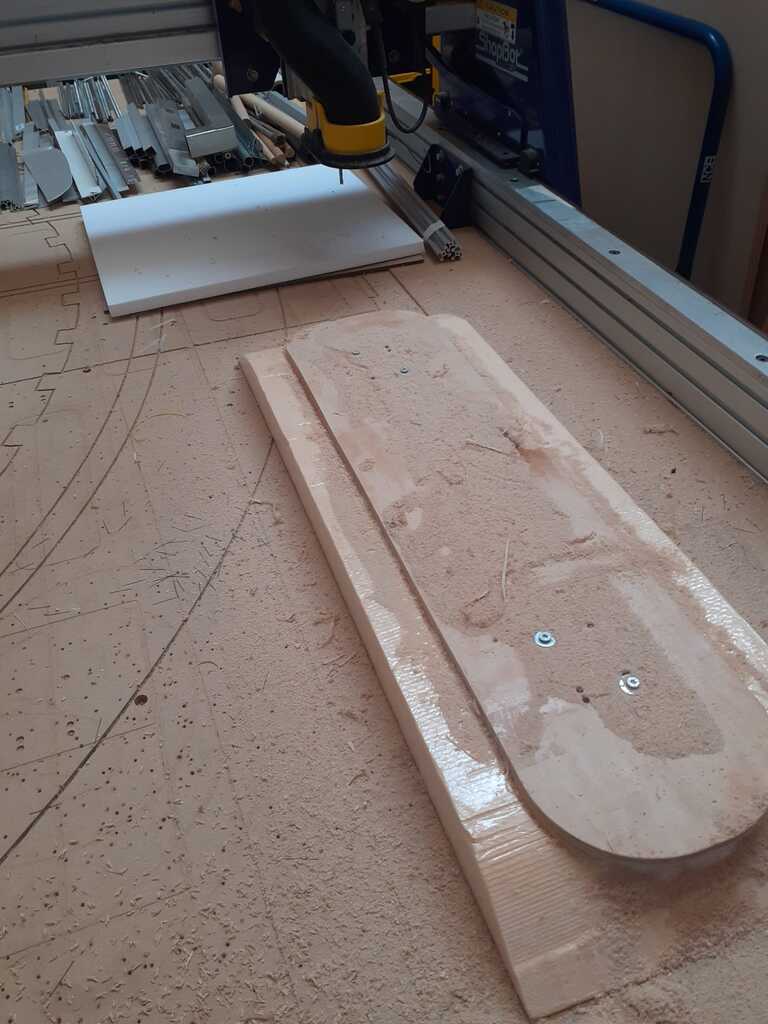
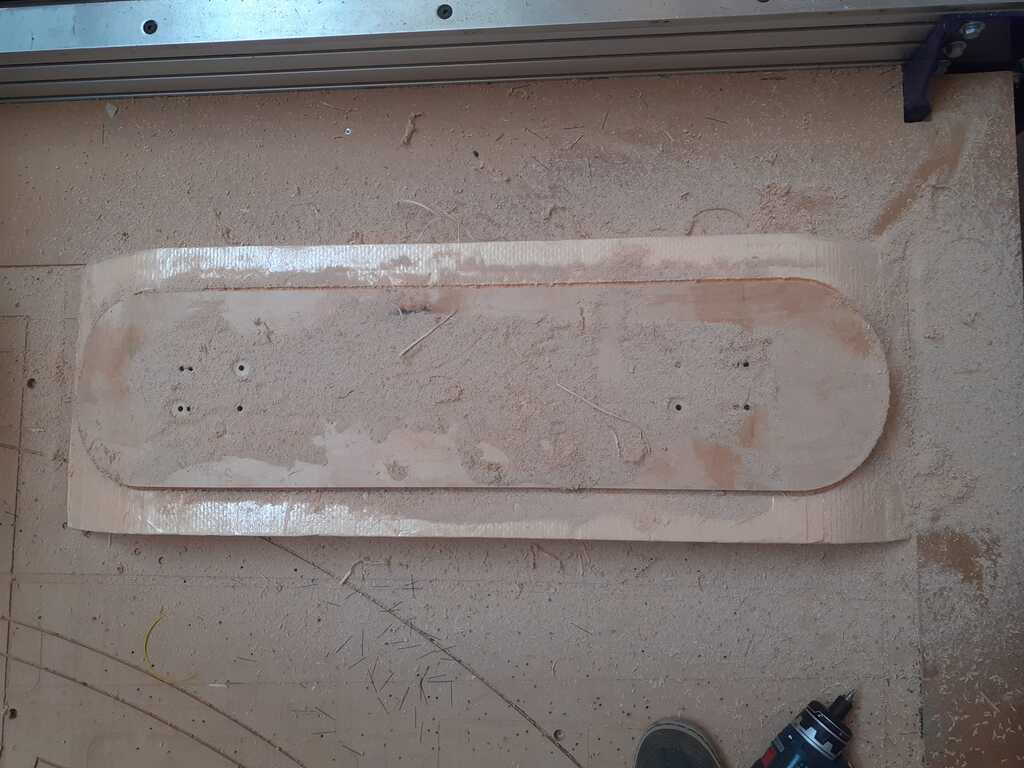
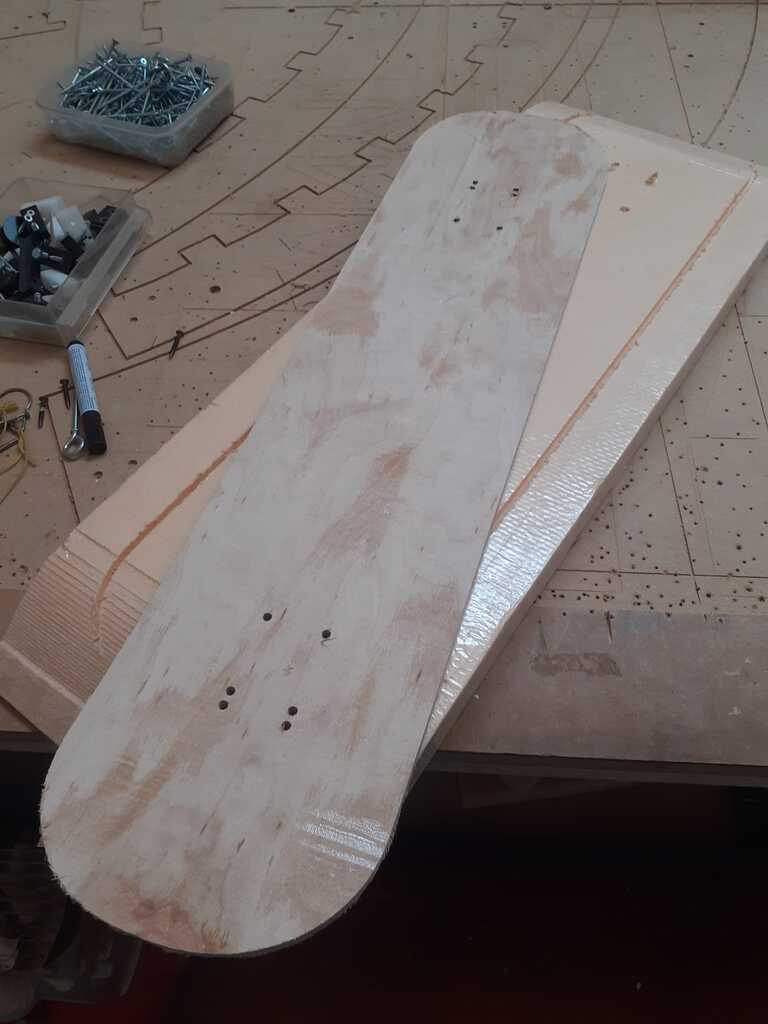
After 24 hours my board was ready and I could mill it into the shape I wanted.
🐝 Milling
I first of all ensured the board to the plane of the Shoptbot with some screws. This is important because you don’t want the board to fly away. I then proceeded to mill as explained in Computer controlled machining. Here are some pick of the milling process.