2. Project management
Assignment
- Build a personal site describing you and your final project.
- Upload it to the class archive.
- Work through a git tutorial.
🔪 Getting started
To build my website - the website you are looking at right now - I decided to look at the resources that my instructor Antonio Garosi gave us: among the options I was given, I decided to proceed with the basic choice using MkDocs and the theme Material provided in our repo.
🐍 MkDocs and the Python version matter
Choosen this, I started looking at the documentation of both MkDocs and I opened the Terminal. When I wrote the code
pip install mkdocs
the Terminal gave the error of not recognising pip.
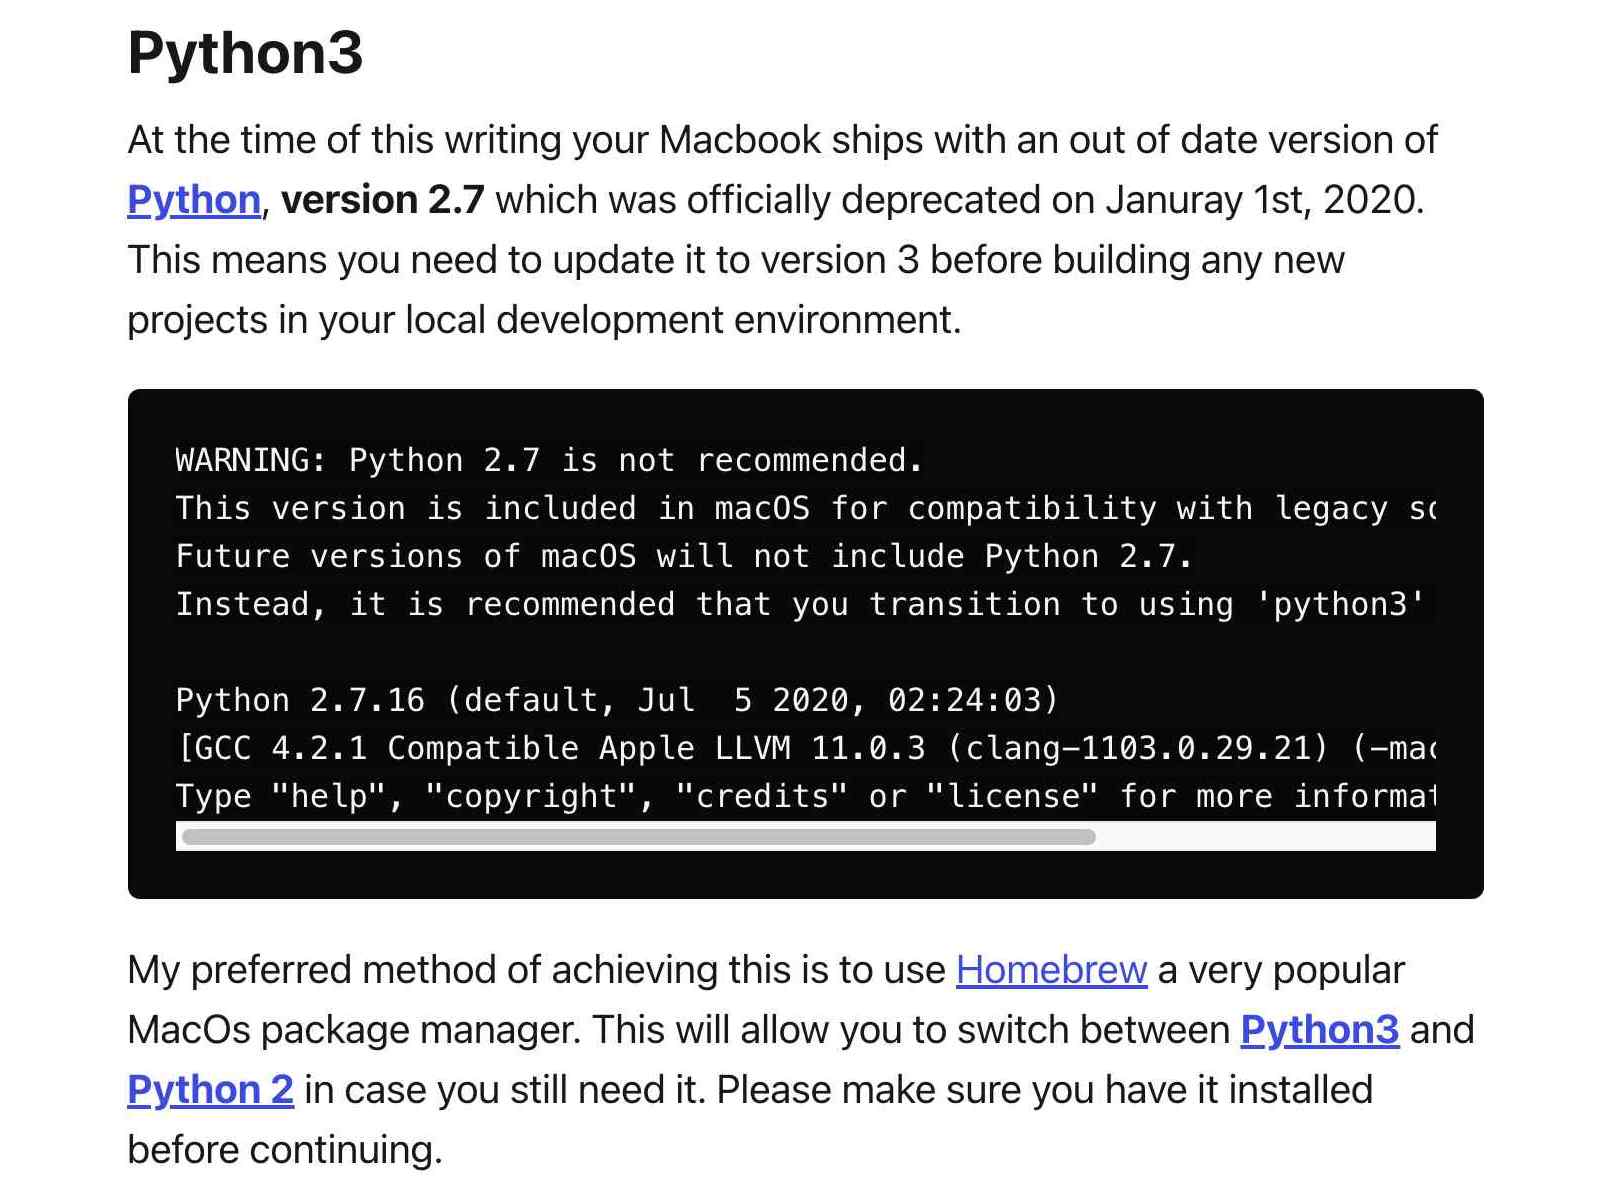
I therefore proceeded with checking I had Python and pip installed in my computer and I had them, hovewer with a too old version.
Therefore, I followed the installation instructions provided by MkDocs that were very clear: I needed at least Python 3.8.2 and pip 20.0.2.
I dedided to install Python with Homebrew, a package manager, and followed the simple tutorial in its homepage by pasting this code /bin/bash -c "$(curl -fsSL https://raw.githubusercontent.com/Homebrew/install/HEAD/install.sh)" in my terminal.
I then upgraded pip by copying pip install --upgrade pip in the terminal. However, when I checked my python and pip version the terminal kept saying that my version was not the correct one. I solved the problem setting Pyhton 3 as default following this tutorial.
I did the same with pip and now I was able to install MkDocs. It was a rollercoaster of emotions but it was worth it! 👑
🔑 Git and the key problem
It was time to clone my repository using Git.
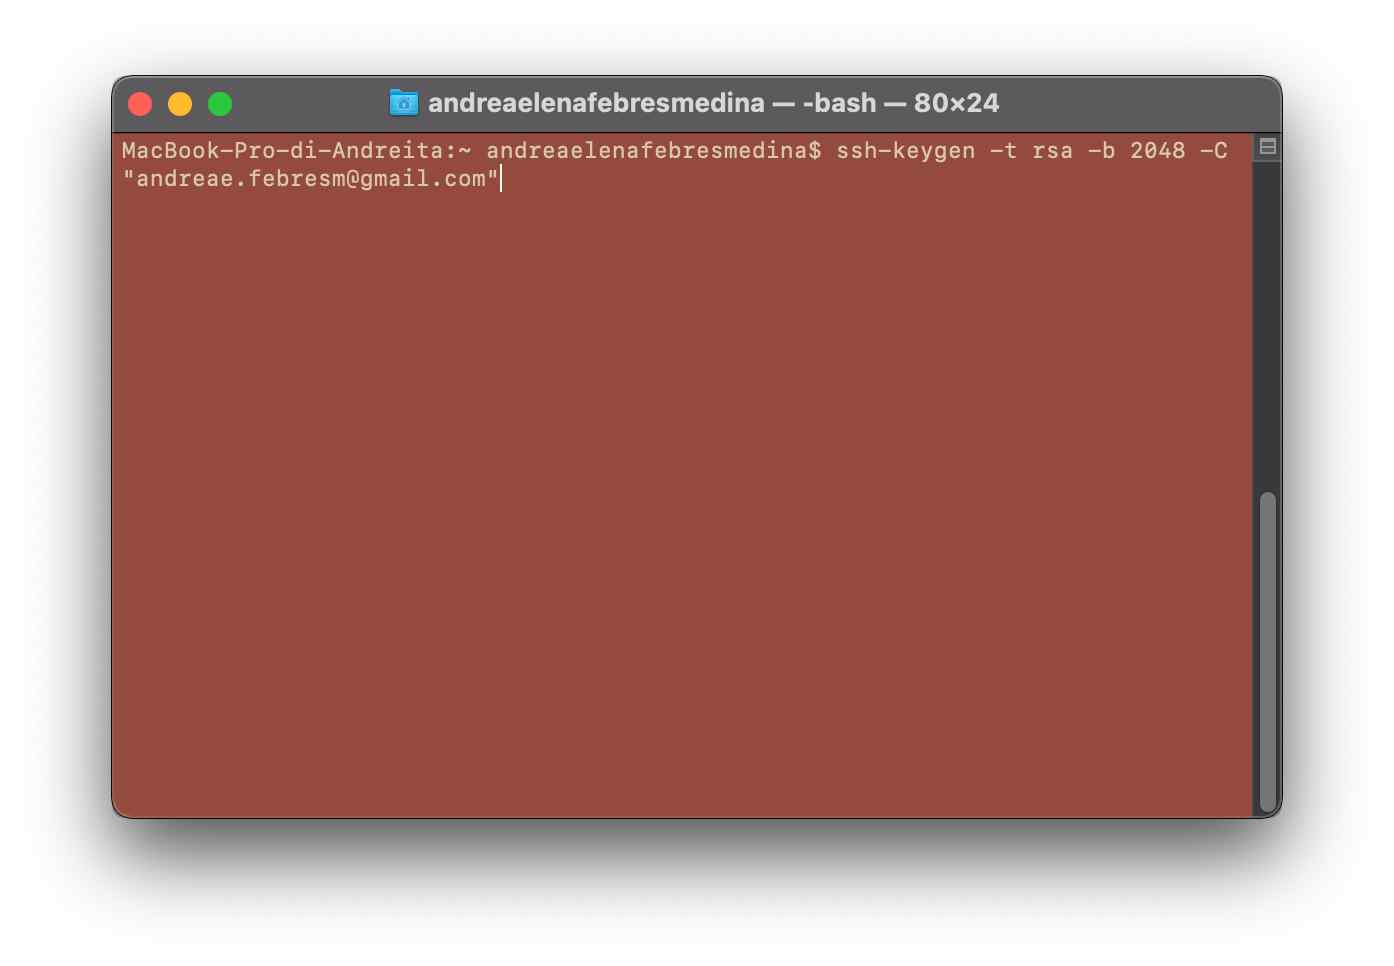
I needed to create my SSH key first. I followed GitLab tutorial step by step, generating an rsa key.
I copied ssh-keygen -t rsa -b 2048 -C "andreae.febresm@gmail.com" in my terminal and I generated the key.
Unfortunately, I put a passphrase and this choice led me to creating another ssh key, but this happens later in the story.
I decided to use Visual Studio Code as text editor since I always had used Atom.io and I wanted to learn a new one.
I cloned my repository using git clone git@gitlab.fabcloud.org:academany/fabacademy/2022/labs/opendot/students/andrea-febres.git but I had some troubles because of the passphrase. I decided, therefore, to create a new ssh key without the passphrase. I successfully cloned my repo and opened my project in Visual Studio Code.
🍍 It’s code time!
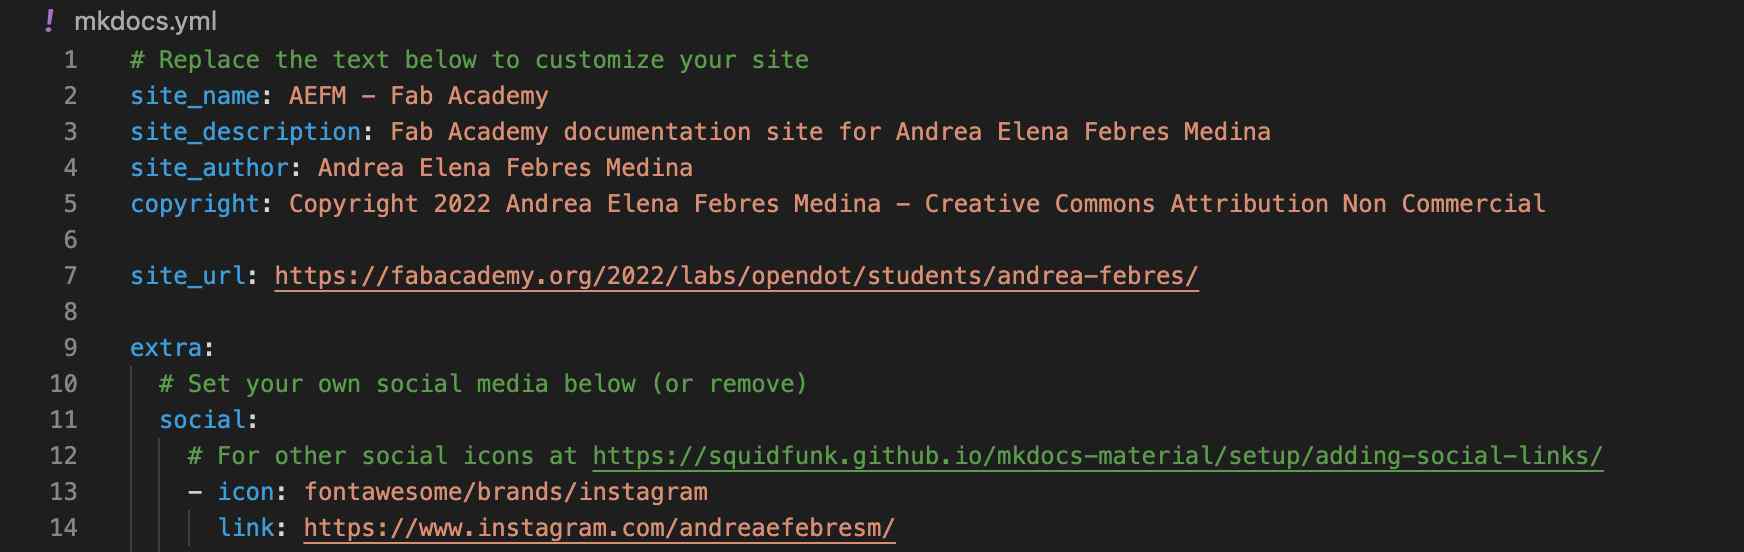
First of all, I proceeded with modifiyng the mkdocs.yml with my information and general aesthetic features such as the Font used and the colors.
I understood while doing this that I wanted to have more freedom therefore I looked in MkDocs documentation how to add a customised css.
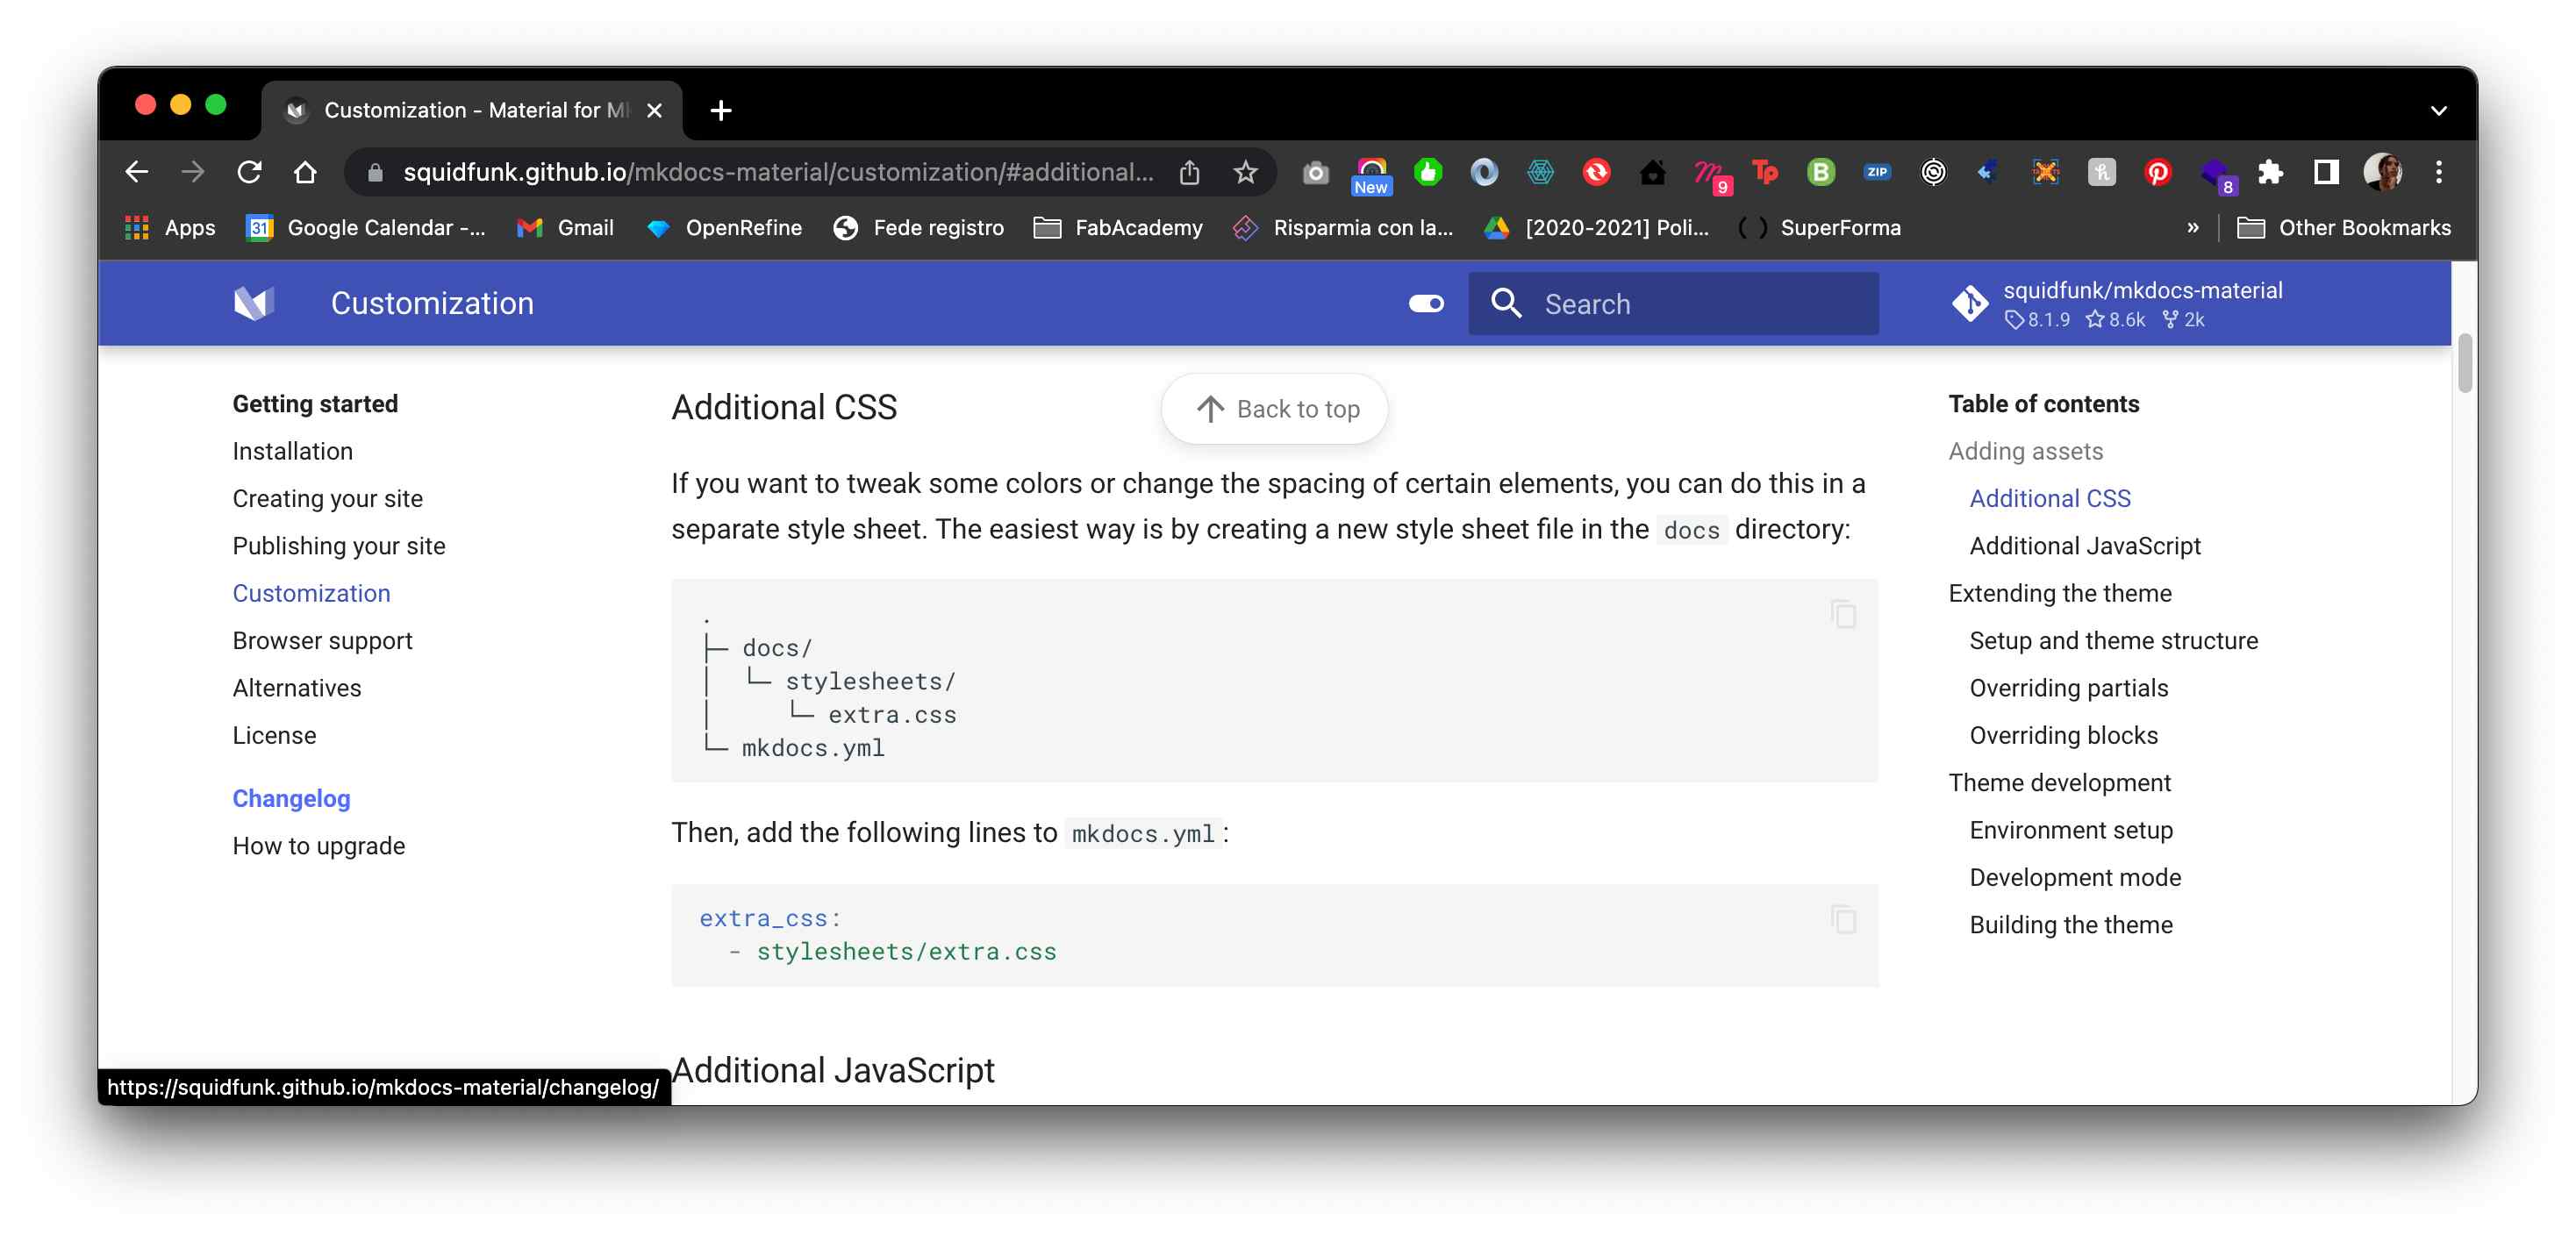
It was a very easy task to fulfill: I created a new file named extra.css in the new folder stylesheets. I then added the following code to mkdocs.yml.
extra_css:
  - stylesheets/extra.css
In my extra.css I used mkdocs cascading variables to change the general colors
:root>* {
    --md-primary-fg-color: #FD6881;
    --md-default-bg-color: #FD6881;
    --md-primary-fg-color--dark:  #CE0CFF;
    --md-typeset-a-color: #FFFFFF;
    --md-general-text-color: #fff;
    --md-footer-fg-color: #fff;
    --md-footer-fg-color--light: hsla(0,0%,100%,.7);
    --md-footer-fg-color--lighter: hsla(0,0%,100%,.3);
    --md-footer-bg-color: #FD6881;
    --md-footer-bg-color--dark:
}
and then I used Figma - a digital design and prototyping tool - to create my favicon.
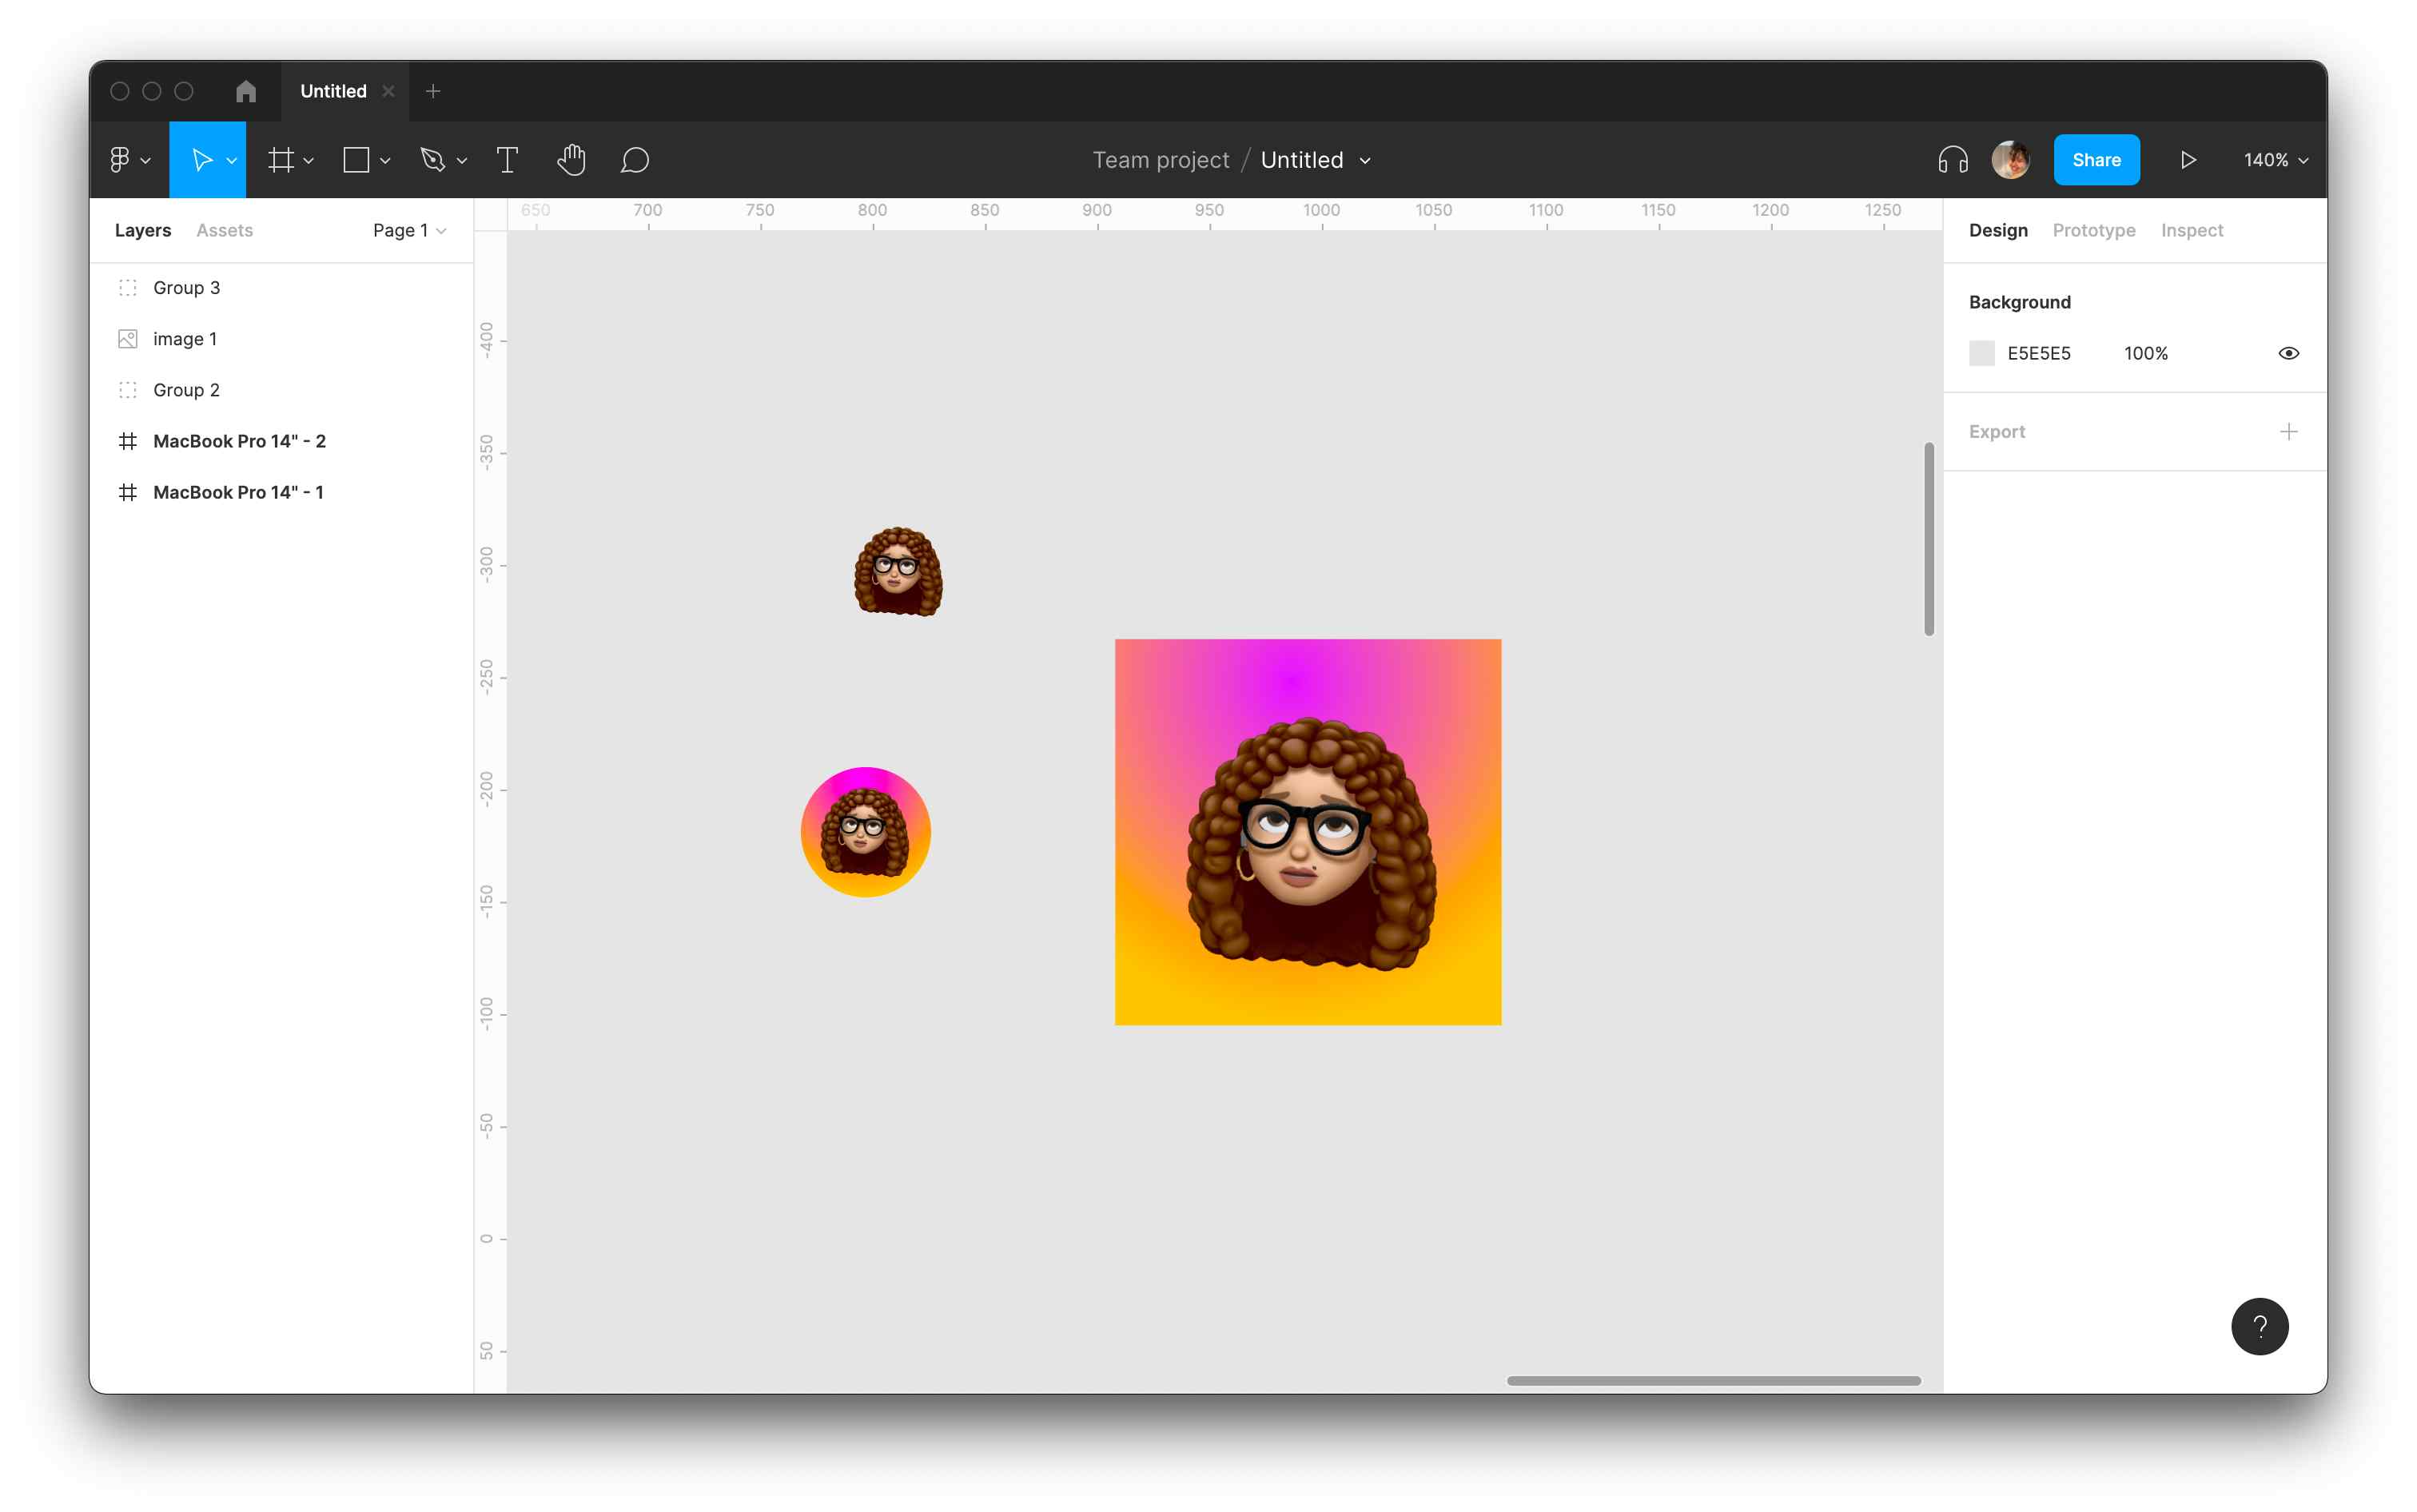
I exported the favicon in svg format and changed it in mkdocs.yml. favicon: images/favicon.svg
I then wanted to change the homepage in order to have the heading bigger, but I wanted to make only this text bigger. In order to so, I needed to assign a class to this h1 but I did not know how to do it with markdown. As many other times in my life, StackOverflow had the answer for me:
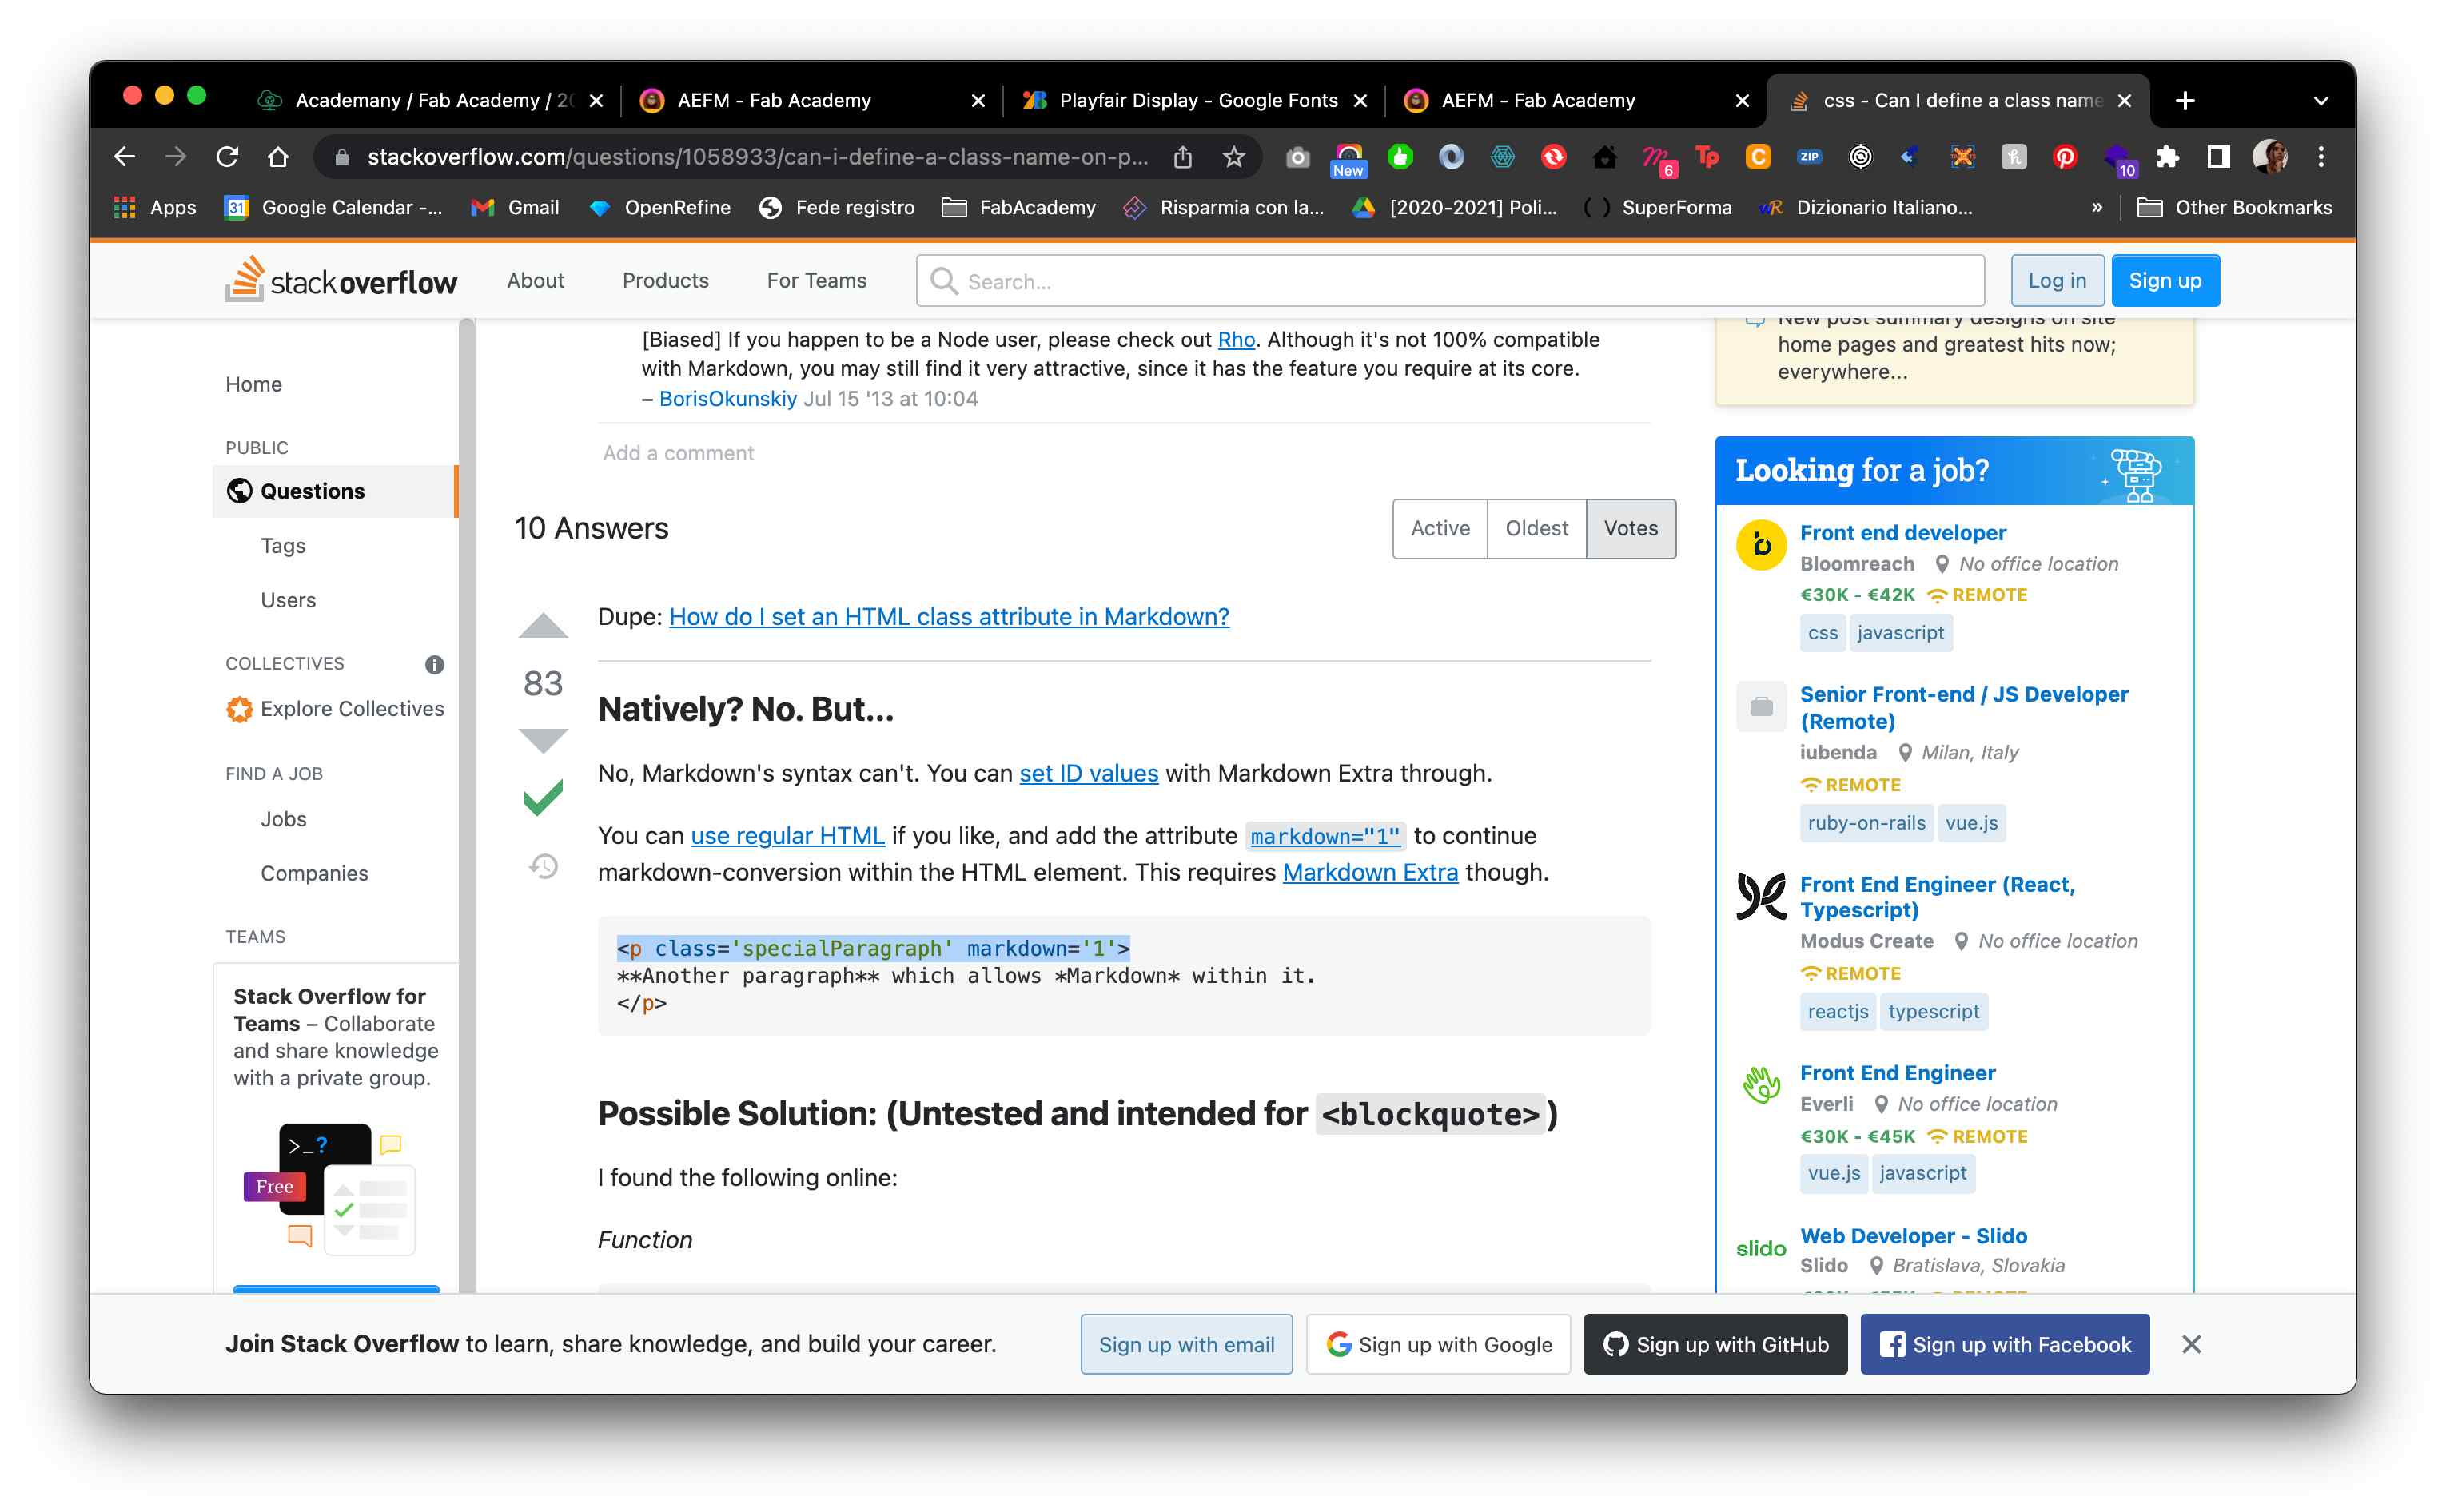
I learned (here) that with Markdown you can insert HTML right in the middle of your text, but with MarkdownExtra you can also wrap Markdown-formatted content inside a <div> element adding a markdown attribute to the tag with the value 1 👉🏽 markdown=1.
I then kept modifying the css to achieve the result I wanted. Along with these edits, I edited the About page and I created a new markdown file inside about called selfregulation.md where I want to update every week how I felt throughout the whole FabAcademy Journey.
🙌🏽 Pushing my website
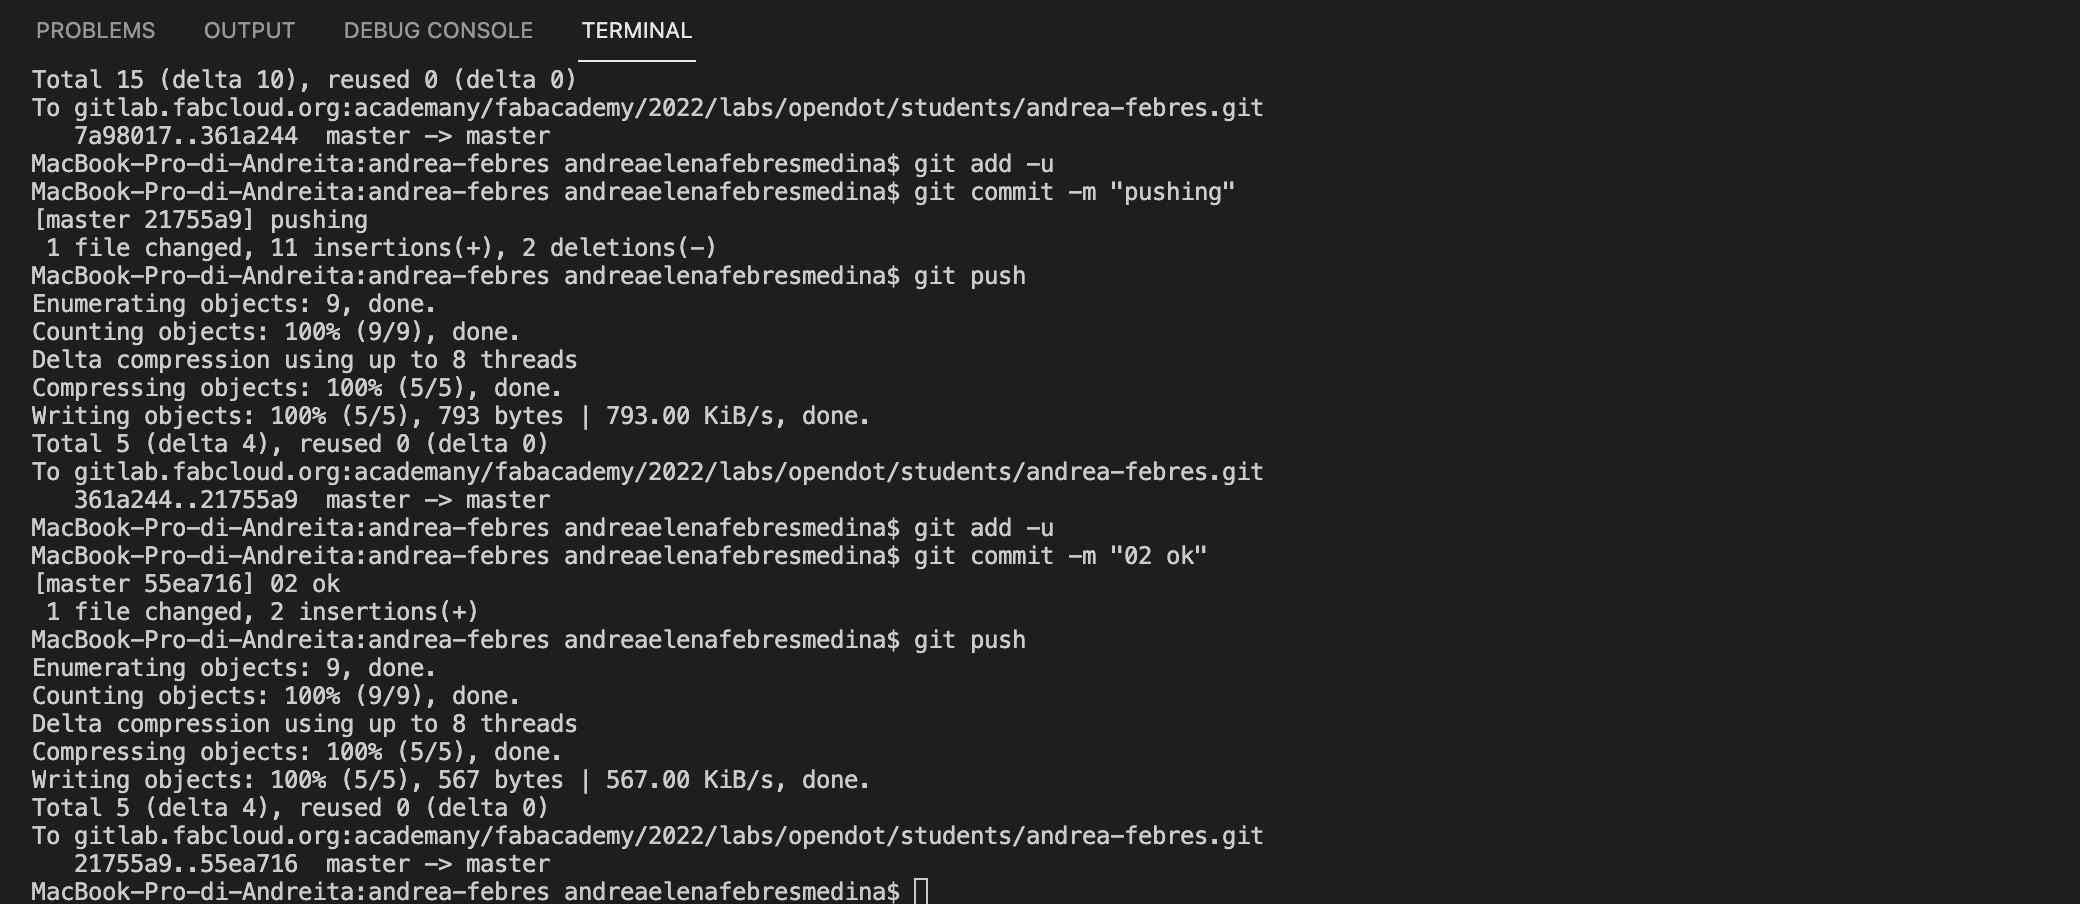
Every now and then through this process I needed to commit and push my changes in the repository and in GitLab. To do so, I used both the terminal in Visual Studio Code and its UI. I used both to try to understand better git. When using the terminal, I used:
git pullto get an updated version of my project;git add .for selecting all files to push;git add -ufor selecting the edited files;git commit -m "message"for saving a commit in my local repository;git pushto upload the repository in GitLab.
On the other hand, with the UI in Visual Studio Code I staged the changes, committed them and pushed them. What I found interesting in using the terminal with the UI open is that I saw the changes I did with the code also in the UI.