12. Machine design
- Design a machine that includes mechanism + actuation + automation
- Build the mechanical parts and operate it manually.
- Document the group project
- Document your individual contribution.
This week we worked as a group to design and automate a whole machine and you can see here the whole process.
Our group is very close (we had a lot of fun) and we have done almost everything together. In this page, however, I will present my individual contribution.
🧞♂️ Mechanical thinking
The first thing to do was to understand how the structure - mechanically speaking - would be created and designed. To do that, I used as inspiration the Ultimaker 3D printer we have in our lab.
This 3d printer is a cartesian one and I first focused on the X and the Y axis. I studied the mechanism in order to be able to reproduce it in our lab for our machine.
We needed six metal bars with pulleys and straps to make everything work.
For the Z axis we decided to find a different inspiration and I thought we could have a stepper motor and a servo. However, in the end we decided to follow a different idea, Danilo’s one which was best.
👾 3D modeling and printing
Since we did not have the right pulleys, I decided to 3d model and print them. I used a caliper to measure the existing pulleys and I used Fusion360 to model them in order to make them fit in our machine.
Moreover, the bearings we had were not high enough for our structure and therefore I modelled them.
In the end, I made an assembly of all the part to understand if everything worked well.
I printed these models and also the XY motor holders Danilo found on the Internet.
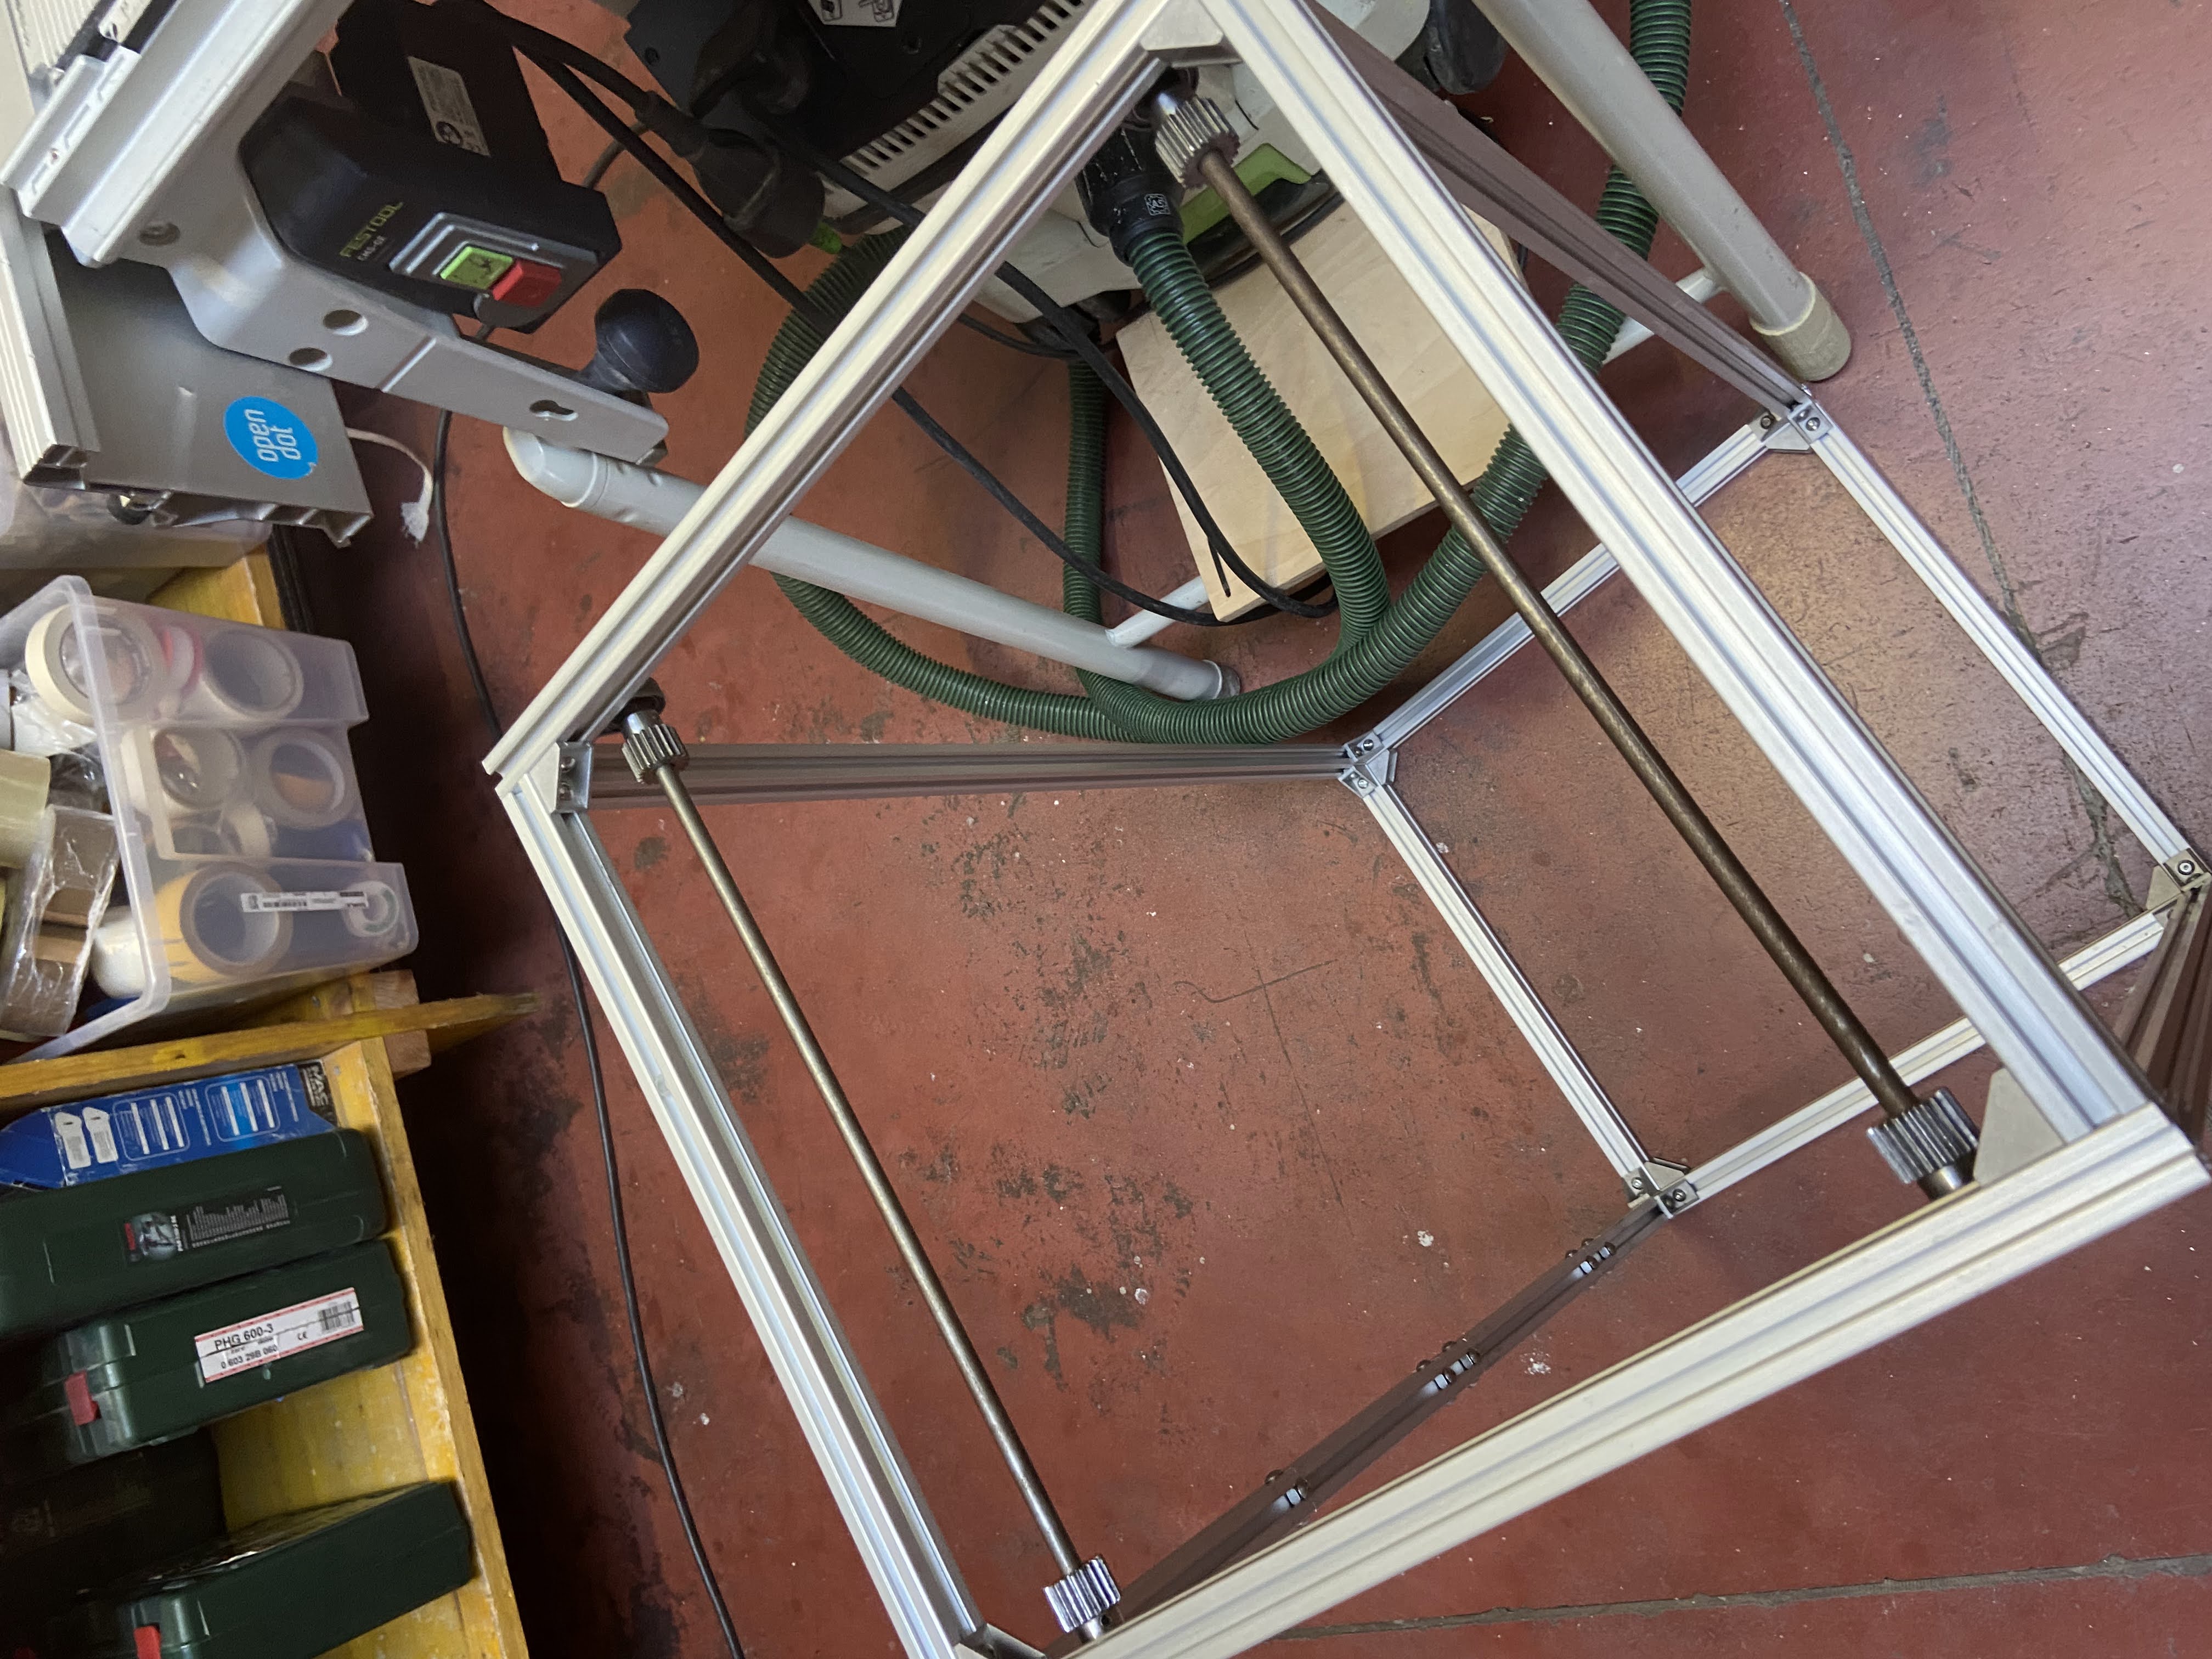
🤹🏽 Structure mounting
Overall, I helped in mounting the structure and first of all, searching and selecting the components we needed. Specifically, I mounted the X and Y structure:
-
put all the pulleys in the metal bars
-
mount the bearings in the structure (first with screws and then with cable ties)
-
mount the top structure with the rest of the structure
Here is a video that shows the two Andreas at work:
🥹 Drawing conclusions
In the end, I can say that with more time and maybe more patience we could have been able to make the machine work properly. What I think we failed the most was the fact we had to improvise, or maybe we failed in planning. I will use the pulleys as an example: with more time (or more organisation) we could have been able to find the right pulleys and therefore we could have been not forced to design them and 3dprint them. The structure was not solid because the assembly (and each piece) was not precise and detailed. I think that aproximation was our biggest mistake, but it was a consequence of Easter times and therefore holidays.
What I think worked is indeed the fact that with so few time and capacities that were not so extraordinary, we managed to put together a funny jalopy that somehow kind of worked.